If you play Deeproot Manor and looking for a 100% walkthrough of the game, this guide is exactly what you need and all ending & unlockables are explained as well, let’s check it out.
Setting foot in the manor (From the start to meeting the doll)

When the game starts, move to the left to the porch of the manor.
You may try to open the main door, but in order to get inside you’ll have to climb the vines that go over the cracked window to the left. Once on the rooftop, walk right until the title screen appears.
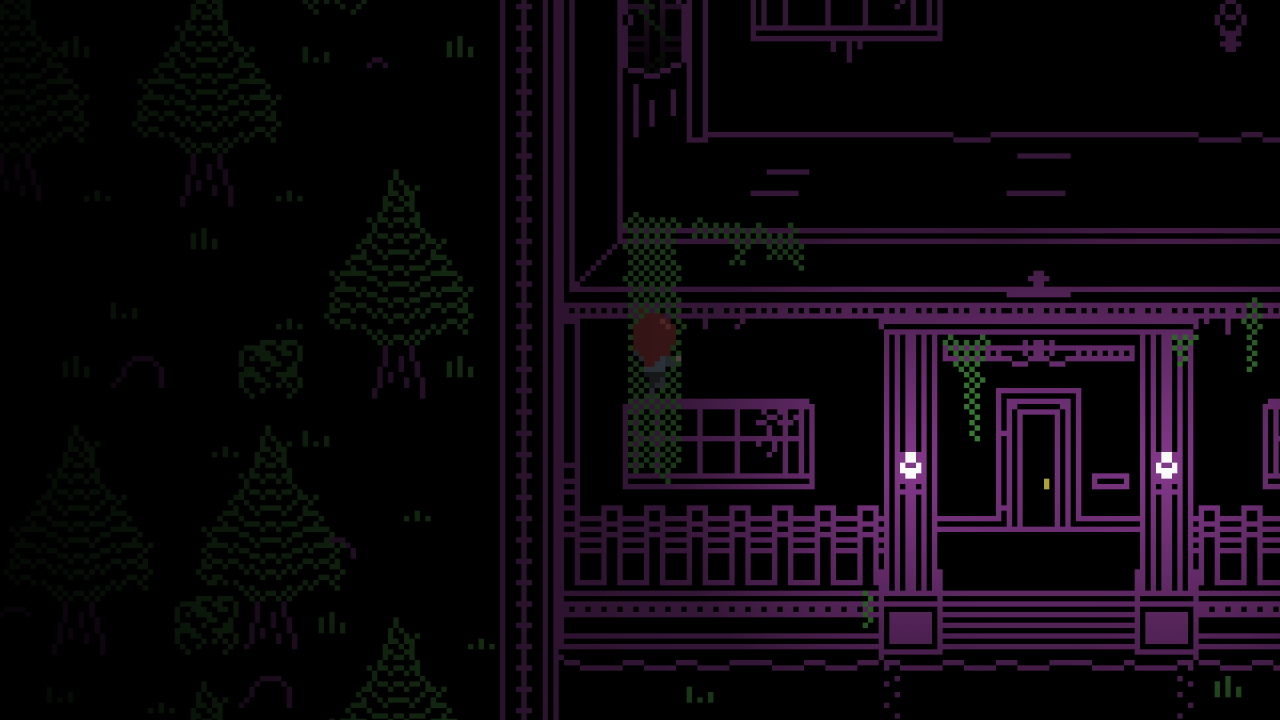
After Emily gets back on her feet, you can explore the first room – the Foyer.
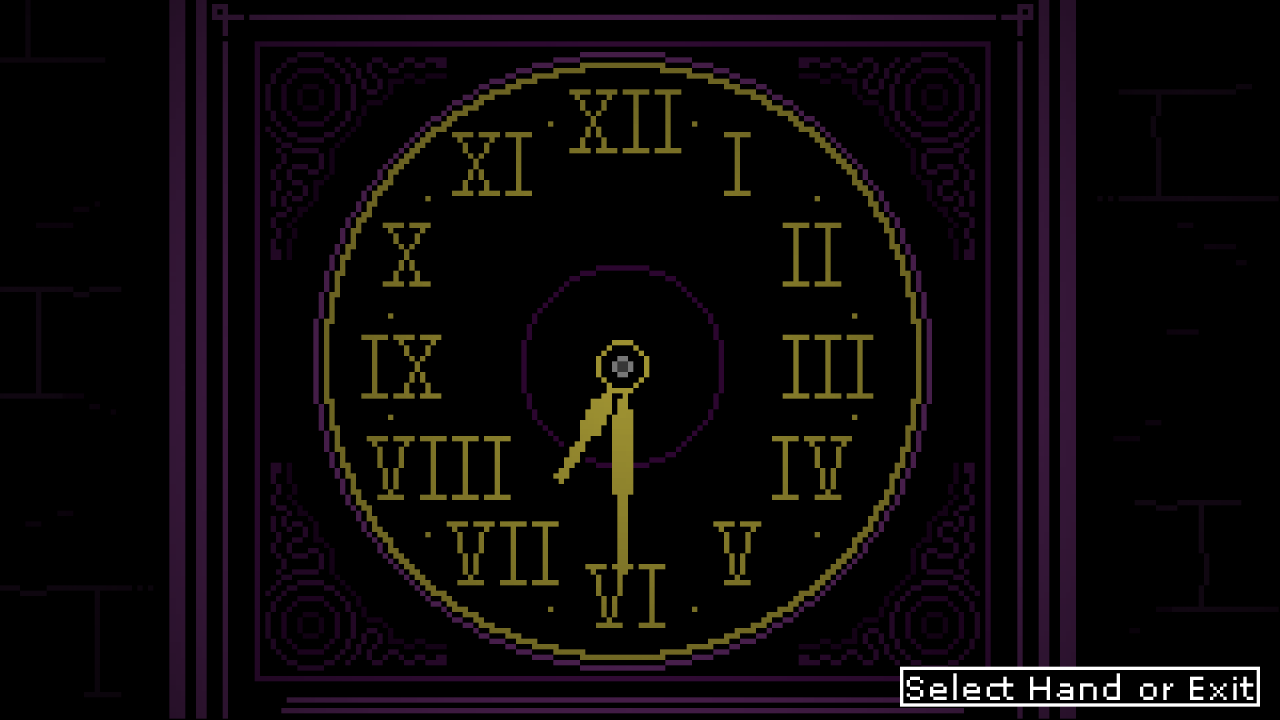
*** Optional: You crashed in the room close to a small table with a lamp on top. There’s a note here left by the past owner of the manor. You can also explore the room a bit, and climb the stairs to check the grandfather clock on the first floor.
Go then through the crashed door on the ground floor between the two stairs, and you’ll find yourself in the Lower Corridor.
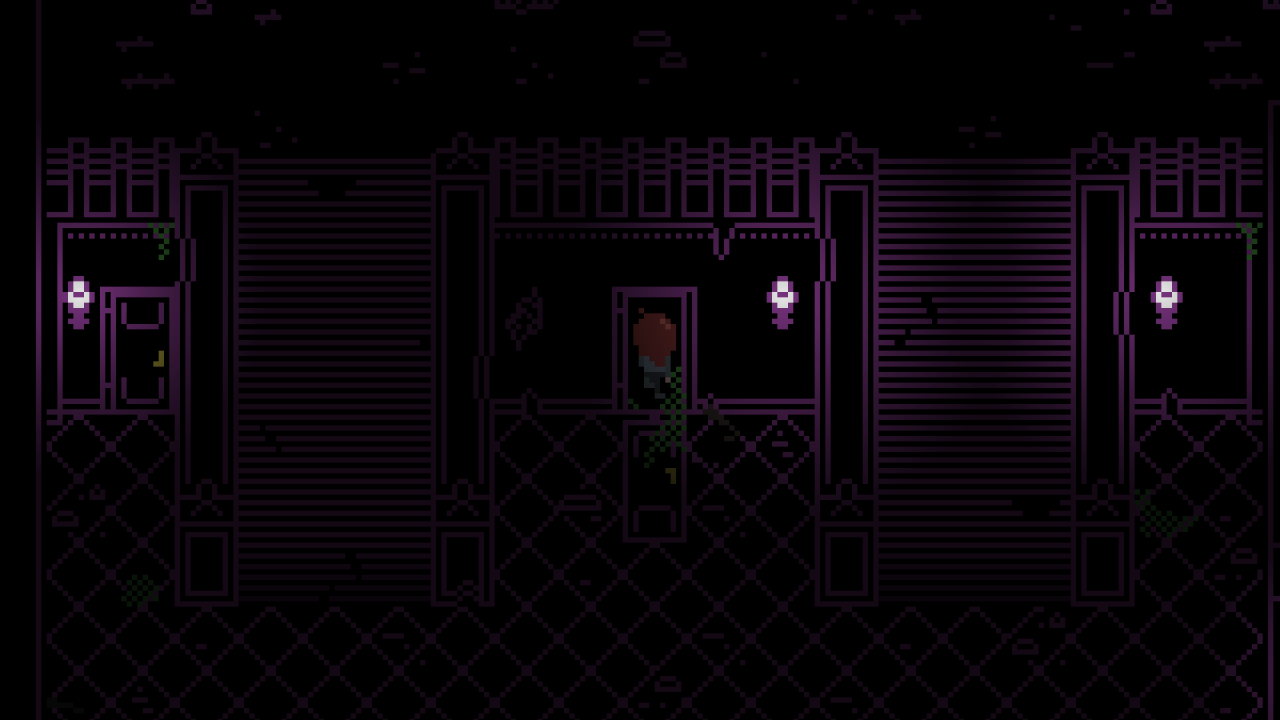
*** Optional: Check the doors in the Lower Corridor and the big root blocking the way.
You can also unlock the door on the bottom to create a shortcut back to the Foyer.
Go through the right door with falling vines and you’ll end up in the Inner Courtyard.
A brief cutscene will then play, showing the treetop that crashed through the fountain in the middle.
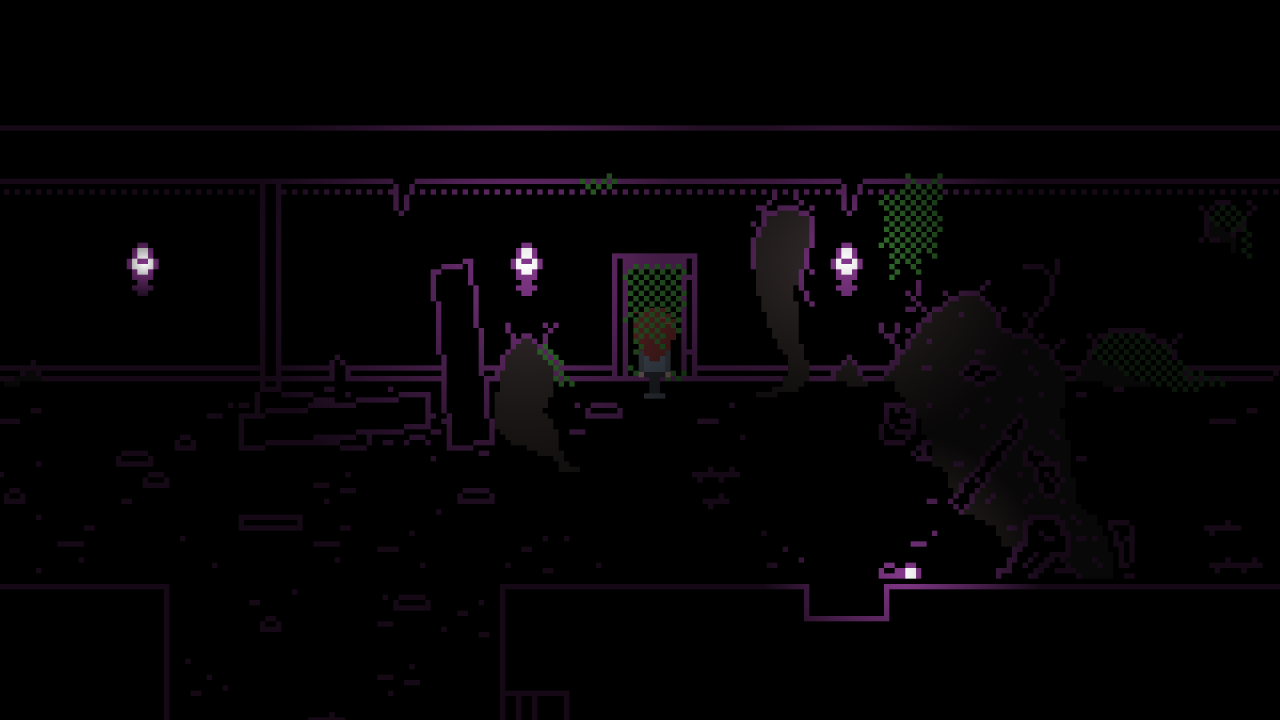
*** Optional: You can look around the place – there’s a stone slab still up in front of the fountain, two knight statues on the sides, a door that has completely collapsed and a grate for the water’s flow in the bottom left.
Examine the monstrous plant on the top right and take the Rusty Key from him.
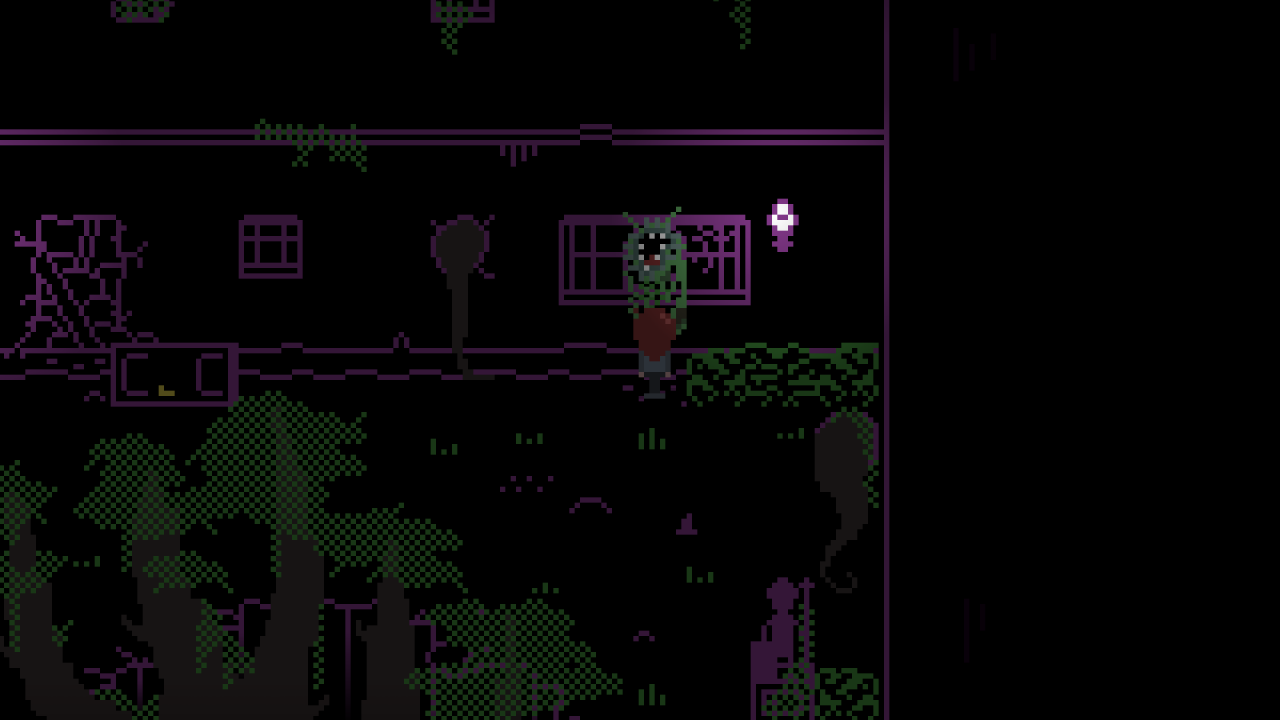
You can now go back to the Foyer and go up the stairs, then use the Rusty Key on any of the two doors (both can be opened at any time).
If you unlock the left door, you’ll be on the bottom left corner of the 1F Library.
If you unlock the right door, you’ll be on the bottom right corner of the 1F Library.
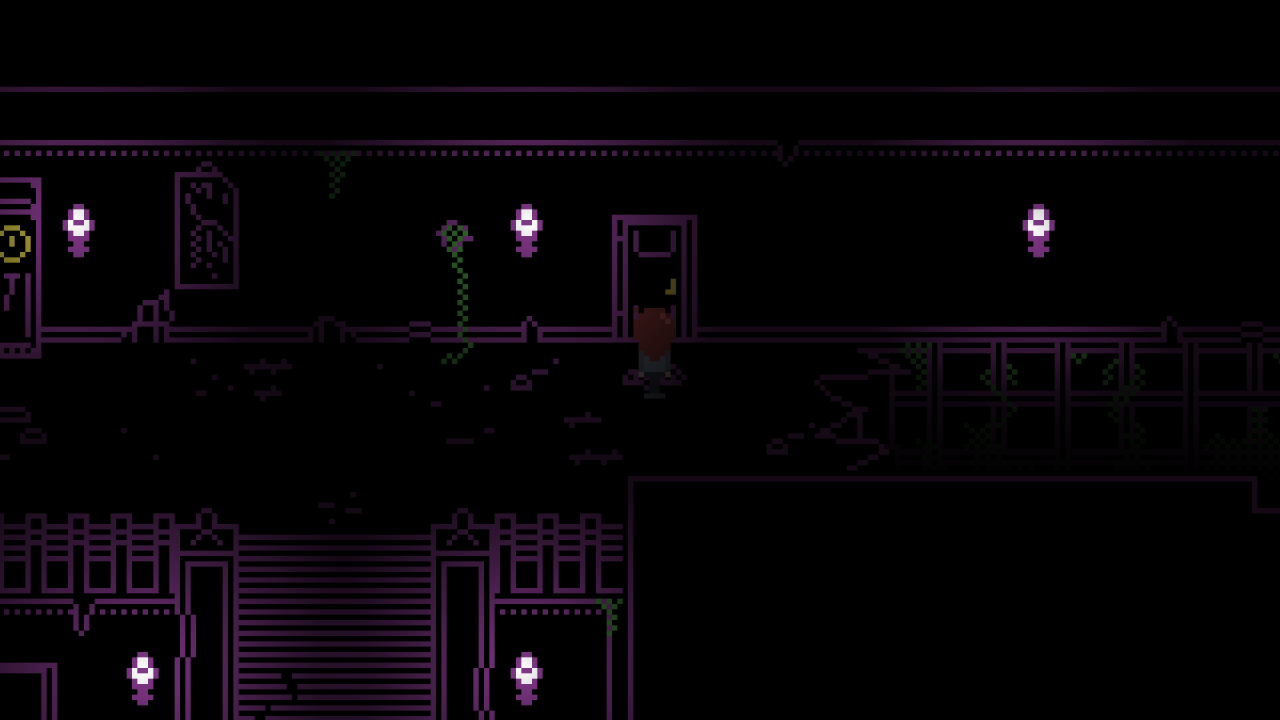
*** Optional: If you unlock the left door, there is a folklore book on the corner of the bookshelf that you can read. If you go through all of it, you will get a Bookmark at the end.
*** Optional: If you unlock the right door and go through it, you’re then free to go to the right door of the library that leads to the Balcony. Every bookcase in the Library (along with scattered papers on the ground) can be checked, though all of it is optional. On a bookcase on the left (close to a lamp and a vine) there’s a carpentry book with a blood splat on it. There’s a black book sticking out a bit from a bookcase on top – its the Occult Tome. You can pick it up and examine it.
If you go to the top left, you can climb down two stairs to get to the ground floor, and go below the walkway to explore the ground floor of the Library. There’s an open book on the table that can be read, and a ladder by a bookshelf that can be pushed left and right but can’t be climbed up to the top due to a missing step.
Once in the Library through any of the two doors, you can examine the hole in the bottom left corner to climb down the vines.
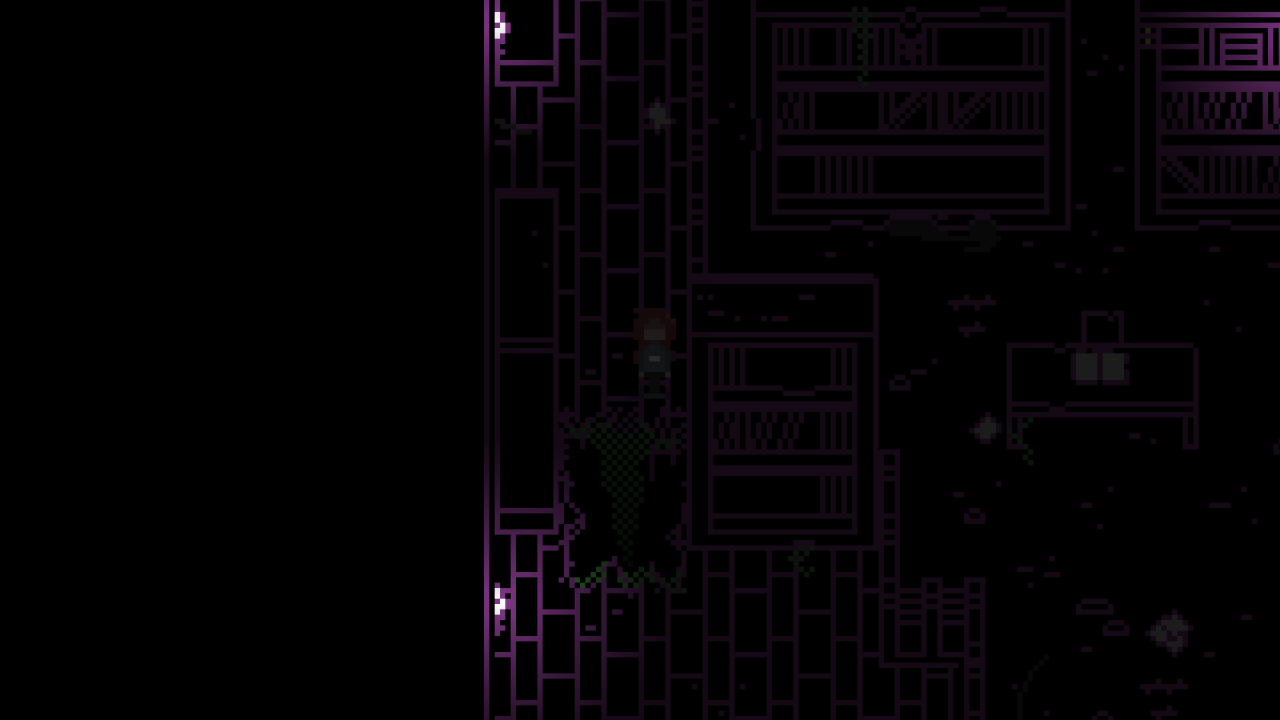
You’ll find yourself in the Closet, filled with crates. On one of the crates on the top right, there’s a Lighter to pick up. You can also find a golden crucifix here to save your progress. The only way out from this room is by the door on the bottom, which you can unlock, that leads back to the Foyer.
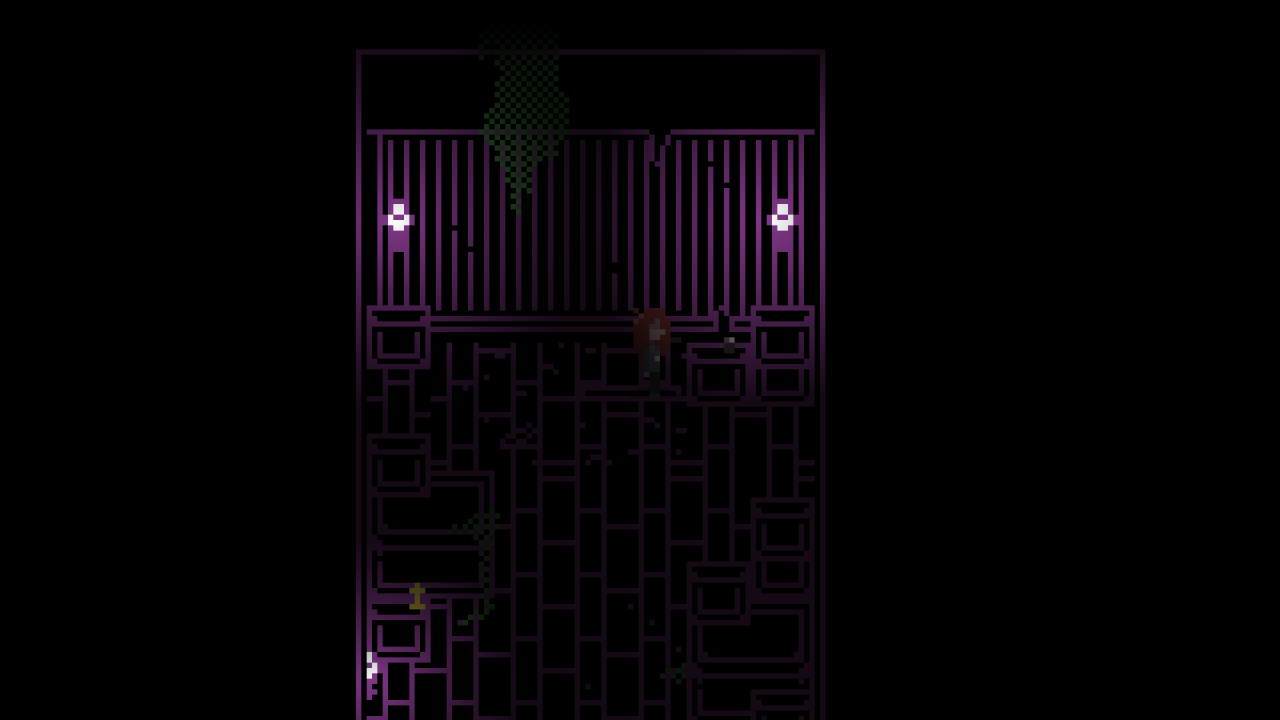
*** Optional: There’s a stuffed wolf head missing an eye on the ground in the bottom right.
You can now decide to either open the right upper door that connects the Foyer to the Library with the Rusty Key or go back to the Inner Courtyard and burn the plant monster with the Lighter.
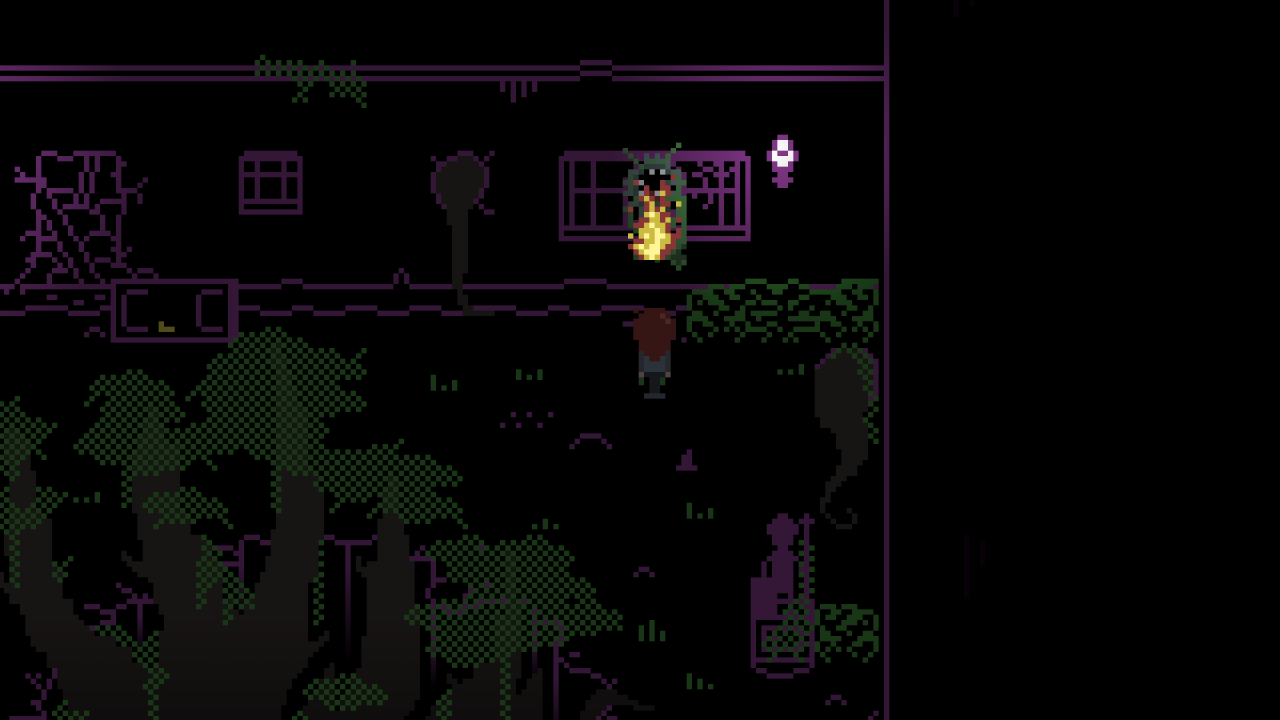
In any case, you can now unlock the east side of the manor, comprised of a Lower Corridor and an Upper Corridor. If you go through the Library door on the right, you’ll find yourself on the Balcony above the Inner Courtyard.
*** Optional: A small portion of the railing is broken and can be examined.
Go right through the Balcony and enter the passageway below to reach the Upper Corridor.
*** Optional: In the Upper Corridor there’s a rabbit statue in the middle. You may toy with it and examine it, twist its head and try to push it. You may also want to check all the doors.
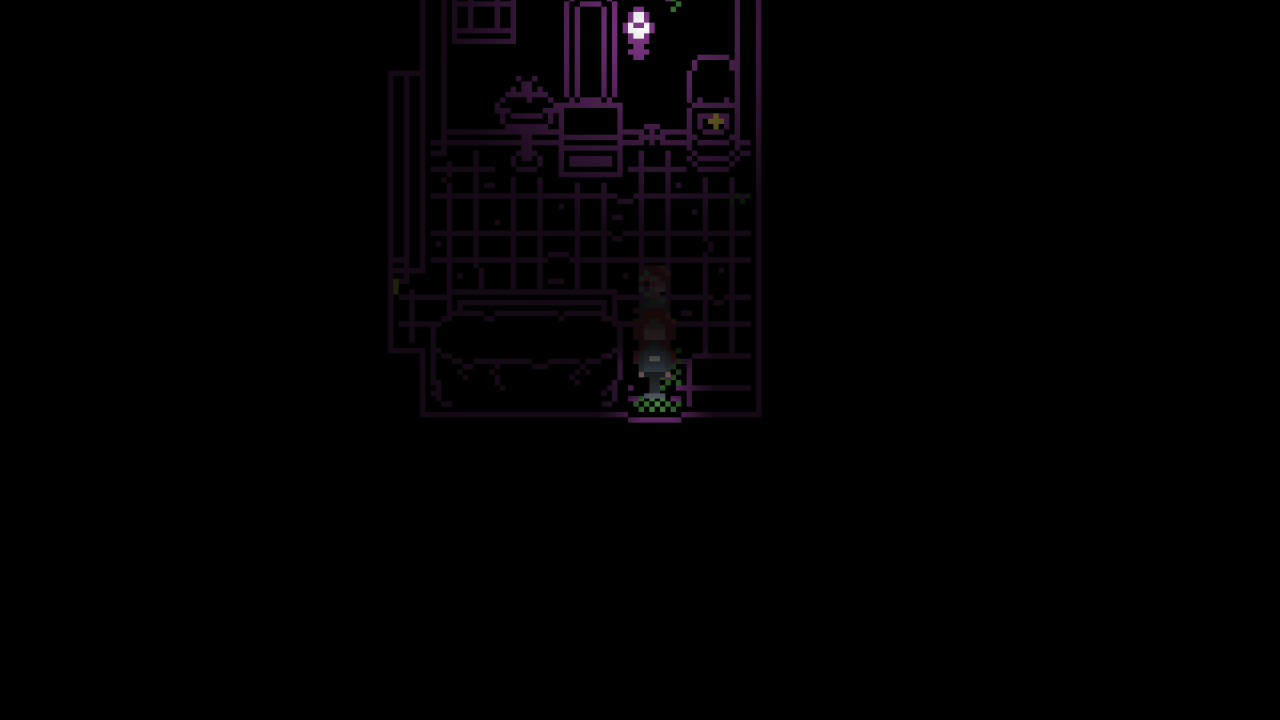
The top-right door leads to a small Bathroom. You may want to explore it now.
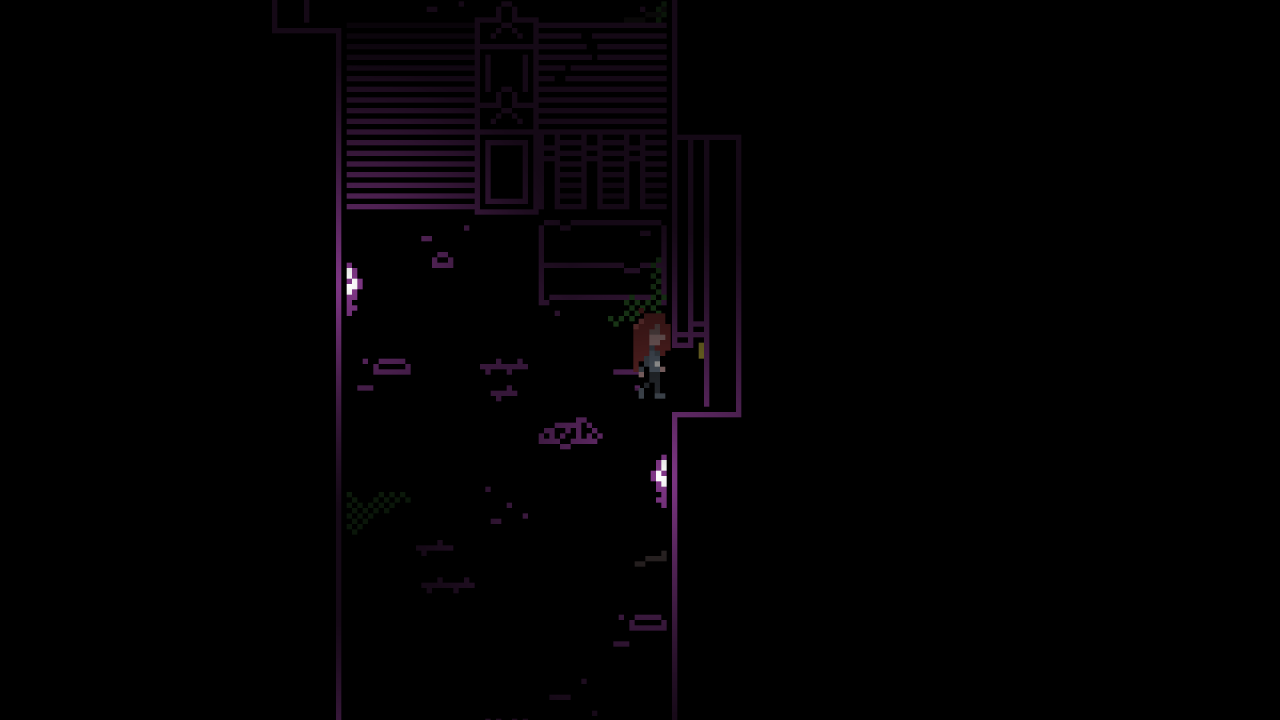
*** Optional: There’s lot to examine in the Bathroom, be sure to look at the window by the vines on the bottom right and the doll sitting on the mirror in the middle, as well as the golden crucifix on the top right to save your progress.
From the Upper Corridor, go downstair through the staircase at the top that twists back down.
This is the Lower Corridor. If you haven’t burned the plant in the Inner Courtyard, you’re free to do so from this side. If you have, by going through the window you’ll end up close to the staircase that leads above.
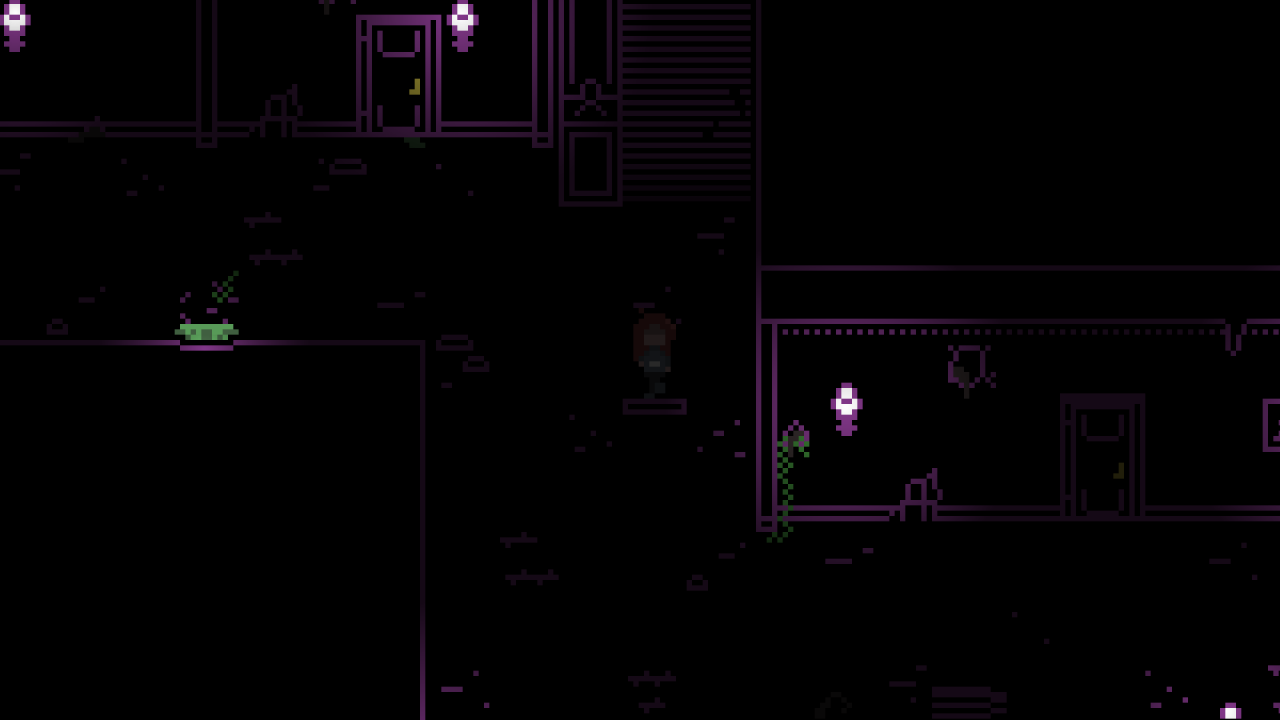
*** Optional: You can examine all doors in this corridor, along with some tables and paintings. On the bottom left you’ll see the big root that blocks the corridor.
If you go to the right, you may hear faint music coming from a door. Enter through it and you’ll be in the Living Room.
*** Optional: There’s some stuff in this room – mostly furniture you can interact with (check the bookcase on the bottom too). There’s also a note on a tea table on the left.
Quickly check the fireplace. Though it’s easy to observe, this puzzle cannot be solved right now. Check the plaque to the left too, as you can read the first part of it, “The Preparation”, but not “The Hunting”. There’s an Old Photo lying on the ground close to the table that can be picked up and examined.
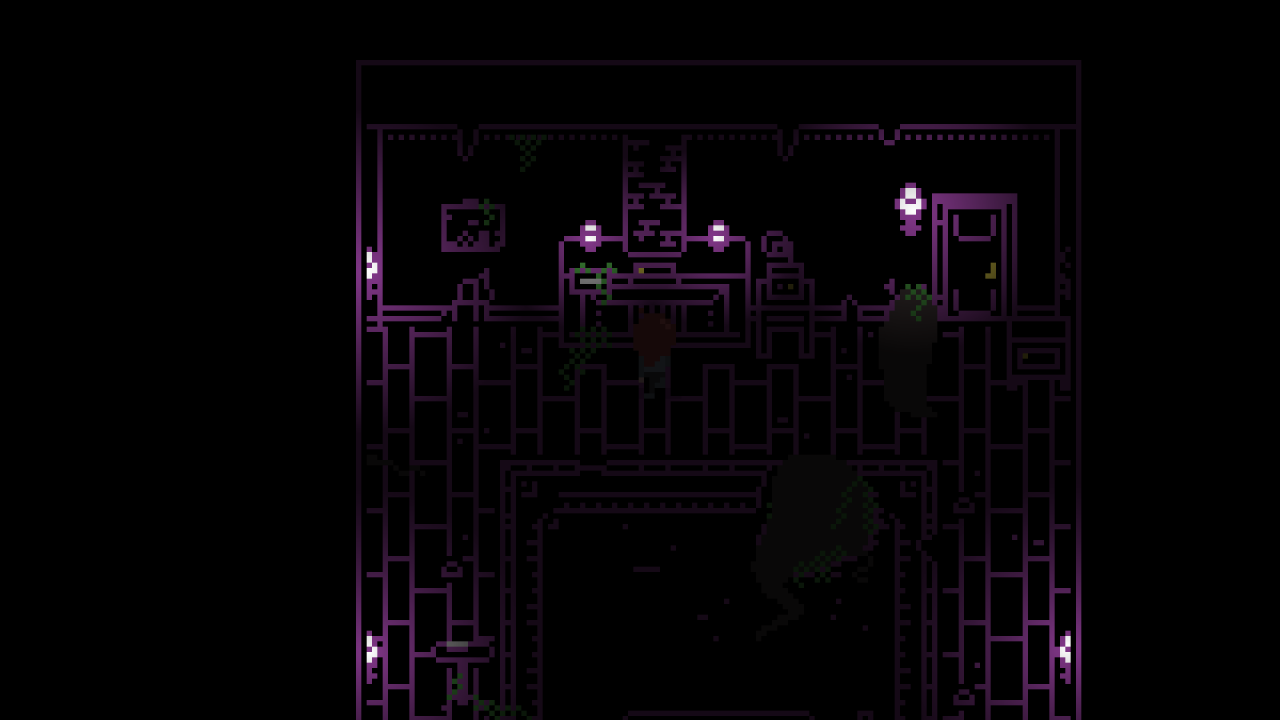
Back to the Lower Corridor, there is another door that can be opened and entered – it’s close to the staircase and there’s something dark green coming from below it. This is the GF Bathroom.
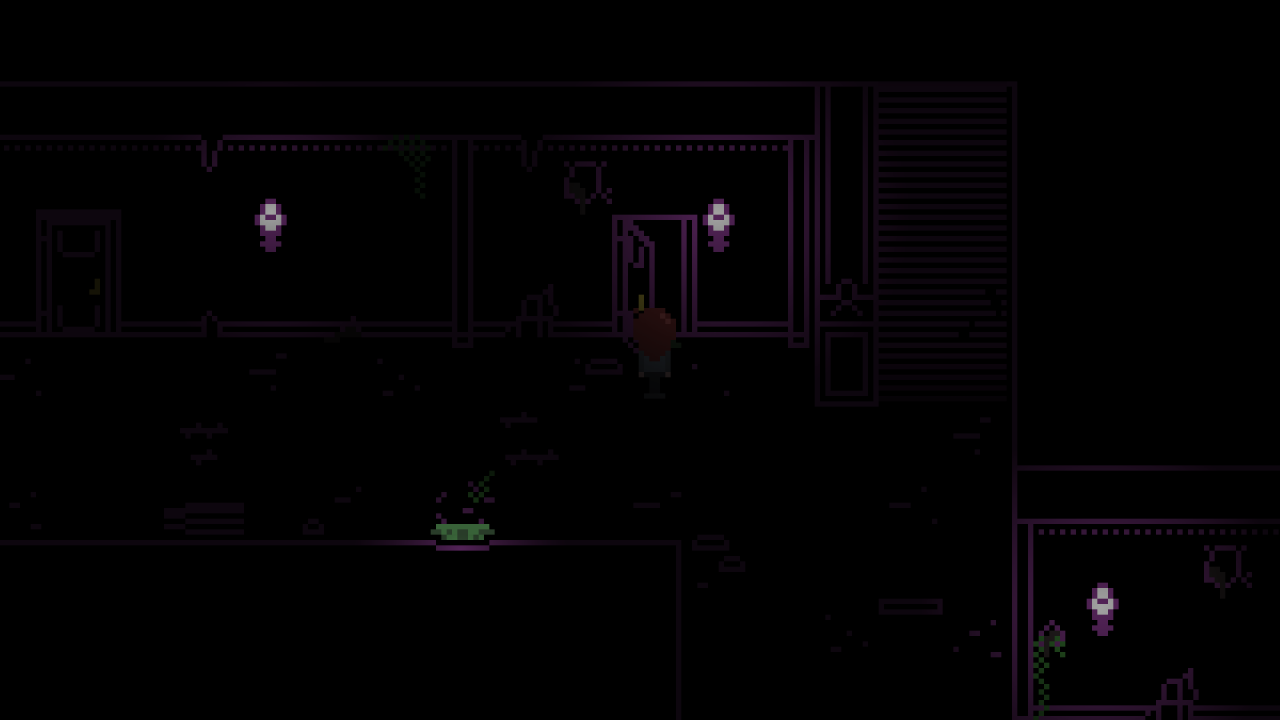
*** Optional: You can check the entire bathroom, especially the bathtub.
Open the right wardrobe wing to find a Screwdriver inside, and take it with you.
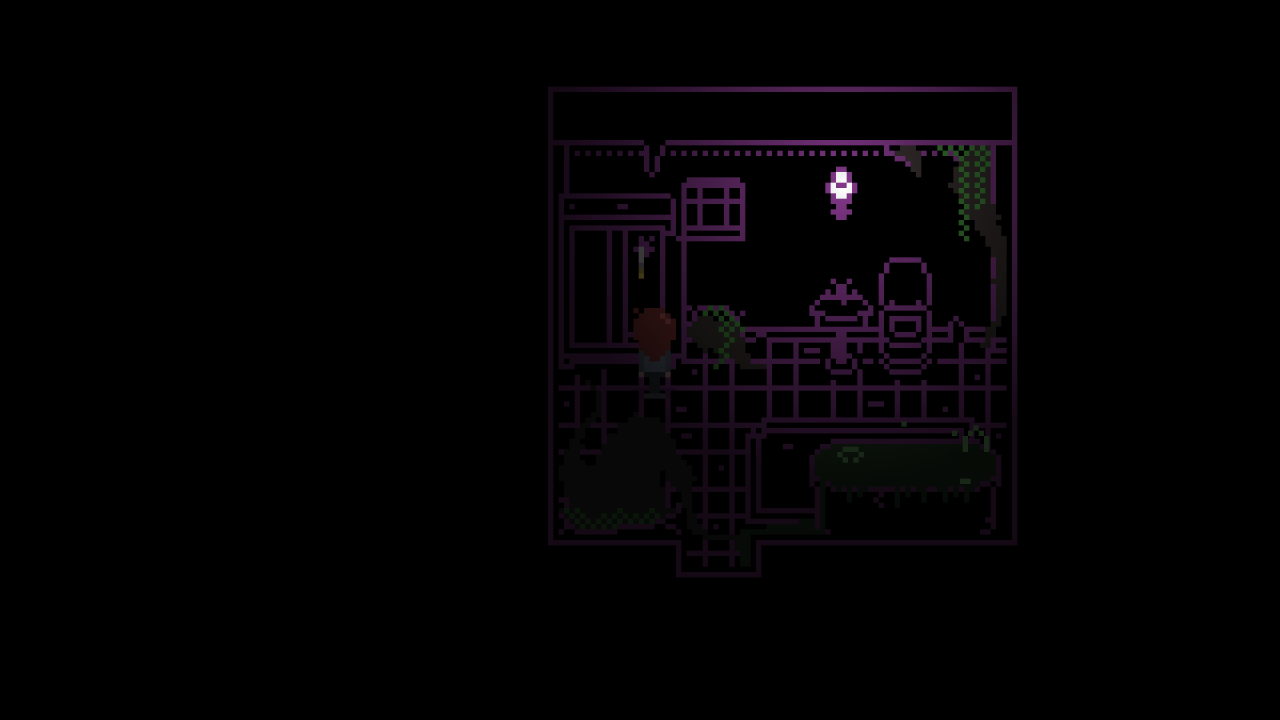
Now, go back out and up the staircase to go to the Upper Corridor Bathroom.
Here, use the Screwdriver on the doll to unscrew her arm and obtain the Wooden Peg.
The doll will wake up and there will be a brief cutscene, followed by several topics you can choose to discuss.
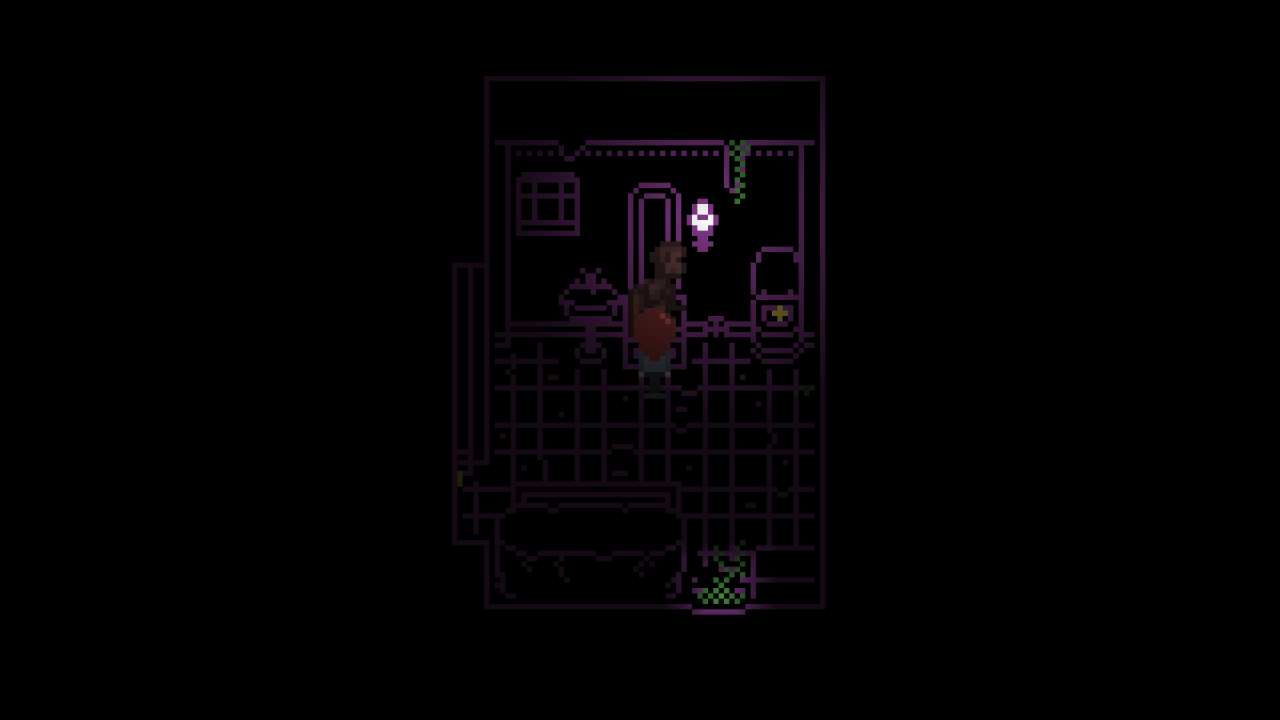
You’re free to talk to the doll – if you ask her about the Witch, she will suggest you to search for some mushrooms that can be found on the ground floor, and their location be written down in your Diary. When you’re done, select “Nevermind” and leave the room.
Surviving the first encounter (From meeting the doll to the first monster attack)

After you talked to the doll, go back to the Library and go down the stairs, back to the ground floor middle section.
Use the Wooden Peg in front of the ladder to use it as the missing step. Push the ladder all the way to the left – now you can climb up and find yourself in front of two shelves that need to be filled with several books.
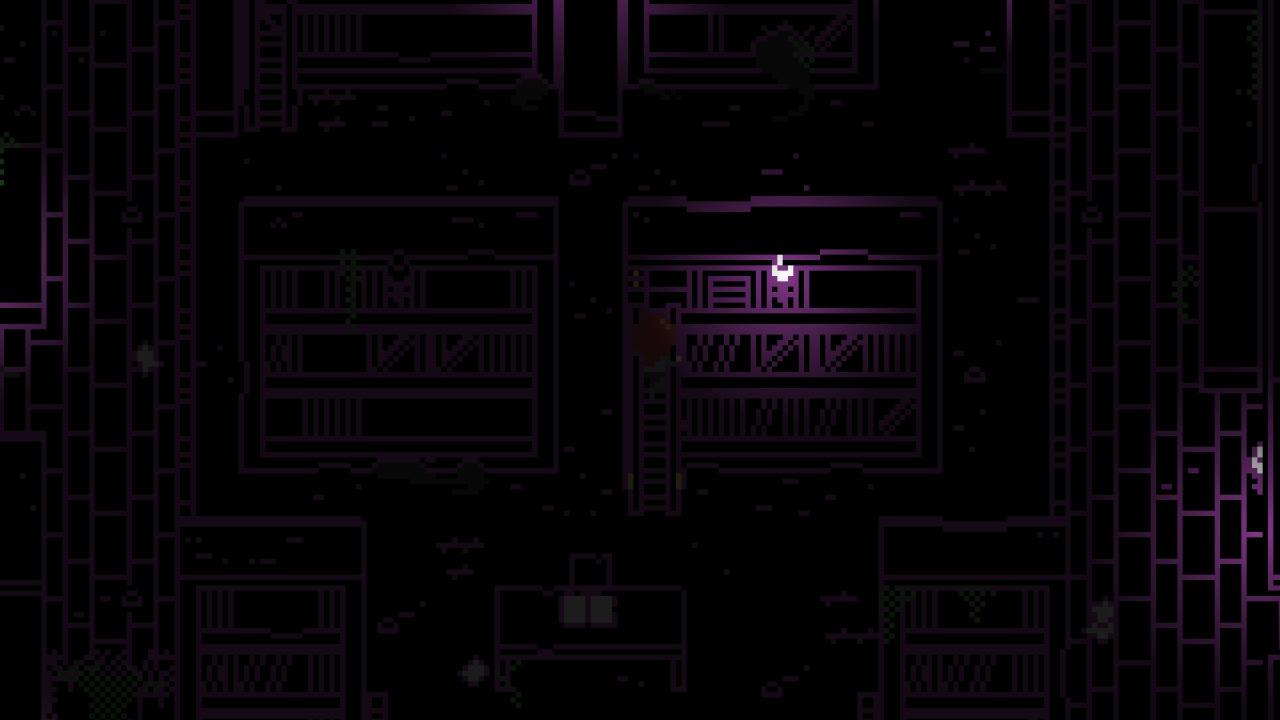
LIBRARY PUZZLE
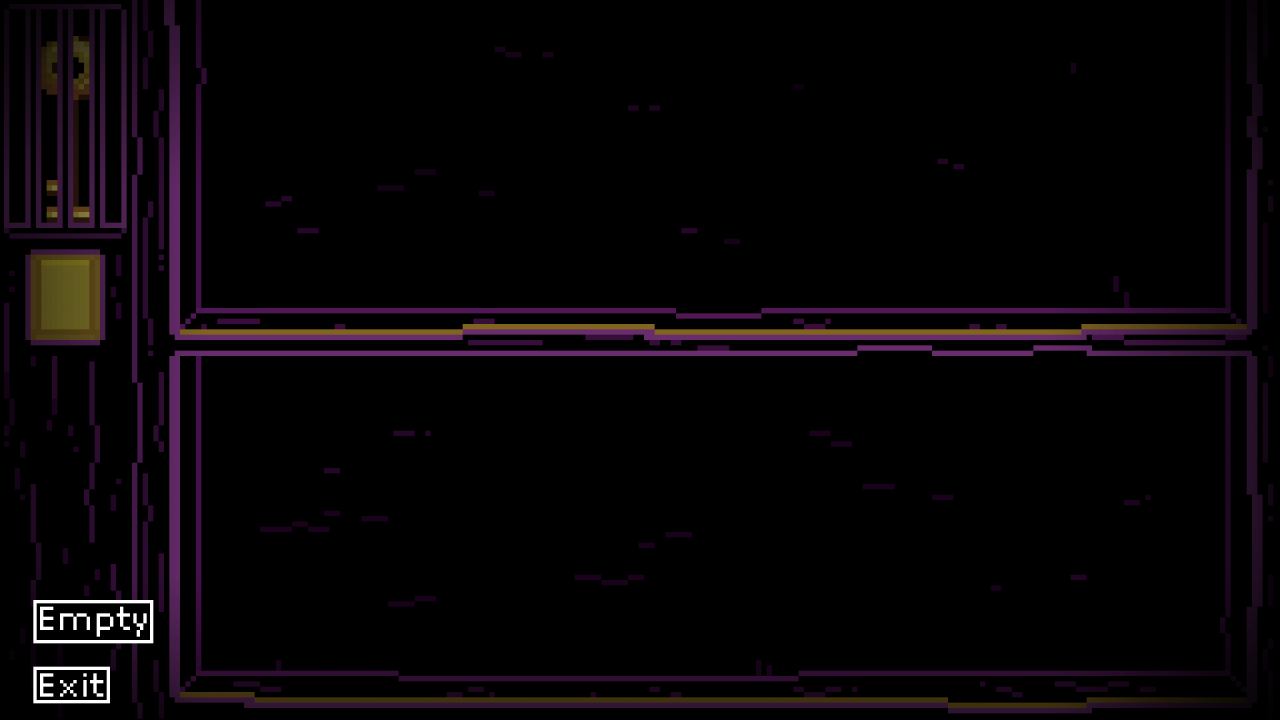
The hint is found in the book on the table in front of the bookcase, and it says:
“The volumes need to be rearranged on the two shelves on top of the bookcase.
The arrangement has to be specific, as the final result requires the following:”
“If you were to take away two books from the lower one and put them on the other,
you’d end up with twice the books above compared to below.”
“Do the same with one more book and you would end up with three times the books below.”
“Place the volumes for these two requirements to be achievable and press the button
for the pressure plates to unlock the side compartment.”
- Hint 1: The books needs to be placed on the two shelves in a way that if you were to hypothetically remove two of them from below and place them above, you would end up with twice the books above compared to below.
This isn’t the only rule, though: doing the same with one more book (taking three and placing them above) would end up with three times the book above compared to below. Place the books so that those two conditions would be doable and press the button on the left. - Hint 2: The number of books to place above and below is the same.
- Solution: Place six books above and six below (6/6 > if you were to move two books > 8/4 / 6/6 > if you were to move three books > 9/3).
Once the puzzle is solved, you’ll obtain the Shiny Key. You may examine it to find that it can be used to open the 1F Study.
Go back to the Upper Corridor, and use the Shiny Key on the door on the bottom right.
Doing this will trigger a brief cutscene where the monster attacks, and Emily will run into the Study.
You now have limited time inside this room before the monster breaks in.
While you can examine the entire room, everything in here is useless to help you right now except for the wardrobe, which you can enter inside by opening the right wing. As an alternative, you can use the Shiny Key on the door to close it again.
If you decided to hide in the wardrobe, be wary of the monster’s sounds and wait for him to leave the Study – you may press right and left to peek from the wardrobe.

Once the monster has left, come out of the wardrobe. You’re now free to explore the Study.
Exploring the basement (From the monster attack to reaching the basement)

You’re now inside the Study, and free to explore it.
*** Optional: You can check quite some stuff in here: there is some furniture and several notes on the bookcases.
Check the small, dirty aquarium on the bottom, as well as the butterfly showcase on the wall on the top left.
Then, check the note on the table:
“16:00 – Music Practice (1F) ”
“19:30 – Dinner (GF) ”
Now examine the trail of dominoes on the table: by going to the start of them (from the top), you can topple them down.
After doing so, check the opposite side to pick up the Domino Block that fell from the table.
Exit the Study.
From now on, the monster is patrolling the manor. When you’re spotted, he’ll roar and run at you: try to keep your cool and run away from him. Some doors are strong enough to resist the monster’s attack and you’ll be safe right away, while others will be opened when he tosses himself against them. There are also a few alternative ways to escape: as long as you don’t run into dead ends, you’ll be fine (and remember to save at any chance to not lose your progress). This walkthrough will not take the monster attacks in consideration.
Go back to the Foyer, in front of the grandfather clock. Use the Screwdriver to change the time on the clock to 16:00, which was the time you found on a note in the Study.
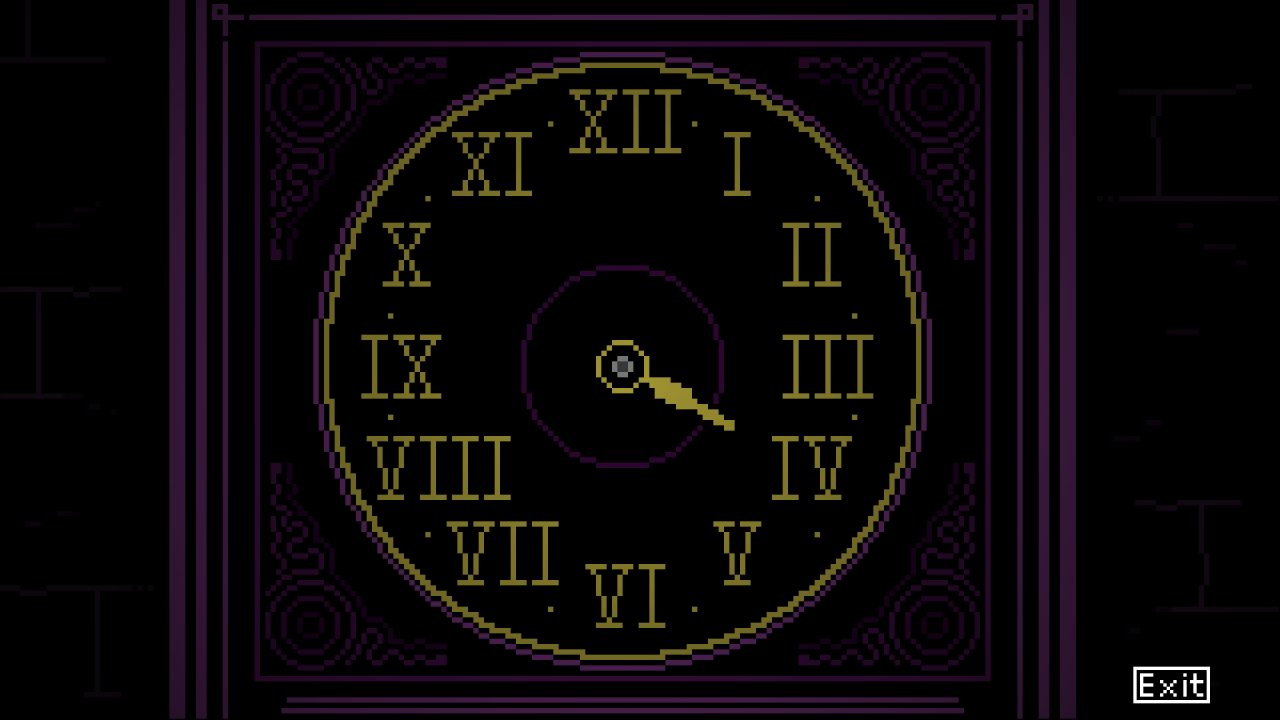
Go back to the Upper Corridor that you came from and you’ll now be able to open the top left door (which was held back by a mechanism), and enter the Music Room.
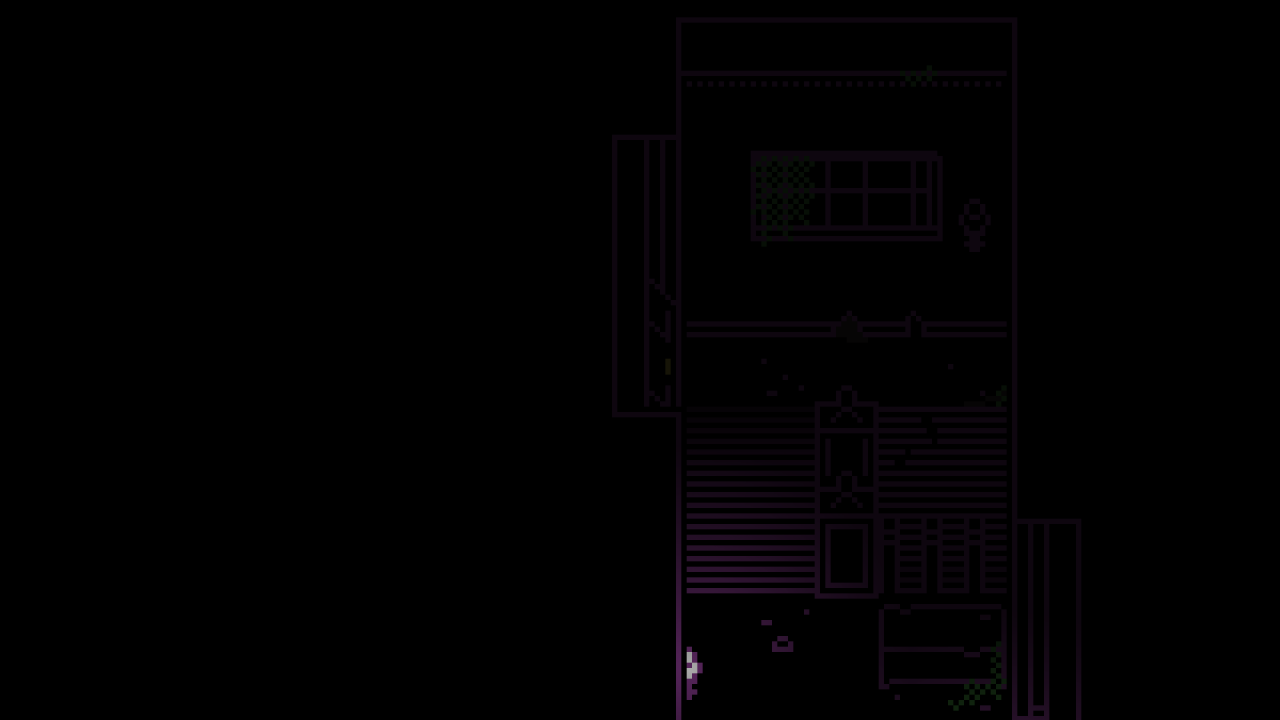
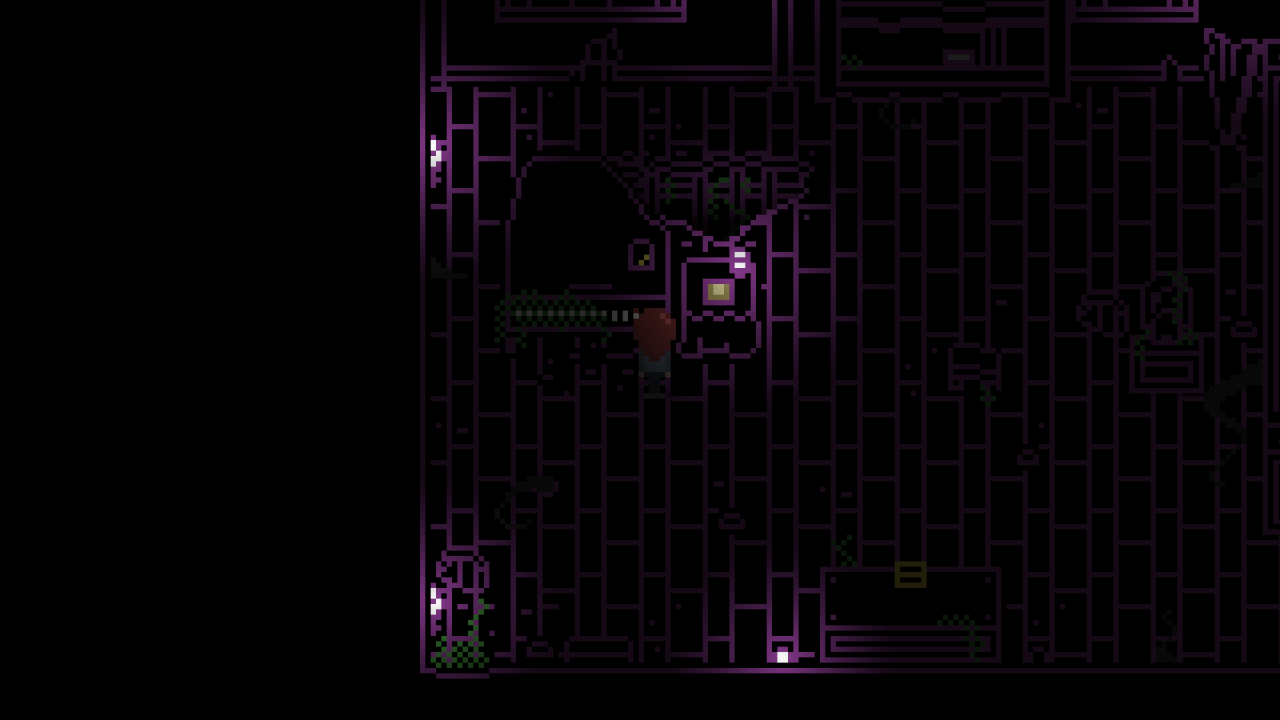
*** Optional: You can examine several things: a potted plant near the entrance, an eerie bust of a woman, and in the bottom left corner there’s a small window that lets you jump down to the Inner Courtyard, but it’s a one-way.
Examine the music box in the bottom. Then, get closer to the piano: next to it, there’s a partial picture. Use the Old Picture in front of it to piece it back together. Next, try the piano: there’s a portion of the keyboard not infested with vines that you can toy around with. As Emily notices though, it’s missing a key. Use the Domino Block in front of it to fix this.
PIANO PUZZLE
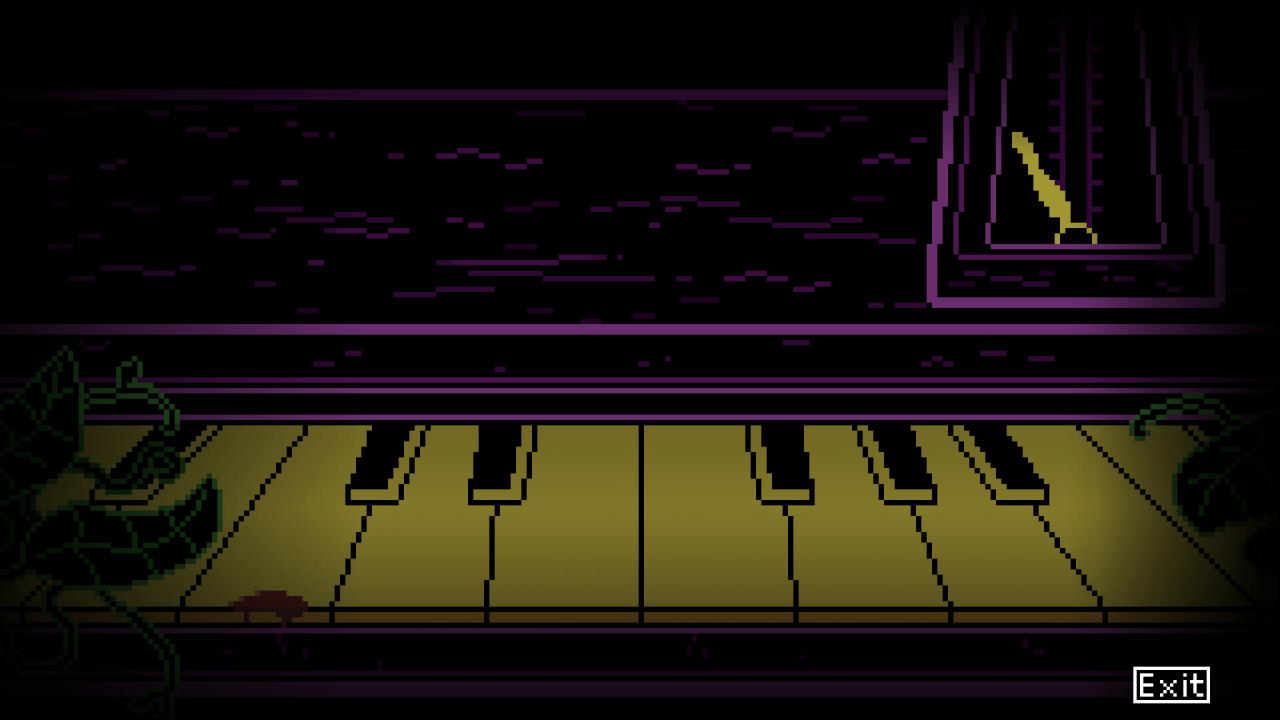
The hint is found in a note on the bookcase at the top of the room, and it says:
“Two kids, three adults. All dressed in black, and from them the keys are found.”
“Together they pose, and from left to right the order is found.”
“Their arms reach out left and right to each other, and from that the timing is found.”
- Hint 1: The hint is purposefully broken into three pieces: the keys to be pressed, the order to be followed and the timing to the followed. Look at the picture next to the piano and compare it to the piano. You should be able to identity all those three parts and press the right keys in the right order at the right time. Also a positive note: as long as you press the right keys at the right time, you can do it at your own pace.
- Hint 2: The people in the picture represent the five black keys – the two kids are the two pairing black keys to the left and the three adults are the three black keys to the right. The order for them to be pressed, as it’s written, is from left to right as they stand (thus referring to the picture) – so, you need to first press the key that represents the woman – then the kid, then the man, then the girl and lastly the old man. While pressing them though, you also need to take note of the timing.
- Hint 3: Once you figured out the keys and the order for them to be pressed, there’s the timing. This is found by looking at the arms that are reached out left and right by the people in the photo: by comparing the arms that they raise to touch each other to the metronome, the timing becomes obvious.
- Solution: Press the third black key while the metronome is on the right; press the first black key while the metronome is on the right; press the fourth black key while the metronome is on the right; press the second black key while the metronome is on the left and press the fifth black key while the metronome is on the left.
Once you’ve solved the piano puzzle, you’ll obtain the metronome’s Long Rod.
Leave the room and go back to the grandfather clock in the Foyer, and use the Long Rod in front of it. Once inserted into the dial, it will work as a long hand. Now you can use the Screwdriver to set the time for dinner: 19:30. This will unlock the Dining Room, which, as the note said, is on the ground floor.
Go to the east side of the Lower Corridor, and at the bottom right you’ll reach the other door that was previously held by a mechanism: open it to enter the Dining Room.
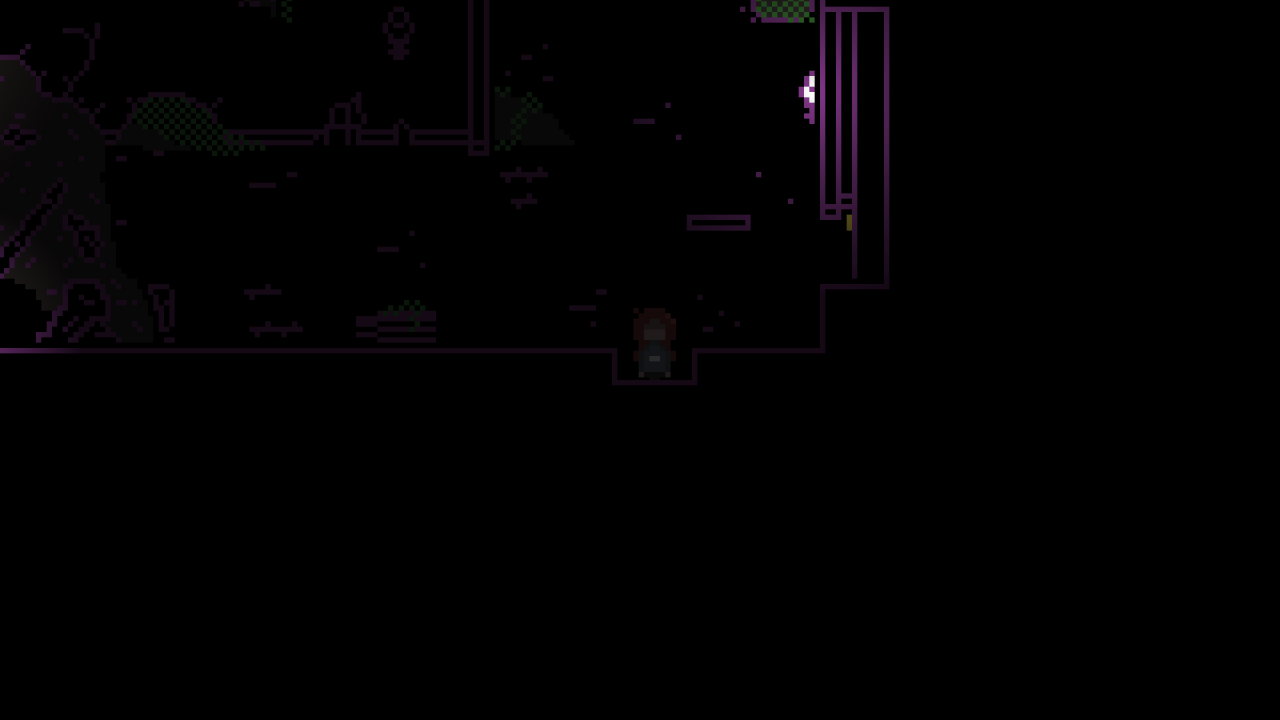
*** Optional: You can explore a bit of the Dining Room. There’s some furniture, paintings, a serving trolley and other minor stuff.
This is the room that contains the mushrooms. If you talked to the doll about them, Emily will have the choice to lick the jar at the top left. This choice is up to the player.
The door to the left is locked from this side: unlock it to create a powerful shortcut to the Foyer.
Examine the white tablecloth, and then pick up the Salt Shaker on the right side of the broken dinner table.
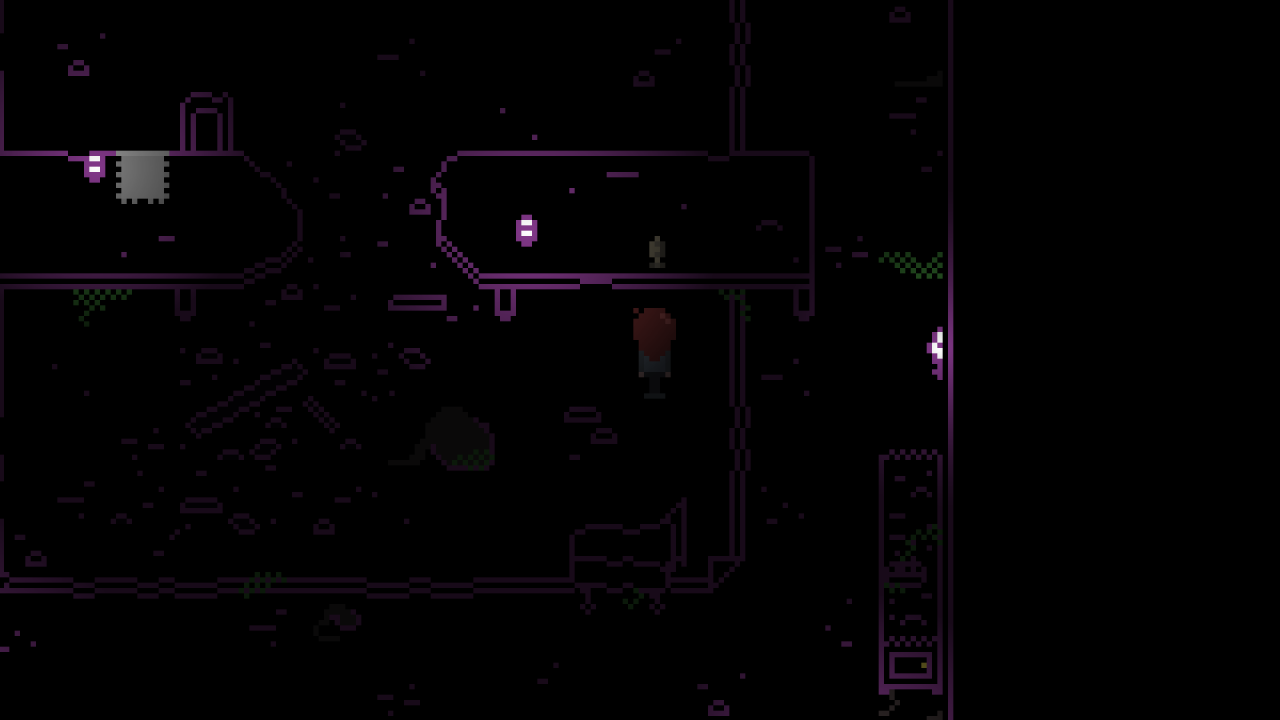
Once you examined the room, go down the staircase to the bottom left to enter the Basement.
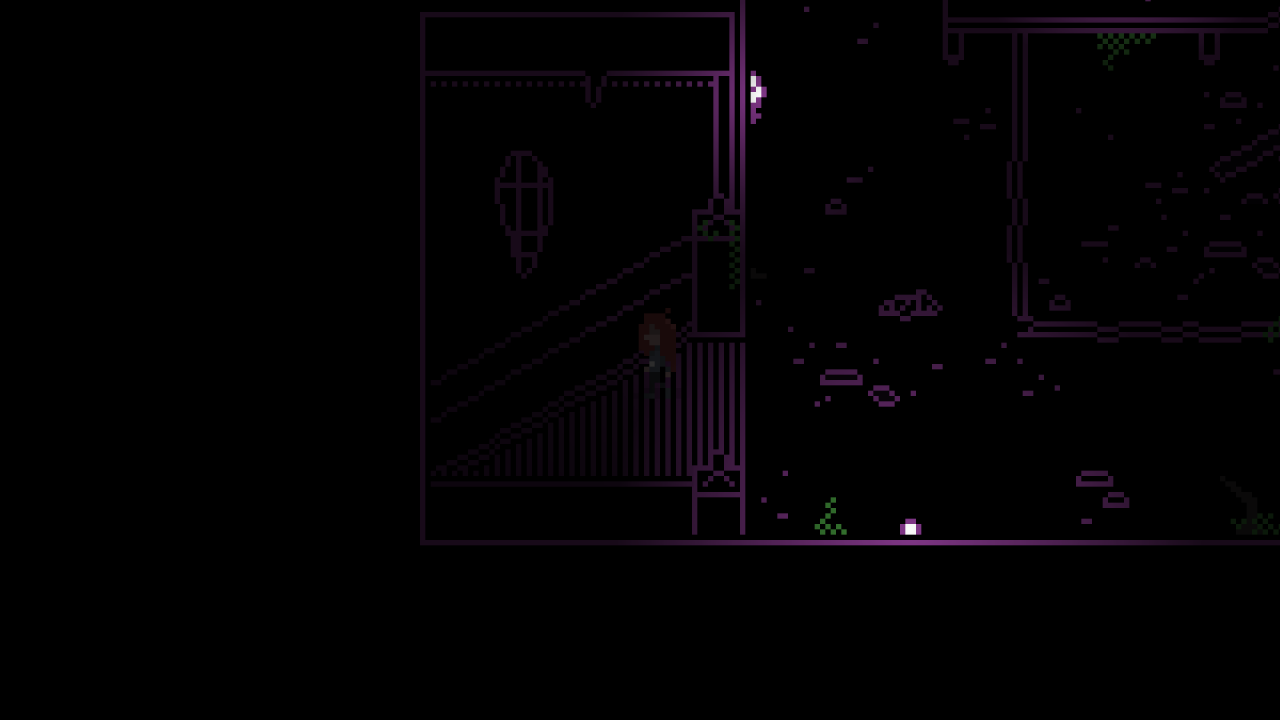
Now, there isn’t much to do in the dark: use the Lighter to see where you’re going.
From around this time, the game starts to open up a lot. While there are some bottlenecks here and there, the exploration is up to the player and rather free. This walkthrough will keep going with a semi-optimal playthrough, but most of the following events can be done in lots of different orders.
Turning the lights on (From reaching the basement to kickstarting the generator)

Inside the dark Basement and with the Lighter on, enter the first door you should be seeing, close to the stairs.
This is the Kitchen, and you’re free to explore most of it. Open the leftmost drawer to find a Scrubber inside, useful to clean up rust. Close to it, there’s a pot of boiling hot water. There’s a door on the left that’s electronically shut, so you can’t access it right now. On the wall on top, there’s a note you should read and three differently-sized cloches on the counters.

For the time being, exit the Kitchen and go all the way to the left and up: you’ll find the Generator Room.

This room is quite small – there’s a bulky generator that can be examined close, but most importantly there’s a manual on top of it that informs you how to kickstart it back, and that you need a “trigger bolt” to act as a key to turn it on. On the right, there’s a crucifix to save your progress.
Go back to the Basement and walk straight up from the stairs. The door on the right is locked from the other side. Keep going up, you’ll walk into a dead end thanks to another big root blocking the way. There’s a valve on the wall though: examine it and turn it all the way to hear some water flushing down from upstairs.
Enter the door to your left.
*** Optional: You can examine most of the room (the wardrobe, crates etc.) but right now you’ll be limited by the darkness.
On the wall at the top you’ll find a Small Key on a keyholder: pick it up and examine it to find it’s the key to the Laundry Room on the ground floor. You’re free to check the rest of this room, but you will not be able to see much in the dark.
Exit the room and go down, then up the stairs back to the Dining Room. Go through the upper right door back to the Lower Corridor, east side. Go all the way up and enter the Bathroom.
The green liquid has been flushed down, and in the center of the bathtub sits a Rubber Glove you can pick up.
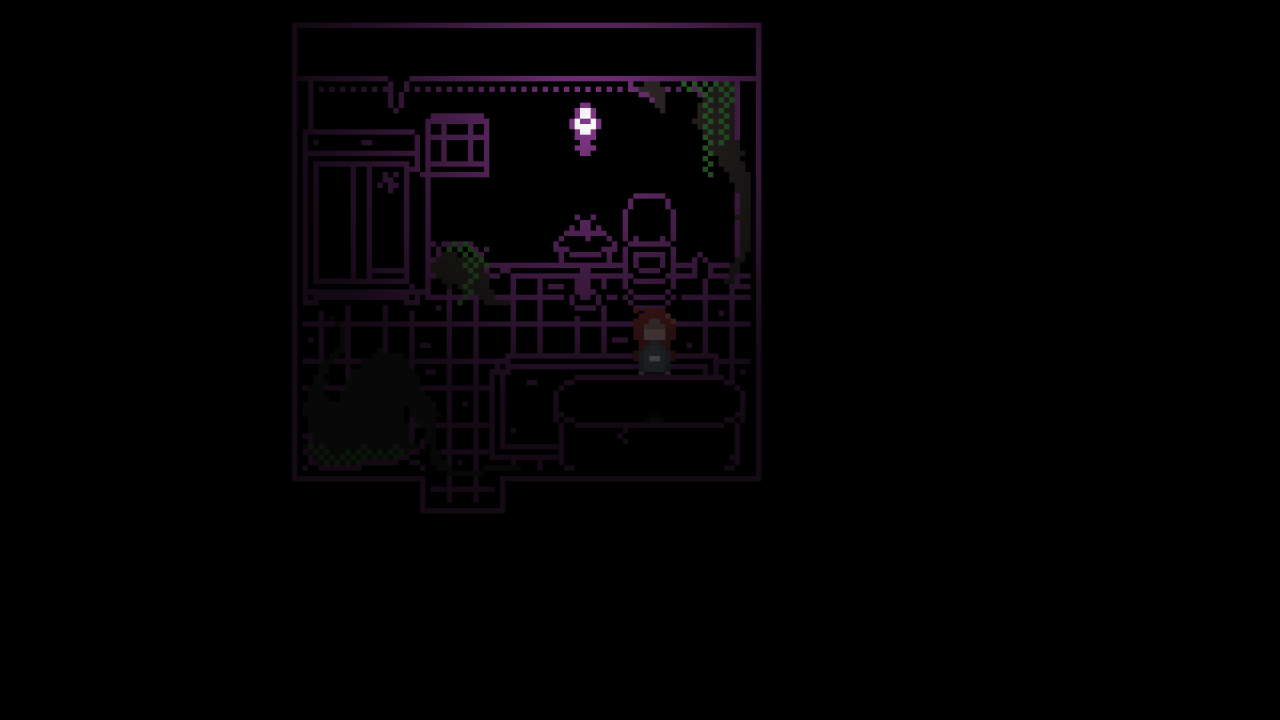
Exit from the Bathroom and go left, then use the Small Key on the door you find to enter the Laundry Room.
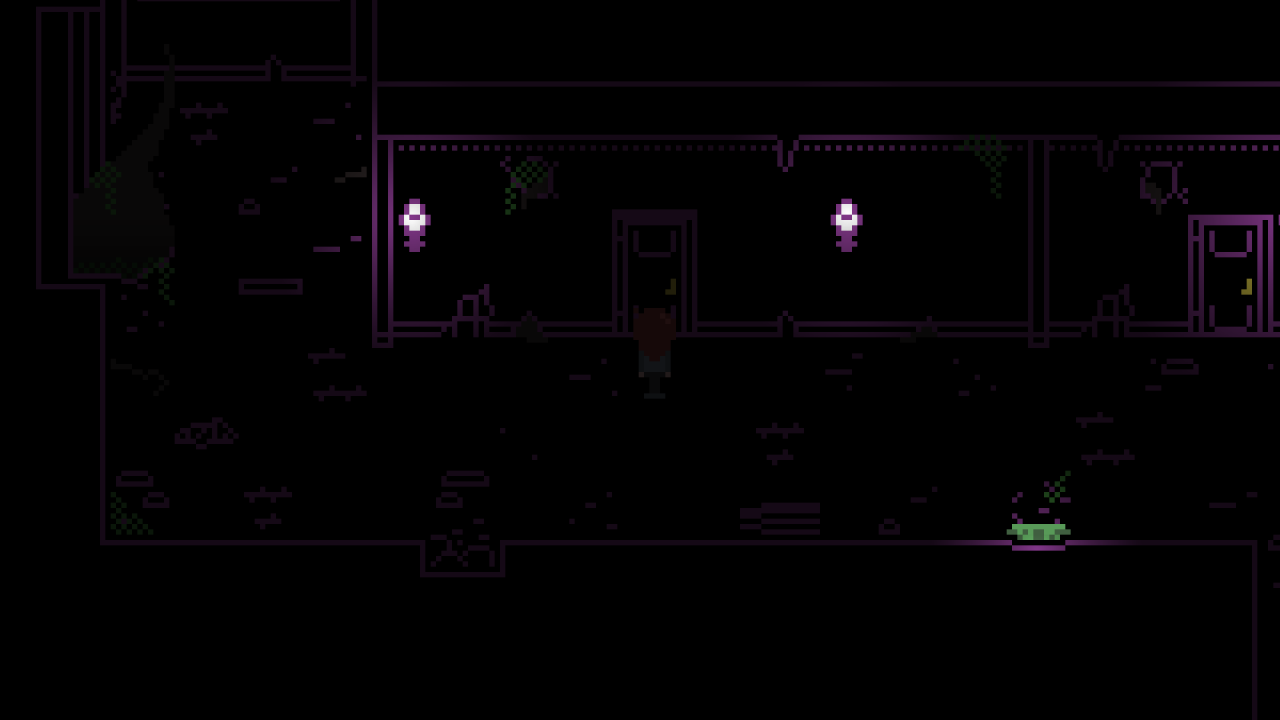
*** Optional: You can check a note sitting on a crate on the right and check the window.
The most important part of the Laundry Room is the door to the right, but right now it’s locked with three sturdy chains. You can also examine and use the camera in the middle of the room, but it requires photo plates to take pictures. Turn on the washing machine to the left and wait for it to finish. Once it opens, pick up the Steel Bolt that’s inside.
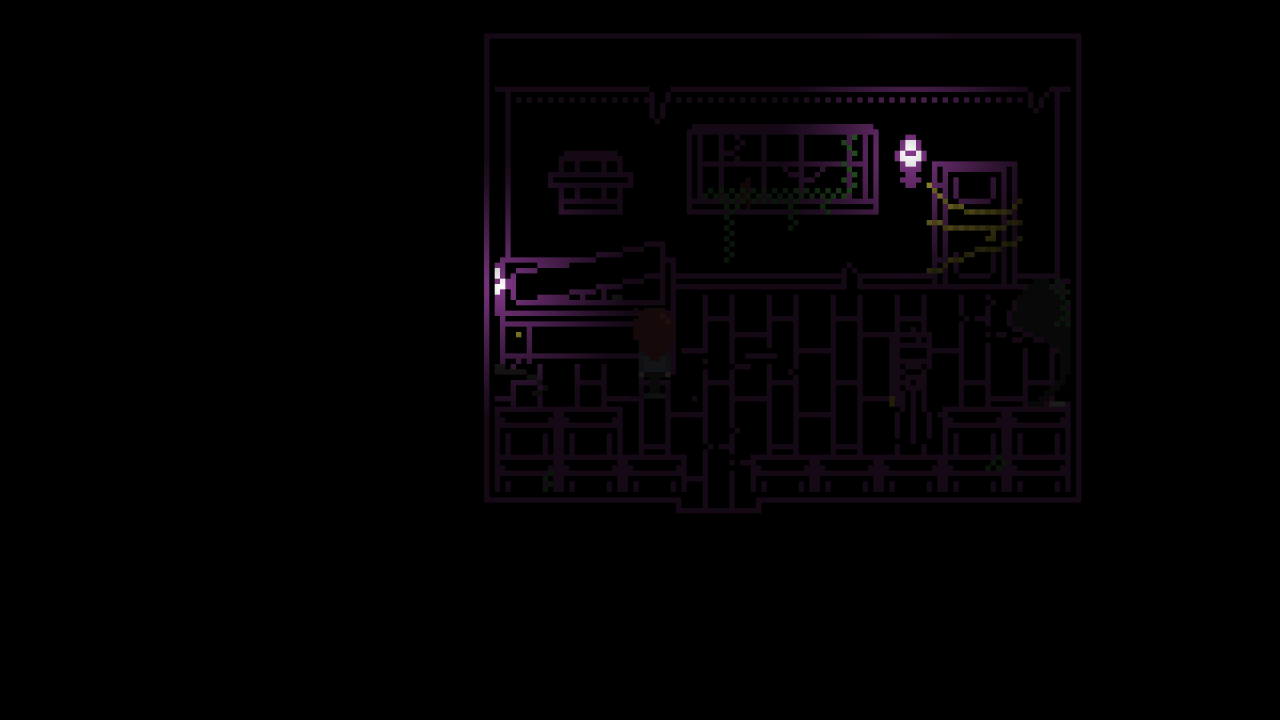
Now, go back down to the Dining Room, down the stairs into the Basement and then go straight left and up back to the Generator Room. Use the Steel Bolt on the generator to turn it on.
GENERATOR PUZZLE
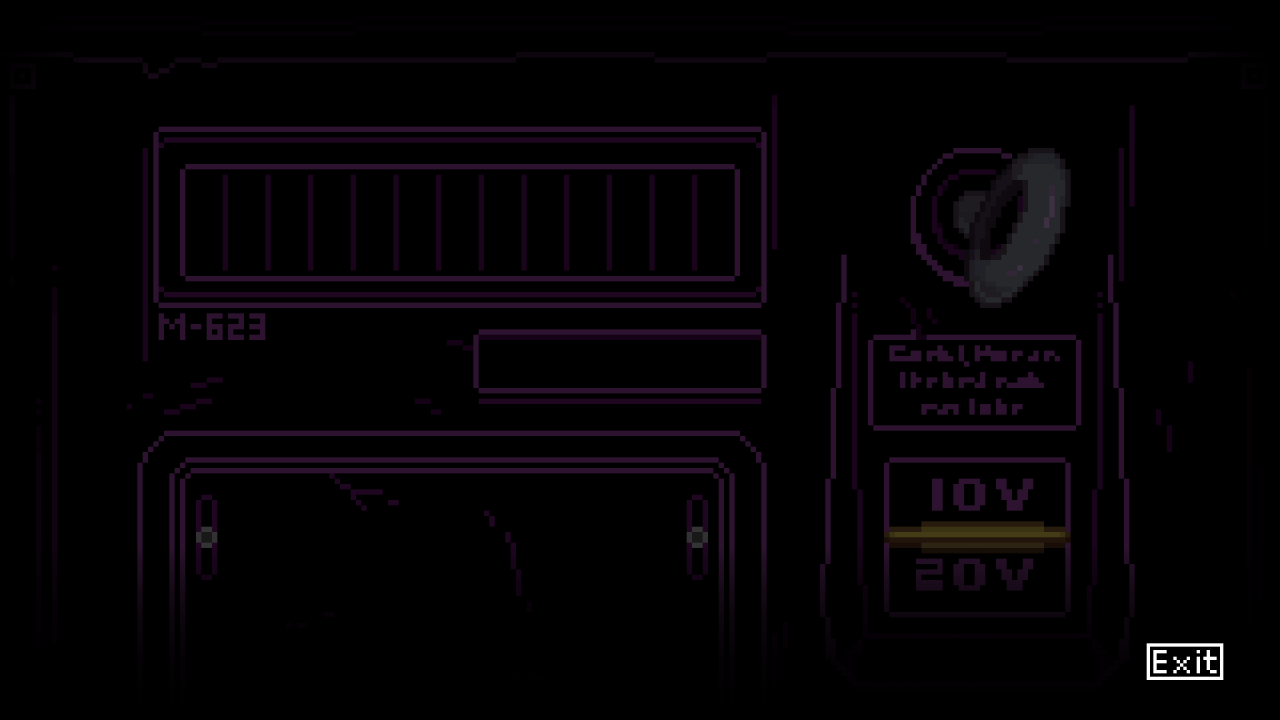
The hint is found on top of the generator in a manual on the left, and it says:
“In case of failing, insert the trigger bolt into the round slot.
Twist the bolt in until you hear a click. The switch is now functional.”
“To kickstart the power, the generator needs 130V.
One user can flip the switch up or down to send respectively 10V or 20V.”
“After the wave is sent, the generator itself will always and immediately contain the shock
by adding 10V or 20V more.”
“The generator requires that the user sends the last wave of the 130V needed. If that is
instead reached by the generator, it will cause a fault and revert to zero to prevent overcharges.”
“The generator will also revert to zero if it surpasses 130V, also to prevent overcharges.”
- Hint 1: Think of this as less of a “technical” puzzle and more of a problem-solving puzzle.
All you need to do is reach the 130V slot on the right end. The generator will act as a sort of enemy who tries to do the same. If you tried several times already, you probably noticed that you always end up three slots away from succeeding. What if you managed to make the generator end on that spot? - Hint 2: Have you tried to fight back the generator the same way he fights you? There are some slots where, if you end up on them, you mathematically cannot reach 130V. One of these is of course the 100V slot, 3 slots away from winning. Try to trace back the slots that will guarantee your loss: by doing so, you can pretty much create from scratch the path you need to take for the generator to mathematically be unable to reach the 130V in your place.
- Hint 3: If you reach the seventh slot (70V), you cannot win anymore. Try not to end up on that first, and then be careful with the following moves.
- Solution: There isn’t a single sure pattern to this puzzle, so we’ll have to break down all possibilities. Start by adding 10V. Your objective is now reaching 40V: if the generator adds 10V more, you add 20V next. If it adds 20V, add 10V. 70V is your next goal: if you’re currently on 50V, add 20V. If you’re on 60V, add 10V. Now, your next goal is 100V. If you’re on 80V, add 20V. If you’re on 90V, add 10V. Now you can reach 130V by adding 10V or 20V depending on where you stand.
Once solved, the lights will be back on and Emily will close the Lighter. You brought the light back to the Basement.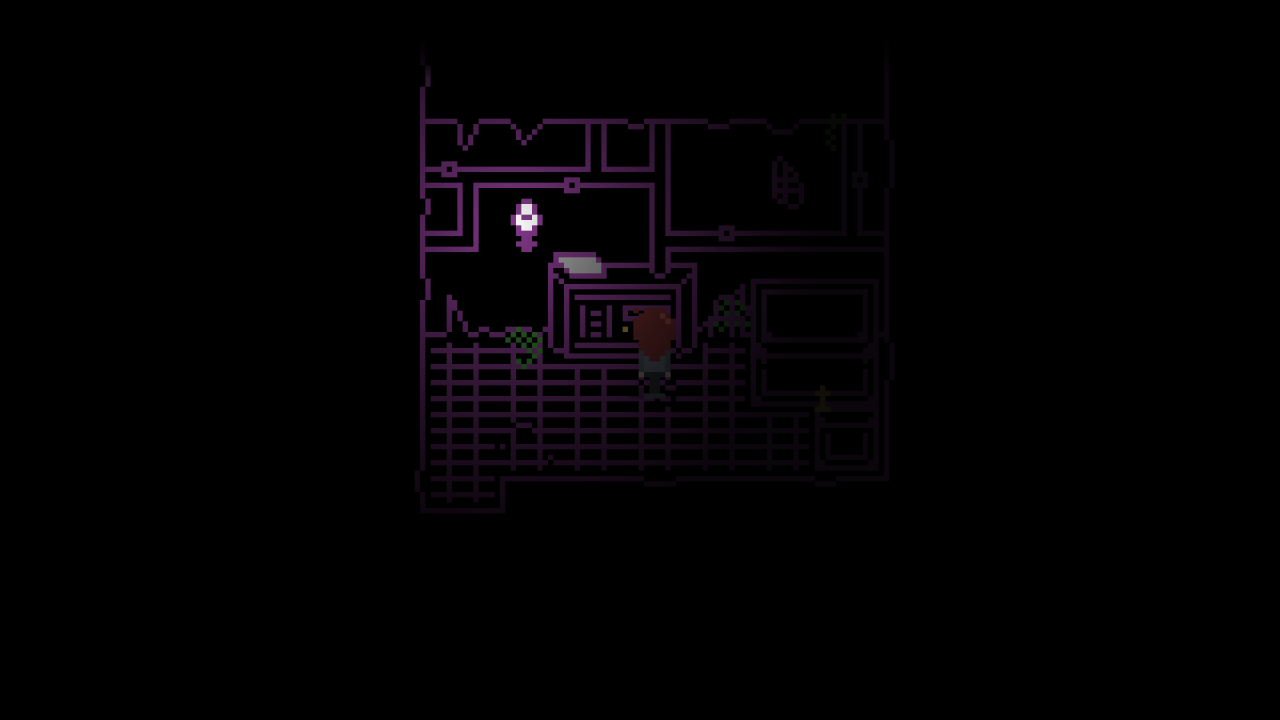
Exploring further 1 (After the lights are back to the fireplace puzzle)

Now that the Basement lights are back on, exit the Generator Room.
Go through the Basement and enter the Kitchen. Here, you can use the Rubber Glove on the pot of boilling water to pick up a Deli Fork that was on the bottom. Then, check out the door on the left that’s now open thanks to the lights being turned back on.
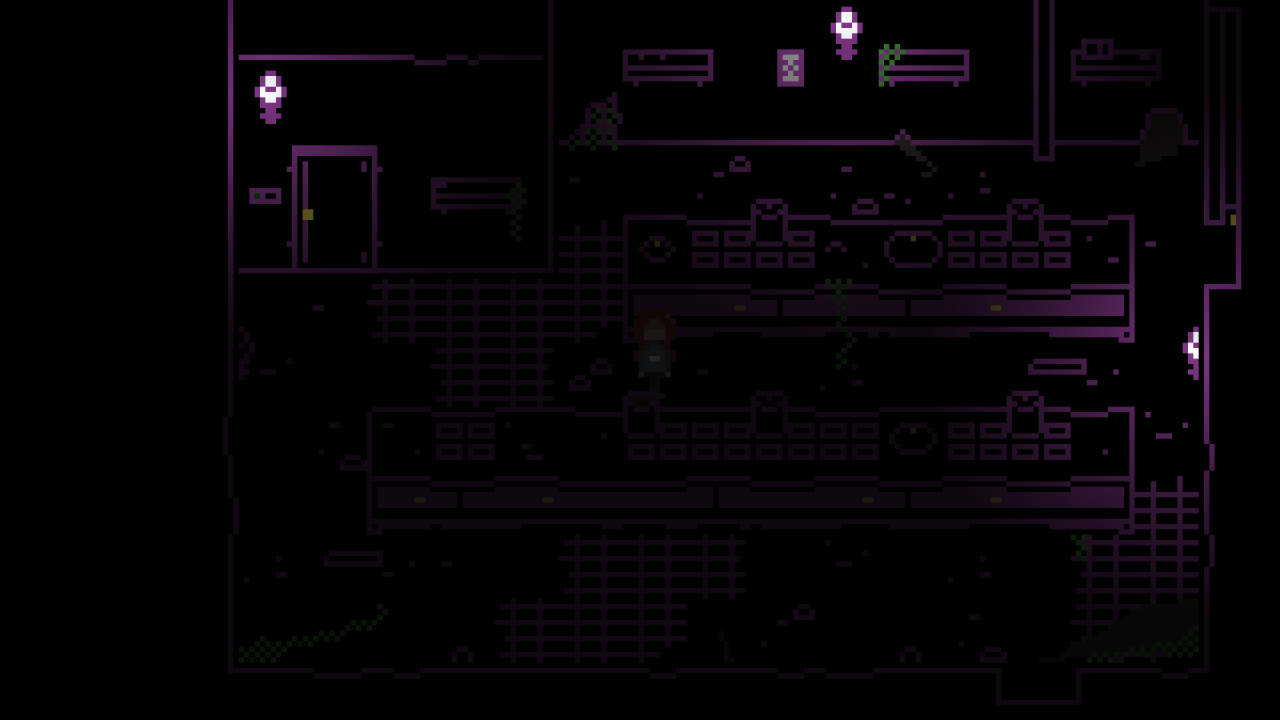
*** Optional: Examine the small box on the top.
This is the Cool Room. In the middle of it, there’s raw meat hanging from the ceiling. Examine it (or use the Rubber Glove on it) to have Emily pick up the Deer Tile that’s stuck in it. Exit the Cool Room.
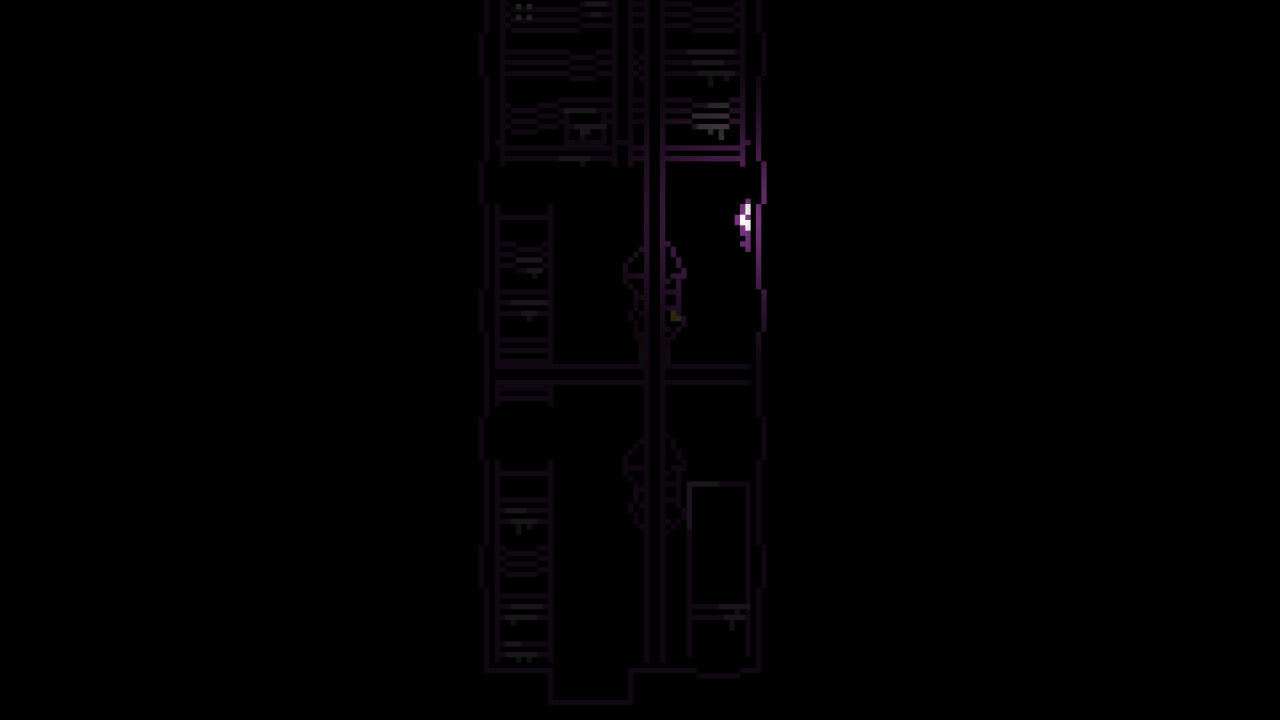
Now, remember the paper on the wall: the master wants to start his meal with a small appetizer, but wants to be sure it’s not inspid and tasteless.
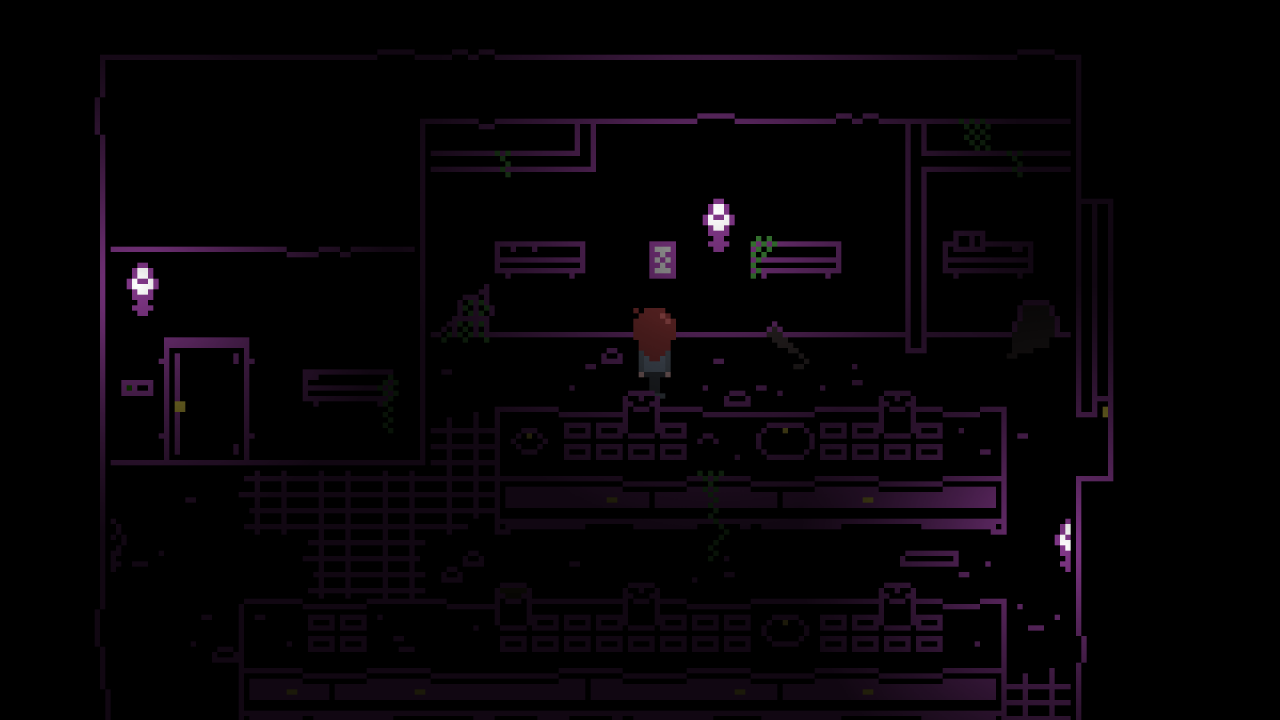
Go to the small cloche and use the Salt Shaker on it. Then, pick it up and carry it out of the Kitchen and up the stairs in the Dining Room. Leave it on the white tablecloth.

Go back to the Kitchen, and the note will have changed: now you have to carry up the first dish, but it first needs to be cold enough. Take the medium-sized cloche and carry it with you inside the Cool Room. Here, you just need to stay inside for a few seconds. When leaving, Emily will comment that the cloche is now cold enough. Carry it again to the Dining Room and leave it on the white tablecloth.
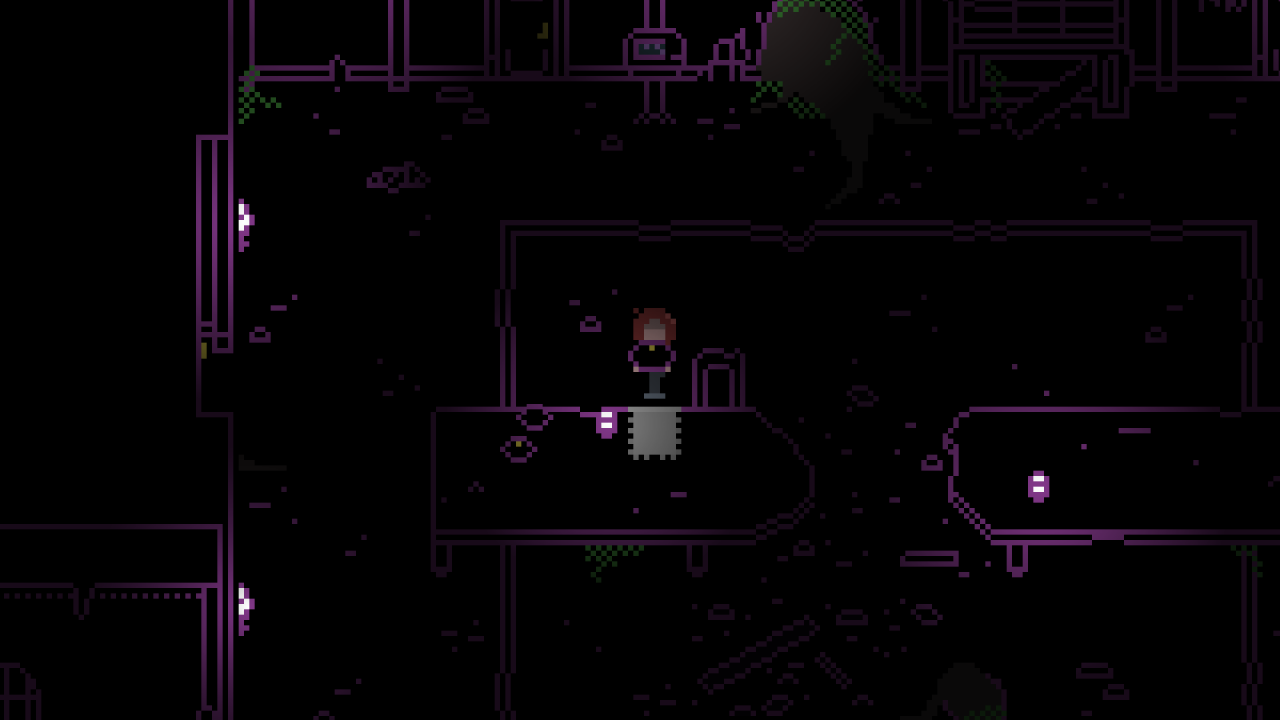
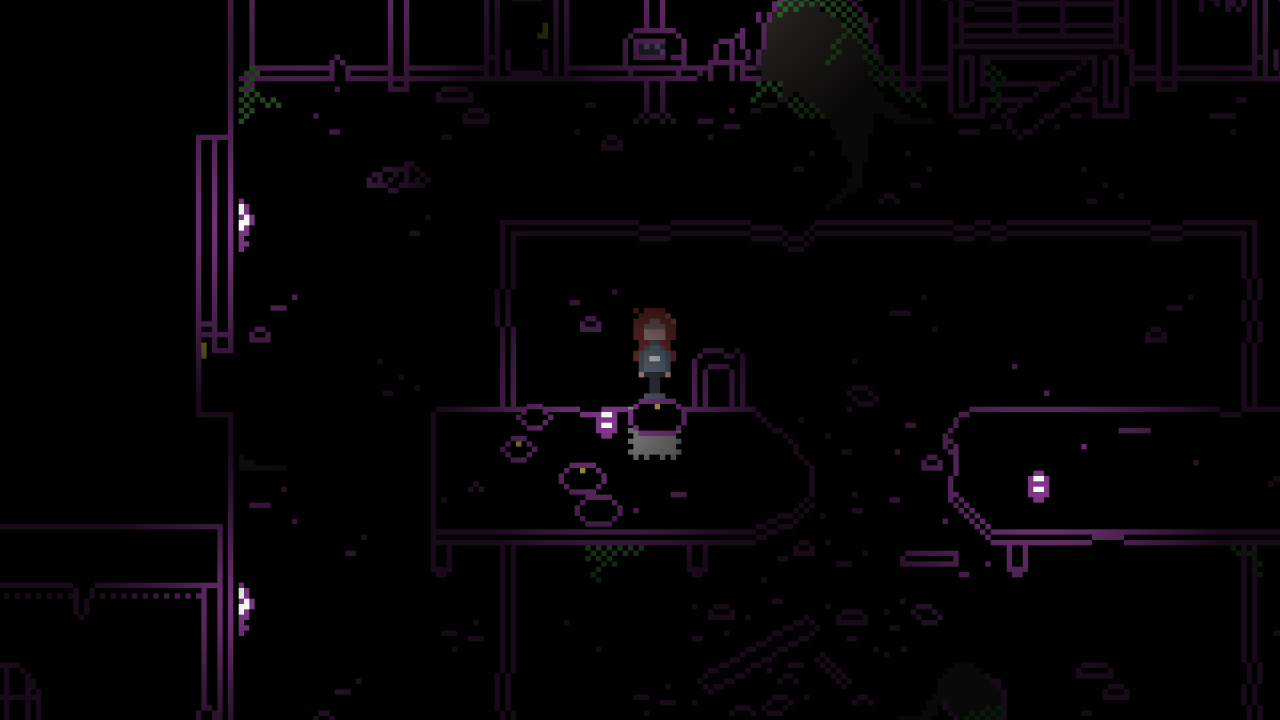
Go back to the Kitchen for the last dish. Read the note: the master now simply wants you to immediately remove the eye from the dish in front of him. Pick up the big cloche and carry it back up to the Dining Room. Now, be sure to serve it and open it right away (instead of trying to leave). Under the cloche you’ll find a fake Eye Pair made from glass that Emily will pick up.
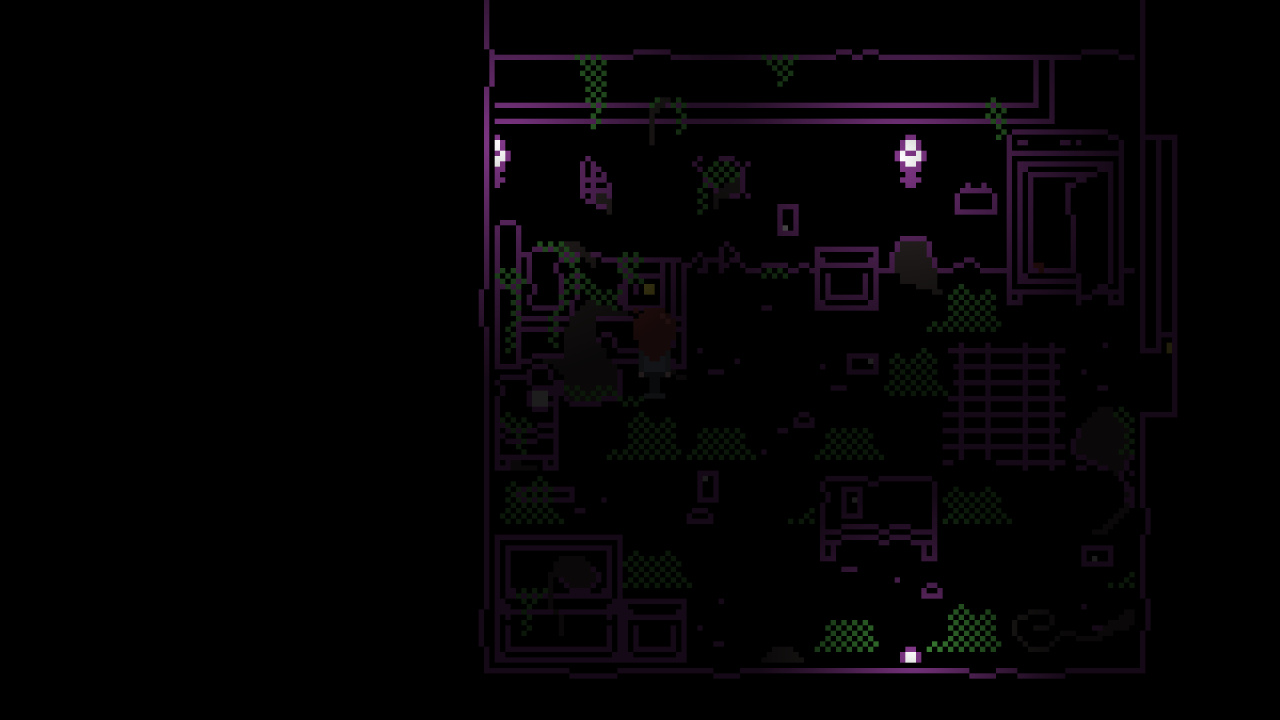
Now, go back to the Basement and up the corridor to the up-most room in the Basement, where you found the Laundry’s Small Key. Now that the lights are on, you’re able to read the diary on the left and to read the calendar pages scattered around.
CALENDAR PUZZLE
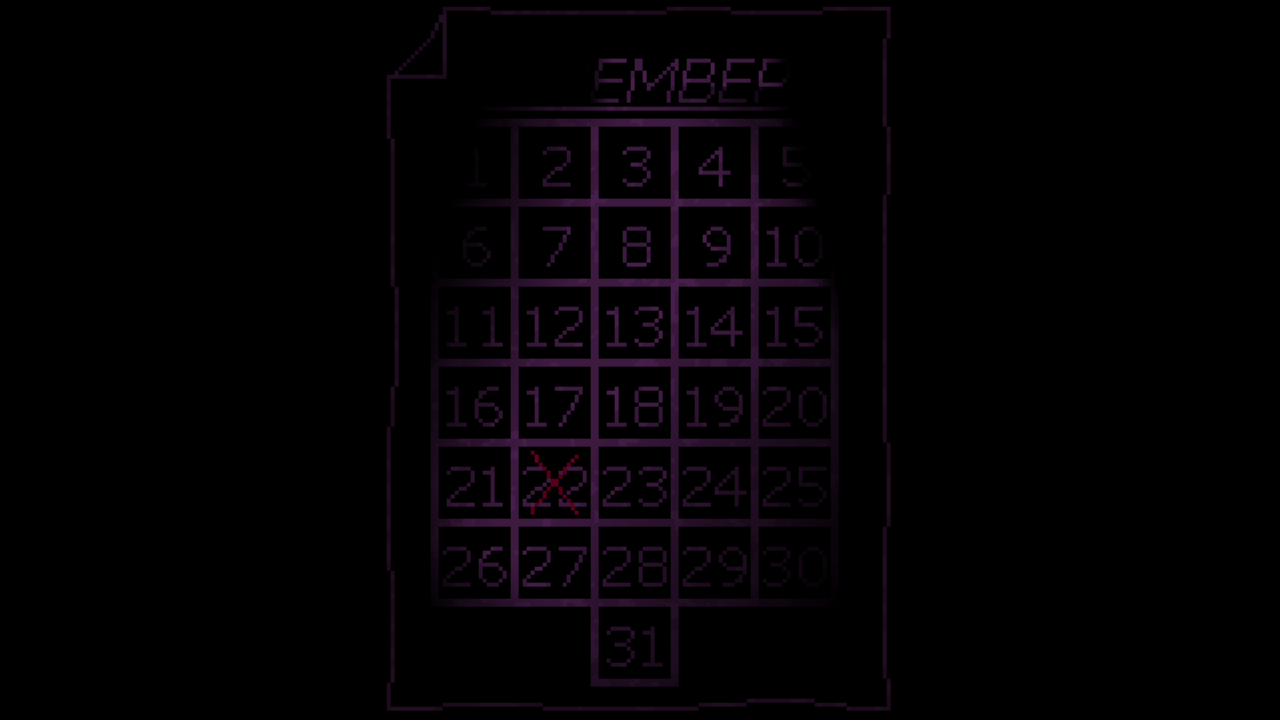
There is no hint in-game for this puzzle.
The calendar pages scattered around are all you have, along with the safe on top of the bed to experiment with.
- Hint 1: This is actually pretty straightforward. If you’re unsure how many days a month has, remember the famous rhyme:
30 days has September,
April, June, and November.
With 28 there is but one.
All the rest have thirty-one. - Hint 2: Once you figure out which month is which, just put the marked dates in their natural order to find the code.
- Solution: Once you find which month is which by looking at their day numbers and put the dates of the days marked in their natural order, you end up with the code 6218922.
Open the safe and you’ll find diary pages that Emily will put back with the rest on the left.
If you read through it, you’ll find out that the rabbit statue in the Upper Corridor has a secret: do three full twists of its head to unscrew it.
*** Optional: Check the safe again to find a Red Knife that was sitting under diary the pages.
Exit the room and go back up to the Dining Room. Now, leave from the door to the left and go back to the Foyer.
Go across the Foyer to enter the Closet where the crucifix is. Once entered, go to the stuffed wolf head in the right corner and use the Eye Pair in front of it. Emily will insert one of the eyes into the wolf’s head and it will open its mouth and drop a Wolf Tile.
Exploring further 2 (After the lights are back to the fireplace puzzle)

Leave the Closet and go back to the Upper Corridor, east side (either through the Library/Balcony or the Inner Courtyard depending on which path you unlocked or prefer) and examine the rabbit statue.
Twist its head three full times to unscrew it, and examine it again to push the button on the severed neck. The statue will open up, revealing some water inside and several dead clams. Emily will then pick up the only one that’s still closed shut – a Big Clam. Now that the water has been released, the statue can be pushed.
Move towards the statue to push it in any direction (you can also interact with it to pull it) and push it up to the stairs, then let it fall down the stairs (you can also push the statue down the broken floor on the left to have it landing on the west side of the Lower Corridor or push it all the way to the Balcony and have it drop from the Balcony into the Inner Courtyard). Examine the broken statue to pick up a Rabbit Tile.
From the Upper Corridor, enter the Study on the right. Here, you can use the Rubber Glove on the small aquarium to pick up a Ruby.
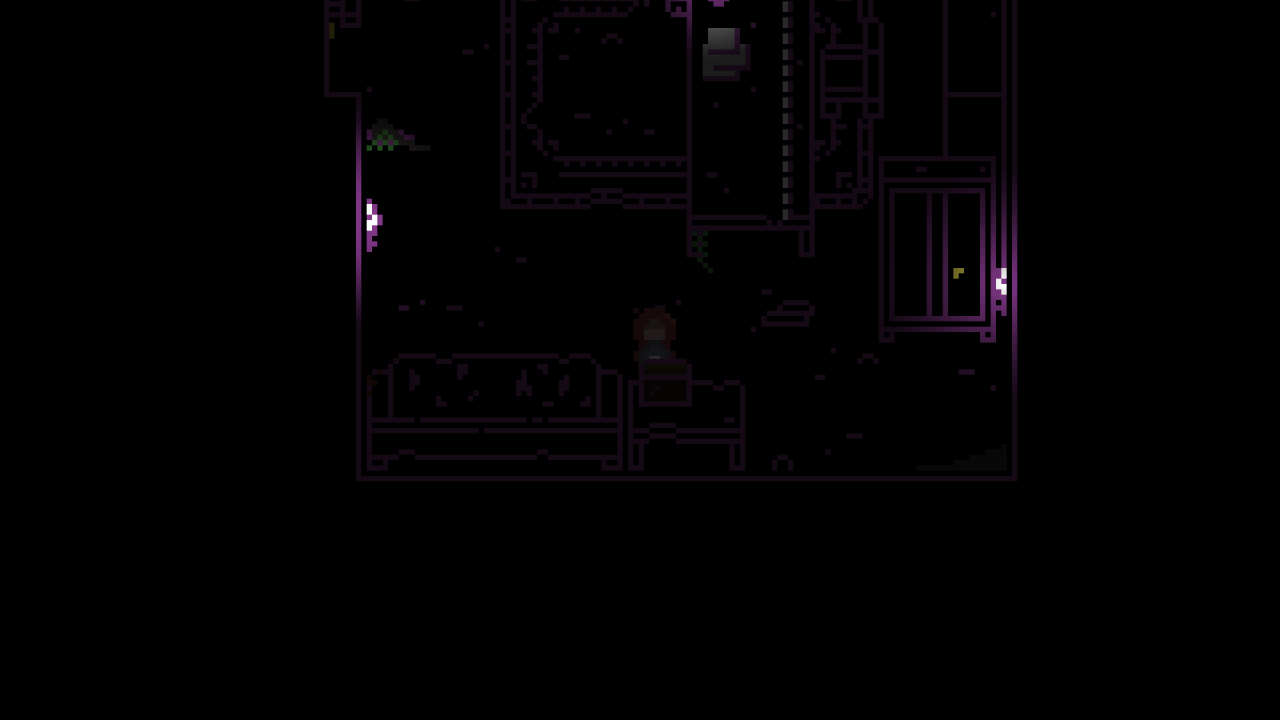
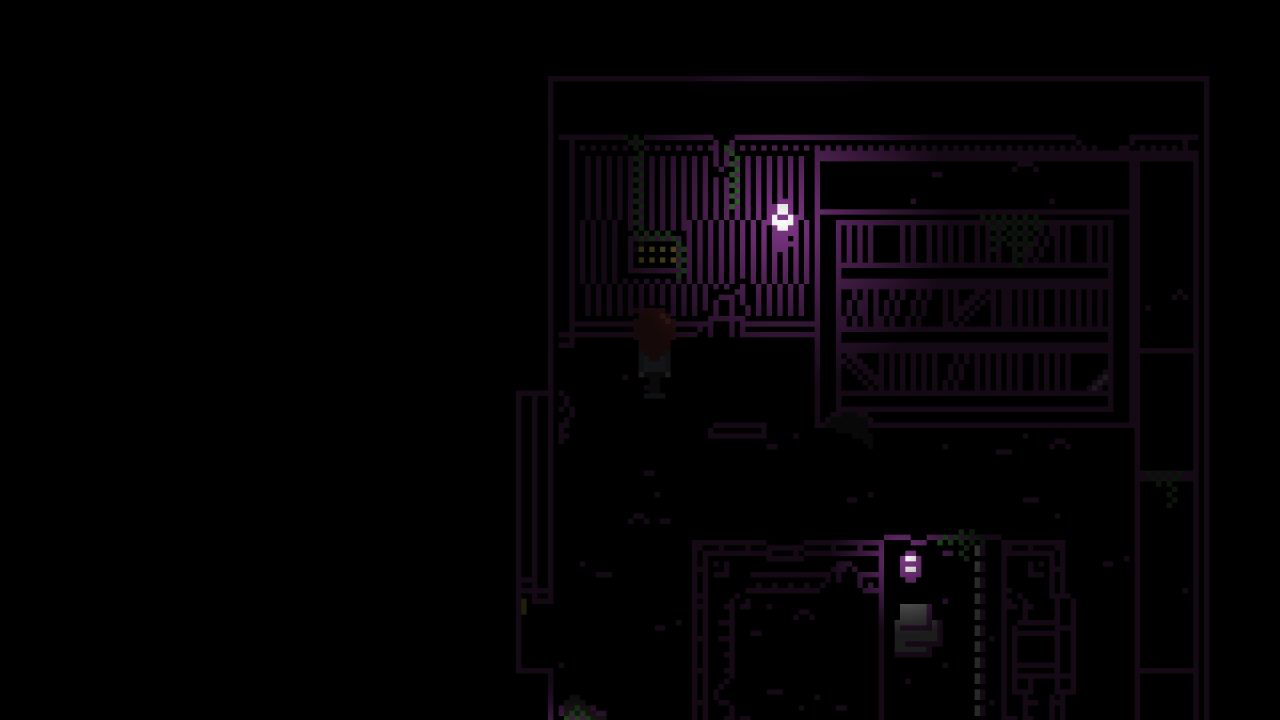
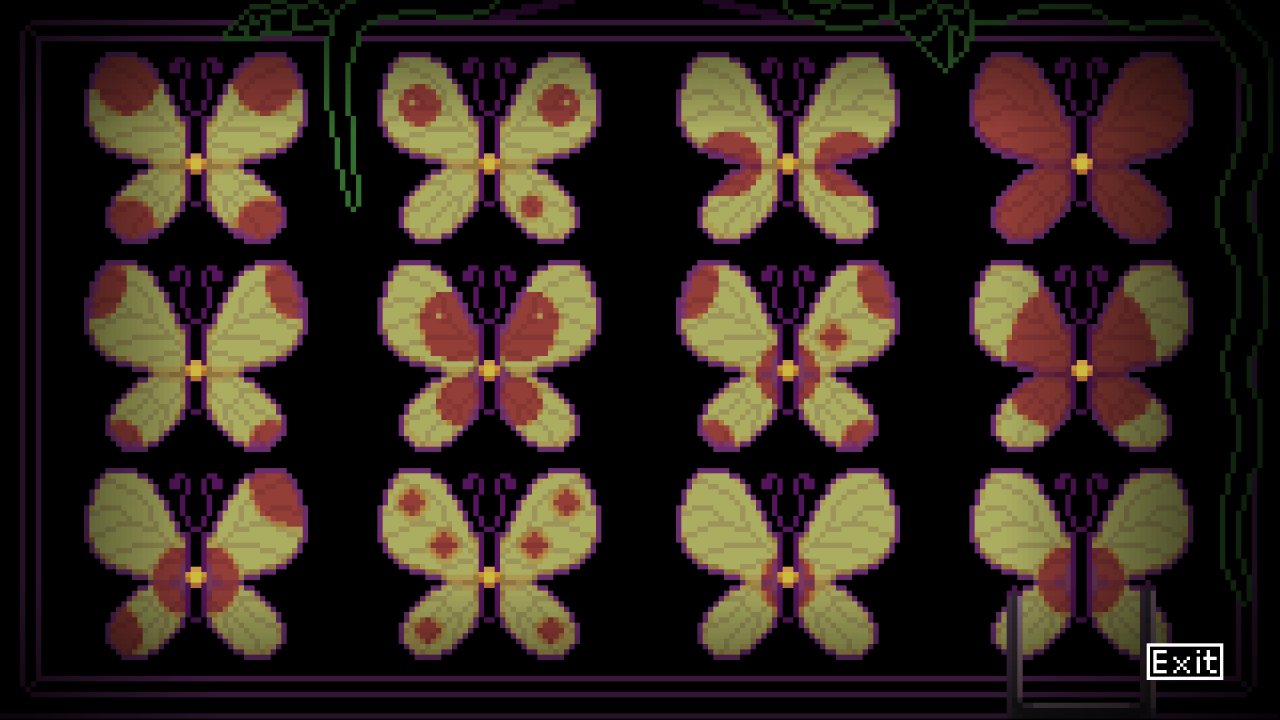
Now go up and examine the butterfly case. You can put the remaining Eye inside the spherical lock to unlock the case. Now, examine the butterfly case to find that the bottom right butterfly doesn’t have a pin and you can’t keep its wings open. Use the Deli Fork in front of it to stick it in the butterfly and keep the wings spread open. Now examine the butterflies again.
BUTTERFLY PUZZLE
The hint is found in the corner of the right bookcase, and it says:
“When creating a butterfly showcase, it’s important to focus on a pattern.
And what’s better than butterflies to display beautiful patterns?”
“For the eye’s pleasure, make sensible choices about which butterflies wings to show.
The sequence the rows and columns form must adhere to a sort of logical pattern.”
“For what that pattern might be, just be sure it follows a likeness or progression.
Whichever wings don’t fit, away they go.”
- Hint 1: While patterns aren’t inherently objective, you can look for what appears to be the most obvious ones. As the hint says, the patterns adhere to a logic that follows likeness or progression. You may make this puzzle easier on yourself if you just stick to closing the butterfly wings that seem too preposterous as a pattern.
- Hint 2: As you had to pin the last butterfly wings open, one can assume the last column is entirely correct, and it shows a circle filling up (or scaling down depending on the direction you look from) the butterfly. There is at least another pattern focused on moving circles, while the top row follows a 4>3>2>1 pattern.
- Hint 3: As said in the first hint, if one cannot see the patterns that easily, it’s probably better to focus on which butterflies are too out of place. The first column shows two butterflies which follow a pretty obvious likeness, while the last one has no logical rhyme or reason to be there. On the other hand, on the second column there are TWO butterflies with dots in them, so those two can be considered again a sequence of likeness – thus they need to be showed.
- Solution: Close the wings of the third butterfly on the first column, the third butterfly on the second column and the second butterfly on the third column.
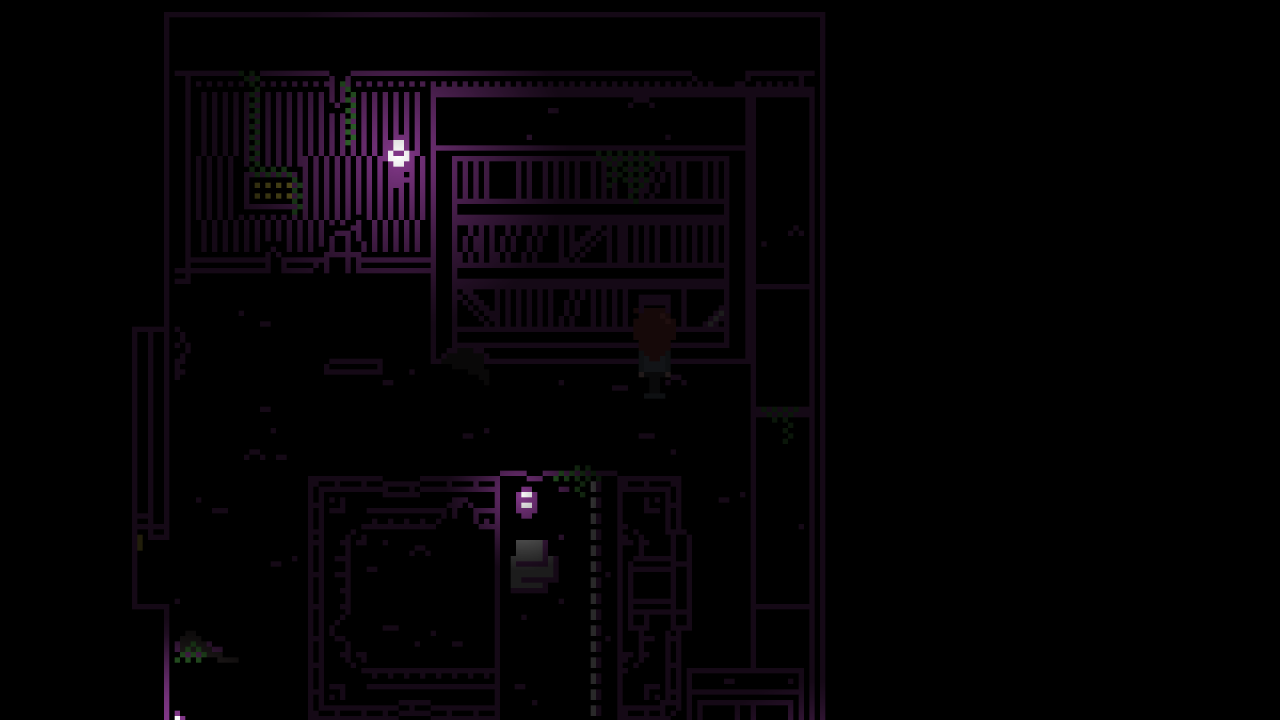
Now, go back to the Upper Corridor and walk up to go down the stairs in the Lower Corridor.
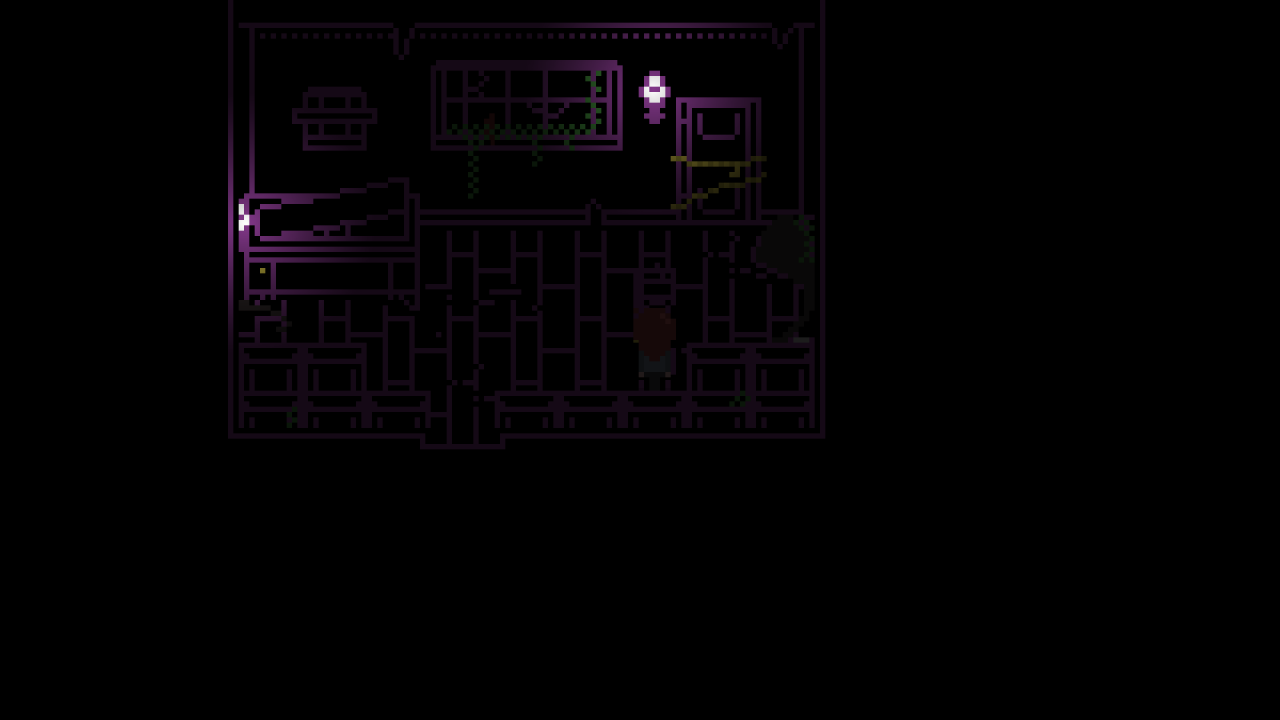
Here, you can go to the left in the Laundry Room. Go to the camera and use the Photo Plate in front of it to insert it inside, then snap a photo. The number of chains on the door will go down by one.
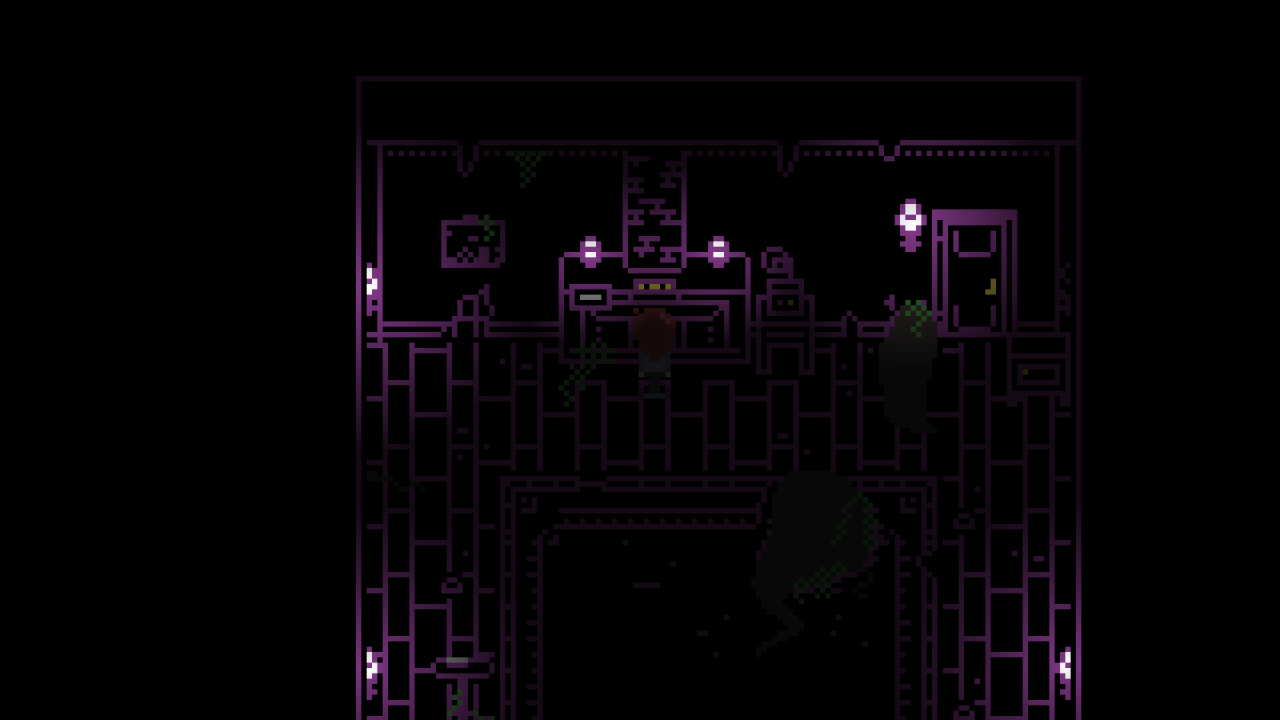
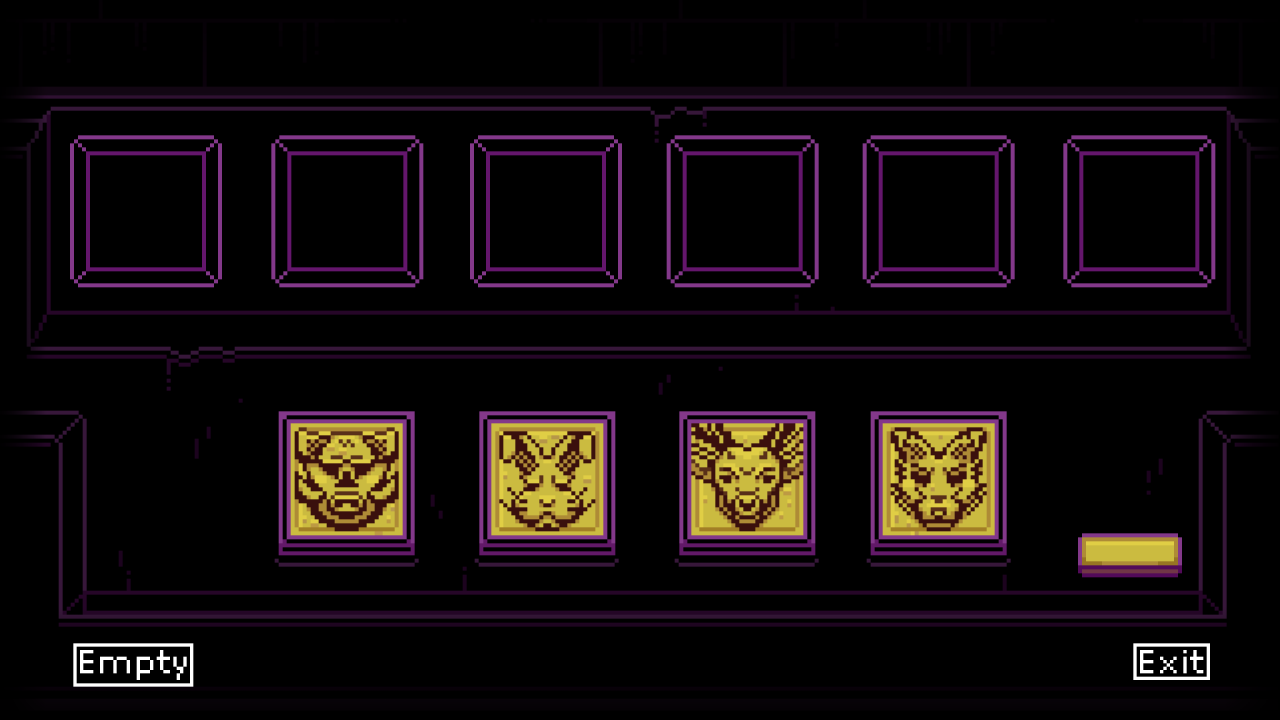
Exit the Laundry Room and go all the way to the right, then down to the Living Room. Here, stand in front of the fireplace and use all your animal tiles to put them down on it. Once you put down the Rabbit, Deer and Wolf Tiles go to the plaque on the left and use the Scrubber on it to unrust the second part of the poem. Now, you can take on the fireplace puzzle.
Finding Richard (From the fireplace puzzle to finding Richard)

Once you put all three of the animal tiles on the fireplace slots and unrusted the plaque to the left, you’re ready to take on the fireplace puzzle.
FIREPLACE PUZZLE
The hint is found in two parts on the plaque to the left, and it says:
THE PREPARATION
“I rise at morning, it’s hunting day \\ The woods are calling, I’ll soon be on my way
Holding tight my sweet old gun \\ I’ll give my back to the rising sun”
“Before leaving, myself I gird \\ Quiet day, not a sound to be heard
I breathe in the silence ahead \\ Hush woods, not a soul had yet fled”
THE HUNTING
“It begins with a clue I do not shun \\ Two pairs of footprints which end in one
I see it standing on that spot \\ I fire a quick, decisive shot”
“I march with glee on my gory walk \\ Behind bushes, I crouch and stalk
I stroll deeper into the trees \\ And at nature I boldly tease”
“I see another, laze on land \\ Quickly I bend where I stand
Down the barrel, I take aim \\ And once again a life I claim”
“Moving fast, I spot a blur \\ I turn and see it, his grey fur
Trigger faster than my thought \\ Thus one more joins my slaught”
“Blood is pumping through my veins \\ Feral rage with no chains
I step forth on my set path \\ As I walk, I build my wrath”
“But as rifle ready I move past \\ From the shadows it comes so fast
Before I see it I’ve been gore \\ My unseen slayer, I am no more”
- Hint 1: Every single paragraph of this puzzle (or to put it another way, every two lines) contains a major hint. The puzzle is broken into two pieces: the preparation and the hunting – the first two paragraphs contain two hints which are of course needed for the puzzle to be solved, but they’re not strictly related to the tile’s positioning. The hunting on the other hand has 6 paragraphs, just as the number of available slots. There’s also a small trick that might catch people off guard about the last paragraph.
Further hints will be provided for every single paragraph, if the player believes there is one or more of which he hasn’t quite figured out its clue:
- “I rise at morning” Hint 1:
Look carefully at the last line, and check your Diary’s map. - “I rise at morning” Hint 2:
There was a scattered piece of paper in the Library that brought this up too: the sun rises from the east and sets at west. If the hunter gives his back to the rising sun, it means he’s walking from right to left. Thus, the order the tiles follow is the same. - “Before leaving, myself I gird” Hint 1:
This paragraph seems to put a lot of attention on the fact that the woods are silent. - “Before leaving, myself I gird” Hint 2:
The hunter needs silence for his hunt. No music needs to be playing in the room. - “It begins with a clue I do not shun” Hint 1:
This is where the hunt begins, and the first animal to be shot. This is a very specific one, and if you catch up on the clues it can only be one of the tile’s animals. - “It begins with a clue I do not shun” Hint 2:
“Two pairs of footprints which end in one” means that an animal that walks on 4 legs left a trail where, at the end, it turns into a single pair of footprints. Only one of those animals can do such a thing. - “I march with glee on my gory walk” Hint:
There are more paragraphs and slots than tiles. Thus, the paragraphs where no animal is shot and the hunter walks further can be easily assumed to be the empty ones. - “I see another, laze on land” Hint:
This one is purposefully very generic. An animal has been shot, but you can’t tell which one with certainty. Thus, it would probably be better to not overthink this one and let it be settled after the others have been figured out. - “Moving fast, I spot a blur” Hint:
Another animal dies here, and the only hint is its grey fur. This should be enough though when looking at the other paragraphs and animals. - “Blood is pumping through my veins” Hint:
There are more paragraphs and slots than tiles. Thus, the paragraphs where no animal is shot and the hunter walks further can be easily assumed to be the empty ones. - “But as rifle ready I move past” Hint 1:
The ending brings up another animal, and it specifically says the hunter has been “gore”. One can assume which animal it is, but shouldn’t be too rash to put down its tile in excitement and think twice about it. - “But as rifle ready I move past” Hint 2:
Lots of focus is put on the fact that this last animal has not been seen by the hunter – and that’s not to say that it hasn’t even been killed. - Solution:
Make sure the gramophone in the room is turned off and put the tiles in the following order from left to right: empty, empty, wolf, deer, empty, rabbit. Then, press the button on the right.
Here, you’ll be in a sort of warehouse. Go down and all the way to the left to see the big root that was blocking the other side of the Basement. Then, go through the door below into the Cellar.

*** Optional: You may check all barrels in the Cellar, along with some other minor stuff.
Once in the Cellar, go down and pass below the walkway. Then move to the right and check the barrel’s hole in the bottom right. A brief cutscene will start where you find your brother, Richard, trapped inside.
At the end of it, you’re forced to go up the ladder on the right and rescue your brother through the hole on top of the barrel. This leads to a second cutscene, and at the end you finally have Richard tagging along.
Escaping (From finding Richard to escaping the manor)

Now that you have Richard with you, go left on the walkway across the Cellar.
*** Optional: There are more barrels here, along with a rack of cheese you can examine. You may also examine the root that crashed through the wine barrel on the right.
Climb down the ladder, and unlock the left door from this side, then go through it.
Now that you’re back in the Basement, you can go down and back to the Kitchen.
Go in front of the boiling hot water pot and use the Big Clam to toss it inside, and it will come back up opened and reveal a small Pearl.

Leave the Kitchen. If the clock is still set to 19:30, you’re free to leave through the Dining Room. If the clock is set on any other time, you’ll have to leave through the way you came: back to the Cellar and up the fireplace ladder to the Living Room.
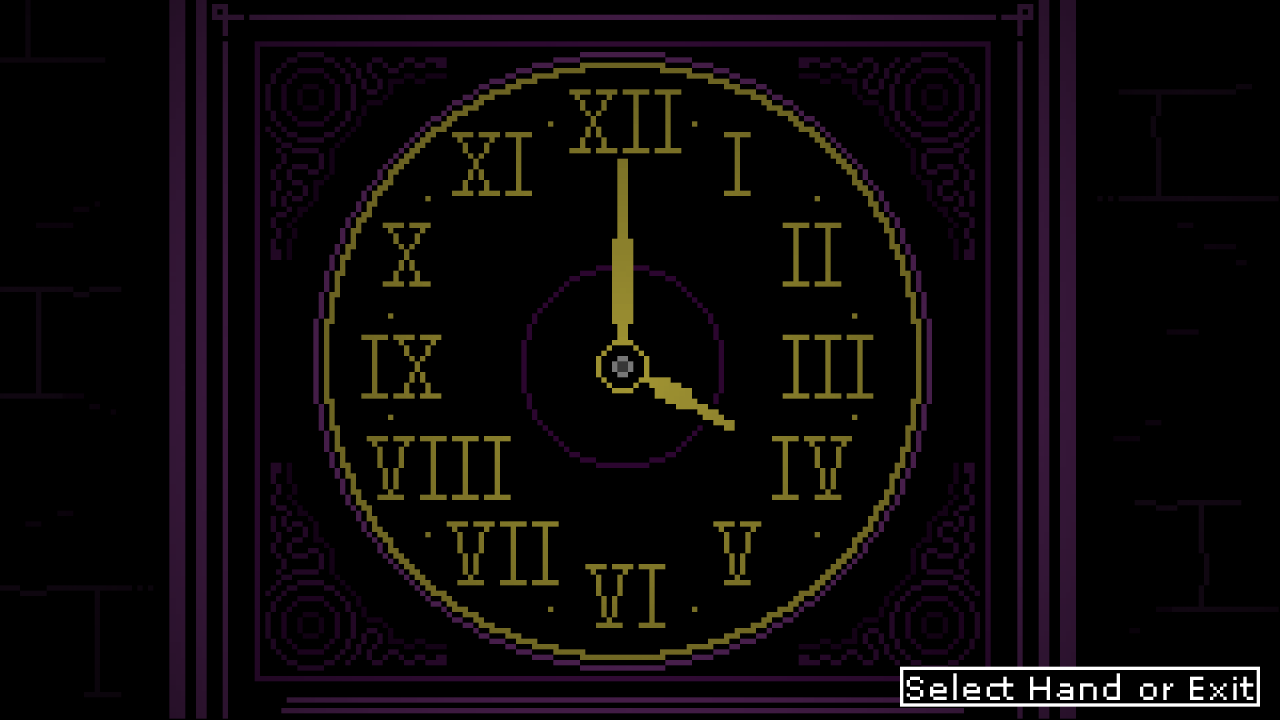
In any case, make your way back to the Foyer with Richard, and stand in front of the grandfather clock. Use the Screwdriver to change the time and set it back to unlock the Music Room (16:00).
Now go to the Upper Corridor where the rabbit statue was (either through the Balcony or Inner Courtyard, depending on what you unlocked and prefer) and enter the Music Room on the top left.
Here, go to the music box on the table in the bottom middle of the room and use both the Pearl and Ruby on it. Once both gems are in, play the music box and wait for the song to play entirely. Once it does, the box will open and you’ll pick up a Photo Plate.
Exit the Music Room and go to the Bathroom on the right. In here, there’s a window that Richard can pass through. Examine it to trigger a short cutscene about letting Richard go solo outside in the Backgarden. At the end, do so and you’ll play as Richard in this new area.
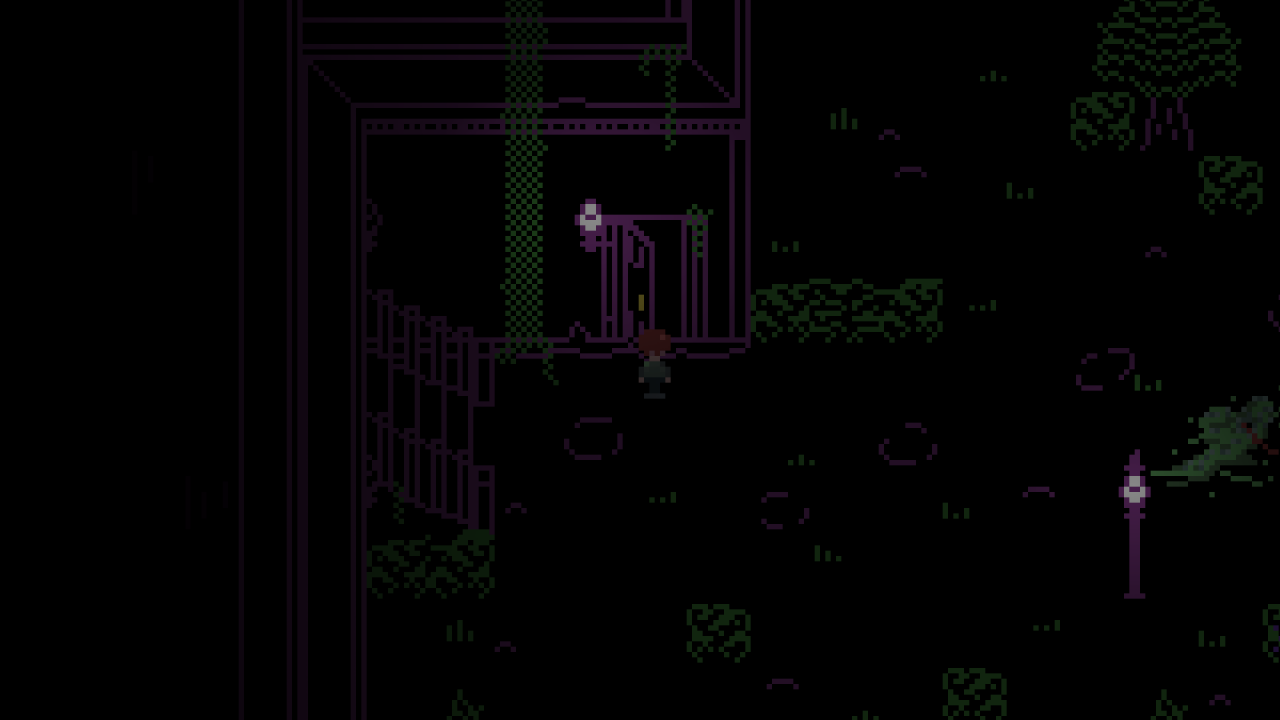
*** Optional: Examine the bush down from the plant monster with some blue flowers on it to pick a single rosemary Flower from it. You can also check the plant monster itself. There’s a door up some stairs on the left of the vines, but it’s completely jammed.
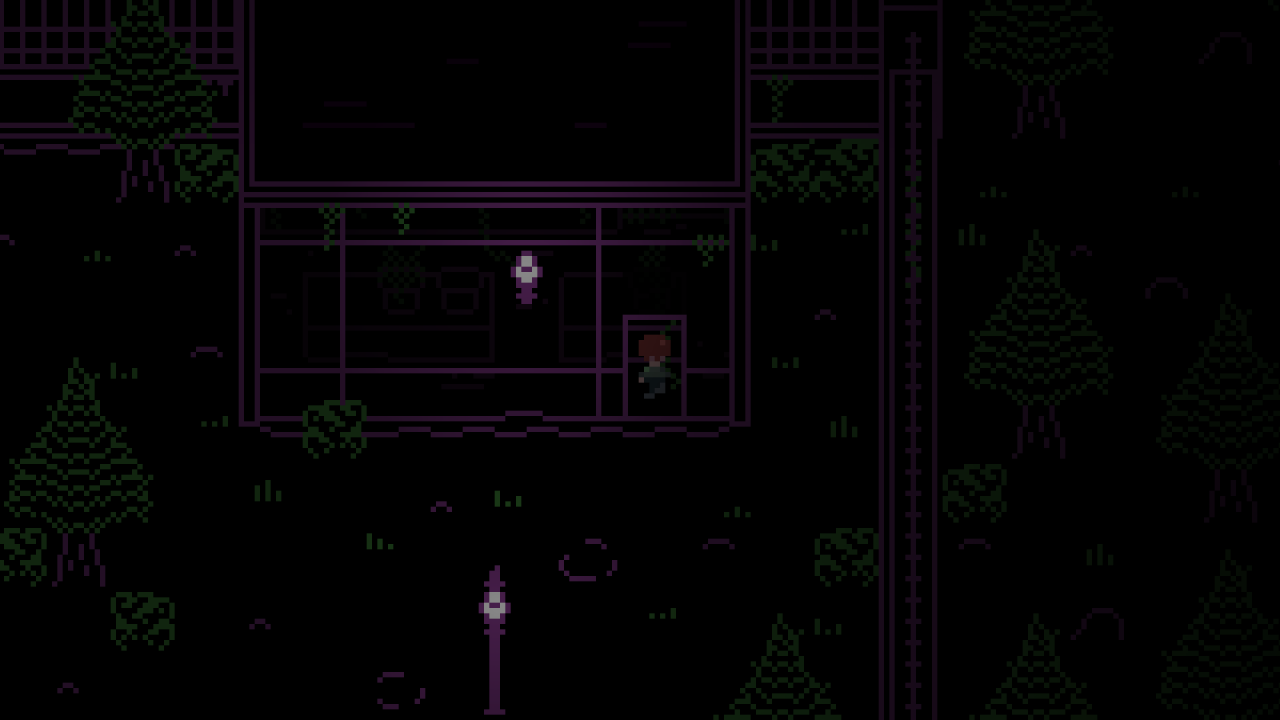
Explore briefly the Backgarden by checking the greenhouse door on the top right, then go back to the vines and enter the door close to them.
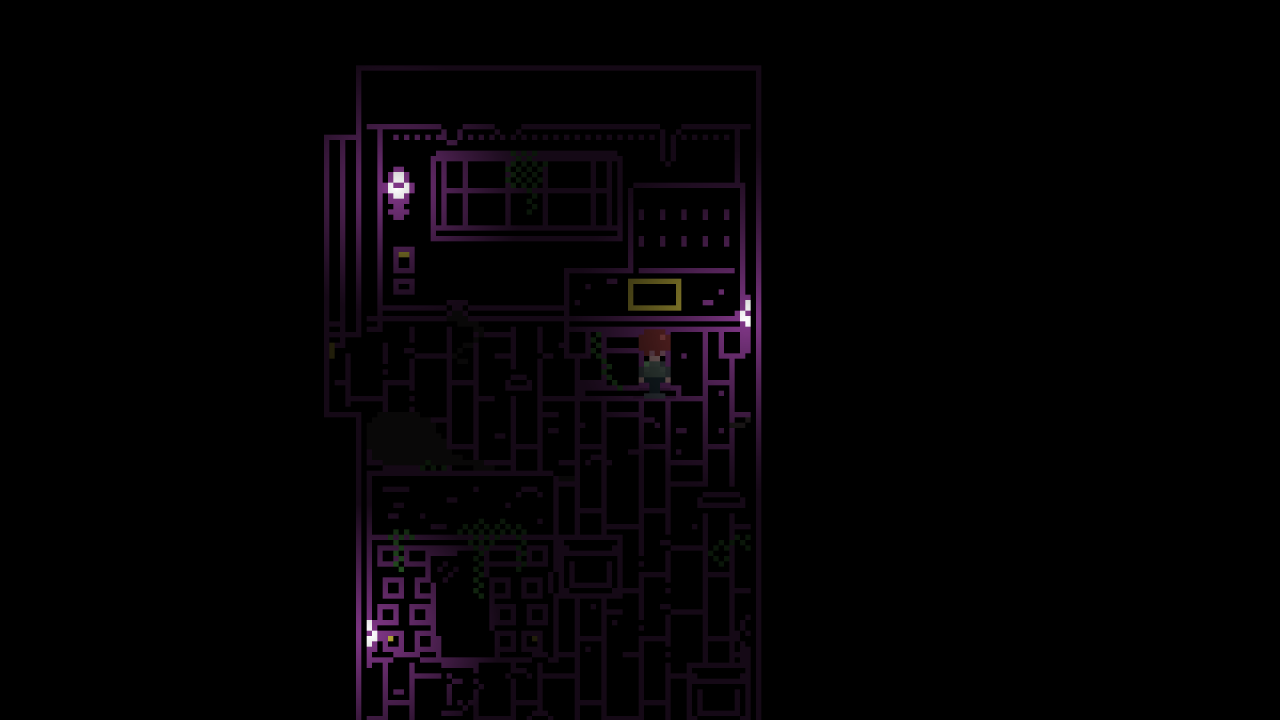
*** Optional: You can examine this room a bit, from the mirror to the furniture around.
Go up to the left and check the tag on the wall. You can try to pull the lever, but this turns out to be a puzzle that’s on the crafting table to the right.
BLUEPRINT PUZZLE
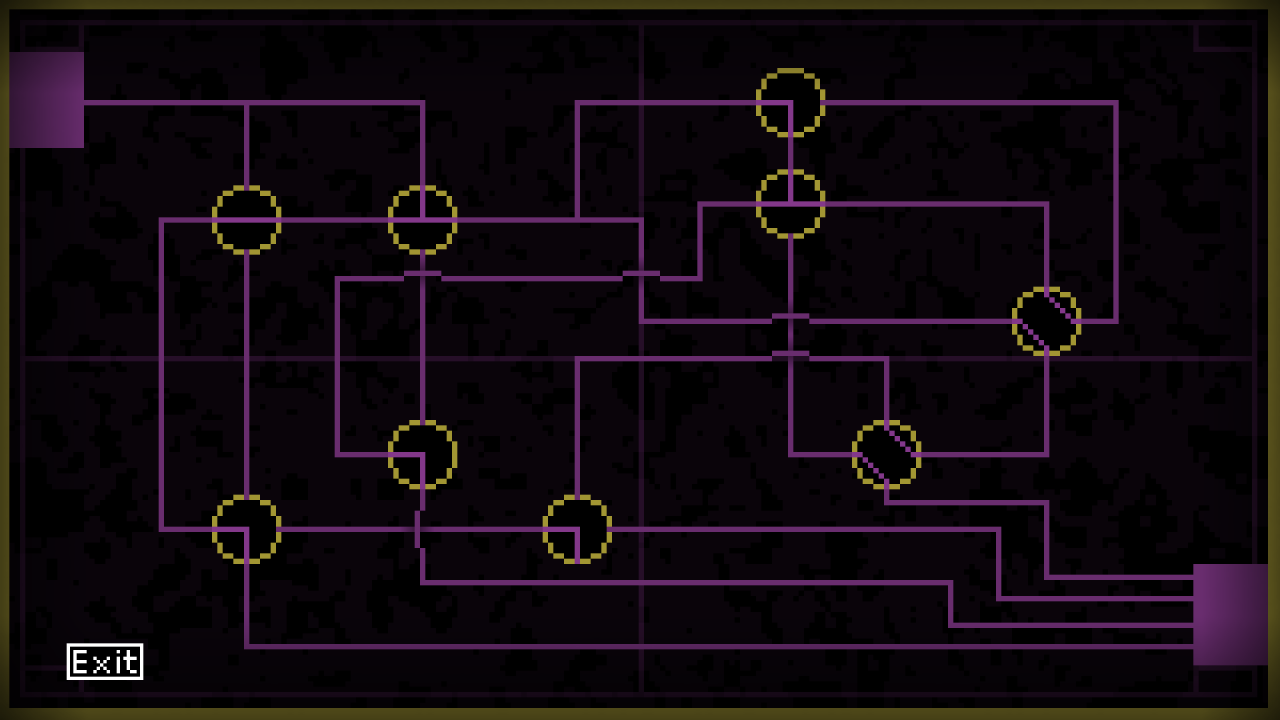
The very generic hint is found on the tag on the top left along with the lever, and it says:
“The greenhouse will be locked in the event that, for any reason,
the water is not traveling throughout the tubes and reaching it.”
“Once the issue is resolved, pull the lever to restore the water’s flow.”
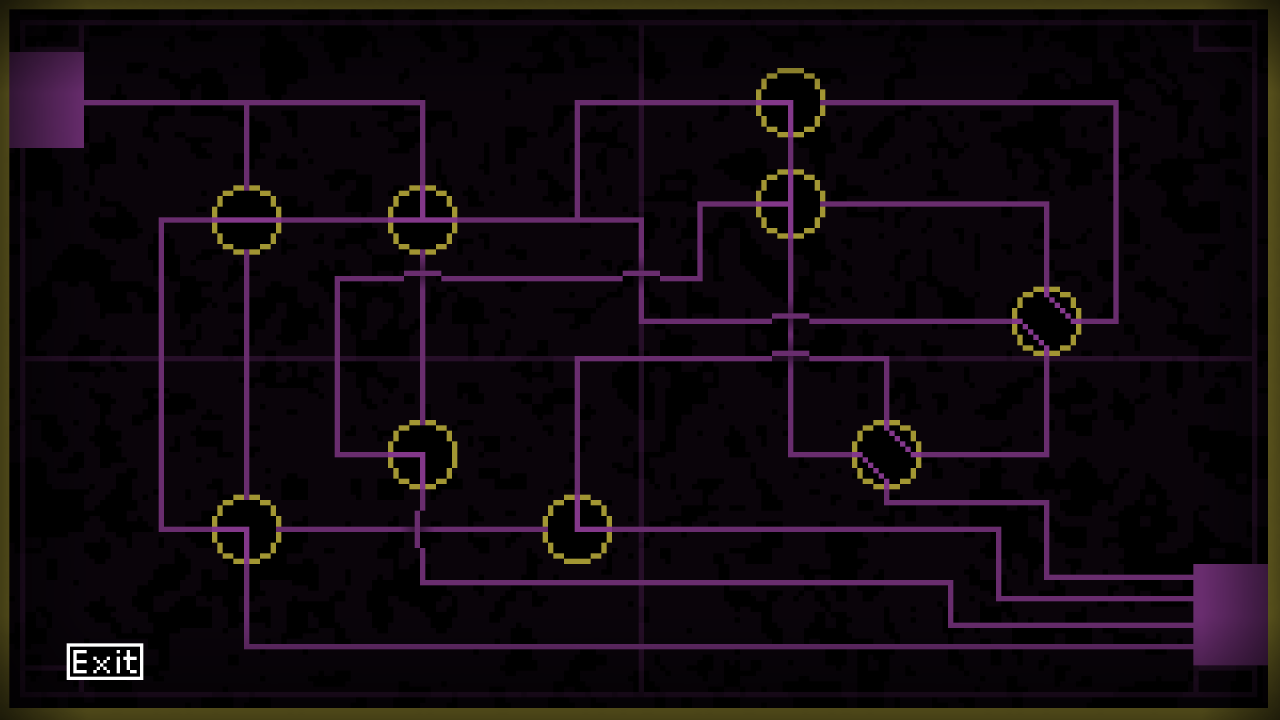
- Hint 1: Theory-wise, this is pretty simple: you need to interact with the clickable circles to rotate the tubes and have the top left line connected to the four lines at the bottom right. Be aware that the lines sometimes go one above the other, forming a small bridge which is visually different from intersections. Once it seems done, pull the lever to test it.
- Hint 2: If you look carefully, you can be 100% sure of the position of several circles. The whole left area is quite simple to deduce, as there’s only one possible side the circles needs to be rotated to connect the lines. The top right area is the most difficult one: don’t be afraid of testing it over and over again until you see all four lines on the bottom right connected to the top left one and go back to pull the lever to check if it stays down.
- Solution: Since it’s not easy to write down the exact position of all circles, you can hover the mouse on the spoiler picture below to see one of the two possible solutions:
Once all lines on the blueprint are connected properly, go to the left and pull the lever. If the lever stays down, the puzzle is solved. Leave this room and go to the right of the Backgarden, back to the Greenhouse. Enter it.
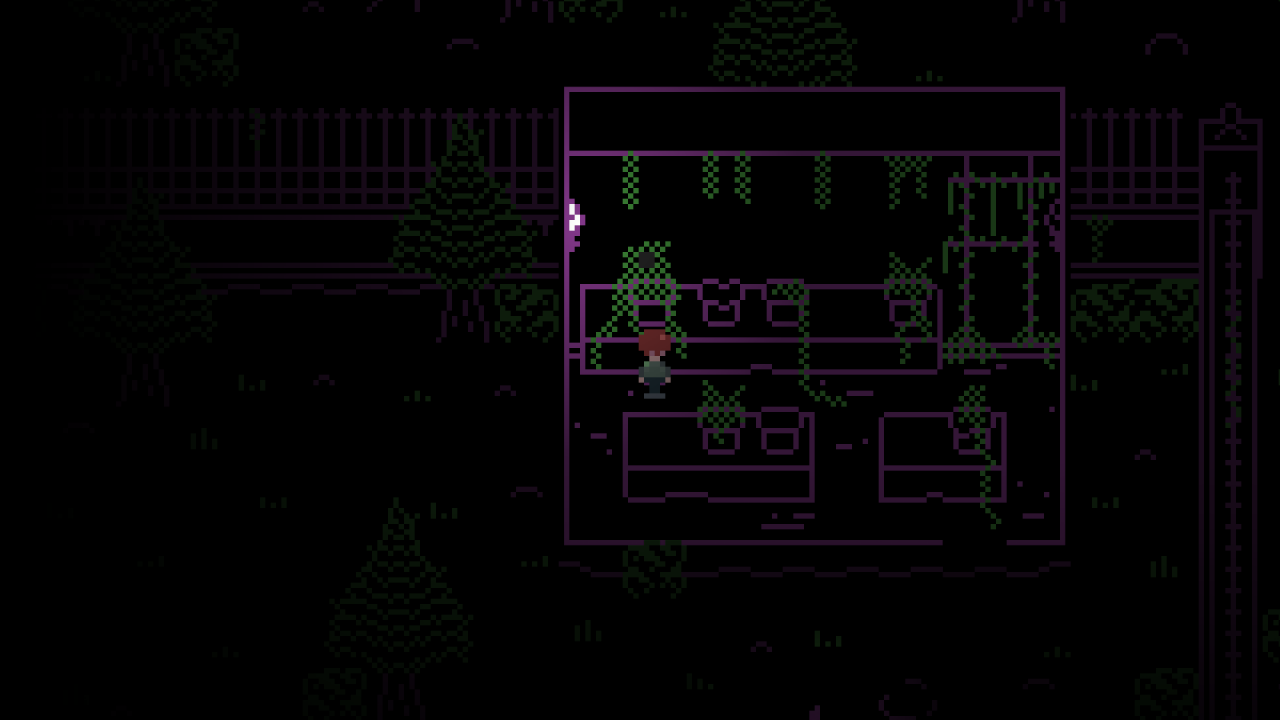
*** Optional: You can examine all the plants inside the Greenhouse, but none are relevant.
Go to the top left and pick up the Photo Plate from the plant.
Leave the Greenhouse and go to the left to leave the Backgarden entirely through the vines you first came from.
Richard will update Emily and give her the item he found, then you’ll be back at playing as Emily. Now it’s a good time to save by the crucifix in this room.
Exit the Bathroom, go down the stairs into the Lower Corridor and go all the way left to the Laundry Room. Here, put the remaining Photo Plates into the camera and snap two pictures. The remaining chains will disappear.
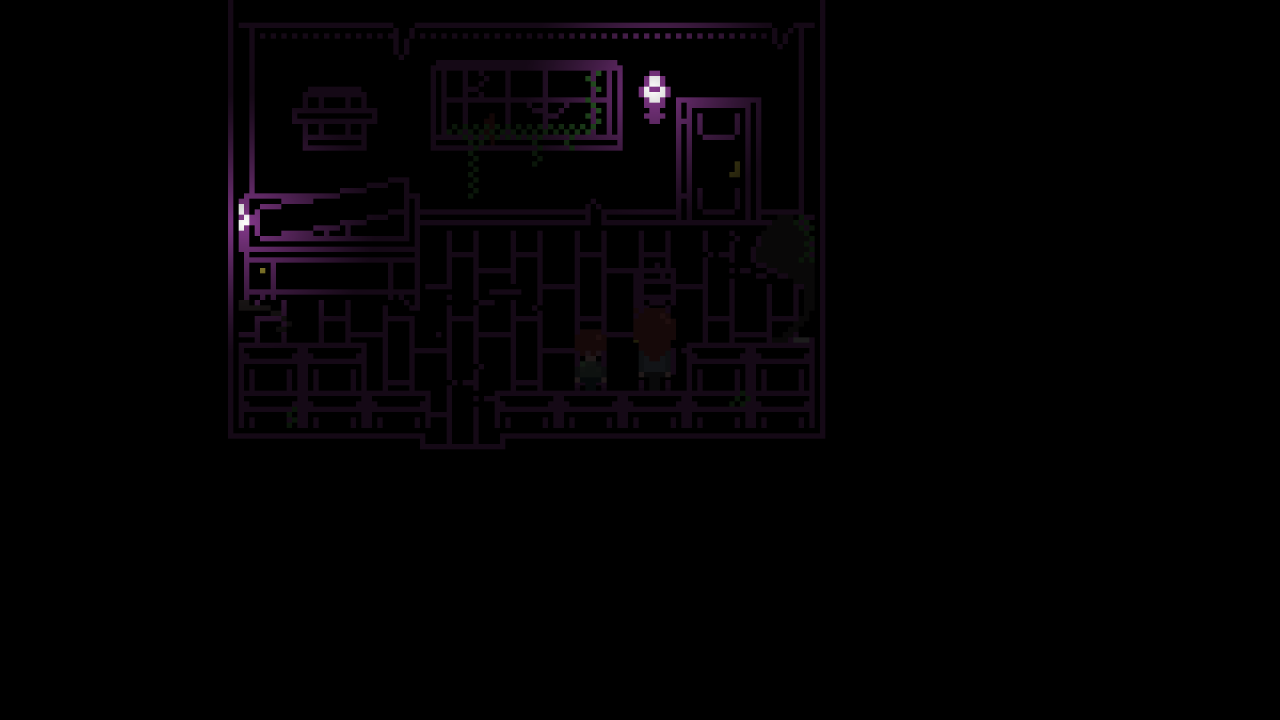
Now, if you open the door and choose to escape, Emily and Richard will leave the manor.
This will count as an ending, specifically End C.
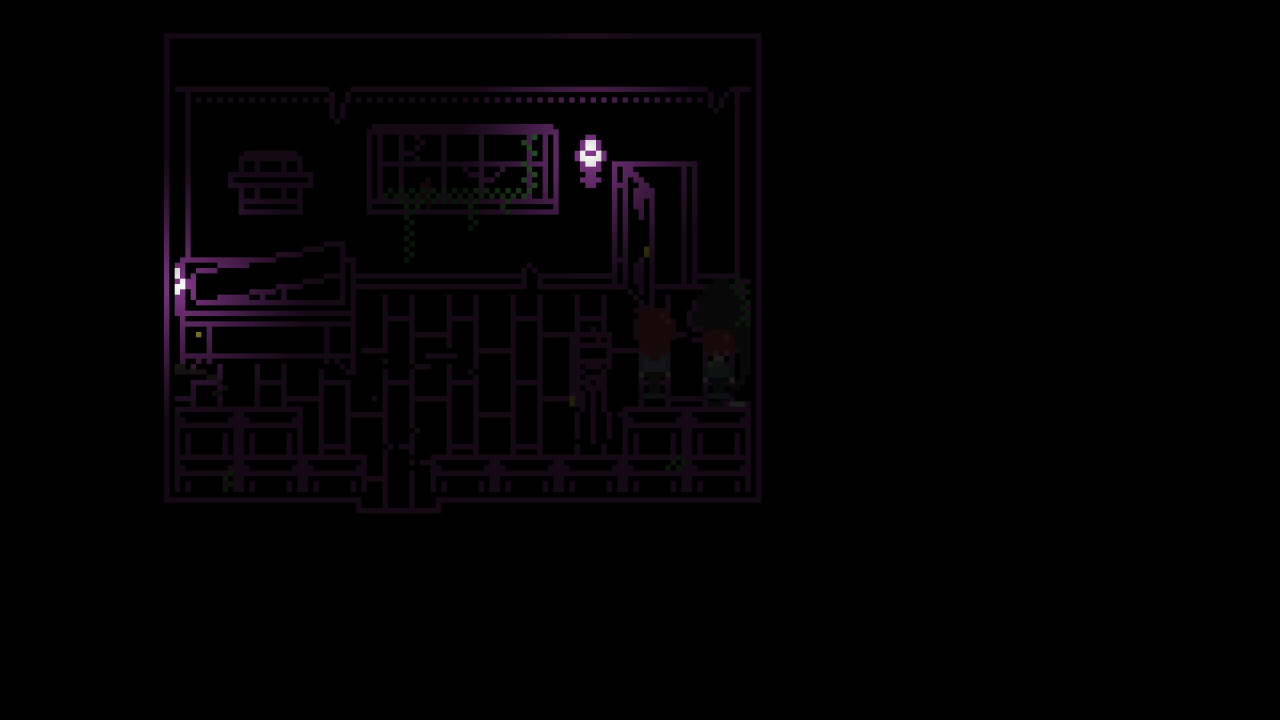
Taking care of the tree (How to reach the two other endings)

In order to obtain End A and End B, you need to do something extra on top of the previous walkthrough (which can be done at almost anytime). As long as you explore and examine the items you find you may be able to get it yourself (the game does contain hints that are given here and there about it). In case you are stuck on this, here are some progressive hints about it:
- Hint 1: There’s an item that can be picked up from the beginning in the Library – this is the single most important item to examine in order to figure out everything else that follows.
- Hint 2: The Occult Tome that can be picked up from a shelf in the Library says something about “Space Dislocation”, citing that a place can be removed from a plane of existence through a spell and that you need to place a pinch of salt on the entryway of such a place. Once you obtain the Salt Shaker, you should check your Diary and look carefully if there’s something out of place in the manor’s layout.
- Hint 3: There is, in fact, a room that cannot quite exist the way it’s drawn in the map: it overlaps with another and disregards what you actually see in-game. When you realize what this is, try using the salt on the entryway of that place.
- Hint 4: The room that’s out of place is on the 1F of the manor.
- Solution: From the Upper Corridor, use the Salt Shaker in front of the Bathroom door (or from inside the Bathroom itself on the same door). The 1F Bathroom window position is out of place, as the map places the Bathroom and Study too close to each other. After you salted the door and went through it, you can check the Diary to see how the removed room makes sense now.
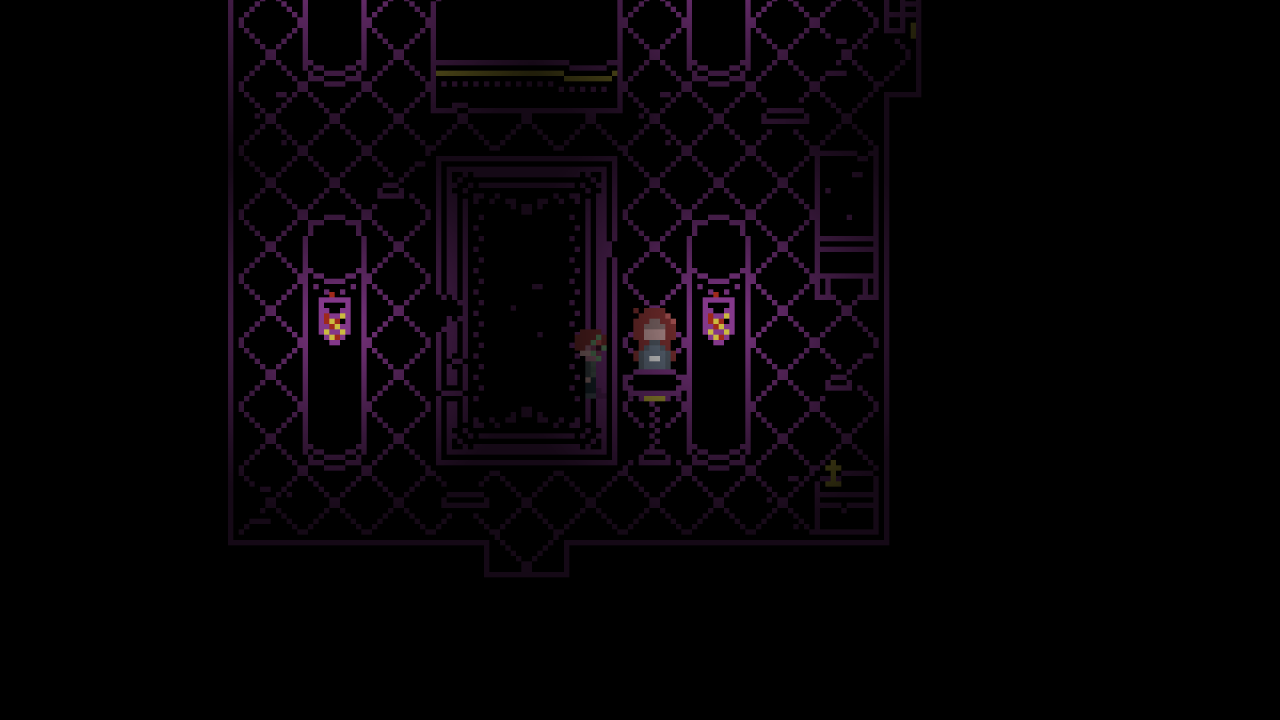
Now, leave the Chapel.
You’ll need to go to the Cellar, either by the fireplace ladder or by the Dining Room (if the clock is currently set to 19:30). Once you arrived in it, go in front of the root that crashed through the wine barrel and use the Rubber Glove to pour the holy water and poison the root. This will make the root retreat, and you’ll have unlocked a new way in the east side of the Basement.
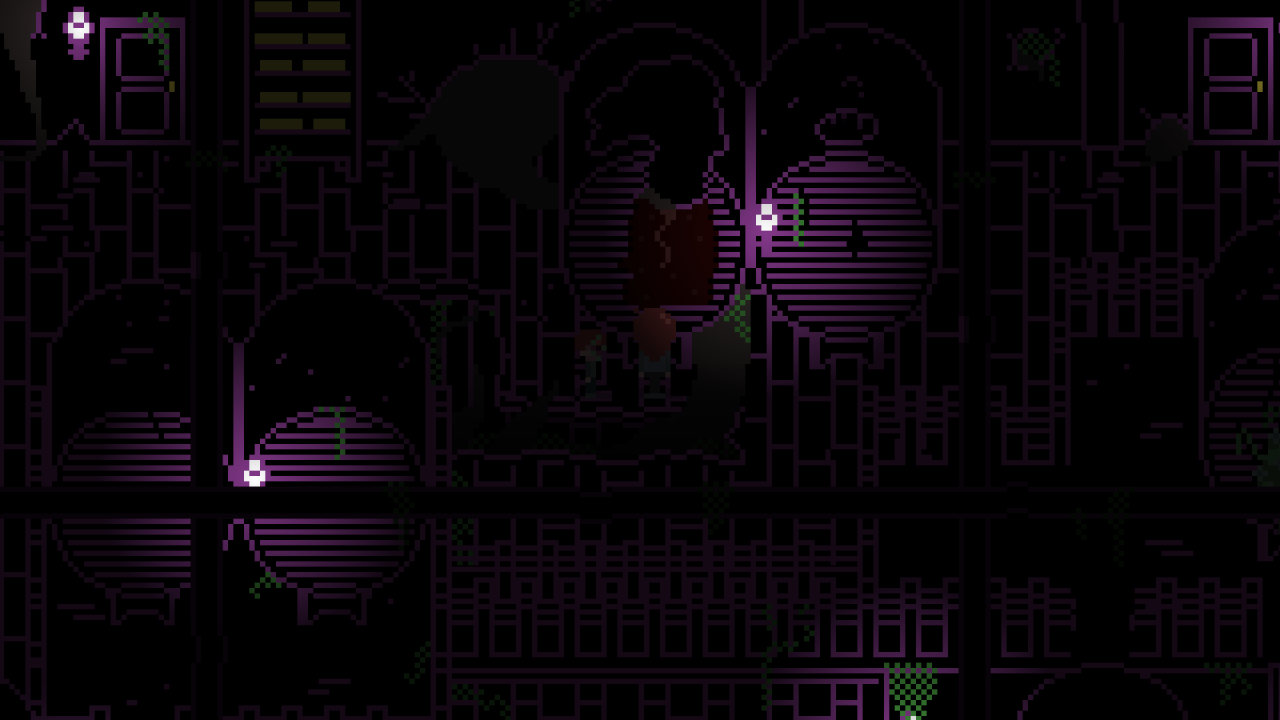
Now is a good time to save, and if you’re aiming at End A you should be aware of two optional items that you need to perform the ritual (one can always open the Occult Tome to know what they are, and if you have missed them you might explore some more in order to search for them).
Once you’re ready, go towards the roots in the Basement from where all the water is leaking. You’ll be indirectly asked if you’re ready to face the tree, as there’s no going back. Richard will stay behind.
Once in the Tree’s Lair, walk up to it.
A cutscene will play, followed by a surprise attack.
Open your inventory and use the Lighter (this can be done from any spot at any time) to start a new cutscene.
At the end of it, leave the Tree’s Lair and you’ll be reunited with Richard. Now, escape through the fireplace’s ladder back to the Living Room, and then leave for the Lower Corridor.
If you have unlocked the ritual and have the items needed with you, enter the Chapel now and interact with the altar (leads to End A). Then, walk to the Laundry Room and escape through the exit door.
If you just wish to escape the manor, walk to the Laundry Room and escape through the exit door right away (leads to End B).
In both cases, you’ll be out of the manor and the final cutscene will play.
The Dream (How to reach the secret ending)

There’s one more ending to the game, a secret one.
This ending cannot be achieved on a fist run and you need to start a new playthrough by selecting “Start” from the Title Screen after you have obtained End A at least once.
Here are some more progressive hints about what to do to kickstart the secret ending:
- Hint 1: After you have reached End A, start a new playthrough by selecting “Start” from the Title Screen. Once you have entered the manor, be on the look out for something new in the Foyer.
- Hint 2: There’s a new item in the Foyer after you have reached End A and started a new playthrough from scratch. This item is on the left, hanging from the coat hanger. Examine it to get a hint about what to do with it.
- Hint 3: Once you have found the Ankle Chain on the coat hanger in the Foyer, show it to a character that might have crafted it.
- Solution: Pick up Ankle Chain from the coat hanger left to the entrance in the Foyer and use it in front of Witch in the bedroom to show it to her.
Once you know what to do with this new item, it’s a matter of finding 5 spots. Here are all those locations, along with spoiler pictures that you can hover you mouse above to see:
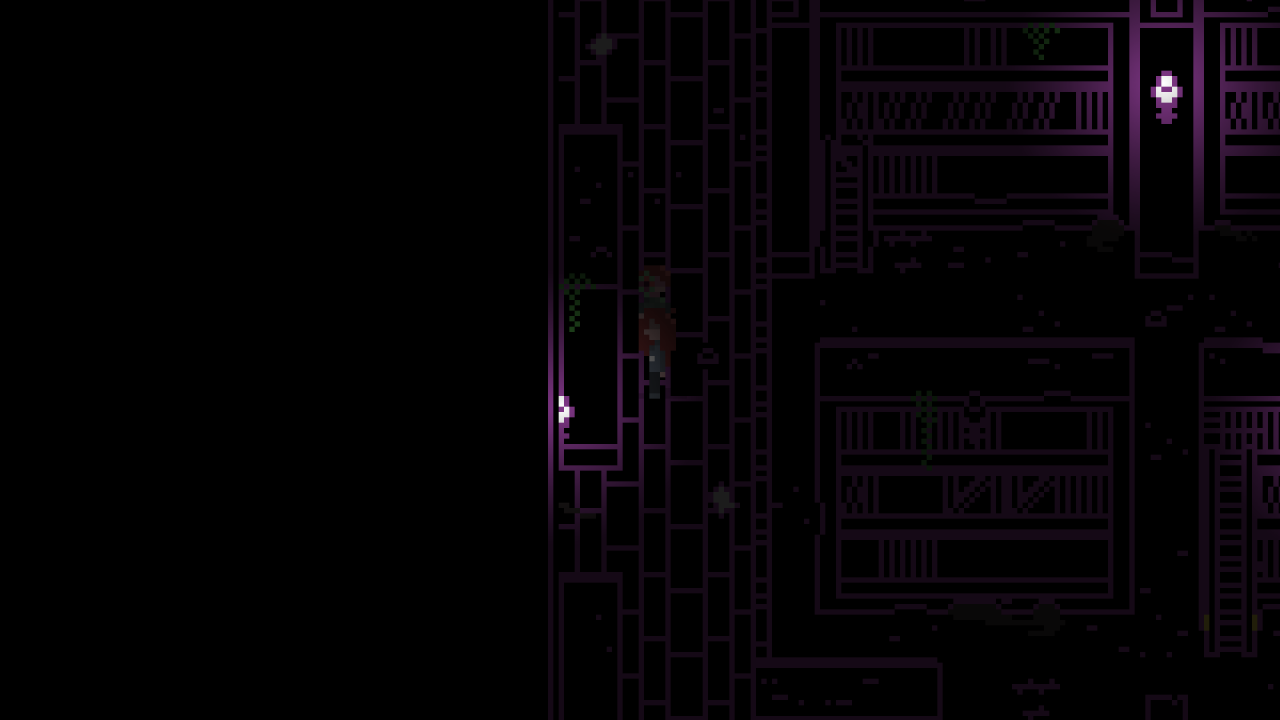
- 1 Hint: A hard blood splat to find is contained in a book on a bookshelf that you can open up.
- 1 Solution: There’s a blood splat in the Library on a carpentry book. This book is sticking out from a bookcase on the left side, 1F.
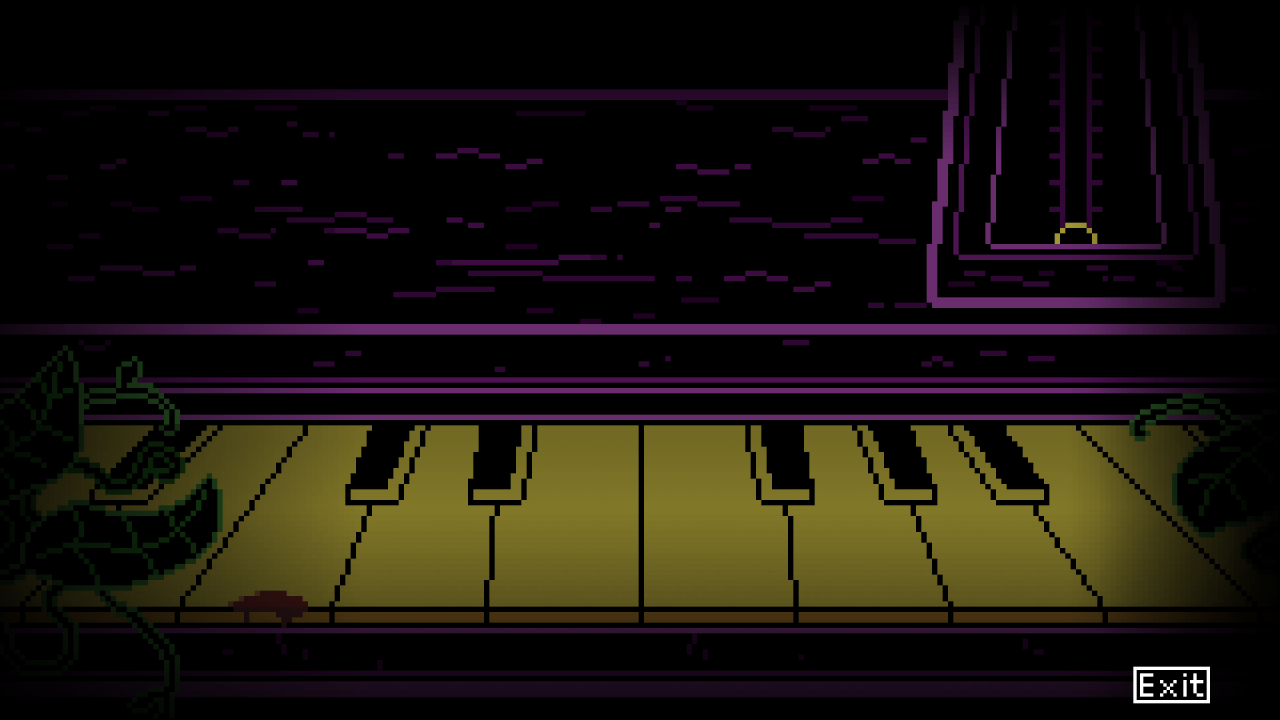
- 2 Hint: A tricky blood splay can be found on a mouse-controlled puzzle, and it’s easy to forget.
- 2 Solution: There’s a blood splat in the Music Room, right on one of the piano’s keys.
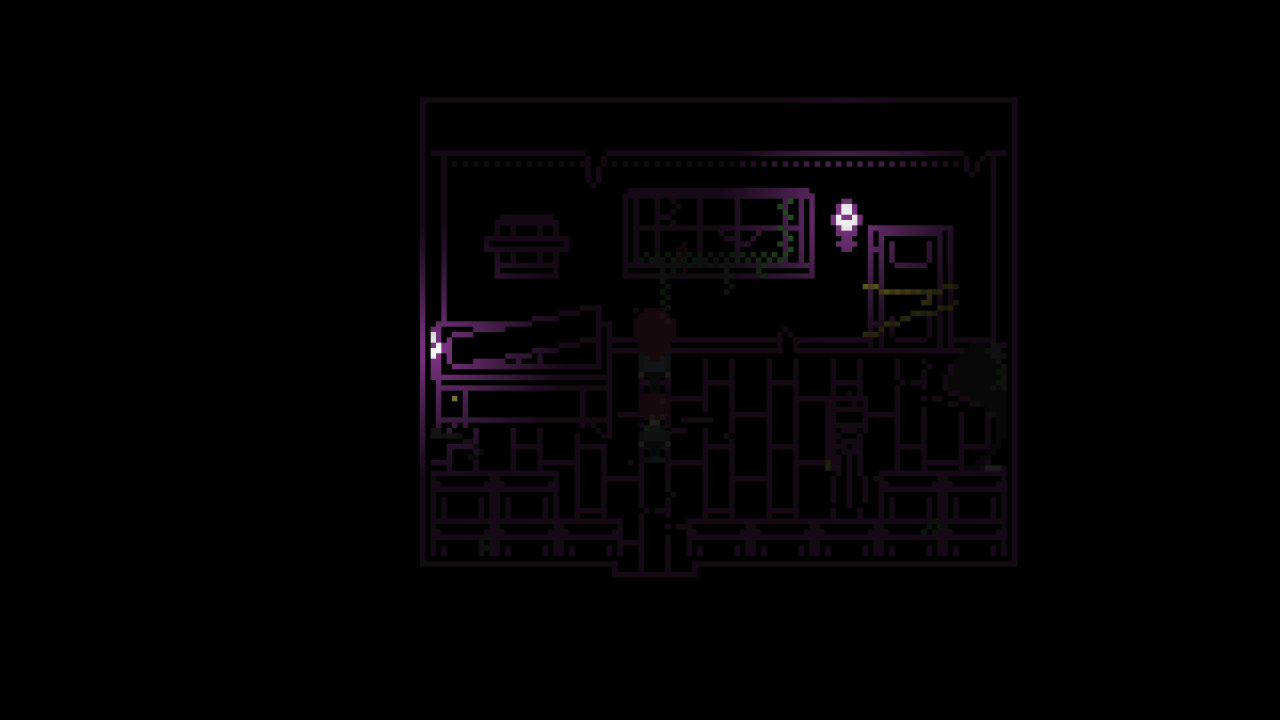
- 3 Hint: There’s a visible blood splat smeared on a window in a room.
- 3 Solution: There’s a blood splat in the Laundry Room, on the left side of the window.
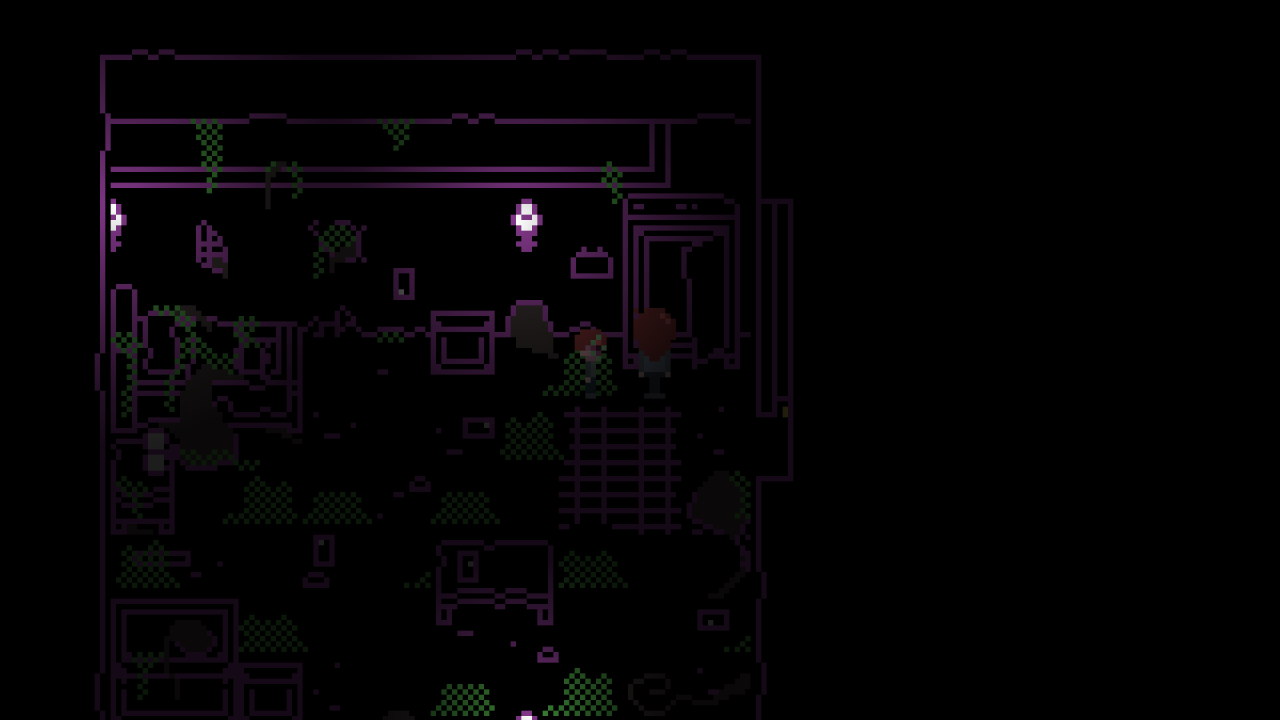
- 4 Hint: There’s a visible blood splat in a wardrobe.
- 4 Solution: There’s a blood splat in the wardrobe in the Butler’s Room, the room with the calendar pages in the Basement.
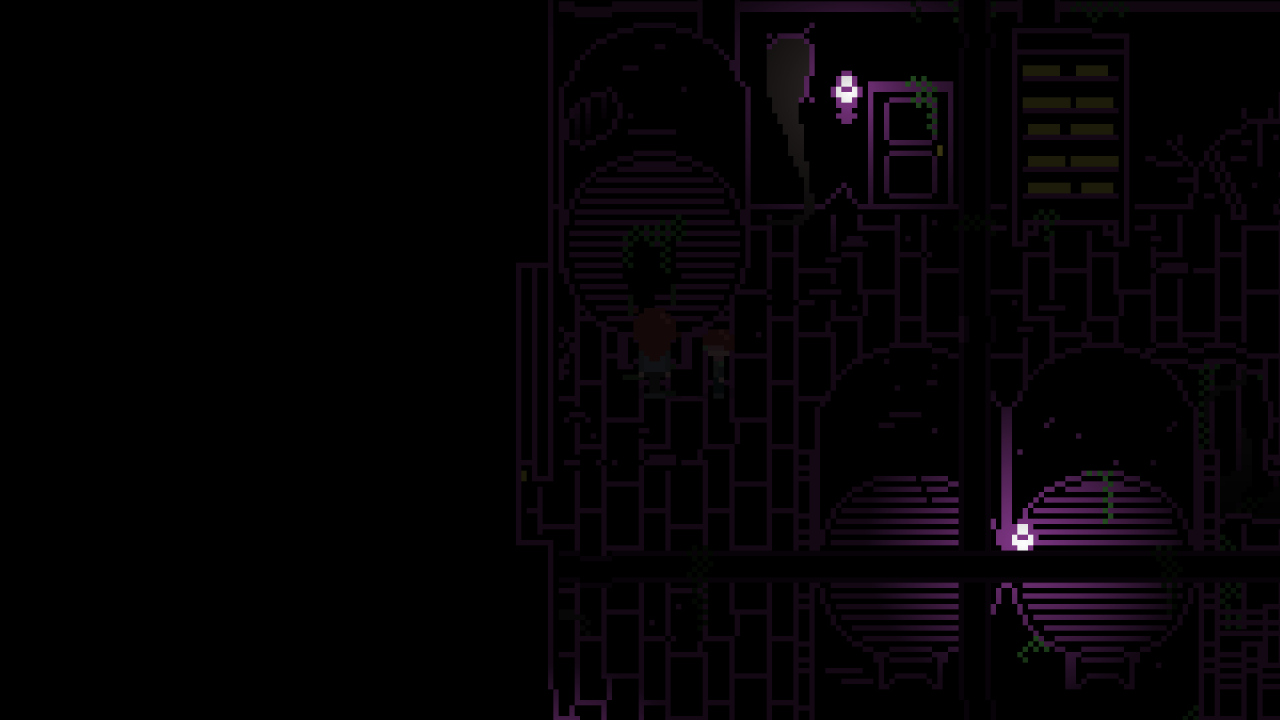
- 5 Hint: There’s a visible blood splat in the cellar.
- 5 Solution: There’s a blood splat in the Cellar, on the hole of a barrel on the left side of the room.
Once it’s time to defend yourself with the Lighter against the tree, select from your inventory the Ankle Chain instead and Emily will toss it against the tree. After the brief cutscene, enter the new door that appeared.
In this black room, go straight up for a while. At some point, you’ll find yourself in total darkness.
From now on, a cutscene will play and you’ll get the secret ending, End J.
Unlockables Secrets (Photos 1-5)

All the unlockables are shared between all saves.
Two unlockables are missable during a run (meaning they can be missed while playing and not obtained anymore on that very save, but can be picked during any other run since they’re shared between all saves). It’s suggested to finish all endings before searching for all the extras on your own.
The game has ten Photo Pieces, which can be found and taken to a character in a Secret Room (which location is told to the players at the end of any playthrough, see picture below for the message you unlock).
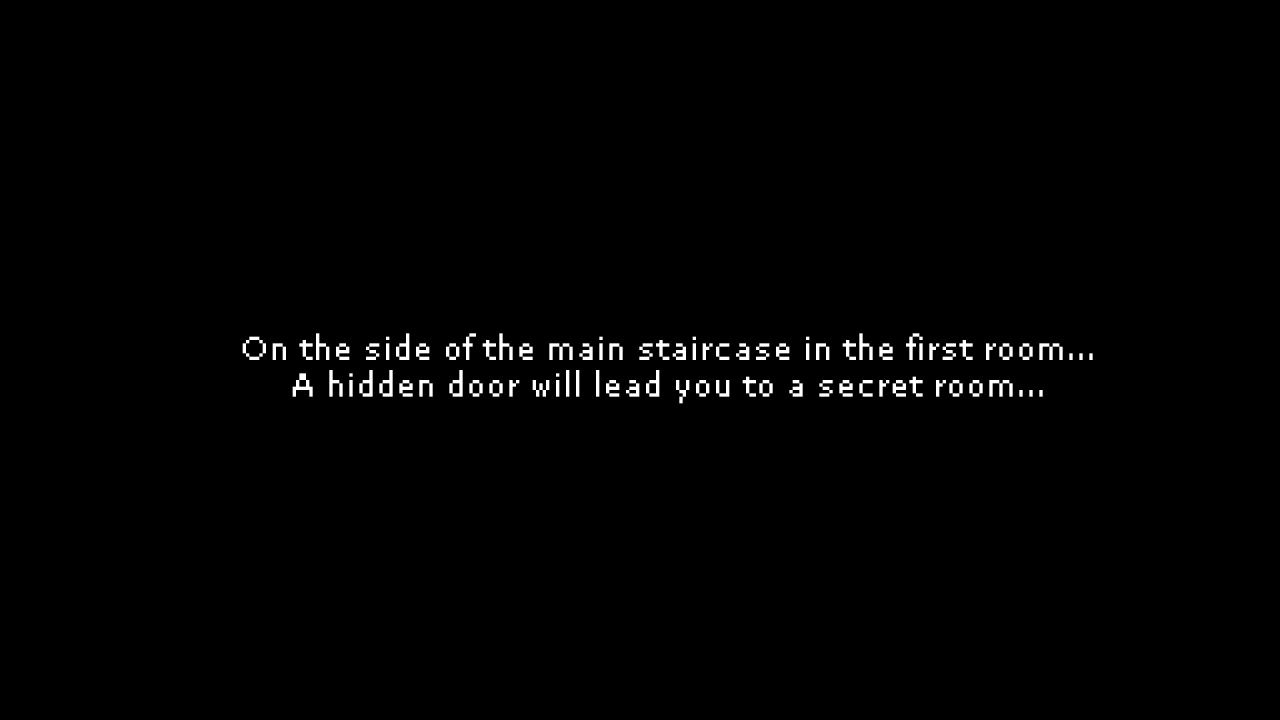
Once given, they unlock stuff that can be checked in that very room.
For players who want some help but also not to be given away the photo locations, worry not and keep reading: this part of the walkthrough is formatted so that you can read progressive hints.
Photo 1
- Hint 1: There’s a note in the Laundry Room that goes:
“The master always misplace keys. Remember to keep track of them myself.”
This is actually a hint for this photo piece. - Hint 2: There’s a keyholder in the butler’s room (the room with the calendar pages) with lots of free space on it.
- Solution: In the Butler’s Room (the room with the calendar pages), there’s a keyholder from which you have taken the small key. Use all three keys you have (Rusty Key, Shiny Key and Small Key) on it to put them down and open up the crate to the left that contains a photo piece
Photo 2
- Hint 1: The butler’s diary contains a passage where it says:
“As now tradition for the master, half an hour after dinner he requested one cream puff to be served.”, followed by a “I went down to the cool room”.
This is a hint for this photo piece. - Hint 2: In the Cool Room, there’s an empty box at the top. If Richard is tagging along, he’ll add a useful comment about it. Also remember the note found in the Study.
- Solution: Set the clock at half an hour after dinner (dinner is at 19:30, so 20:00) and go through the fireplace ladder to the Cool Room. Open the cream puff box at the top to find a photo piece inside.
Photo 3
- Hint 1: Once you obtain the Scrubber, you can use it on the mirror’s bottom in the 1F Bathroom to remove the rust. What you find is not good enough on its own, though. There’s an item found in the Library that’s also necessary.
- Hint 2: By reading to the end a book found in the 1F Library’s left side, you’ll find a Bookmark. Examining it reveals two words which are shared with the 1F Bathroom mirror. The bed it refers to it’s not the one in the Butler’s Room though, but a different one.
- Solution: Use the Scrubber found in the Kitchen to unrust the bottom of the mirror in the 1F Bathroom after the doll is gone. Then, after you have picked up the Bookmark from the Library’s bookcase on the left side, use it in front of the mirror to make three numbers stand out from the rest: 254. This is the code needed in the safe beneath the Witch’s bed in the bedroom. Put it in and you’ll find inside a photo piece.
Photo 4
- Hint 1: By using the Scrubber on the rusty plaque of the right knight statue in the Inner Courtyard, you can find a short riddle to solve that leads to this photo piece.
- Hint 2: Checking your Diary’s map might help to jog your memory, as the riddle refers to something key that’s in the manor.
- Solution: After reading the riddle on the right knight statue, you may have figured out you need to go back to the Foyer and set the clock’s long hand pointing to the top and the clock’s lower hand to the bottom (18:00). Then, enter the Library and you’ll hear a clock chime. Go to the top left and examine the book that fell off the bookcase to find a photo piece.
Photo 5
- Hint 1: Once Richard is tagging along, he may help you to reach something in a higher place.
- Hint 2: In a room there’s something that’s out of reach for Emily. When you examine that piece of furniture, apparently empty, Emily will comment about something too high for her to reach.
- Solution: In the Living Room, there’s a box on top of the bookcase on the bottom. Examine it when Richard is tagging along to have him get on your shoulders and retrieve a photo piece from the box.
Unlockables Secrets (Photos 6-10)

All the unlockables are shared between all saves.
Two unlockables are missable during a run (meaning they can be missed while playing and not obtained anymore on that very save, but can be picked during any other run since they’re shared between all saves). It’s suggested to finish all endings before searching for all the extras on your own.
The game has ten Photo Pieces, which can be found and taken to a character in a Secret Room (which location is told to the players at the end of any playthrough, see picture below for the message you unlock).

Once given, they unlock stuff that can be checked in that very room.
For players who want some help but also not to be given away the photo locations, worry not and keep reading: this part of the walkthrough is formatted so that you can read progressive hints.
Photo 6
- Hint 1: The grate for the water’s flow in the Inner Courtyard is suspicious. You may examine it with a Lighter (once obtained a blue flame) or with Richard to investigate it further.
- Hint 2: If you think about the grate’s position on the map and the fact that your only option to take what’s inside is to break the grate open, you might realize there’s a practical solution (which can be missable in a single run, though).
- Solution: After you emptied the rabbit statue of the water (unscrewed the head and got the Big Clam inside), you need to push the rabbit statue over the Balcony, through the open door. Push the statue all the way to the hole in the Balcony’s railing and push it down from here. Go down to the Inner Courtyard and, along with the Rabbit Tile, you’ll find the grate broken open and a photo piece inside.
Photo 7
- Hint 1: In the Cellar there’s a tall rack of cheese. If you find something that can help you to cut a piece of it, you can take it with you and find a use for it.
- Hint 2: In order to find this photo piece, you have to find someone in the Dining Room.
- Solution: Go to the Dining Room and examine the serving trolley to make a mouse pop out from it. This mouse runs to the hole on the top right corner of the room. Go to the Butler’s Room and solve the calendar puzzle by opening the safe (the code is 6218922) to find the diary’s missing pages. Examine the safe again to find a Red Knife that was hidden under the pages. Pick it up and go to the Cellar on the right, in front of the rack of cheese. Use the knife to cut a piece of it and go back to the dining room. Use the Cheese in front of the mouse hole and the mouse will reward you with a photo piece.
Photo 8
- Hint 1: The grandfather clock’s and doll’s arm are not the only screws present in the manor that you can observe with the player’s eyes.
- Hint 2: This photo piece is in the Generator Room.
- Solution: Back in the Generator Room, examine the bulky generator. You can spot two screws on the left that are exactly alike the grandfather clock one and the doll’s arm one (if Richard is tagging along, clicking on them will start a dialogue to spell it aloud). Use the Screwdriver in front of the generator to open a small compartment containing a photo piece.
Photo 9
- Hint 1: On the bookcase in the middle of the Library there’s more than the puzzle where you got the Shiny Key.
- Hint 2: Rubber protects against electricity.
- Solution: Back in the Library, you can push the ladder to the middle of the bookcase containing the book puzzle where you found the Shiny Key. Climbing it all the way up (requires the Wooden Peg inserted) leads to a lamp with a visibly broken glass case that Emily can’t touch due to the exposed wires. When standing in front of the ladder and facing it, use the Rubber Glove (while not filled with holy water) to climb up the ladder and let Emily check under the lamp’s glass. You’ll find a photo piece.
Photo 10
- Hint 1: The Music Room contains a photo piece, if you help out something in need of help.
- Hint 2: The potted plant needs watering, and there’s a moment during your game when you do carry water with you.
- Solution: Right when you enter the Music Room, you can see a potted plant. Examining it reveals it’s thirsty. Once you opened the Chapel and you’re carrying the holy water with the Rubber Glove, go back here and give a drop of water to the plant to make it bloom and reveal a photo piece. Be aware that using the holy water to poison the root will consume the water and make this piece missable on that single run.
That’s all we are sharing today in Deeproot Manor Complete Walkthrough (All Endings & Secrets), if there are anything you want to add please feel free to leave a comment below and we’ll see you soon.
Credit to Little Skull Kid and Skipper
