If you play Umurangi Generation and looking for film canisters, this guide will provide all film canister locations to you with images, let’s check it out.
Stage 1
Stage 1 – Muauo View
A small and busy space. The faster you tap your double jump, the higher you rise.
Main level:
1. In the alcove next to your pink friend. It’s just under the top pallet. 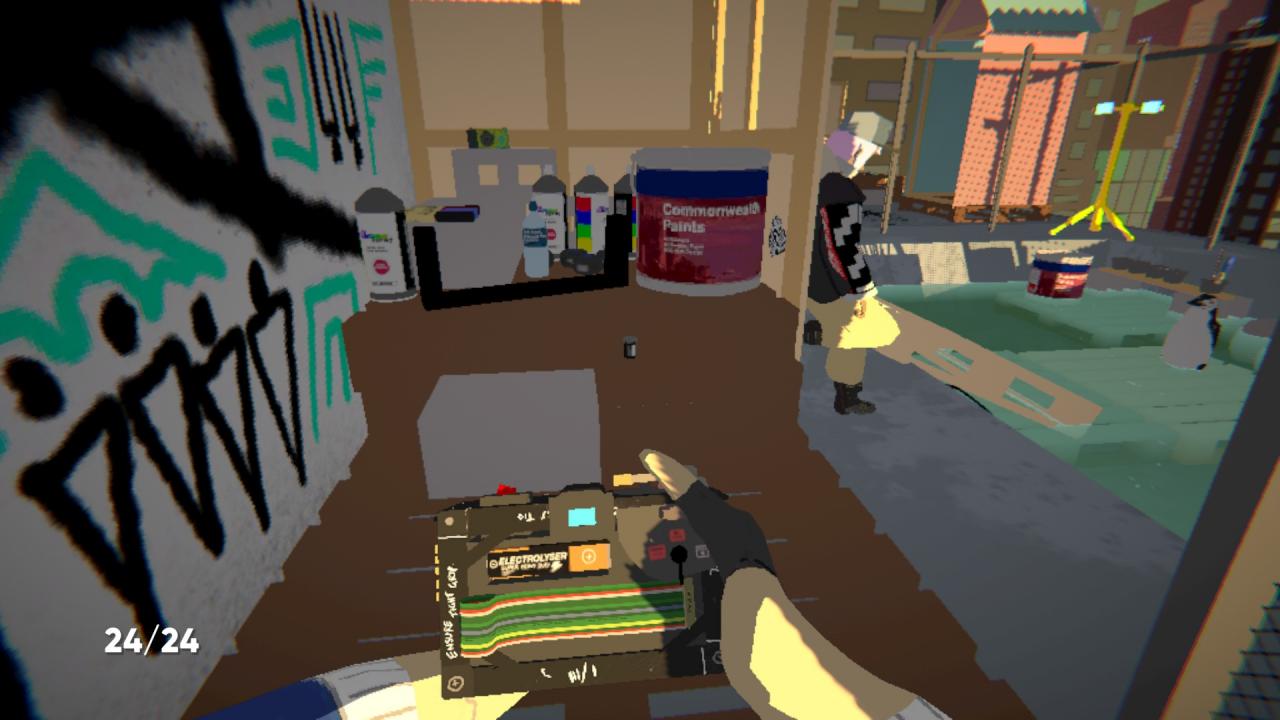
2. On the eave behind the couch, guarded by two birds. Jump over the couch and look left.
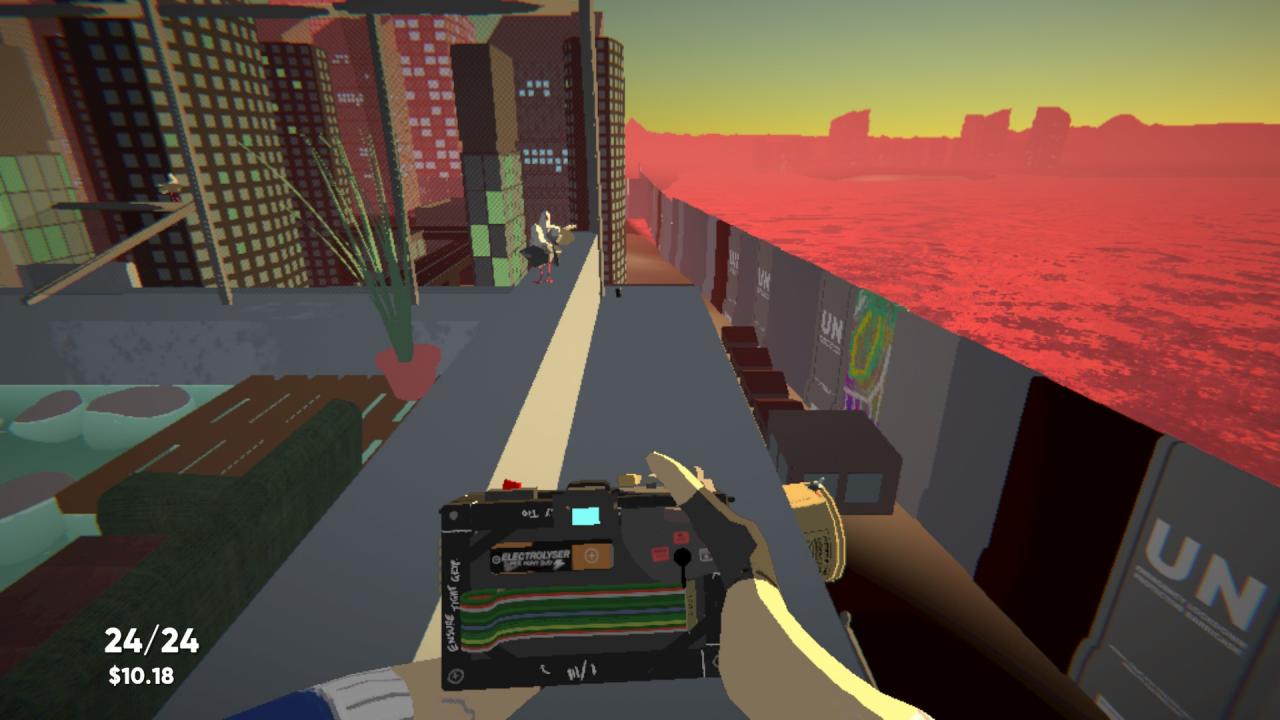
3. On the floor next to the outer graffiti wall on the main level.
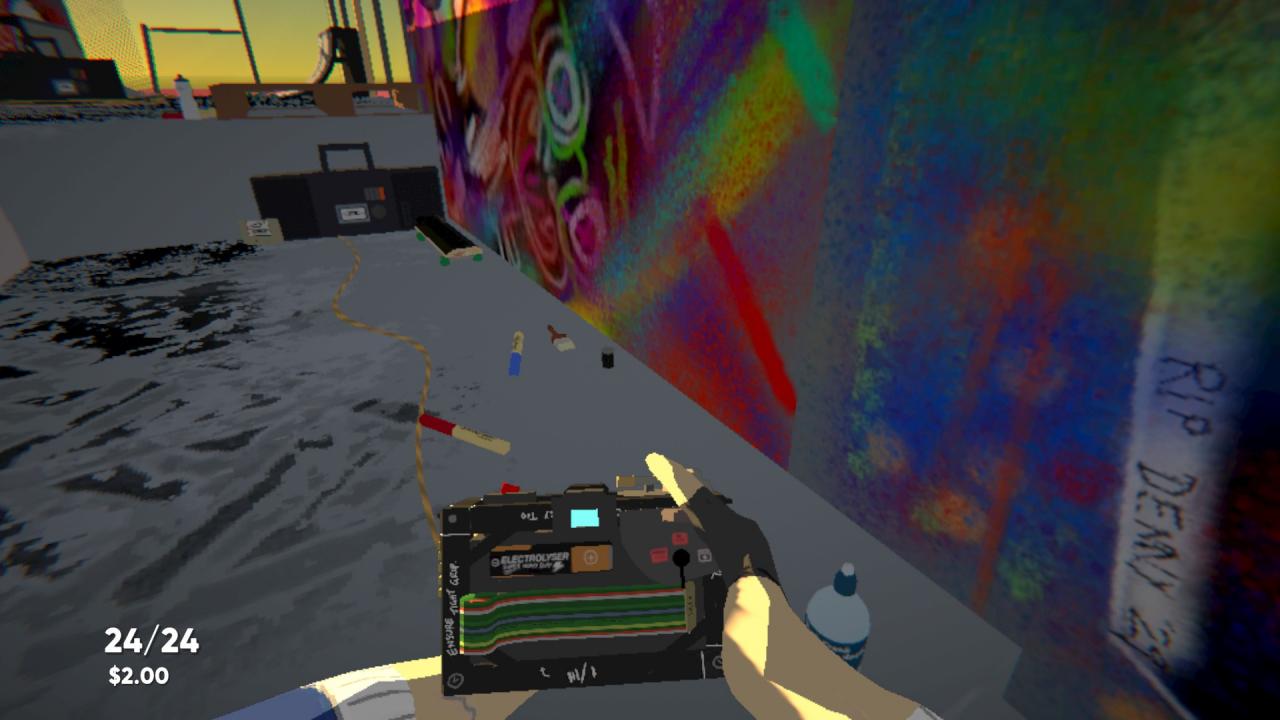
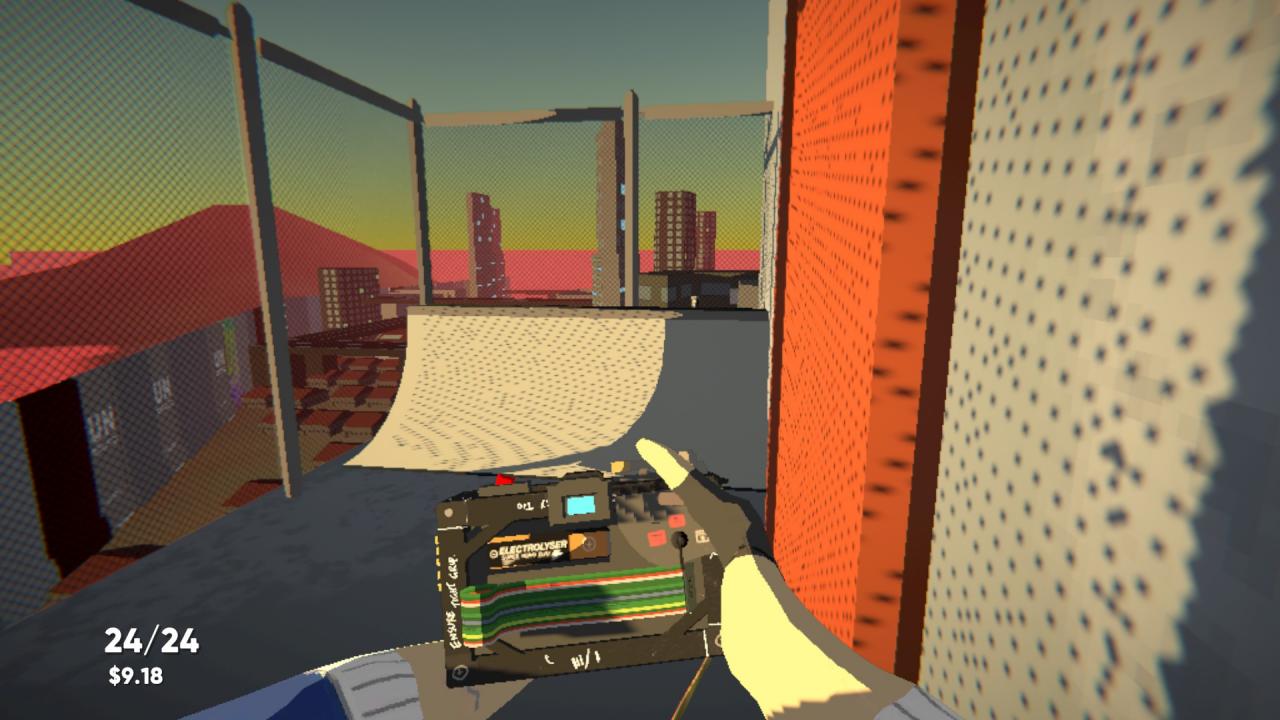
4. On the half pipe located behind your friends.
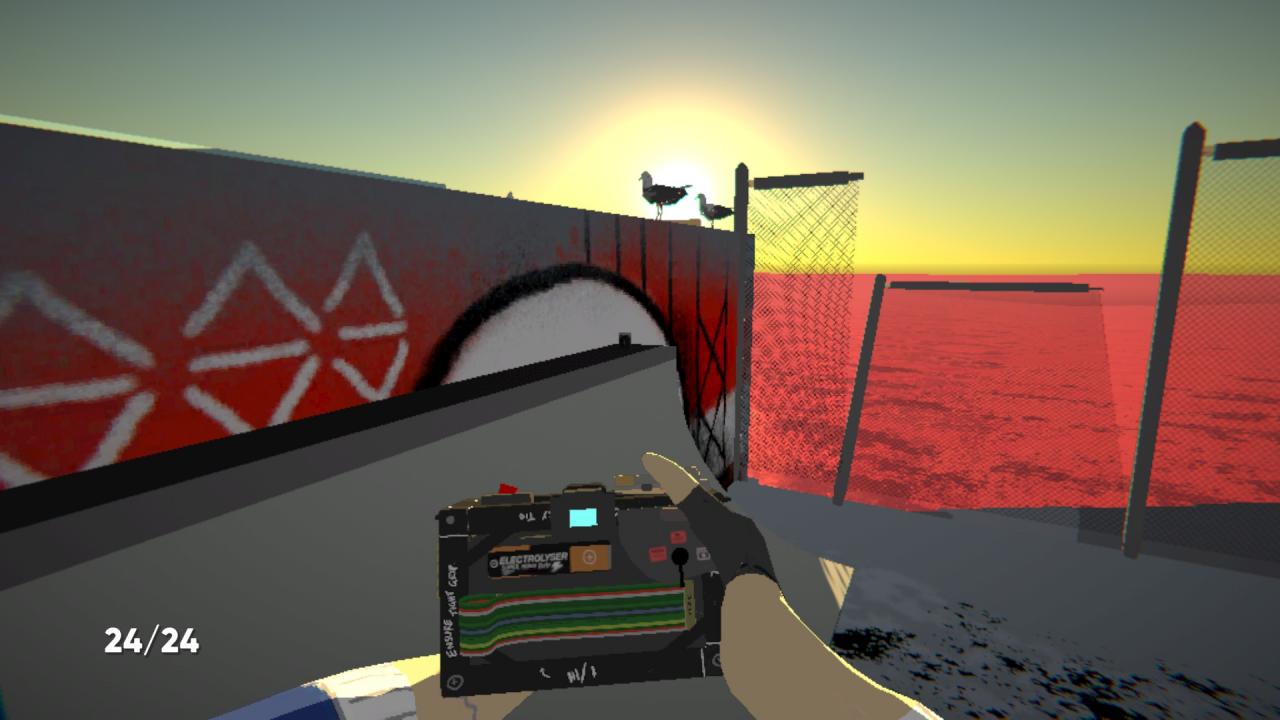
5. Out of the way, on scaffolding located on the other side of the outer wall. Double jump around the wall to reach it. It’s beside a large paint bucket.
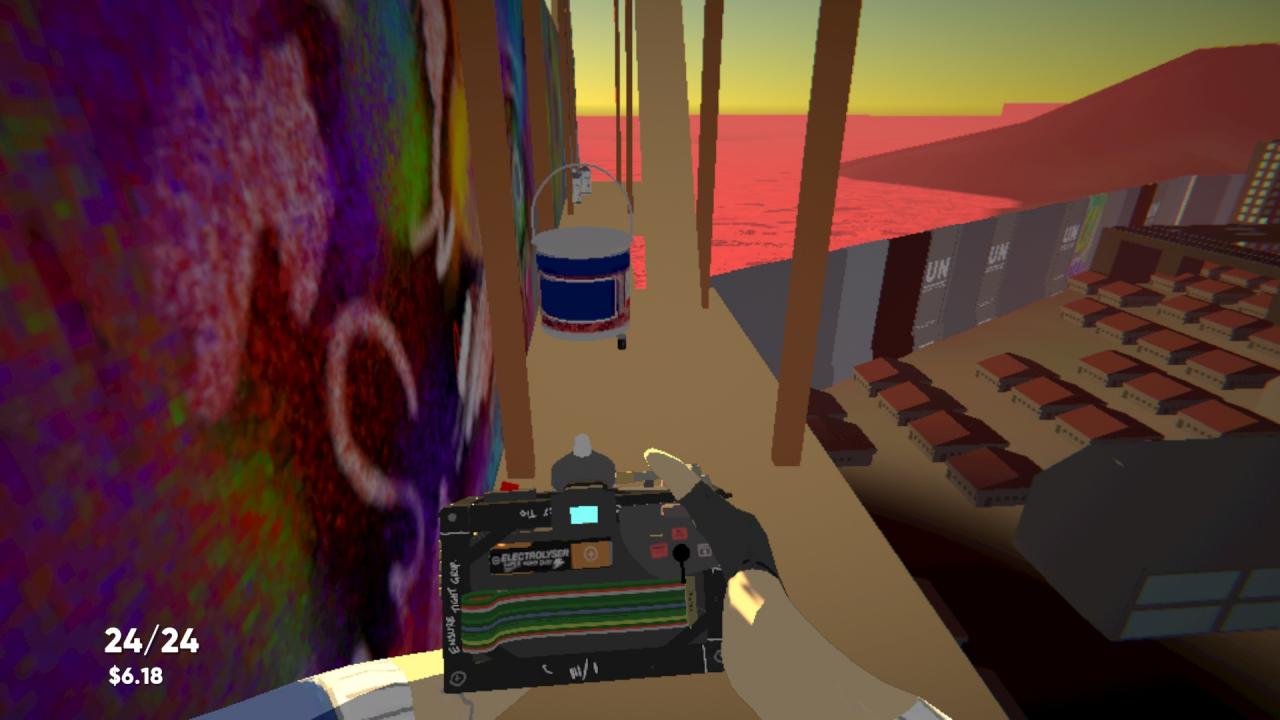
Top of the stage:
6. On top of the high wall in the middle. It’s next to a bird.
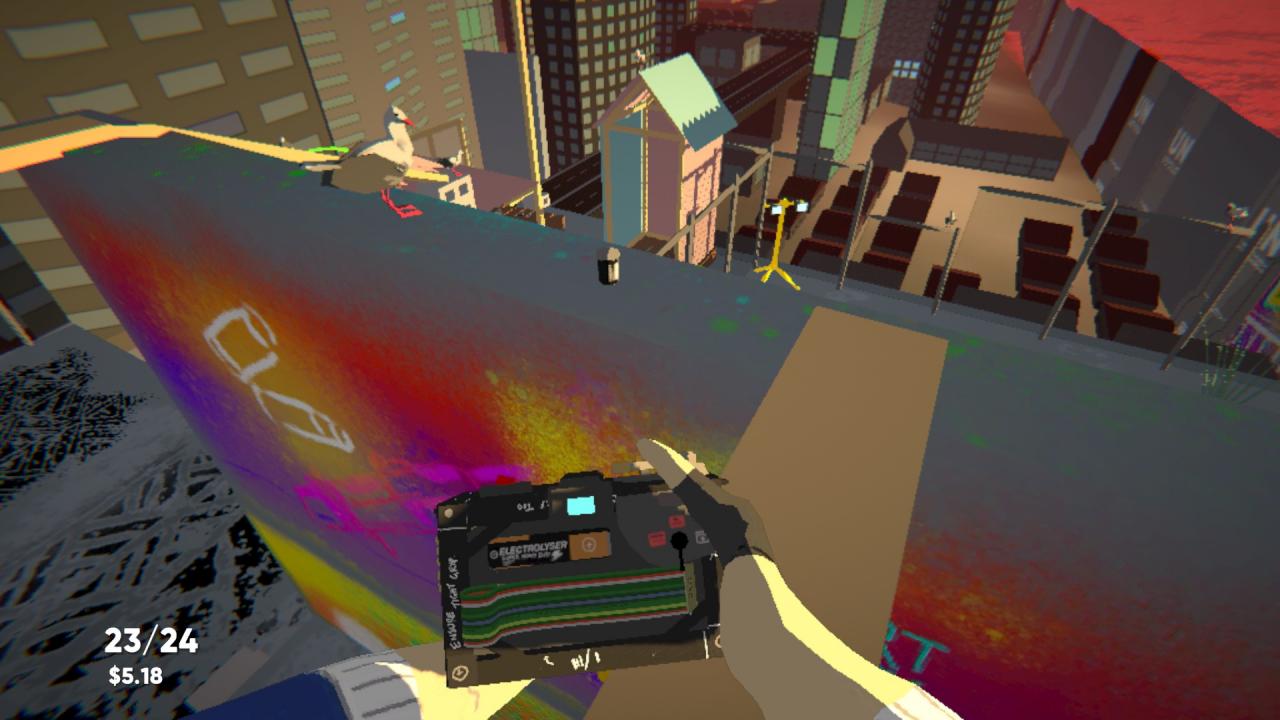
Lower level:
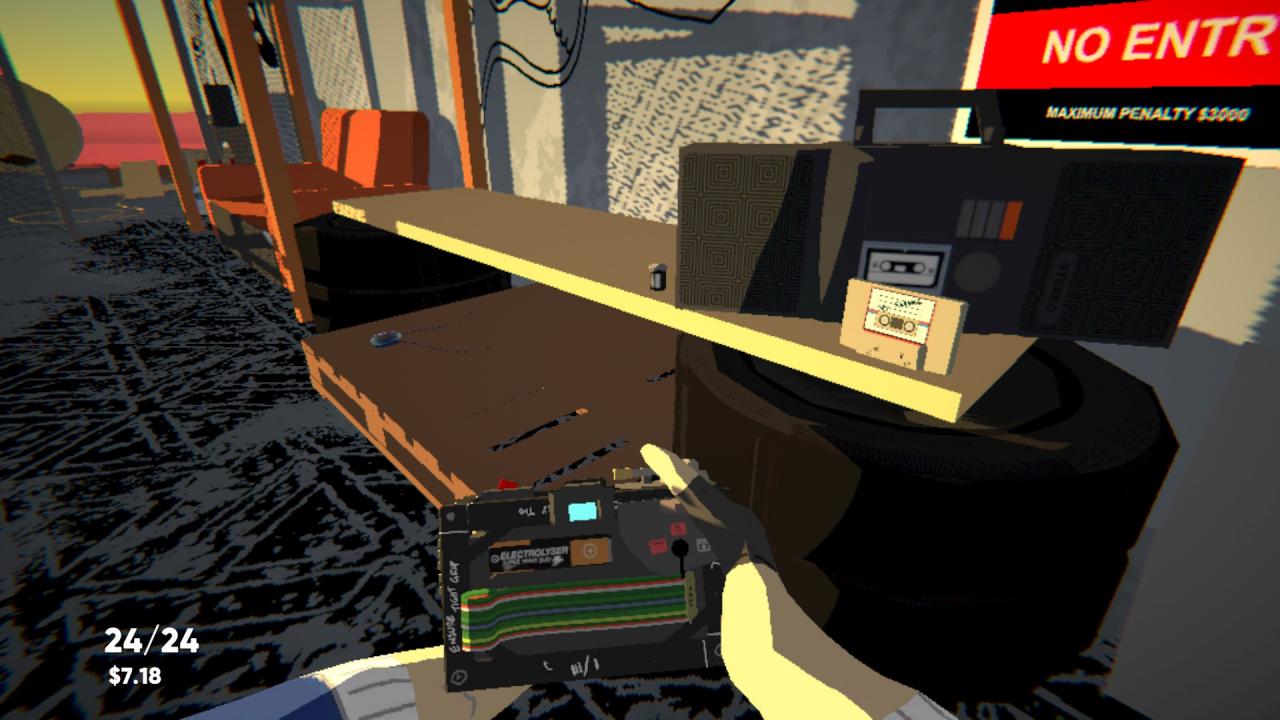
7. On the lower level, beside the boombox. Take the stairs down to the lower level, the boombox is right around the corner.
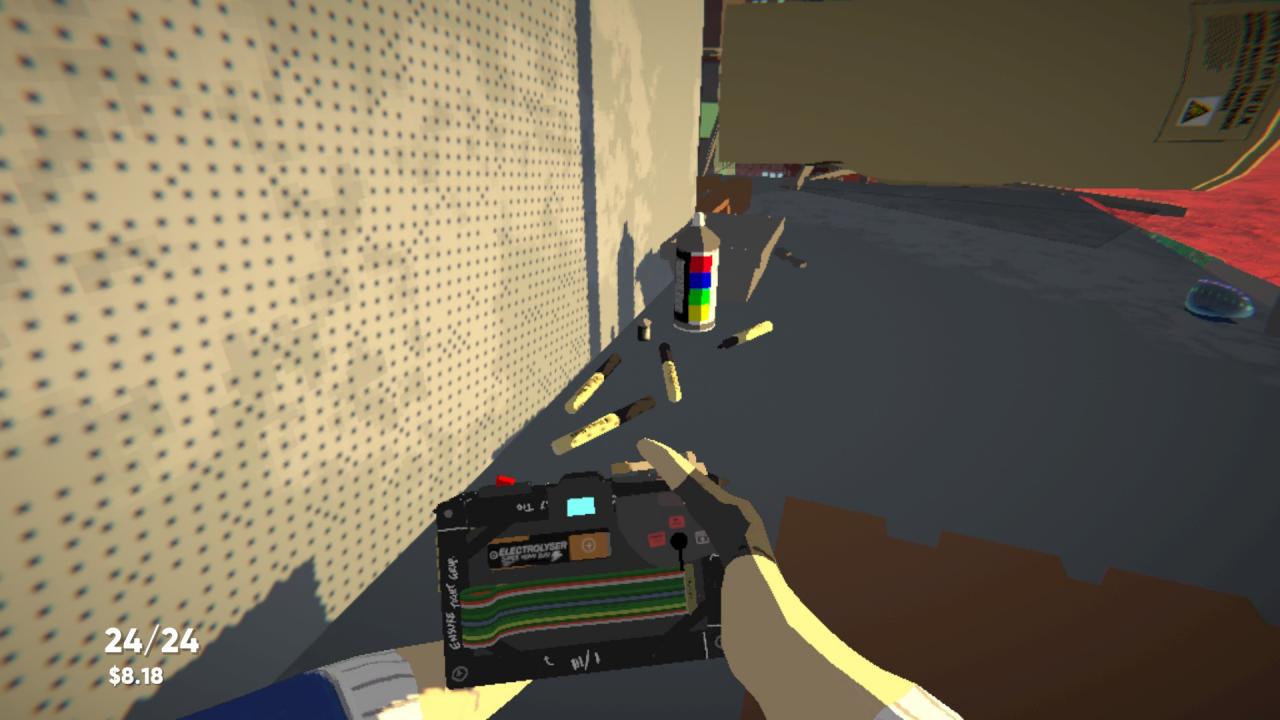
8. On the lower level, just after you turn the corner to the quarter pipe. It’s on the floor, beside a spray can and some black markers.
9. On the lower level, on top of the quarter pipe. Right beside the EXIT door.
Stage 2
Stage 2 – Otumoetai
An expansive stage. If you’re having some photo trouble, check that you’re using the right lens.
Main level, starting tent:
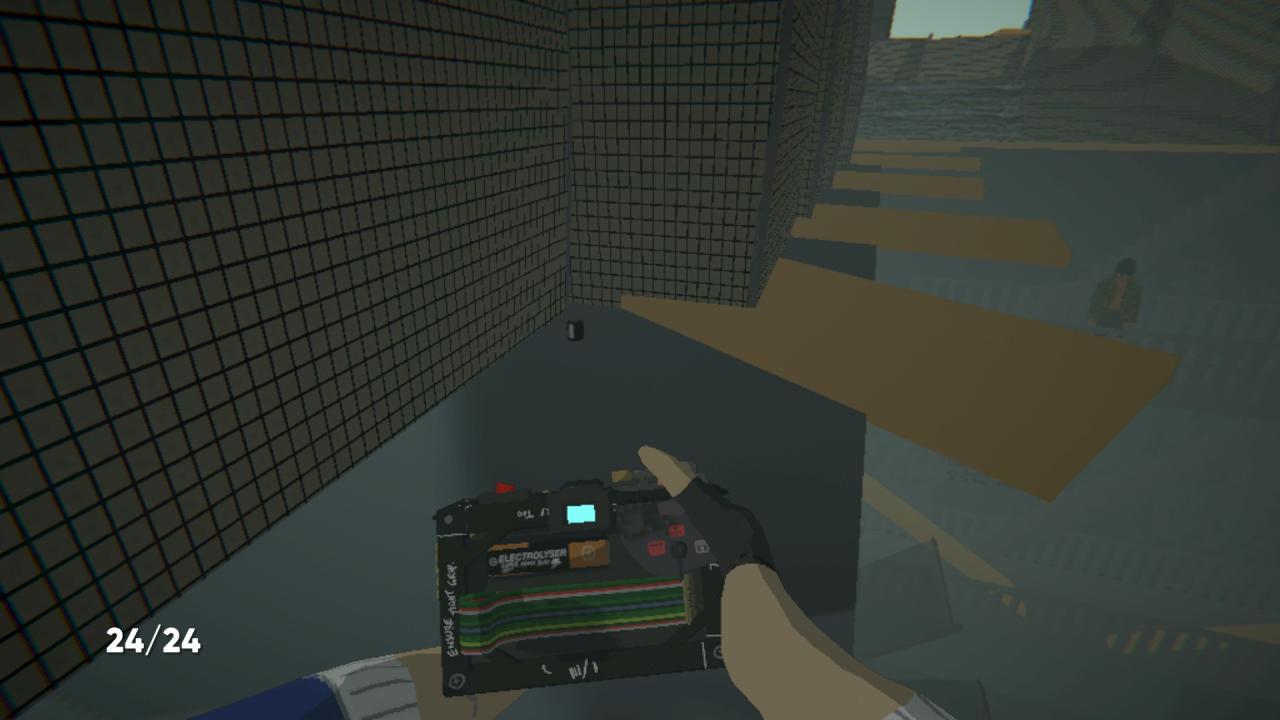
1. There are wooden panels jutting out from the left side of the starting tent. Cross the panels, the canister is around the corner when you reach the last panel.
Main level, the bunker:
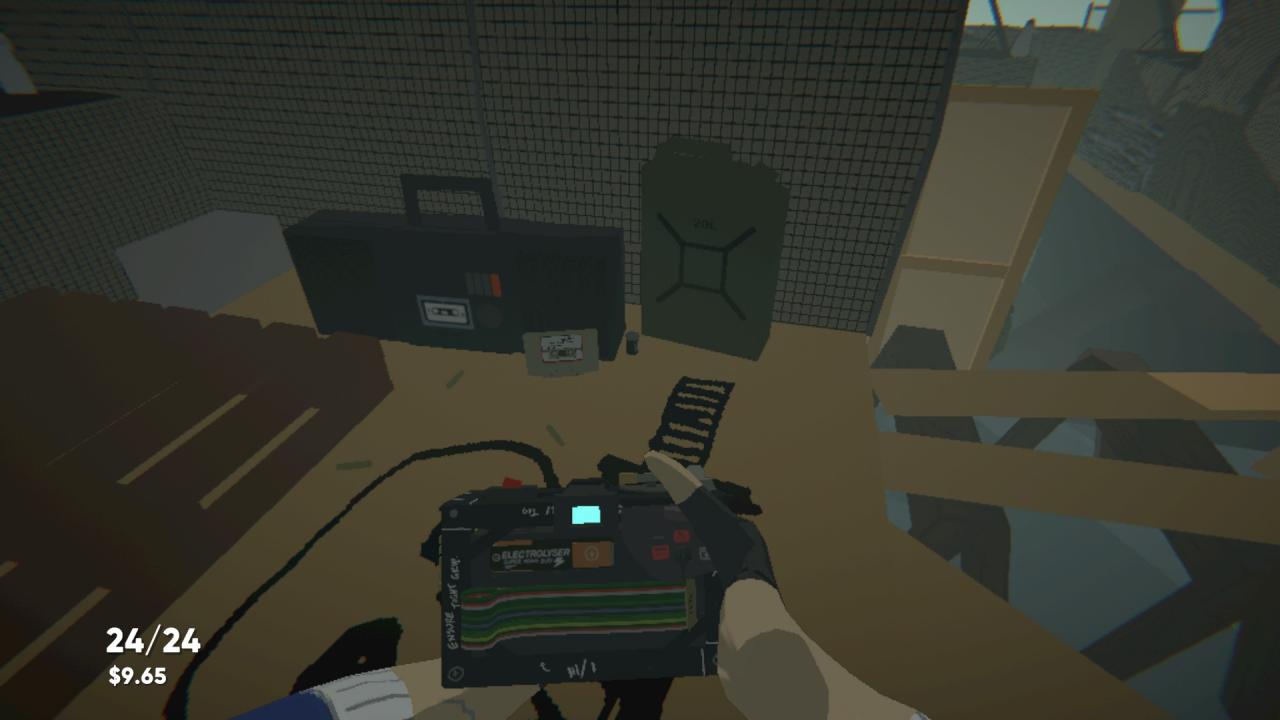
2. Beside the boombox in the bunker.
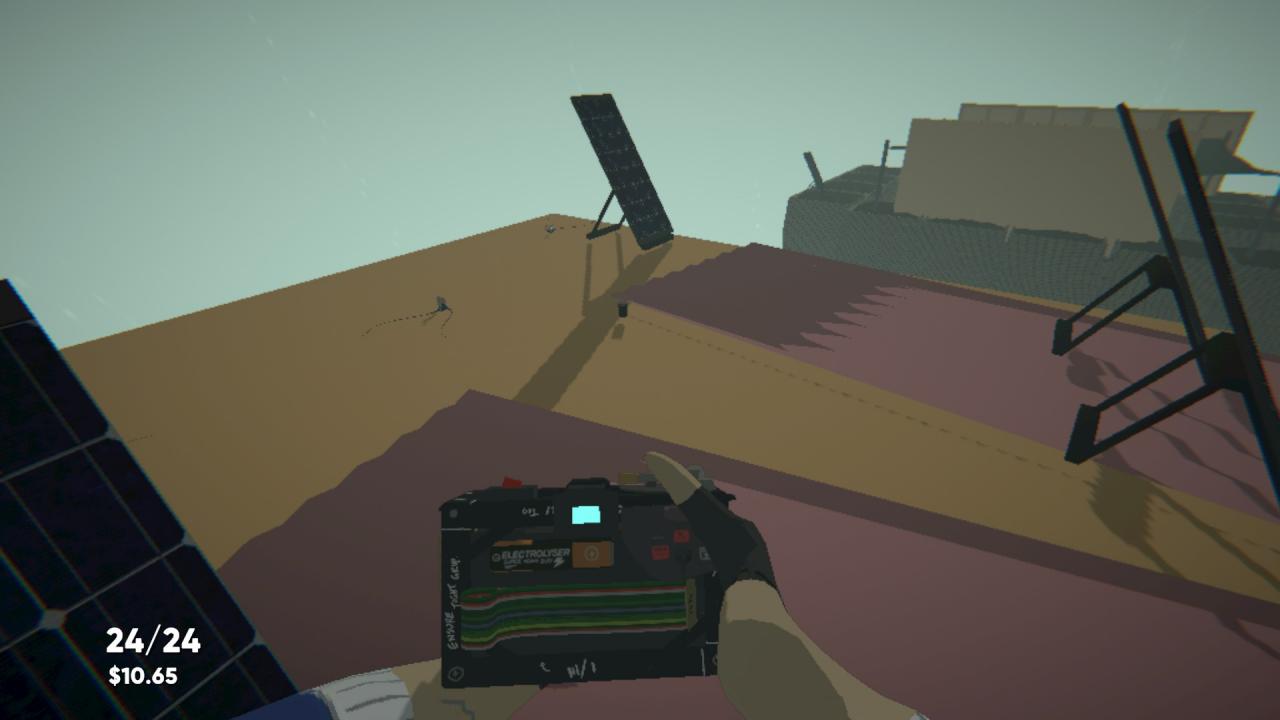
3. On the roof of the bunker. Follow the wooden panels jutting out from the left side for an easy route to the roof.
Rear stairs:
4. Under the wooden planks that lead up to the main level.
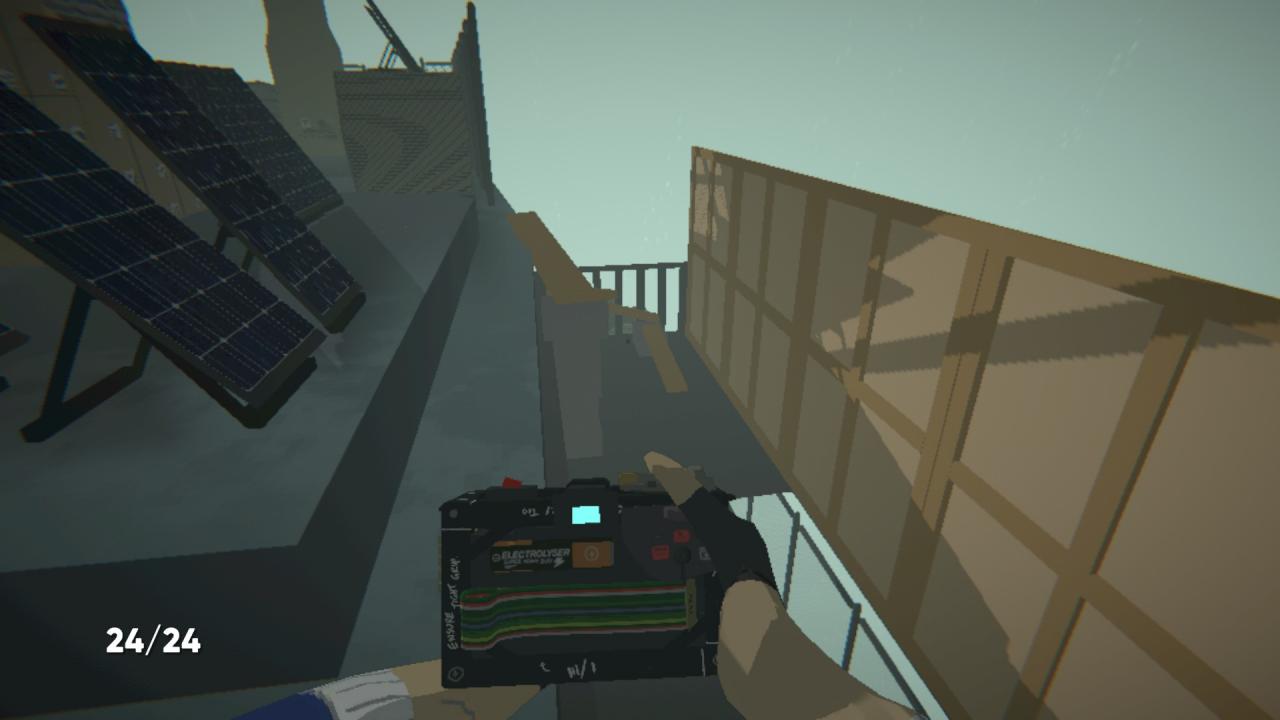
Lower level, UN tents:
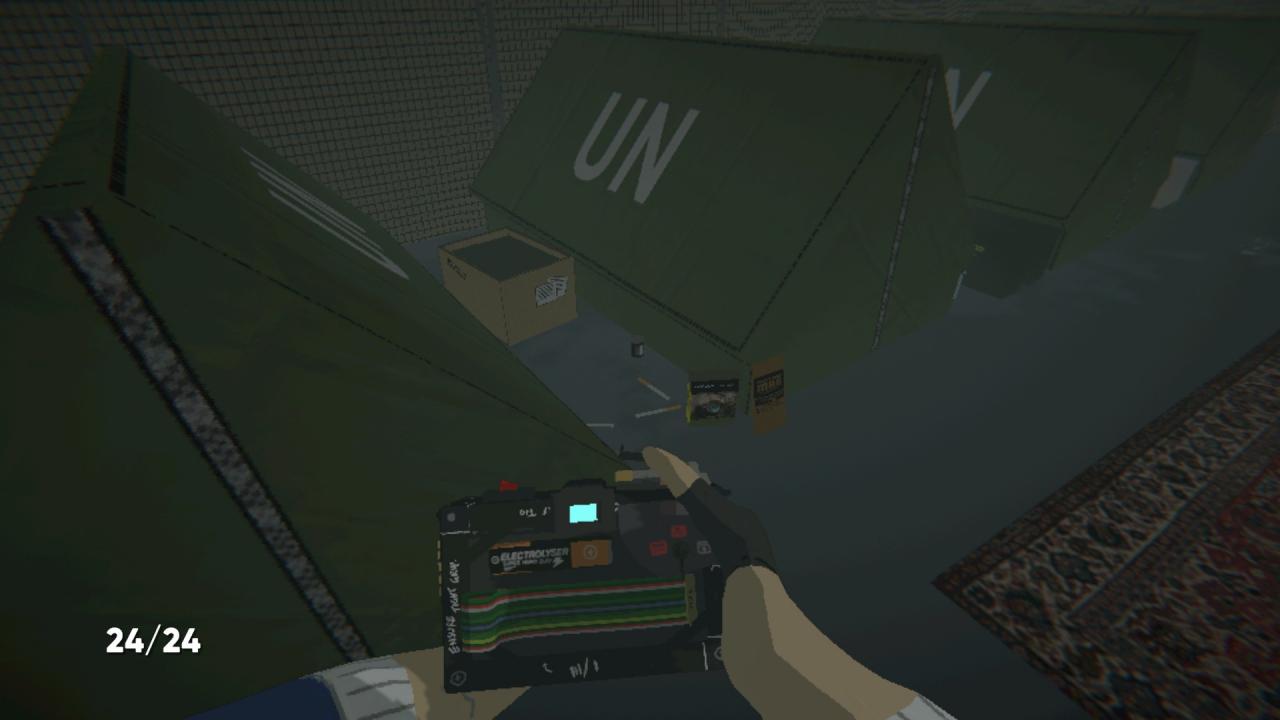
5. Between the first and second tents on the left, next to three cigarettes, a knife, and an MRE. This is assuming you’re approaching from the rear stairs.
Lower level, kill house:
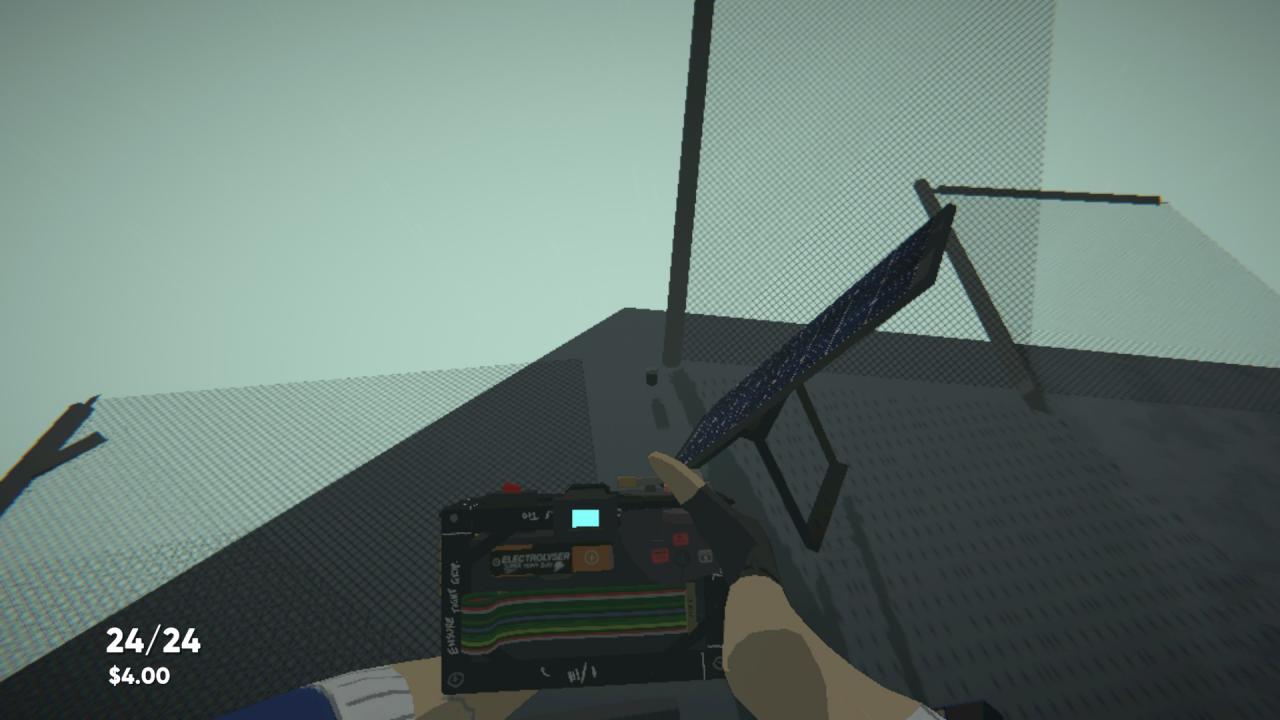
6. Go behind the kill house with the yellow targets and examine the row of solar panels. The canister is in the right corner, on the other side of the panels.
Stage 3
Stage 3 – Walled City, a.k.a. Kati Kati
A very cool stage. Also, very dim. You don’t need crazy acrobatics to find the film canisters; you need a careful eye.
Main level, left side:
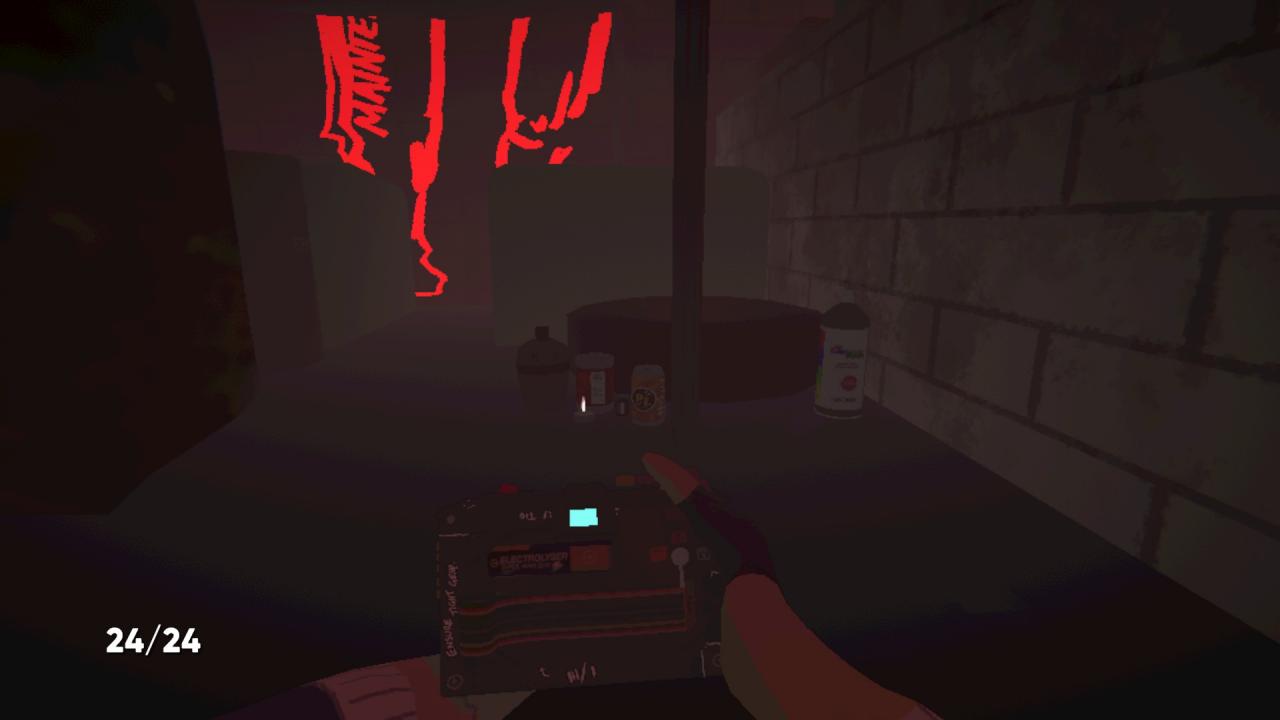
1. From the beginning, make a U turn left and approach the red soldier graffiti. The canister is located beside a candle, a tire, and some drinks.
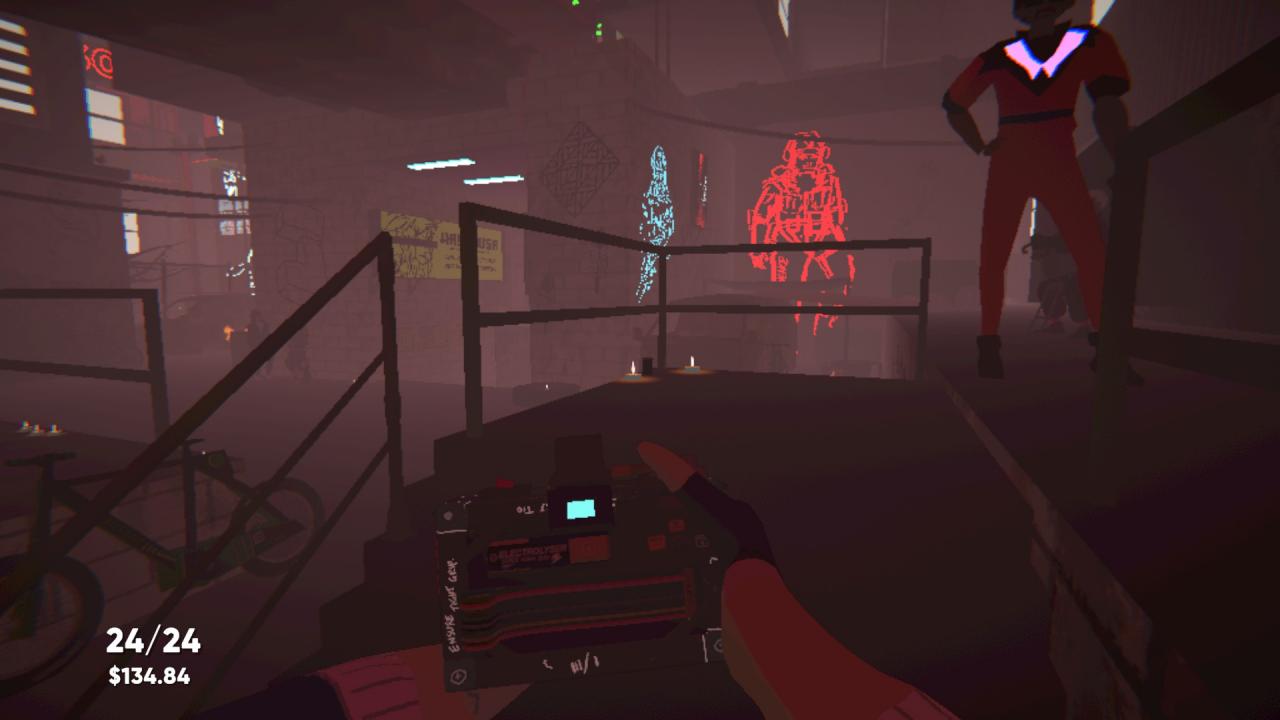
2. On the floor of stair landing, beside the dude with the cool glowing jumpsuit. Right between two candles.
Main level, right side:
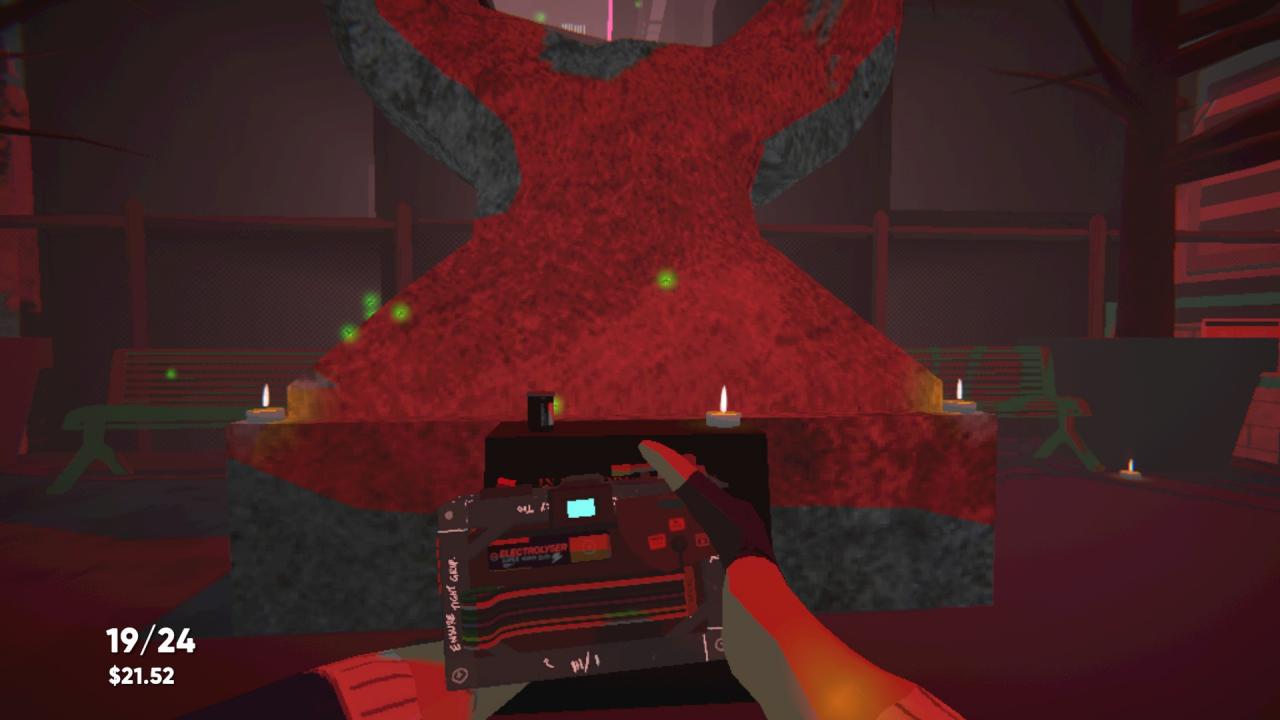
3. On the memorial plaque.
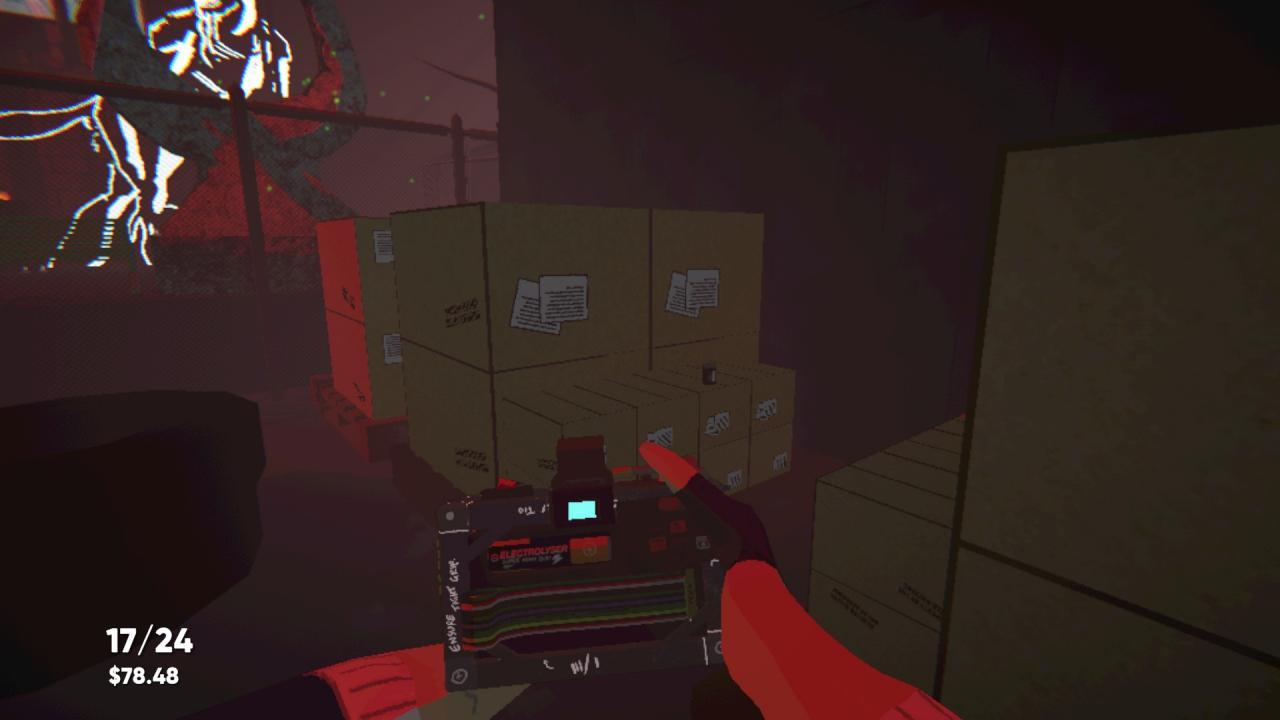
4. In the alley behind the memorial plaque, on the second pallet of boxes.
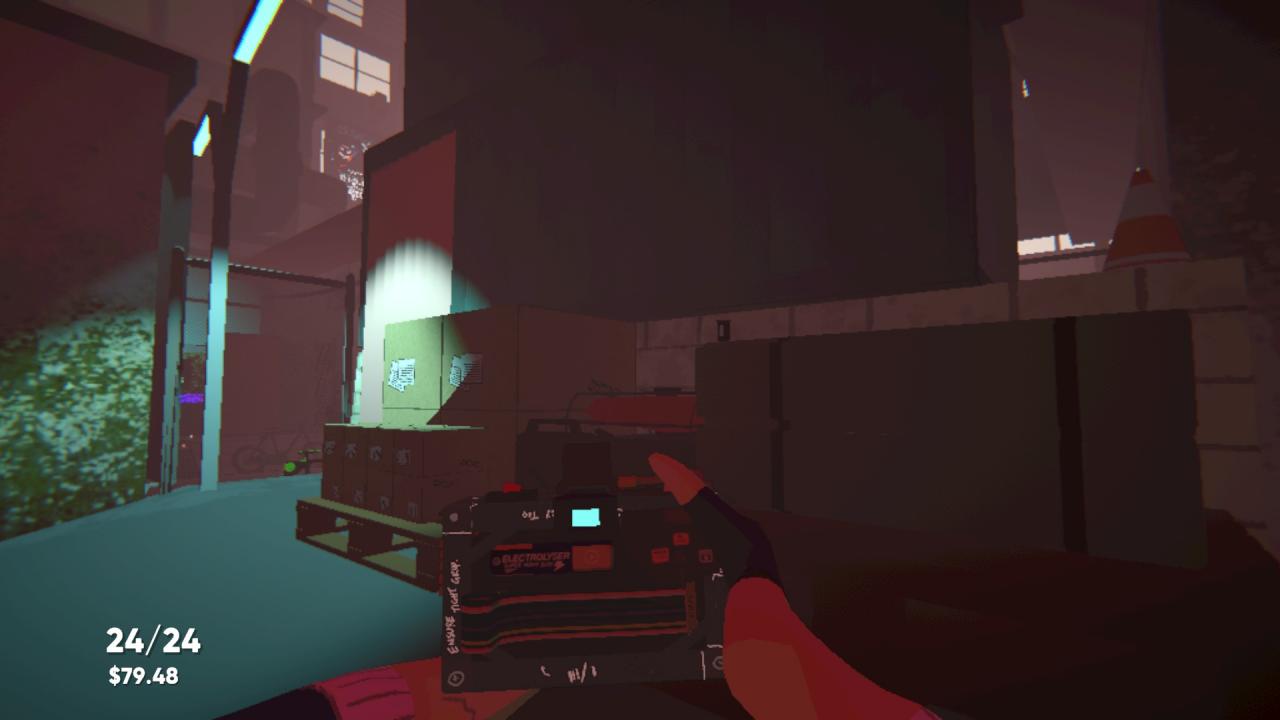
5. Farther behind the memorial plaque, to the right of the bright streetlight. It’s on top of the green RPG boxes.
Main level, centre lane:
6. On the right side of the lane, beside the cat grooming itself above the “Blue Bottle” posters.
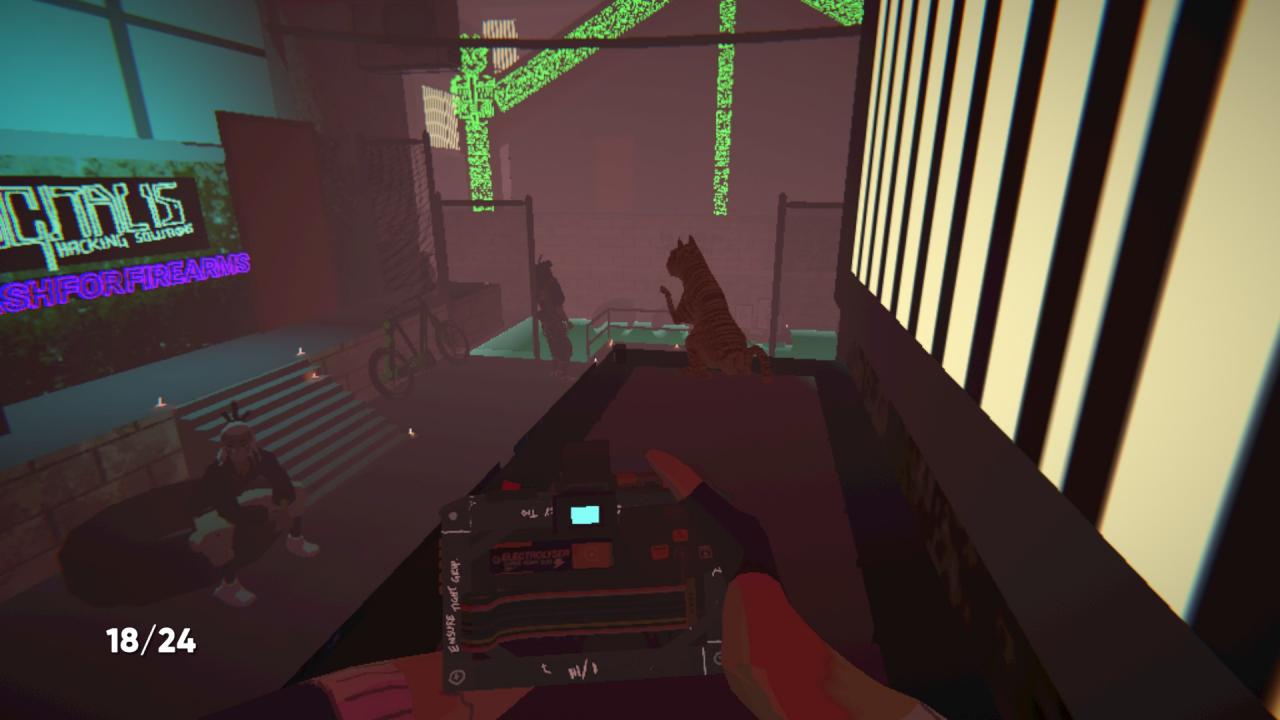
7. On the left side of the lane, below the “Digitalis Hacking Solutions” sign. It’s on the floor beside the top of the stairs.
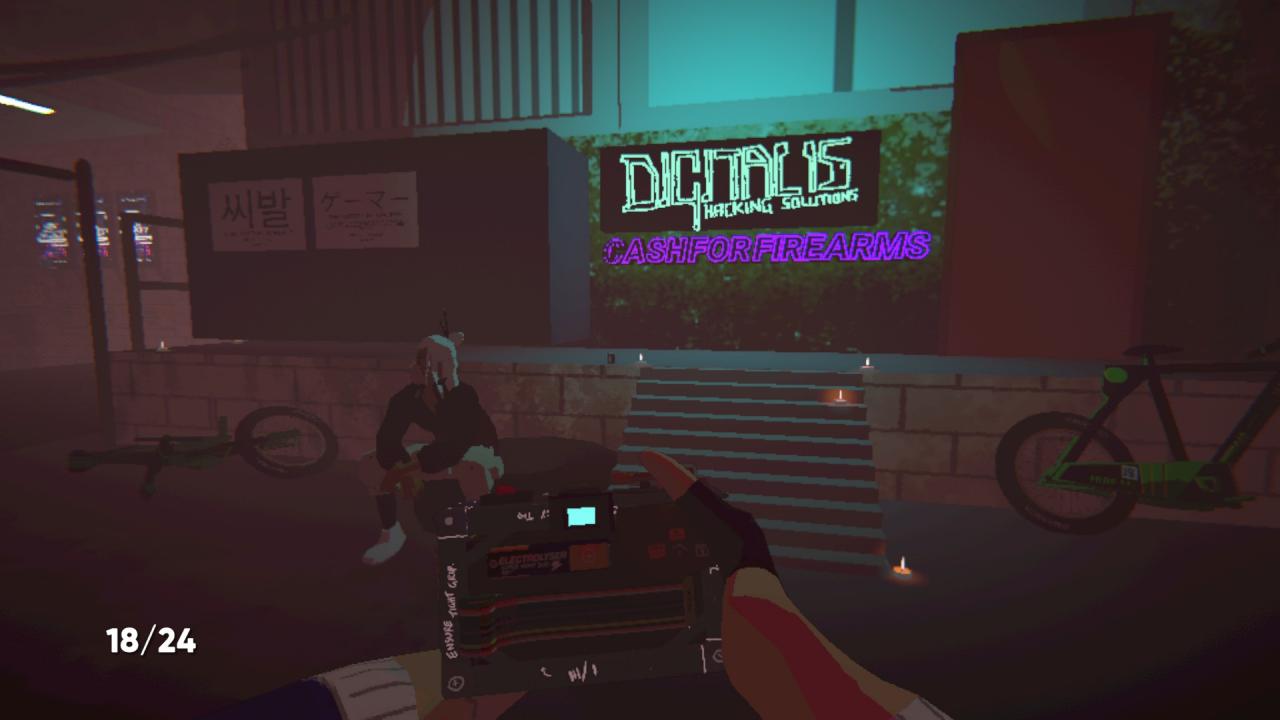
8. On the pallet memorial in the water. It’s to the right of the frontmost candles. 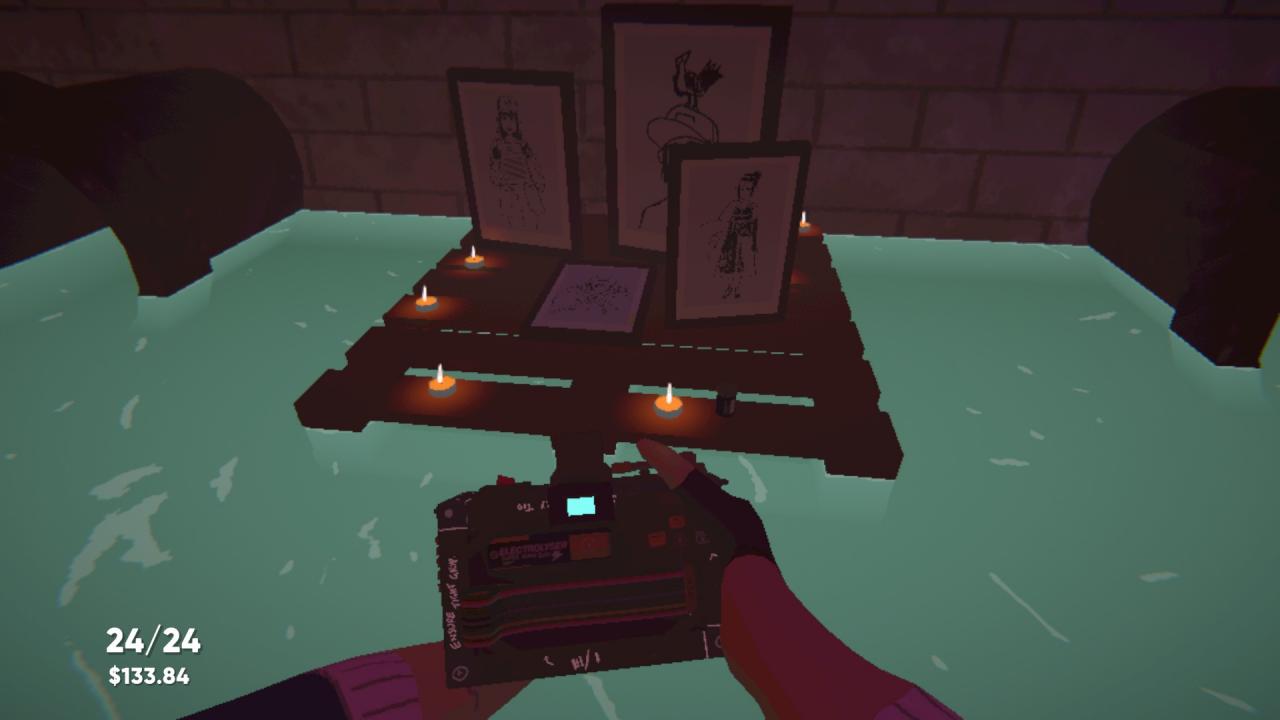
Stage 4
Stage 4 – The Strand
As a gamer, I really identify with the far left corner of this stage.
1. On the trunk of the white+pink car next to the dance crew. It’s on the “55” decal.
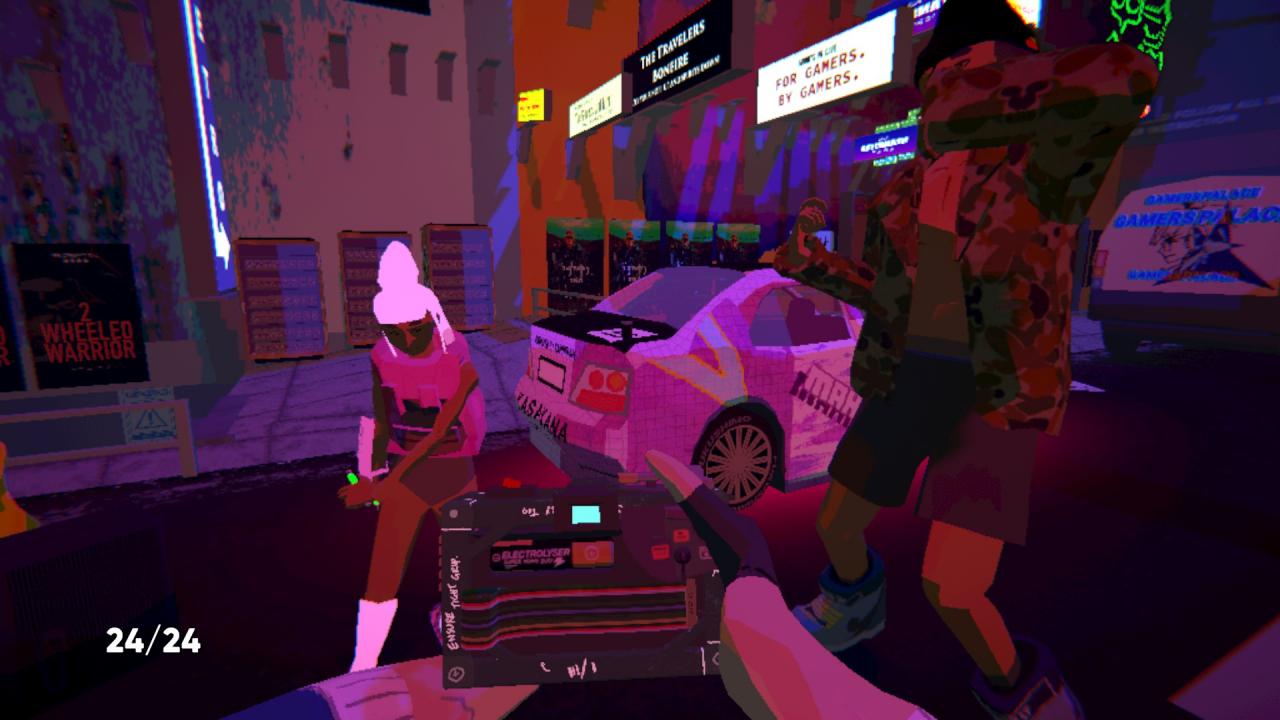
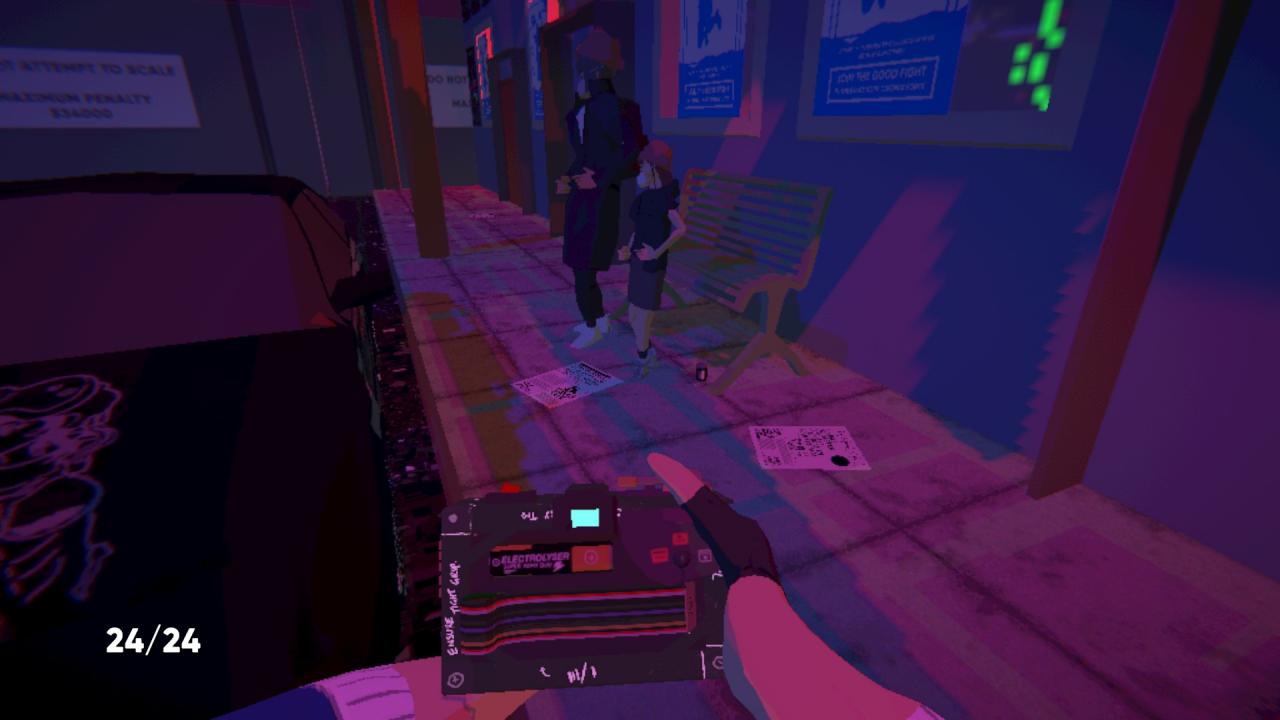
2. Behind the dance crew, there is a supercute parent and child. It’s under their bench.
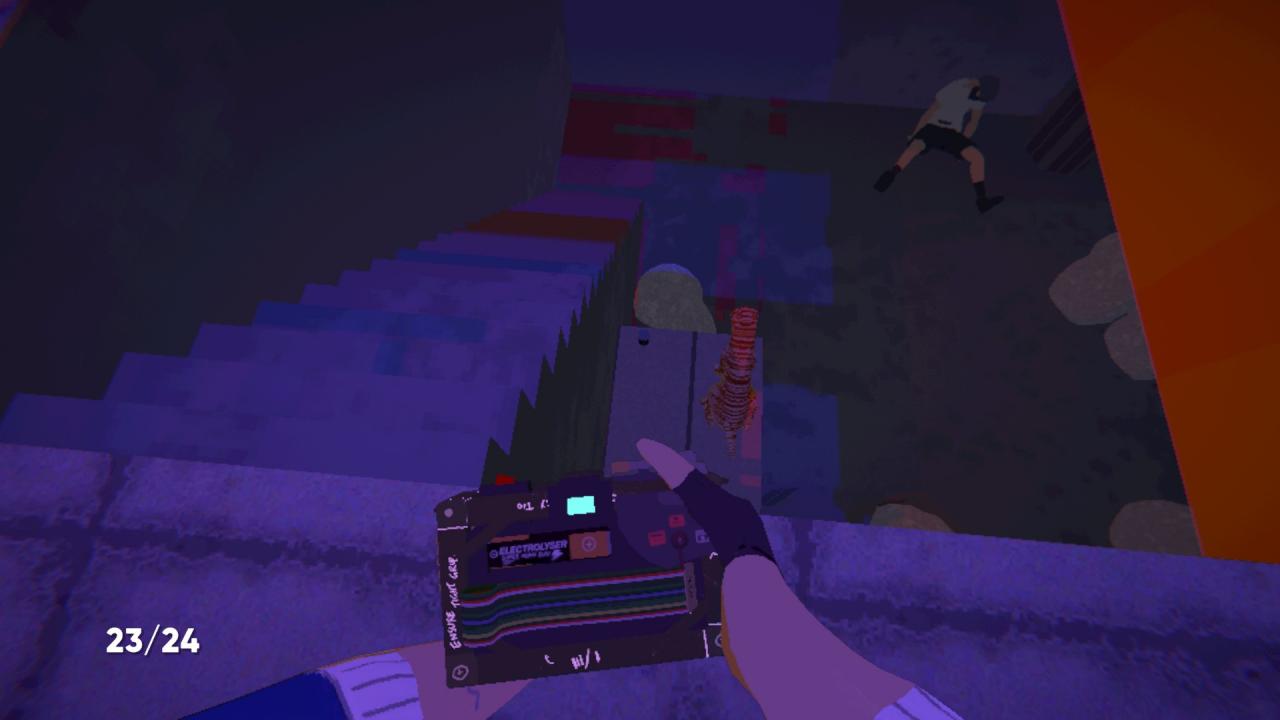
3. To the left of the dance crew, there are stairs leading to a small basement. There is a cat grooming itself on a stack of boxes by the stairs, the canister is there too.
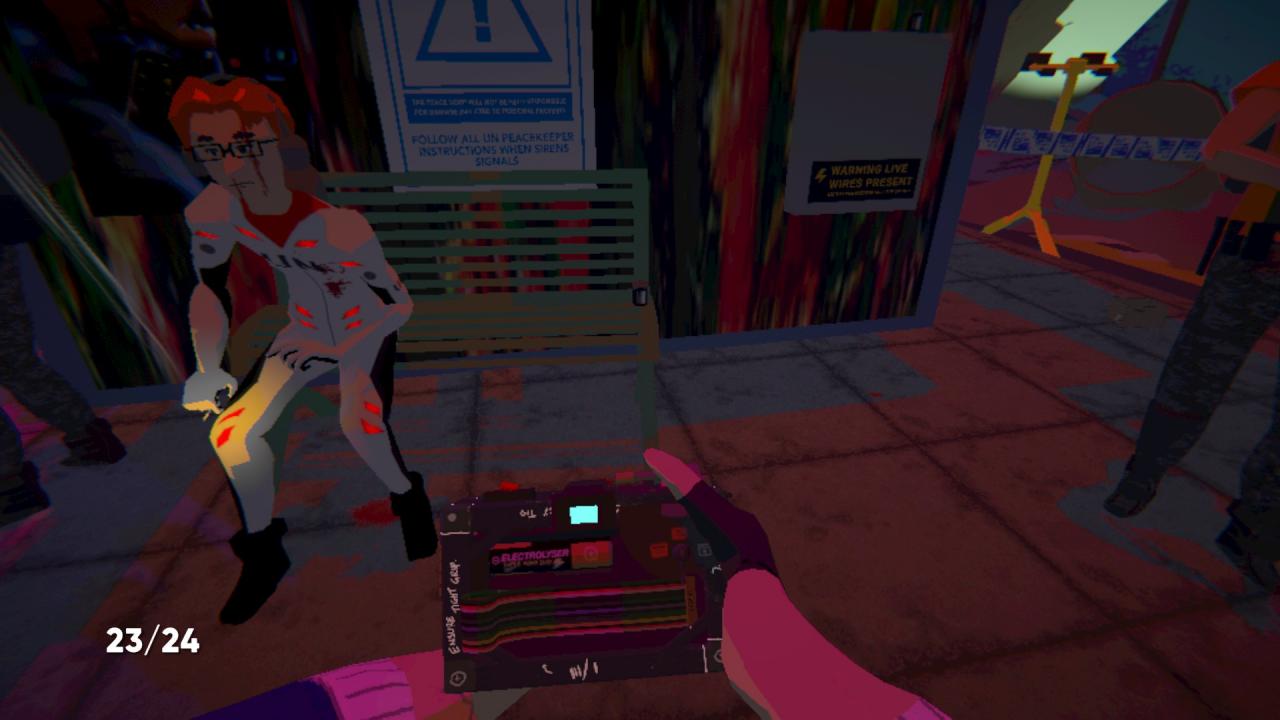
4. On the bench with the bleeding pilot having a smoke.
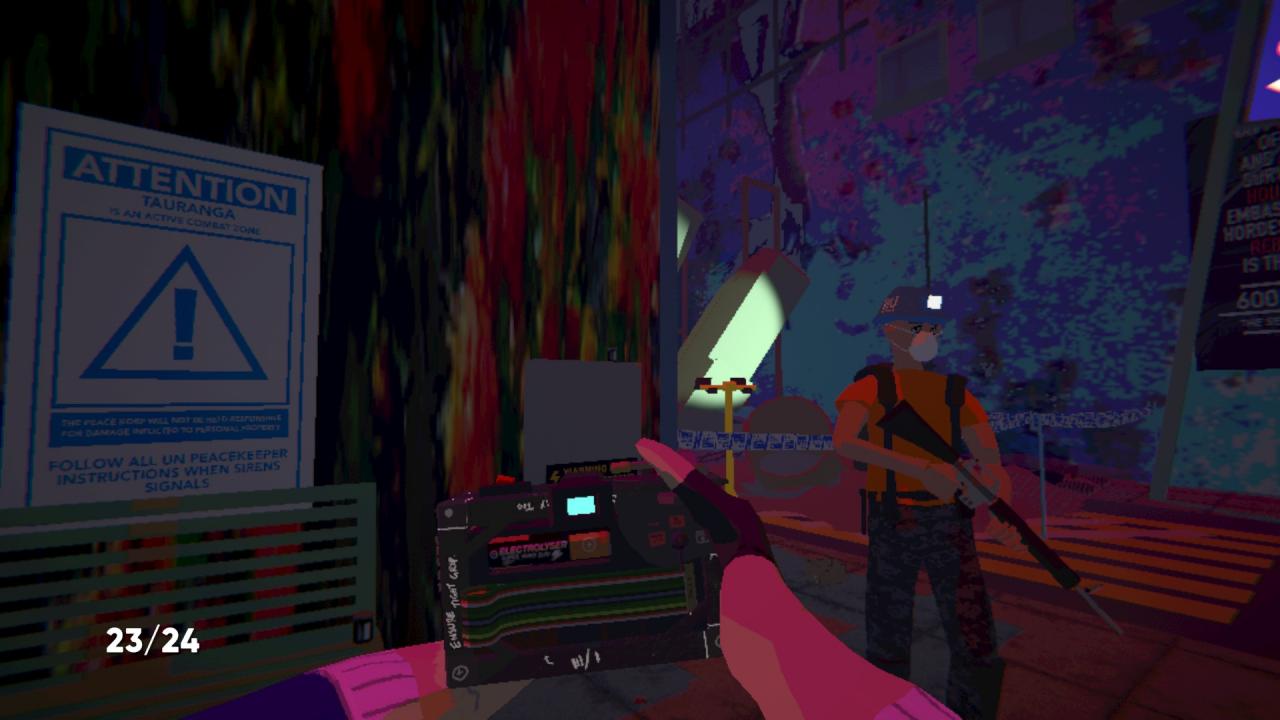
5. On the fuse box next to the bench with the bleeding pilot having a smoke. From canister #4, turn your head up and to the right a bit.
Lower level hallway:
6. Go down the stairs in front of the UN tape boundary. Pause before you reach the cool spinny guy. it’s on the floor next to a spray can, below the “The Miami Fugitive” posters.
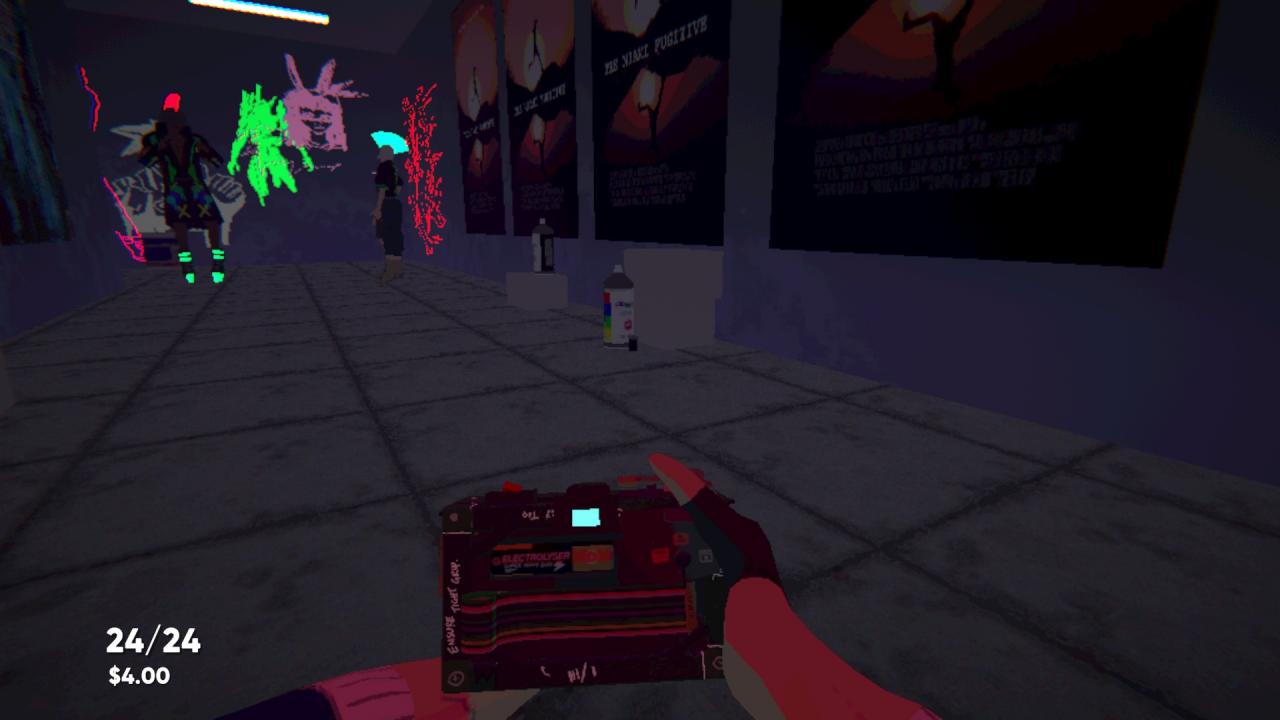
7. Just after the cool spinny guy, assuming you are continuing from canister #6. It’s between some spray cans and a paint bucket, at the foot of a pair of red and purple warrior figures.
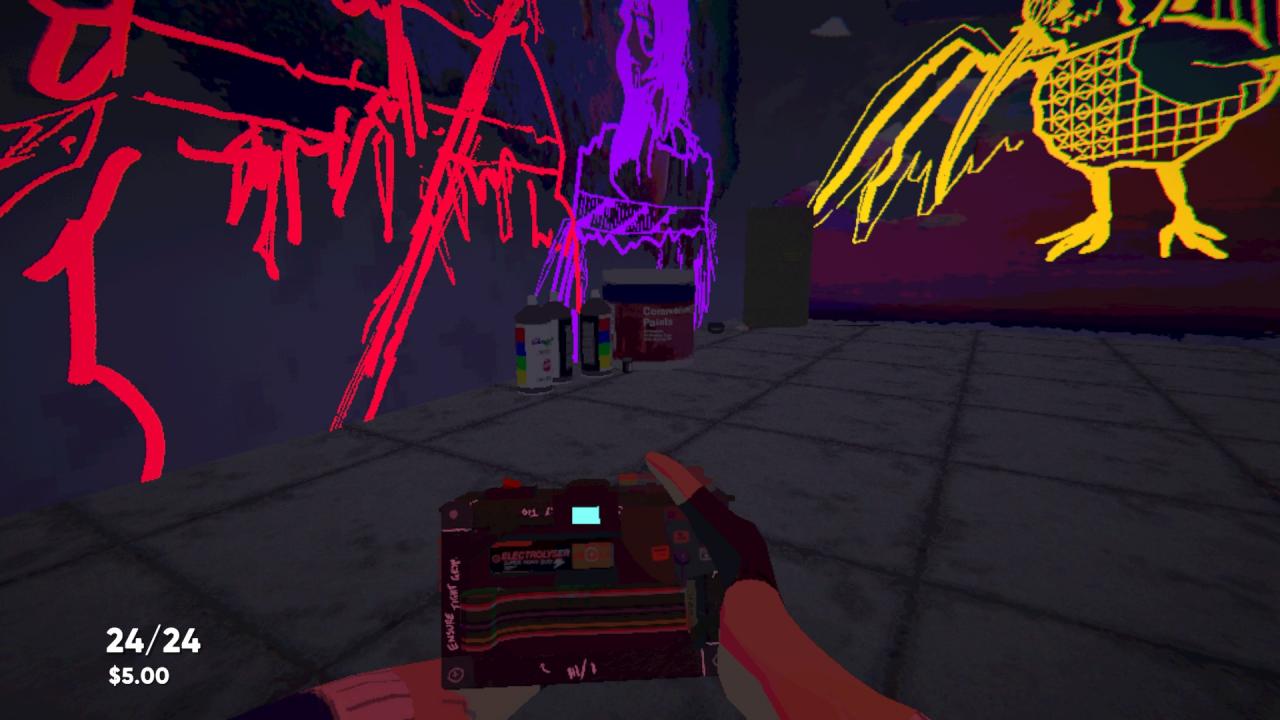
8. Farther down the hallway, beside the blue “KABA” graffiti. Like its comrades, it also sits near spray cans.
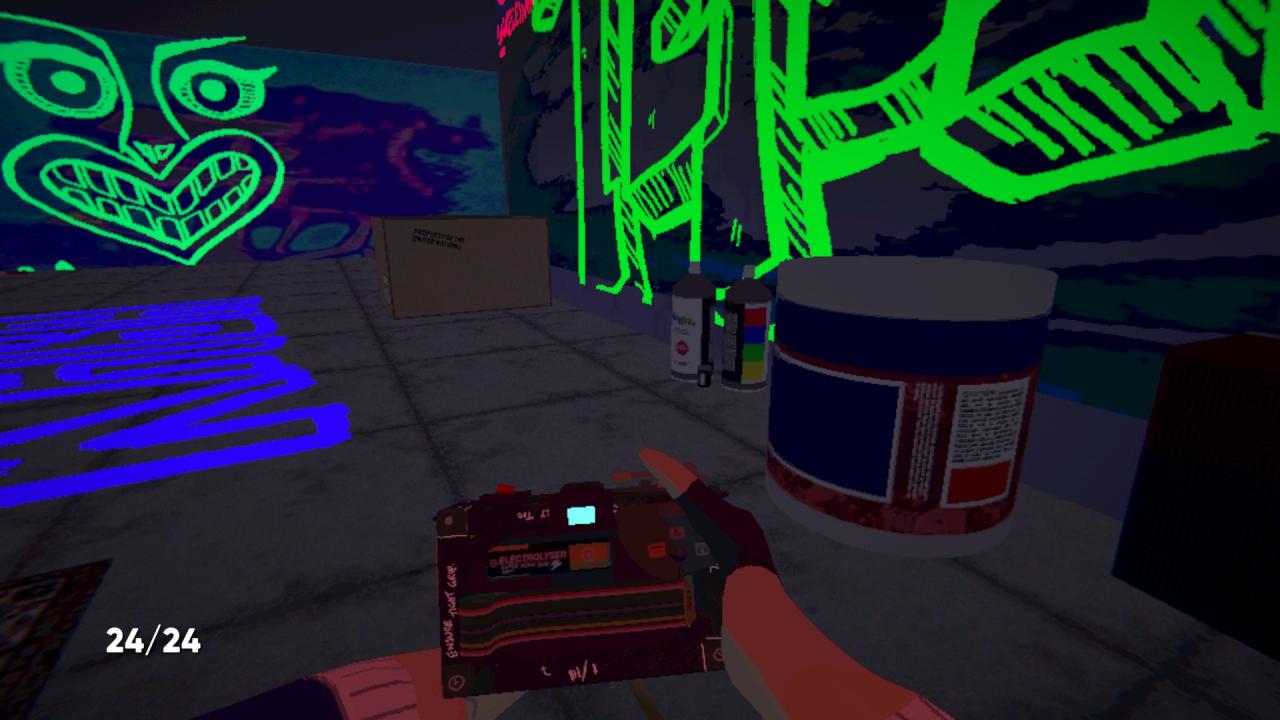
Stage 5
Stage 5 – Contact, a.k.a., Otumoeta
Dark and small. Pay attention to the chemlights.
Left side, the bunker:
1. On the floor between your tall friend and your feathered friend.
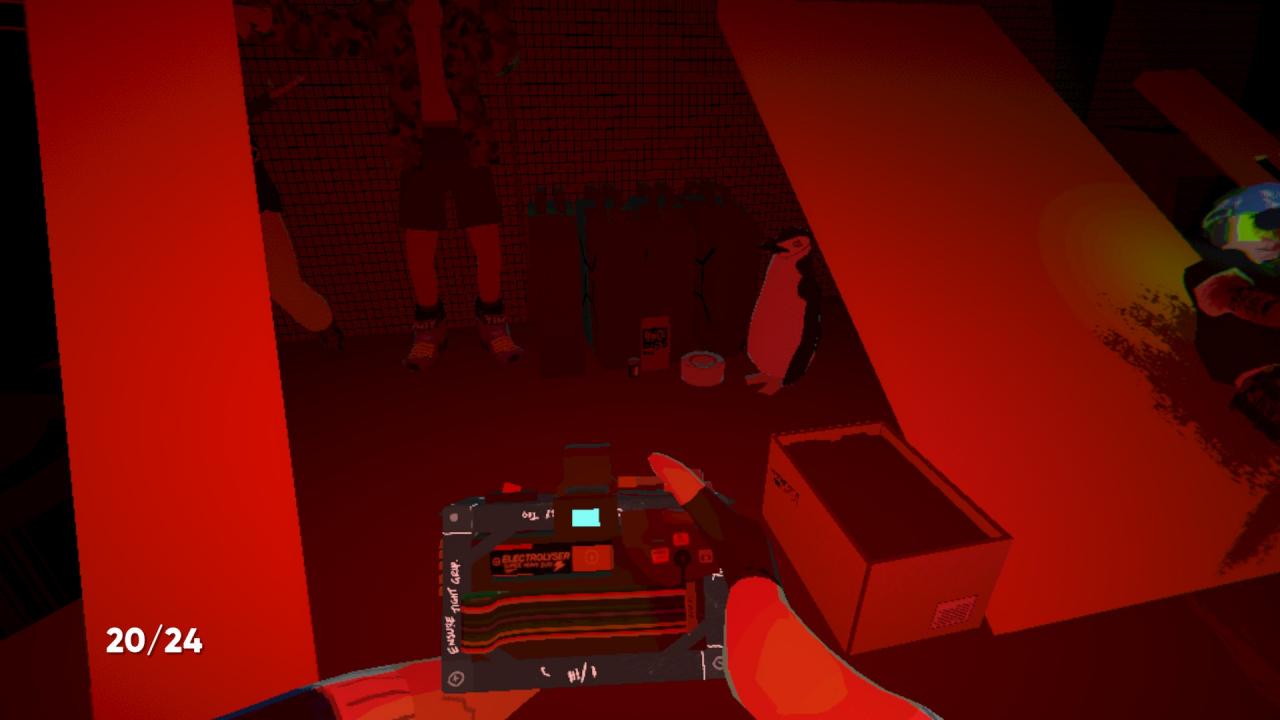
2. Right side of the bunker entrance, to the right of the skull+knife graffiti. It’s next to an ammo box and fuel can.
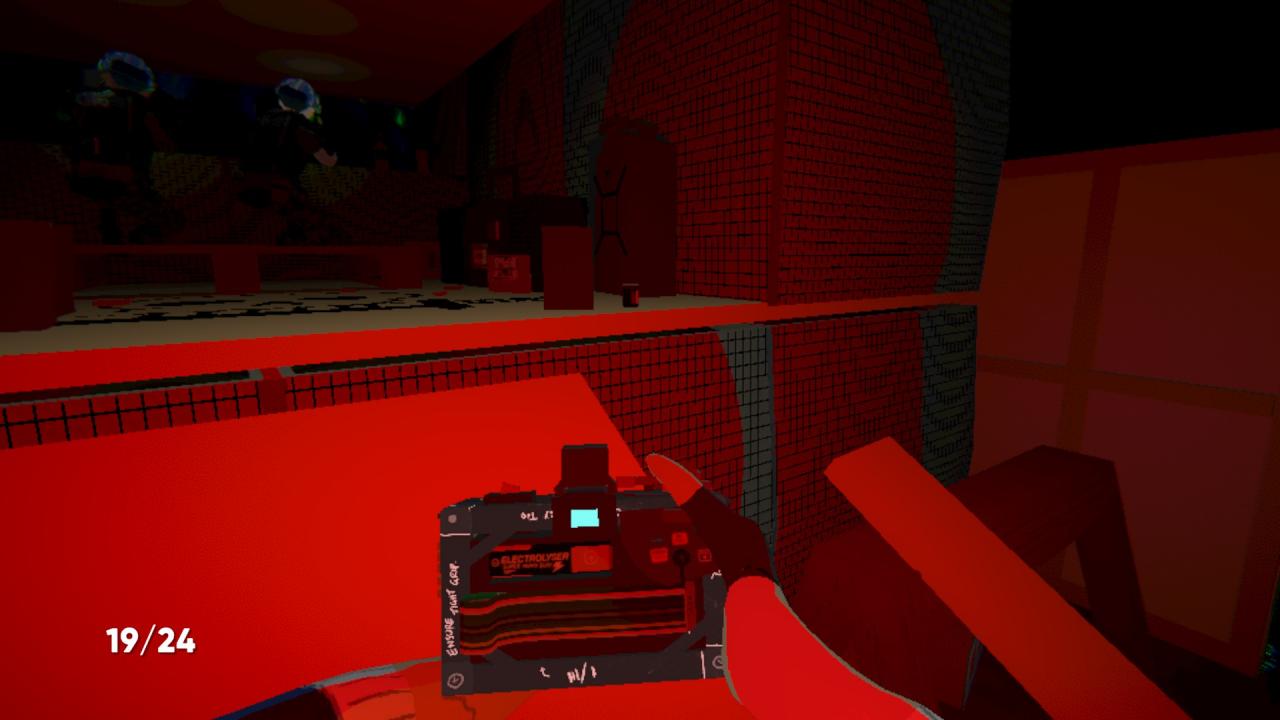
3. Inside the bunker, to the right of the firing soldiers. It’s next to a couple of water bottles.
Right side, the plane wreck:
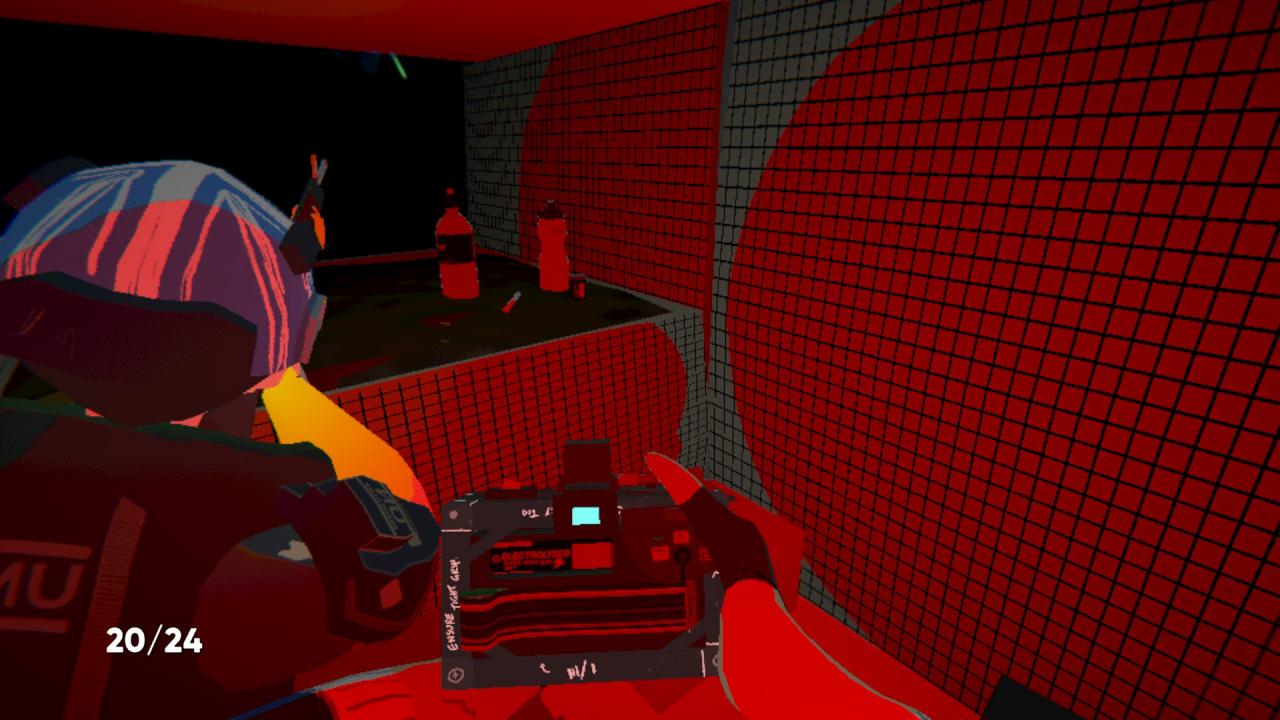
4.Out of the way, in the far back-right corner of the stage. Jump behind the wrecked dish. There is a chemlight arrow pointing down to the canister.
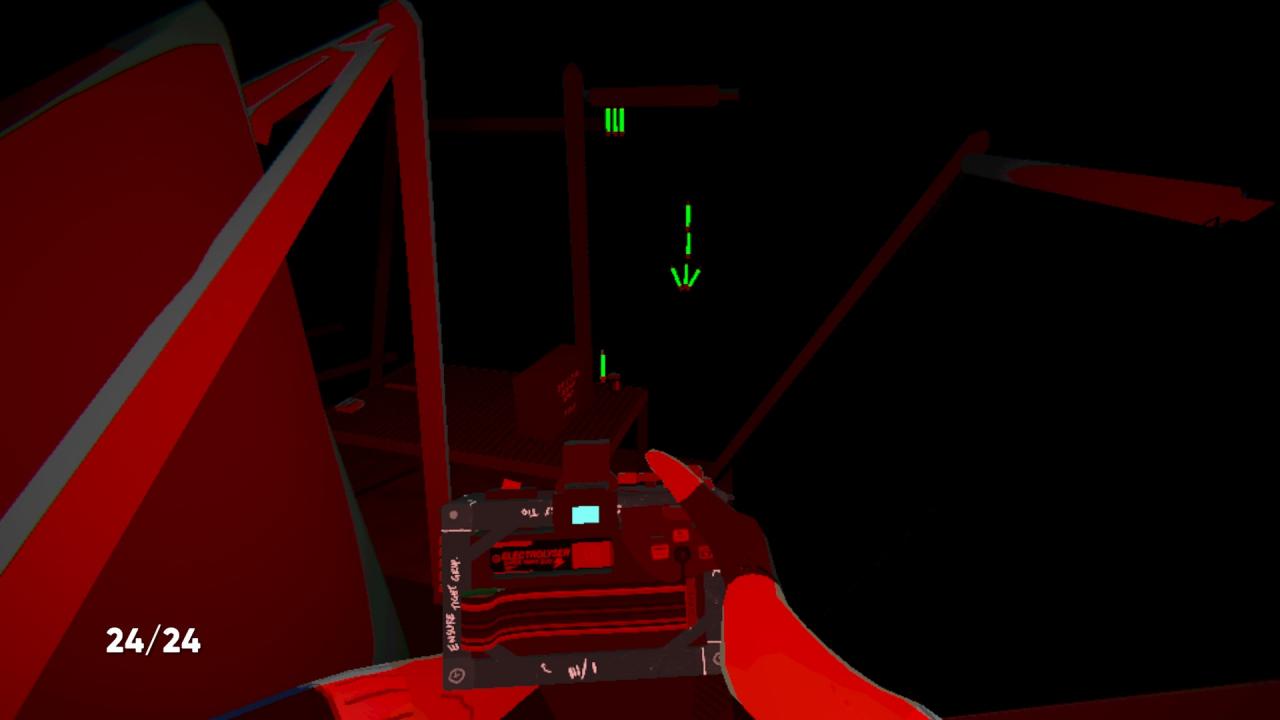
5. Jump across the wooden panels to the left of the plane wreck. It’s on the last panel. There is a chemlight arrow pointing down to the canister.
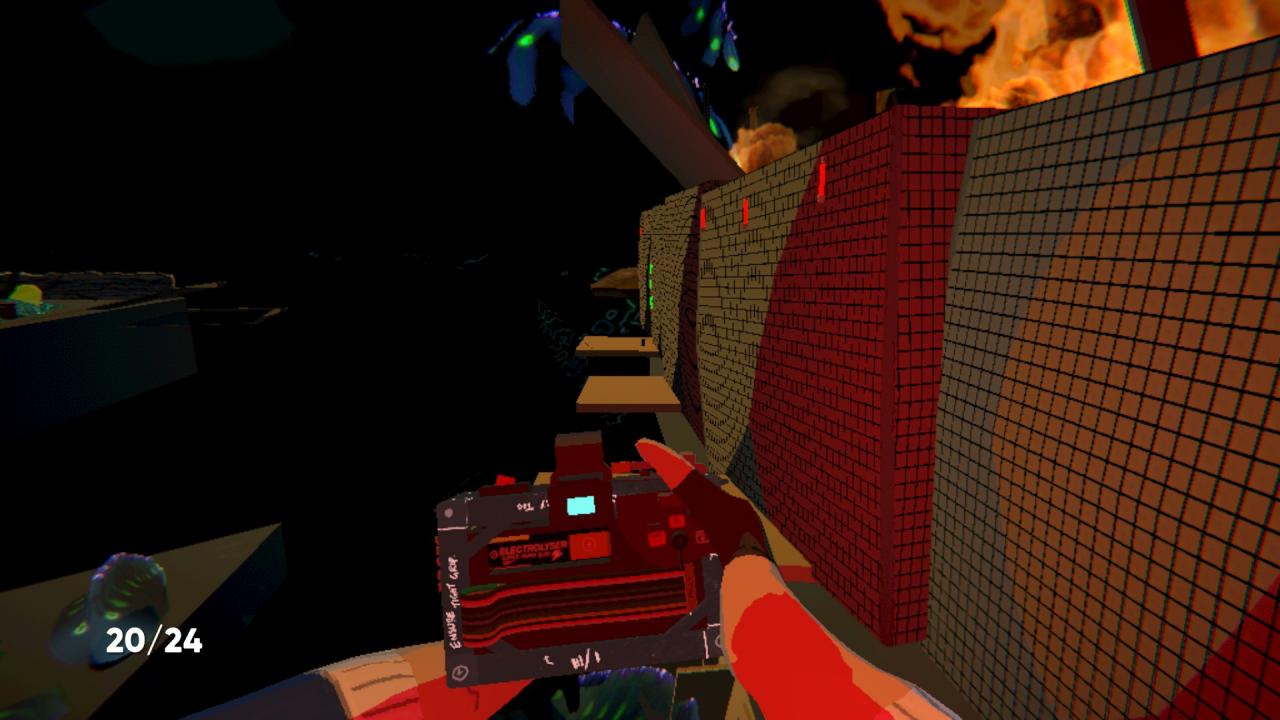
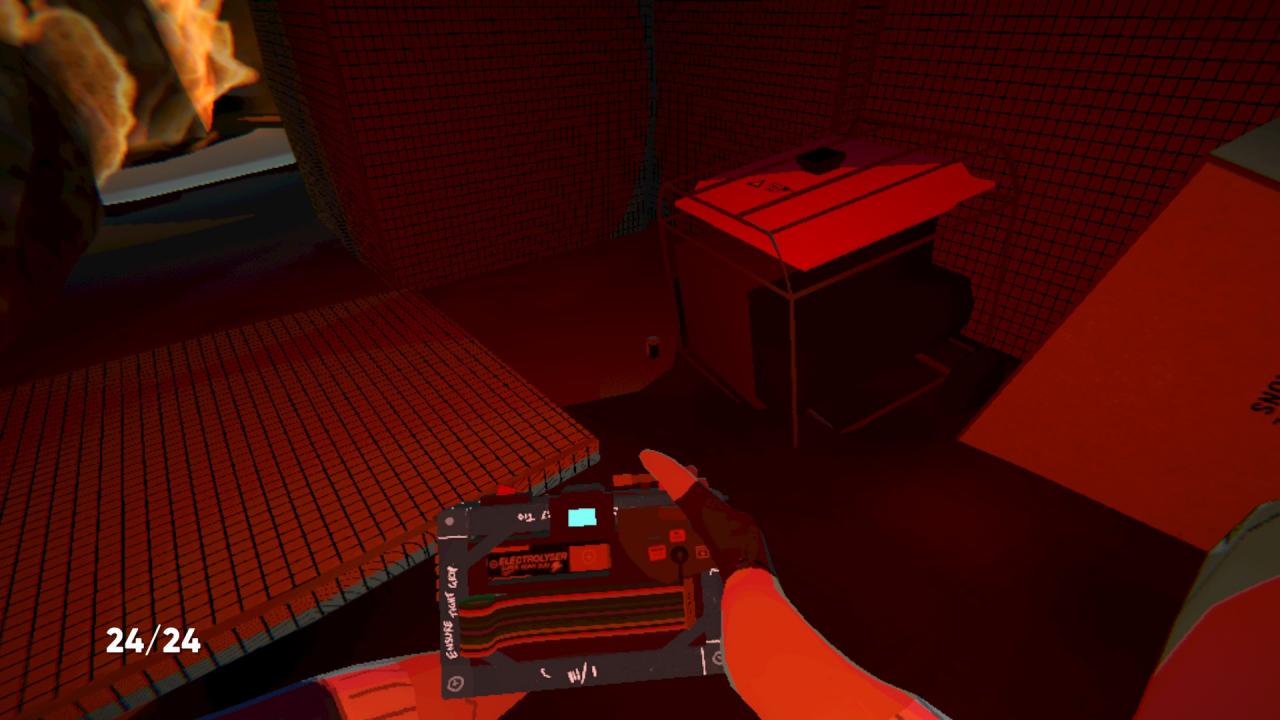
6. Beside the generator near the plane wreck. Spoiler alert, there is a generator near the plane wreck.
Stage 6
Stage 6 – Karangahake
It’s tiny and well lit. By the way, “near by” means “closer than you think”.
Passenger section:
1. On the window sill next to the supercute parent and child. The parent is looking right at it.
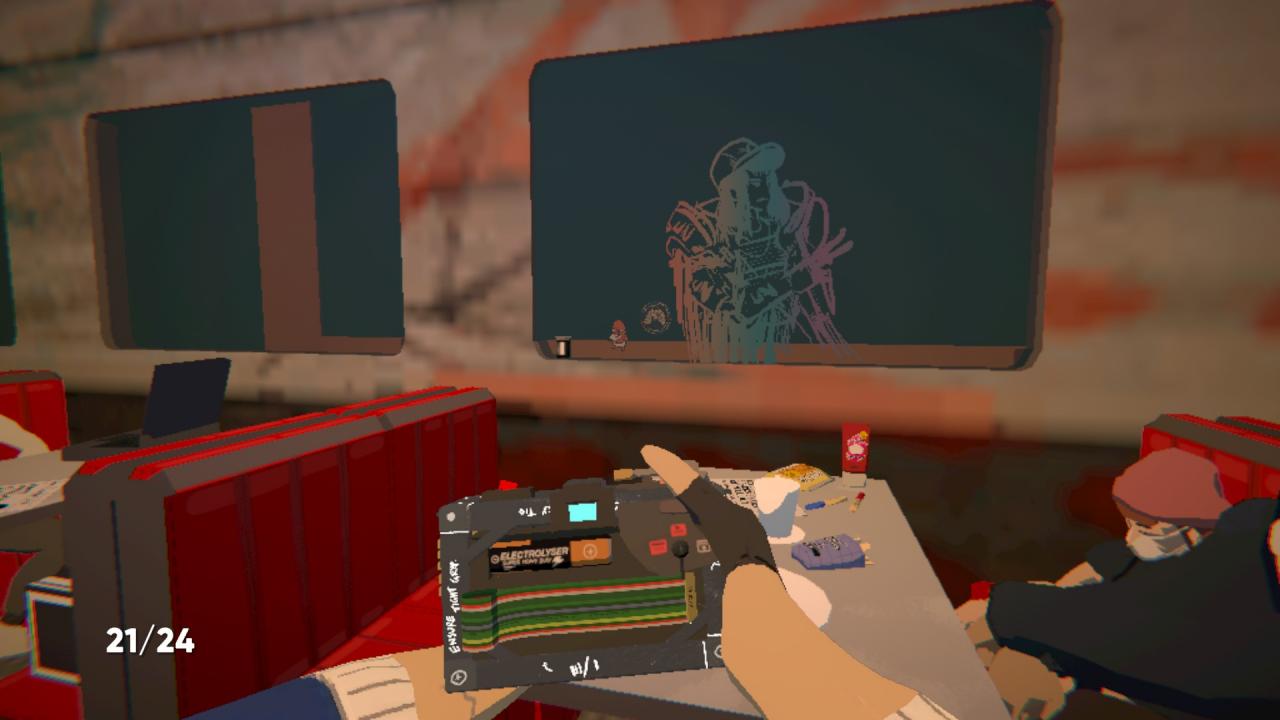
2. On the table with the gentleman in the brown trenchcoat. It’s beside his coffee and paper.
Kitchen:
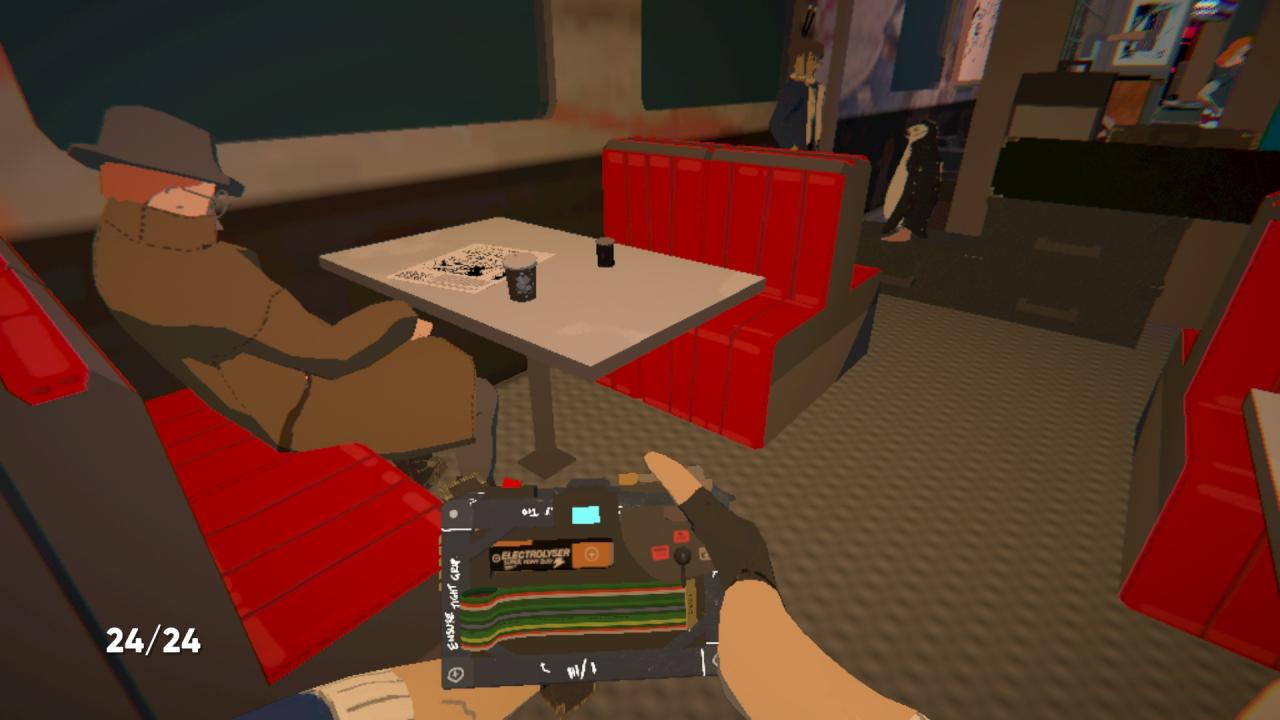
3. Just to the left of the sink. It hides within the pepper shakers and hamburgers.
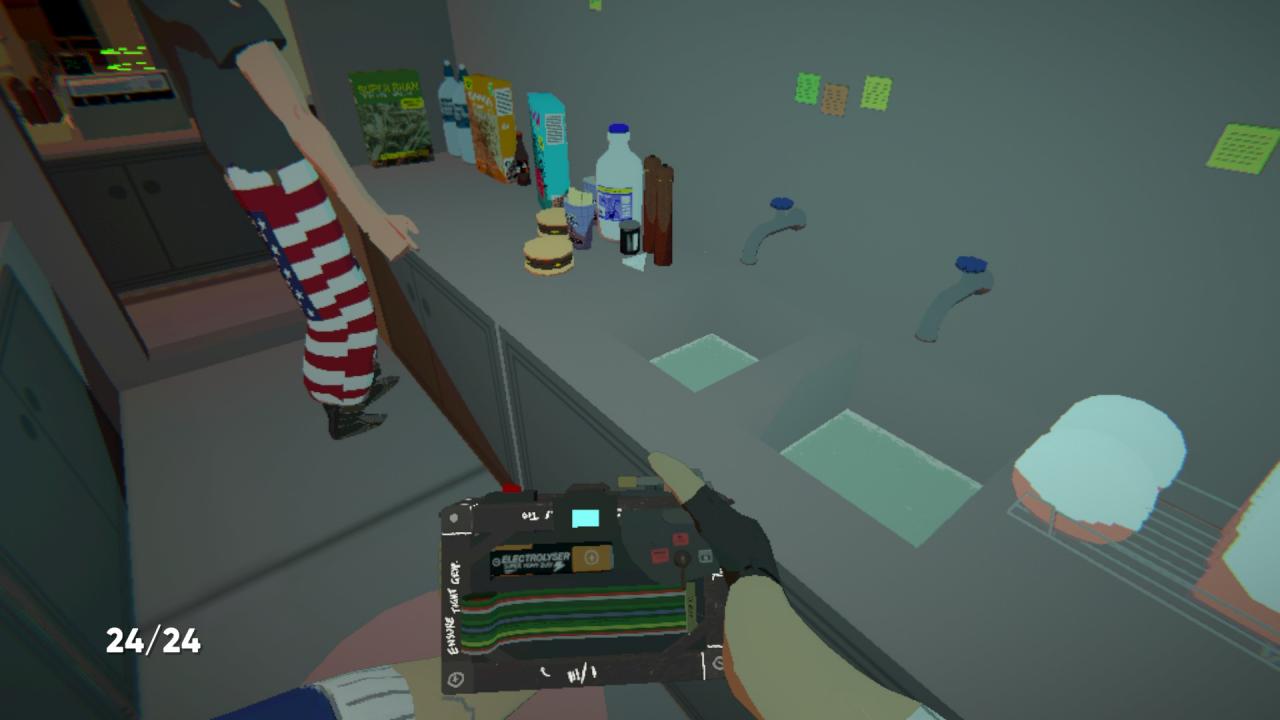
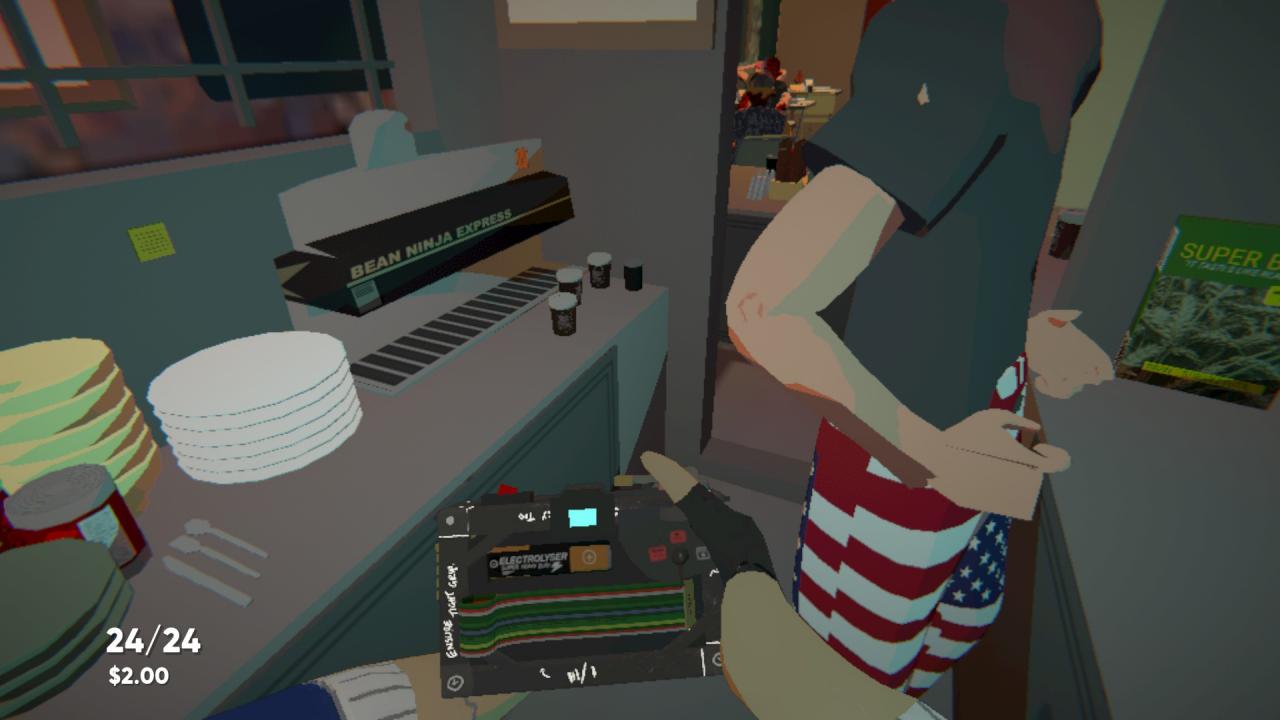
4. Behind the gentleman with the cool American pants. You think there are four cups of coffee in front of the coffee maker? No, it’s three cups and a canister.
Soldier section:
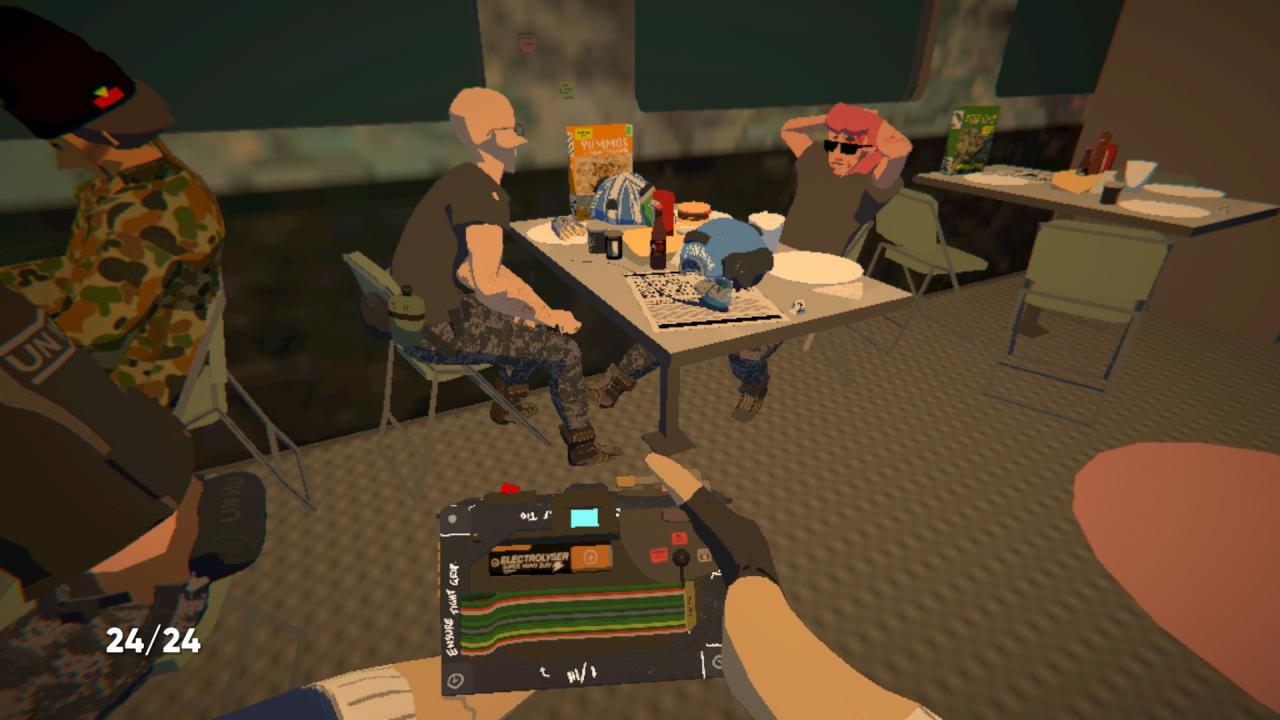
5. On table 2, in front of the bald soldier.
Stage 7
Stage 7 – Subway, a.k.a., The Metro
It’s huge.
Metro entry:
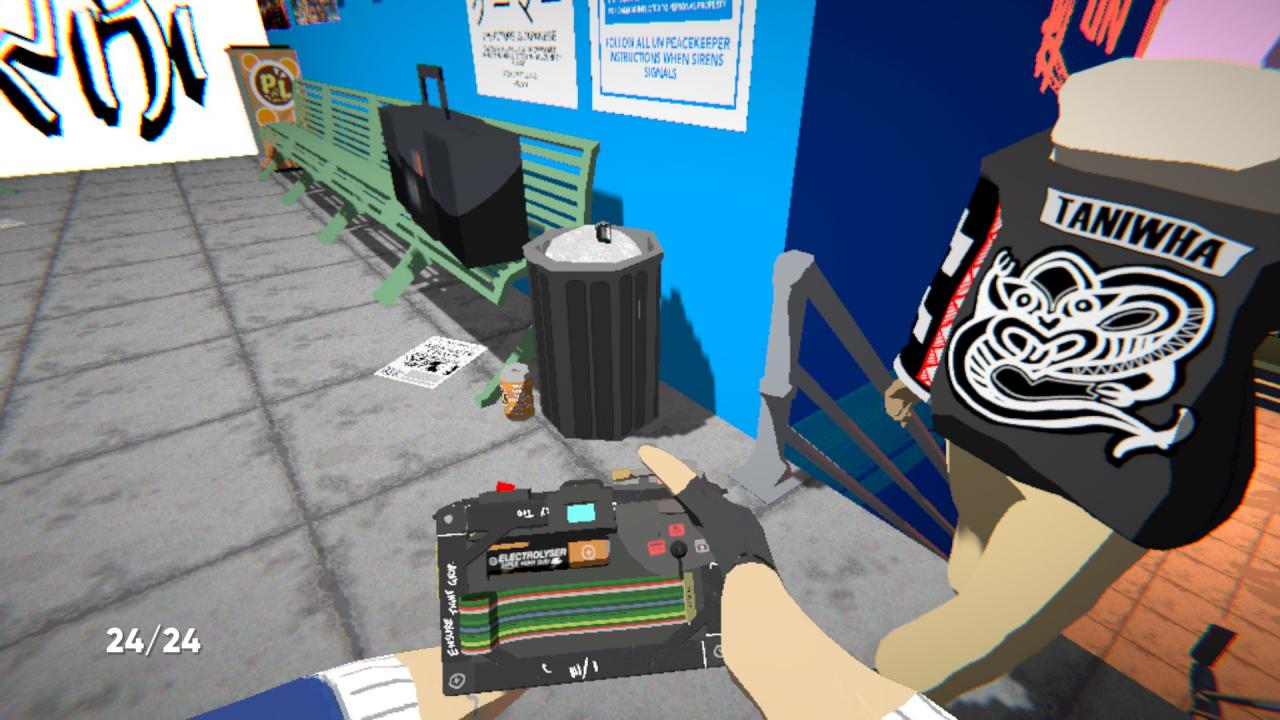
1. In the trash, beside your pink friend.
UN checkpoint:
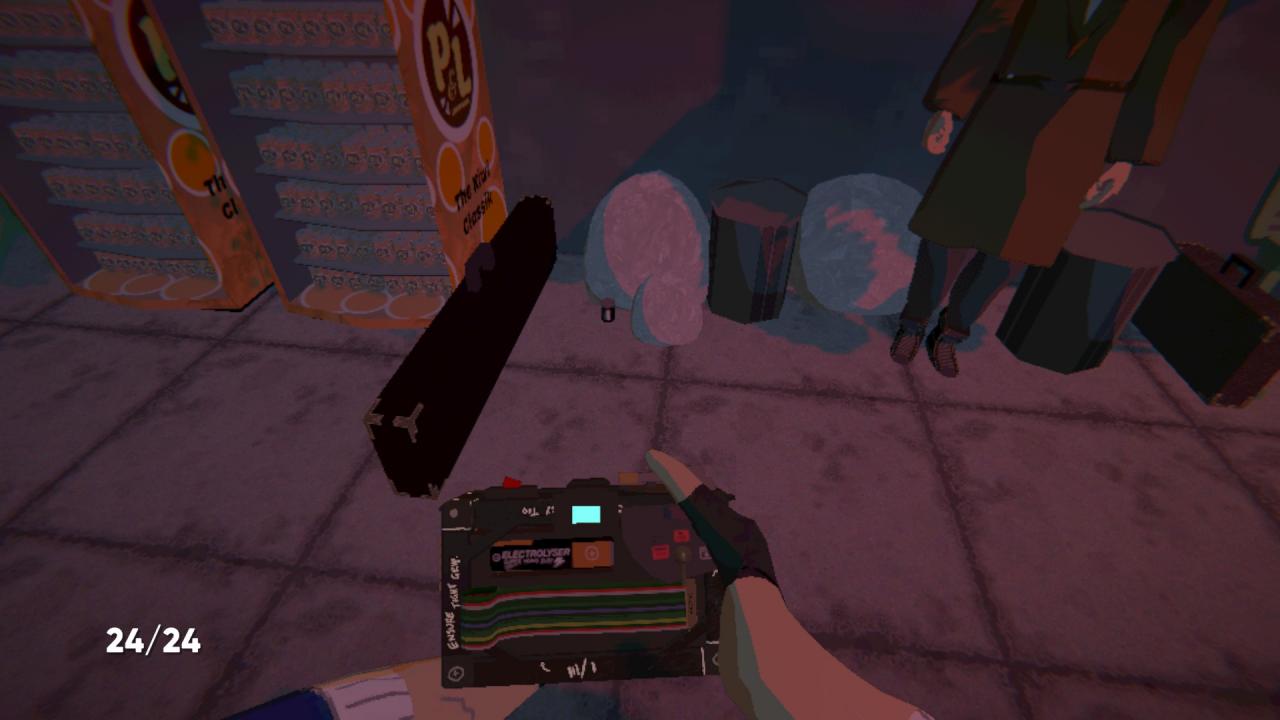
2. Get in line and look left. It’s on the floor, between the drink machines and the gentleman in the trenchcoat. It’s OK, you can get out of line afterwards.
3. On the table in front of the soldiers, beside the canteen.
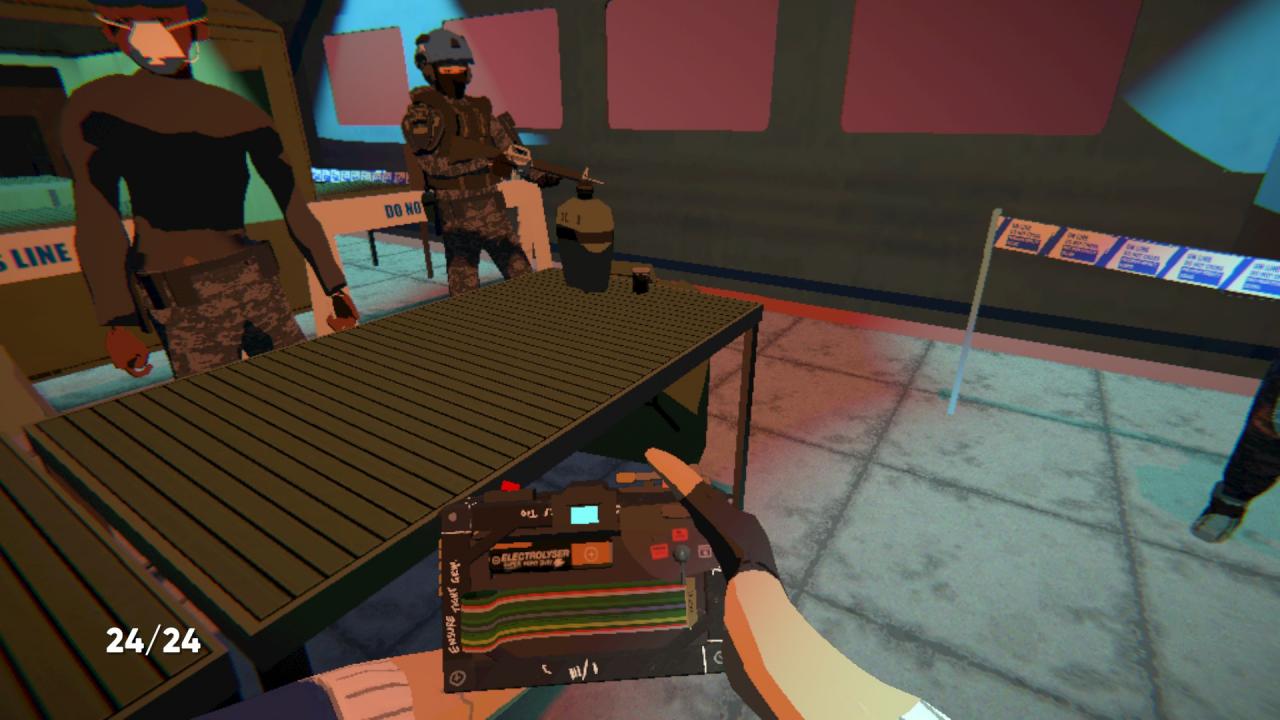
4. On the wooden planks behind the UN checkpoint. I’m sorry, you’ll have to break the law to reach the canister. Approach from behind via the train roof, or follow the path from your feathered friend.
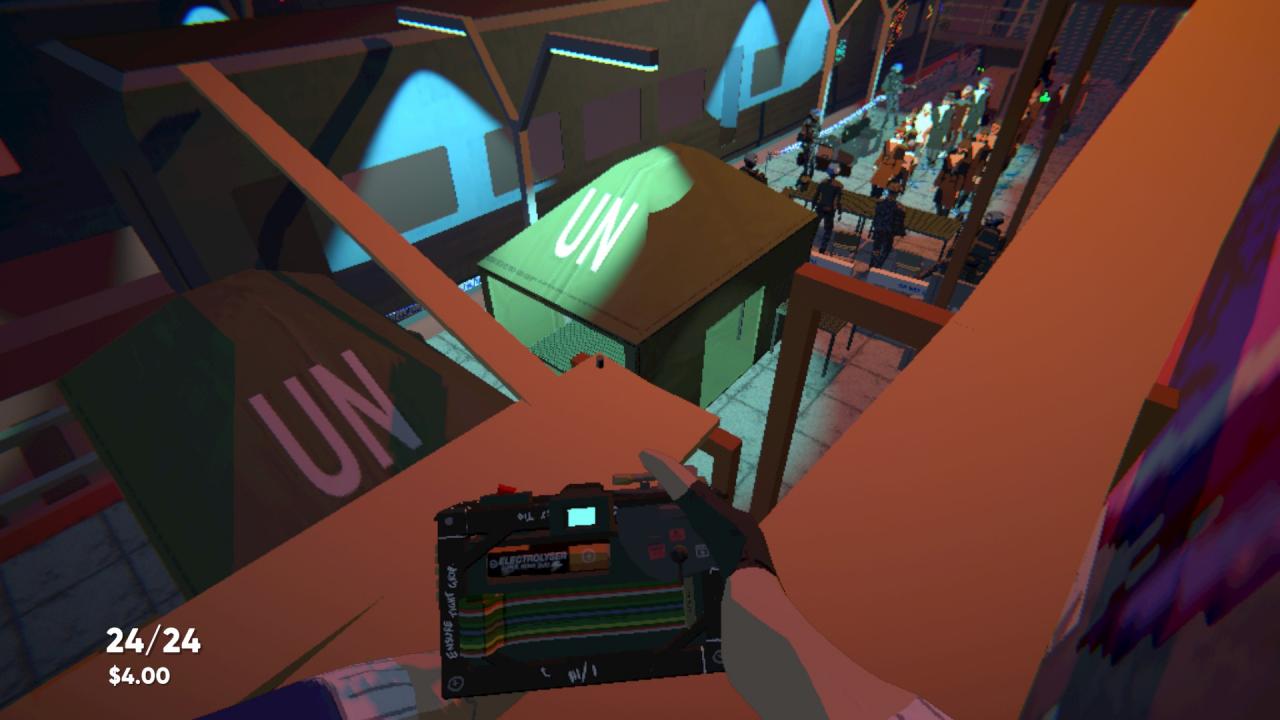
The overpass:
5. From the UN checkpoint, climb the stairs. It’s on the second landing.
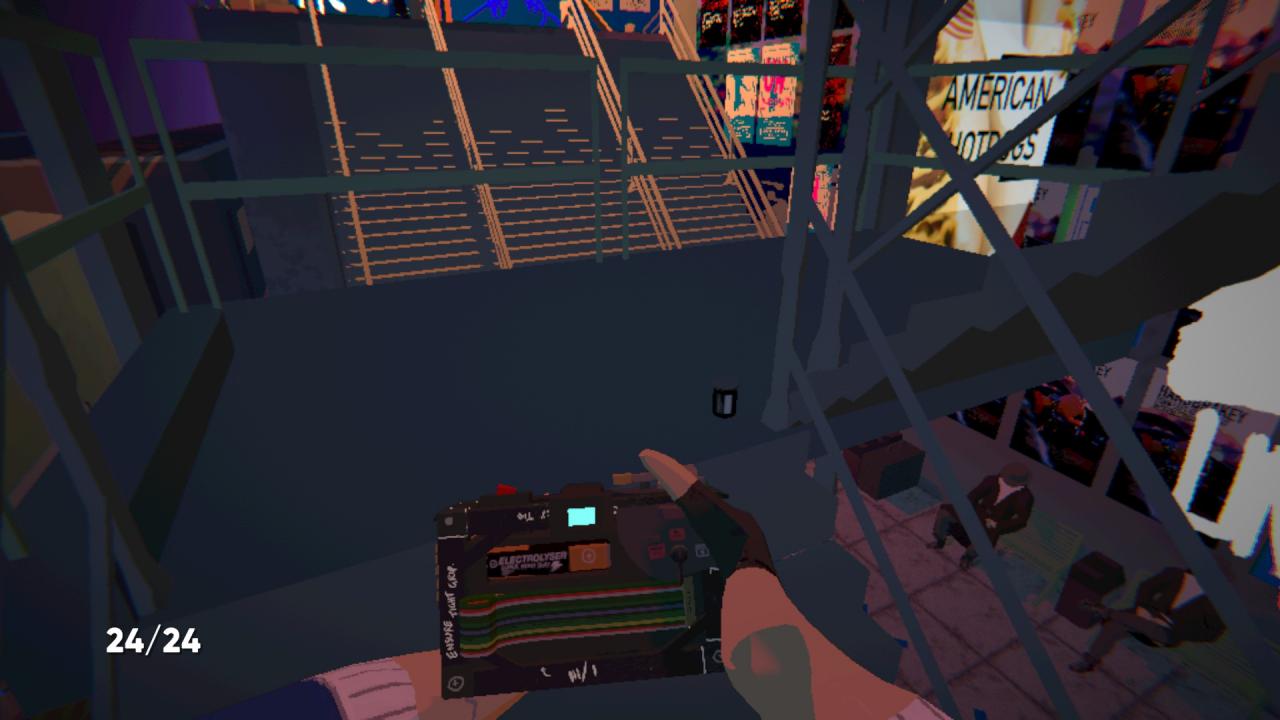
6. At the top of the overpass, UN side. It’s on the floor, in front of a bench beside the stairs.
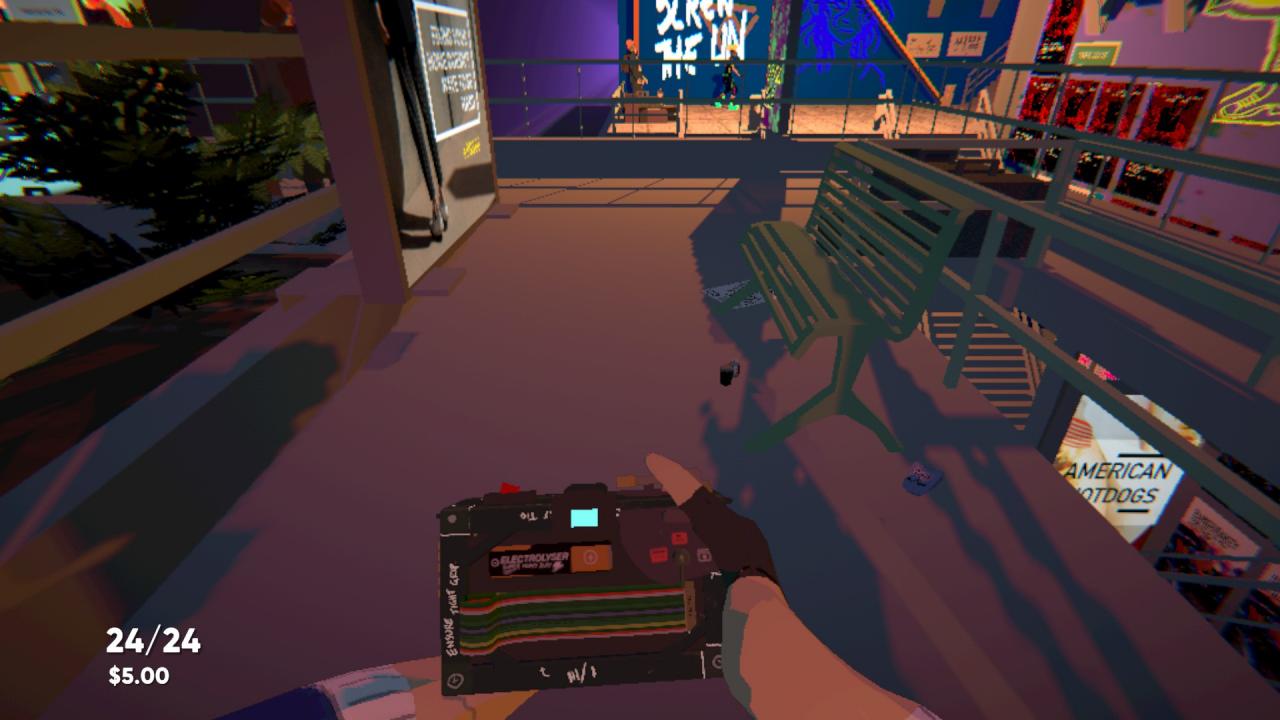
7. Middle of the overpass, at the foot of the railing In front of the massive tree.
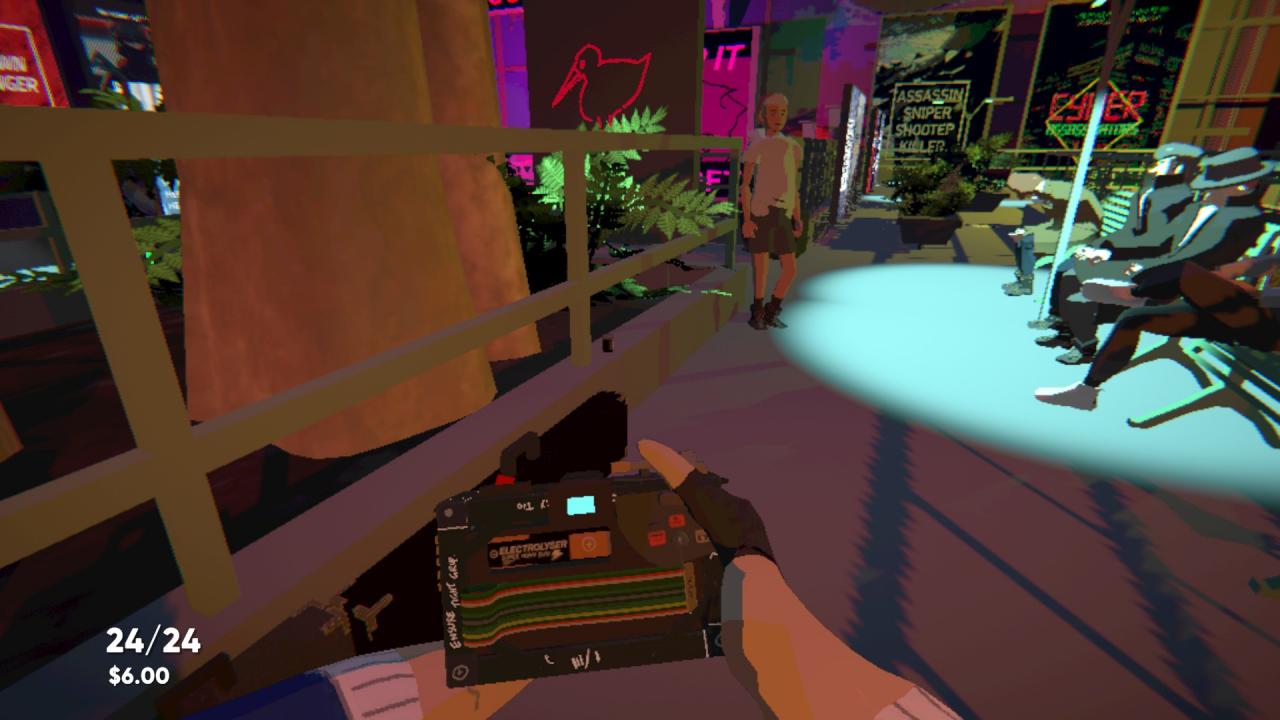
8. On the floor beside a planter, near the well-lit folks in despair.
Far platform:
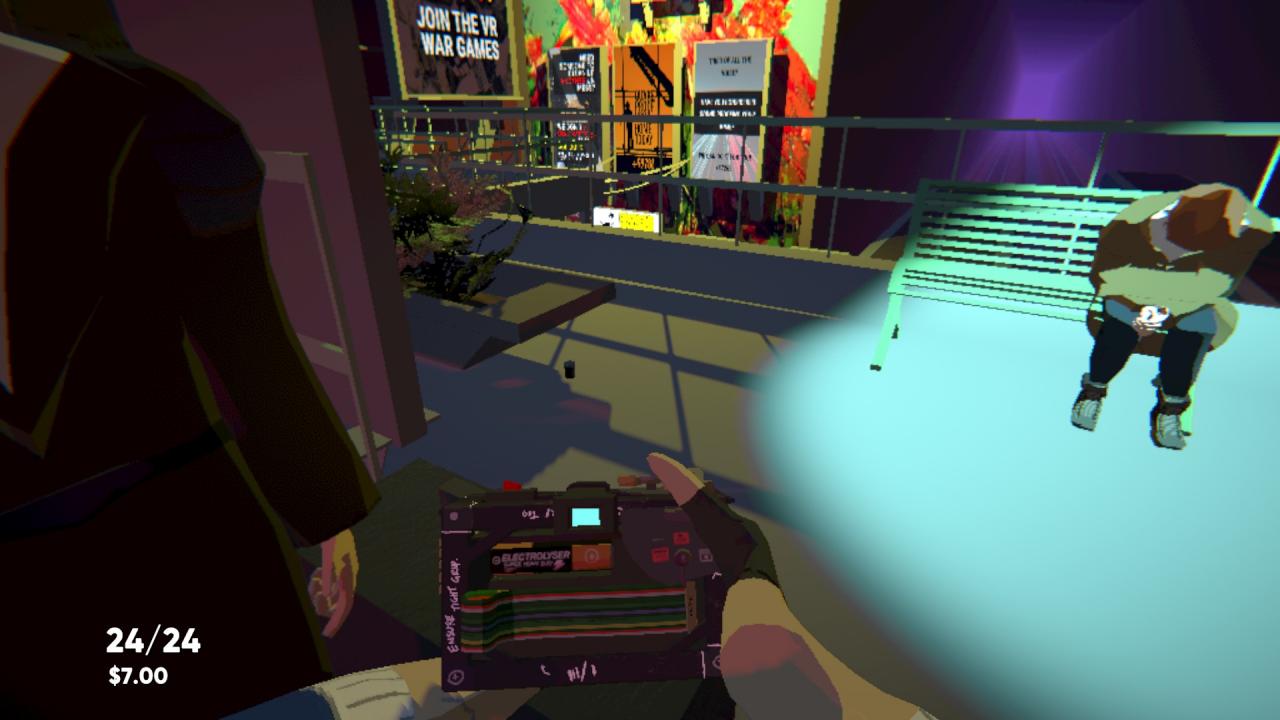
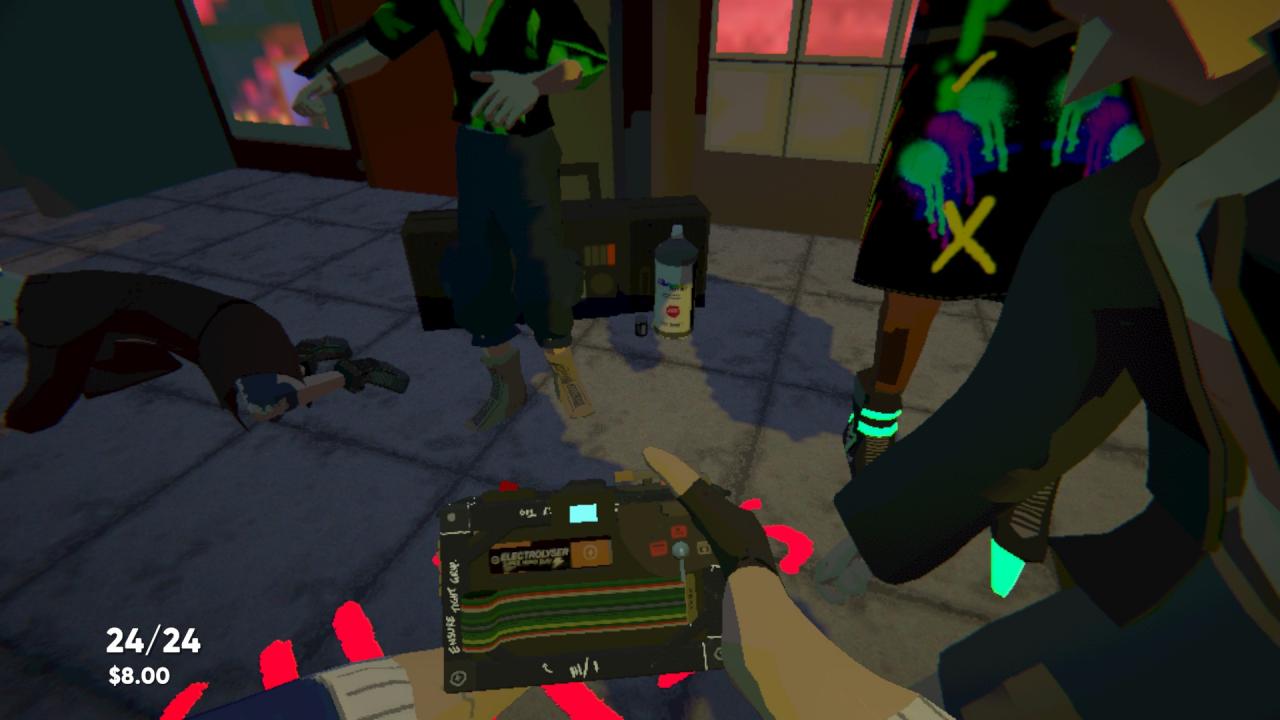
9. Just behind the spinny VR crew. It’s in front of the middle boombox, beside a spray can.
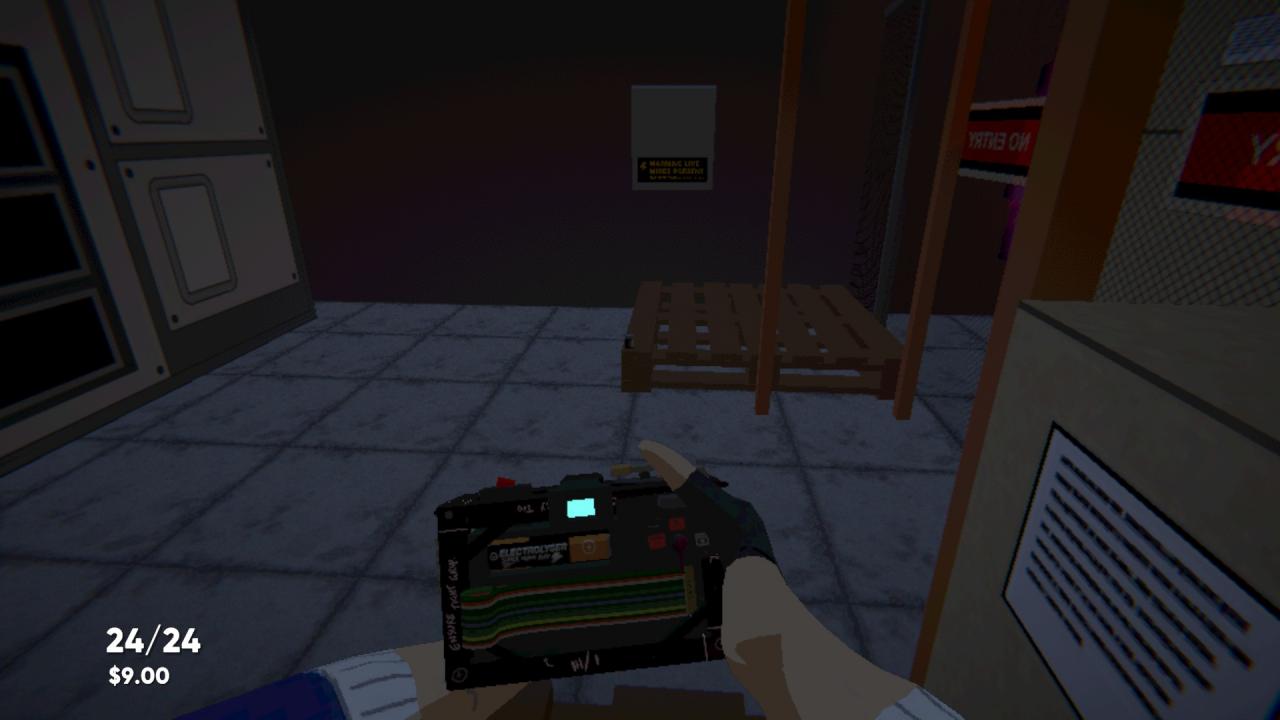
10. In the far opposite corner of the map from where you start, there is a fenced-off power transformer. It’s on the corner of a wooden pallet inside the fence. You can access the area via the train roofs or by jumping from the overpass.
Stage 8
Stage 8 – Invasion, a.k.a., Mauao View
The final boss is an inconveniently placed tall fence that you have to frequently double-jump around.
Lower level:
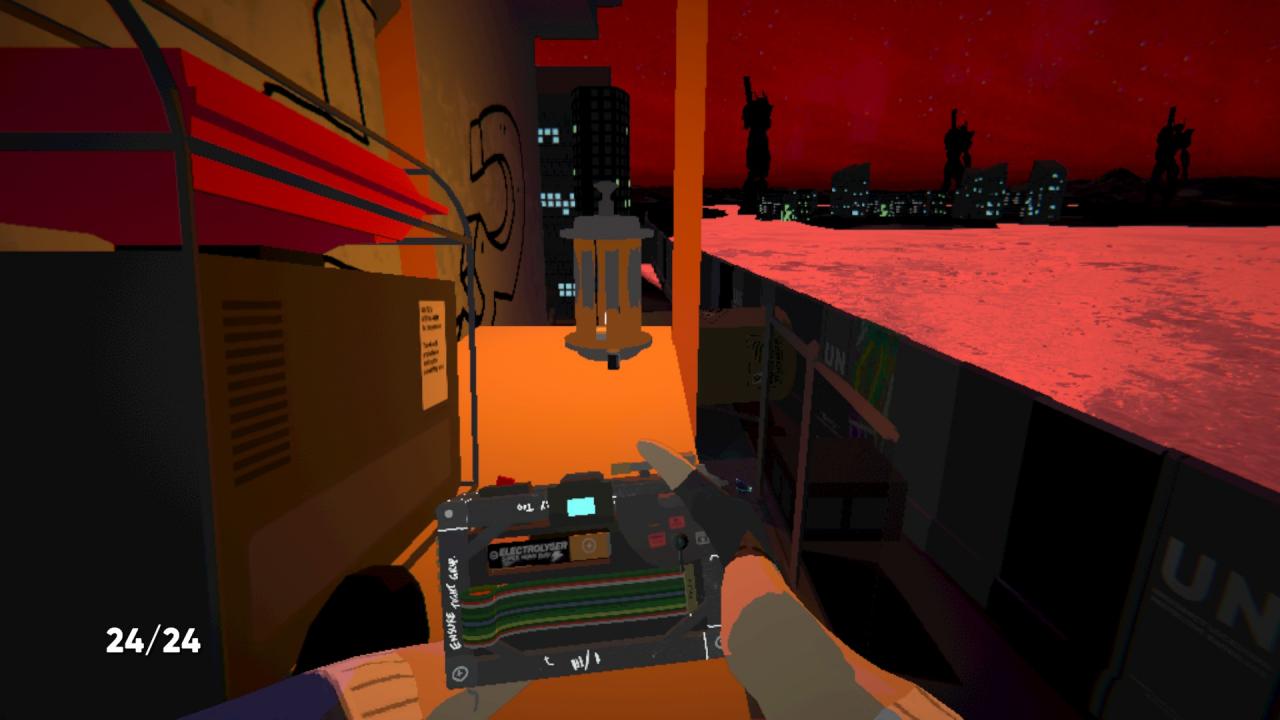
1. Go around the corner to the quarter-pipe and climb the plank. It’s on the scaffolding, beside a lantern.
Top level:
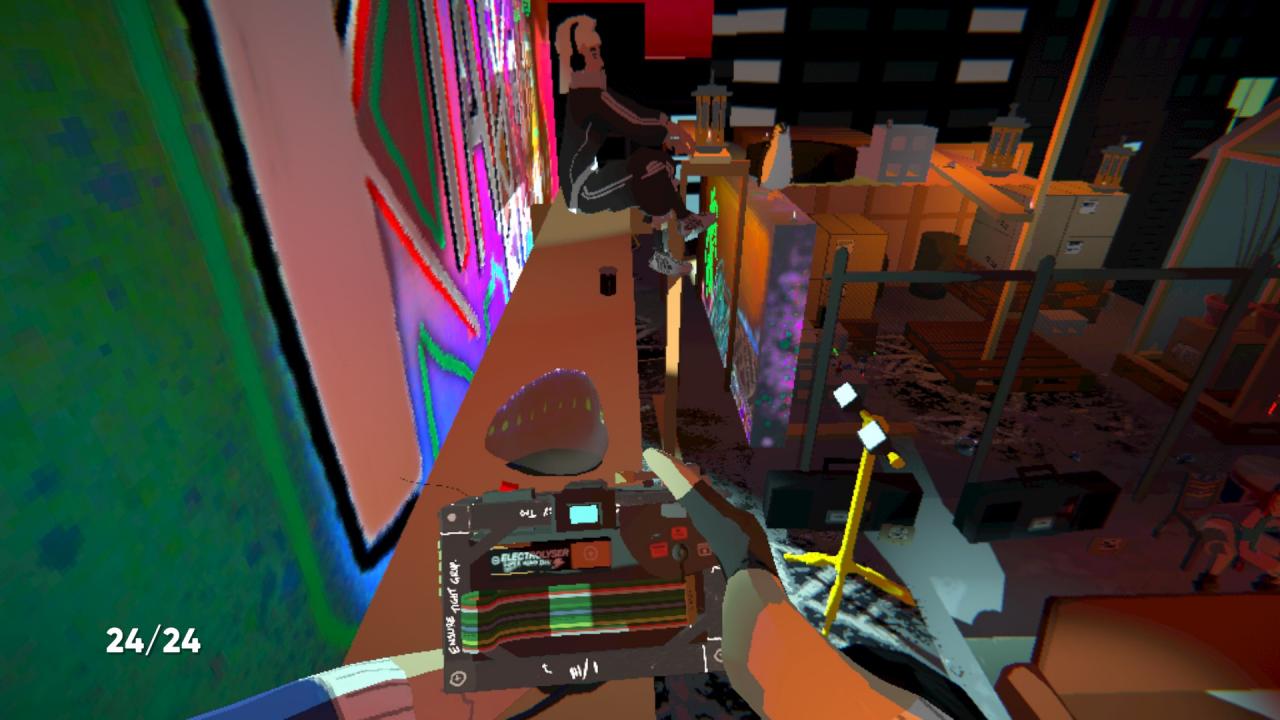
2. On the scaffolding in front of the center wall, beside the person in the tracksuit.
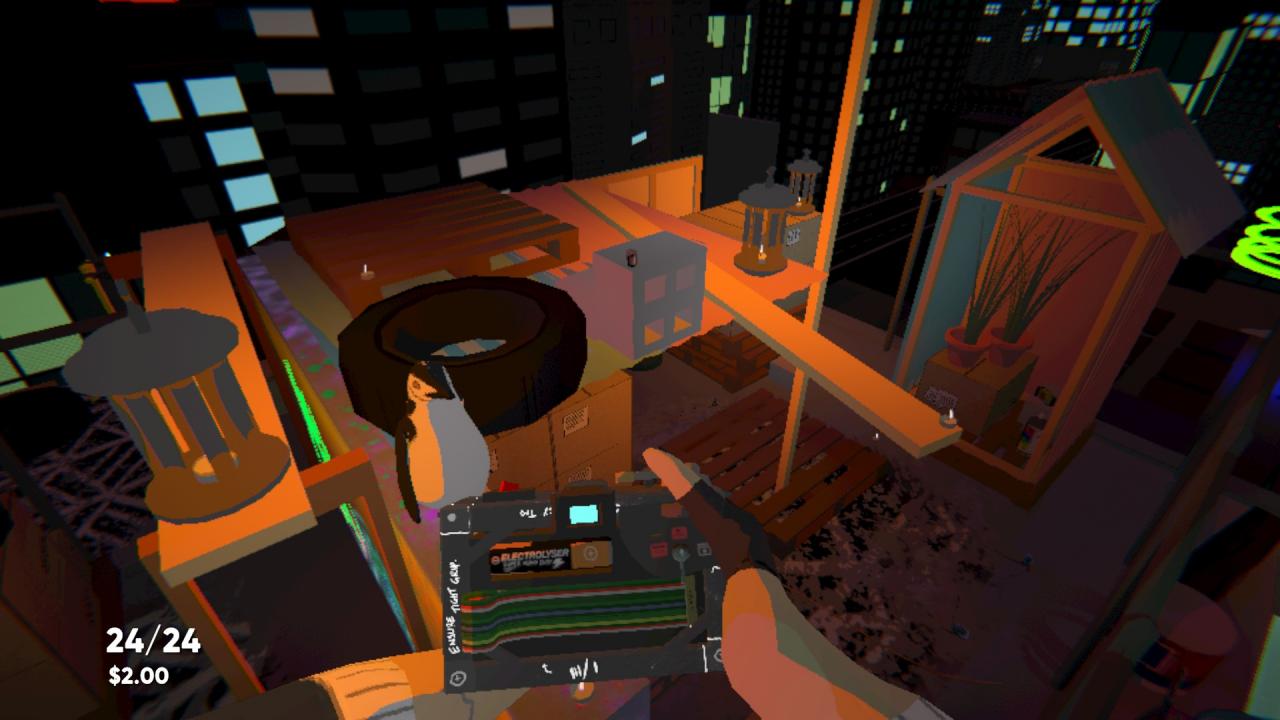
3. On a stack of cinder blocks beside your feathered friend.
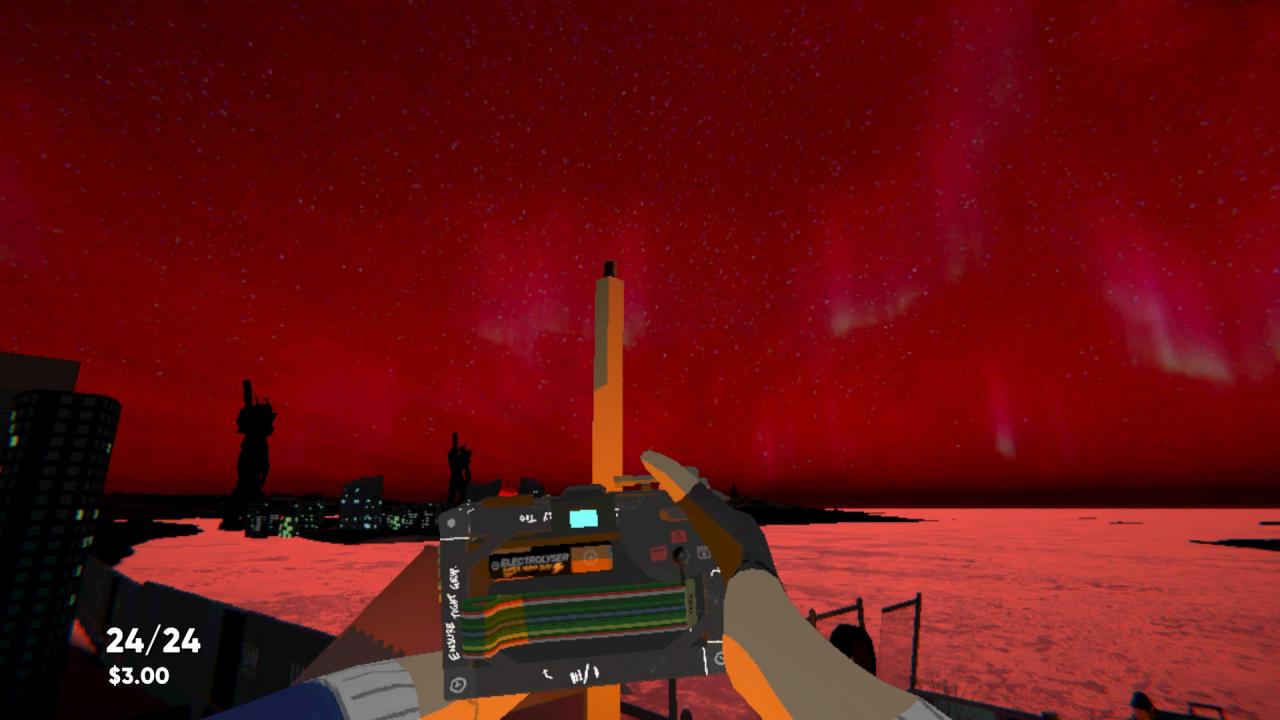
4. On top of the wooden pole near your feathered friend. A very lonely canister.
Main level:
5. Under the pallet ramp in the pond.
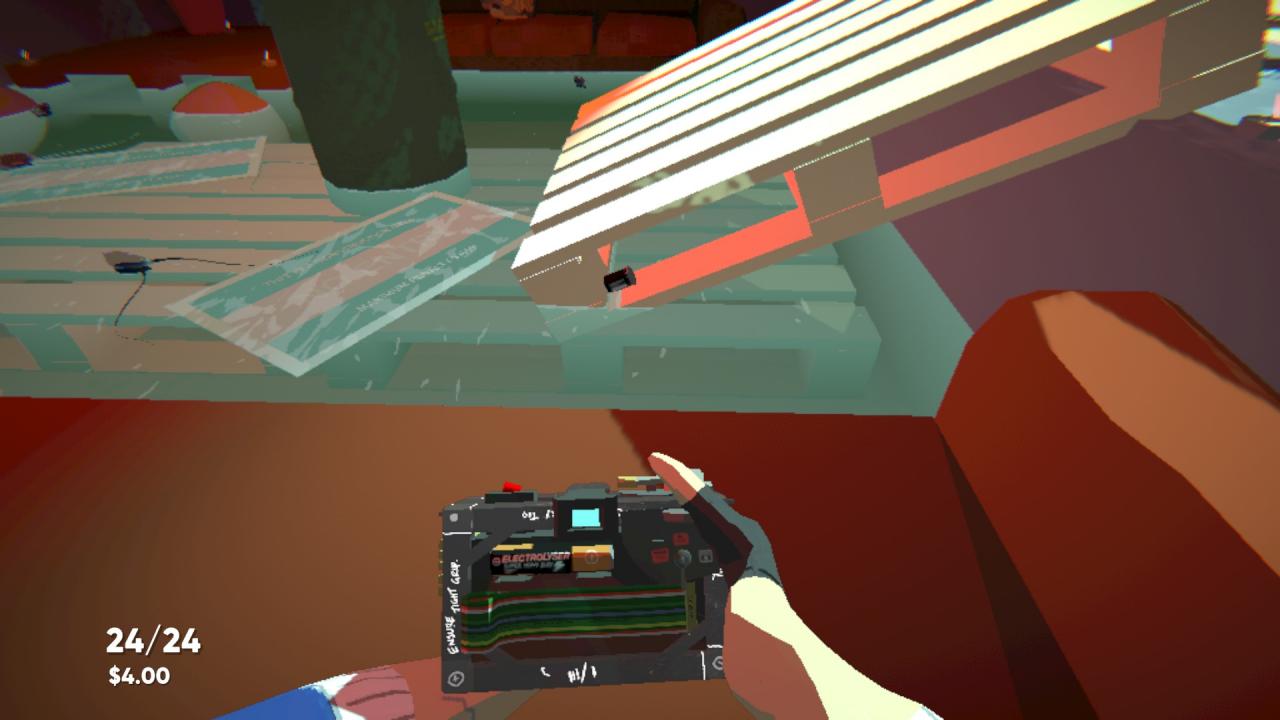
6. Behind your tall friend, to the right of the boombox.
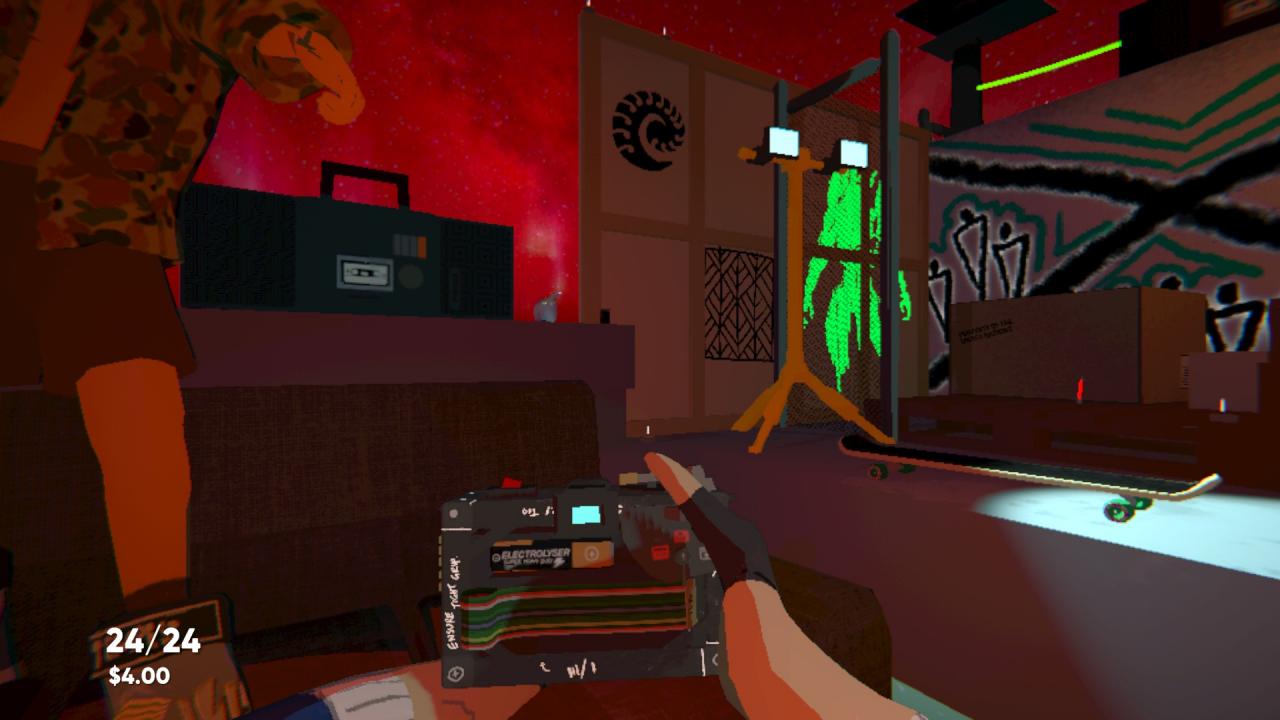
Thank you for reading. I hope you enjoy this game as much as I did.
That’s all we are sharing today in Umurangi Generation All Film Canister Location Guide, if there are anything you want to add please feel free to leave a comment below and we’ll see you soon.
Credit to Brilli
Why does the lighting on yours look so good? Even playing on PC with all settings cranked up, the light poles aren’t projecting light like that.