This guide aims to give an overview of all the traps and enemies and how to effectively get past them. if you have any problem, you can leave your comment at the end of this guide.
Enemy overview
Enemies activate when they sense the player nearby, and when they have direct line of sight to the player, they will move towards the player or attack them from range. Enemies will move directly towards the player or around corners, if those are in the way, but will stop if the player is too far from them.
You can block all attacks and projectiles from all enemies, unlike most traps, which are unblockable.
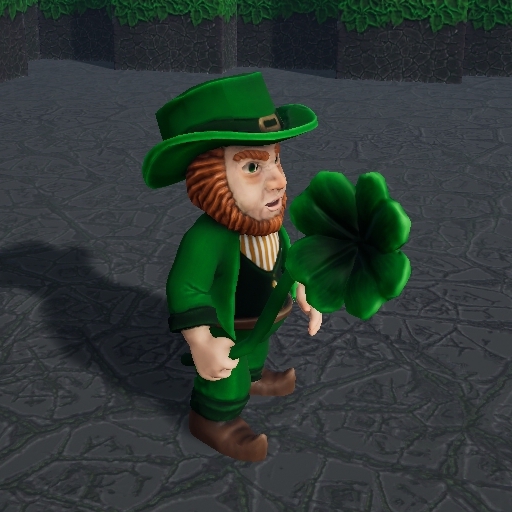
These are the first enemy you encounter and are present in all maps. They attack only at melee range and their attack animations can be interrupted by well timed counter-attacks. They deal 1 damage per attack and aren’t really dangerous unless you have to fight several of them at once. They are also easy to lure into traps, because they’re fairly slow.
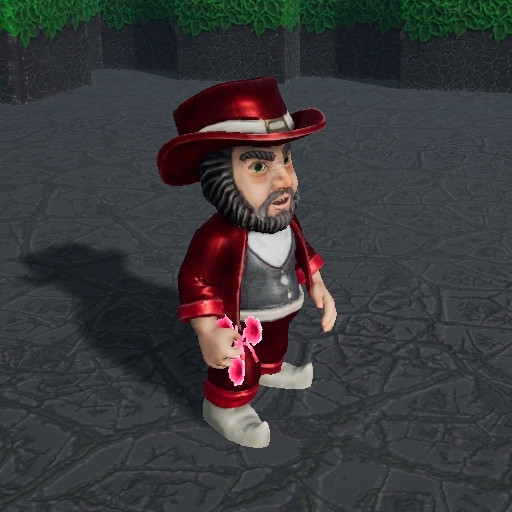
These leprechauns is red suits are similar to the green ones, except that they throw projectiles at the player instead of chasing them down immediately. They will still follow if the player is within range and behind an obstacle, but they are much harder to lure into traps.
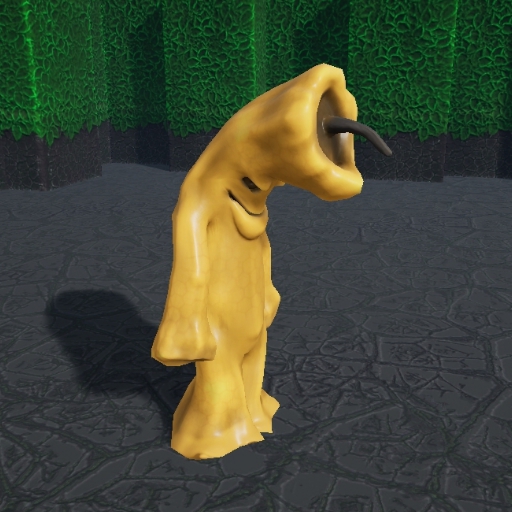
The evil candles attack at close range and have an attack that lasts for a short while and has multiple damage ticks that all need to be blocked. It’s possible to get in 1-2 attacks between each fire burst that they do.
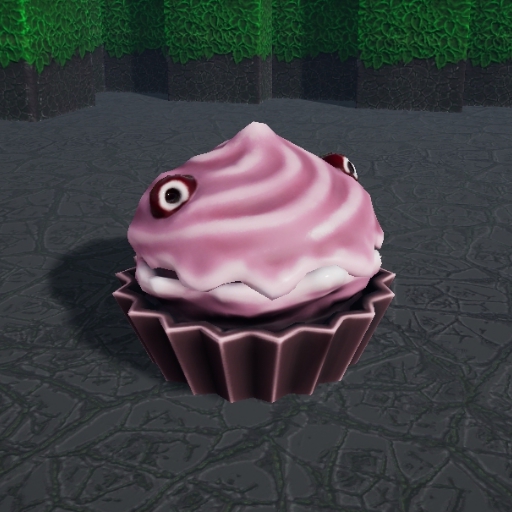
The Crazy Cupcakes are faster than other enemies, are able to attack while moving and immediately attack the player when in range. This makes it very difficult to get an attack off at them before needing to block, so it’s much safer to block first and attack after each of its attacks.
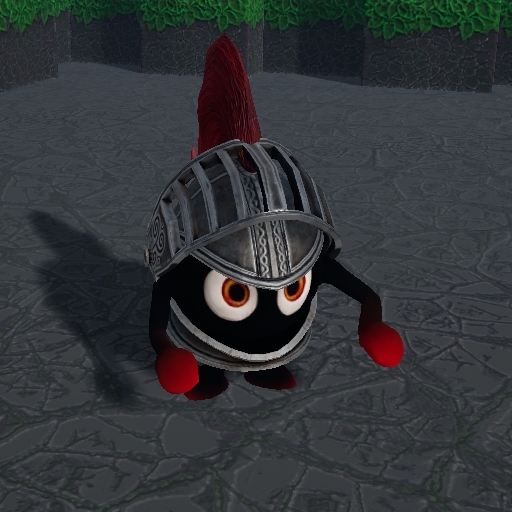
These little spirits are only vulnerable while their helmet visor is raised and their arms are sticking out of it. Every time they raise their visor, they can either attack or just wait. Every time they do attack successfully, they will deal 2 damage. If you hit them with a closed visor, you will see sparks from hitting the metal, but you will not have done any damage.
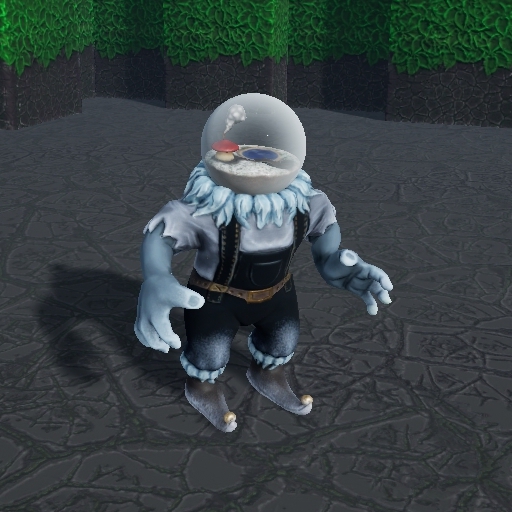
The Snowglobe Elves have a slowing aura around them, which makes running past them more difficult. They also have a projectile attack which deals a single point of damage and they do a little hop towards the player every time they attack.
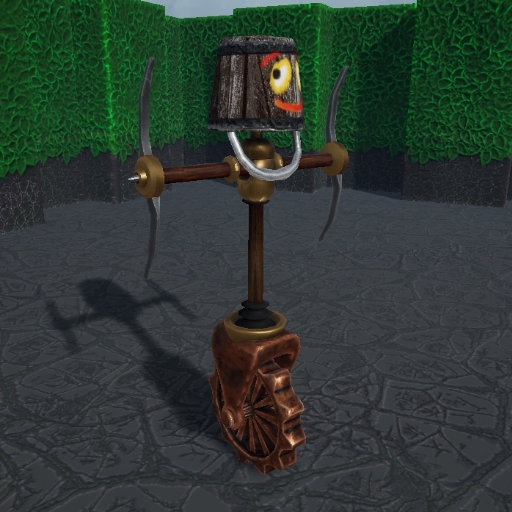
These mechanical steam powered robots spin around to attack and deal multiple points of damage during one attack sequence. The safest way to handle them is to lure them to you and keep blocking until they stop spinning around, then attack and repeat.
Trap overview (part 1)
- Floor traps, which can spawn on any tile.
- Wall traps, that can only spawn on a wall.
- Tunnel traps, which can only spawn between two opposing walls.
With some exceptions, most trap damage can not be blocked and must be avoided by other means. It is possible to get past each single trap without taking any damage. Sometimes when there are several traps next to each other, it may be very difficult or even impossible to get past without losing health, but the vast majority of times, proper timing and movement will allow you to pass unharmed.
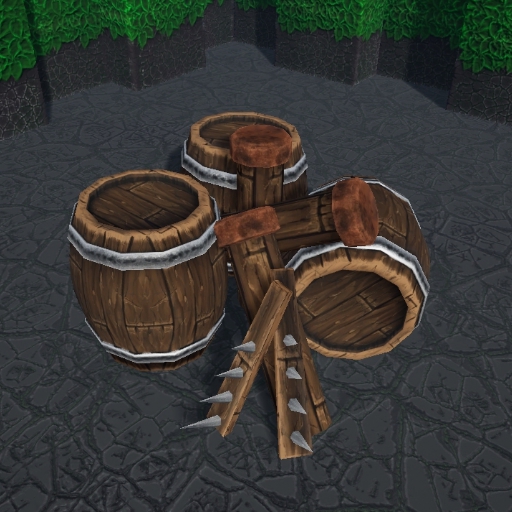
This is just a collection of barrels and stuff that you can destroy by attacking it. Doesn’t deal any damage and just blocks the way.
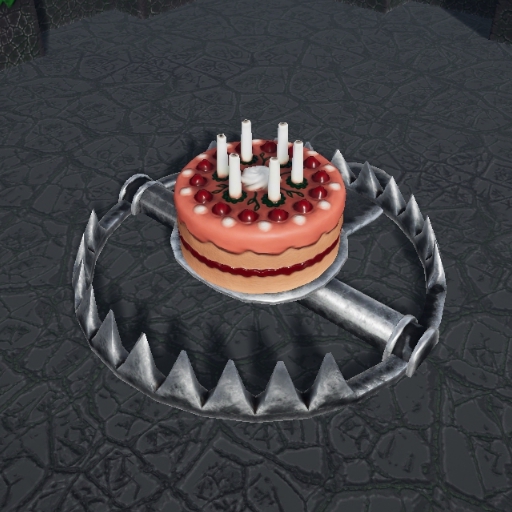
It’s a bear trap with a cake on top of it. If the player stops on it, the cake will be eaten and the player gains 1 health, but after a very short delay, the trap itself will close and deal 2 damage to the player, if they don’t get off the trap before then. It can be a risky way of getting some extra health, if you’re confident in your timing.
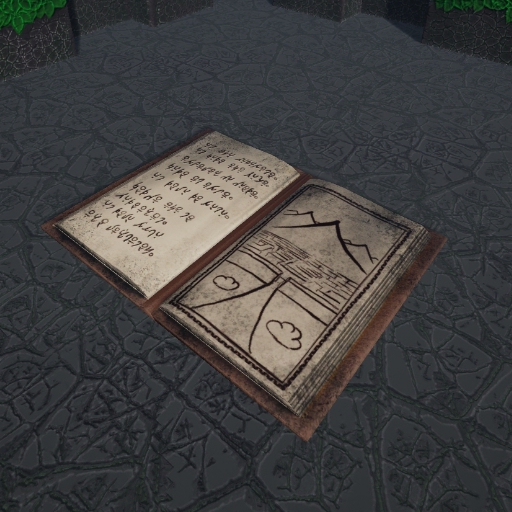
This one damages players if they run across it without stopping (to read). Damage is dealt when stepping off the book. If the player stops on the book, it will get stamped with a red mark and then it’s deactivated and safe to run across.
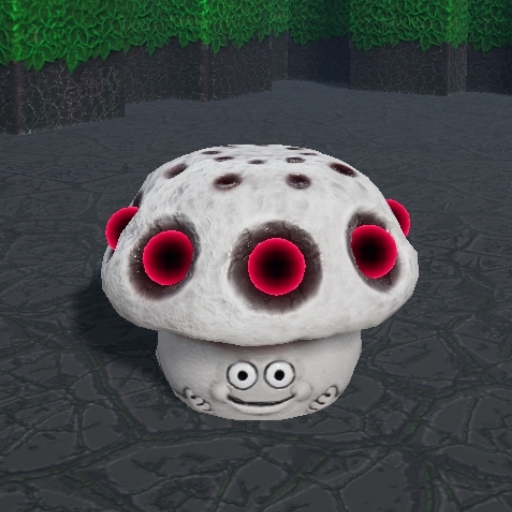
This mushroom shoots out projectiles at regular intervals when it has line of sight to the player. These projectiles can be blocked.
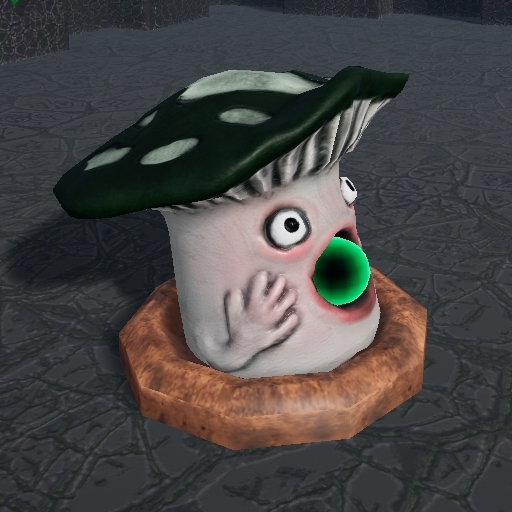
The green mushrooms spin around looking for targets to shoot at. You can either avoid detection by staying behind the direction of the arrow when it’s spinning or you can block the projectiles it shoots out. If you get very close to it, it will detect you even if you’re behind it, so sometimes it’s better to block the attack and move after that than trying to hide from it.
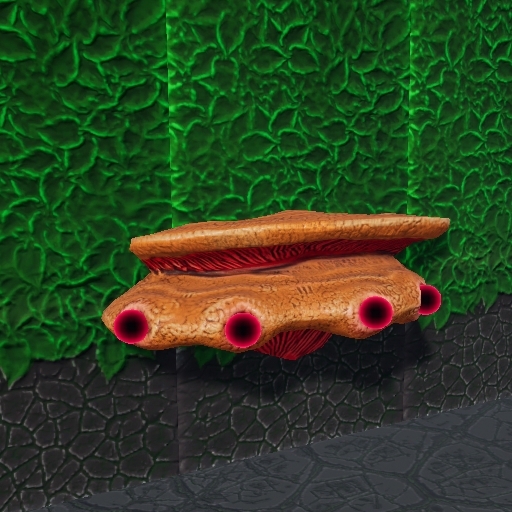
These work effectively the same way as the white mushrooms, but at different angles. The projectiles can also be blocked.
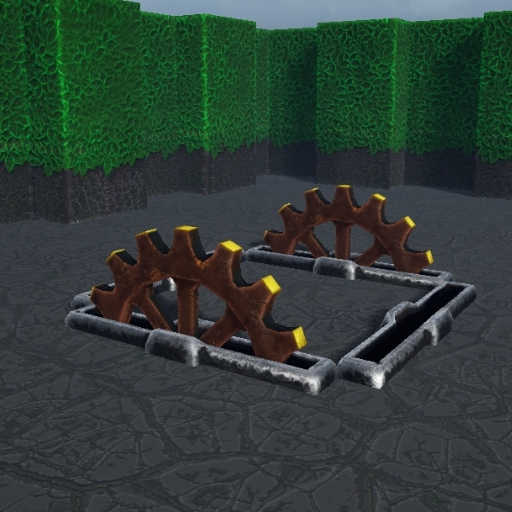
You can hit these gears to lower them, but the previously lowered gears will then rise up and block the other paths. You can use these to stop enemies from being able to follow you in some cases.
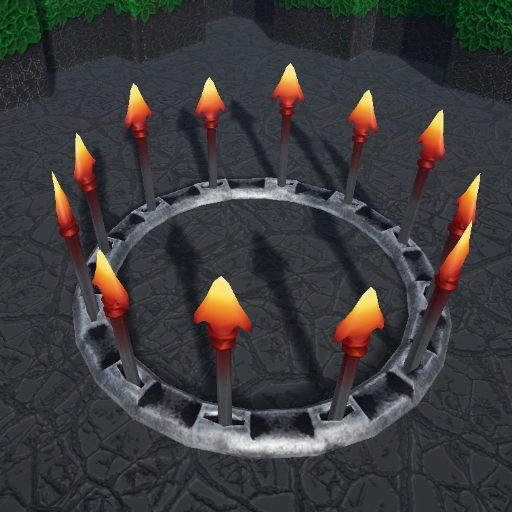
These spikes will be triggered when the player crosses over the circular boundary. The way to avoid them is to cross into the center as fast as possible and making sure you’re not approaching the circle at an angle, minimizing the duration you spend over the circle.
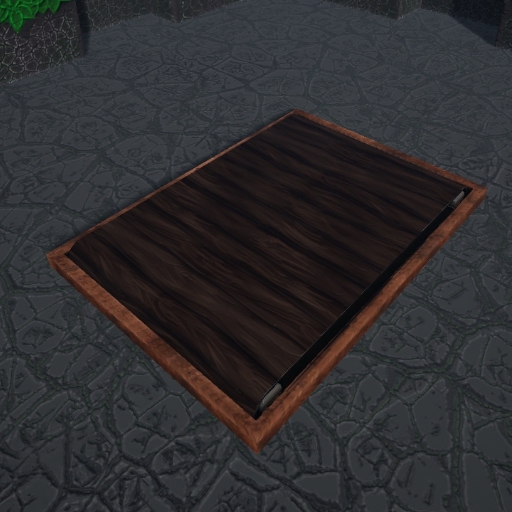
These will push the player in the direction it’s moving. It’s only affects movement and won’t deal any damage, unless it pushes you into another trap next to it.
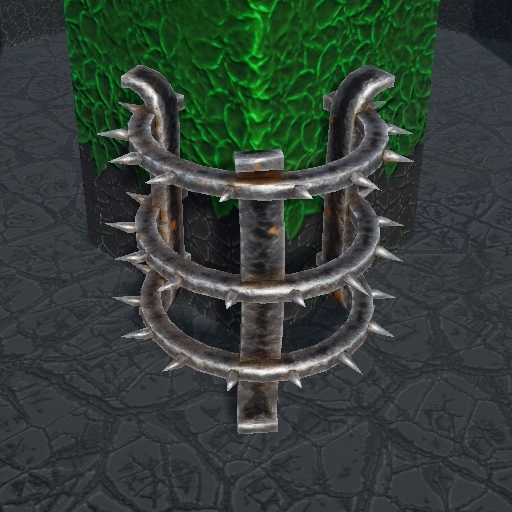
It doesn’t move in any way, but walking into the spikes will damage the player.
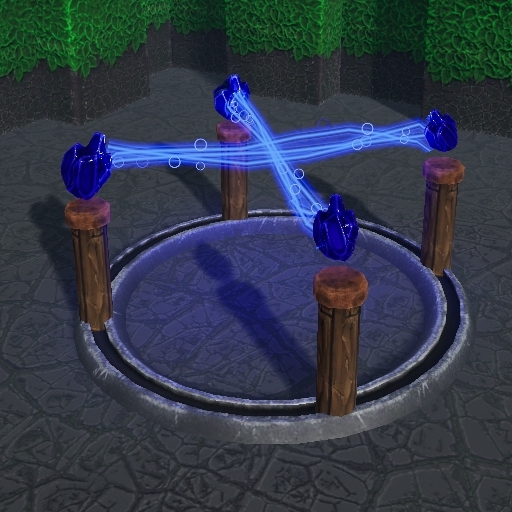
Walking into the magic beams will damage the player rapidly. You can hit any of the four crystals to overload the rest and shatter them, removing the damaging effect.
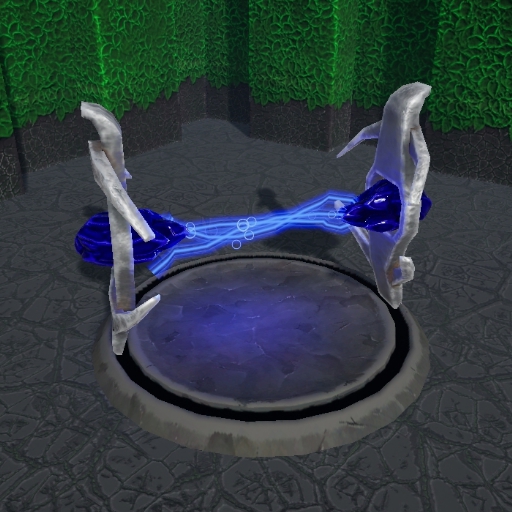
Walking into the beam damages the player, but you can get past these by either destroying the crystals by attacking them or by moving in sync with it and avoiding the beam itself.
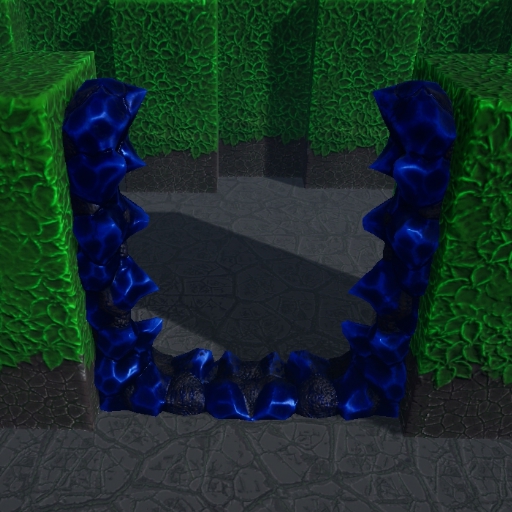
These will take a while to activate, but a subtle glow goes off right before damaging magic beams arc between the crystals. There’s no way to destroy these crystals, so you have to time your movement to get past.
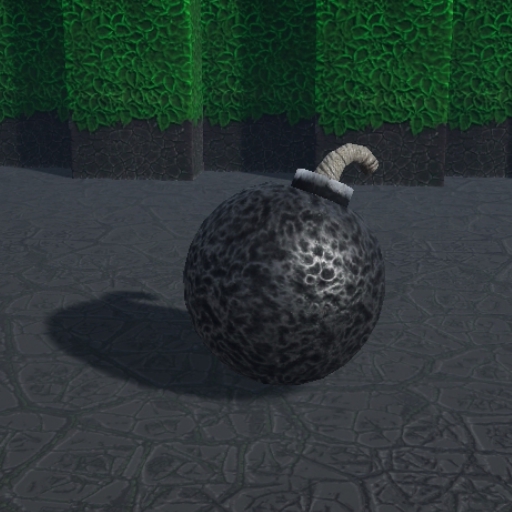
These activate when the player is within range and it has line of sight to the player. The triggering area is slightly larger than the explosion radius, so you can either trigger it and run back to avoid damage or you can use block to shield yourself from the explosion.
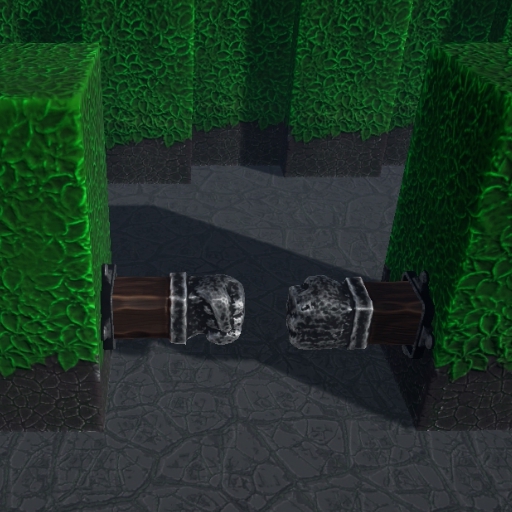
These trigger when the player approaches them. The way to get past safely is to stop right after triggering them, before you walk between them.
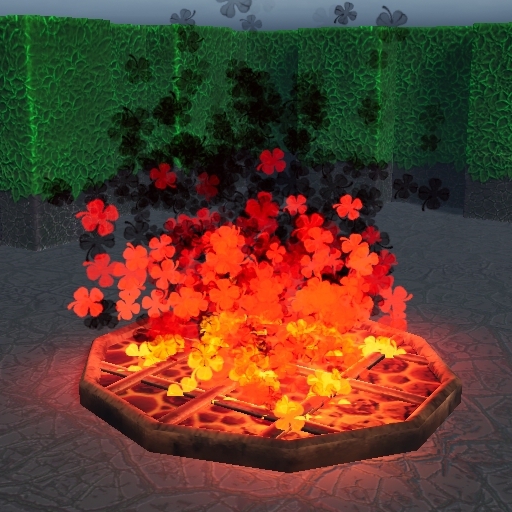
Getting past these is a matter of timing. Usually best to wait until they’ve just turned off. Running through the fire quickly is better than standing it for the full duration.
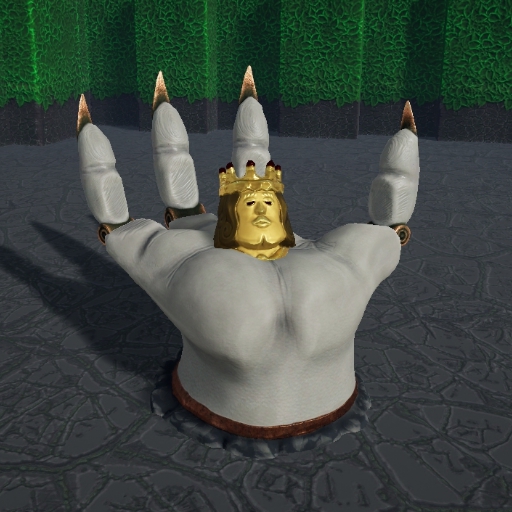
These don’t normally damage you, but taking the golden bust will always deal damage. On hardcore difficulty, they have a low chance to deal damage, but any damage will end the run immediately, so it depends on how lucky you’re feeling.
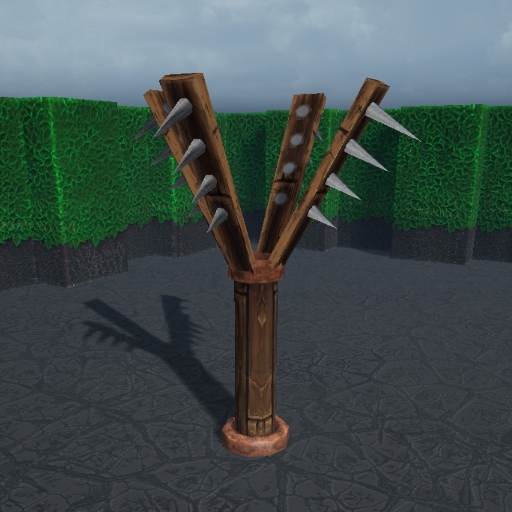
These only deal damage when the spikes are coming down, it’s safe to run past them otherwise.
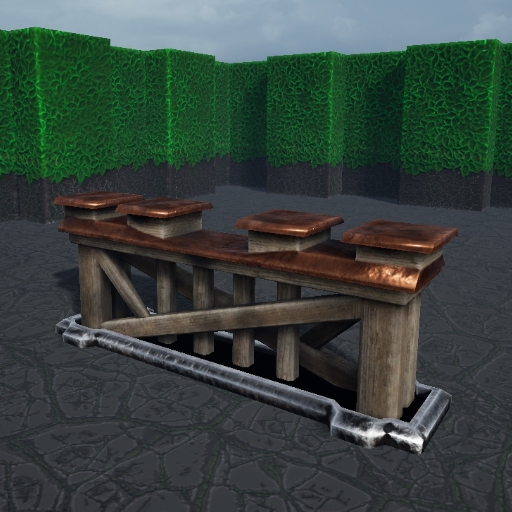
You can lower these by attacking, but once you move away from them, they pop right back up again.
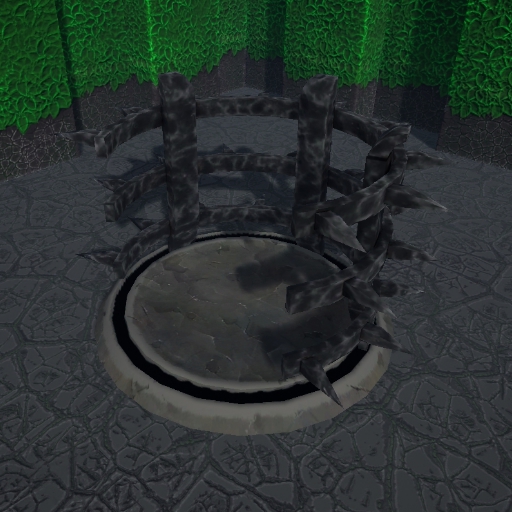
The outside of the cage with spikes deals damage when the player touches them, so you should walk into the center of it and not into the spikes.
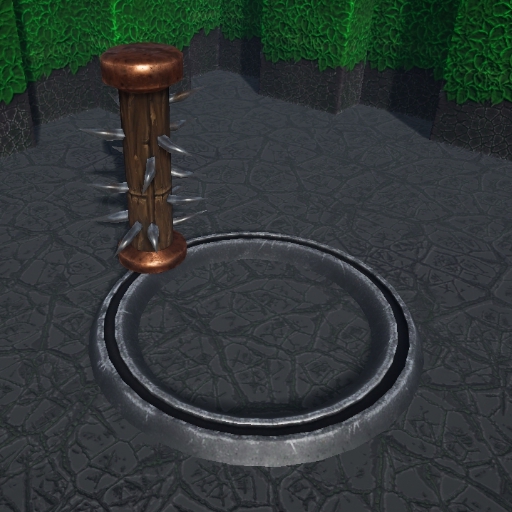
You can in theory stand right in the middle of this one without taking damage, but that’s quite risky and it’s better to just get past it by avoiding the spinning bit with spikes on it.
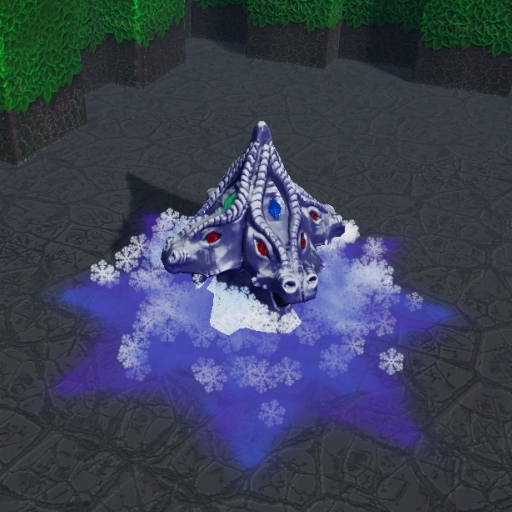
It pulses a slowing effect which doesn’t deal any damage, but it can make it difficult to adjust your movement for other traps next to it.
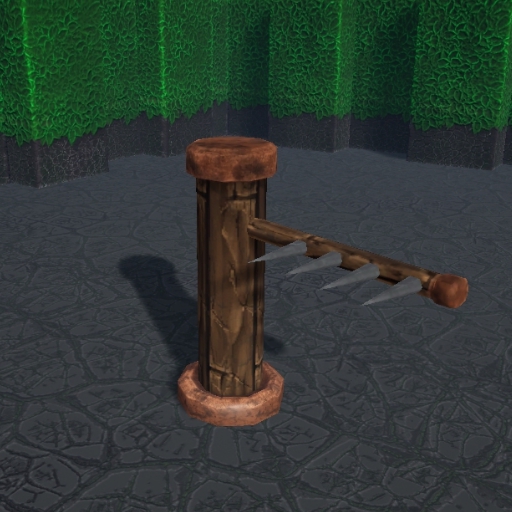
Only the side with the spikes deals damage, you can run into the back of it without taking any damage.
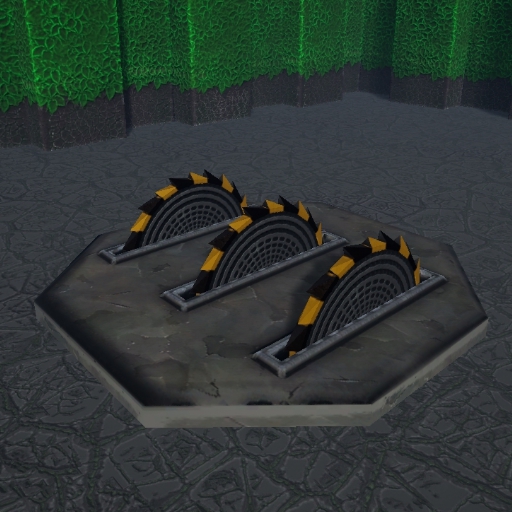
When the sawblades are visible, it deals damage. Just have to time your movement to get past it.
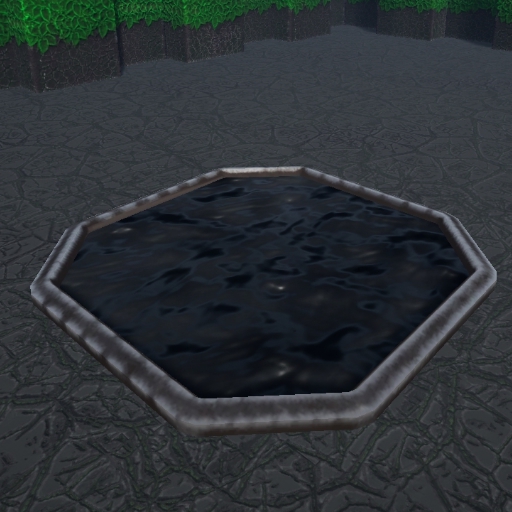
Movement is slowed while the player is standing in it, doesn’t deal any damage, but makes it more difficult to time movement for nearby traps.
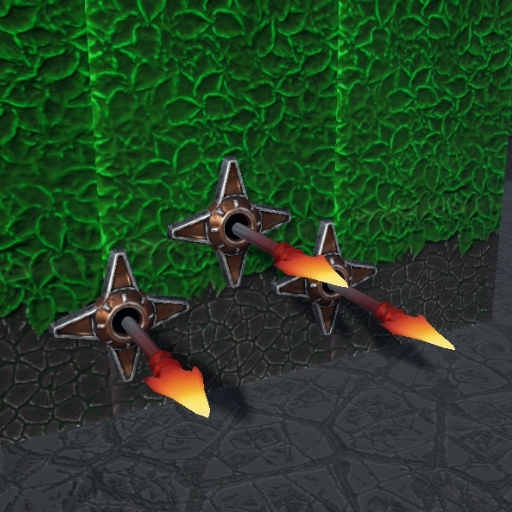
These are heated and will always deal damage to the player if touched. When extended, they don’t quite reach the other side of the path, so staying as far away as possible should let you get past them unharmed.
Trap overview (part 2)
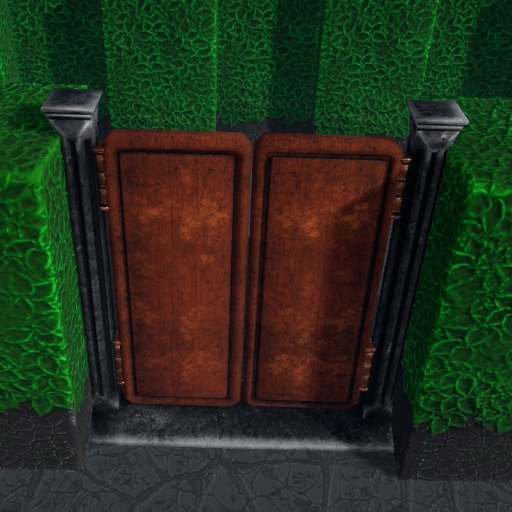
Walking into them once will open them partially, walking away and back towards them will open them completely. They also open away from the player, so you can tell which way you came before if you come across an already open door.
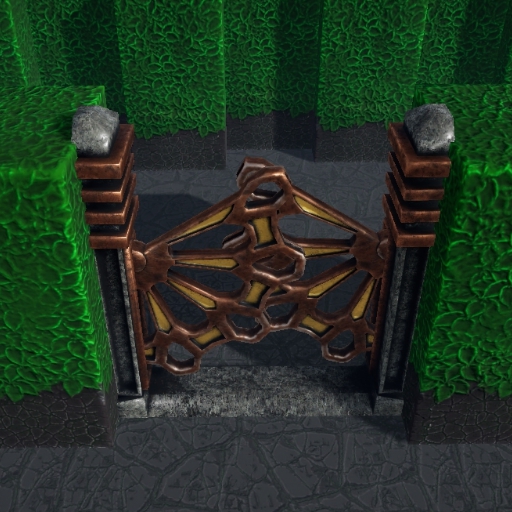
If they’re closed, they’ll open when approached. If they’re open, they’ll close when approached. Sometimes it will be necessary to back away and approach them again.
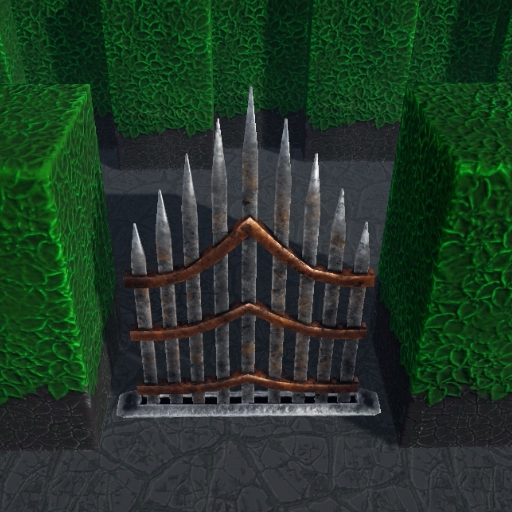
These will rise up quickly when approached and need to be damaged to be lowered back down. When coming up they can deal damage if the player is too close to them.
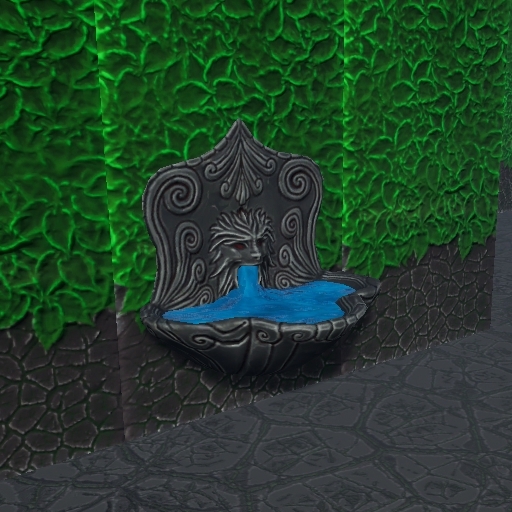
These always heal 1 heart of health when used. They can only be used once.
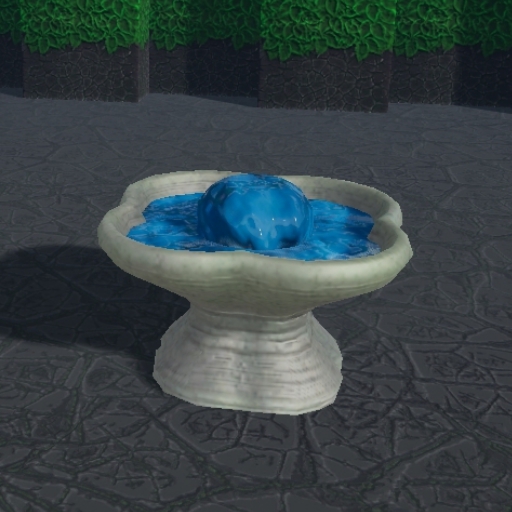
These have a 50% chance to heal the player for 2 health or to damage them for 1 health. If the player is already on 1 health, these will always heal for 2 health. Sometimes it’s better to take an extra point of damage and lower health to 1 before using these. It is possible to get very unlucky and lose a lot of health with these.
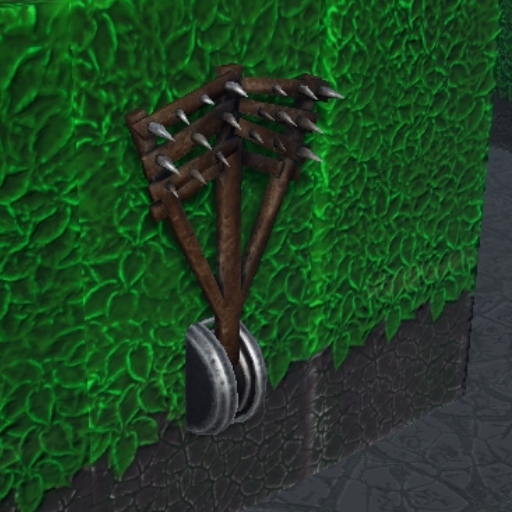
These will deal damage when coming down, movement needs to be timed to get past them.
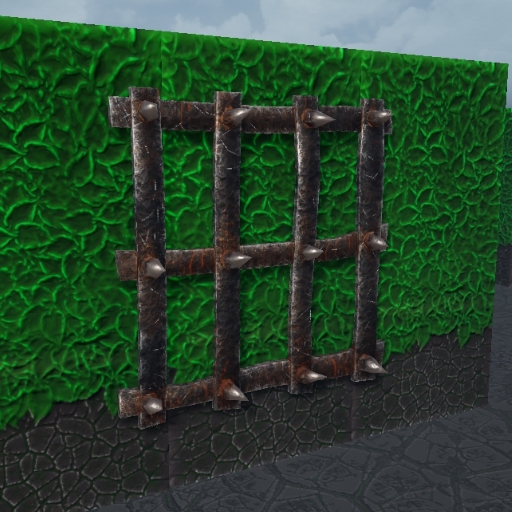
These can be a little hard to see sometimes when rushing into a blind corner. Otherwise easy to avoid.
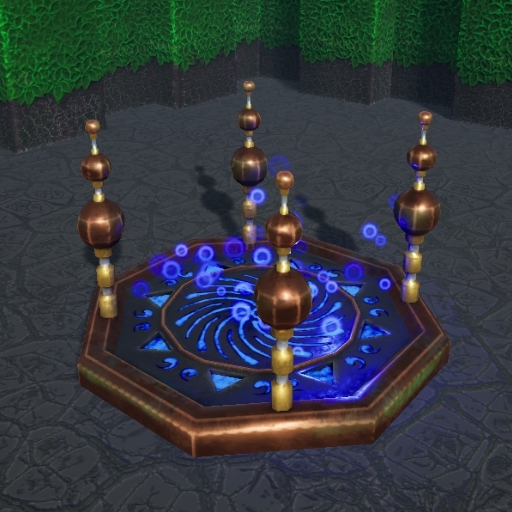
To use these you have to walk into them and stop moving. They will deal 2 damage on normal difficulty or have a 15% chance to deal damage on hardcore. They will only work once and will teleport you to another active teleporter somewhere on the map and then deactivate both of them. If there are no other active teleporters, you still take damage, but you won’t be moved anywhere.
Boss room
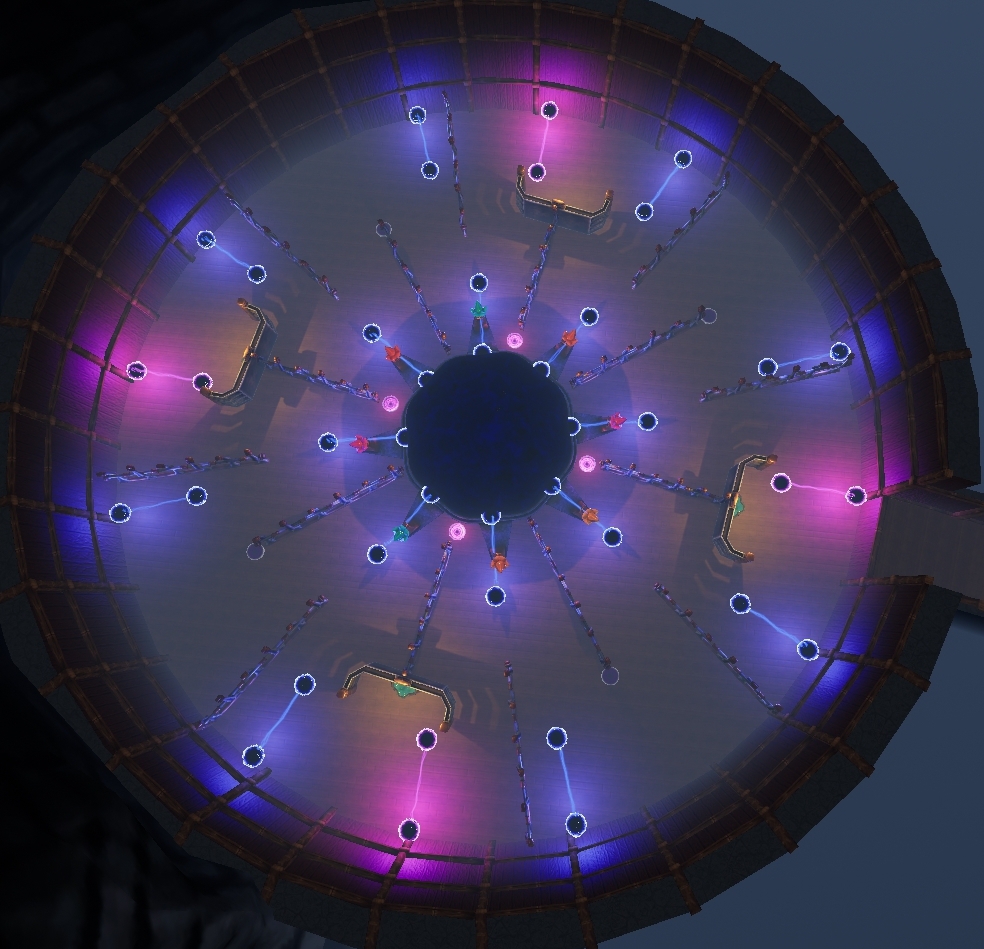
Beating it will unlock the wizard robe outfit and there’s a large amount of gold in the middle of the room, that’s initially hidden.
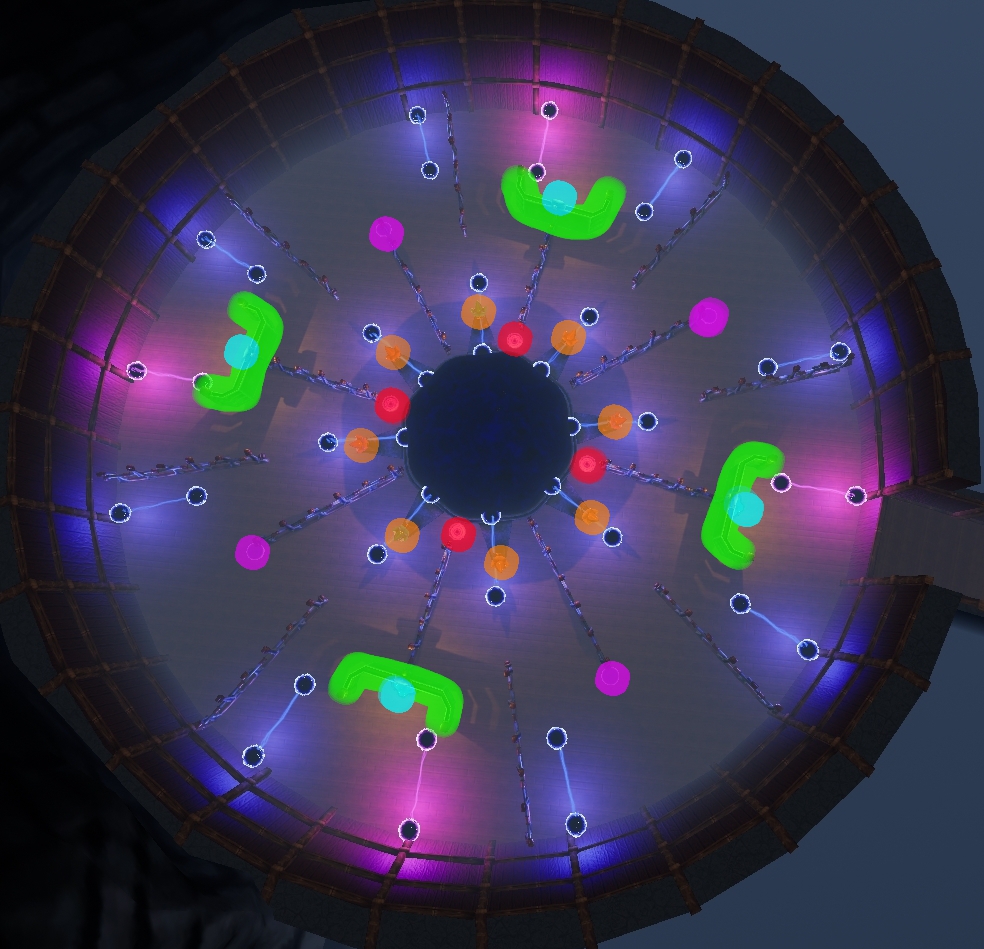
The goal is to avoid all of the spheres and beams and destroy the crystals (marked with orange) around the center. Having a faster hat or better weapon unlock (better weapons have a hidden attack speed buff in addition to the critical chance) will make this easier, but it is possible with no upgrades.
Every time you destroy a crystal, the defenses overload and explode to try to zap you from the middle. To avoid the damage, you should go and hide behind the walls marked with green. You can also use this time to drink from the fountains to regain health.
After the explosion, 4 new Spark enemies spawn from the locations marked with red near the center of the room. The Sparks will always damage you if they reach you and their damage cannot be blocked normally.
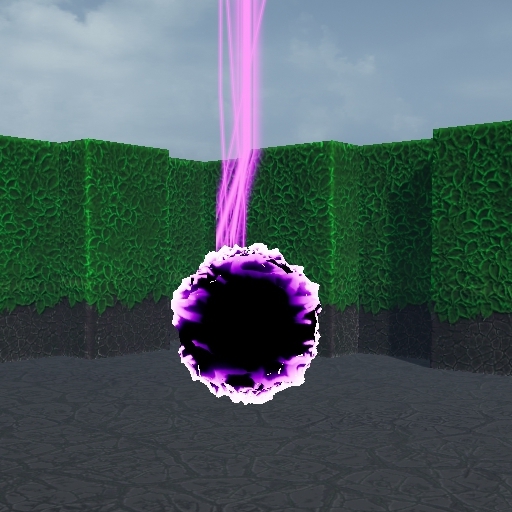
The way to deal with them is to either get enough distance between yourself and them, so you could safely destroy another crystal. (Which also despawns all the sphere enemies.) Or to drag the Sparks to the locations marked with purple, where they will get destroyed and light up the location. Each location can be used once per wave, so to get rid of all the Sparks, you would have to take one to each of the 4 locations. With each destroyed crystal, the Sparks get a little bit faster, so the fight gets progressively more difficult as it goes on.
A bonus for getting all 4 Sparks into the proper receptacles is that all of the fountains will get refilled and you can get more healing. Once you’ve gotten rid of all the Sparks, you can take your time and heal up at as many fountains as you want, giving you a moment to breathe during the fight.
Once the last crystal is destroyed, the shield covering the central area will dissipate and you can go grab all the gold and sit on the throne to trigger the ending sequence.
