The walkthrough will be written as I progress in the game. The achievements will be written once they are unlocked.
Controls
S – Move backwards
A – Move left
D – Move right
Mouse Movement – View direction, field of view.
N – Open Notes menu.
Z – Open item menu, move selection left
X – Open item menu, move selection right
ESC – Pause menu.
Mouse Wheel – Move item selection
C – Combine items (use on item you wish to combine, Z , X to select, press E or C again to combine.
Right click – Use item on objects.
Left click – Interact with objects, select item.
Part 0: The Nowhere
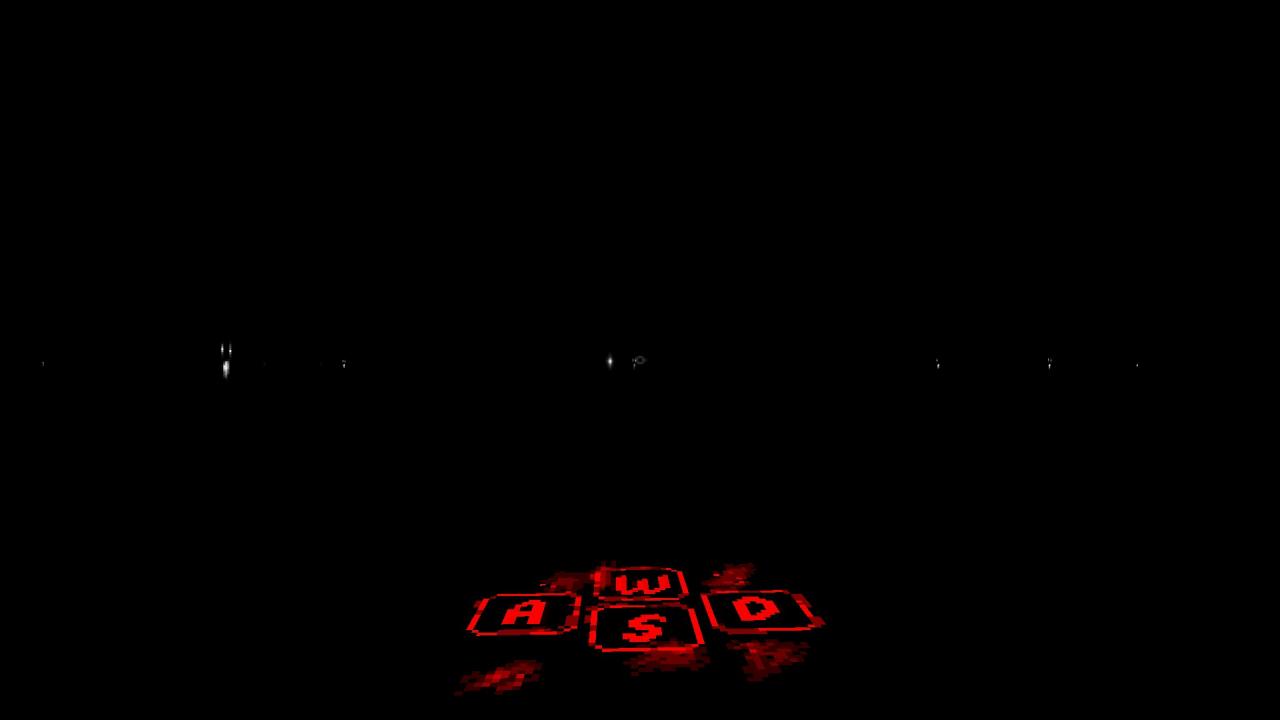
Start by running and going through the light star at the end.
Part 1: Operating Room
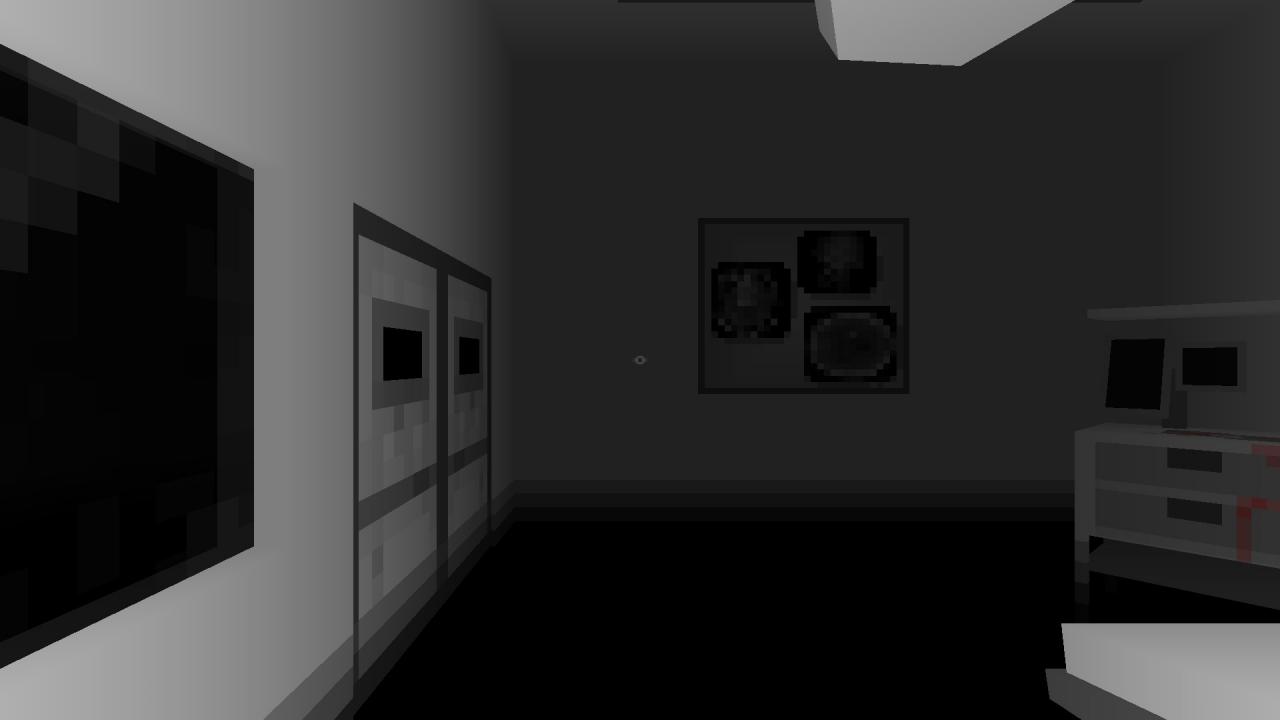
(CHECKPOINT)
Go through the double doors to exit the room.
Turn right and go through the next set of doors.
Go through the first white door to your left, then the next one.
There is a note on the desk. Click on it to pick up “Ethan P. Report” note.
Exit the two rooms and go down the hallway.
Skip the first set of doors on the left and go into the next set of doors on the left.
In the room, go through the third black door.
Walk past the computer room and go to the next room.
On the table there is an item and a note.
Pick up “A Kid’s Drawing” note.
Pick up “Some Kind of Tile” item.
Exit the table room and the computer room.
Go through the double doors in front of you.
Go to the second set of chairs and table in the back. There is a note on the table.
Pick up “Nurse’s Duty” note. (It mentions a notable number.)
Go through the double doors in the curved corner.
Go pass the two set of bench chairs and turn left in the hallway.
Go into the first hallway to your right. You will come across a set of doors with a keypad.
Press ‘394’ and click the key symbol.
Go through the doors and go right. Go through the last door to your left.
On the desk, there is an item. Pick up “My home Keys. Apartment ‘5-1.’
Exit the room and head back through the previous double doors.
Head right then head pass the chairs and go through the door to the right that leads to the windowed office.
Go through the first door to your left.
There is some sort of box. Open your item menu and make sure “Some Kind of Tile” is selected.
Use “Some Kind of Tile” on the box. (Process is Z, press ESC, then right click on the box.)
Assemble the pieces by clicking on them until they look like this. The box should open:
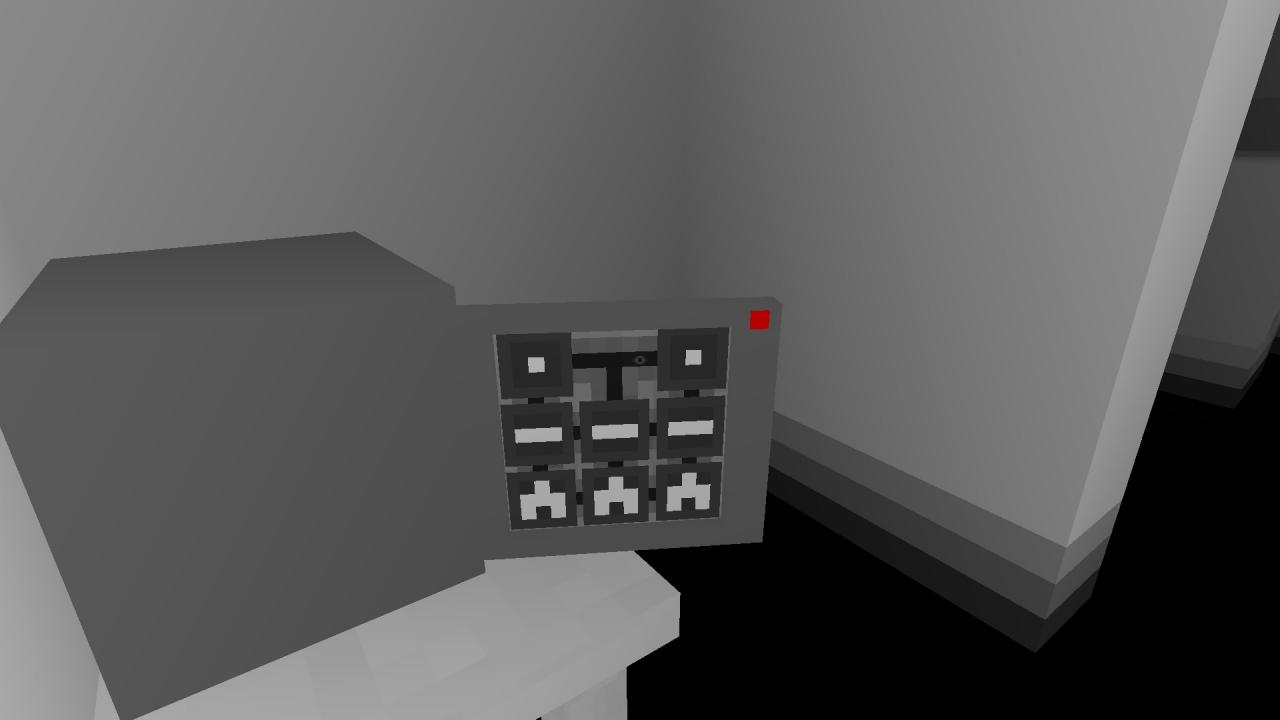
Pick up “Access Card” from the box.
Exit the rooms and go left. Go to the set of double doors with red dots on them.
Select “Access Card” from your items and right click on the doors. (Same process as above, but different item.)
Click on the doors to go into the next area.
(Note going into new areas won’t allow you to go back to the previous area, so make sure you’re finished with everything!)
Part 2: Hospital
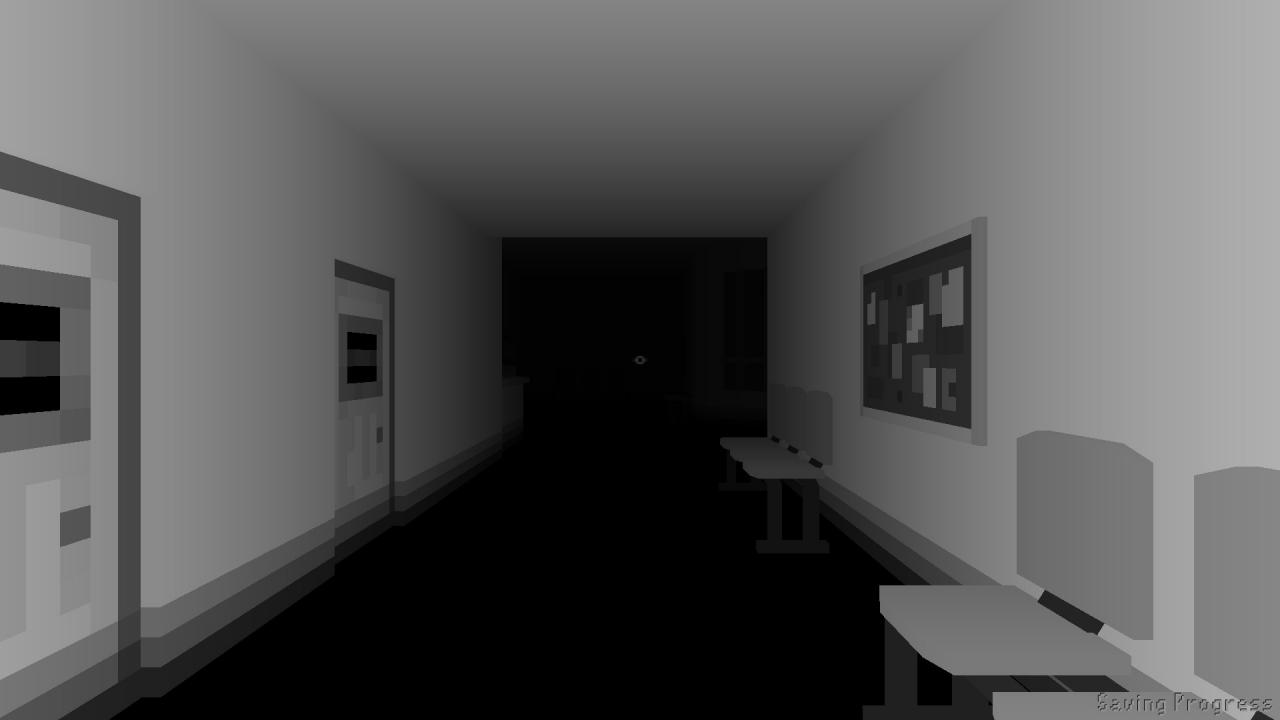 (CHECKPOINT)
Go to the end of the hallway and go through the last double doors to your left.
On the left side of the room, there is a note on the table.
Pick up “The Hanged Man” note.
Go through the door at the end of the room and go right.
Go through the first double doors to your left. There is a key on the other side of the fence.
Go back and continue through the hallway.
Continue until you get to the last door to your right, which is the bathroom.
Open the stall at the end of the room. There is a pipe on the toilet.
Pick up “Slim Pipe.”
Head out of the room, go right, and go through the double doors to get to the key again.
Use “Slim Pipe” on the key on the other side of the fence.
Pick up “Maintenance Key.”
Get back inside and head right to the end of the hallway.
Go through the last door to your right.
Use “Maintenance Key” on the door.
Go in the room and click on the ladder to get into the next area.
Part 3: Maintenance Room
(CHECKPOINT)
Go through the hallway until you come across a fence.
Go left to the end and turn right. There is a note and notable graph on the wall.
Pick up “Don’t Ignore This” note.
Go on the other side of the first until you come across a hall to your left.
Go through the hallway until you come to the end to a map and some buttons.
Your first goal is to get to the area on the 3rd row, 5th column.
Click once on the top button on the left side, click once on the left-most top button on the top, and click once on the second button on the left. It should look something like this (plus a better idea on the order to click the buttons and where you are):
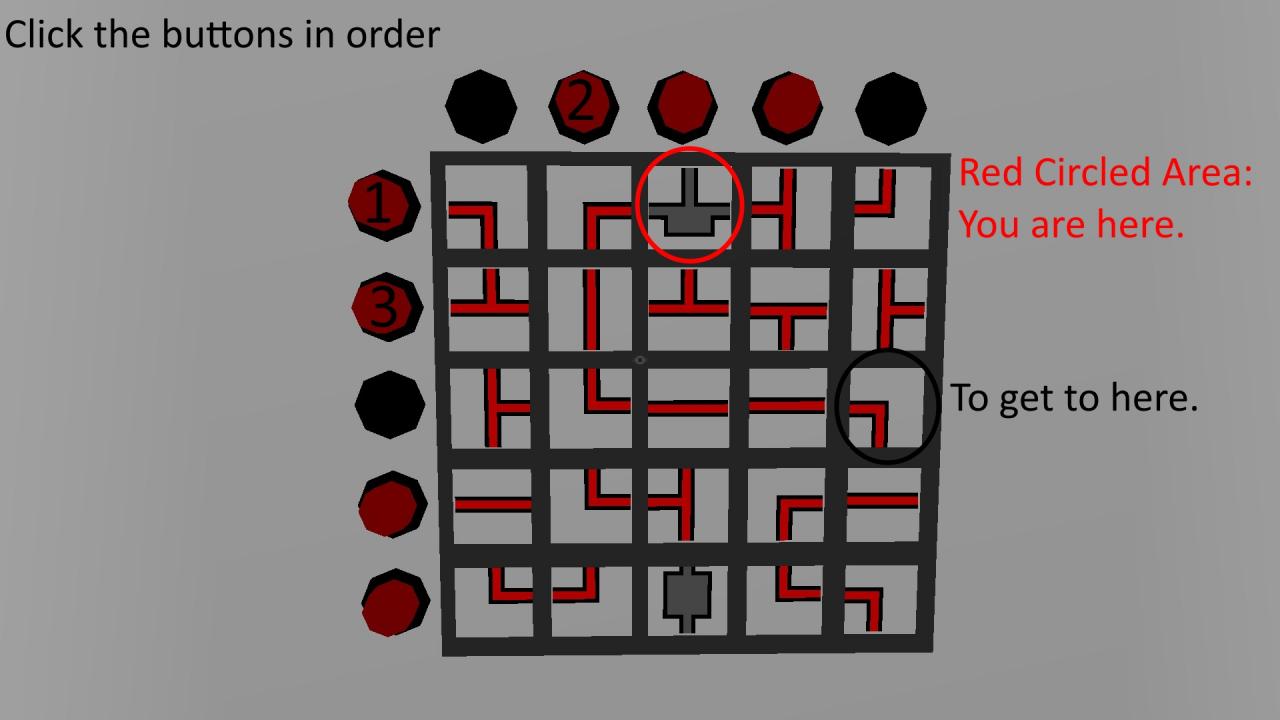
Go right and follow the path until you come across an item and a note on the wall.
Pick up “In The Maze” note.
Pick up “Rusty Valve.”
Backtrack to the map with the buttons area. Your next goal is to get to the other gray room at the bottom.
Click the top button on the left twice, the right-most button on the top once, the second-to-last button on the bottom on the left once, and the middle button on the top once. It should look something like this:
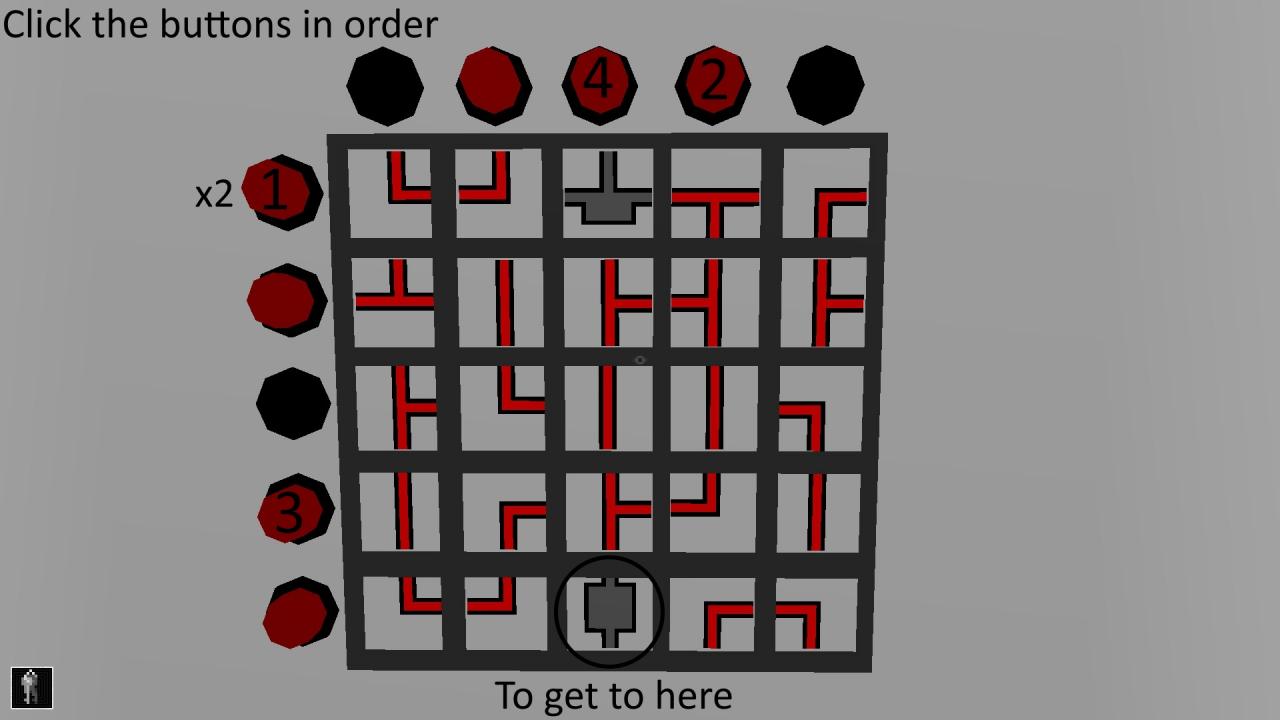
Go left, right, and head straight until you come across a corner of the wall.
Turn, then take the first left. You should come across a ladder.
Click on the ladder to get into the next area.
Part 3.5: Sewers
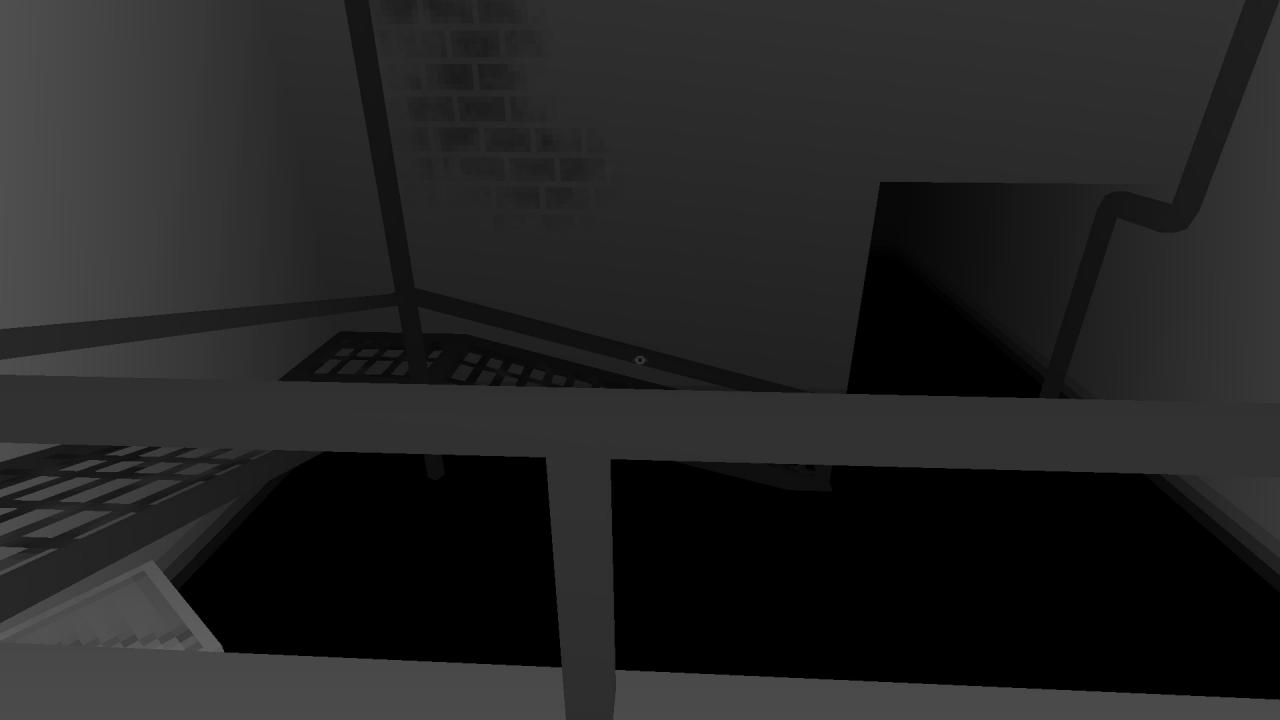
(No checkpoint, hence part 3.5)
Head down the steel ramp and into the next room.
Go left and head into the first hallway to your left.
Take the first right and go down. Go left and go through the first hallway to your left.
Go to the end of the wall and go left to the other side of the fence.
There is an item on top of a small white table near a couch.
Pick up “Metal Polisher.”
Open the item menu and press C on either “Metal Polisher” or “Rusty Valve.”
Select one or the other as above (using Z and X).
Press C to combine the item to make “Polished Valve.”
Head back out to the fan area and go left. Go into the next hallway to your left.
Go to the end until you come across a room with a large pipe and a white chair and table to your left.
On the table, there is a note.
Pick up “I Feel Safer” note.
Go to the pipe. There is a small hole on it.
Use “Polished Valve” on the small hole on the pipe.
Click on the valve to rotate it. The water will rise up and make a bridge.
Cross the bridge and go left.
Go to the last hall on the right to descend down.
Go to the other side of the room and go through the hall.
Go through the end until you come across a room of beds. Go left. There is a card under the body.
Pick up “Access Card.”
Backtrack to the first floor of the area.
On the first floor of the (now stopped) fan, go left until you come across a door with a red dot.
Use “Access Card” on the door.
Go to the end of the room. On the left, there is a key on the table to your left.
Pick up “Small Key.”
Head out and head back up the steel ramp to the ladder.
Click on the ladder to leave the area and go back to the previous area.
Go left until you come across a fence.
Use “Small Key” on the fence.
Go through and click on the ladder to leave the area.
Part 4: Apartments
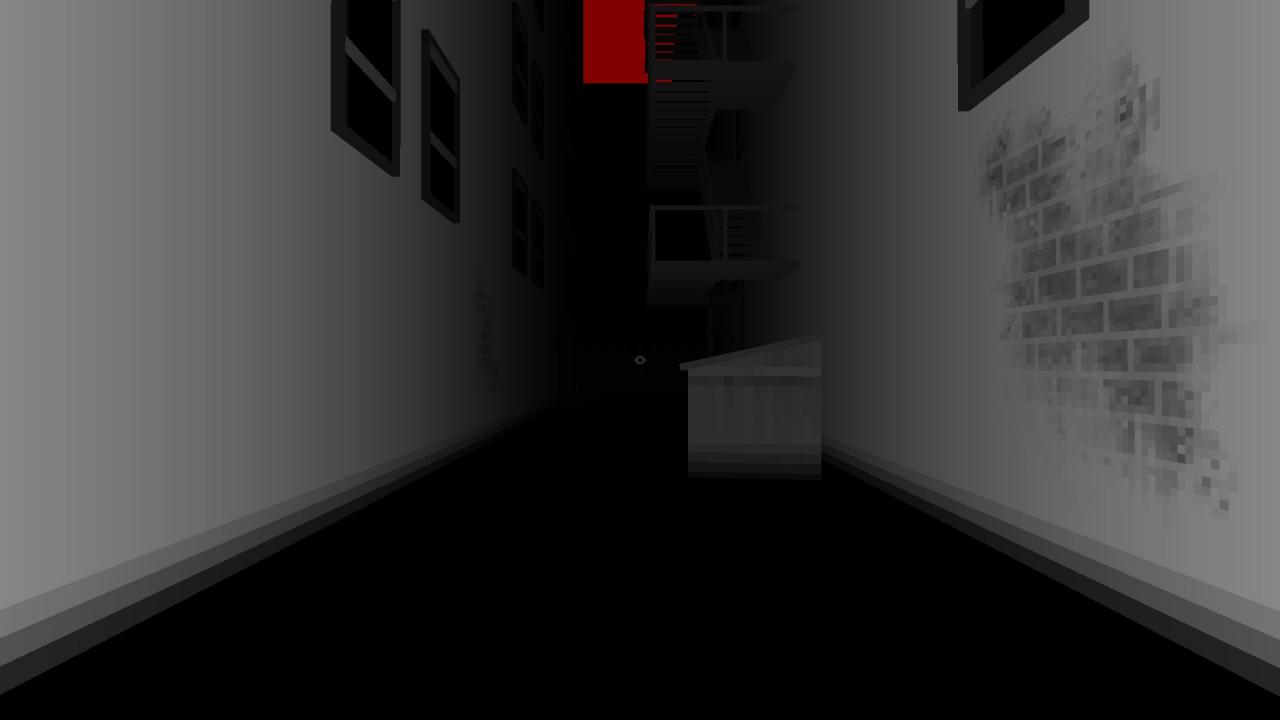
(CHECKPOINT)
(ACHIEVEMENT UNLOCKED! “A-maze-ing”)
Head straight and go up the ladder behind the dumpster.
Go upstairs until you come across an open window to your right.
Go into the room.
Go through the first door in front of you.
Go through the hall, and go upstairs to your left that is near the elevator.
Go through the door and go down the hall until the end.
In the room, there is a tool on top of one of the crates behind the big crate.
Pick up “Screwdriver.”
Go back downstairs and go through the hall in front of you.
Go through the door at the end of the hallway and go right.
Use the “Screwdriver” on the power box.
Click on the switch to turn the power back on. Backtrack near the stairs and to the elevator.
Press the red button on the wall and go in the elevator.
Press the red button inside the elevator to go into the next area.
Part 5: Parking Zone
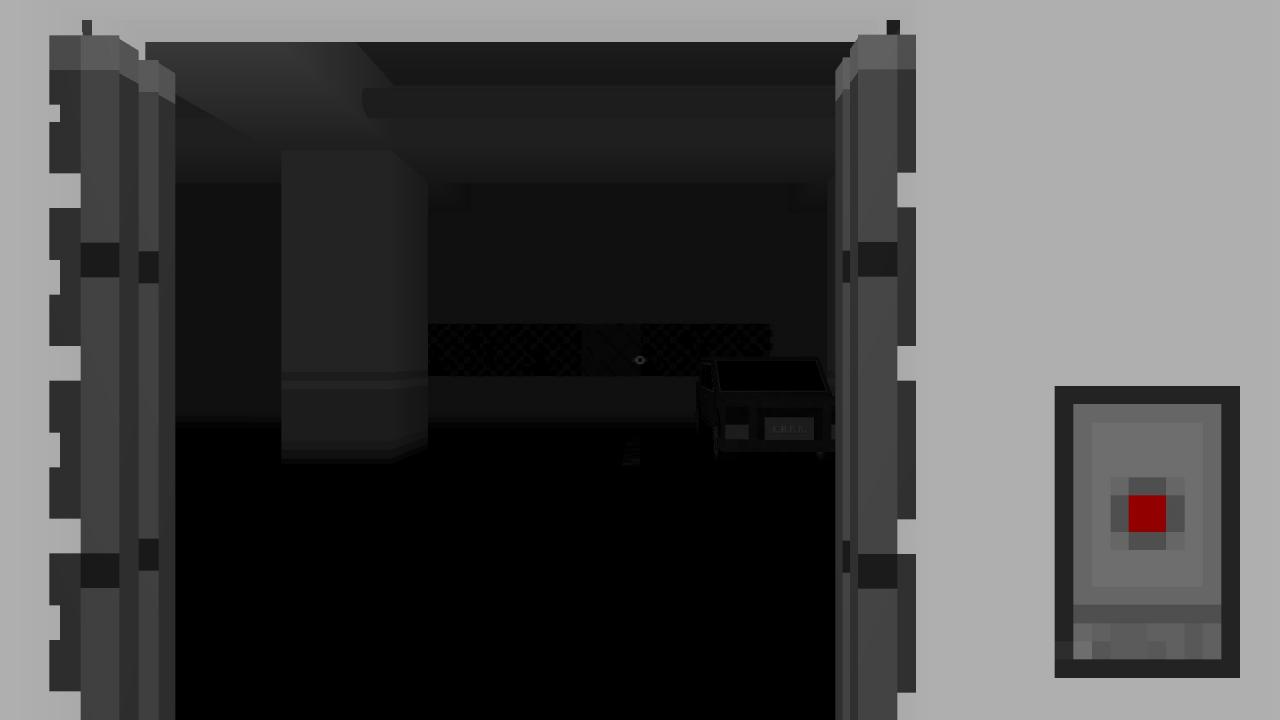
(CHECKPOINT)
Get out of the elevator and go right.
But before turning right again…
Please note there is a possible gameover/achievement/ending at this point. On the left side there is a ramp. If you stand still and wait by it, you will get an ending. You will gain the achievement: “Condemned” after the ending plays. You can still go back to where you left off (here) by going to the menu and click continue, so not much of a loss here.
Otherwise…
Continue, BUT KEEP RUNNING, AND DON’T LOOK BACK.
Go through the door on the right and follow the paths. Keep going through doors until you get in the next area.
Part 6: The Prison
(CHECKPOINT)
(ACHIEVEMENT UNLOCKED! “Thank you, Box…”)
A-maze-ing

Achievement Description: Escape the lonely underground maze.
How To Get: Escape the maze in the game. After leaving the maintenance area and going up the last ladder to exit to an area with a dumpster, the achievement should unlock automatically.
Condemned

Achievement Description: Embrace the agony for the rest of eternity.
How To Get: This achievement unlocks once you get the “Condemned” ending. In order to do that, you let the Shadow (red-black ghost) get you. This can happen at a random time, but most likely if you’re playing for the first time, it will be in the car garage area.
Thank you, Box…

Achievement Description: Meet the box of salvation.
How To Get: Outrun the Shadow (red-black ghost) (hint: keep running and look for an exit door). Once you are in The Prison area for the first time (and you turn around and a box blocks the door), the achievement will unlock.
Awakening

Achievement Description: Achieve the ultimate goal.
How To Get: Unlock the Awakening ending. To do that, outrun the Shadow (red-black ghost) after the small candle area (where candles light up to lead you to your path). Enter the code on the access panel.(the final number revealed after obtaining the Pipe Room Key on the crate while running, and opening the pipe room with the key.) The number is 372 (then key symbol). There are tallies by the numbers to show the order the numbers go in. The number 3 in the pipe room has one tally (1), the number upstairs (which at first looks like an arrow) shows a 7 with two tallies (2), and the final number, 2, is behind the hanged person with three tallies (3).
After entering the code, keep running until you come across an empty chair with a rope. Quickly click the rope. The ending may look like the bad ending (condemned) at first, but it changes. Trust me.
