
I put this together for anyone chasing 100% in Clive Barker’s Hellraiser: Revival, because a good chunk of the achievement list here is easy to walk past and never see again. My focus is the missable achievements — the ones that punish you for not knowing the trick — plus the locker codes, the pillar artifact locations, and the weapon-upgrade route I found simplest for finishing a firearm upgrade. If you’re the type who reloads a save to grab one last achievement before an episode ends, this is written for you.
One honest thing up front: I’m not certain every pillar artifact has to be collected in a single playthrough, and the original community notes this guide is based on flag that same uncertainty. I’d rather tell you that than pretend I know for sure. Save at the start of every episode and none of this will be painful to go back for.
Overview
What follows is a complete achievement walkthrough for Clive Barker’s Hellraiser: Revival, built around the parts that actually trip people up: the missable achievements, the numpad locker codes, the weapon-upgrade route, and the pillar artifact hunts. Alongside the achievement list I’ve folded in the locker codes and a handful of general game hints that are worth having on hand while you play.
The guide applies to Steam first, but the same content maps onto Xbox and PS5 — just keep in mind that the console versions carry fewer achievements than the Steam release, so a few entries here won’t have a matching trophy or achievement on those platforms. Where that distinction matters, I’ll say so as we go.
What you should know before you start
Before I get into the achievements themselves, there are a few things I genuinely wish someone had told me on my first run. The single most useful habit is this: save your game at the beginning of every episode. Do that consistently and going back for anything you missed stops being a chore — you just reload the right episode and pick the achievement up, rather than replaying hours of progress. I treat those episode-start saves as non-negotiable now, and they’re the reason the missable list below isn’t nearly as painful as it looks.
Fair warning, and I mean it: this guide contains HEAVY SPOILERS. I describe specific achievements, locations, and story beats in detail, so if you want to experience everything blind, come back once you’ve finished your first playthrough.
One last thing worth flagging up front — this guide covers the Steam release first, but the same content applies to the Xbox and PS5 versions as well. Just keep in mind that the console versions have slightly fewer achievements, so a handful of the entries you see here won’t have a matching trophy or achievement on those platforms.
Story Achievements
These are the ones I never worried about — they fire as the plot moves, so as long as you push the story forward you’ll collect them in order. What I do care about is the order itself, because a couple of these sit right at the end and depend on a choice. The list below follows the sequence you actually hit them in, from your first step into the Labyrinth all the way to the two endings.
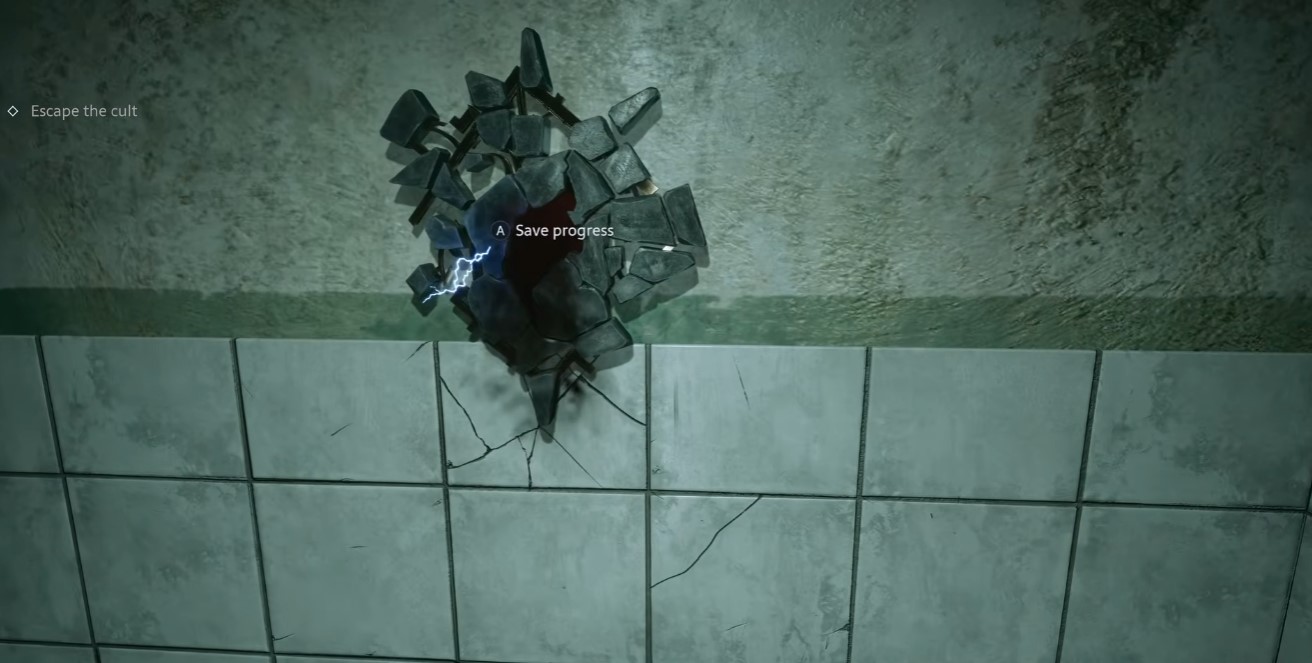
| Achievement | Requirement |
|---|---|
| We Have Such Sights to Show You | Enter the Labyrinth |
| What’s in the Box?! | Use the Genesis Configuration |
| Not Leaving Us so Soon, Are You? | Escape the Labyrinth |
| The Box. You Opened it. We Came | Complete the prologue |
| A Waste of Good Suffering | Escape confinement |
| No Time for Argument | Escape from the Chatterer |
| Knives Out | Use a knife to kill an enemy |
| Bullet Time | Use a firearm to kill an enemy |
| Not Even IP | Get inside the club’s VIP lounge |
| Only Nightmares Last Forever! | Escape from Charlotte |
| With Great Power | Unlock the Telekinesis power |
| Burn? Oh, Such a Limited Imagination! | Set Charlotte on fire |
| Run, Aidan, Run! | Escape from the Chatterer, again |
| Demons to Some, Angels to Others… | Talk to a Cenobite |
| Puzzle Me This | Complete 3 Labyrinth puzzles |
| Welcome to Oblivion | Reach the Field of Souls |
| Every Drop of Blood You Spill… | Resurrect Sunny |
| Puts More Flesh on My Bones | Begin the hunt for the hearts |
| Servant of the Ancient God | Defeat Bruno |
| Pyromaniac | Unlock the Pyrokinesis power |
| Heart on Fire | Defeat Charlotte |
| I Can Do This All Day | Escape from the Chatterer, yet again |
| So Much for the Cat and Mouse Shtick | Sneak past the Sister of Mercy |
| Unlimited Power! | Unlock the Hellchains power |
| No Mercy | Defeat the Sister of Mercy |
| Come Here, Damn You, I Want to Touch You | Defeat Bruno, again |
| Go to Hell! | Defeat Marlowe |
| Tear Your Soul Apart | Complete the Ritual of Rebirth |
| Experience Beyond Limits | Finish the story by accepting the Cenobites’ offer |
| Human After All | Finish the story by denying the Cenobites’ offer |
Two of these deserve a direct mention, since they’re the only entries on this list where you actually have to decide something. Experience Beyond Limits and Human After All come from the ending choice — accept the Cenobites’ offer, or deny it. Here’s the part I made sure not to botch: the game autosaves right before the choice, so after you take one ending you can immediately load that autosave and take the opposite one instead. No second playthrough needed for the pair. I’d still recommend saving manually at the start of the episode just so you have a clean fallback, but the autosave alone does the job for these two.
Part 1 — Achievements That Can Be Lost
Everything in this batch can slip past you on a normal playthrough, but none of it requires a fresh run if you’re holding the right save. That’s the whole reason I keep harping on saving at the start of each episode — a couple of these are trivial to grab late, and a couple will make you grind for coins if you barge ahead without thinking. I’ll flag which is which as I go.
One thing worth saying before the list: most of the early ones are basically tutorial-tier and you’ll trip them by accident. The ones that actually matter for a completionist are the money-related achievements, because they gate each other.
Easy Picks You’ll Grab Naturally
These are the ones I’d call free — play the game normally and you’ll hit almost all of them without trying. I’ve grouped them so you can scan for anything you somehow skipped.
- Finders, Keepers — Collect some coins. You’ll do this within the first few minutes.
- With My Own Two Hands — Craft an item in the Crafting menu.
- Just a Flesh Wound — Heal up to full health.
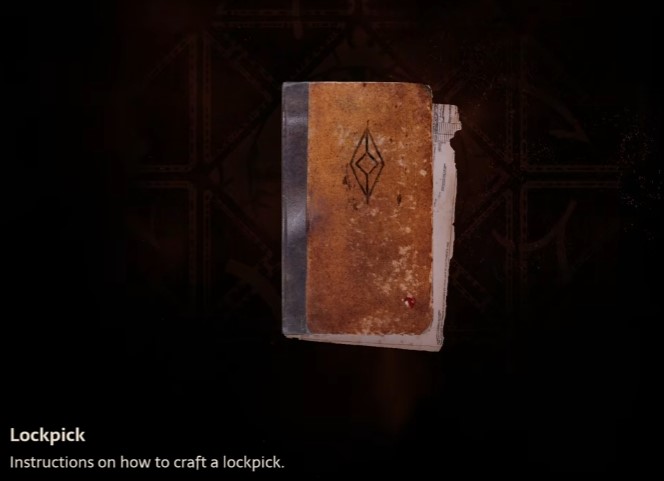
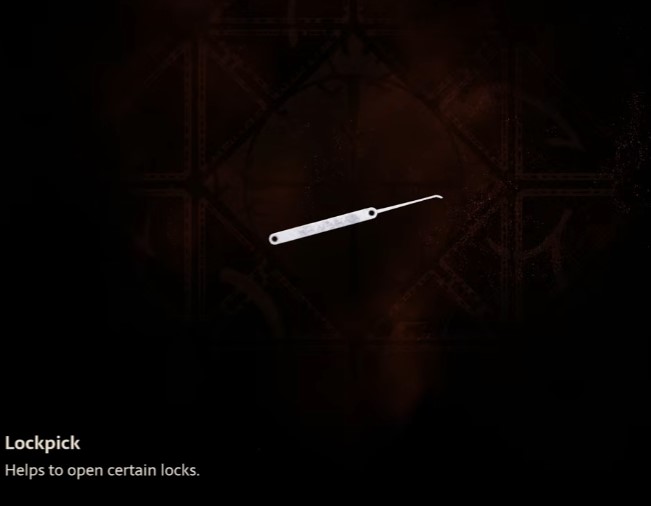
- A Little to the Left, a Little to the Right — Open a basic lock with a lockpick.
- Oh Snap — Break a lockpick. Deliberately, or by accident — either works.
- Excessive Use of Force — Break a melee weapon in a fight.
- What’s Your Pleasure, Sir? — Purchase something from a mysterious vendor.
For Silent, but Deadly, approach any enemy from behind without being seen and press the button that appears — straightforward stealth takedown, and the prompt does the work for you once you’re close enough.
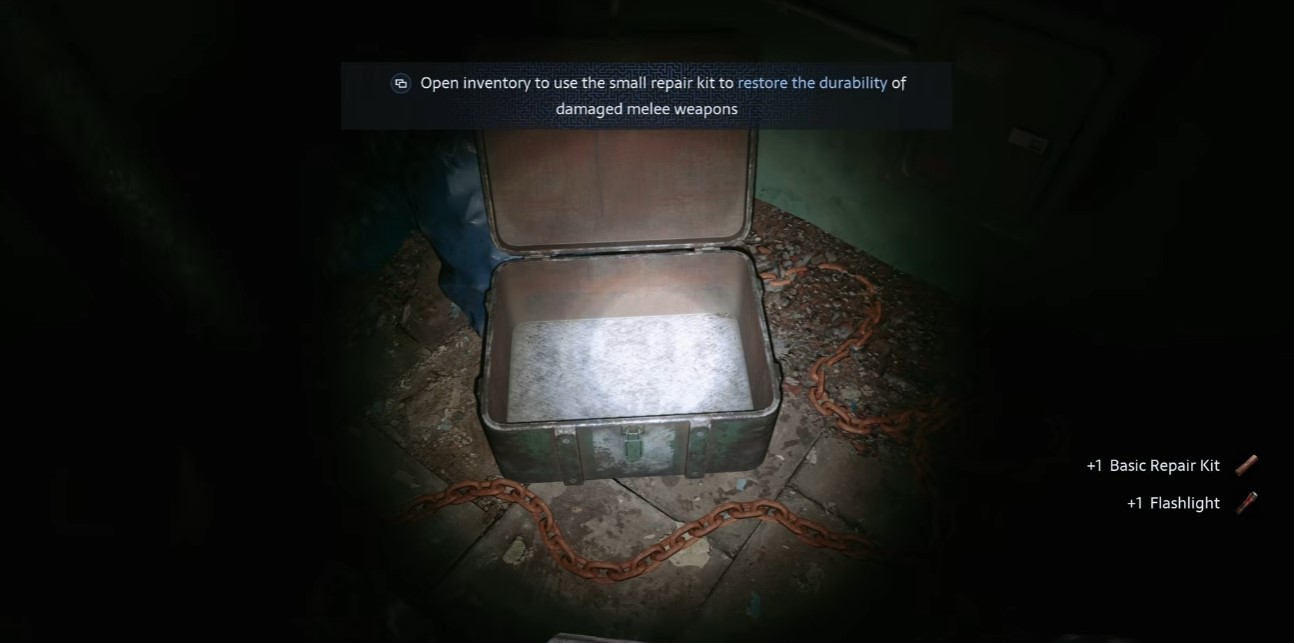
Handyman is the one people miss because the item is easy to overlook. Use a small repair kit (it looks like a scroll) on a melee weapon. If you’ve been hoarding them without realizing what they were, that’s your fix.
I Banish Thee!
Banish three Unworthy in succession. The pattern here is the same clue that shows up later in the Portable Guillotine achievement — attack the ghoul until it starts glowing, then move in and press the button that appears. Three in a row, no breaks in between.
The Coin Achievements — Read These Carefully
These stack, so if you’re short on coins it’s worth knowing the trick before you blow your wallet. The cleanest method I found in the community notes: save right before the final store near the Church, then sell your entire inventory. If you’ve been collecting and selling along the way, that alone should comfortably clear the thresholds.
- What’re Ya Sellin? — Earn 999+ coins from sales.
- What’re Ya Buyin? — Spend 666+ coins in the shop.
- Financial Elite — Spend 1337+ coins in the shop. Spend the money you just made with the sell-everything method above.
Notice the order: you sell first to hit the earning threshold, then spend that pile to clear the two spending ones. Miss the sell step and you’ll be farming coins the slow way.
Crafting and Recipe Achievements
Artificer wants you to craft every craftable item — but there’s a storage cap on materials, so you can’t just hoard everything and do it in one sitting. Spread your crafting across the whole game rather than saving it for the end.
Librarian is about recipes, not items. Every crafting recipe is sold in the shop, and there are no refunds — so buy what you’re missing when you have the coins. Don’t assume you’ll pick them up cheaper later.
Weapons, Armor, and Traps
Guns, Lots of Guns requires all firearms. Three are found in the world, and the other two must be purchased — fortunately, any you missed can also be bought, so there’s no permanent loss here.
For Trapper, damage ten or more enemies with bear traps. My advice: pick up enemy traps whenever you see them and reuse them against other enemies. It adds up faster than placing your own.
Breacher tripped me up at first, because not every ghol is fully armored. You can find one fully armored example in a well. Spread gasoline along its path and set it on fire — you may need several burnings before the armor comes off cleanly, so don’t give up after one. The goal is the kill without destroying any armor parts.
Last up, Portable Guillotine: behead three or more enemies with the same melee weapon. As with the banish trick, get three ghouls glowing and behead them — the key detail is it must be the same weapon across all three, though it doesn’t have to happen all at once.
Nothing in this batch is brutal once you know the trick, but the coin pair needs to be sequenced correctly and the Breacher kill needs a little patience with the fire. Clear these before advancing an episode and you won’t have to think about them again.
Part 2 — Achievements You Can Lose
The second half of the missable list is where a few of these get genuinely annoying if you’ve already walked past them. Most are just “do the thing once,” but a couple depend on a save landing in the right spot, so I’ll point those out as they come.
Power to the People is the friendliest one here — it only asks that you upgrade a firearm once. Any upgrade counts, whether you found it in the world or bought it, so I never stressed about saving this one for a specific gun. The same logic applies to A Bigger Stick!: grab a 2×2 box (found in the world or bought from Zora) and apply it to any melee weapon you’re carrying. One and done.
For Armed and Dangerous, you need all three firearm slots filled. There are three free guns in the game, so if you’ve been picking them up you may already have this without noticing. If you skipped one, the shop sells the missing piece and you can finish the set there.
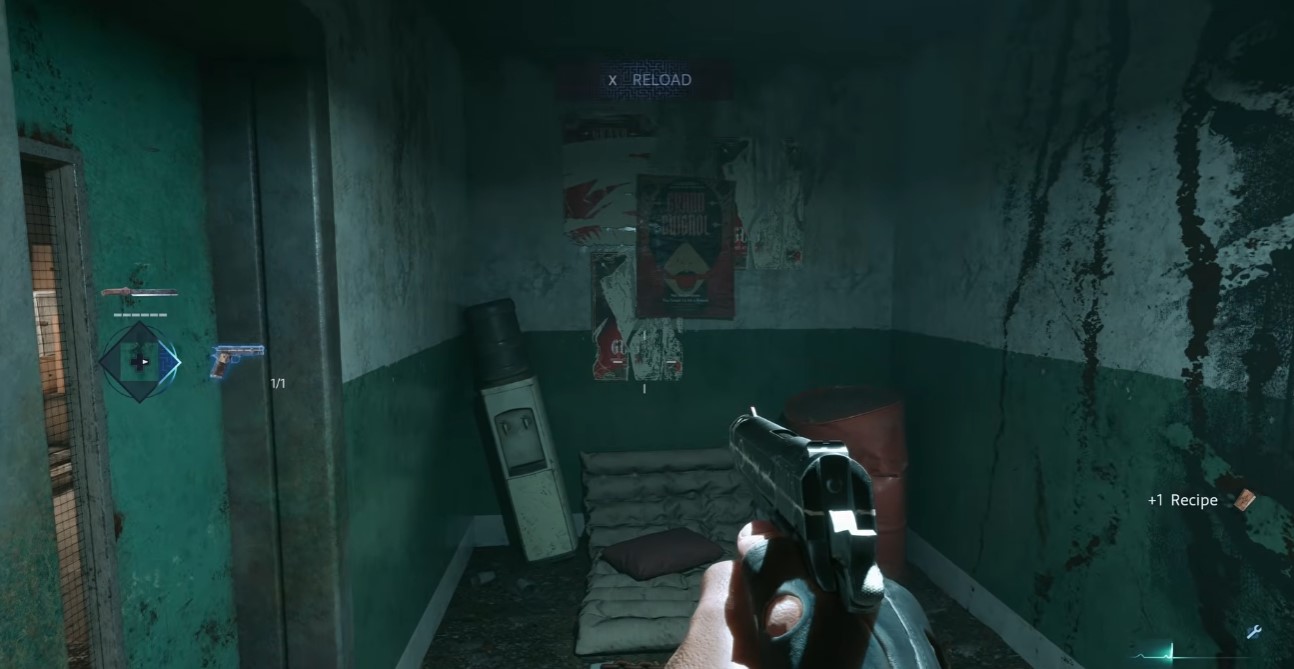
A Quiet Place is the one I’d flag hardest in this batch. The task is to escape the graveyard without throwing anything or being spotted. Save right after you straighten your leg — that’s the checkpoint you want to come back to if it goes wrong. From there: no rocks, no bottles, quietly deal with the cultists, and stay out of Charlotte’s line of sight. If Aiden blurts “Oh, ♥♥♥♥” during the stealth section, you’ve been made — reload and try again. I can’t count how many times I’ve wished I’d saved before walking into a section like that.
Sticks and Stones is much nicer on paper than it feels in the moment. The cemetery is the easiest place to knock it out: chip an enemy’s health with anything, then finish them off with thrown rocks. It sounds trivial, but that last rock always feels like it’s going to be one throw too slow.
The Further Regions of Experience will pop naturally if you’ve been interacting with anything in the Labyrinth — it fires the moment you activate any stat amplifier there. And Electro-Shock Therapy is exactly what it says: find something that shocks you, and die to it. No trick involved.
The three combat ones are worth grouping mentally. Deadeye wants a headshot from at least 30 metres, which means you need room and a clear angle — don’t try to force it in a tight corridor. Wetwork is a cumulative 10 stealth kills with no alarms raised, so you can chip away at it across the whole run. Twisted Firestarter just wants 10 enemies burned to death, so any reliable fire source does the job.
No Life in the Void, Only Death is one you have to deliberately walk into. After the Sister of Mercy dies, the following episode’s labyrinth contains a black beam — that’s Leviathan’s gaze. Let it hit you. I know, it feels wrong to die on purpose, but it’s the fastest way to close this one out.
Trickshot and Headtaker share a setup, so I found it efficient to do them back to back. For Trickshot, get two nearby Ghouls glowing, then drop them with a shotgun in a single shot. For Headtaker, line up three glowing enemies in one spot and take them out with a single telekinetic throw. Both reward patience over speed — let the group bunch up first.
I Spy with My Little needs the revolver and its scope, both bought at the shop. That shop shows up for sure in the episode after Charlotte, so if you haven’t hit it yet, keep the purchase in mind and then log six kills through the scope.
Two easy-to-miss location checks: Red Dead Damnation wants every bottle at the dock shooting range shattered, and those bottles sit on the docks to the right of the boat holding the puzzle piece. I’d confirmed the spot before wasting ammo looking in the wrong direction. And In the Land of the Pig, the Butcher is King only cares about the total — 69 enemies ripped apart with Hellchains. It does not have to be a single playthrough, so my preferred method is to kill one group of enemies, reload, and kill the same group again until the counter fills.
Full Weapon Upgrade — Lord of War
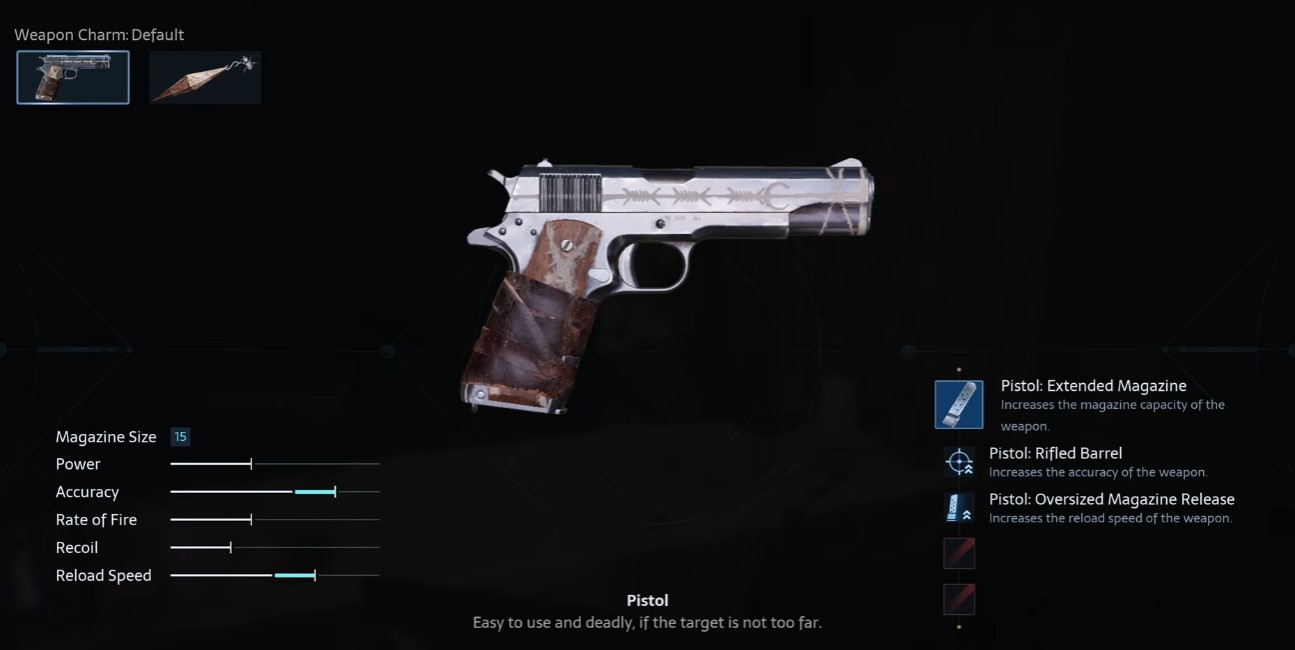
Lord of War just asks you to fully upgrade any firearm, and after messing around with a few options I settled on the pistol because it was the quickest route to a finished weapon. Here’s the path I used, and it’s the simplest one I’ve found.
Grab the first upgrade in Zora’s hideout. Coming out of her shop down in the sewers, keep pushing forward until you run into the Hellghouls gathered around a barrel, then head through the door on the right. That’s your upgrade number one.
The second one comes out of the safe inside the house at the cemetery. Crack that open and you’ve got two of the five done without spending anything.
From there it’s just shopping: buy the remaining 3 upgrades at the next shop you reach and the pistol is fully upgraded, which pops Lord of War. I like this route because only one of the five upgrades is tied to a location you could accidentally skip — everything past the safe is just a transaction, so as long as you don’t walk past Zora’s hideout or the cemetery house, you can knock the rest out whenever the funds are there.
Locked Lockers
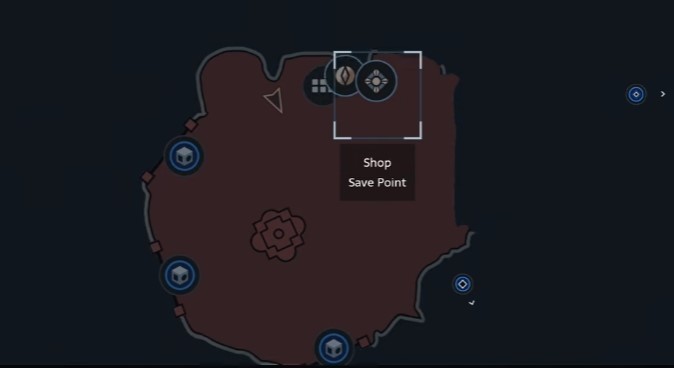
Straight off the back of the pistol route, the next thing standing between me and a clean sweep was Codebreaker — unlock 5 numpad locks. There are nine lockers scattered across the game, so you don’t need every single one of them, but I still noted all of them here because a few sit right on the path you’re already walking and skipping them feels wasteful. The way the original notes were laid out, the first spoiler gives you a hint about where the code lives, and the second one hands you the code itself plus where the password fragments show up. I’m flattening that into a single table so you don’t have to click through anything.
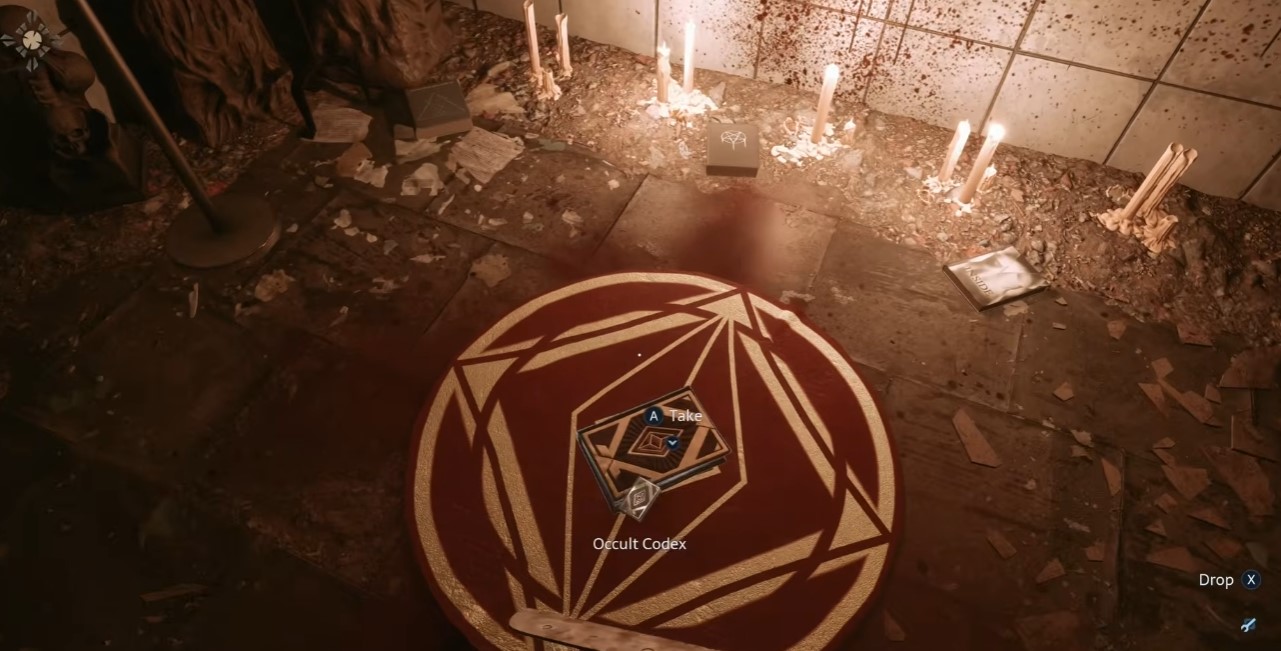
| Locker # | Location | Code |
|---|---|---|
| #1 | Right after Bruno’s operating room — the password piece is in the same corridor | 9901 |
| #2 | One of the rooms after receiving the knife — the password is in the same room | 9891 |
| #3 | Inside a house in the cemetery — the password piece is in the house | 9606 |
| #4 | Bruno Mansion — password pieces are on the second floor | 1966 (1666+300) |
| #5 | Snake Room — password is in one of the rooms near the snake key | 1952 |
| #6 | Right room after the four-image puzzle door — password is in a nearby room | 1923 |
| #7 | Room on the left after descending the stairs toward Zora — password pieces can be found before the battle with Bruno | 1362 |
| #8 | One of the rooms in Bruno’s chambers — password pieces are in Bruno’s chambers | 8571 |
| #9 | Near the stairs on the way to Marlowe — password pieces are very close by | 2342 |
The ones I’d personally prioritize are #1 and #2, because both codes are sitting in the exact same room or corridor you pick the locker up in — there’s no backtracking required and you can knock out almost half of Codebreaker in the first stretch without thinking about it. #7 is the one to keep an eye on: the password pieces are only available before the Bruno fight, so if you blow past that point the code for that locker becomes a lot harder to source later. I’d grab it while you’re there rather than trusting memory.
A couple of these gave me a laugh — #4‘s code is written as a sum rather than a straight number, so don’t punch in the wrong digits out of habit. And #9‘s note about the password being nearby comes with a joke about the Riddler showing up in the wrong game, which is worth a smirk. Once you’ve opened any five of these, Codebreaker is done and you can stop caring about the rest. Two of the remaining four are effectively free if you’re already walking the critical path, so I wouldn’t go out of my way for the others unless you stumble onto them.
Health Up
This one’s the pain side of the pillar pair — activating every pain pillar artefact unlocks There Are No Limits. I want to flag the same thing the community notes do before I list anything: I’m genuinely not sure whether all five have to be grabbed in a single playthrough, and nobody I’ve seen has confirmed it either way. So I treat them the way I treat any unconfirmed collectible — grab each one the first time you’re near it rather than gambling on a later run picking them up.
The good news is they’re all tied to segments you already walk through, so none of these should send you off the critical path for long.
| Health Up | Where it is |
|---|---|
| Health Up #1 | At one of the turns in the labyrinth after the cemetery |
| Health Up #2 | At one of the turns in the labyrinth after Charlotte’s murder. Run into the left passage, then once the platform turns, head back the way you came |
| Health Up #3 | In the labyrinth room after interacting with the protagonist’s projection. Lower the indicated cubes into the bridge and send the blue flame into the pillar — an opening to the health upgrade appears |
| Health Up #4 | Appears in the passage after you kill Sister of Mercy |
| Health Up #5 | Behind the puzzle door in Bruno’s chambers |
Number two is the one that catches people out — the left passage looks like a dead end, and if you don’t remember to double back after the platform rotates you’ll walk straight past it. Number three is the fiddliest to set up: you’ve got cubes to lower into the bridge and a blue flame to route into the pillar before the path even opens, so if you don’t see an obvious route forward, that’s why. If you’re hovering around that section wondering where the artefact is, check whether both steps are actually done.
Only puzzle door I’d call out as worth a second look is Bruno’s — the artefact sits behind it, so it’s not a spot you can sleepwalk through. Once you’ve activated all five, There Are No Limits is yours.
Suffering Up — Pain And Pleasure, Indivisible
Same structure as the health pillars, same rules as far as I can tell. Find and activate every suffering pillar artefact and Pain And Pleasure, Indivisible unlocks. And once again, I can’t promise these all have to be grabbed in one playthrough — the community notes behind this guide carry the same caveat, so don’t take my word as gospel. What I can do is hand you the location of each one so you’re never left circling a room wondering where the thing is hiding.
Five artefacts, each tied to a specific segment, five of which you’ll pass through whether you’re hunting or not. The trick is recognising the segment you’re in before you push forward, because a couple of these sit on a turn or in a side path that’s easy to blow right past while you’re focused on staying alive.
| Suffering Artefact | Where to Find It |
|---|---|
| Suffering Up #1 | At one of the turns in the labyrinth, after the segment with the collapsing ceiling |
| Suffering Up #2 | Outside the labyrinth, after the cemetery. When you reach the descent back into the inner labyrinth, walk backward until you see blood on the floor |
| Suffering Up #3 | Appears in the passage after Charlotte’s murder |
| Suffering Up #4 | In the spinning room after escaping from the Sister of Mercy |
| Suffering Up #5 | In the death ray segment. Reach the end of the segment, take the fire, throw it into the cube on the right side and lift it — a passage will open |
The second one is the only entry that plays against instinct — it asks you to walk backward from the descent into the inner labyrinth rather than charging ahead. That’s the kind of detour I’d have skipped entirely if I hadn’t known it was there, and it’s exactly the sort of spot the artefacts like to hide. The fifth is less about missing it and more about the sequence: you have to finish the segment and use the fire on the cube before the passage opens, so don’t leave that room until you’ve seen it.
Once all five are activated, Pain And Pleasure, Indivisible should pop alongside its health counterpart. Between the two pillar sets, that’s every pain and suffering artefact in the run — and if the single-playthrough question ever gets a firm answer, I’ll update this. Until then, hit them as you pass and you won’t have to backtrack for any of them.
Conclusion
I already know this guide didn’t come out perfect, and I’m not going to pretend otherwise — it’s the best version of what the source community notes and my own run could give you, and nothing more. If something here tripped you up, if you’ve got a question about one of the pillar artifacts or a locker code that behaved differently on your platform, or if you’ve spotted a straight-up error, drop it in the comments and I’ll do my best to answer. That’s genuinely how this thing gets better.