
Endless Rails is a scrappy little roguelike about trains, monsters, and guns, and if you’re reading this, you’re probably staring down all 27 of its achievements wondering which ones actually need a plan. Here’s the good news: the vast majority of them pop on their own as you play, and only a handful demand anything close to deliberate effort. I cover the full list below so you know exactly what you’re working toward, with the Outside survival achievements getting the most attention because that’s where I had to actually think about my build instead of just reacting.
I put this together because the achievement list looks intimidating at a glance, and I wanted to save you the guesswork of which ones are passive and which ones need real setup. The honest caveat up front: your total time swings a lot based on RNG, so expect somewhere between 5 and 10 hours rather than a fixed number.
Achievement Overview and Time Estimate
At a glance, here’s what you’re signing up for:
- Achievements: 27
- Estimated Time: 5-10 hours, depending on RNG
Most of these you’ll grab without ever checking the list. The trickier ones are tied to surviving deep into the Outside, so I’ve broken the categories apart so you can see where the real work lives.
Train and Shop Achievements
These all come from buying, selling, and upgrading your train at the shop after each run, which means they’ll accumulate as a byproduct of normal play. I never had to go out of my way for any of them.
- Associate Mechanic – Merge cars for the first time.
- Trader – Trade in a Level 3 car for the first time.
- Impressive Capacity – Add 8 cars to your train.
- I Repair My Stuff – Repair the train 10 times.
- Picky – Reroll the shop 10 times.
- Disposal – Sell a module.
- Rule of Two – Have 2 drones.
- Life Insurance – Have 5 drones.
If you’re wondering which of these might catch you off guard, it’s the drone ones, since you need to actually commit to building a drone-heavy train rather than just repairing your way through runs. The rest come naturally.
Gameplay and Progression Achievements
These unlock by playing the game through to level 40. Nothing here needs planning. Several of them are tied to reaching Station 20 with a specific train model, which just means surviving long enough with each one.
- Get Used To It – Die for the first time.
- Getting The Hang of It – Play 5 runs.
- Not Bad – Survive 5 waves.
- Pretty Good – Survive 10 waves.
- Getting Serious – Survive 15 waves.
- The Outside – Survive 10 waves in the Outside.
- I’m Still Alive – Survive 20 waves in the Outside.
- Crocodile Tears – Defeat Gater, who appears on Level 10.
- Mrs Baker? – Defeat Grandma, who appears on Level 20.
- Dashmaster – Reach Station 20 with Model S.
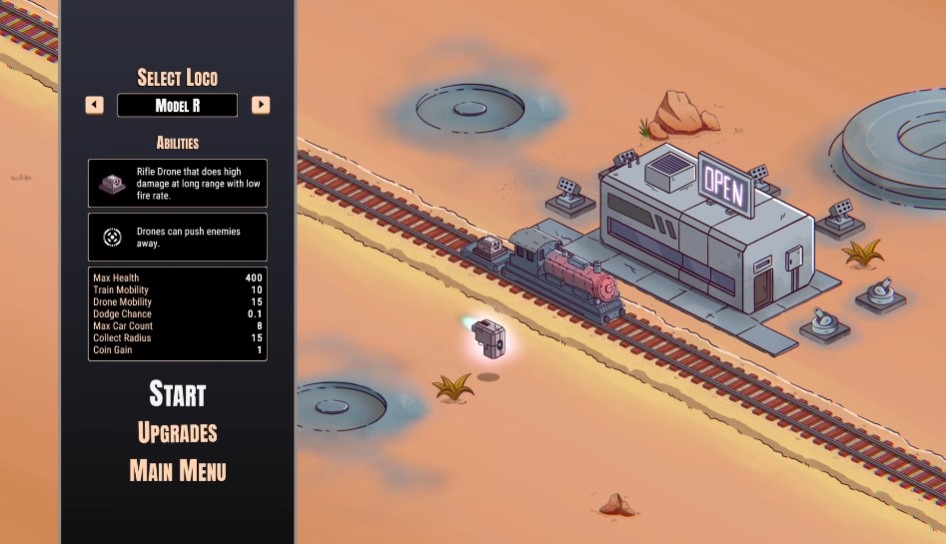
- Old Train Good Train – Reach Station 20 with Model R.
- Slow But Steady – Reach Station 20 with Model T.
The Station 20 achievements force you to spread your playtime across all three train models rather than sticking with your favorite, so keep that in mind if you’re trying to be efficient about your hours.
Misc Achievements
These should come just from playing, with little to no grinding required. The one exception is the 10,000 enemy kill count, which will take a while even at a good pace.
- I Reach Everything – Dash 500 times, done with the Model S.
- The Protector – Defeat 500 enemies.
- The Terminator – Defeat 10,000 enemies.
- First Buck – Collect 10,000 coins.
- Purchasing Power – Collect 50,000 coins.
- Unlimited Power – Unlock all upgrades.
General Strategy
For surviving the 20 waves in the Outside, this was the strategy that finally worked for me. I had the most success with the Model T, focusing on Rifle Drones first and Shotgun Drones second, and pairing them with those same turret types.
For roughly the first 10-20 runs, I prioritized modules that boost Drone Mobility and Coin Gain. The extra drone mobility is the quiet hero here, since it lets you zip around quickly collecting coins and killing enemies without constantly babysitting the train.
During that stretch, I worked on pushing cars to Level 3 so they could be traded in for global upgrades. I’d prioritize at least one trade-in on a Max Health upgrade, then sink the rest into Rifle Crit and Rifle Damage. Rifle Crit can hit 100%, and once it does, the damage output is genuinely absurd.
Most of the time I’d get through the first 10 waves with only 1-2 rifles, or a rifle and a shotgun. I grabbed every Coin Gain and Drone Mobility module I could find, then later started swapping them out for Level 3 Drone modules and AI Brains.
One habit worth building early: lock the useful upgrades in the shop and save them for later. That buys you both the space and the time to bank coins instead of spending them the moment something decent shows up.
Surviving the Outside
Once I reached the Outside, I started refining my build and stopped selling Level 3 cars entirely. Getting through to Gater at Level 30 isn’t too much trouble, but things can snowball in a hurry after Level 32, so the margin for sloppy play tightens fast.
I stopped chasing coins around that point. Survival matters more than squeezing out extra income, so I’d park the train and drones near the center of the screen and lean on the drone’s special ability over and over to boost damage.
Here’s something that saved me a wasted run: you don’t need to fight Grandma again for the achievement. I’m Still Alive unlocks after surviving the wave before her, so don’t push into a fight you don’t need just to chase the pop.
My Winning Train
This is the exact setup I used to survive 20 waves in the Outside. Copying the modules piece for piece isn’t strictly necessary, but it’s a solid reference if you want a proven starting point.
Model T
- LVL 3 Rifle Drone
LVL 3 Car 1
- Uranium
- Plutonium
- Rifle Turret
- Rifle Turret
LVL 3 Car 2
- LVL 3 Shotgun Drone
- LVL 3 Rifle Drone
- LVL 2 Rifle Drone
- LVL 3 Rifle Drone
LVL 3 Car 3
- Uranium
- Plutonium
- Piercer
- Plutonium
LVL 3 Car 4
- LVL 2 Rifle Drone
- LVL 3 Shotgun Drone
- AI Brain
- AI Brain
LVL 2 Car 5
- LVL 2 Shotgun Drone
- AI Brain
LVL 1 Car 6
- Rifle Turret
Final Thoughts
There are probably stronger combinations out there using the elemental upgrades, but I’m more of a “send more lead down range” kind of player, so this is the setup I landed on. The exact modules aren’t essential to copy. The core idea is to stack Rifle Drones, fire rate, base damage, and AI Brains while keeping your drone damage high. Hope this helps you finish the list.