
The moon has an atmosphere. That single fact will save you dozens of failed missions if you read this before you build. Most players—myself included—make the first trip assuming electric thrusters are the only option once you leave Earth, strip the ship down, and then wonder why maneuvering near the lunar surface feels like wrestling a drunk whale. The truth is simpler: atmospheric thrusters work fine on the moon, and the correct ship setup uses both thruster types in a specific configuration. This guide walks you through the full pipeline—ship assembly, thruster placement, launch procedure, space transit, approach braking, and final touchdown—so your first moon landing is a controlled descent rather than a crater.
The Moon Has Air: Why Your Thruster Strategy Changes
The lunar atmosphere in Approximately Up isn’t a cosmetic detail. It’s dense enough that atmospheric lift fans and thrusters operate normally, which means you don’t need to rely on electric thrust for lunar maneuvering. Atmospheric thrusters will not work in space—they shut down entirely once you leave Earth’s atmosphere—so you still need electric thrusters for the transit leg. But on the moon, you get the best of both worlds: electric thrust for descent control and atmospheric thrusters for fine positioning.
Gravity on the moon is lower than Earth’s, so you need noticeably less vertical lift to hover. The atmosphere is neither paper-thin nor soupy—at high altitude (around 5,800 on the altimeter), atmospheric thrusters cut out, and you must descend back into the breathable layer to regain their use. The moon also has trees, which is a strong hint that this is a terraformed environment rather than a barren rock.
Warning: Do not disassemble your atmospheric thrusters before leaving Earth. You will need them on the other side, and rebuilding mid-flight is not an option.
Ship Setup: Components That Matter
The recommended build uses a single thruster package type, mirrored on both sides of the ship. Here’s the full component list that works:
| Component | Purpose | Notes |
|---|---|---|
| Electric thrusters (×2) | Vertical launch, space transit, descent braking | Both point the same direction |
| Atmospheric thrusters | Lunar maneuvering, low-altitude hover | Only function inside atmospheres |
| Master switch | Toggle between thruster types | Prevents accidental electric burn near surface |
| Cameras (down, up, behind) | Orientation and landing reference | Up camera centers the moon; down camera aligns the pad |
| Monitors | Track Earth and moon positions | Essential when the moon is out of view |
| Velocity meter + altimeter | Core flight data | Other meters are optional |
| Gyro line | Maintains level orientation | Critical in space where visual references vanish |
| Radar | Tracks ground and base proximity | Flips from Earth to moon radar automatically |
| RCS controller | Pitch/yaw/roll control | Green indicators show per-thruster battery level |
| Lights | Visibility in deep space | Work light toggles from pilot seat |
| Batteries | Power everything | Wire all to one circuit to avoid panel failures |
| Gate | Seals the cockpit | Must be closed before leaving Earth |
Wire every battery into a single circuit. A dedicated front circuit can fail independently and leave you with dead control panels mid-transit. More power capacity is always better—you’d rather have surplus than discover a brownout at 5,000 velocity.
The RCS controller deserves special attention. Place it where you can see it during flight. Each RCS thruster has a green battery indicator; if one changes color, that thruster is losing power. Ignore this and you’ll lose pitch control in one direction without warning.
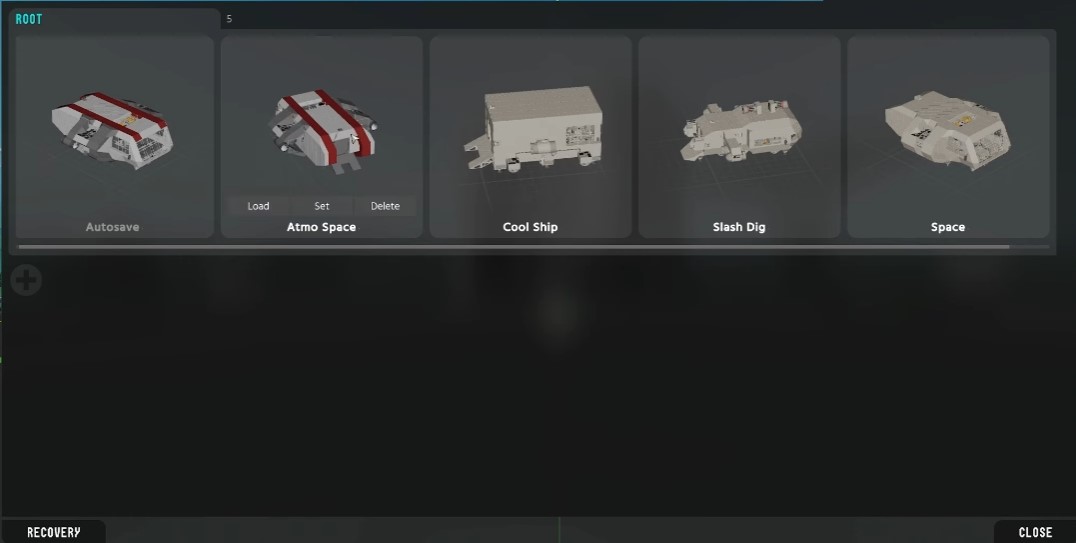
Tip: Press B frequently to save your blueprint. If you quit the game and return without saving, the blueprint is gone. This is not a forgiving system.
Thruster Placement: Same Direction, Center of Mass
Thruster alignment is the difference between a stable ship and a spinning disaster. The critical rule: place thrusters on your center of mass, and point both electric thrusters in the same direction.
Avoid the temptation to mount one thruster forward and one backward for “balanced” thrust. That configuration requires dead-center placement to prevent rotation, and even then it’s finicky. Same-direction placement gives you two advantages:
- Faster acceleration and deceleration in space (both thrusters work together)
- No rotation issues from asymmetric thrust
The build shown here uses both electric thrusters pointing down. This allows vertical launch from Earth and direct descent control on the moon. If you prefer rear-facing thrusters, the same maneuvers work—you’d just point the nose directly at the moon instead of approaching at an angle.
Leaving Earth: The Launch Sequence
The departure procedure is straightforward once you know the order:
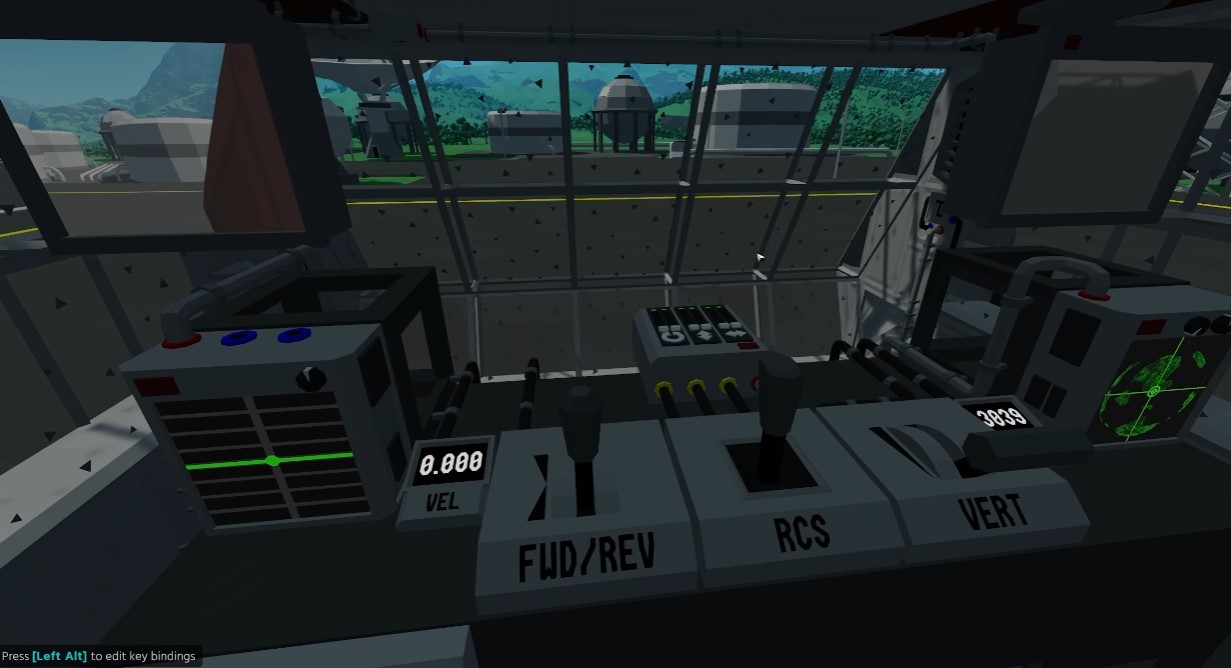
- Locate the moon in the sky. Clouds may obscure it; wait for a clear window.
- Close the gate. In space, an open gate will suck you out of your seat. Mission over.
- Turn off radar. Not needed for takeoff, and it’s one less thing drawing power.
- Turn on atmospheric thrusters. Batteries should be full before you start.
- Rotate toward the moon.
- Turn on electric thrusters.
- Use the upward camera to center the moon in view. Aim slightly to the light side—the base is on the lit hemisphere, and overshooting the light side means you’ll miss the moon entirely.
- Keep climbing until you reach roughly 6,000 velocity.
- Once out of atmosphere, turn off atmospheric thrusters to conserve power.
The 6,000 velocity figure is a reference, not a universal constant. Heavier ships accelerate slower and may need a lower max speed; lighter, more nimble ships can push higher. If you overshoot your waypoint before reaching 6,000, you’re going too fast for your ship’s mass.
Warning: Do not cut thrust entirely during space travel. Keeping some thrust on maintains RCS control and prevents the ship from entering a spiral. Full-off is how you lose orientation and waste the mission.
Approach Strategy: Speed, Alignment, and RCS Discipline
The approach phase is where most missions fail. The moon looks small, then suddenly it’s enormous, and then you’re either flying past it or about to impact.
After reaching max speed, cut thrust down—but not all the way off. Some residual thrust keeps RCS responsive. Rotate the ship to face the moon, using the monitors to track both Earth and moon positions. Keep the moon centered, aiming slightly to the right of the base.
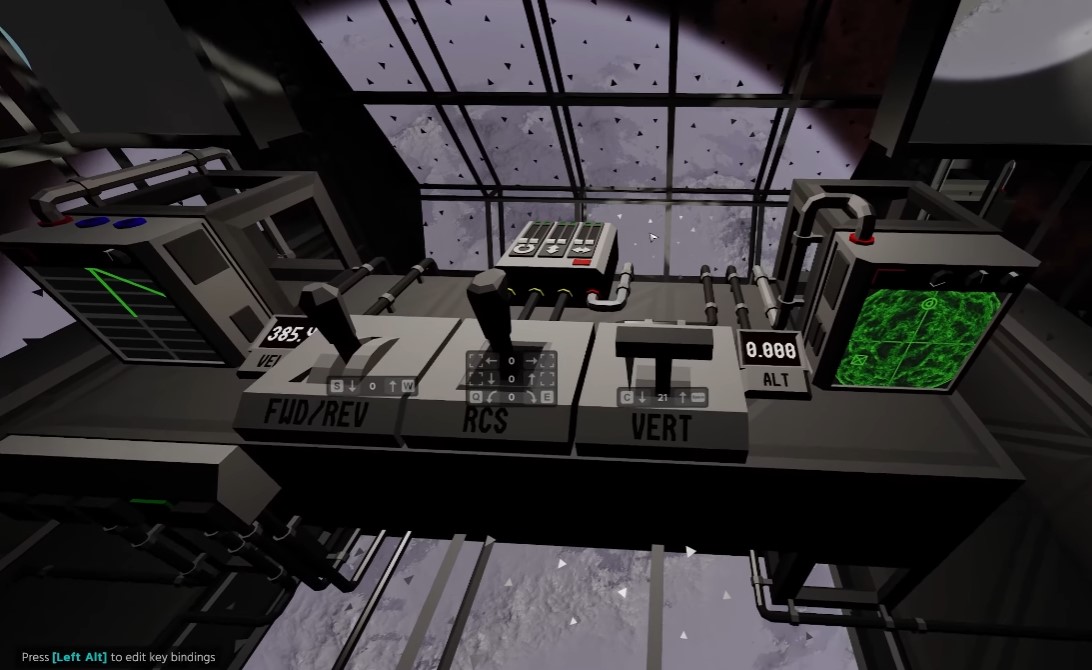
Use throttle to shed speed gradually. Don’t dump speed early; you’ll need it to close the distance. The telltale signs:
- If the moon isn’t getting bigger quickly, you’re going too slow
- If the moon approaches faster than expected, you’re likely going to hit it
Exit your seat and use the bottom window to gauge approach speed. It’s genuinely hard to tell how fast you’re closing until the moon fills the view. Once aligned, focus only on throttle control—stop wasting RCS battery on fine adjustments.
When the radar picks up the moon, zoom in to see relative ground movement. This gives you a real sense of your lateral drift and descent rate.
Use vertical thrust to control descent, and pitch forward to convert vertical thrust into forward momentum toward the base. Limit RCS maneuvers to preserve battery. If you must change rotation, use different axes to avoid draining a single RCS thruster.
Final Descent and Landing: Step-by-Step
The last leg is about canceling momentum and setting up a controlled drop:
- Roll the ship to cancel lateral momentum as you approach.
- Pitch toward the moon to lose altitude—you’re likely too high.
- Use radar to track progress toward the base.
- Find the base visually in the camera feed.
- Center the base in the landing camera.
- Neutralize velocity—slow to around 36 speed.
- Yaw around to face the base directly.
- Keep losing altitude. Lunar gravity is low; you don’t need much vertical thrust to hover.
- Once in atmosphere, turn atmospheric thrusters back on. Maneuvering becomes dramatically easier.
- Stay low to keep atmospheric thrusters functional.
- Line up on the landing pad using the landing camera.
- Use the gyroscope to stay level.
- Maintain controlled descent. Be careful with forward thrust—it’s easy to gain altitude accidentally in low gravity.
- Use control + throttle for fine adjustments if you need precision.
If you overshoot the base, don’t panic. Navigate back; it happens to everyone. Low gravity means it takes a while to lose altitude, so commit to a low approach early.
Tip: A spring-loaded throttle lever (returns to zero when released) prevents the classic mistake of forgetting your throttle setting and drifting off.
Common Mistakes Table
| Mistake | Consequence | Fix |
|---|---|---|
| Disassembling atmospheric thrusters for the trip | No maneuvering control on the moon | Keep both thruster types installed |
| Mixed forward/backward thruster placement | Rotation issues requiring dead-center precision | Mount both electric thrusters in the same direction |
| Leaving the gate open | Ejected from seat in space | Close gate before leaving Earth |
| Cutting thrust to zero in transit | Loss of RCS control, spiraling | Keep residual thrust during space travel |
| Aiming at the dark side of the moon | Missing the base entirely | Target the light side; the base is there |
| Ignoring RCS battery indicators | Losing pitch control in one direction | Monitor the RCS controller; color change = power loss |
| Wiring batteries to separate circuits | Control panel failure mid-flight | Wire all batteries to one circuit |
| Forgetting to save blueprint | Losing your ship design on quit | Press B before exiting |
Mission Complete: What Unlocks and What Changes
Completing the first moon mission unlocks the long-range distance meter. This tool tracks distance to both the moon and Earth, letting you find the halfway point for efficient braking on future runs.
When you reset your ship, you return to Earth. The only way to travel between the two bodies is through the main menu: select the planet (Earth or moon), find the base, and spawn there. There’s no in-game fast travel between them.
Always save your blueprint before quitting. The game does not autosave your ship design, and losing hours of careful thruster alignment to a forgotten save is a painful lesson.
The moon landing is a rite of passage in Approximately Up. Once you’ve done it once, the mechanics click, and the journey becomes routine. The first time, though, respect the approach speed, trust the atmospheric thrusters on the lunar surface, and keep that gate closed.