Achievements
Sephonie’s 19 achievements are very simple:
- 10 unlock as part of the story
- 4 unlock for linking with every optional creature
- 3 unlock for collecting all optional items
- 2 unlock for postgame content
 Coral
Coral
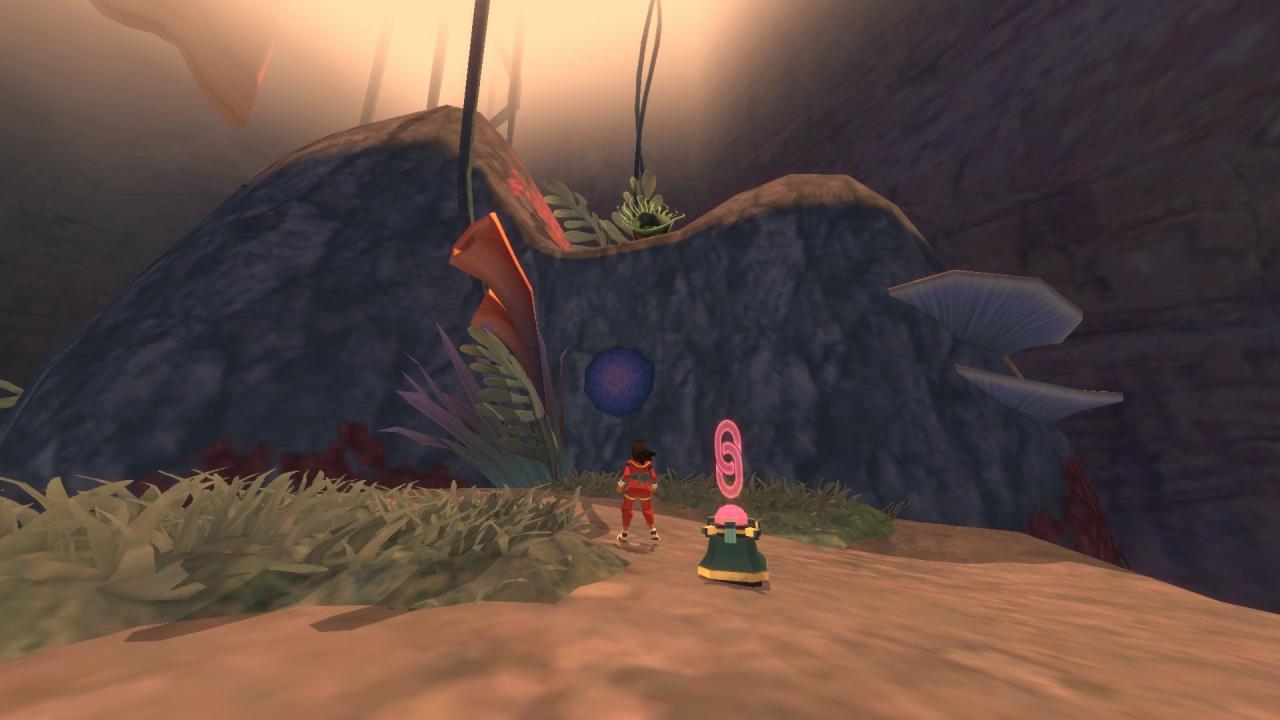
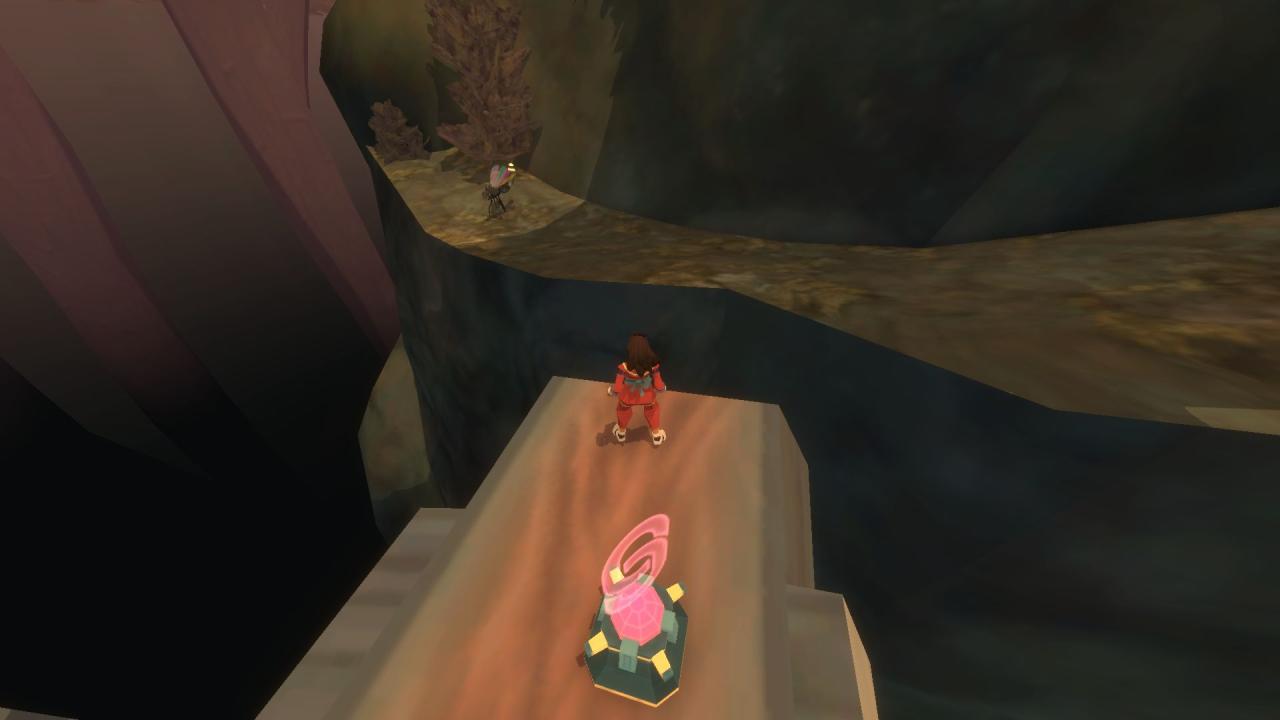
Link with a Coral.
This is part of the tutorial. Do as the instructions says: approach the pink coral and complete the puzzle minigame.
 The Caves
Enter the first layer of the caves.
After you finish you initial exploration of the surface, the team will decide to enter the caves, unlocking this achievement.
 Thraskias
Link with Thraskias.
Thraskias is the first of five key species that you must link with in order to finish the story.
 Pomelia
Link with Pomelia.
Pomelia is the second of five key species that you must link with in order to finish the story.
 Return
Get the Return to Surface ability.
After linking with Pomelia, use your new grapple ability to enter the Black Ocean. You’ll get the Return to Surface ability after a cutscene.
 Expanse
Reach the depths of Layer 1.
This achievement unlocks when you reach the Highways area.
 Depths
Reach the depths of Layer 3.
This achievement unlocks when you reach the Mall area.
 Heights
Reach the depths of Layer 2.
This achievement unlocks when you reach the City area.
 Core
Core
Enter the core of Sephonie Island.
After linking with all five Key Species, return to Black Ocean and you’ll be given access to the core.

Finish the game.
At the end of the core is the final creature to link with. Do so and finish the game.
 Linking
Link with a species on the surface.
 I like creatures
Link with 10 non-key creatures
 I love creatures
Link with 20 non-key creatures
 I gotta have creatures
Link with all 29 non-key creatures.
“Linking” just means finding a creature in the world, and completing the puzzle minigame. The sections below will detail where to find every creature.
 Lover of explore
Find 20 non-key items.
 Lover of walljump
Find 40 non-key items.
 Lover of tricky jump
Find all the non-key items. Nice work! I hope you had fun. Why not drop by our Discord and say hi? – Melos
In addition to optional creatures, there are capsules/cubes lying around in various locations that add to the story. These are “non-key items”. The sections below will detail where to find every item.
 Gael
Gael
Finish the epilogue.
After finishing the game, select “Epilogue” from the main menu and complete that.
 Postgame
Visit the postgame room.
This is available after completing the Epilogue. Return to the location where you found Item #53: Riyou’s Lost Photo to find a door. Head inside.
Creatures & Items
Everything below is listed chronologically, so you can follow though as you play the game. If you’re coming to this list wanting to know what you’re missing, refer to the two lists at the end of the guide and search the name(s) of the things you’re missing.
Though this guide was written without gameplay assists in mind, feel free to turn them on as needed. They have no effect on your save or your ability to unlock achievements.
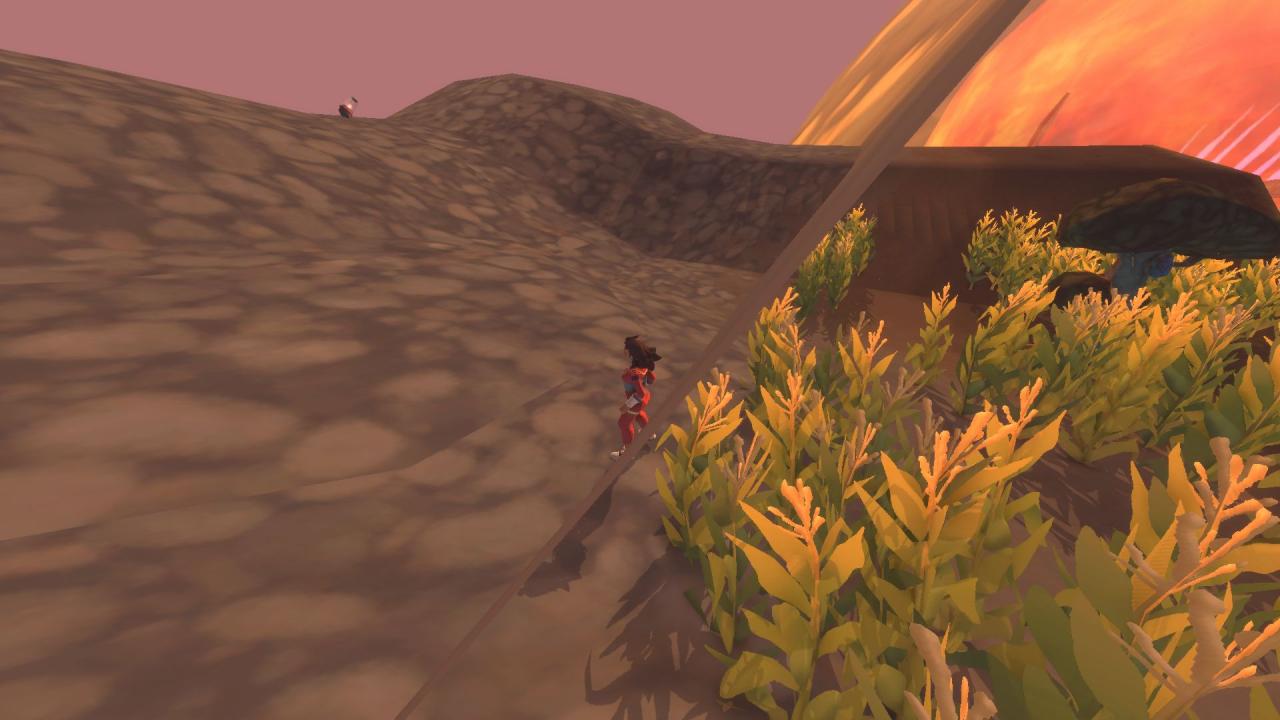
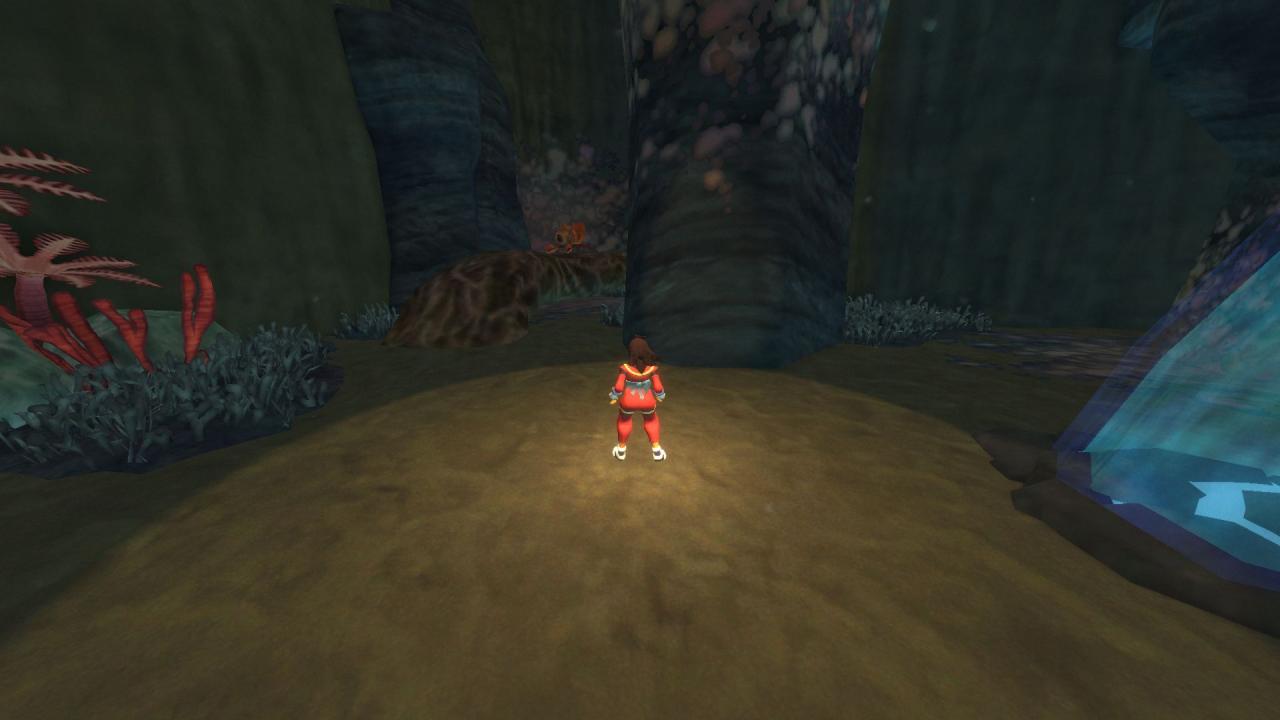
Chapter 1-1 – Surface
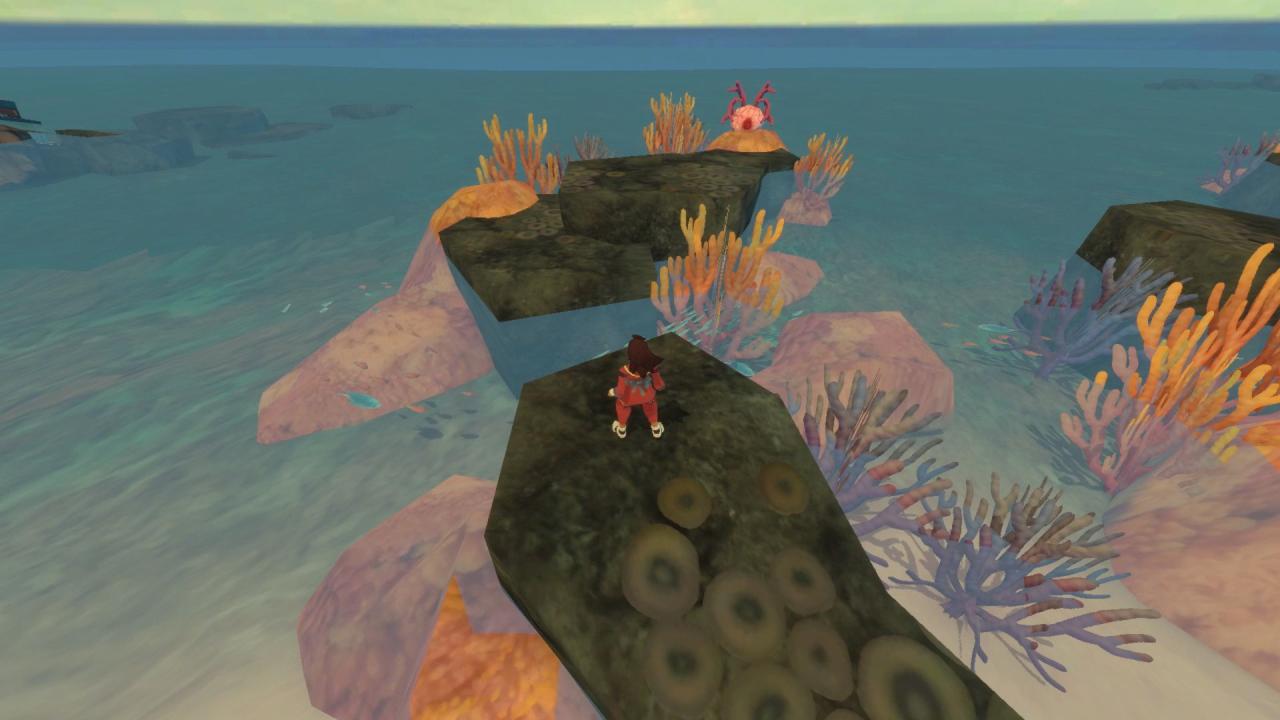
Unmissable. Pink coral on the rocks leading out to sea near the start.
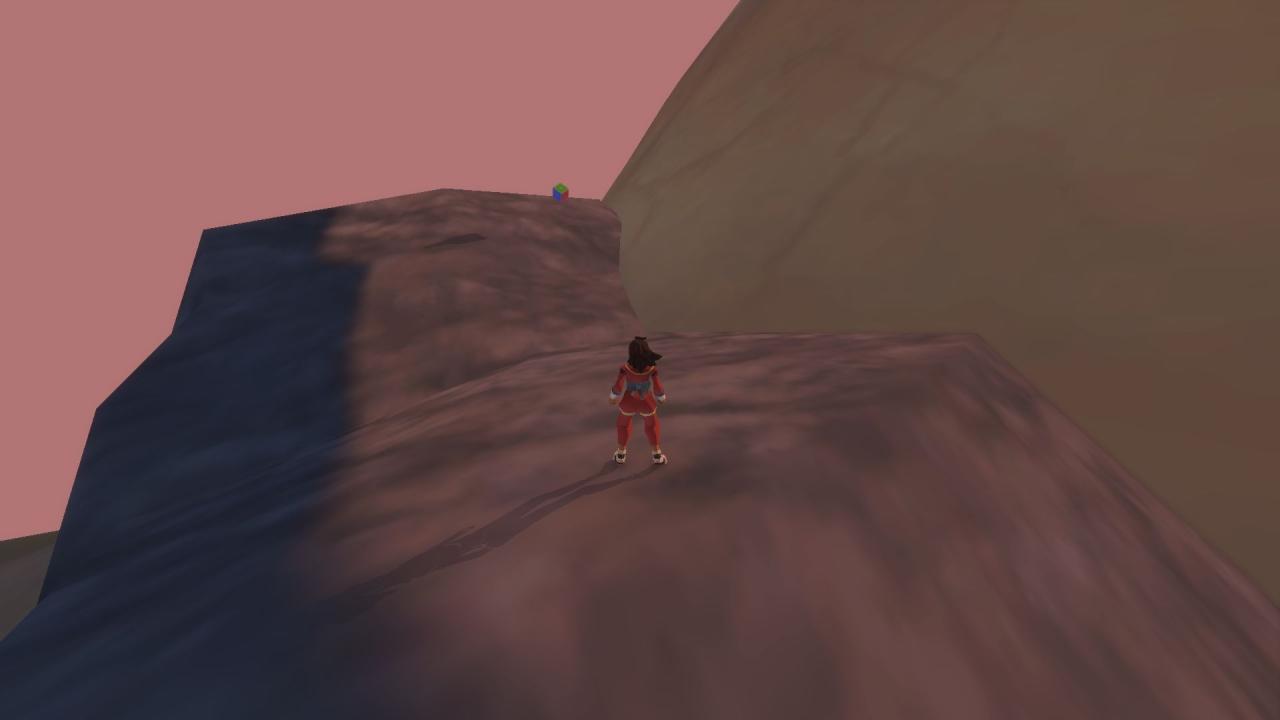
Also unmissable. Green/purple on the rocks leading out to sea near the start.
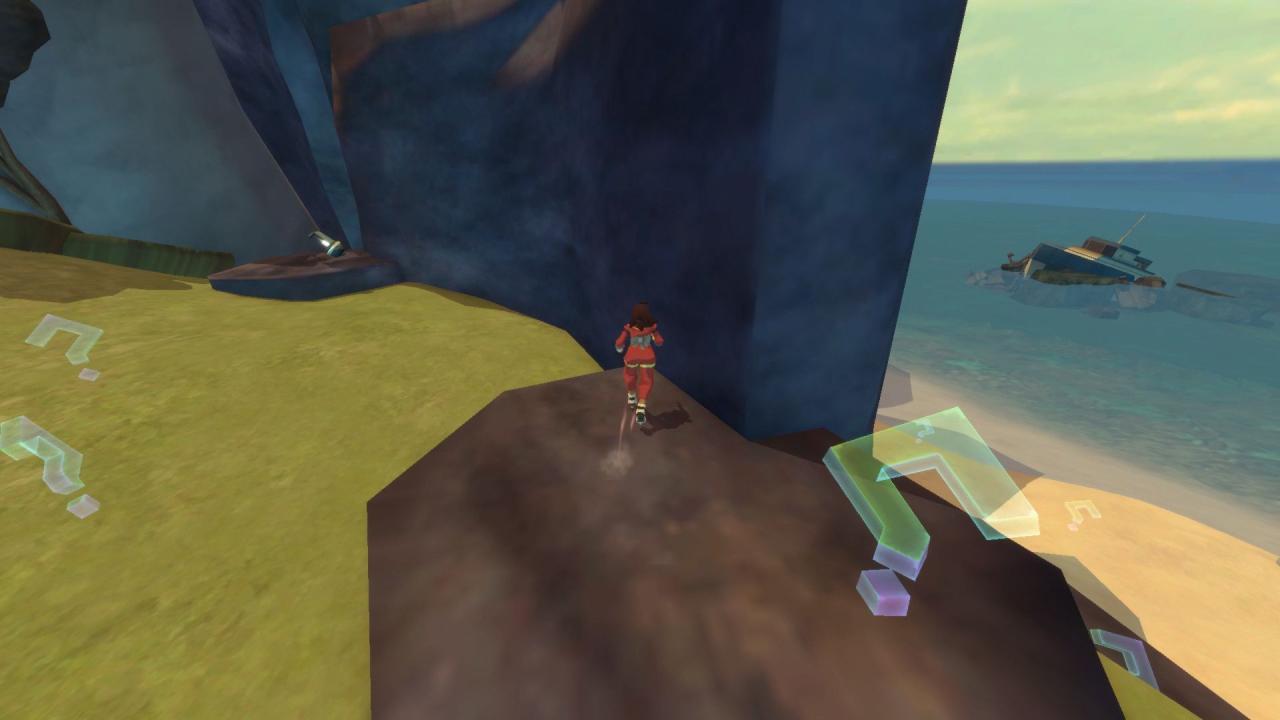
Prize for the wallrun challenge.
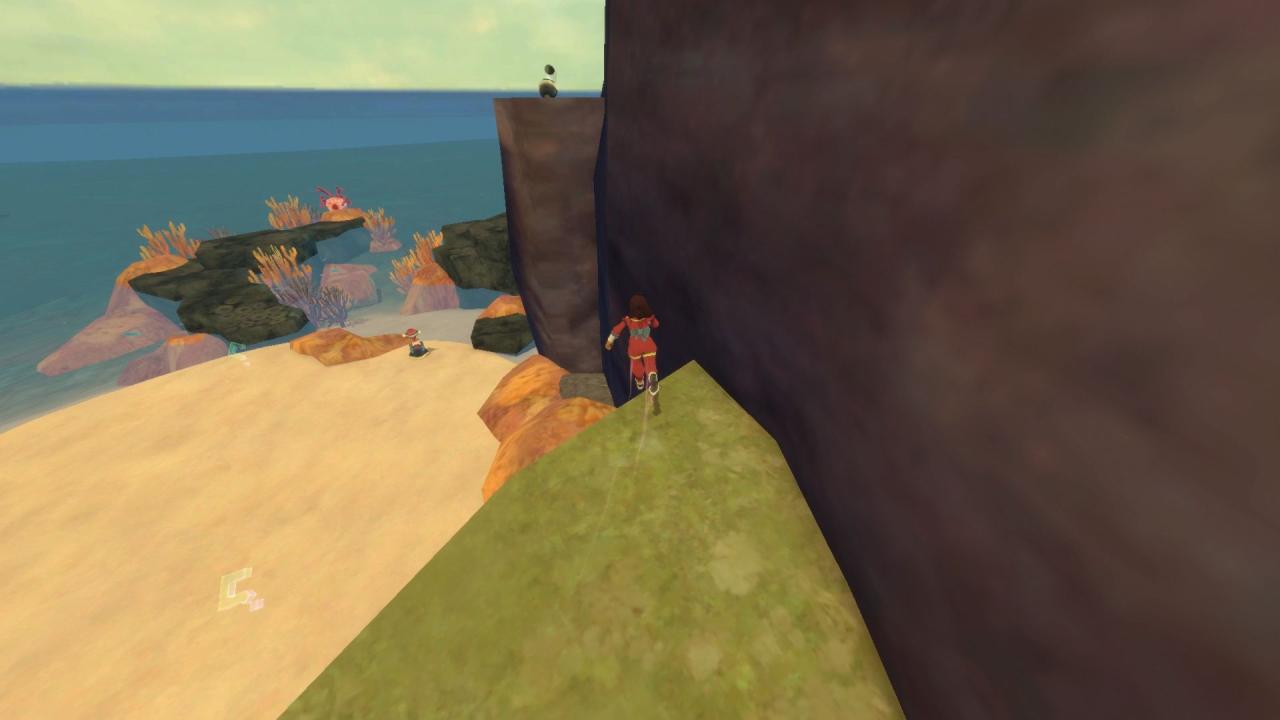
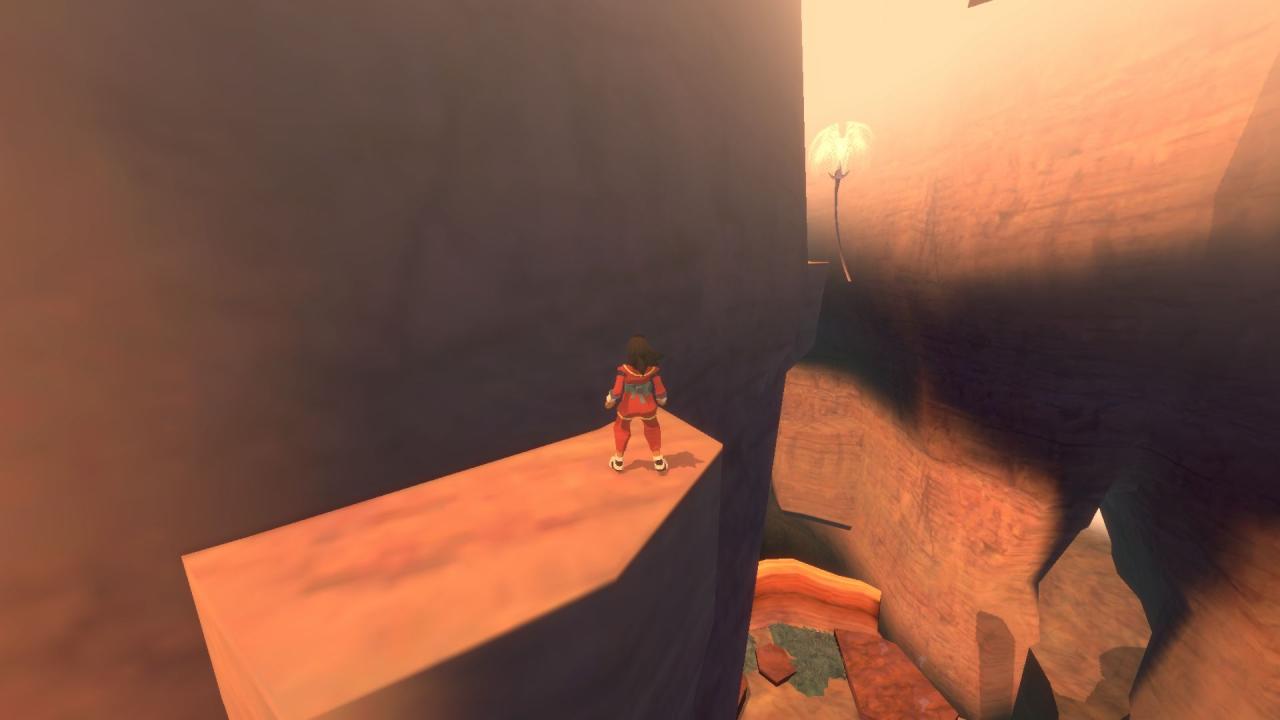
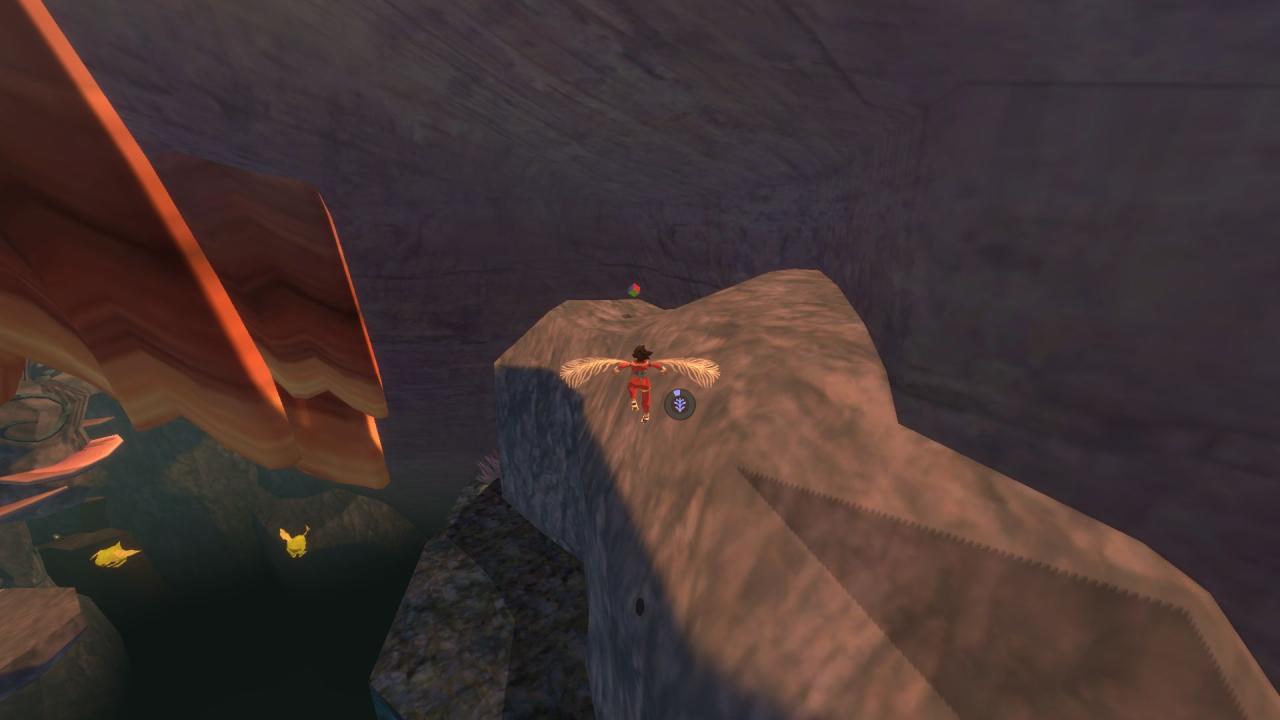
On a rock ledge overlooking the starting beach. Wallrun to reach it.
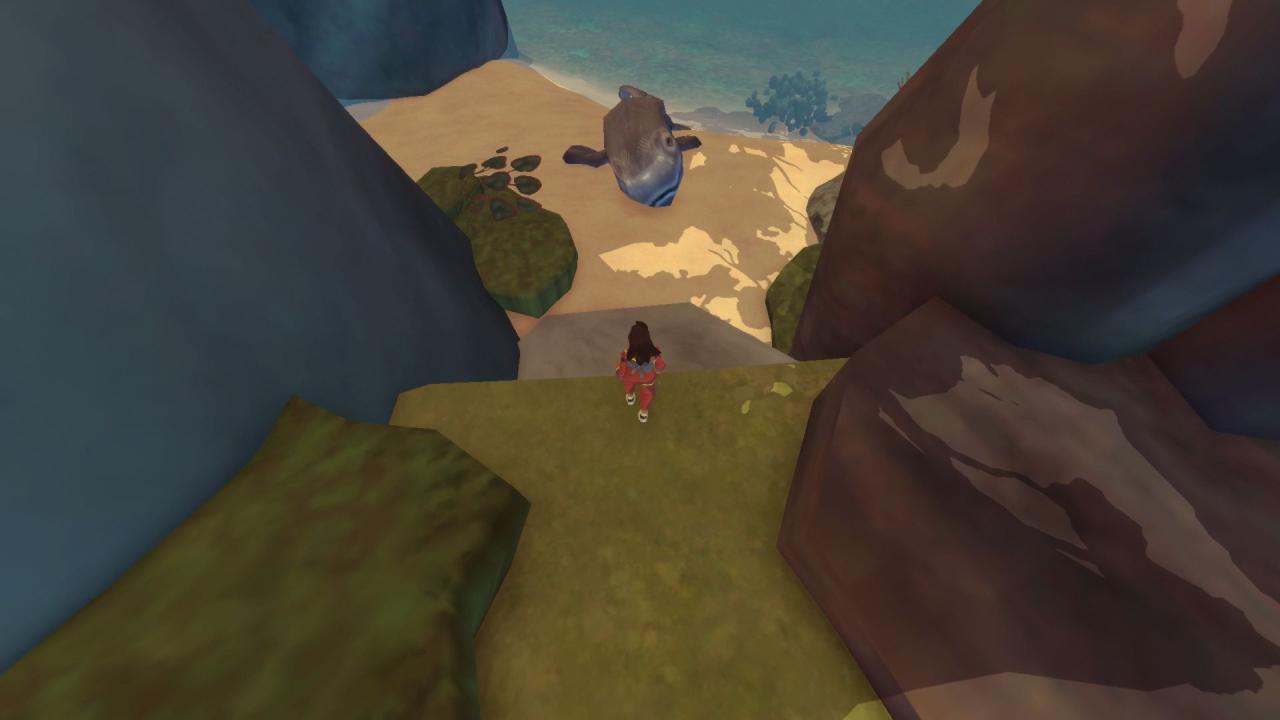
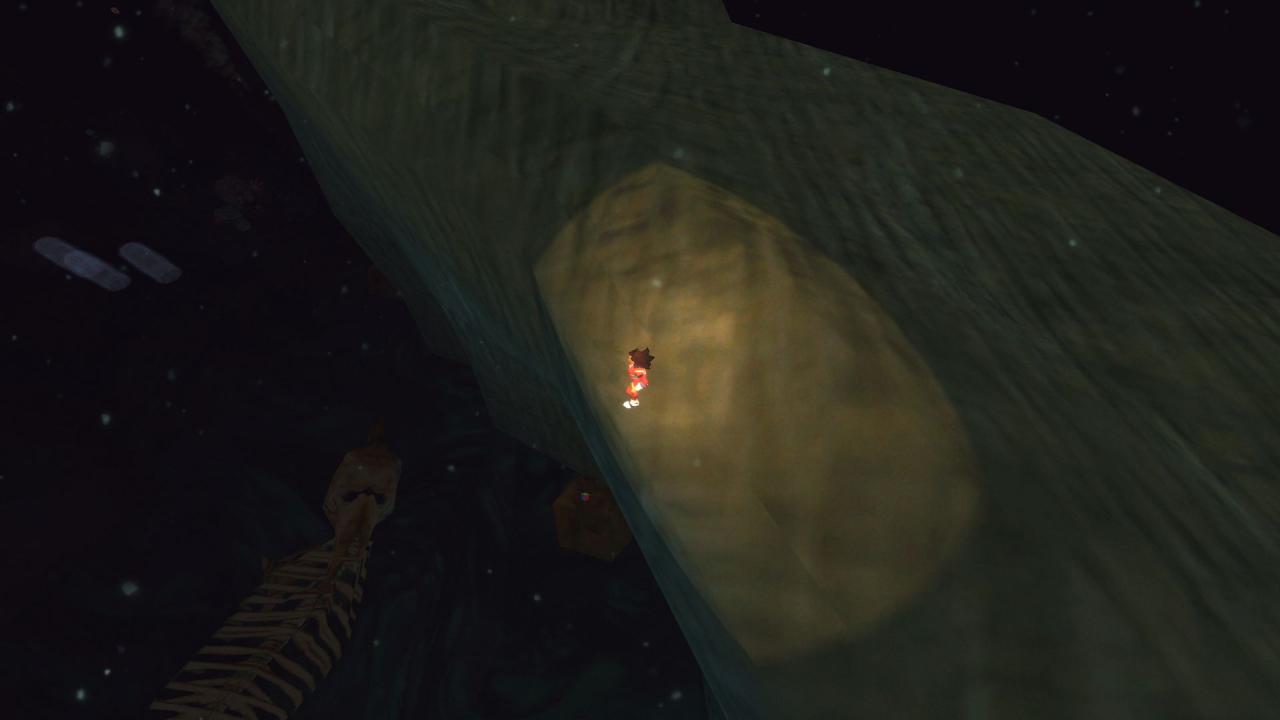
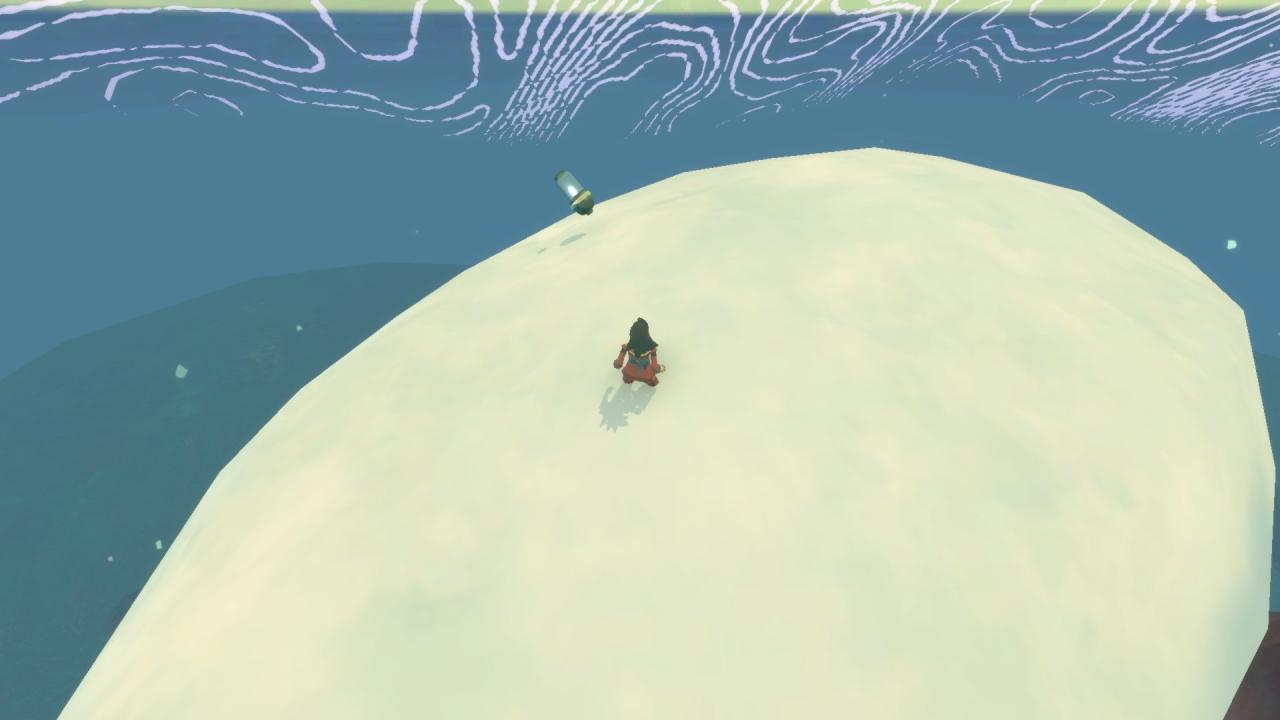
Through the gap past the wallrun challenge is a beached whale.
In a cave near the beached whale.
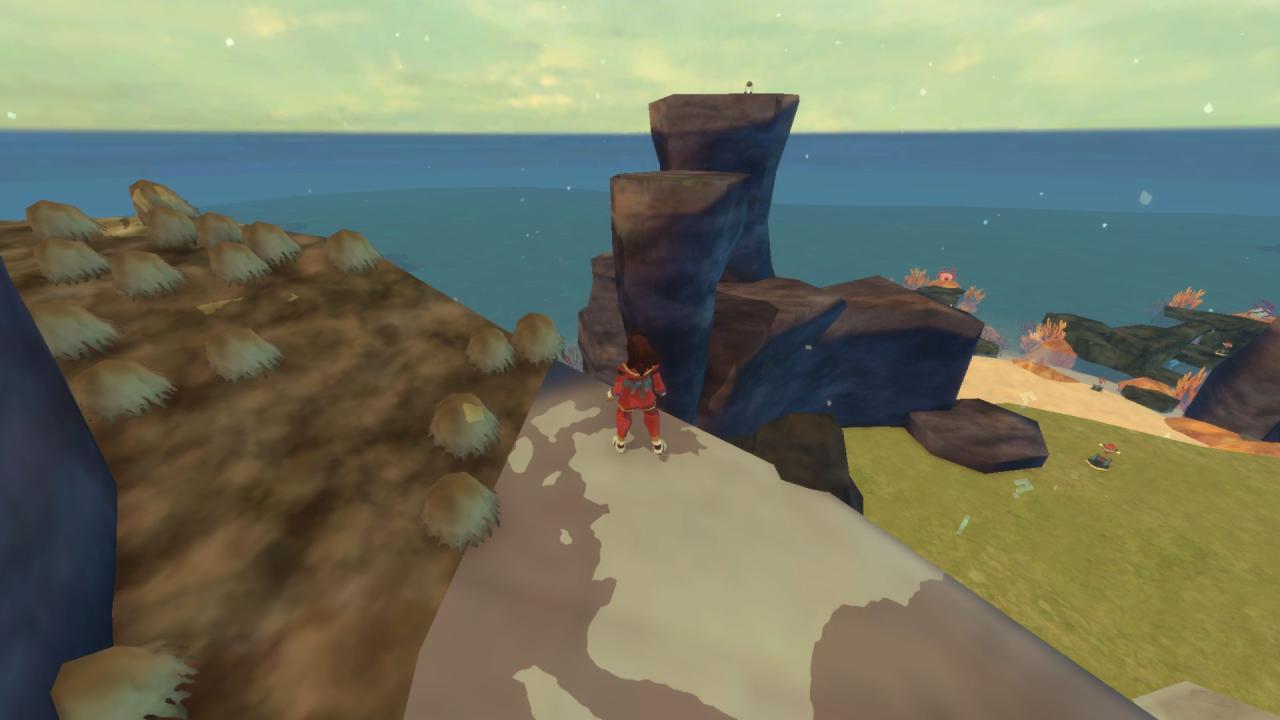
Use the dandelion to float across to the lizard on the rock pillar near the start.
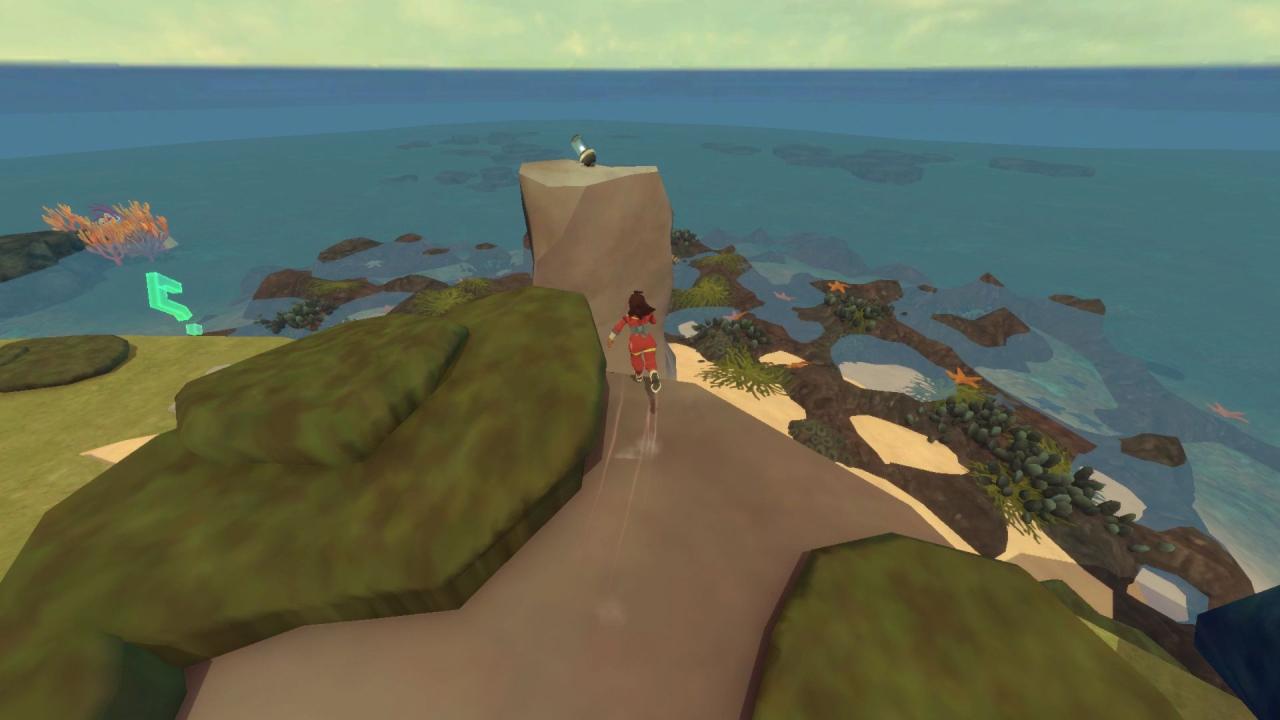
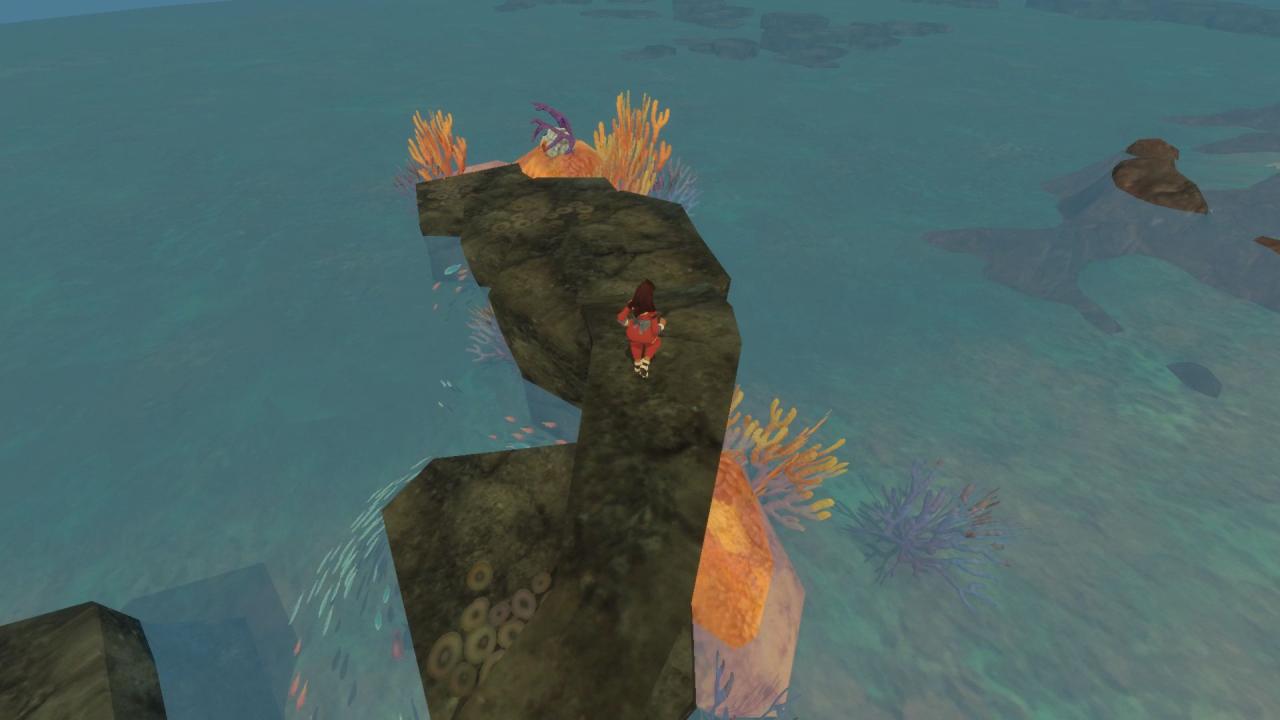
On a rock pillar standing above the shallow pools.
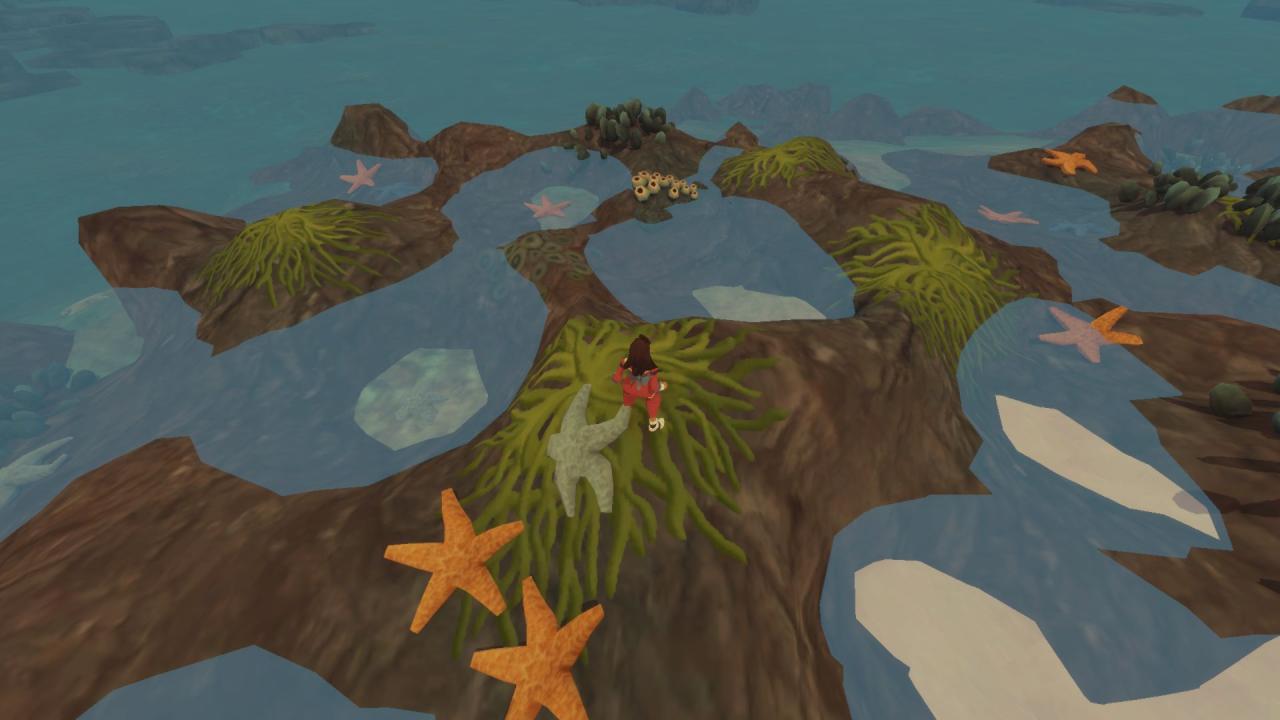
Barnacles in the shallow pools.
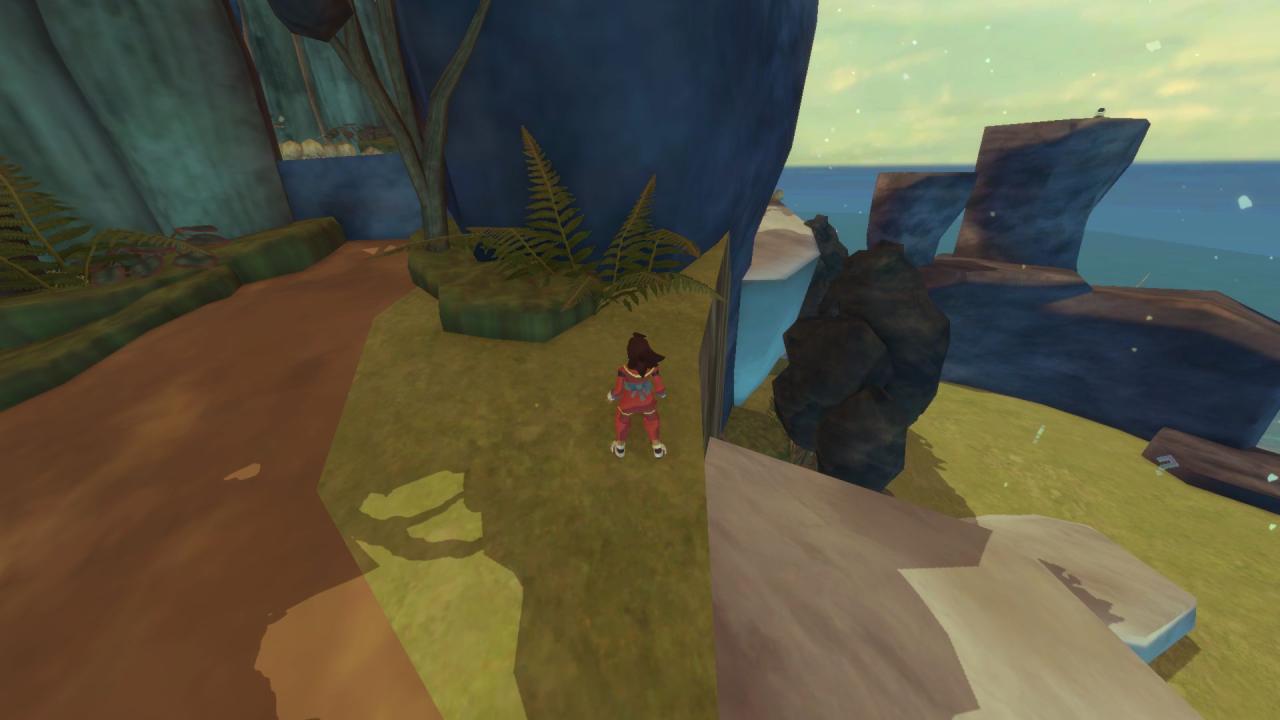
Wallrun across to the white rocks right of the entrance to the forest area. The jump across the rocks to the capsule.
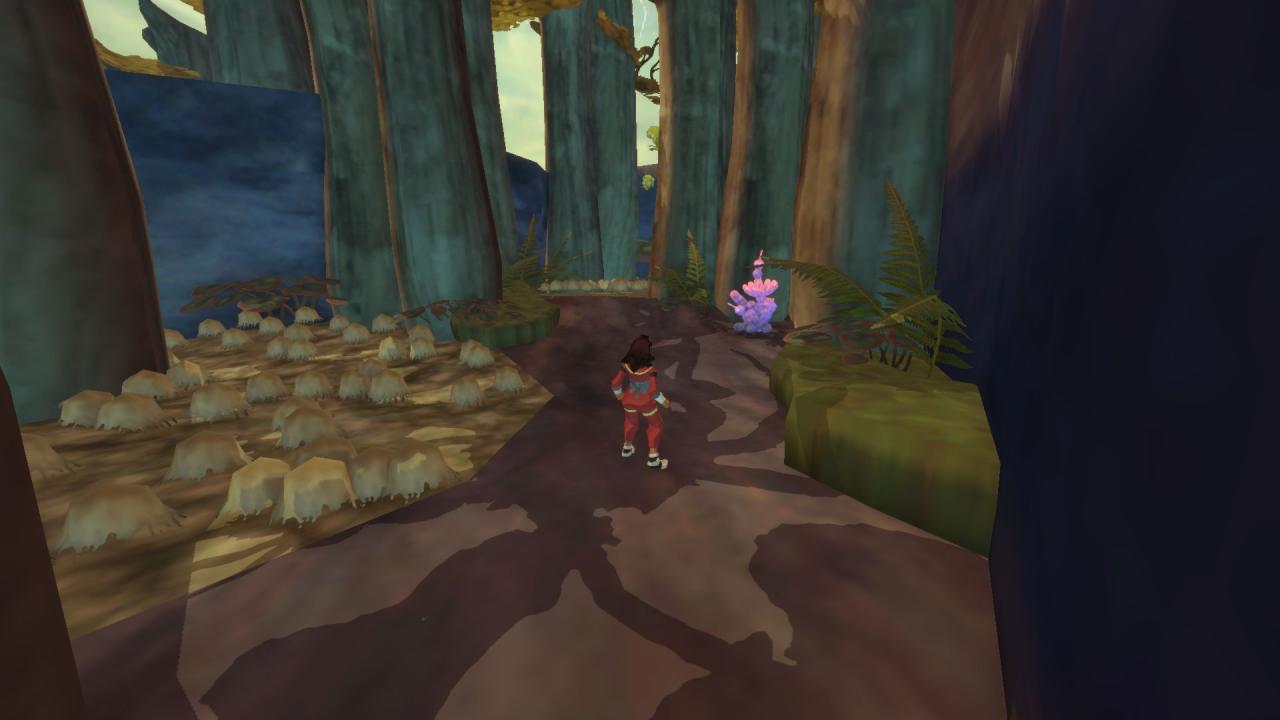
Pink plant in the forest.
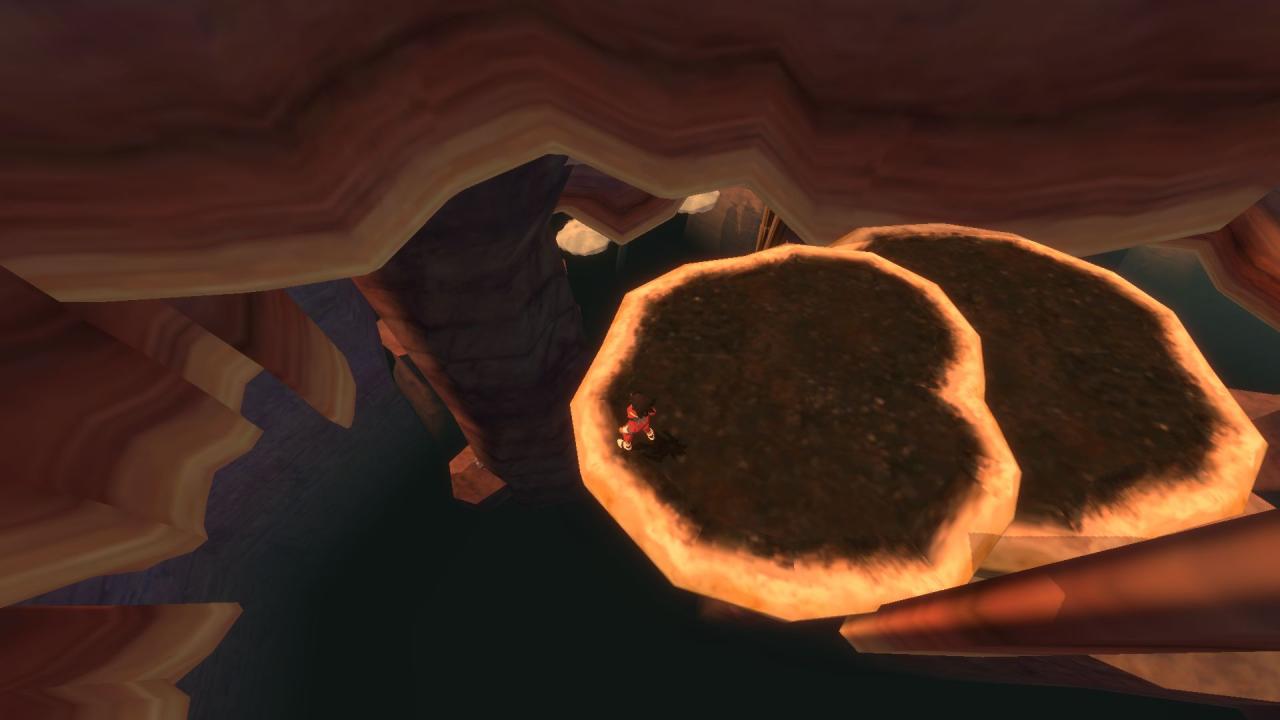
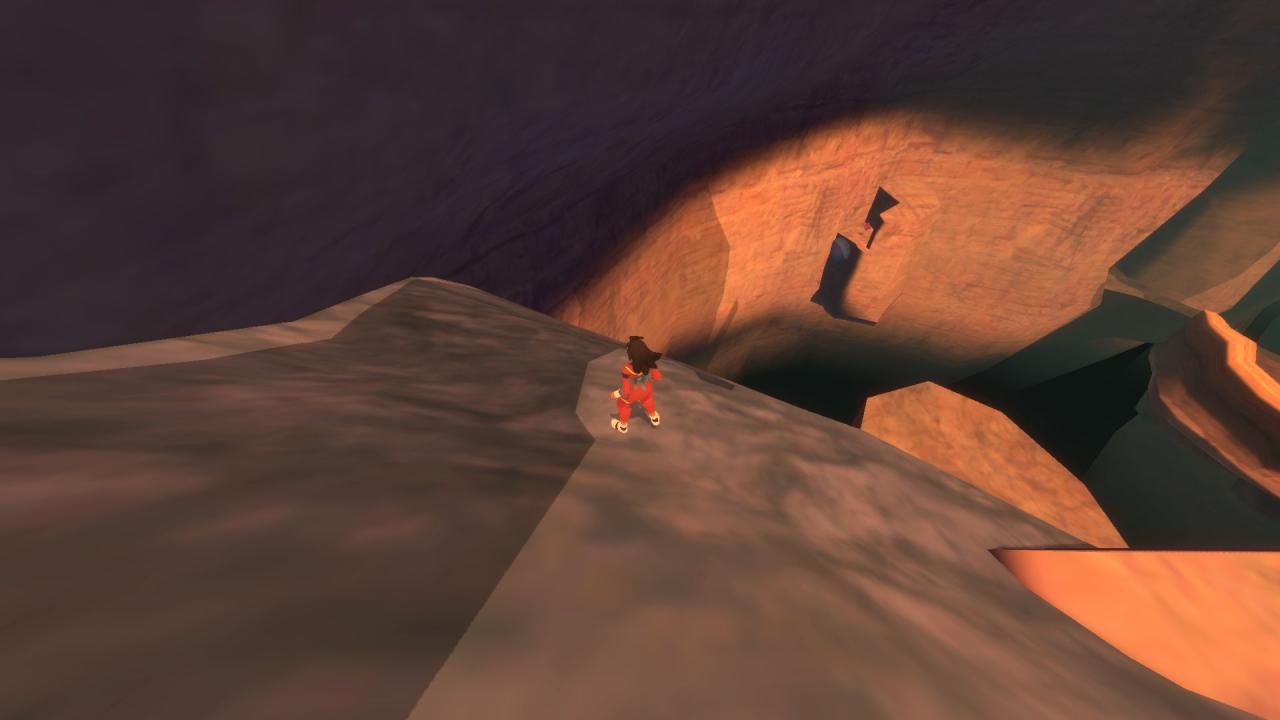
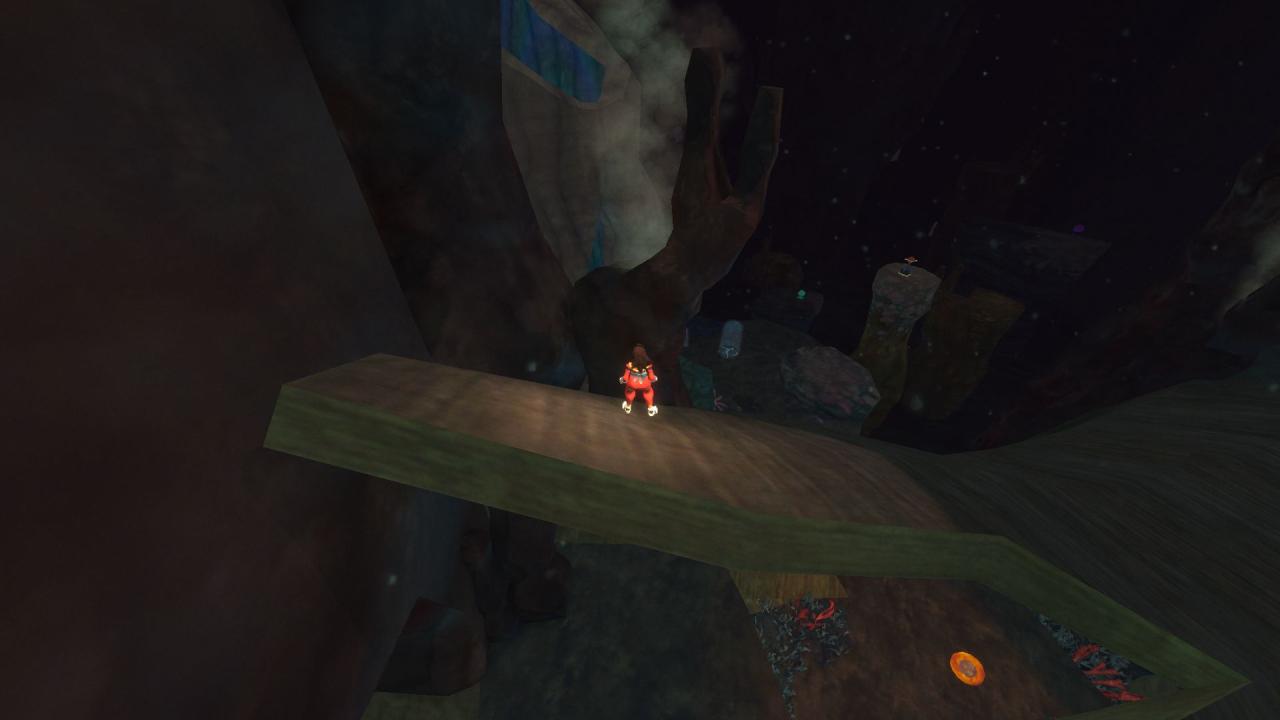
Chapter 1-2 – Sandstone Cavern
Under the first rock bridge at the start. Can just drop down to get it and respawn.
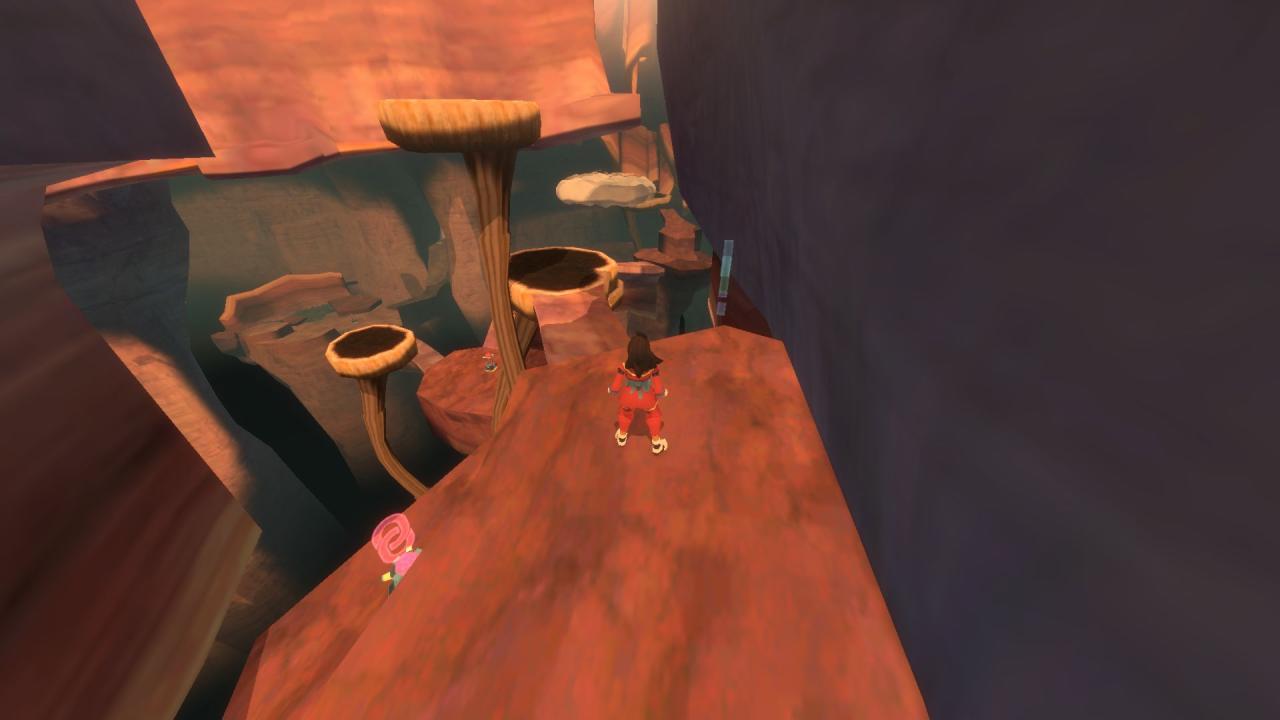
Moth on a high platform going left from the start.
Opposite the Dreamsipper is a jump pad. Climb up and wallrun jump across to the far platform.
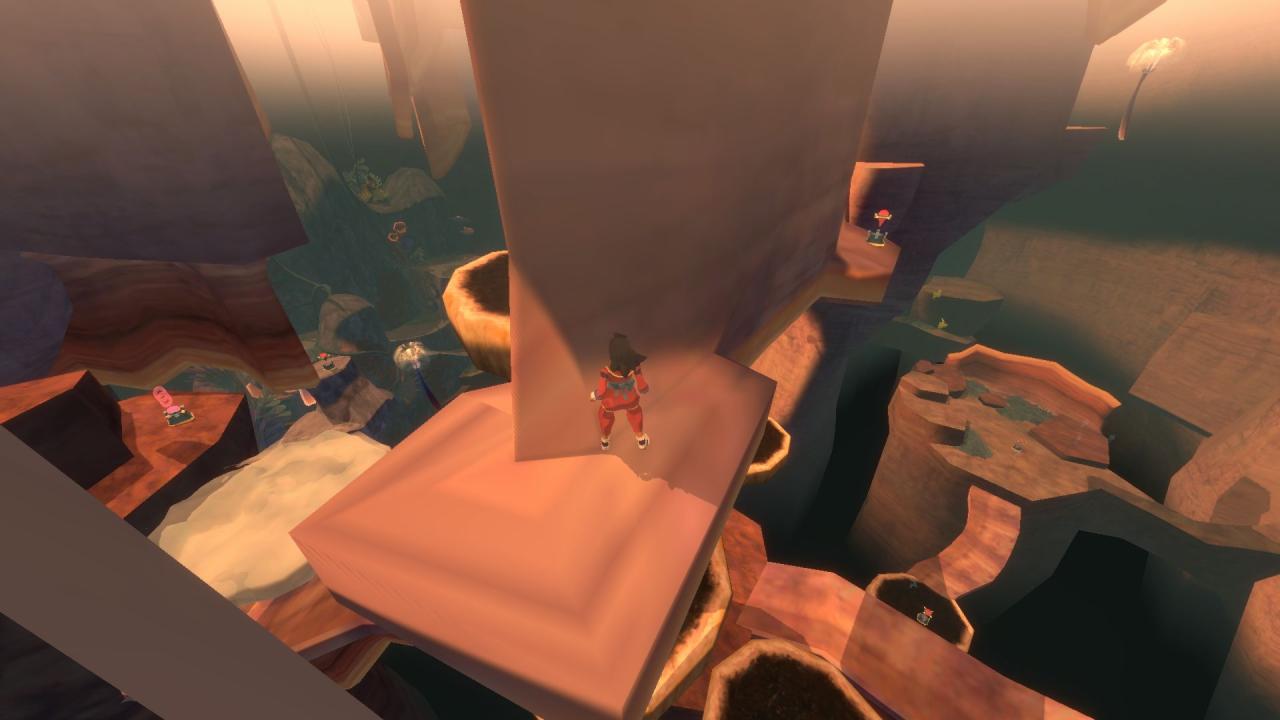
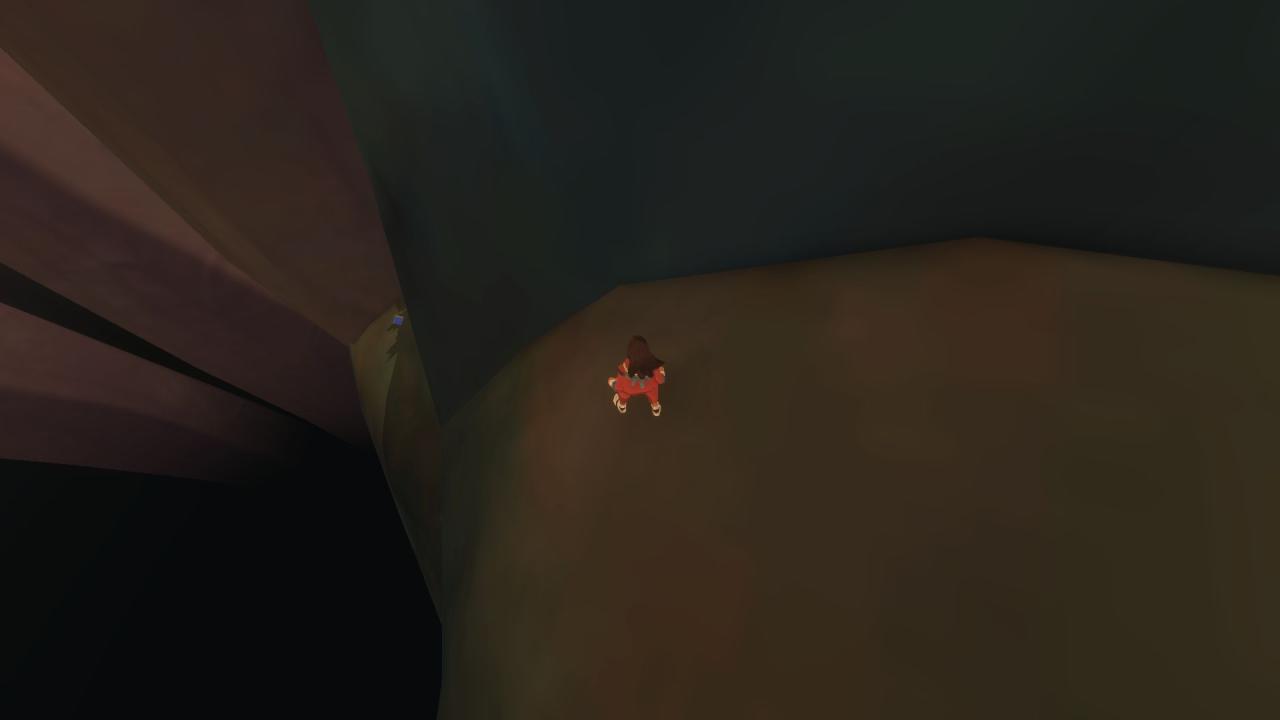
Look down the edge of the platform where you found the previous item. Sprint and jump down.

You’ll eventually reach a checkpoint and a cloud. Climb up and wallrun across two platforms to a snail on a small platform.
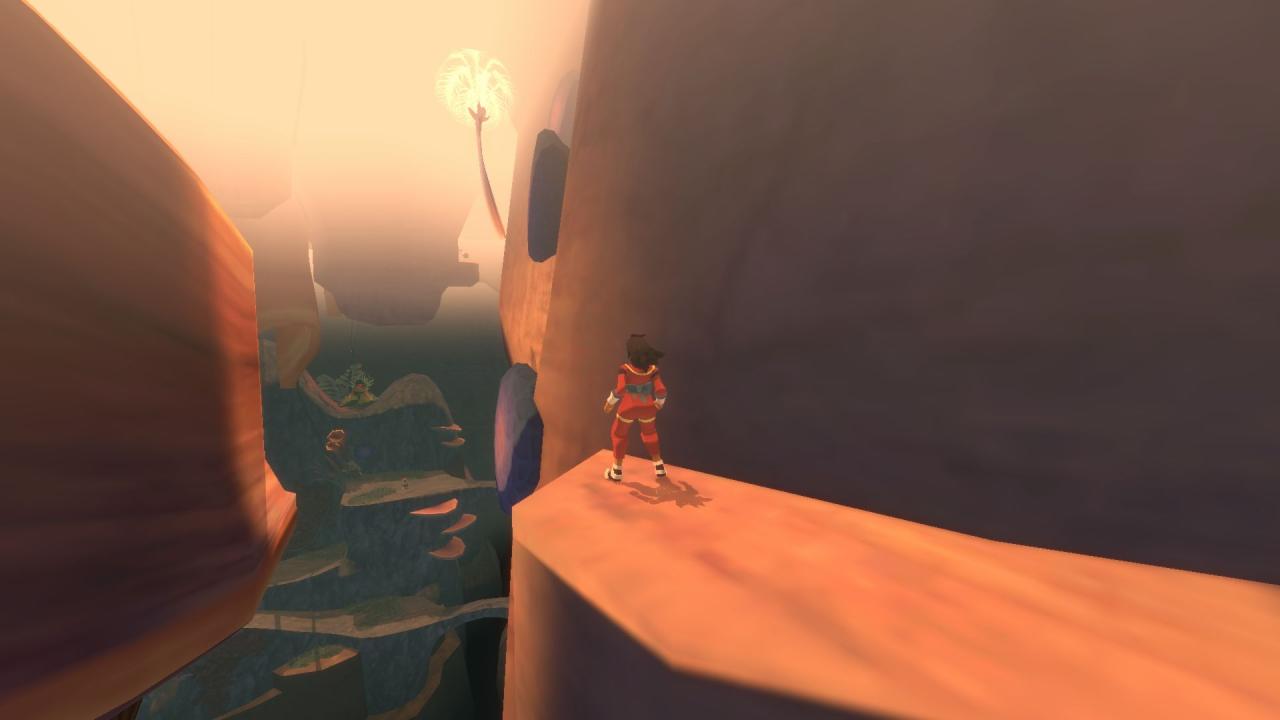
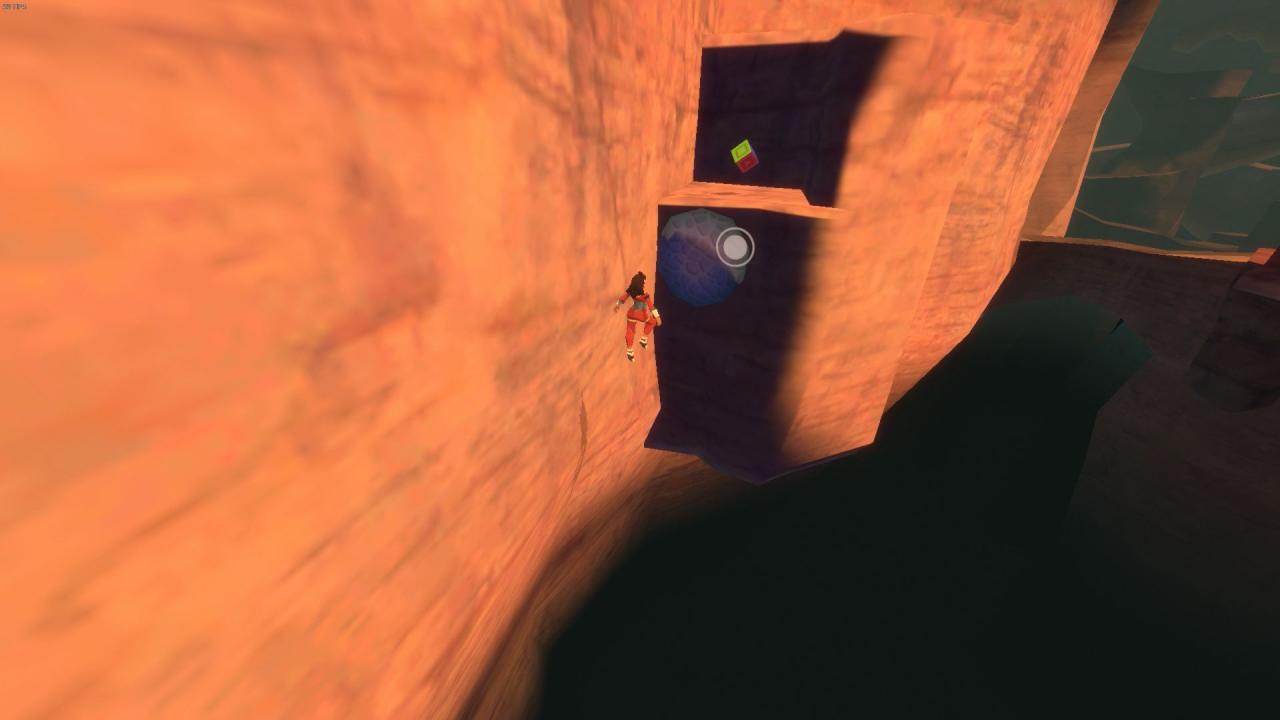
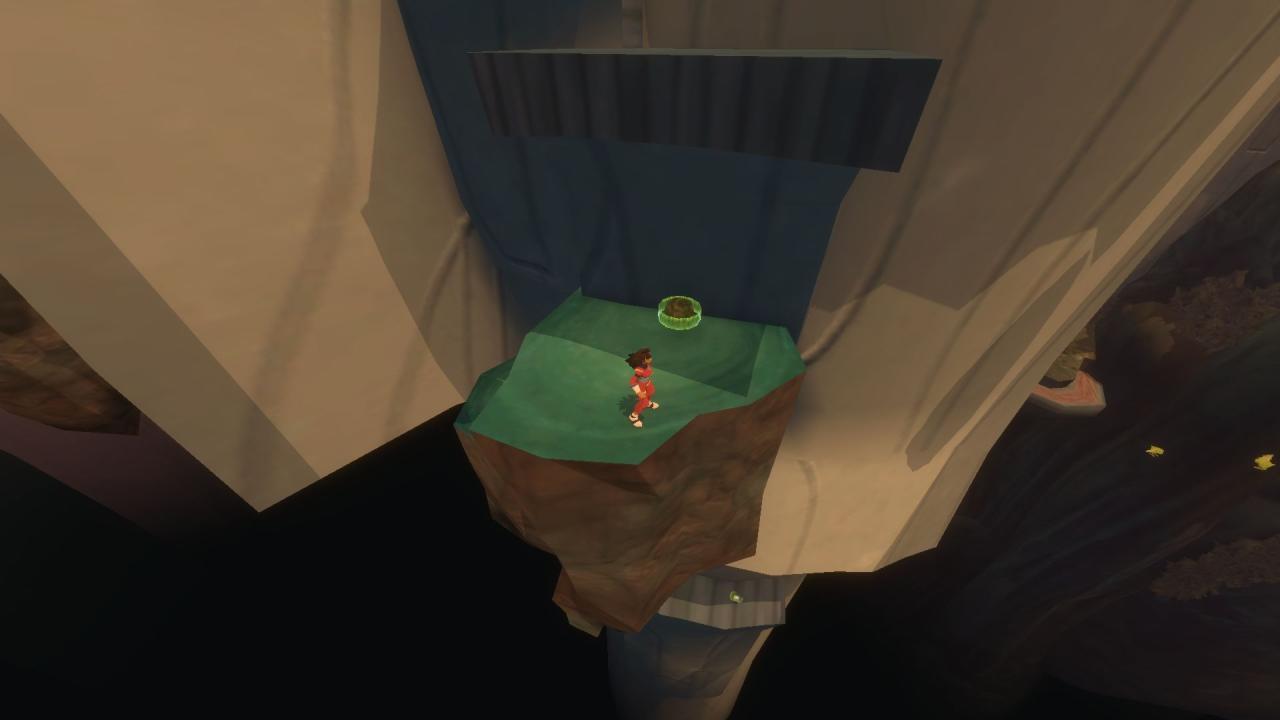
Return to the platform nearest the cloud. Jump the other way to the checkpoint. Wallrun jump across the jump pads to the dandelion and float across to a capsule directly ahead.
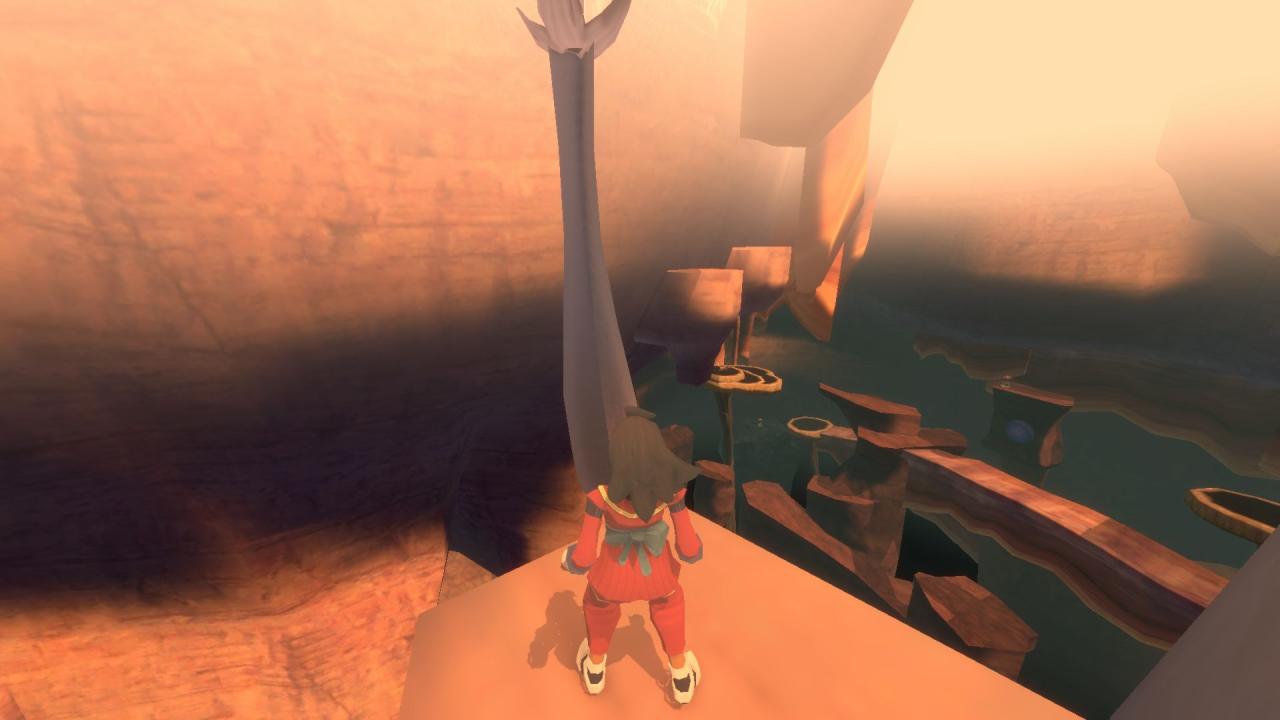
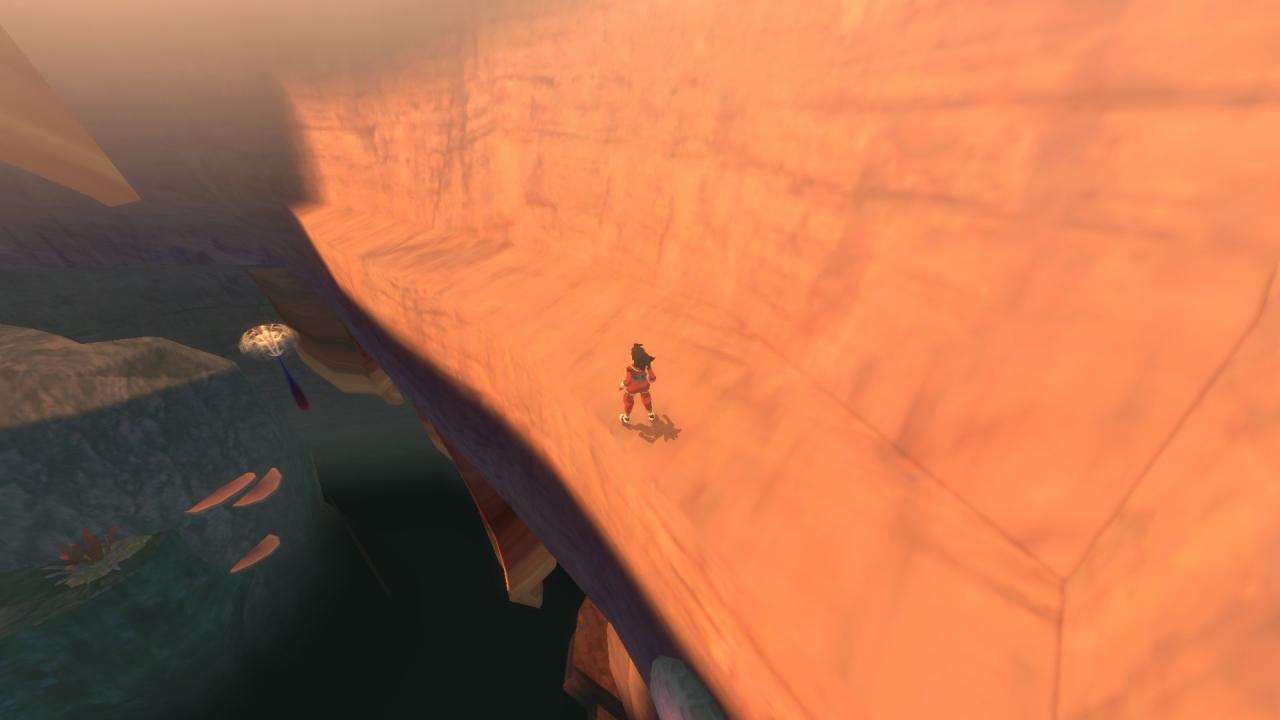
Return to the previous checkpoint and land on the platform near the jump pads. Look around to see another dandelion. Use that to float across to some ledges high above the entrance to the area.
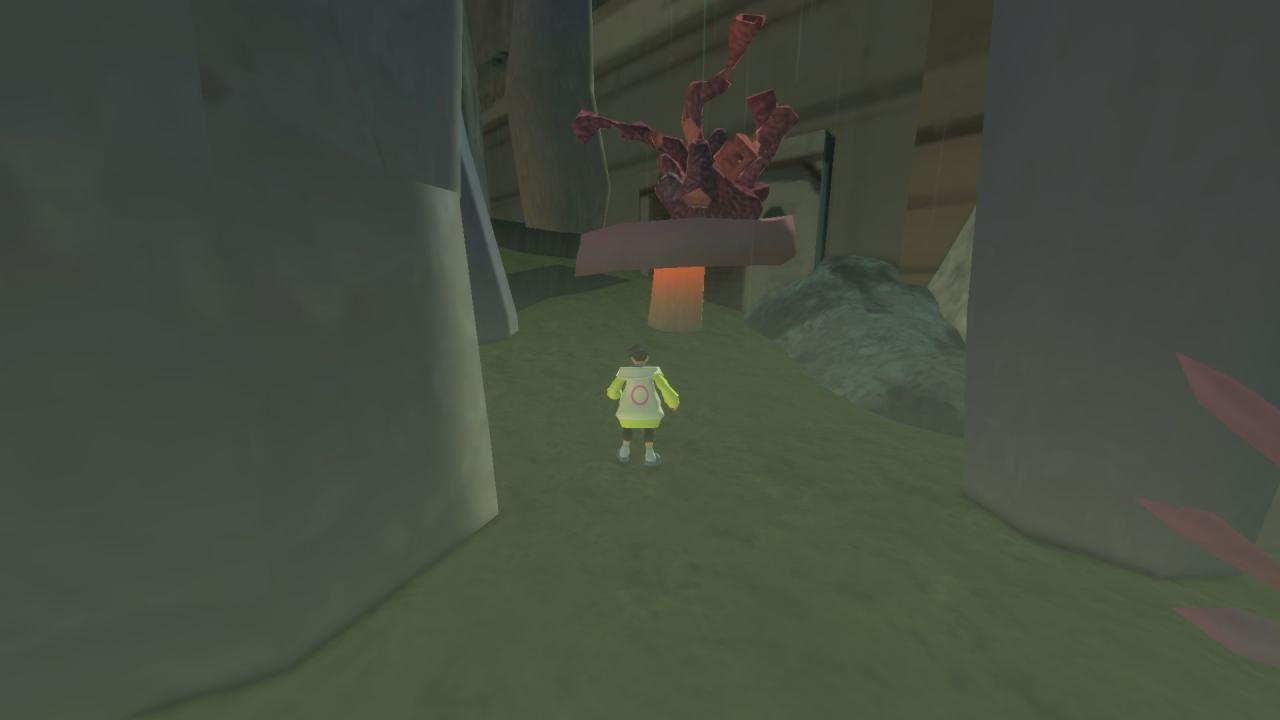
Pitcher plant on the rocks at the back left of the area.
Facing the Flyreaper, look up and left to see the item on a vine. Jump up the rock, walk up the vine and awkwardly dash jump to the item.
Bottom-most ledge below the Flyreaper.

Continue along the path and climb up the jump pads to find a clam.
Sprint right of the clam and jump to the wall section attached to the ceiling and wallrun jump to the checkpoint on the plateau. We will use the checkpoint there for the following three items:
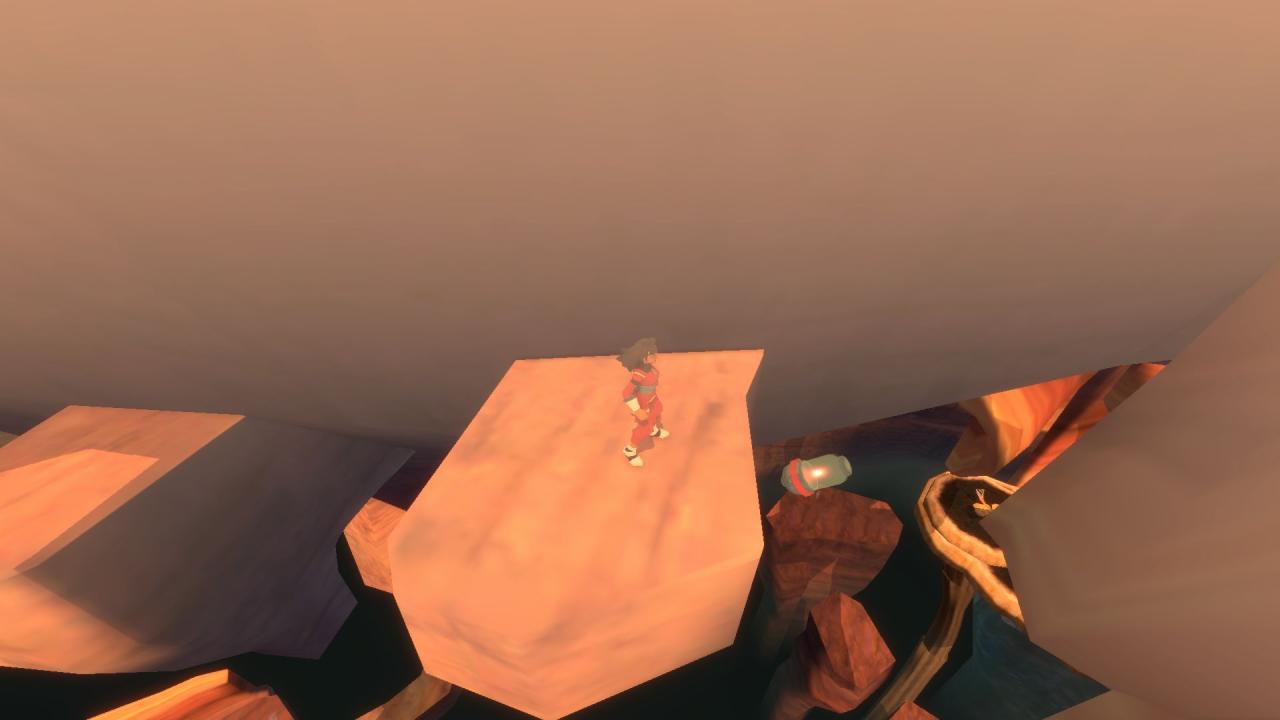
Turn left and jump to a capsule on top of a grey rock.
Turn right and see a capsule on a rock in the distance. Drop down to the platform below. To reach the capsule, we need to start a wallrun, immediately jump off, start another run, jump off, repeat. Wallrunning loses height very quickly, so we jump to restore that height. Keep chaining hops against the wall until you reach the capsule.

Look ahead and to the left to see a jump pad. String wallrun hops along the right wall to the jump pad and use it to reach the ledge. Follow the ledge and use the dandelion to float to the cube on the rock in the distance.
Chapter 1-3 – Windy Cave
Story. Key species #1.
Given by Thraskias.
Chapter 2-1 – Jade Canopies
On a ledge at ground level below the entrance.
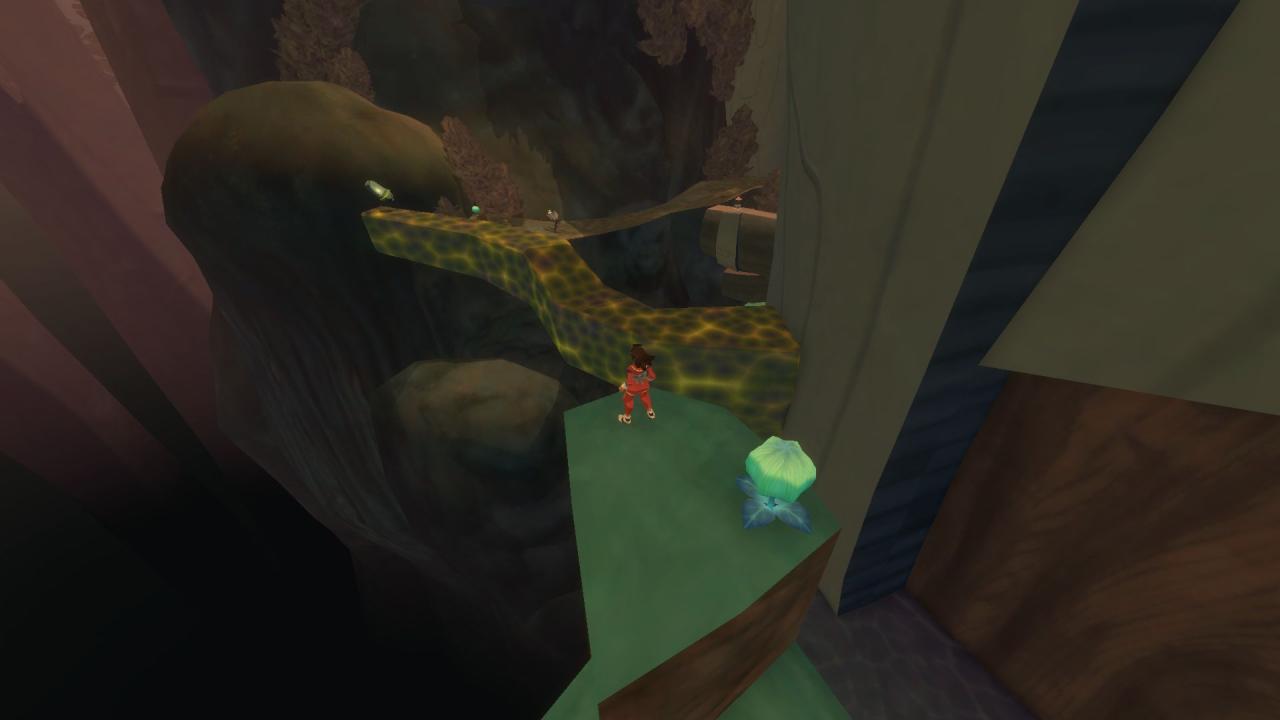
On a out-stretching vanishing branch. Get past it first, then make it reappear, and use the jump boost to reach it.
Inside a tree nook. Jump on the nearby dandelion and float inside.
Drop down from the previous item to find it sitting on the tree bark.
Remove the vanishing stairs, as well as the vanishing blocks hidden behind them. Drop down the hole above to find Pteromin in a tree nook.
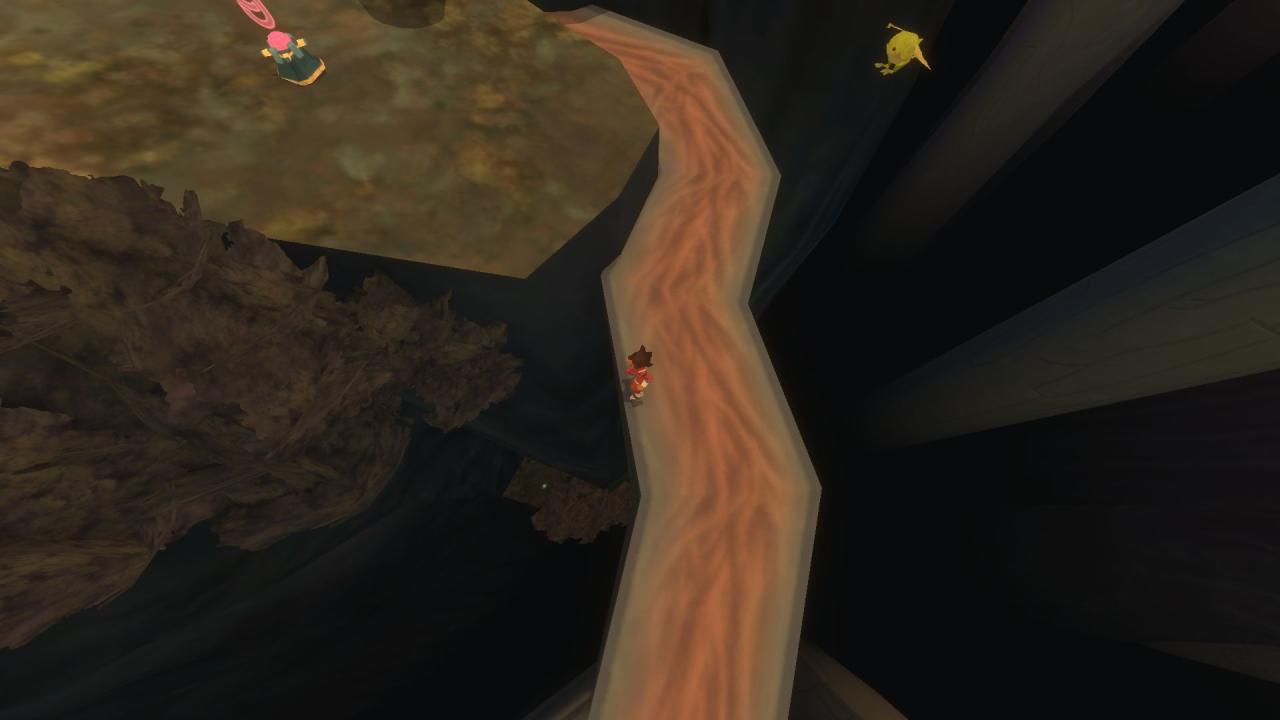
After going through the reddish path inside the tree, drop down to the very bottom.
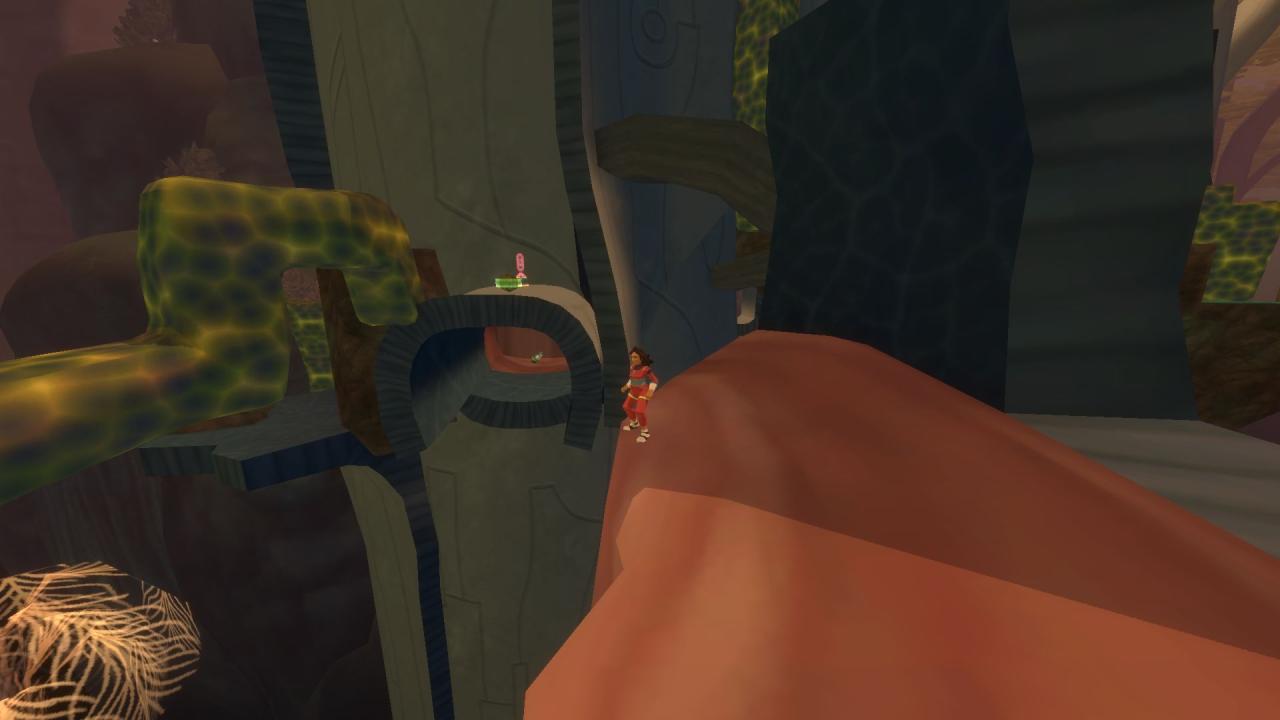
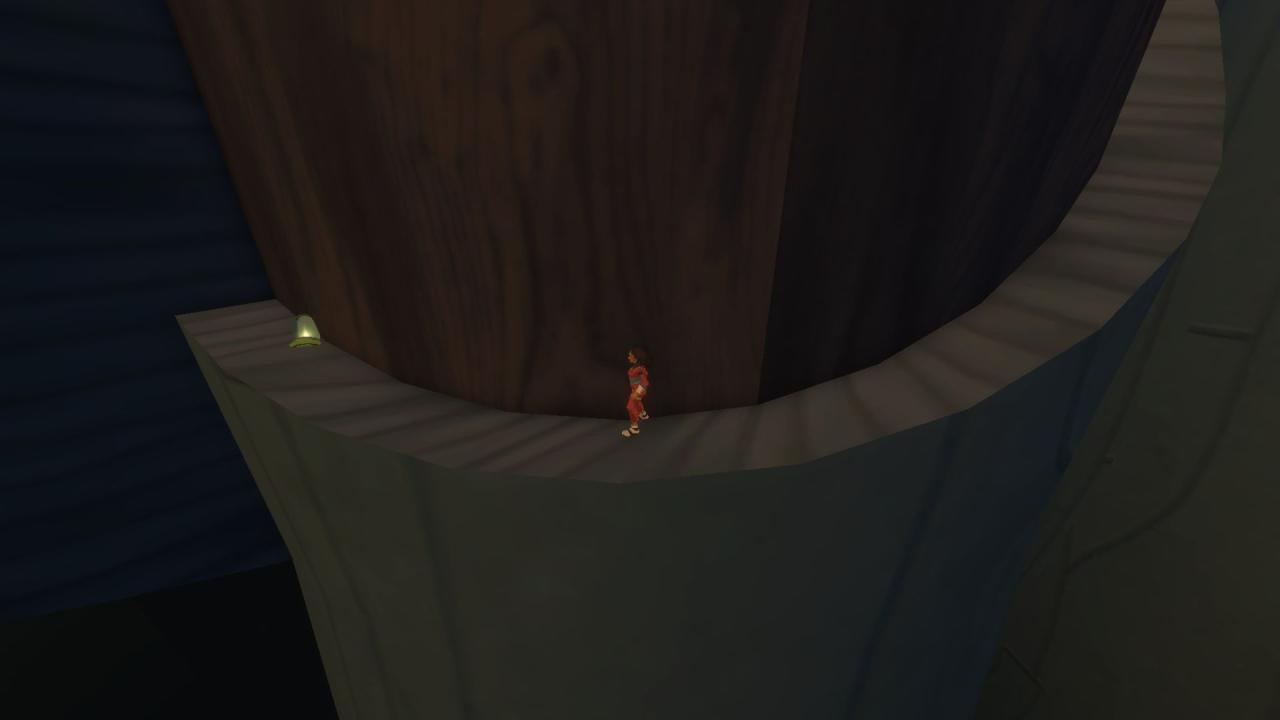
At the last checkpoint before jumping off the branch, turn around and climb on the vanishing blocks. Head to the end and use the cloud to bounce to the higher platform. Wallrun jump to the bark further down, then the piece up on the right. Walk to the end of this path and wallrun jump to the branch. From there, wallrun to the capsule.
After collecting the previous item, jump back to the thick branch and from there, fall down to the branch below with a checkpoint. Jump the gap to the ledge with the insect.
Facing the insect, use the partially-hidden bulb to jump over the rock to find the item.
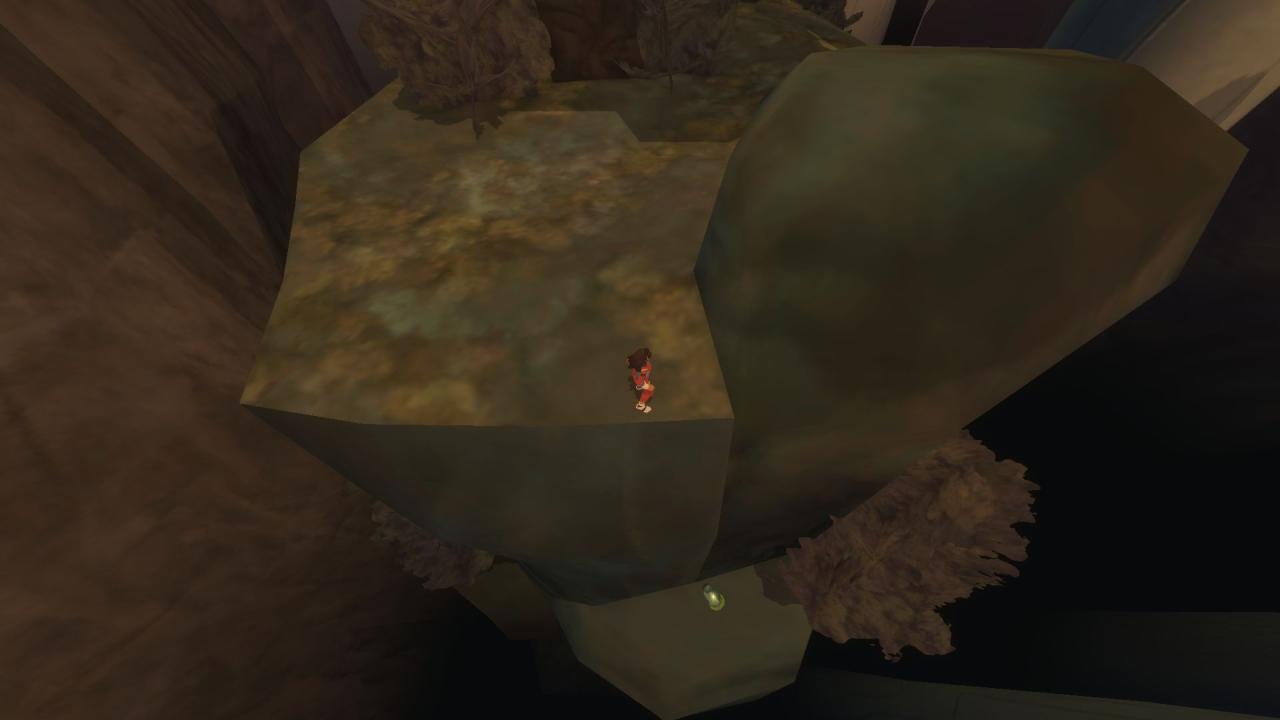
Return to the checkpoint at the start of Item #22 and jump off the branch to the rocks in the distance. Look off the opposite edge to find it below.
Climb up the rocks near the previous item to see it stuck against a tree.
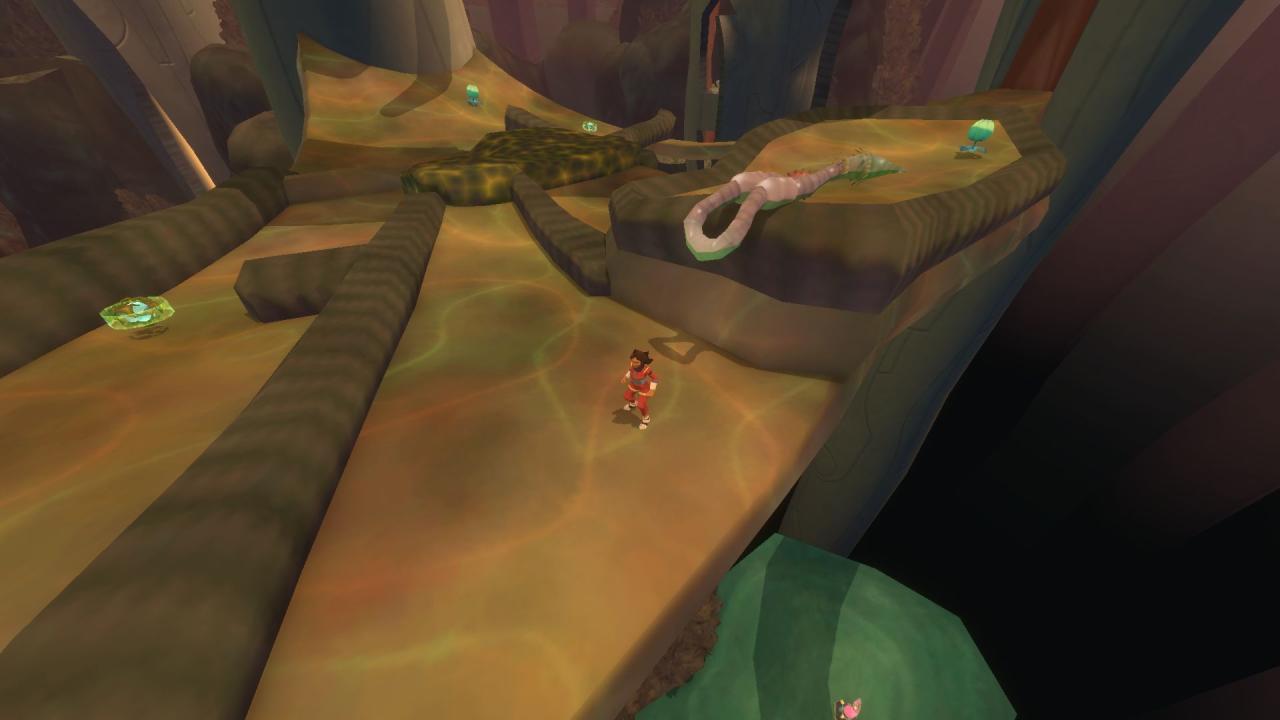
Climbing up from the previous creature, find a worm on the triangular-ish platform between three trees.
Immediately after bouncing across three clouds inside a tree, wallrun jump to the small platform above the last cloud. Use the jump pads to jump to the top of the bark and carefully walk to the capsule.
Story. Key species #2.
Given by Pomelia.
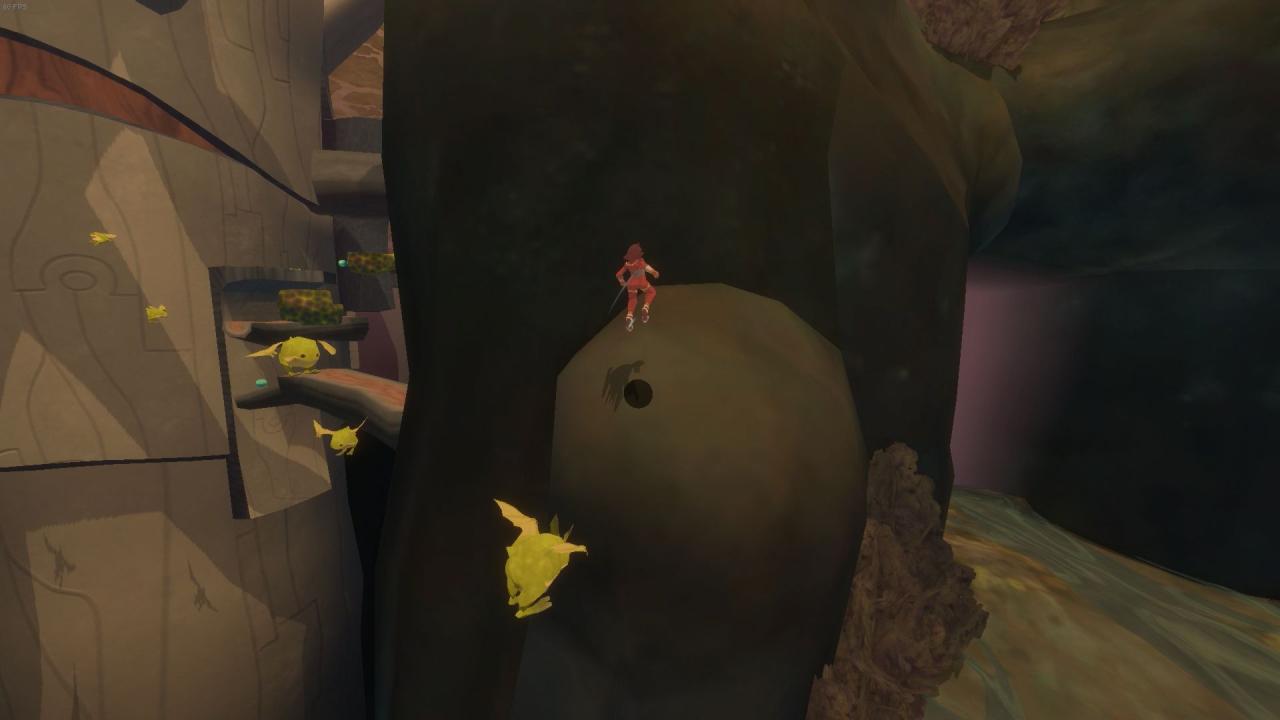
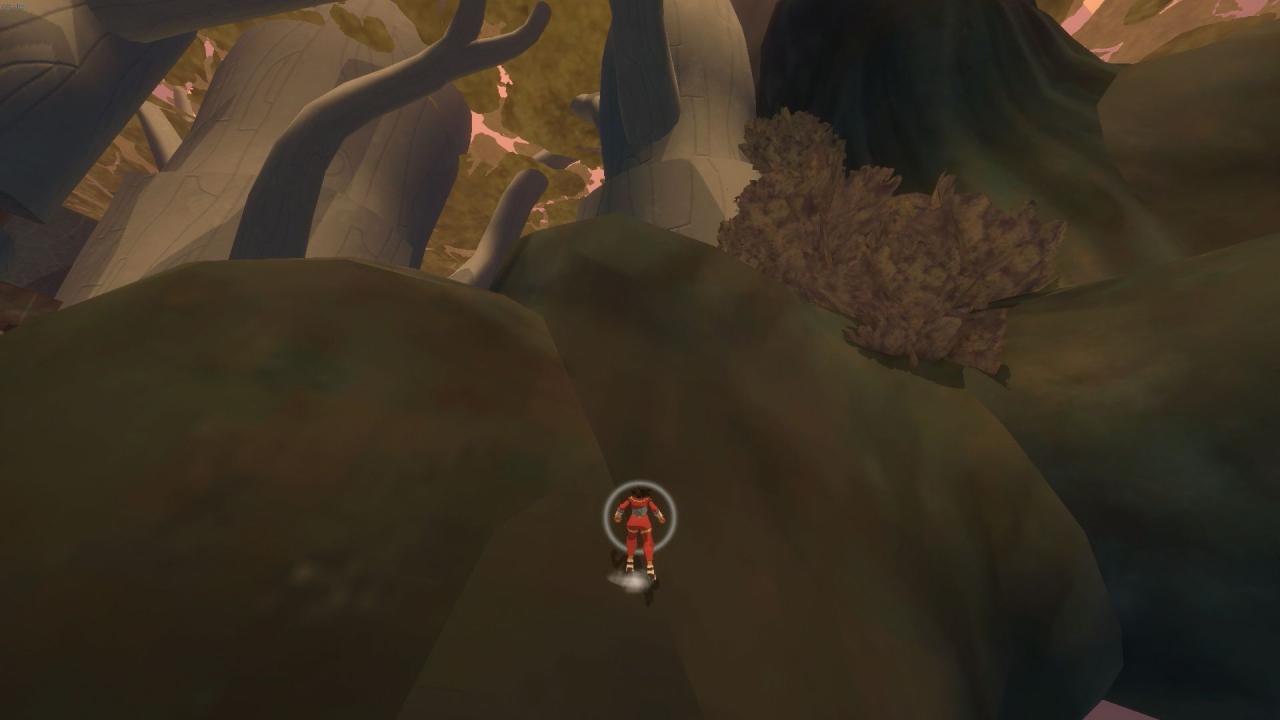
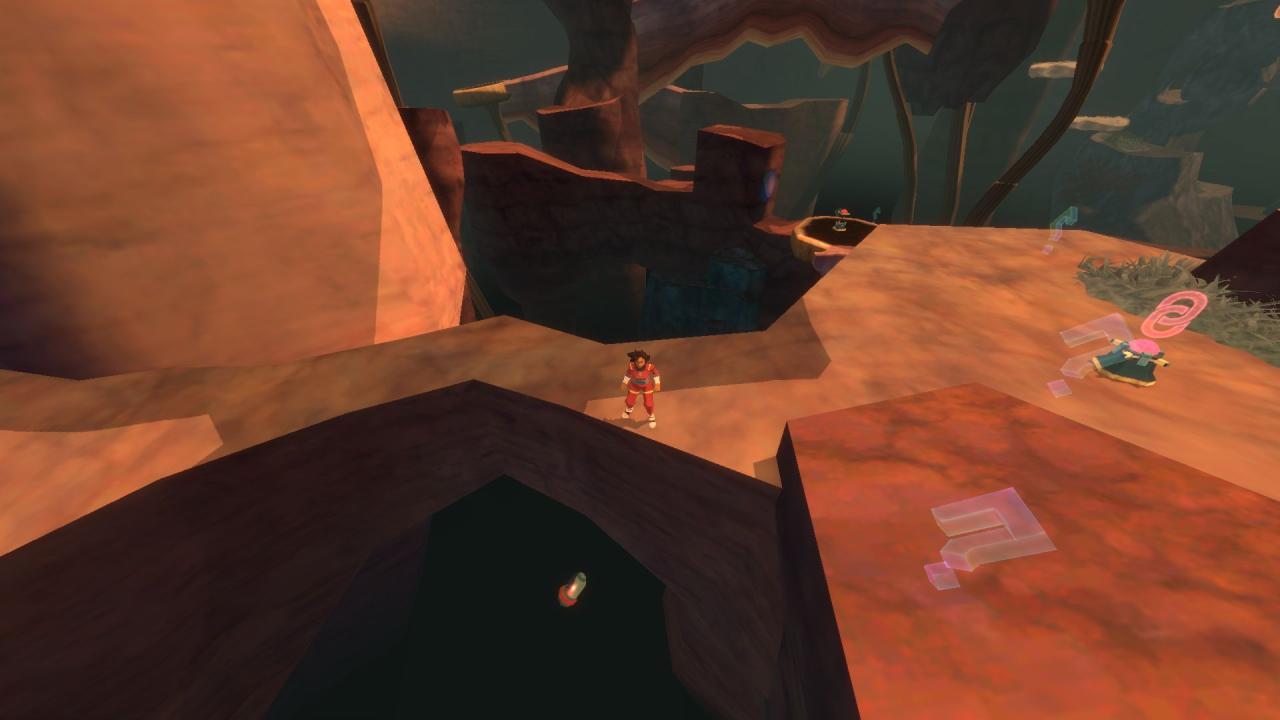
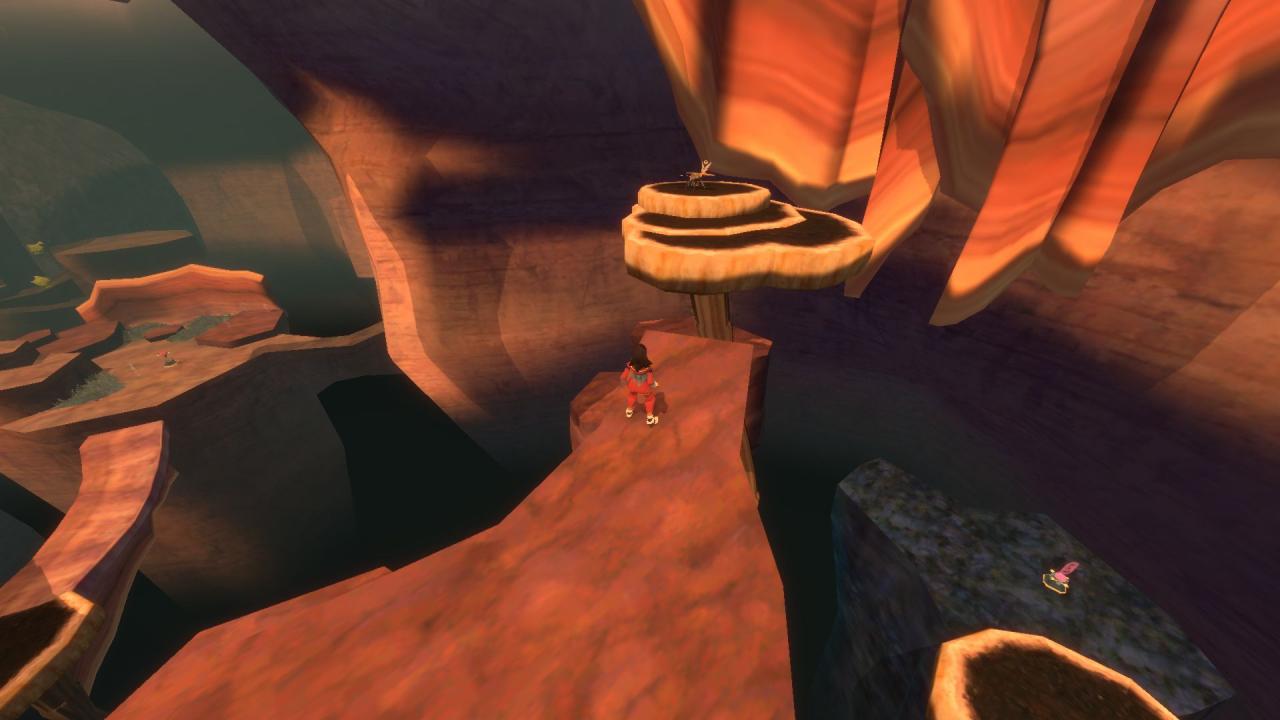
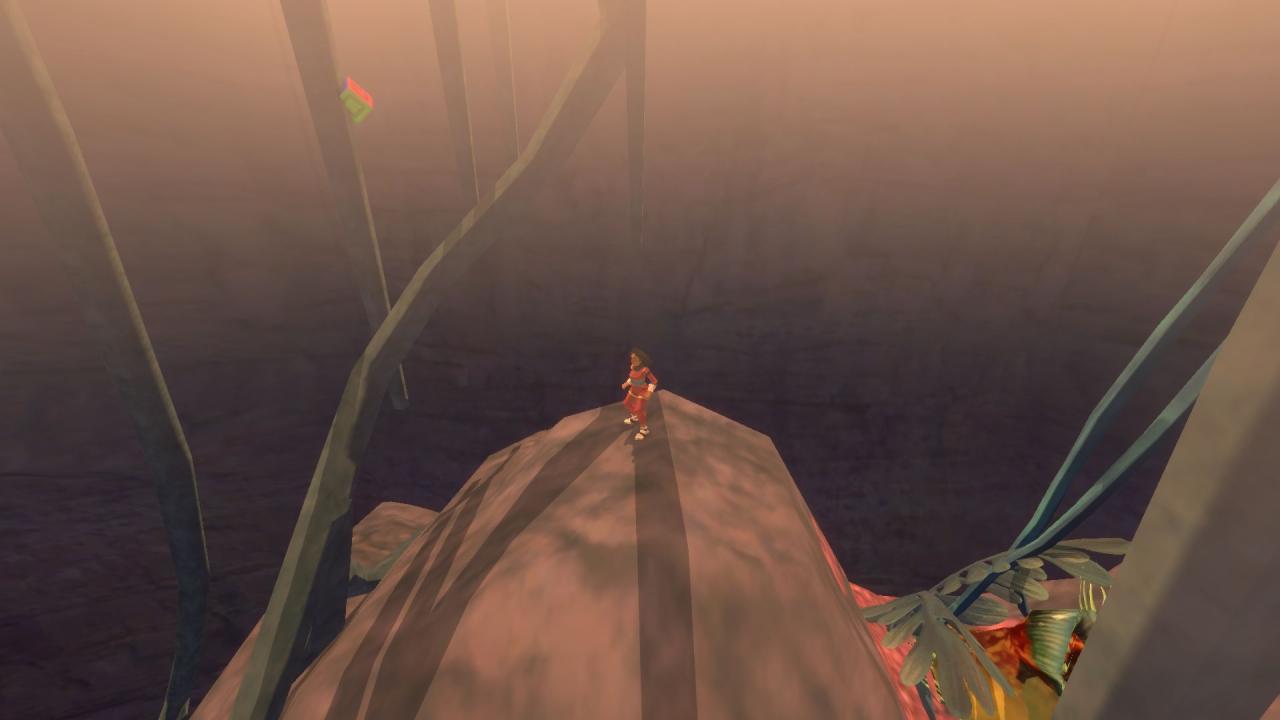
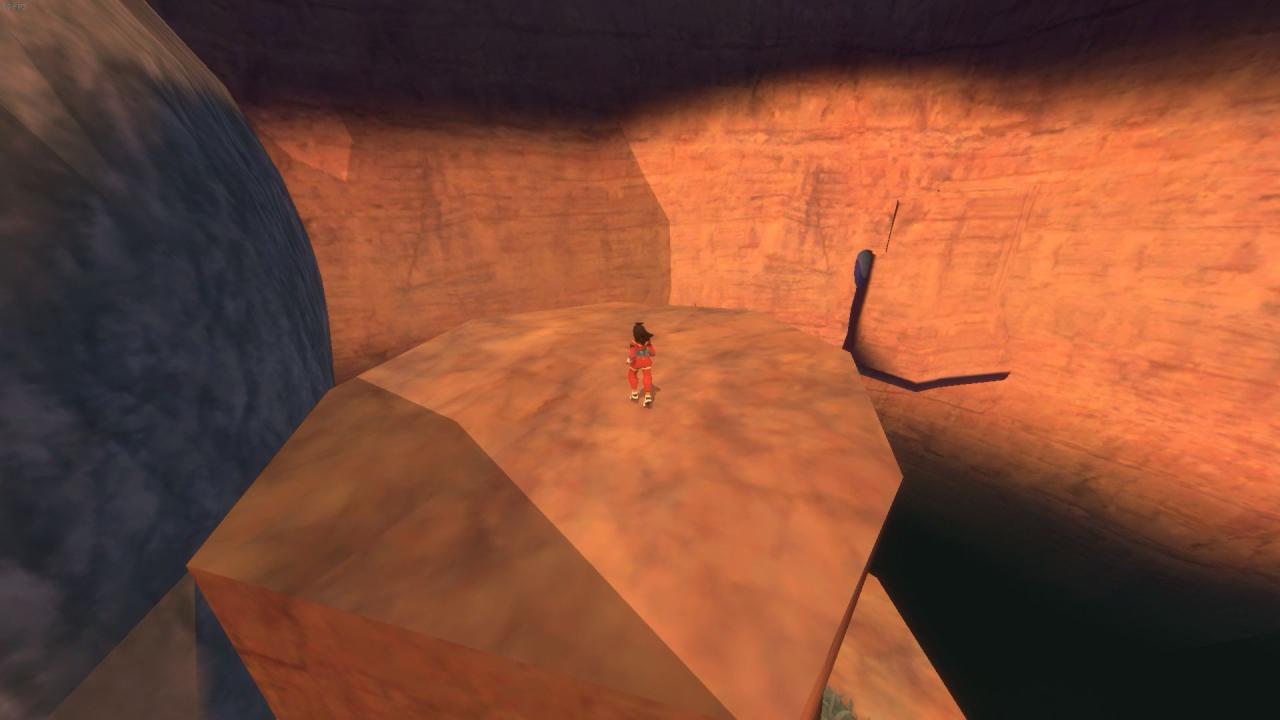
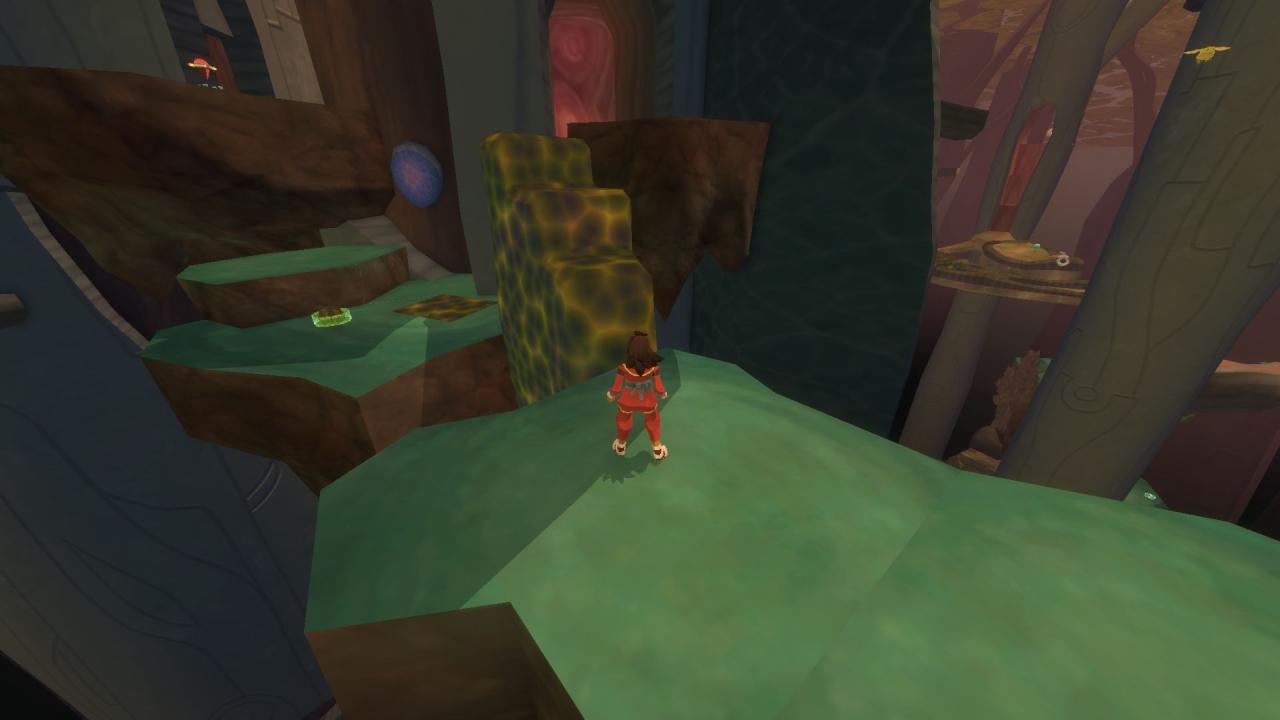
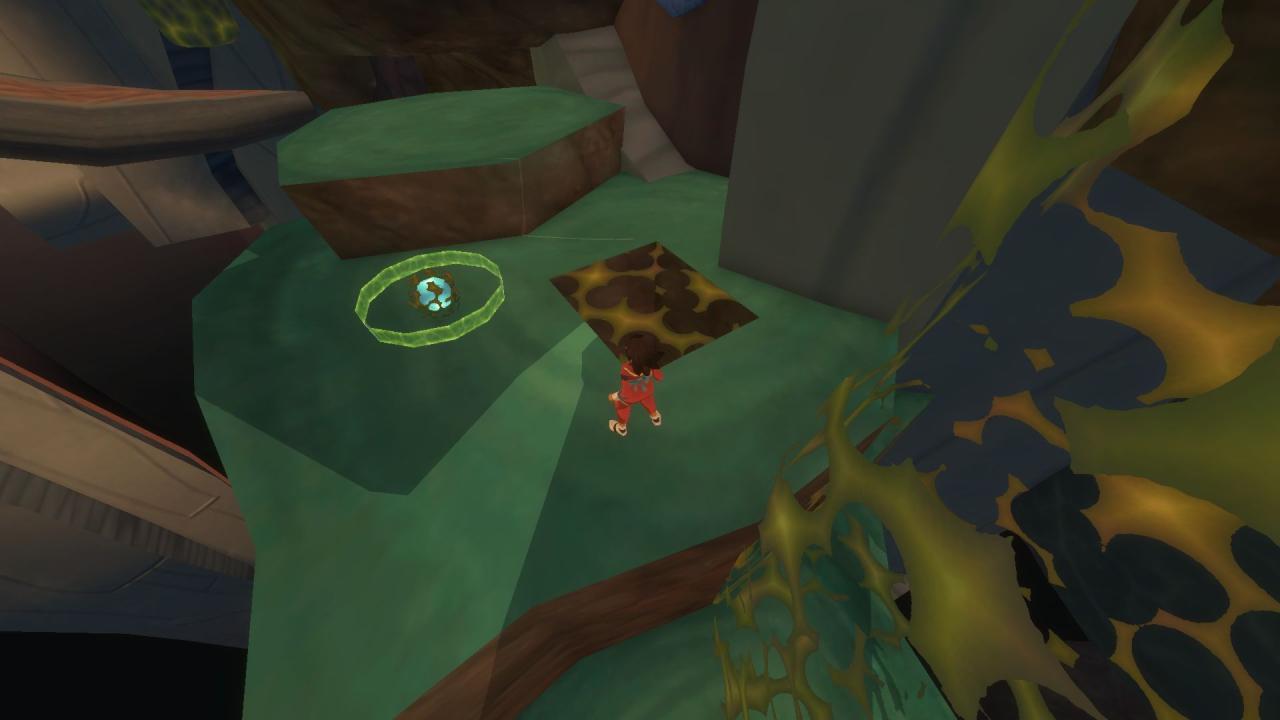
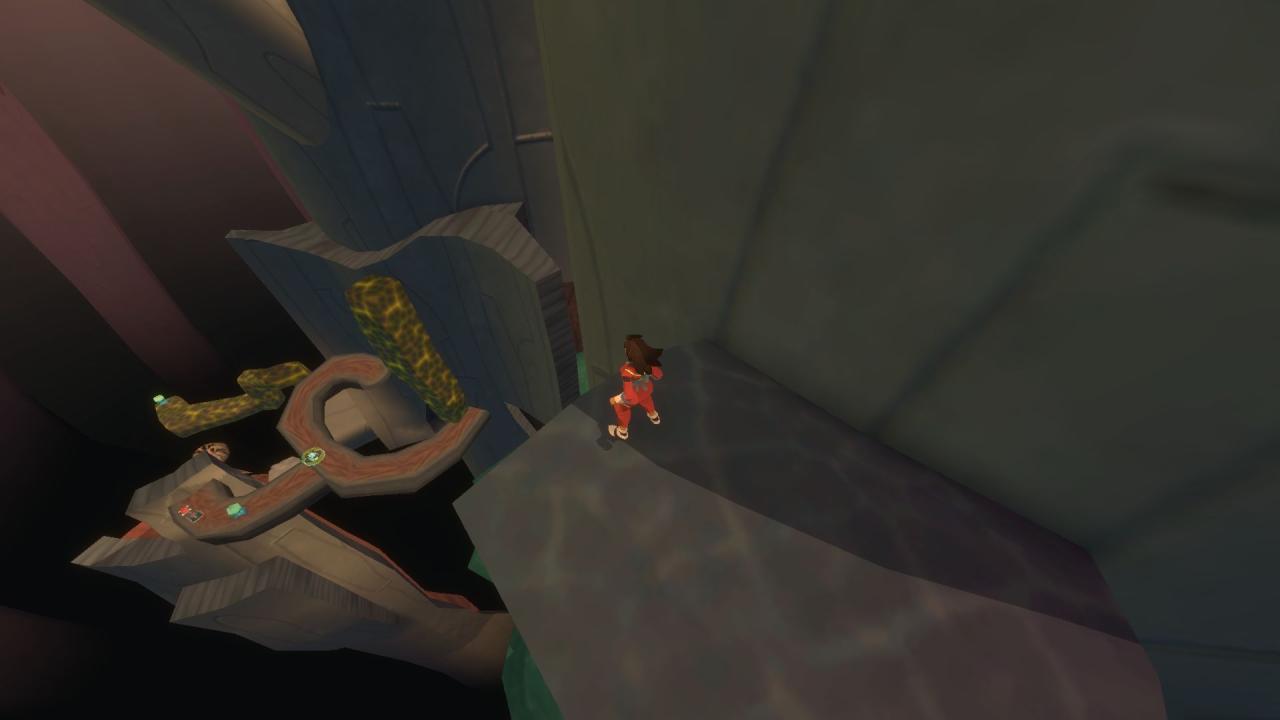
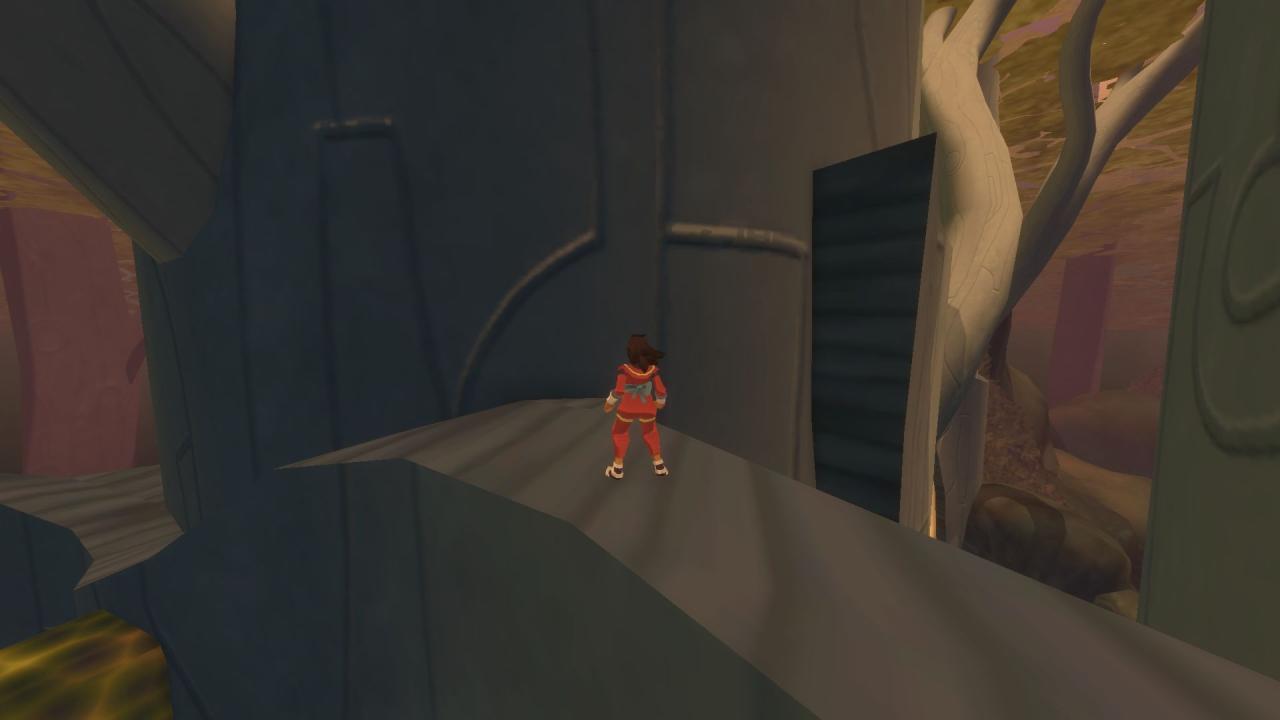
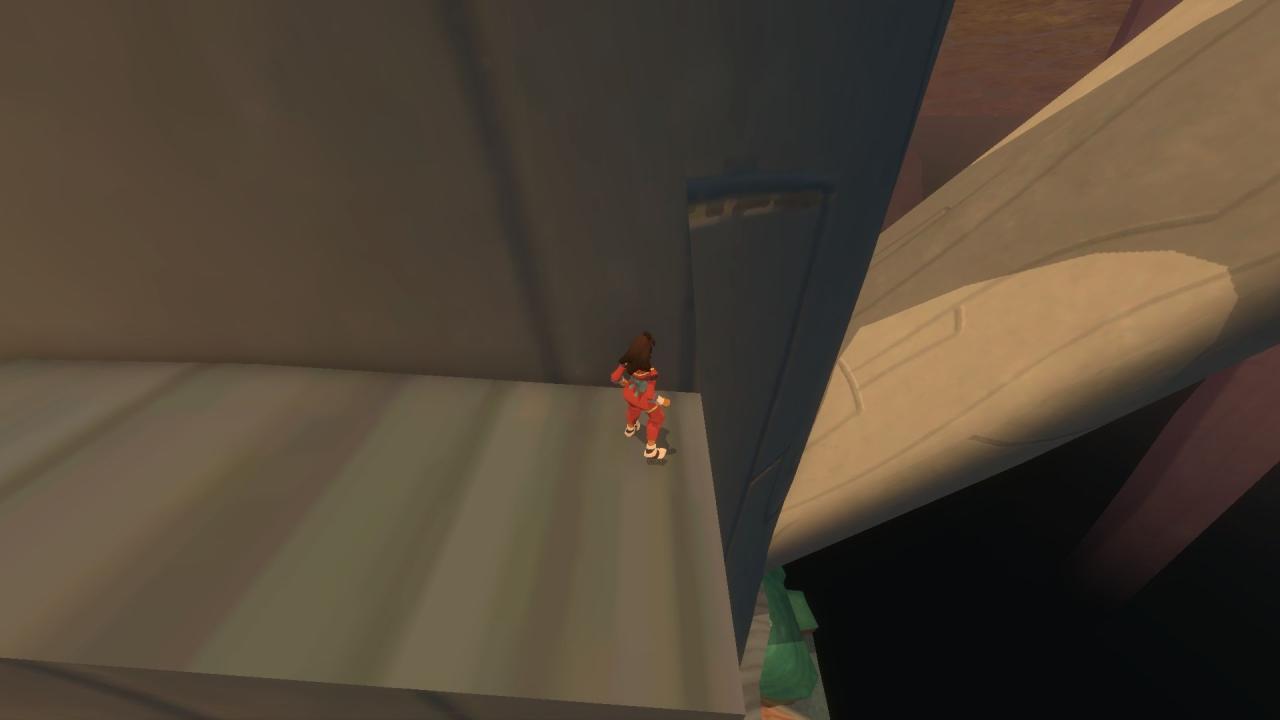
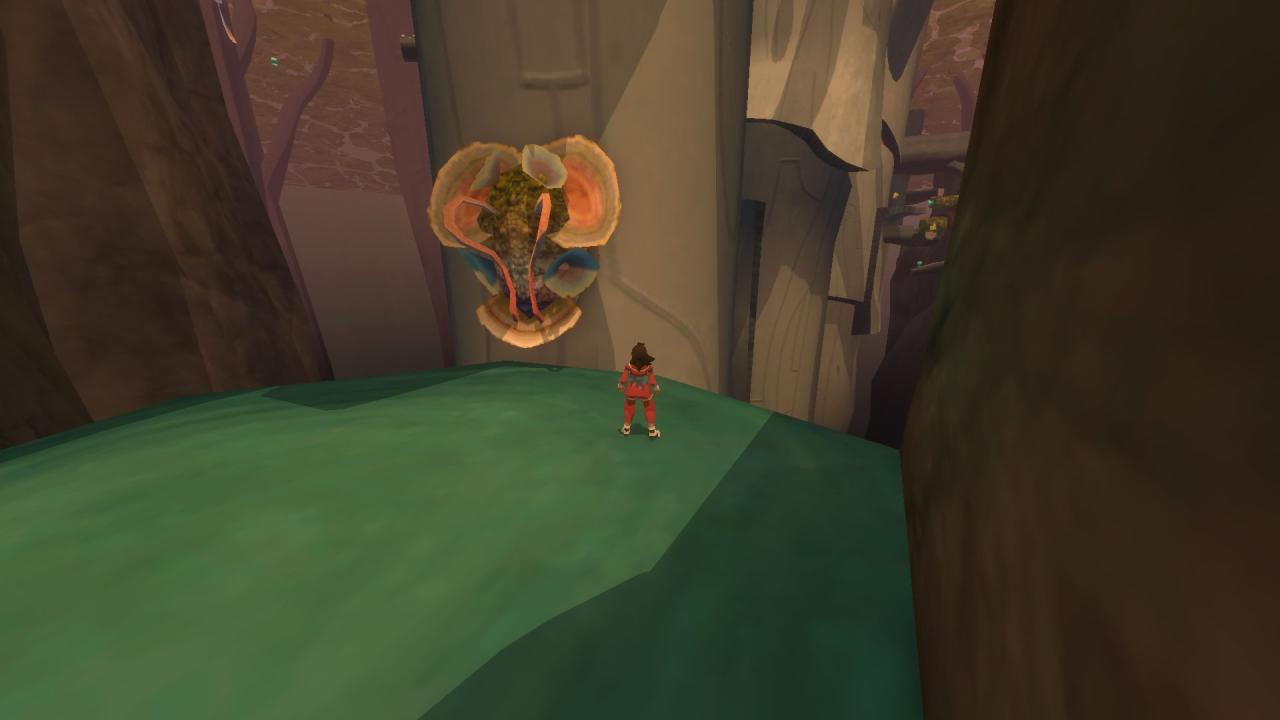
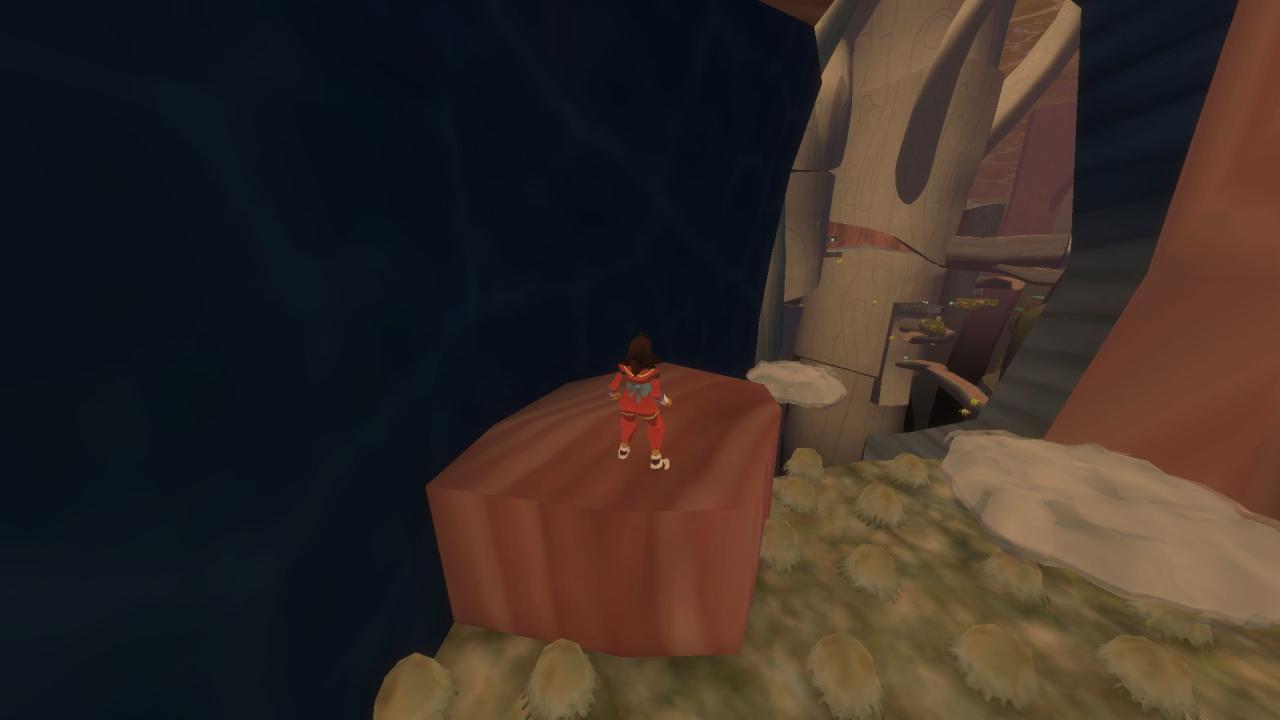
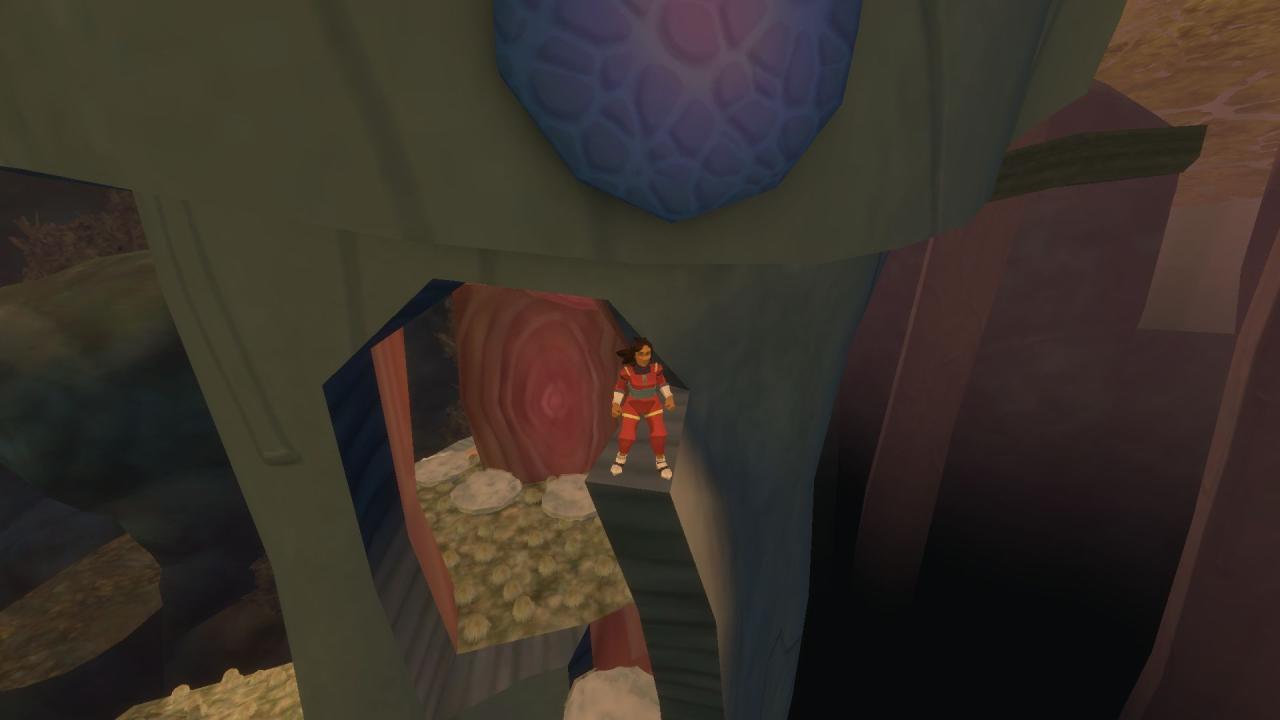
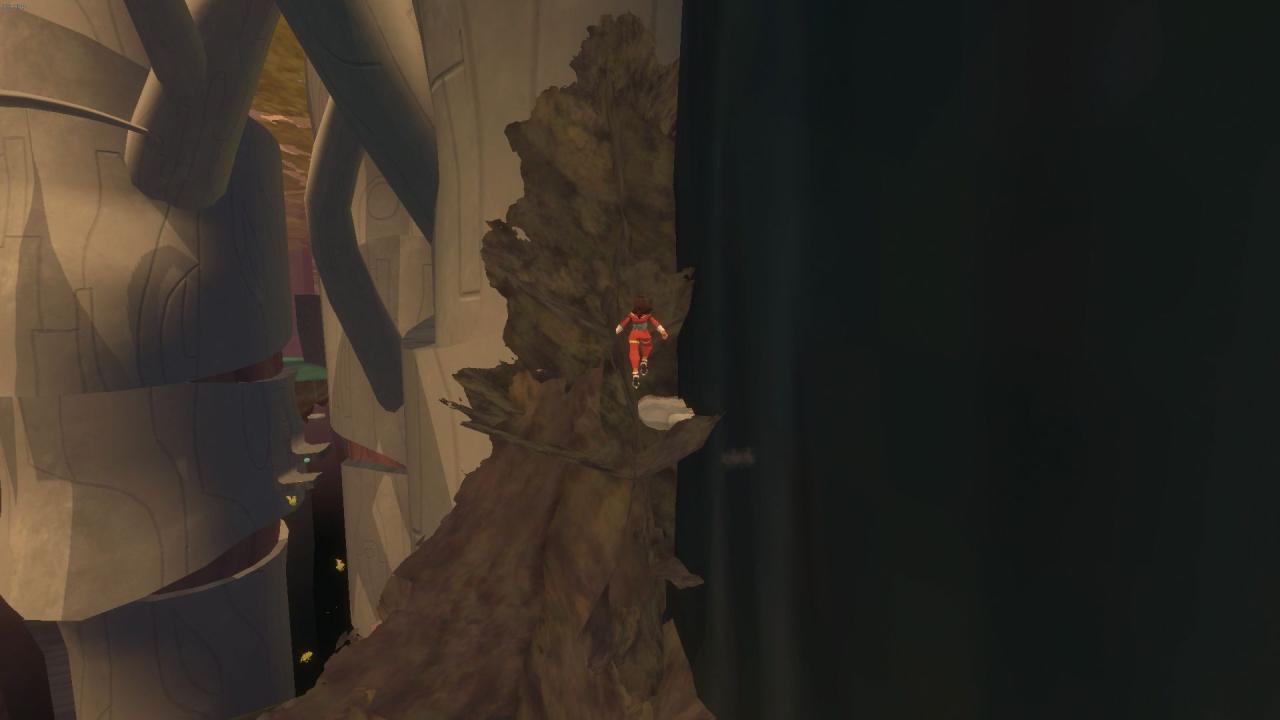
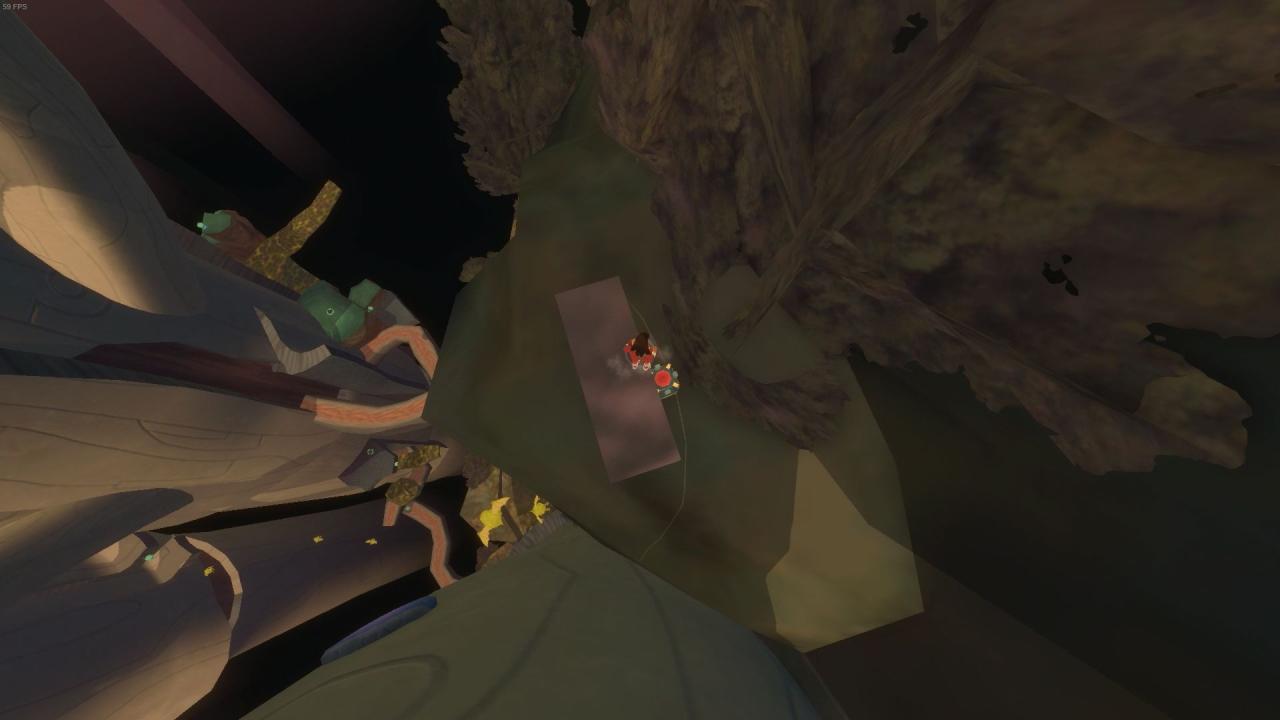
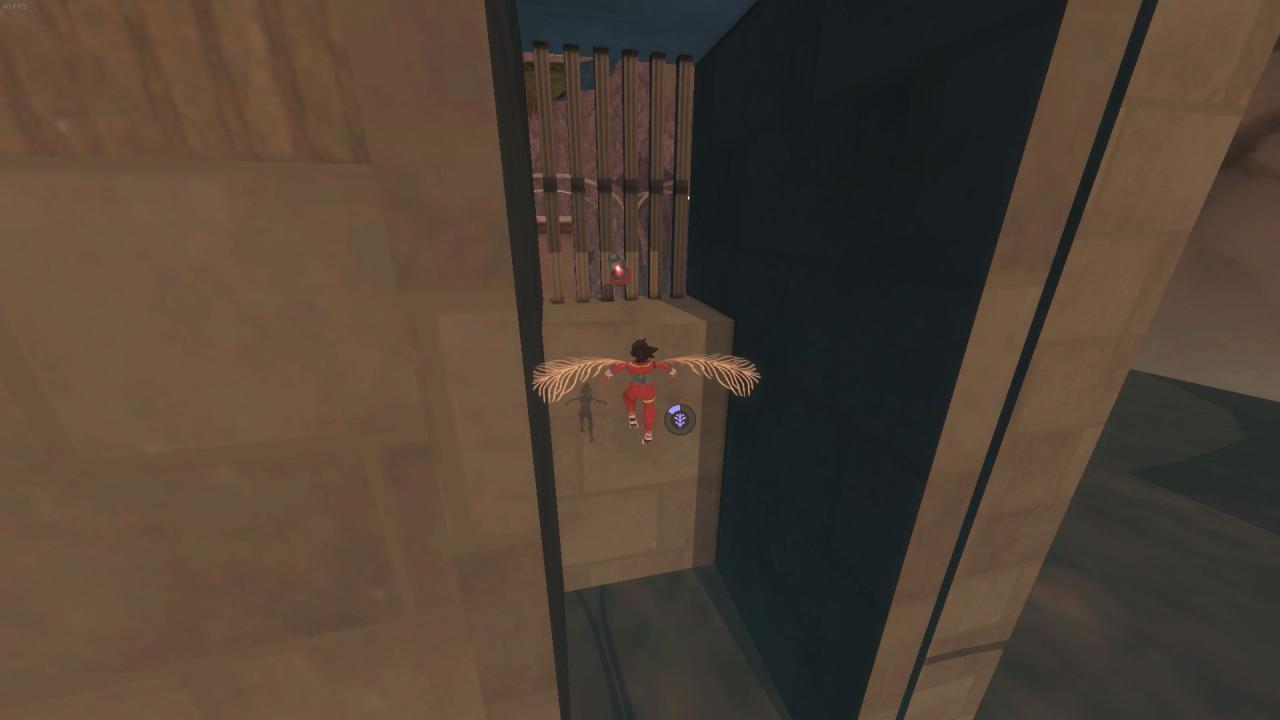
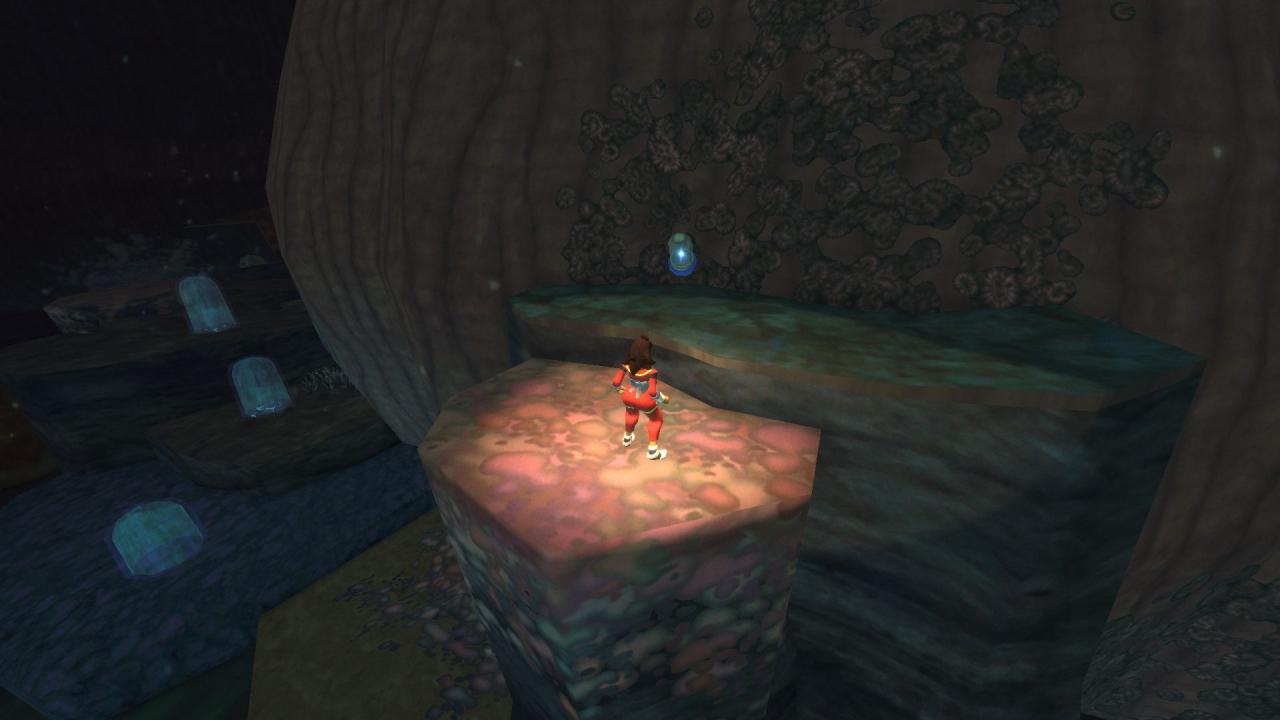
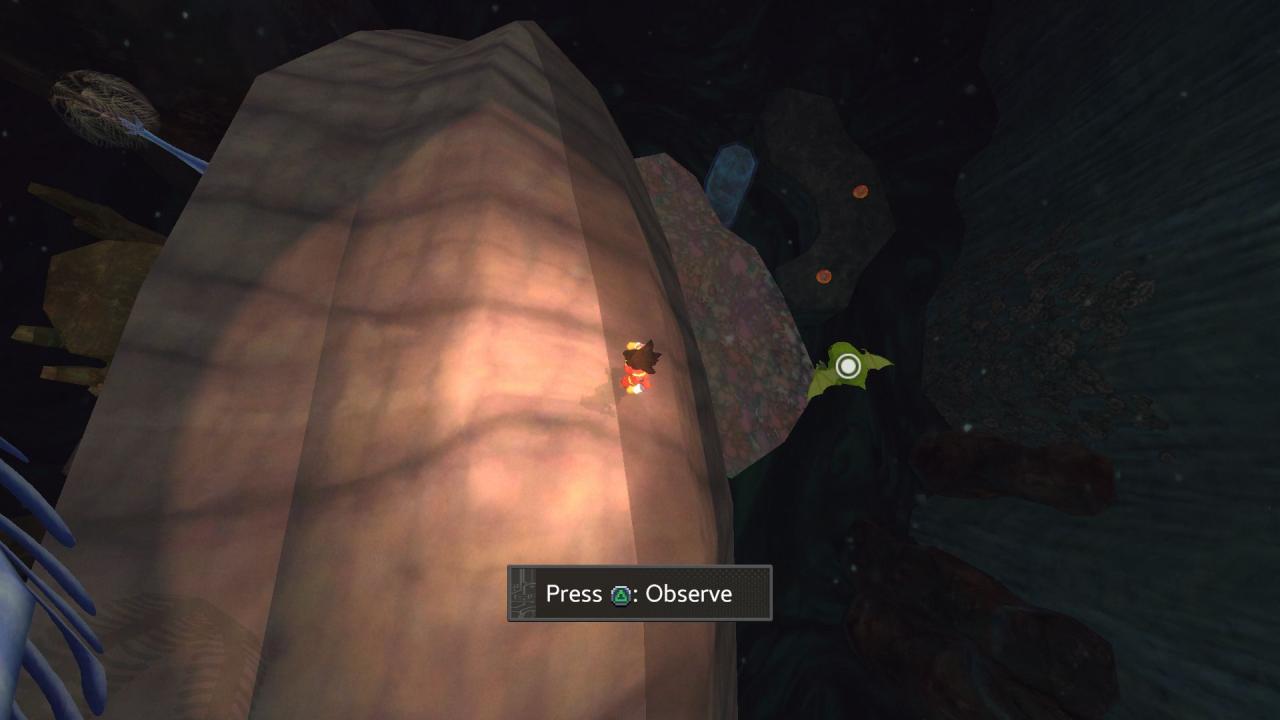
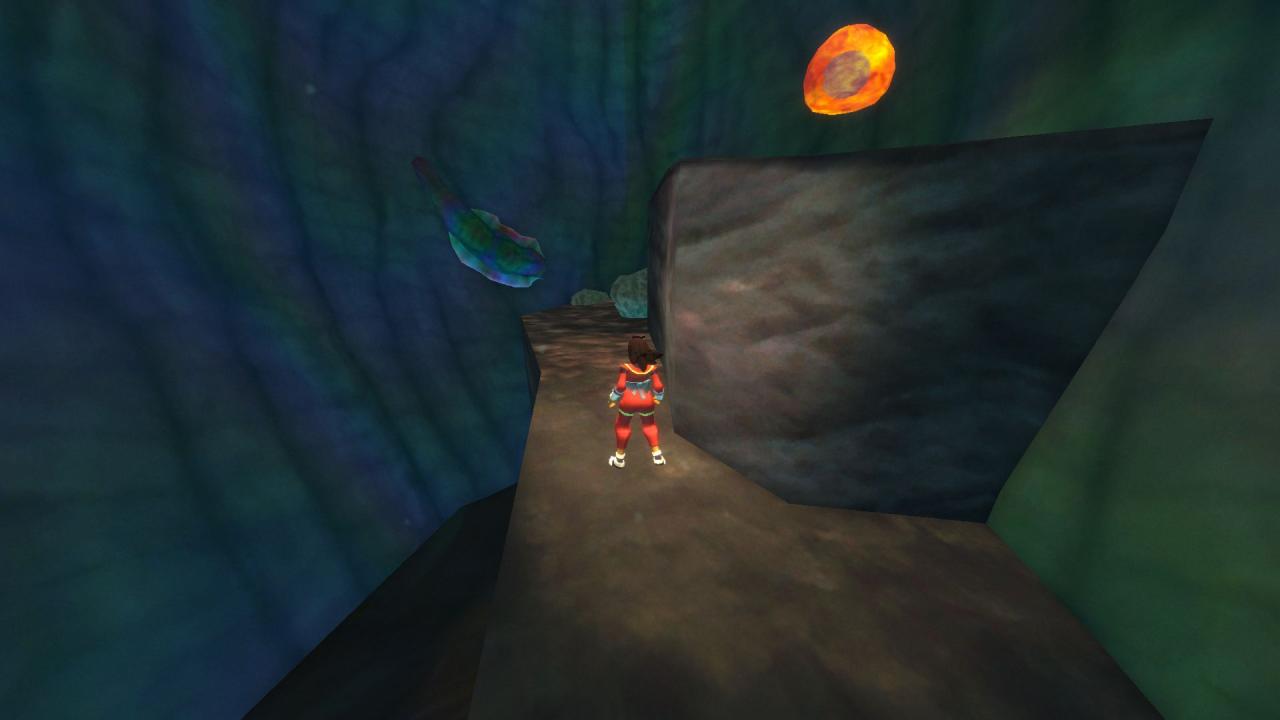
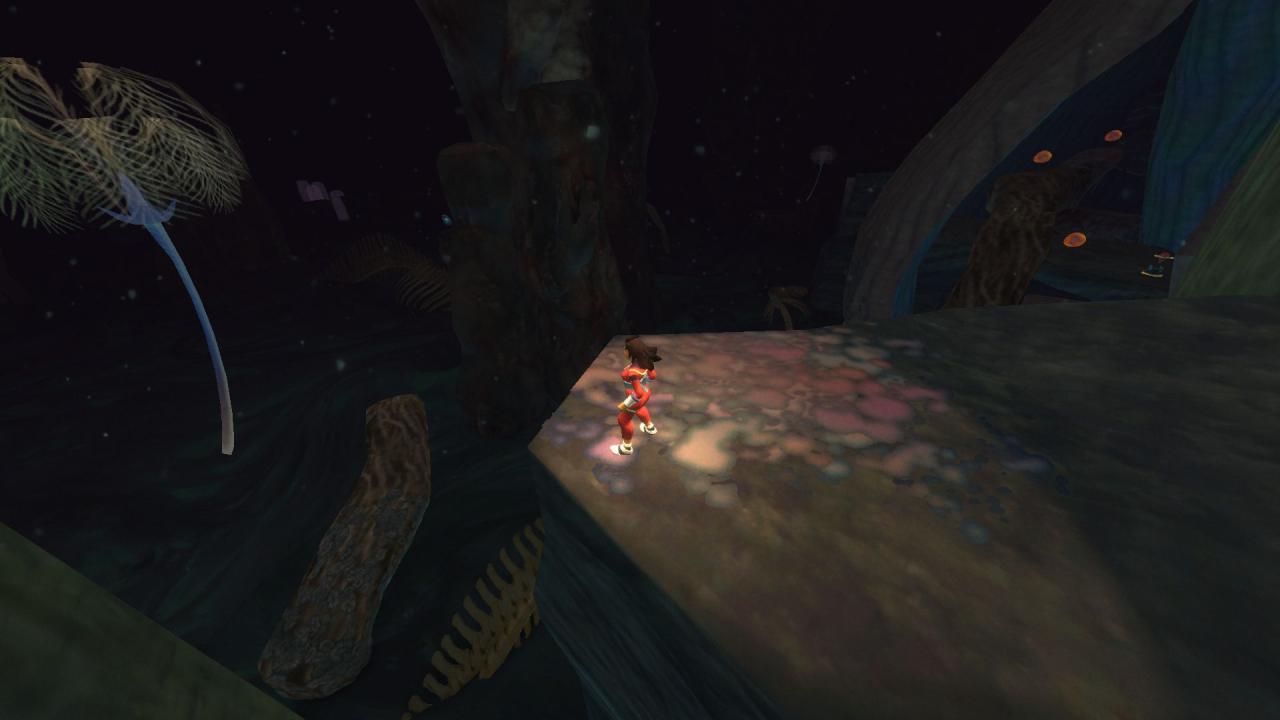
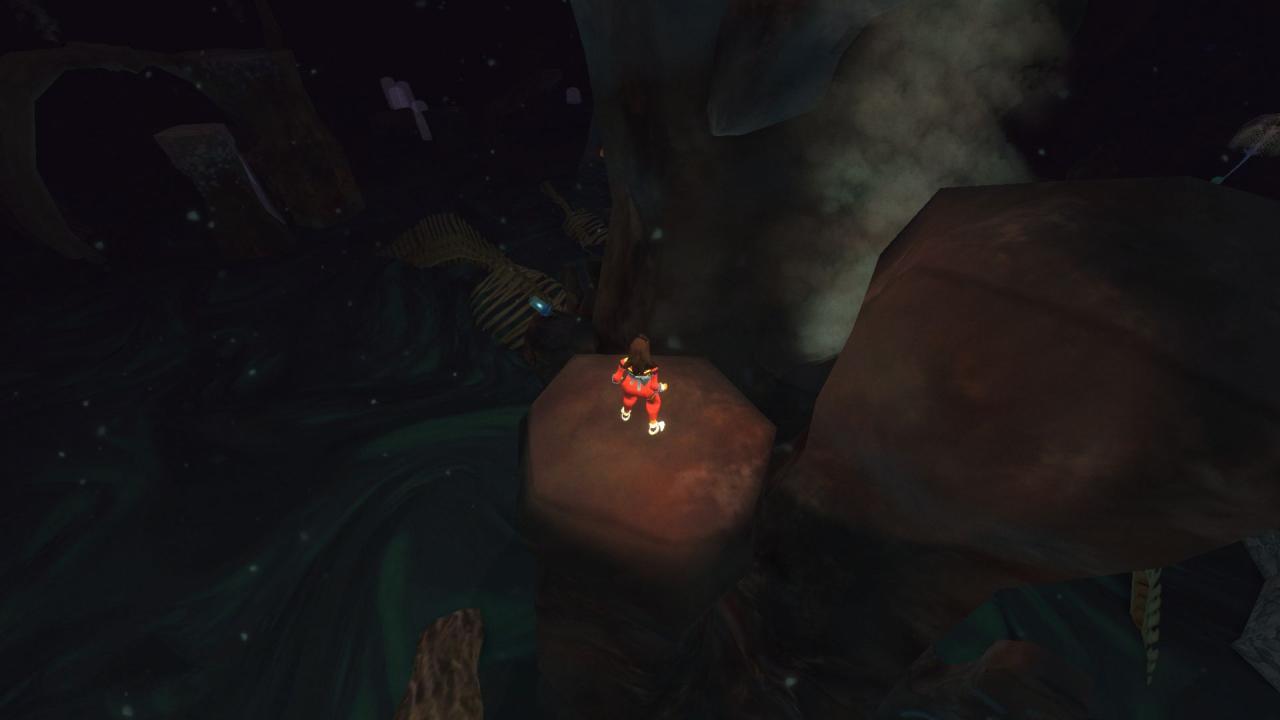
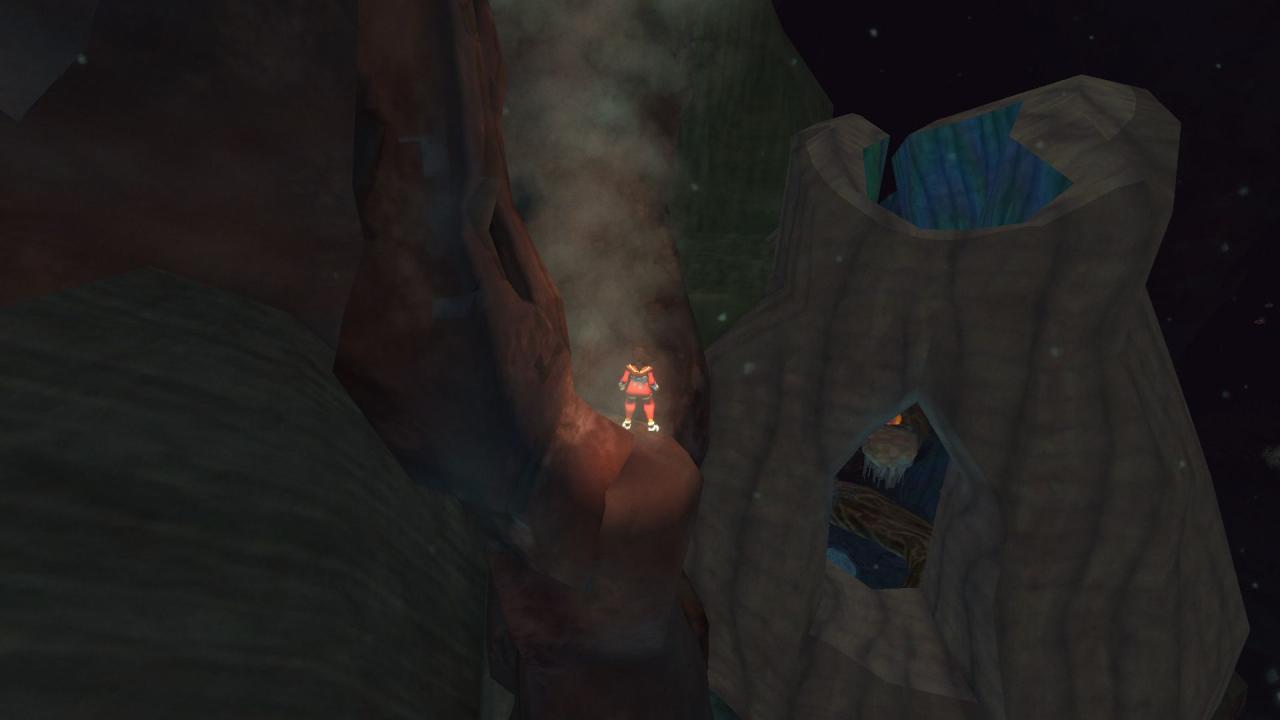
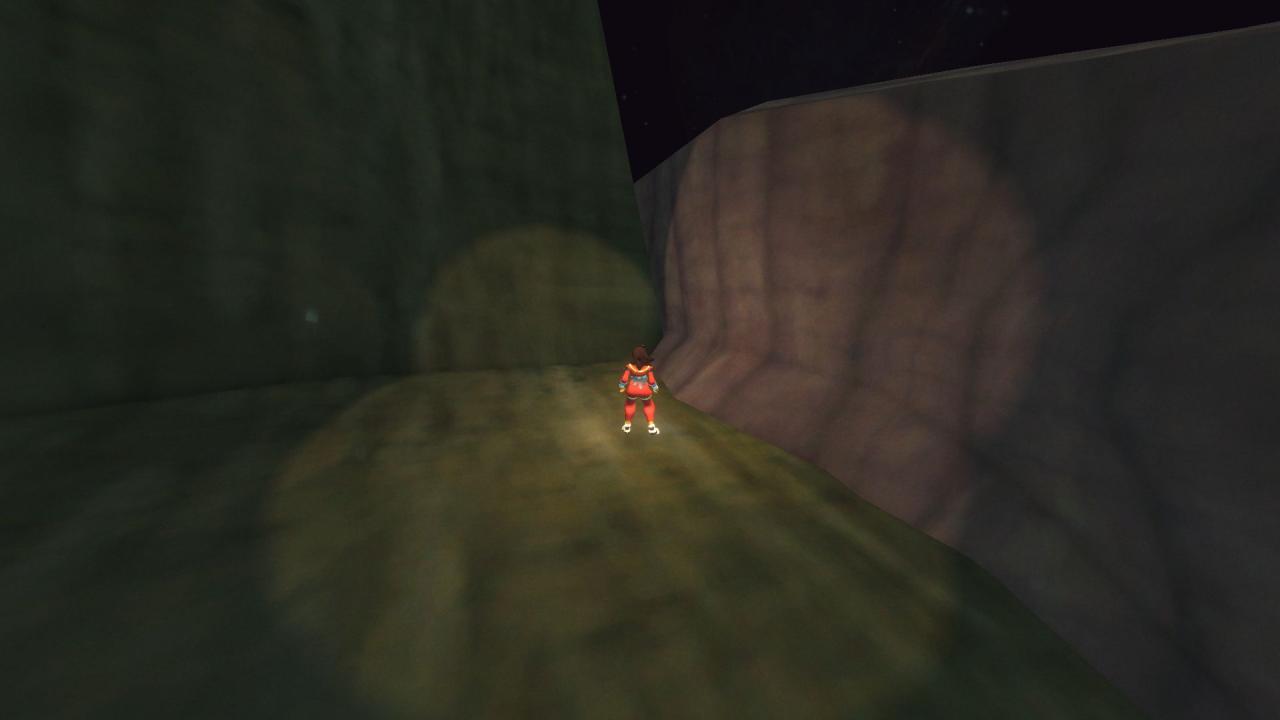
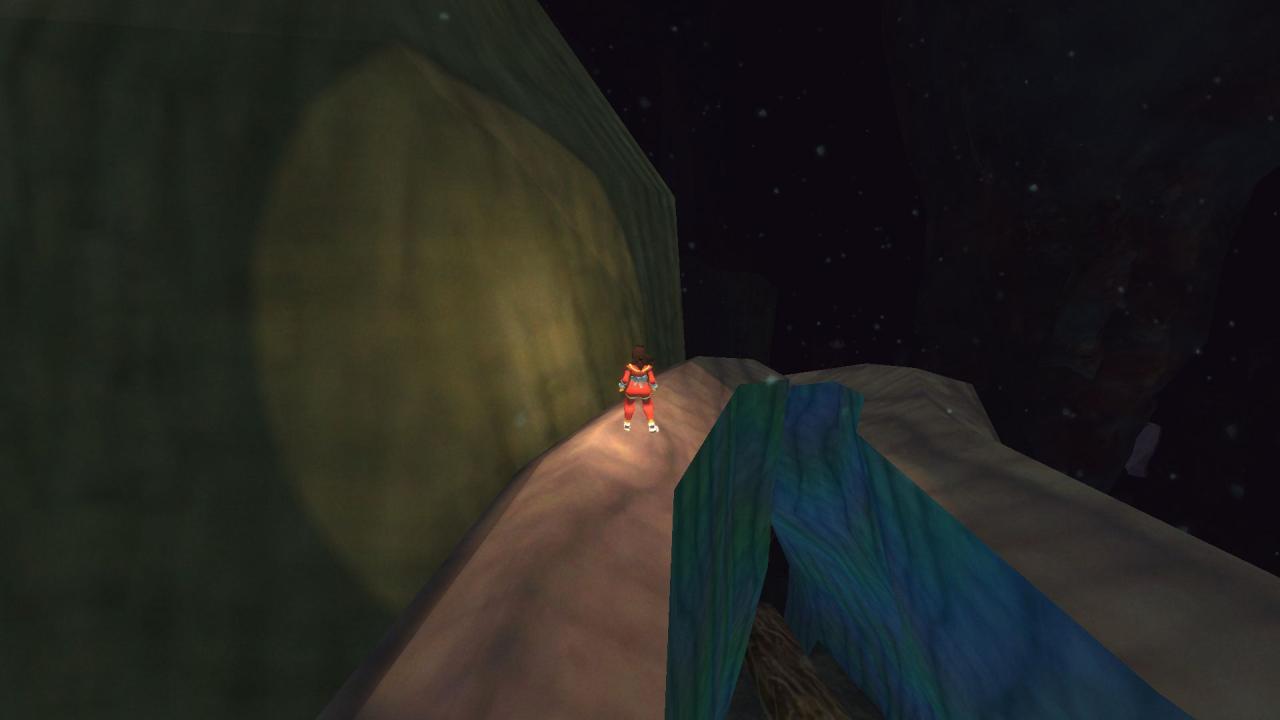
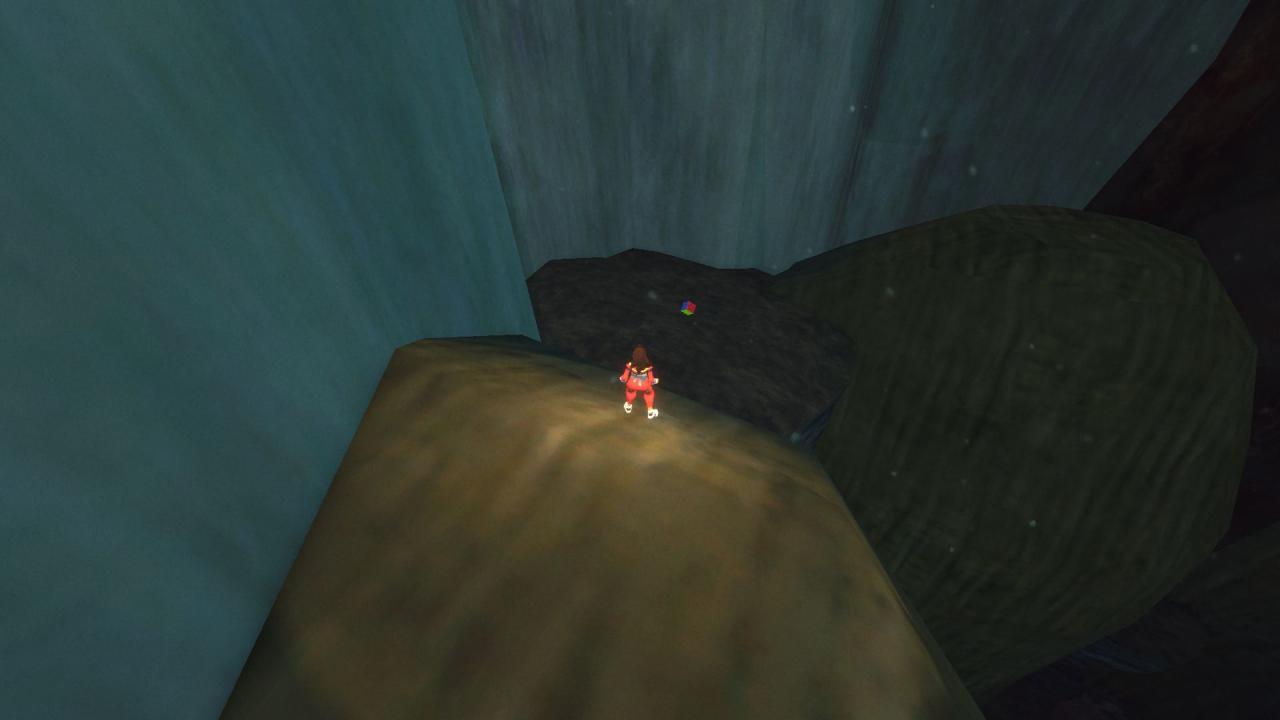
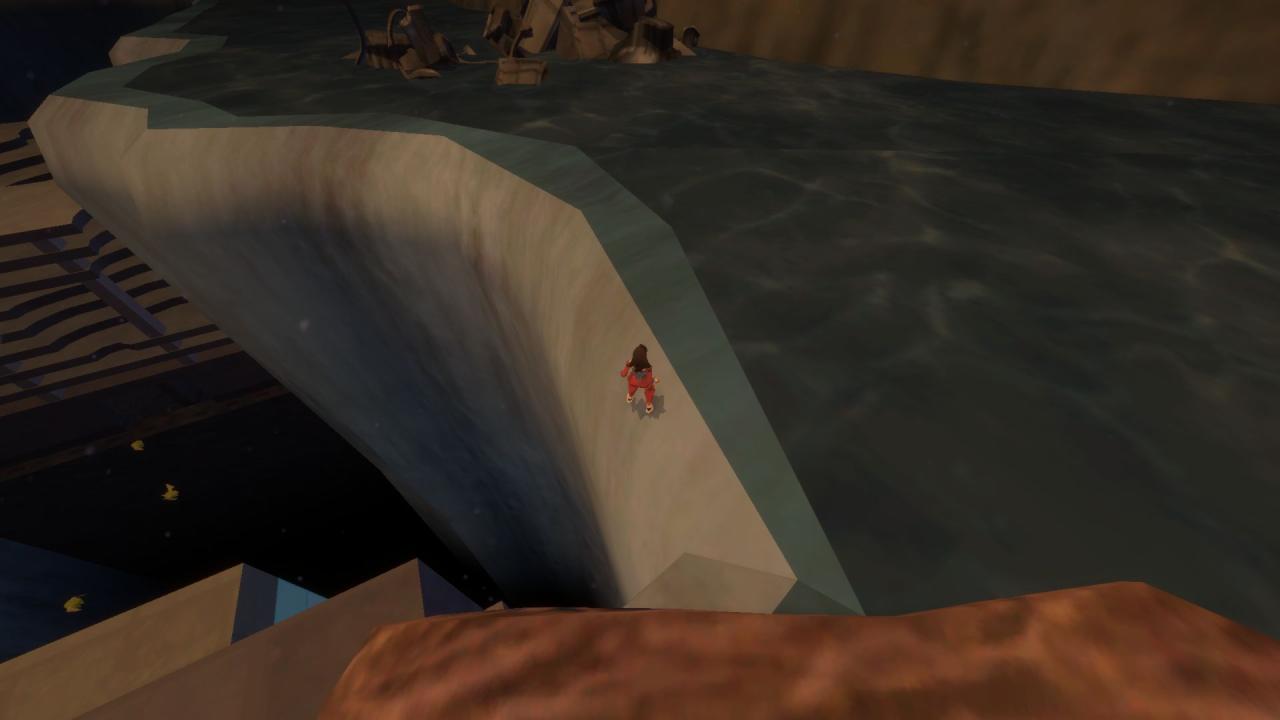
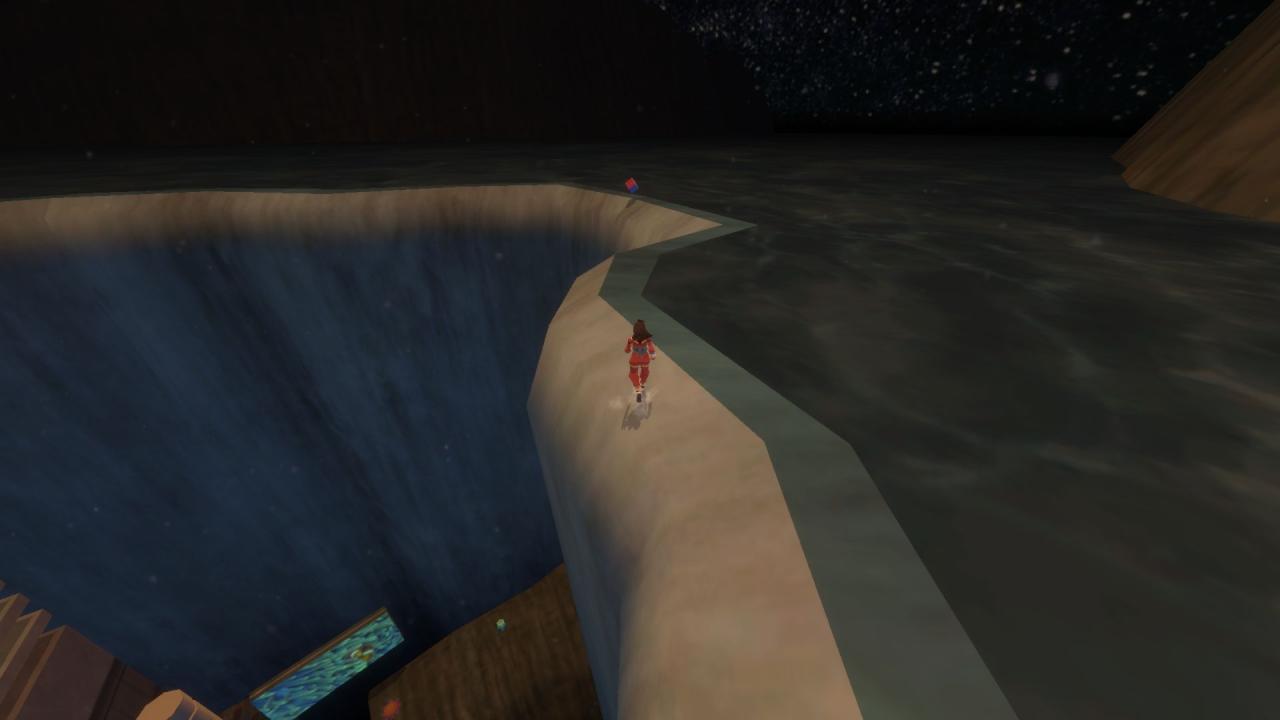
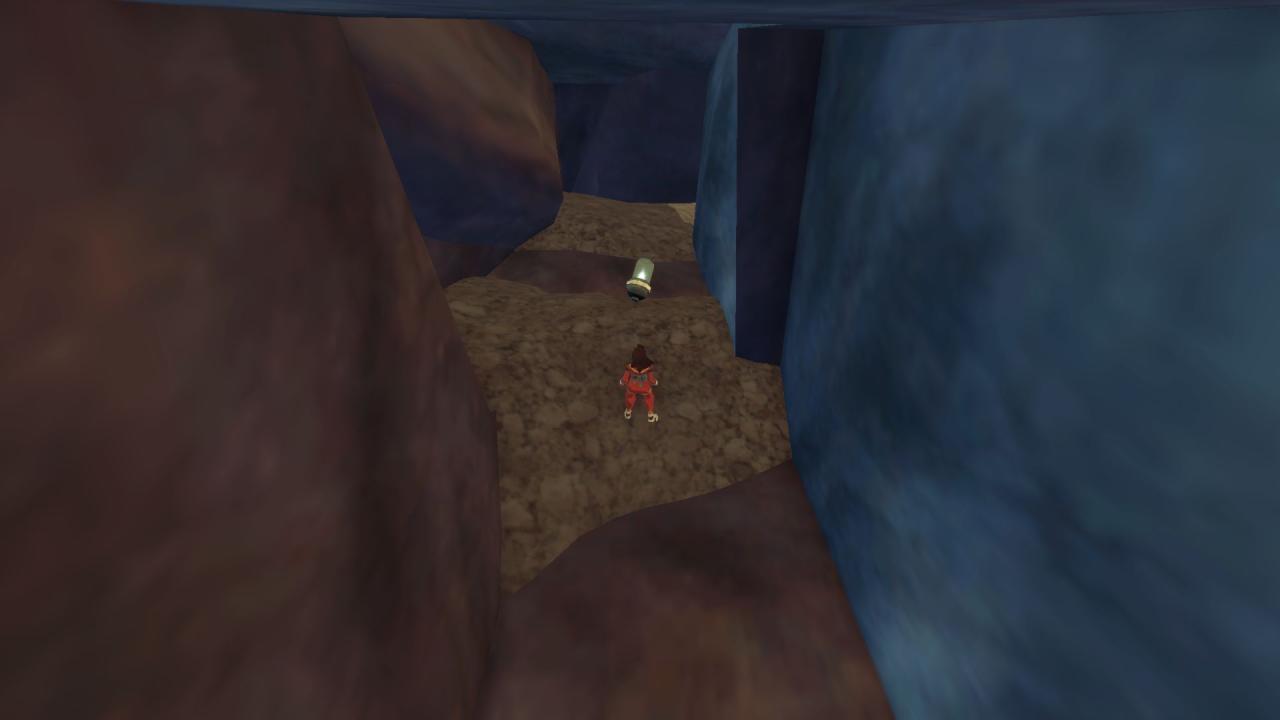
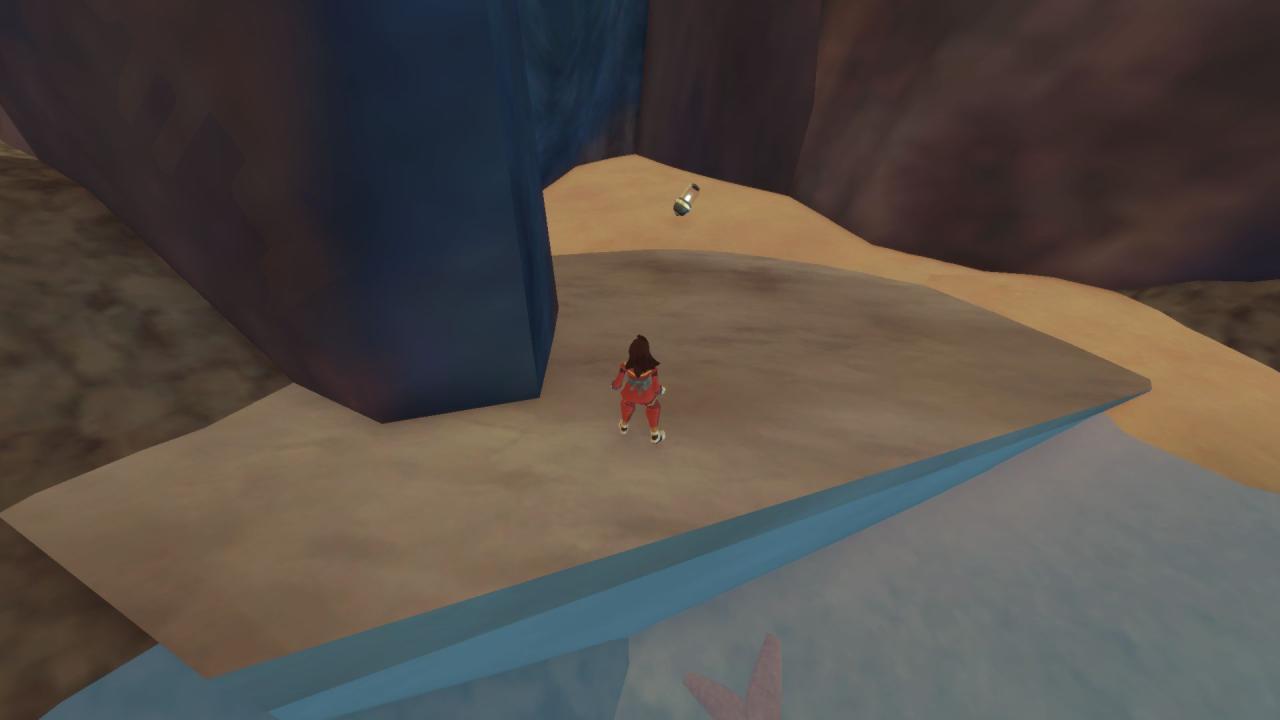
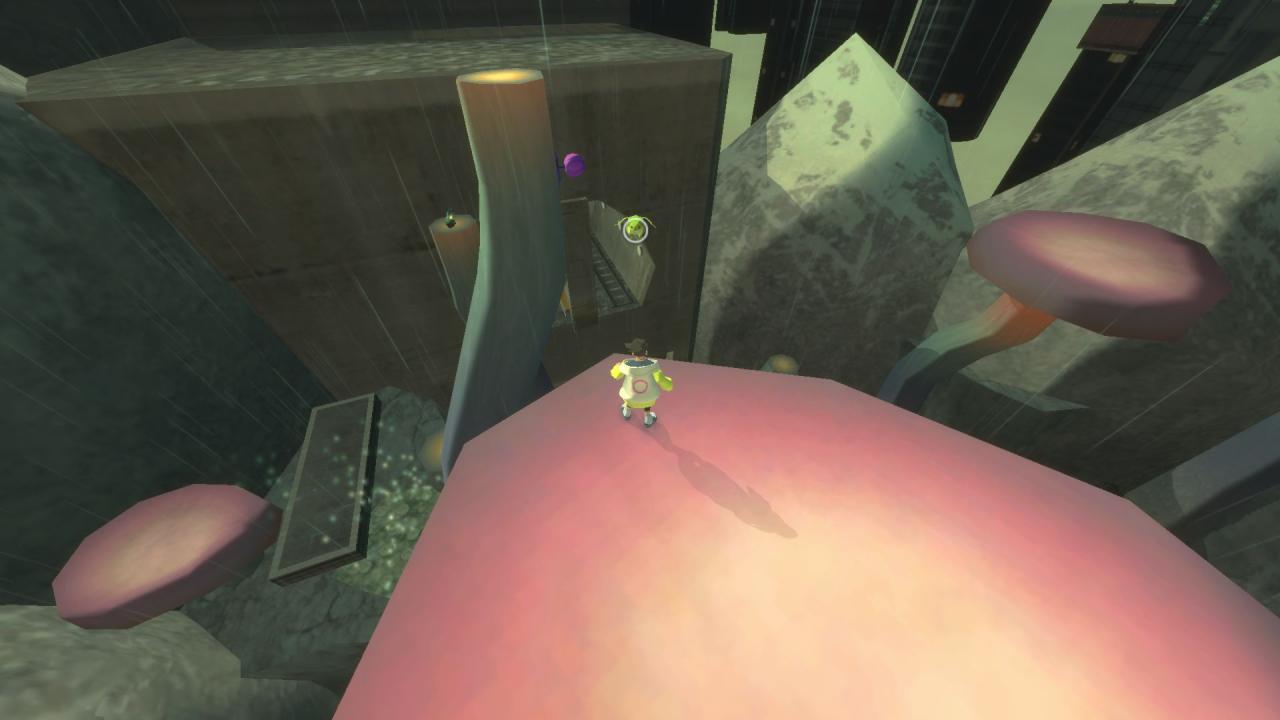
After getting the grapple, use it with the ribbat to get on the rock as shown in the first screenshot. Now wallrun jump to the rock above. It’s a really awkward jump, but you can stand and recover dash on the seam between the two textures as shown in the second screenshot. From there, jump dash to the lower rock. Climb onto the higher rock, and follow the ledge right to a green bulb and jump pad. Use those to reach the higher ledge. Continue going right and you’ll see a checkpoint. We will use this checkpoint for two items:
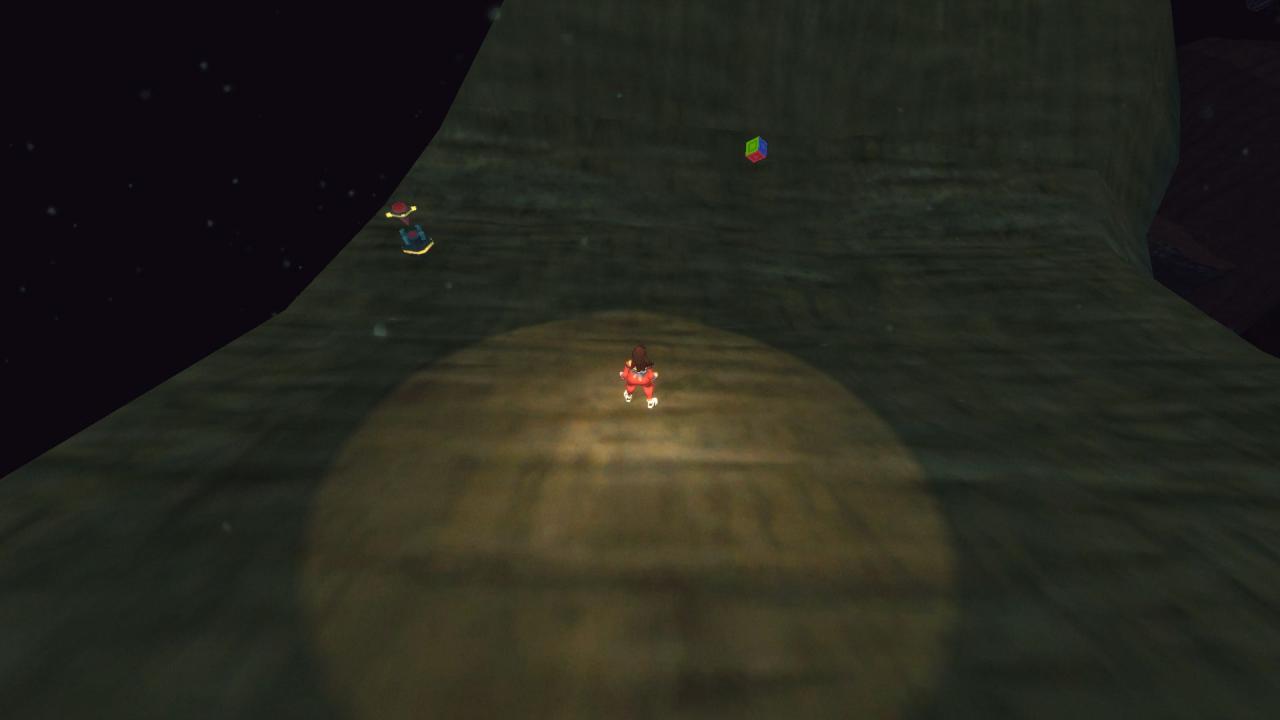
Continue along the ledge and find your way to the highest point of this rock.

Return to where jumped up with the jump pad. Wallrun left to a narrow ledge. There’s a bouncy cloud hidden in the trees to help. Follow it round and use another jump bulb, two ribbats, and a jump pad to reach a checkpoint. Finally, wallrun jump along the wall to reach the cube. Again, this is quite an awkward run.
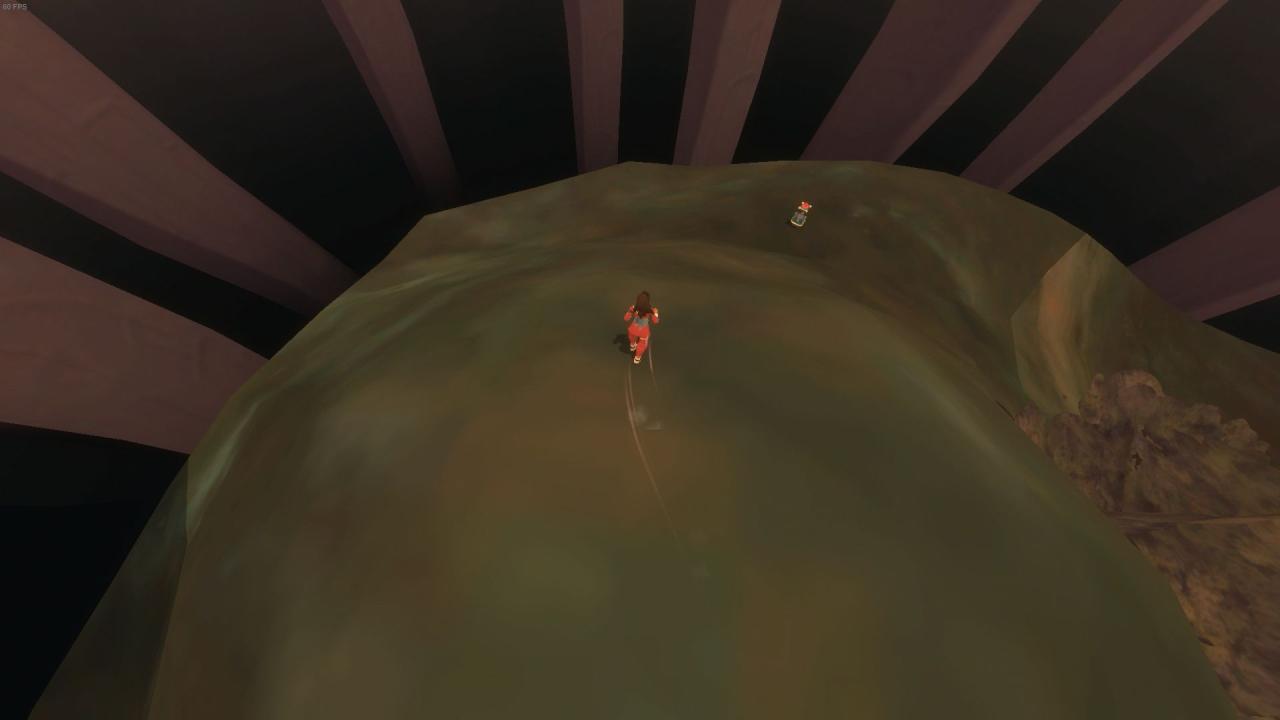
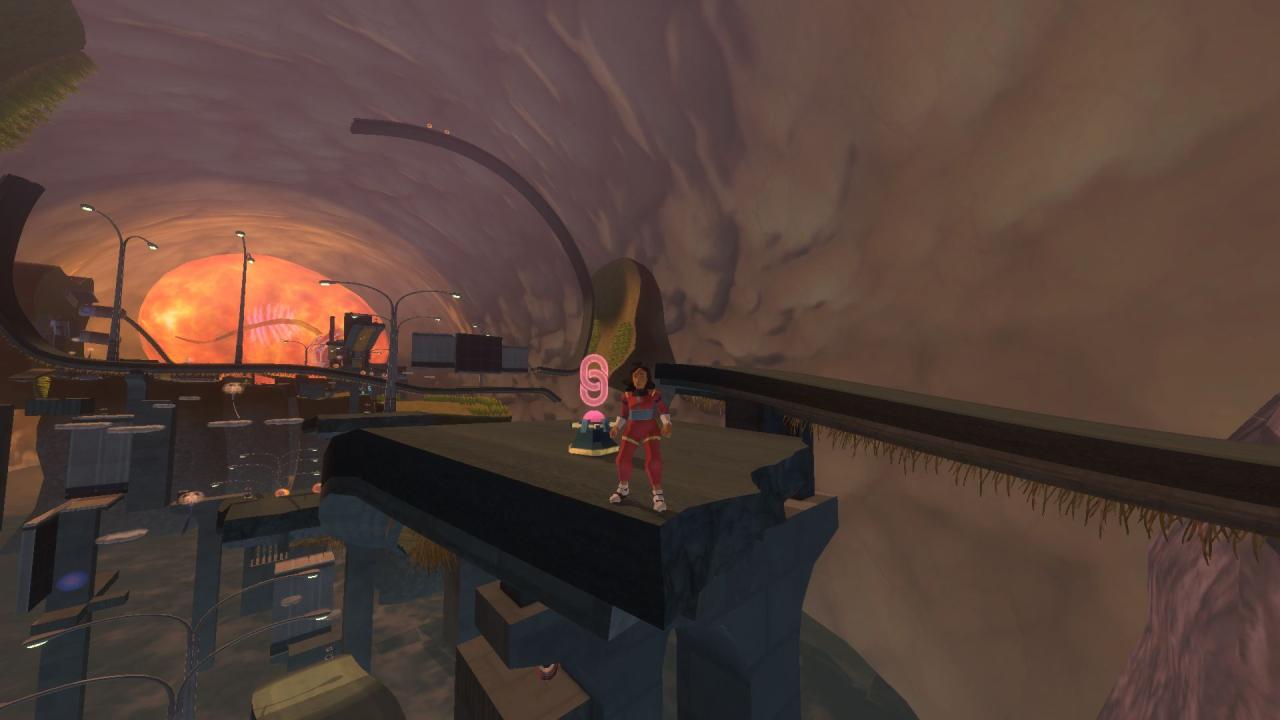
Chapter 3-2 – Highways
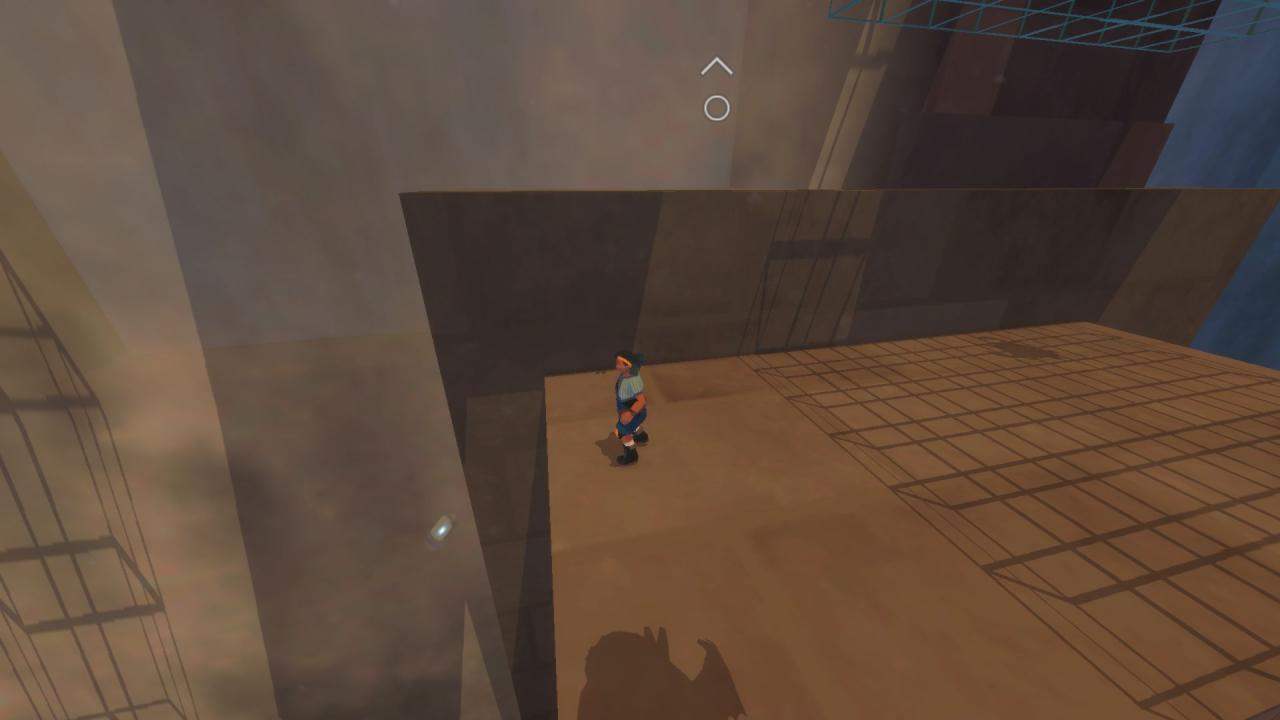
This is high above the entrance. Facing the entrance, wallrun jump to the rocks on the left side and jump up. Walk through the wall texture to find the item.
Drop down to the area beneath the road directly under the first checkpoint.

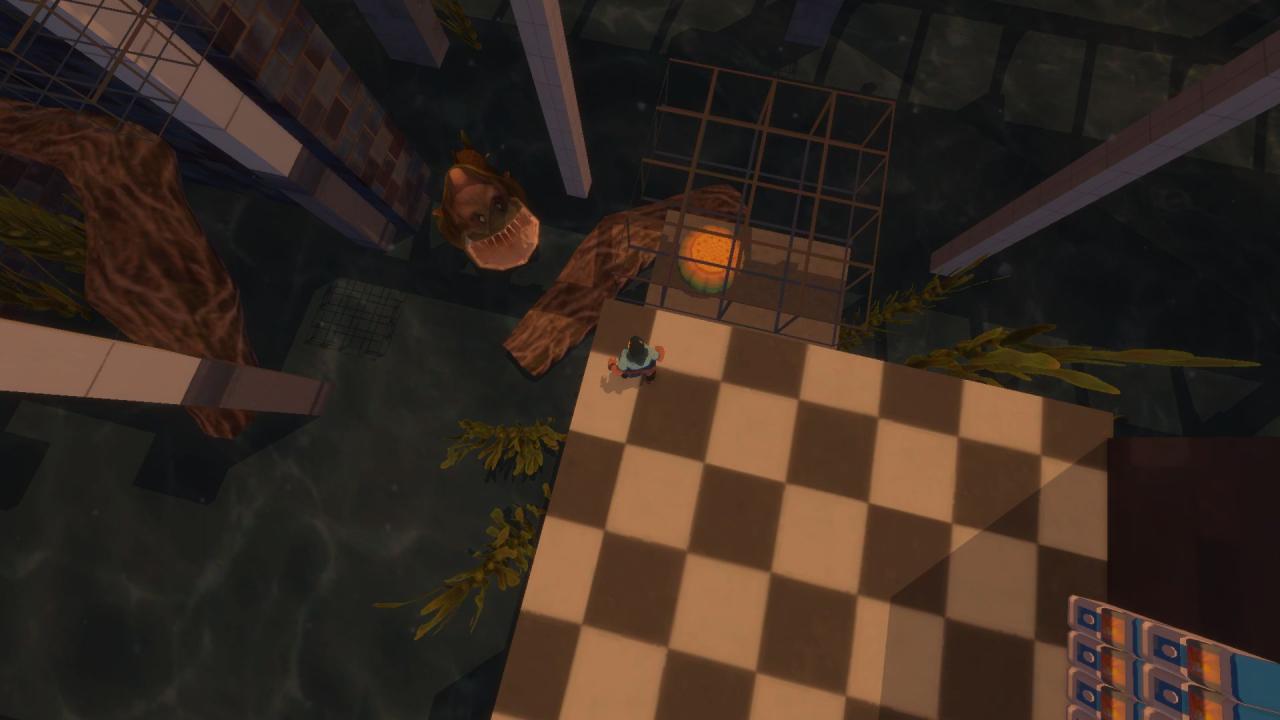
This capsule is visible inside a cage as soon as you bounce up the first two clouds. Float around and behind the cage with the nearby dandelion to grab it.
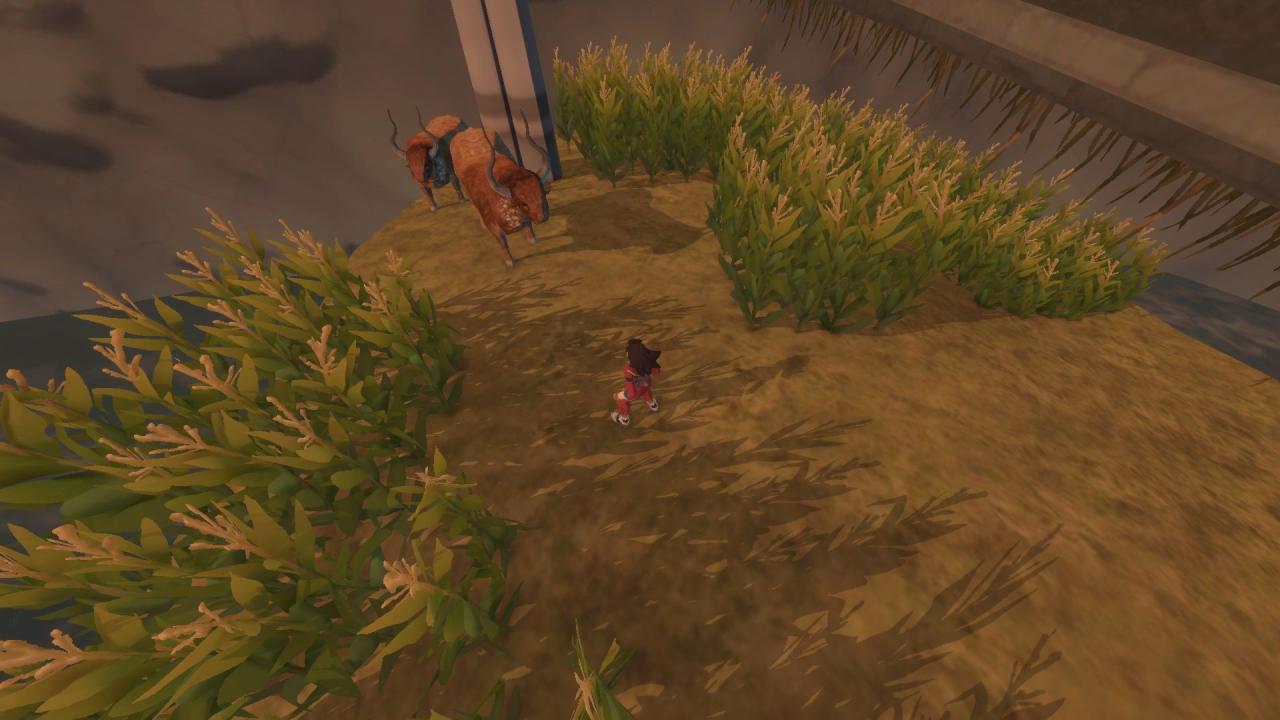
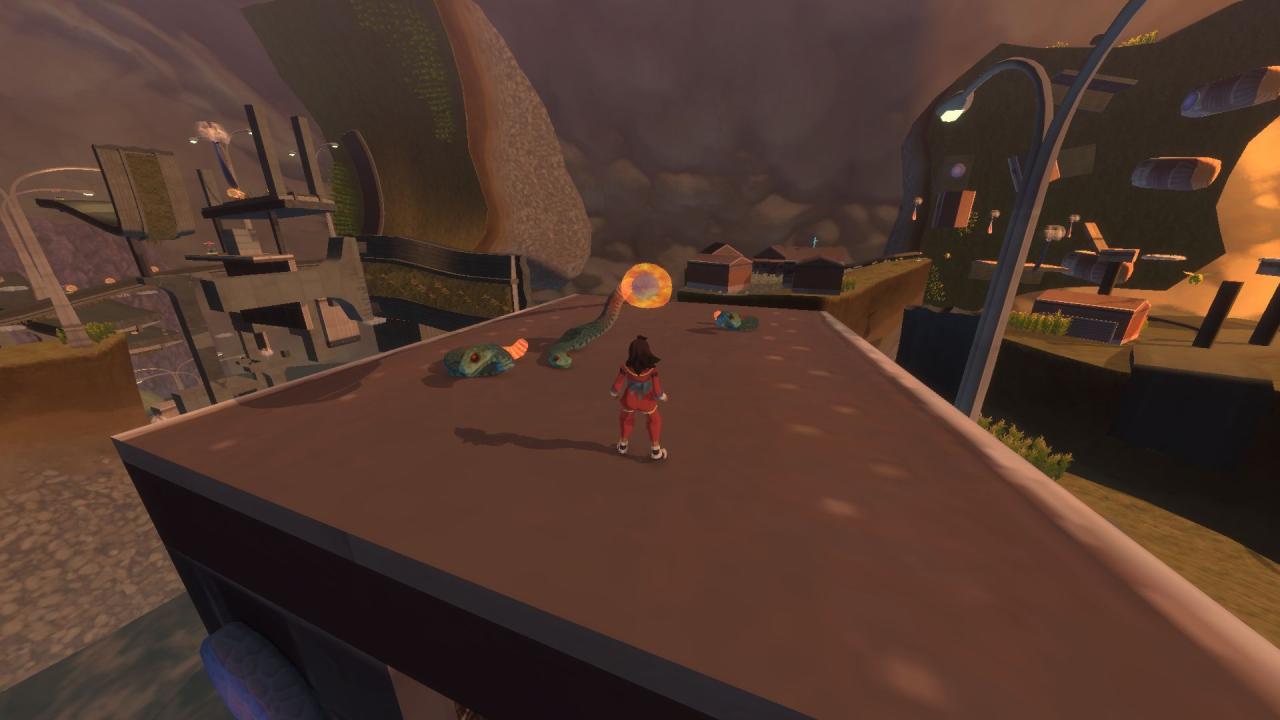
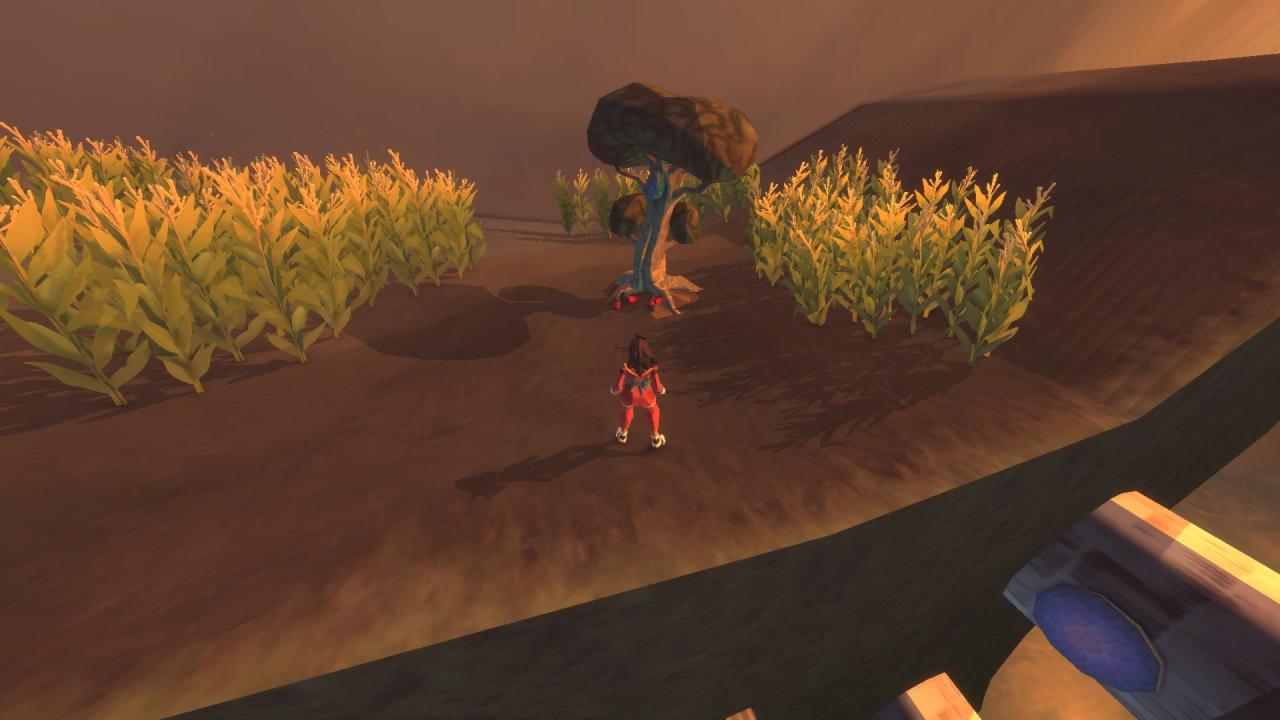
Navigate your way through the area until you reach a grassy area. There’s two oxen among the grass that’s difficult to miss.
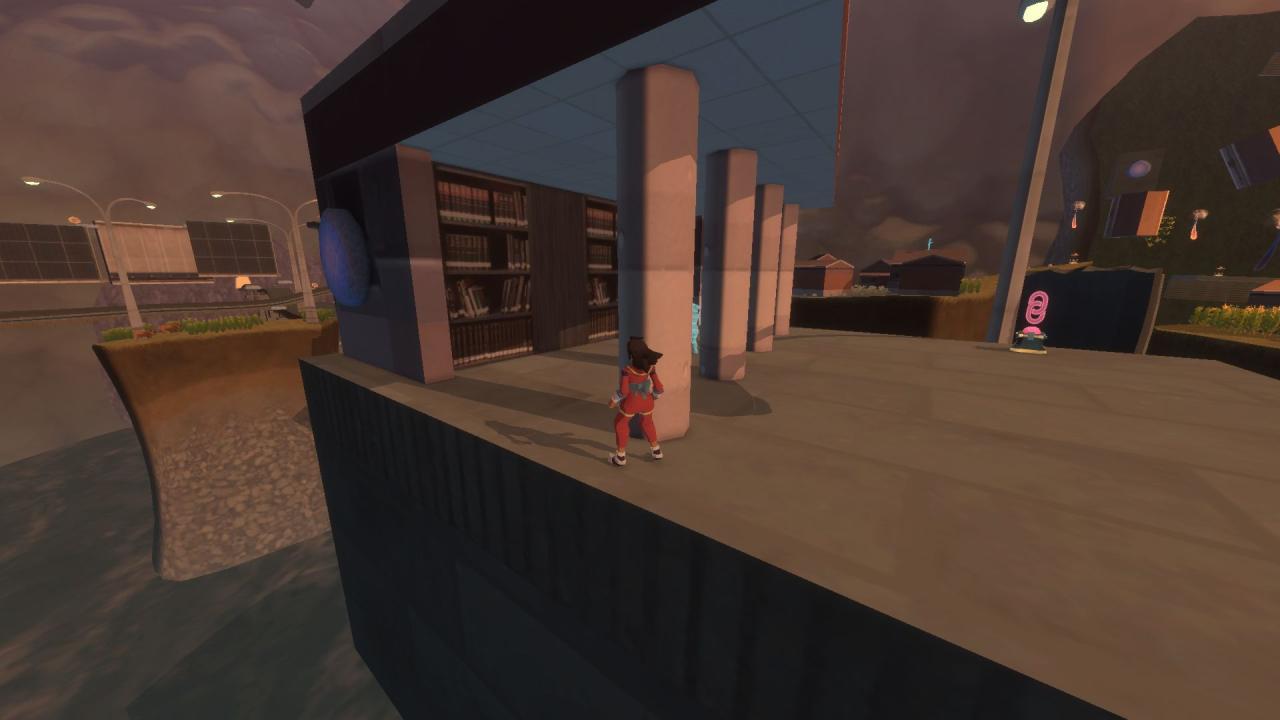
You’ll reach people you can talk to. There’s a capsule on the roof of the library. There’s a jump pad to reach it on the side.
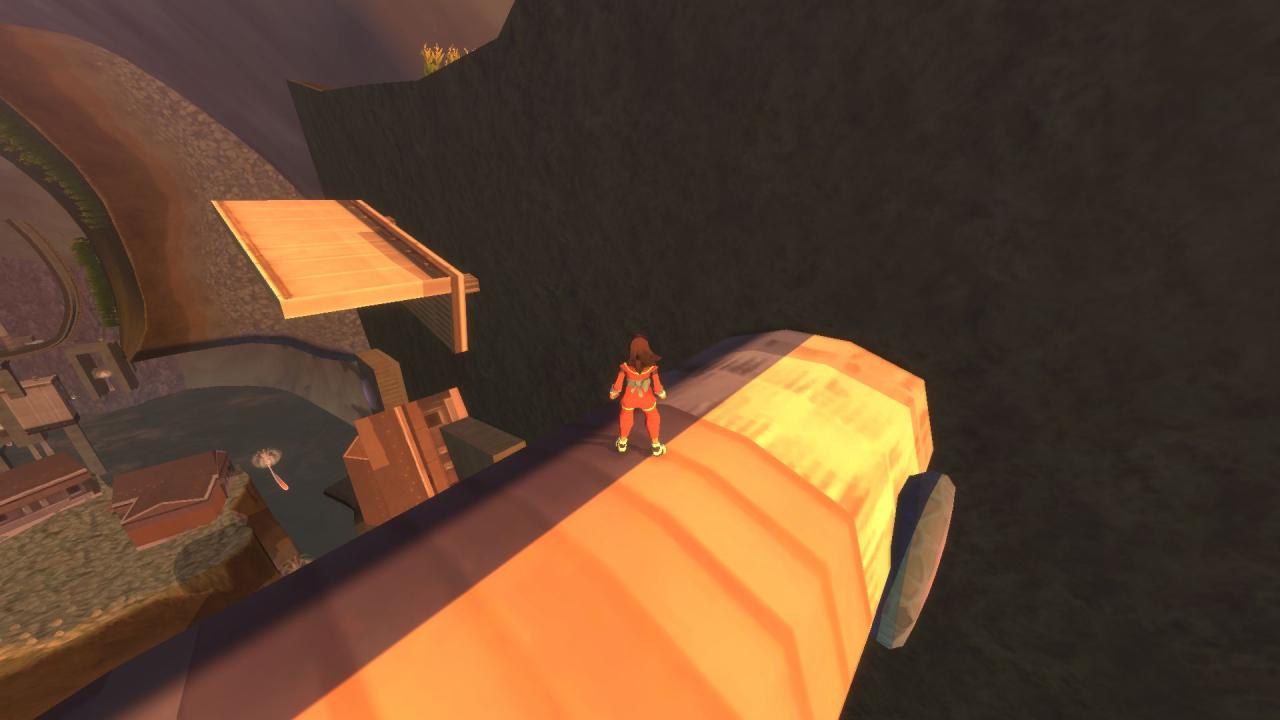
On top of the sideways buildings section. Wallrun jump to the top before jumping to the long road.
Also on top of the sideways buildings section, through the wall texture behind the tree.
On the roof of the last building. Similar to the previous building, there’s jump pads on the side to reach the roof.
Story. Key species #3.
Given by Chandramita.
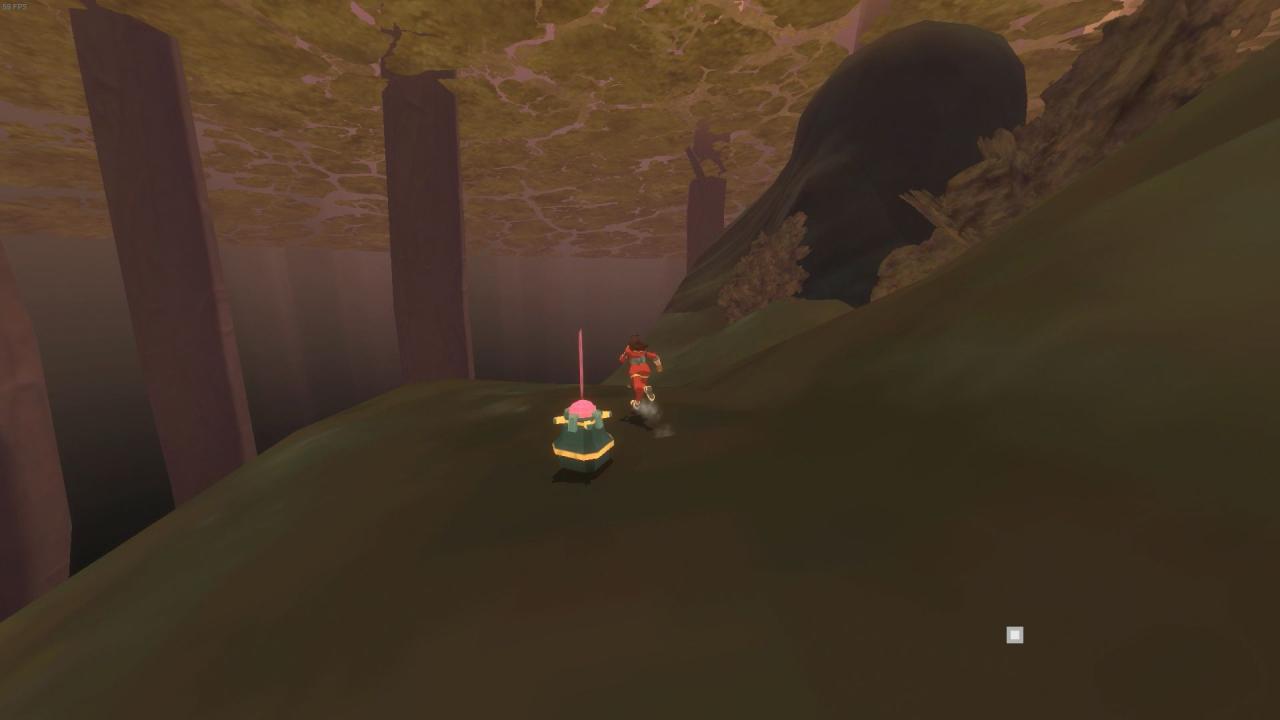
Chapter 4 – The Swamp
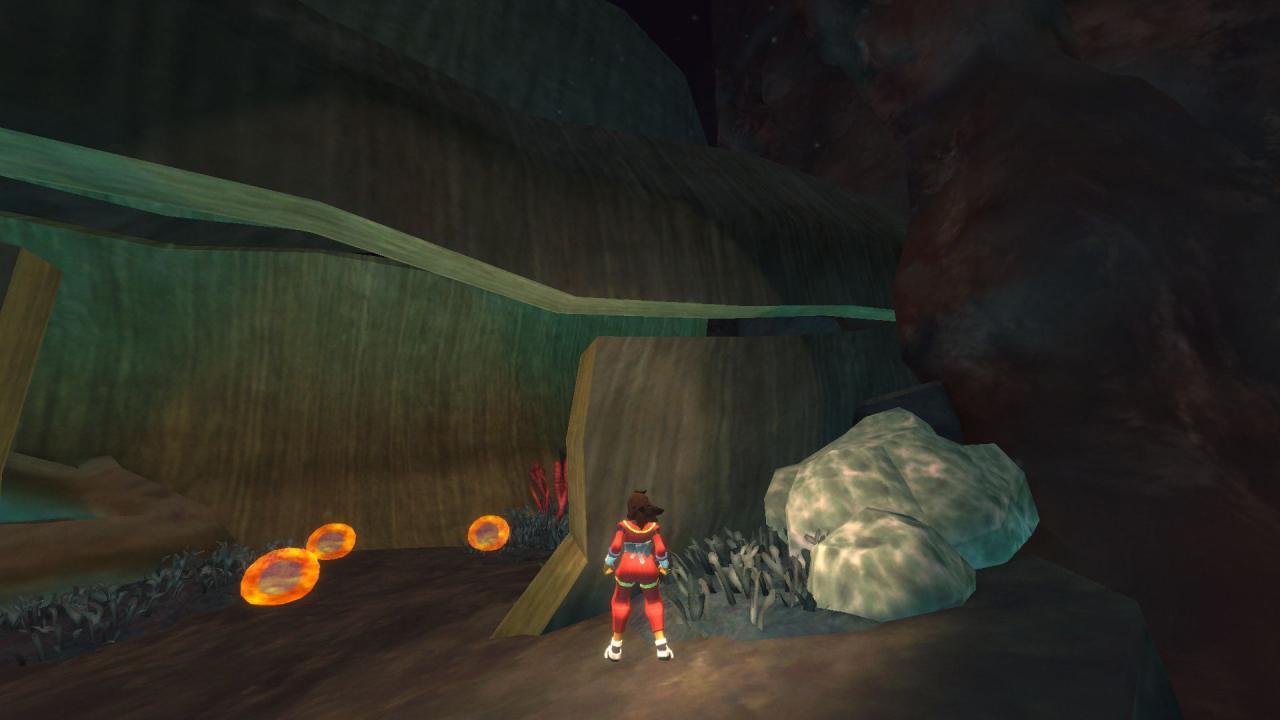
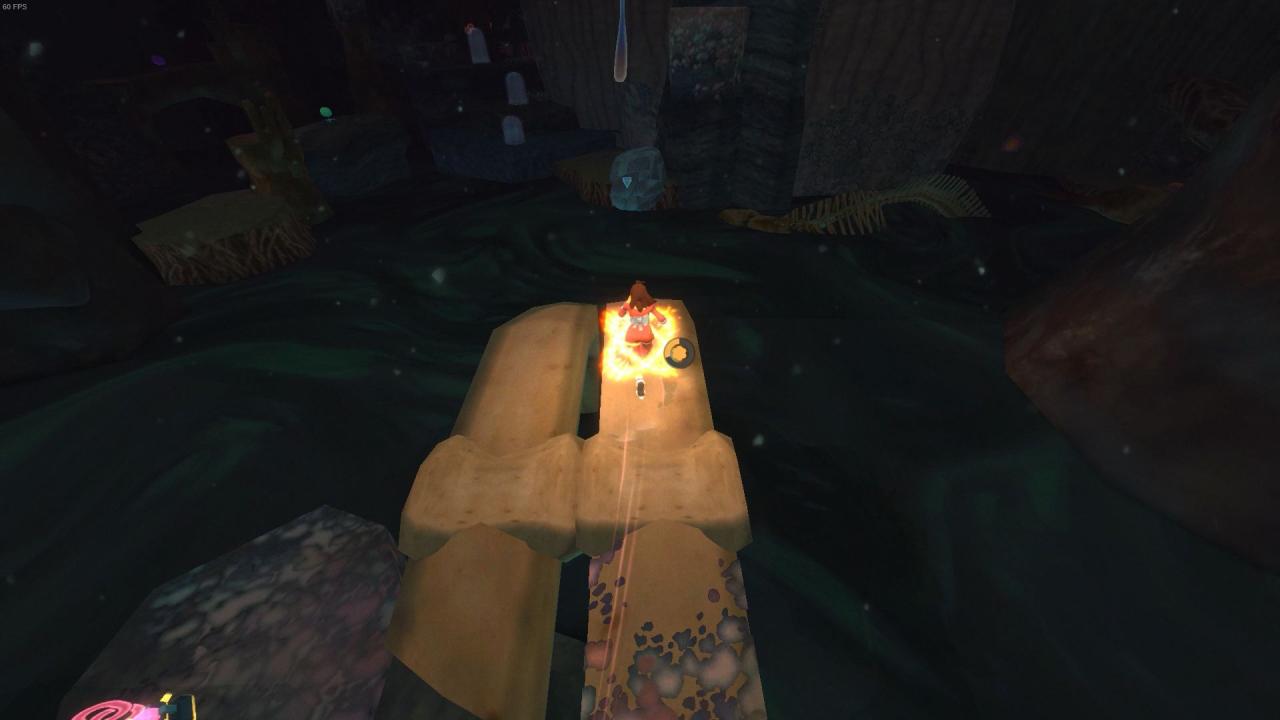
Right at the entrance to the area, use the three Fusion Cells and the light green rocks to get on top of the entrance. Walk down to the other end and jump to the capsule.
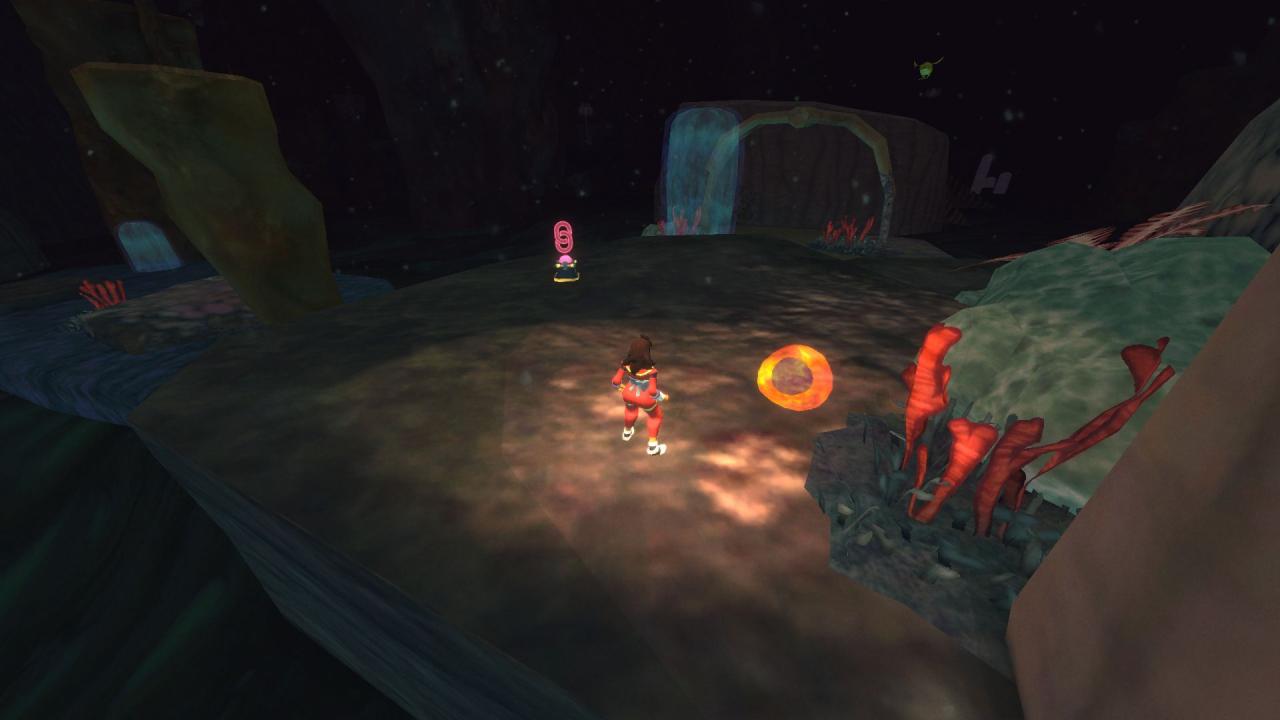
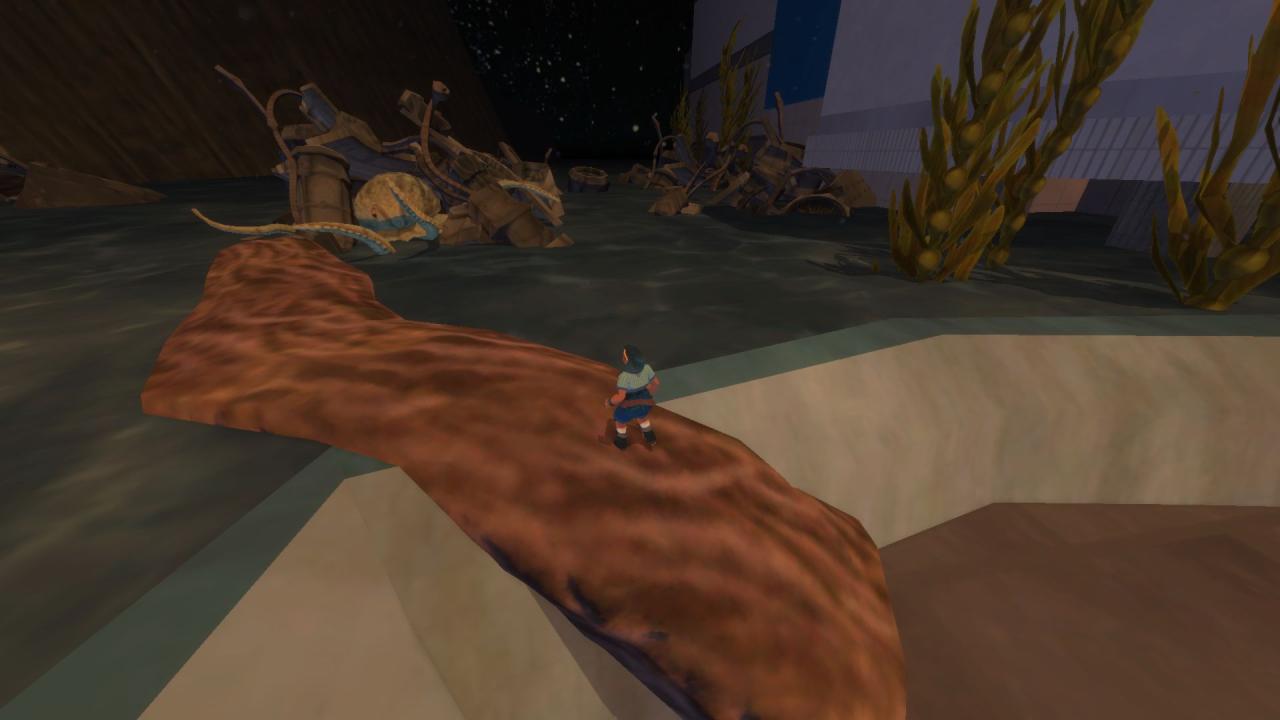
When you reach the second checkpoint, use the Fusion Cell and geyser to land on the ribs in the water. Jump over the wall ahead to find a group of locusts at its base.
Still on the island with the Locust, use the three Fusion Cells to break the rocks on the opposite shore (it’s towards the entrance). Bounce up to the capsule.


Use the plant to jump on top of the pillar on the right. Wallrun jump over to the breakable wall, then use the jump pad to go higher. Jump over to the next pillar and use the dandelion to land on the top level of the island with the breakable wall.
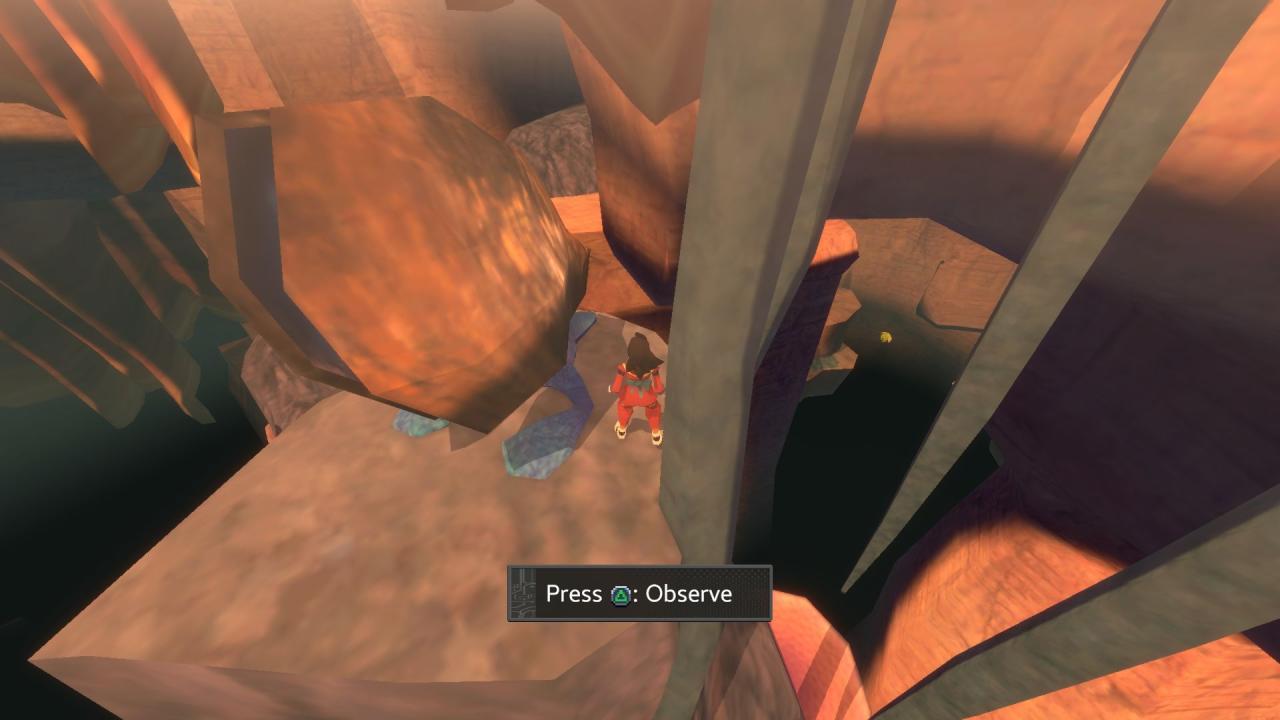
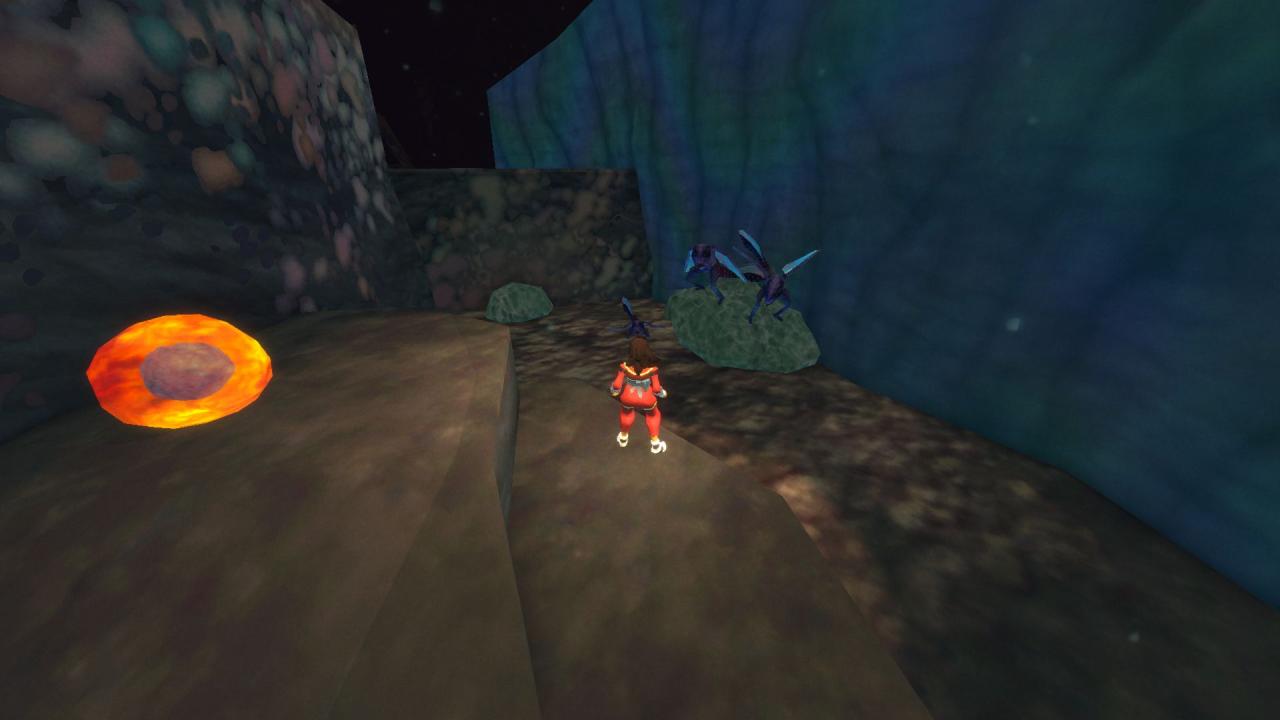
Look down the opposite edge to spot two Fusion Cells. Drop down and enter the hole there to find the next creature.
After bouncing across three geysers, use the green bulb and moving bounce pad to jump to the capsule on the high rocks.
In the next section with three Fusion Cells, jump to the pillar and use the jump pad to get the capsule.
This one is visible as you floated across the water. Use the next dandelion to float to the pillar and drop down.
Wallrun jump across to the next section and activate the checkpoint first before dropping down to the capsule. Open a shortcut to the entrance.
Return to the previous section with the dandelion. Head further in to find the creature.
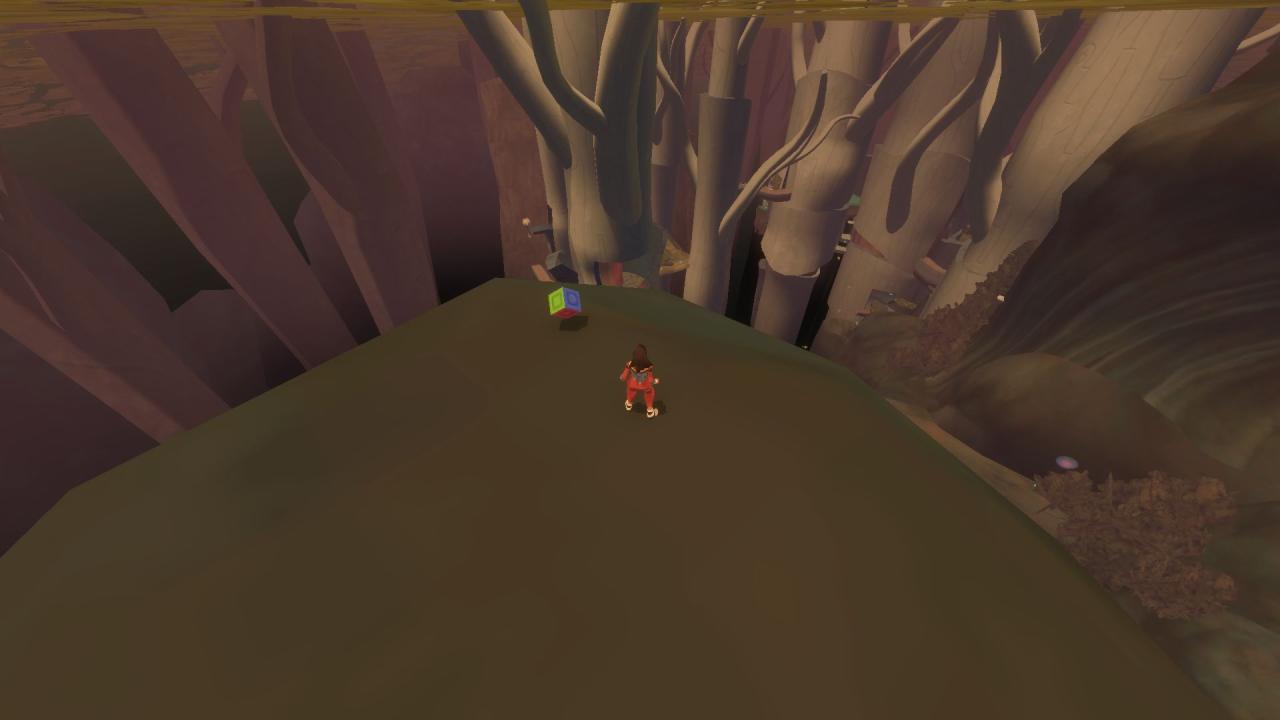
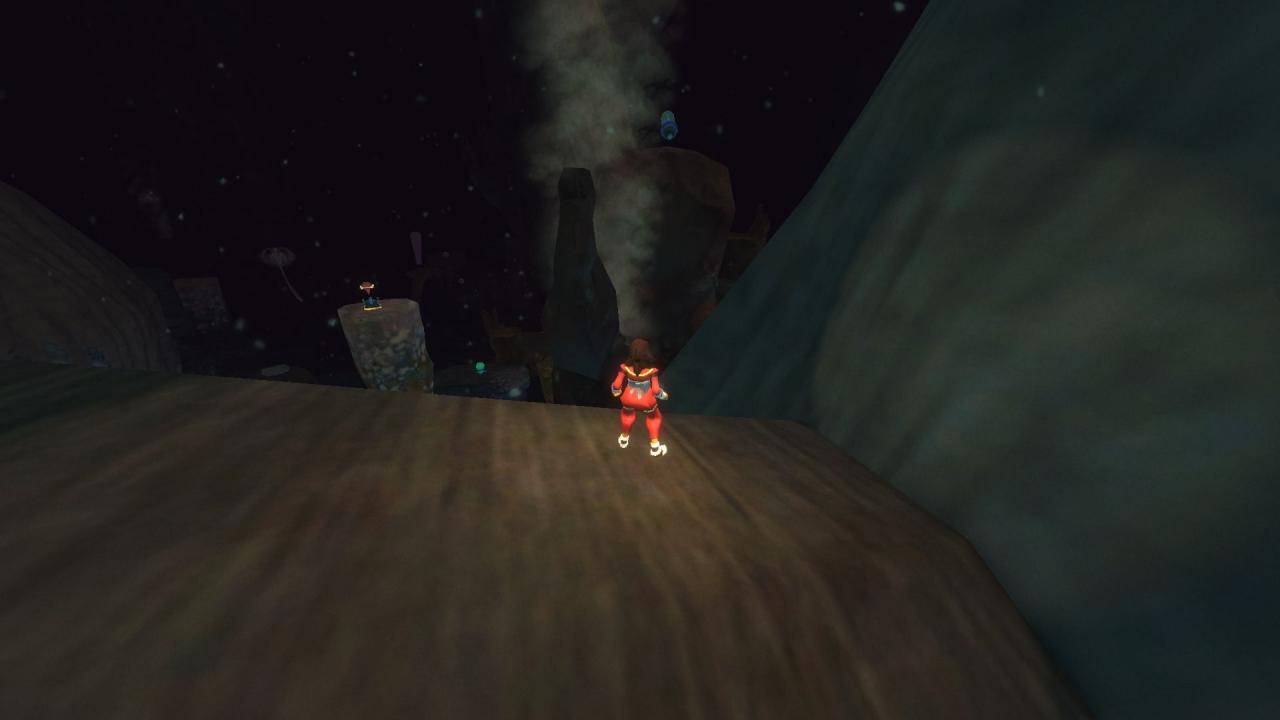
Now return to the entrance and climb up the log at the entrance like you did for the first item. Head right and jump to the pillar spewing smoke, and to the green rock above the shortcut you opened. Wallrun jump up the brown wall, then again onto the higher section of green rock. Follow the green rock that borders the level and you’ll eventually see a cube.
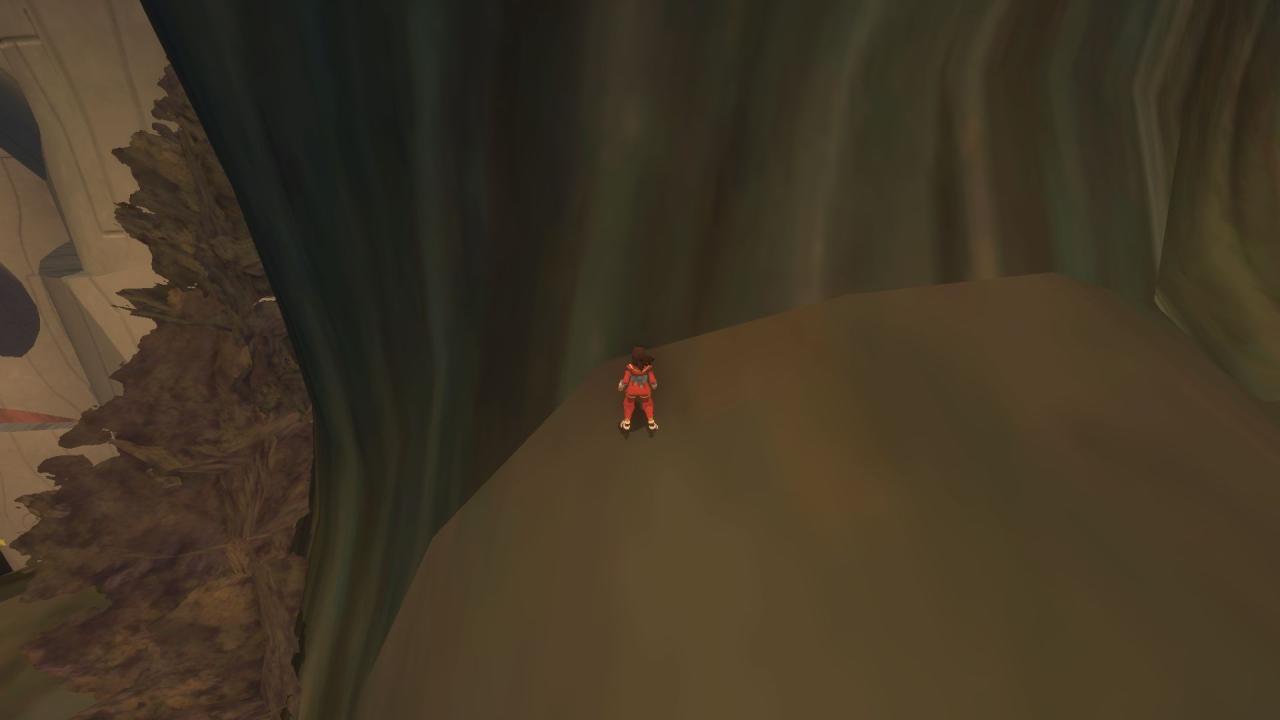
Continue around the border (you can walk through the waterfall texture) until you reach the far corner. Jump across the gap (aim for the angled section) to find a checkpoint and a cube.
Return the way you came, and you’ll find a spot you can drop down and onto a platform with a cube.
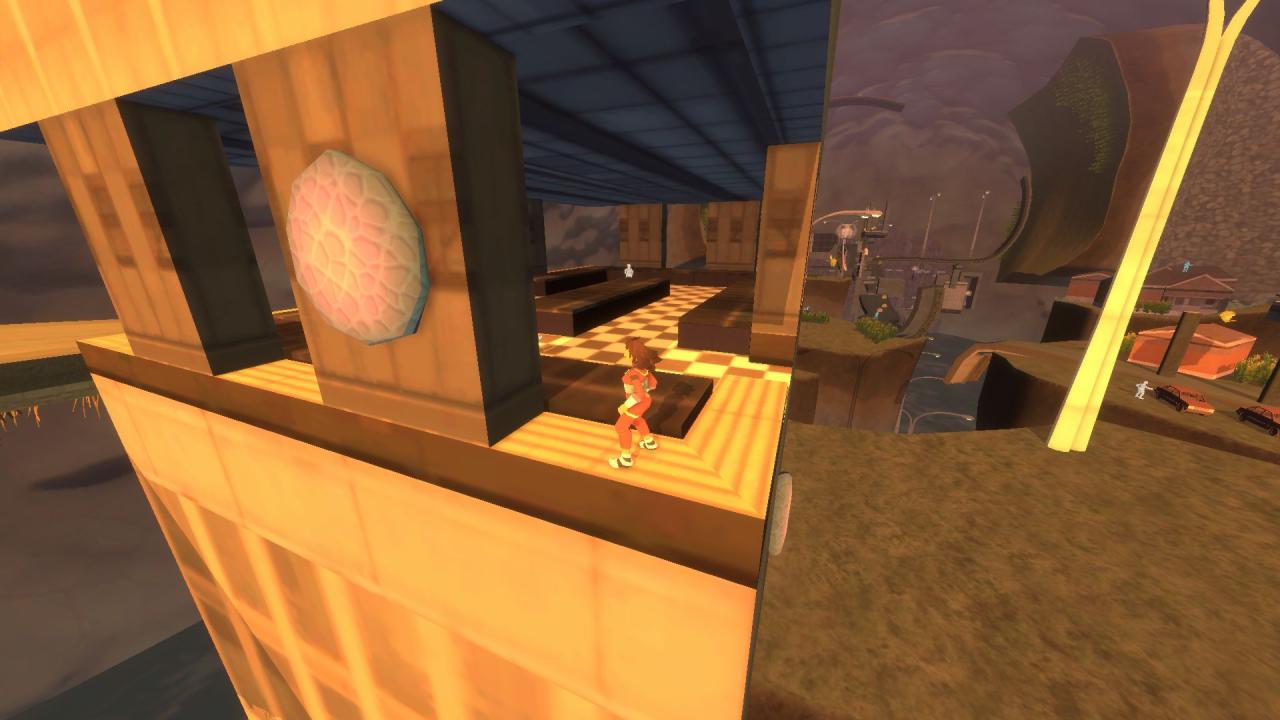
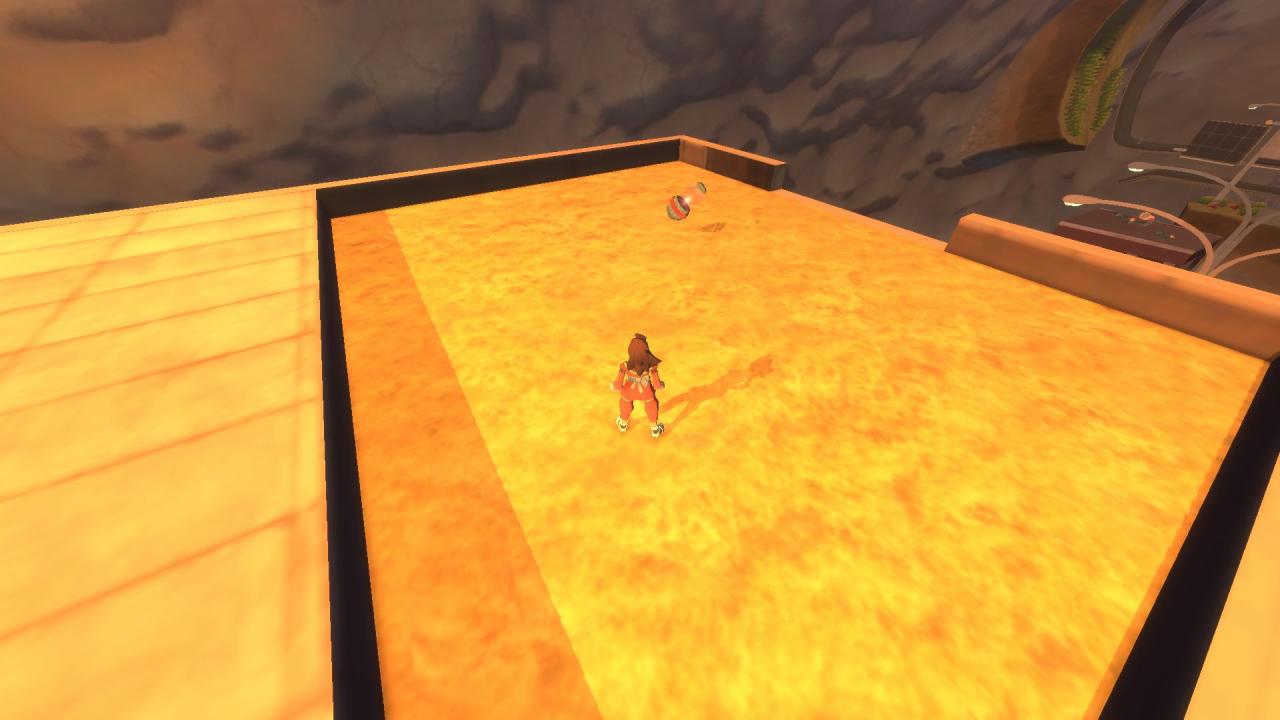
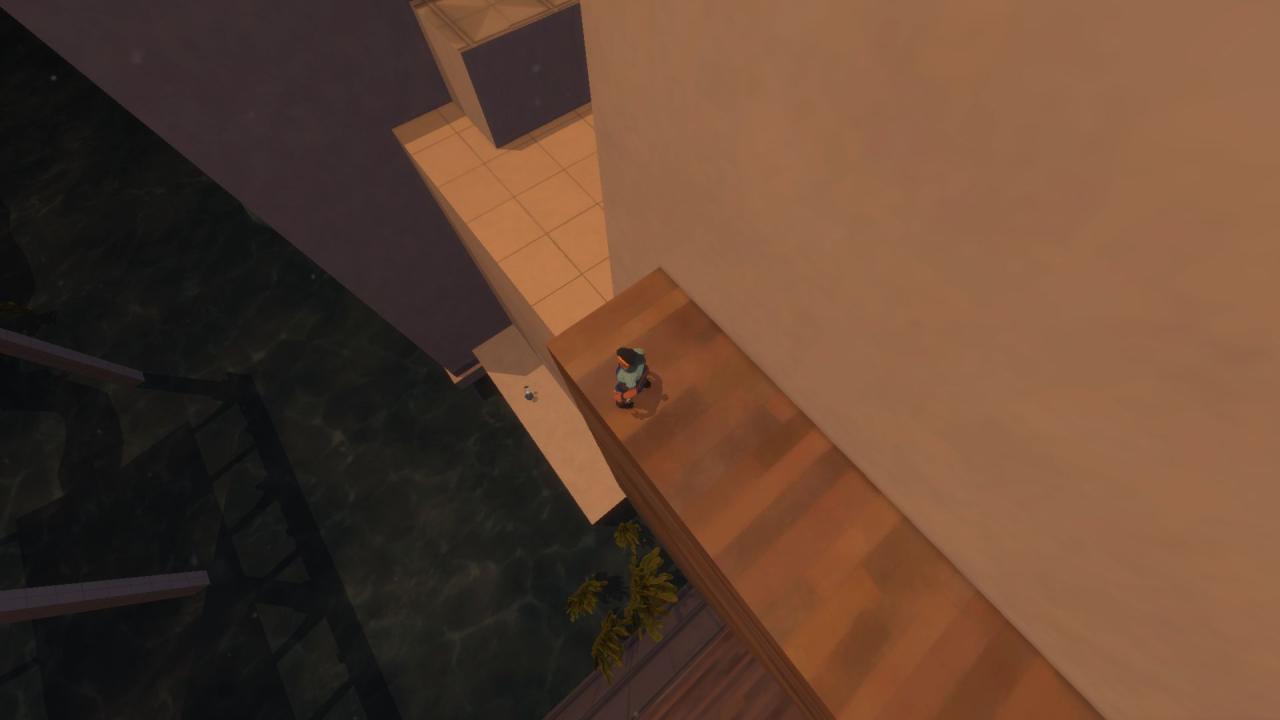
Chapter 5 – Mall
Cross the first gap and climb up the right pillar. Jump over the capsule.
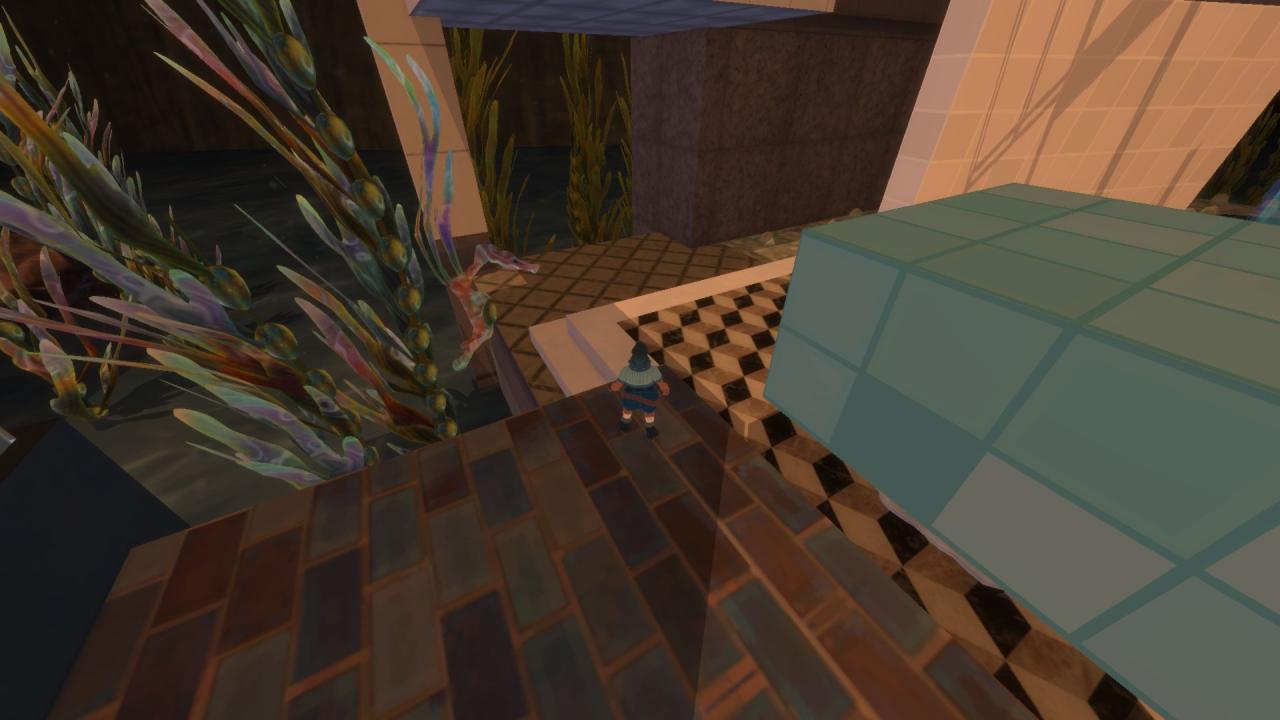
Inside the waterfall after crossing the gap with three ribbats.
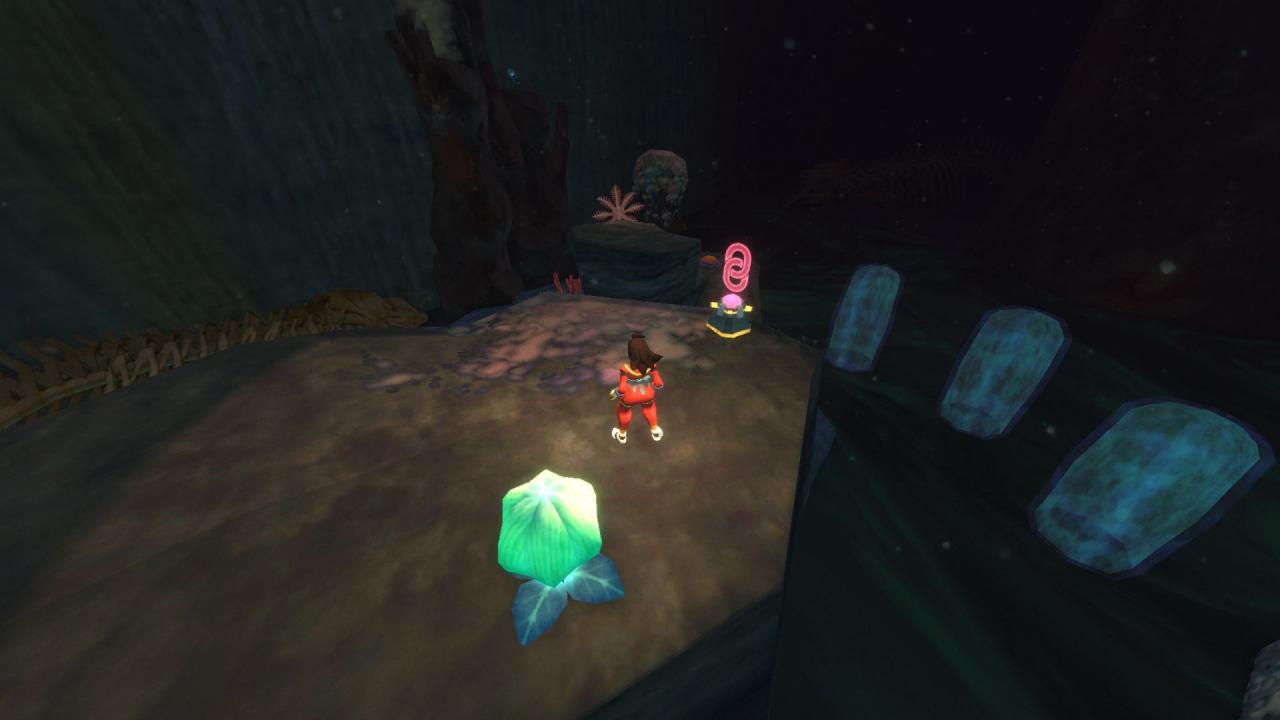
When you reach surface water level, instead of heading towards the entrance of the mall, turn around and take the other path.
Turn around from the octopus and look at the waterfall edge that surrounds the area. The angled portion is actually solid and can be walked on. Jump on it and follow it all the way round to a cube.
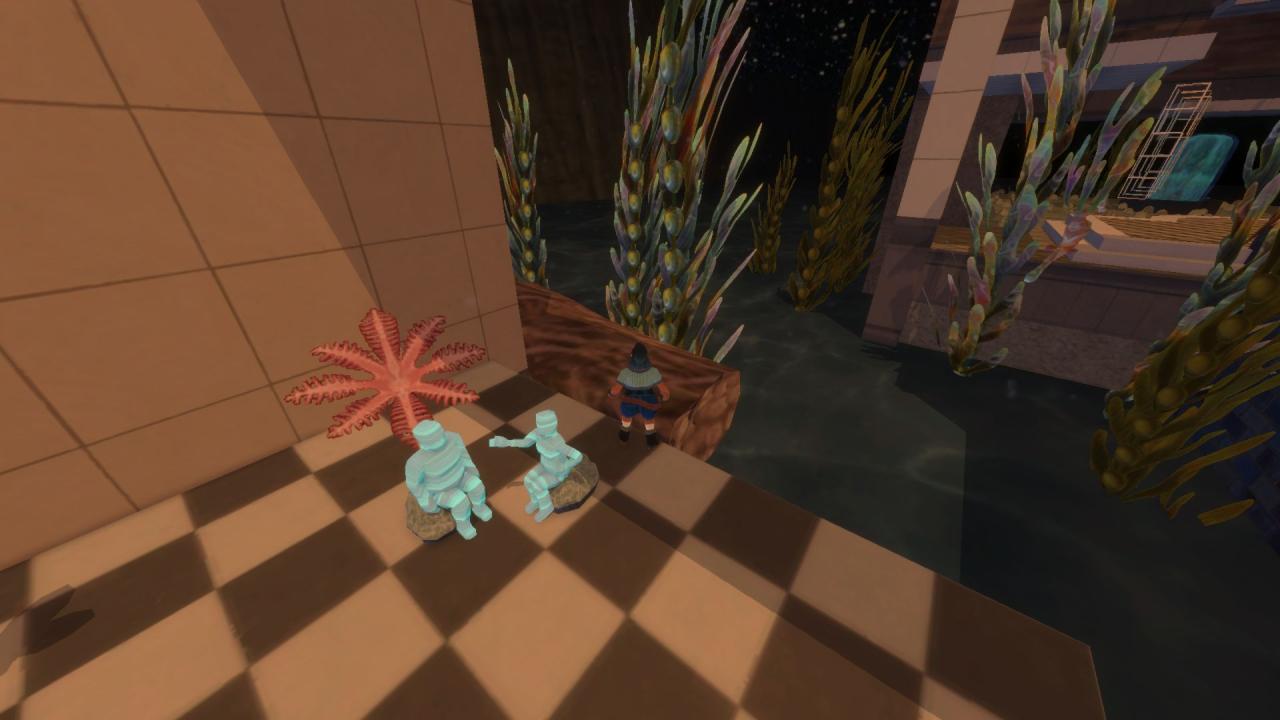
Return to the mall and head inside. Cross the first couple of gaps until you reach two people sitting on rocks. Behind them is the creature.
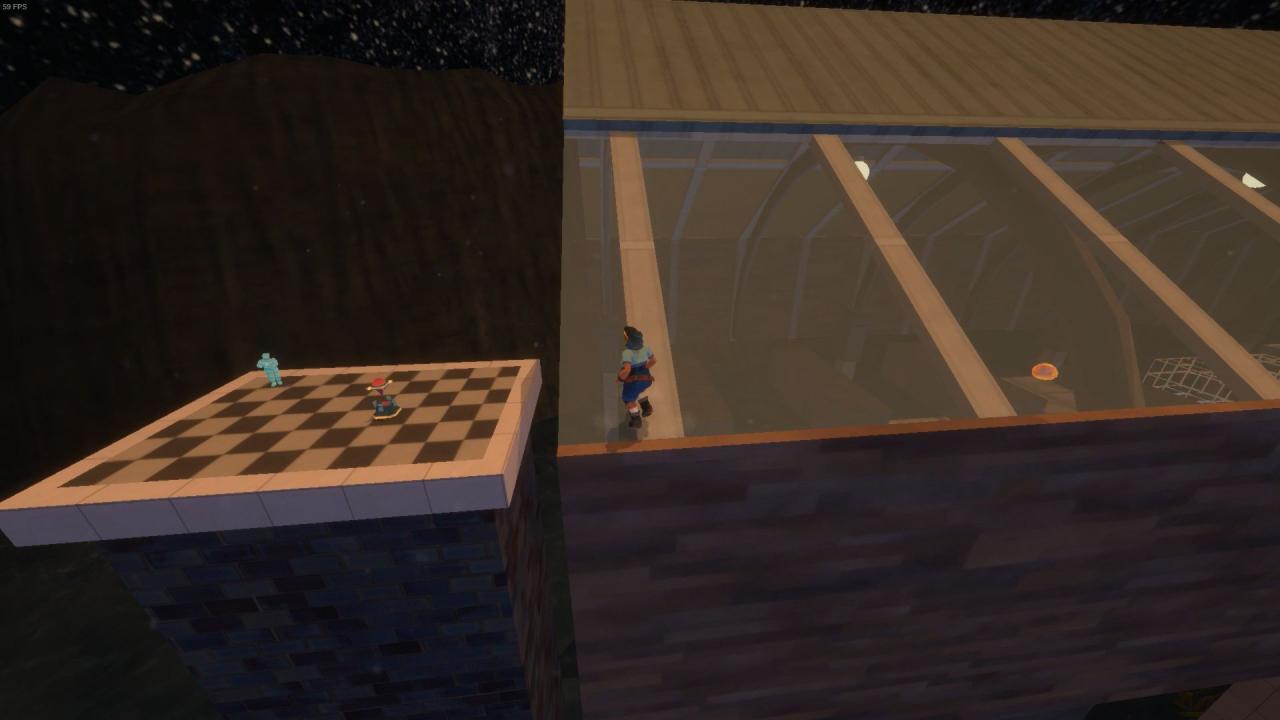
After crossing the six black/white alternating platforms, you’ll reach three people arguing over capsule toys. Instead of turning left, drop down to find the creature.
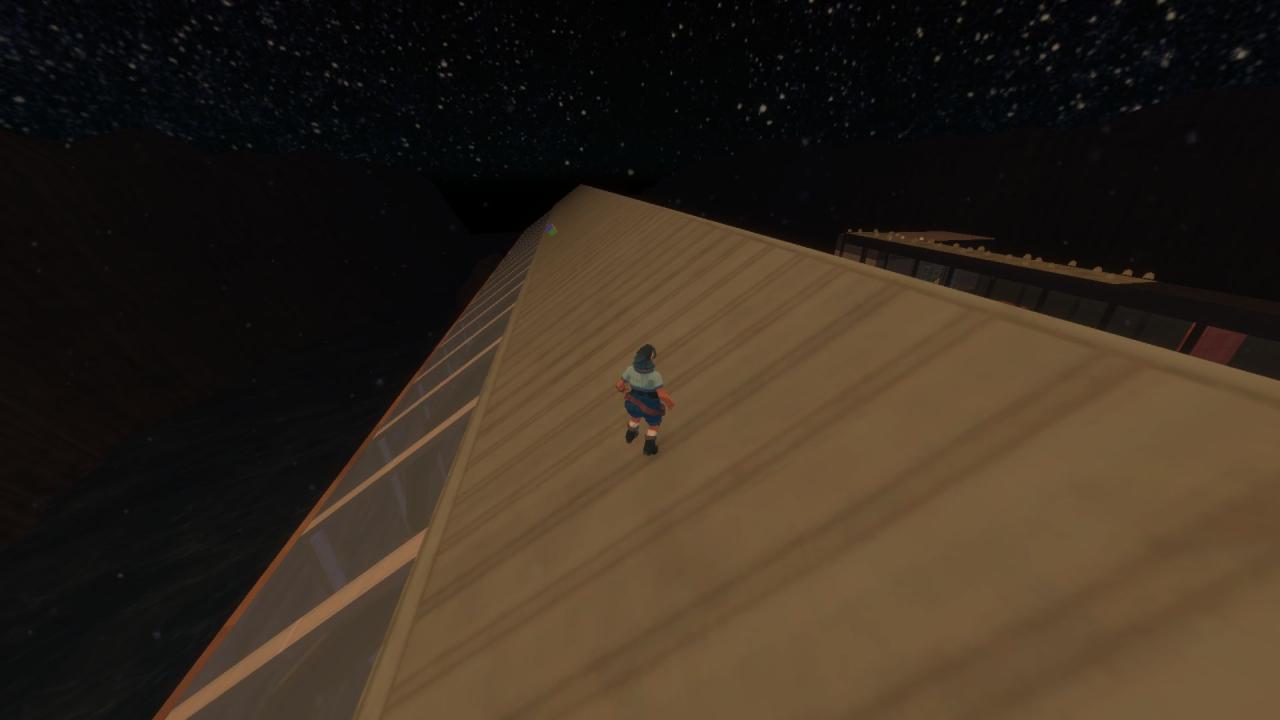
Get to the roof of the first building and face the breakable wall from the higher fusion cell. There’s a narrow path leading right. Drop down at the end.
On the left after exiting the elevator shaft.
After reaching the glass roof, use the Fusion Cells to break the container and reveal a dandelion. Use the dandelion to float cross the gap to the triangular roof (note you cannot walk on the glass panels here). The item is across the other side.
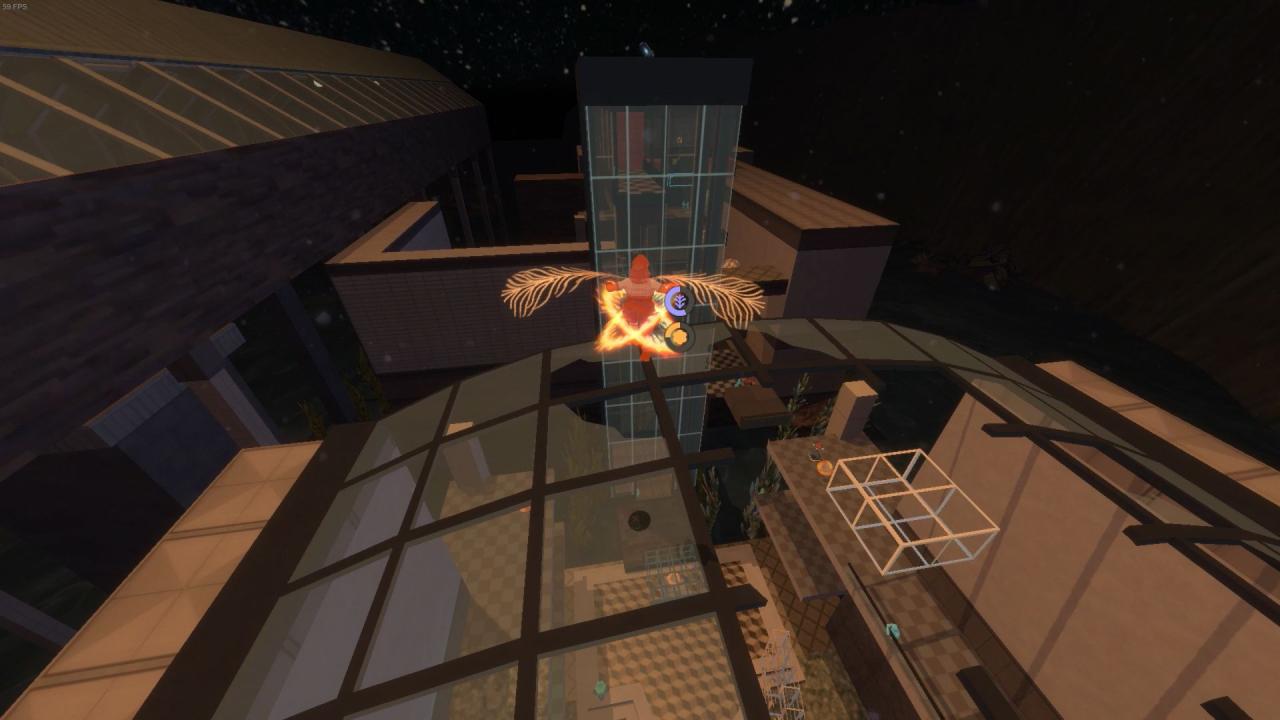
Return to the glass roof. Use both the Fusion Cells and dandelion to fly across to the top of the elevator shaft.
Story. Key species #4.
Given by Nemagnathi.
Surface Revisited
Find the checkpoint in the forest. Drop down the other side to the bottom of the waterfall.
Climb up to the canopy to find three Fusion Cells. Use them to break the wall in the rocks to find a capsule.
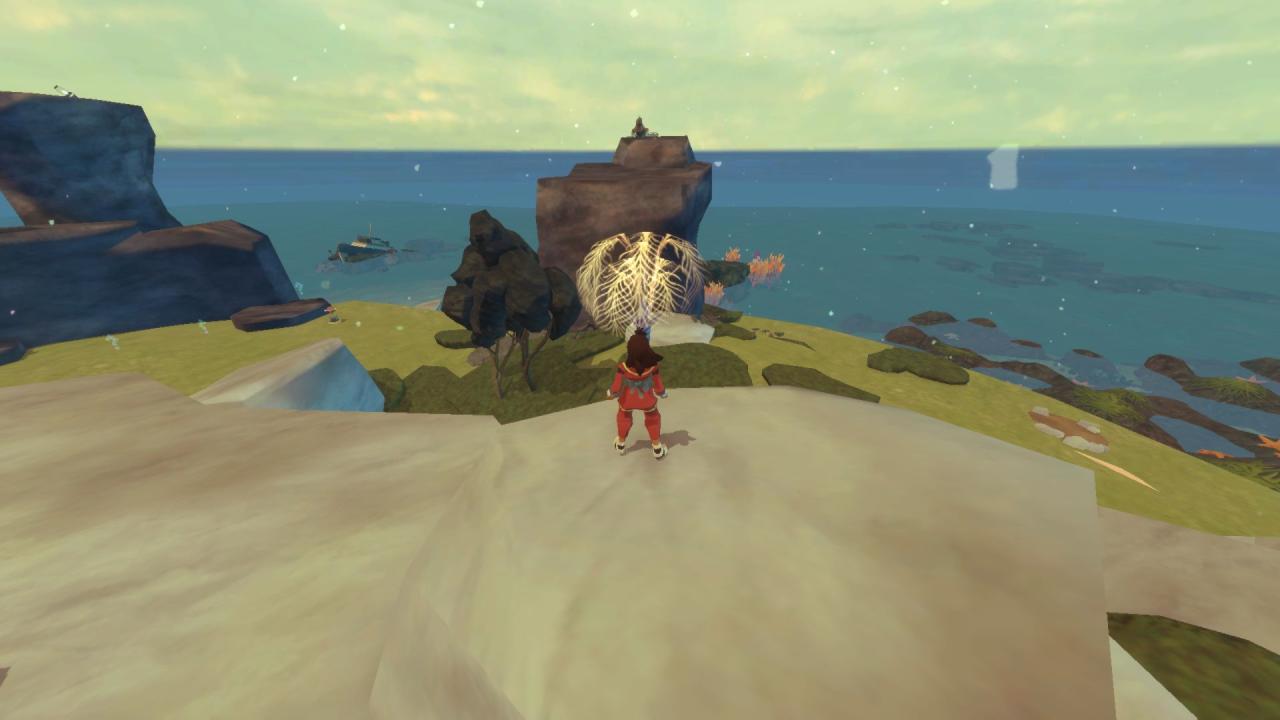
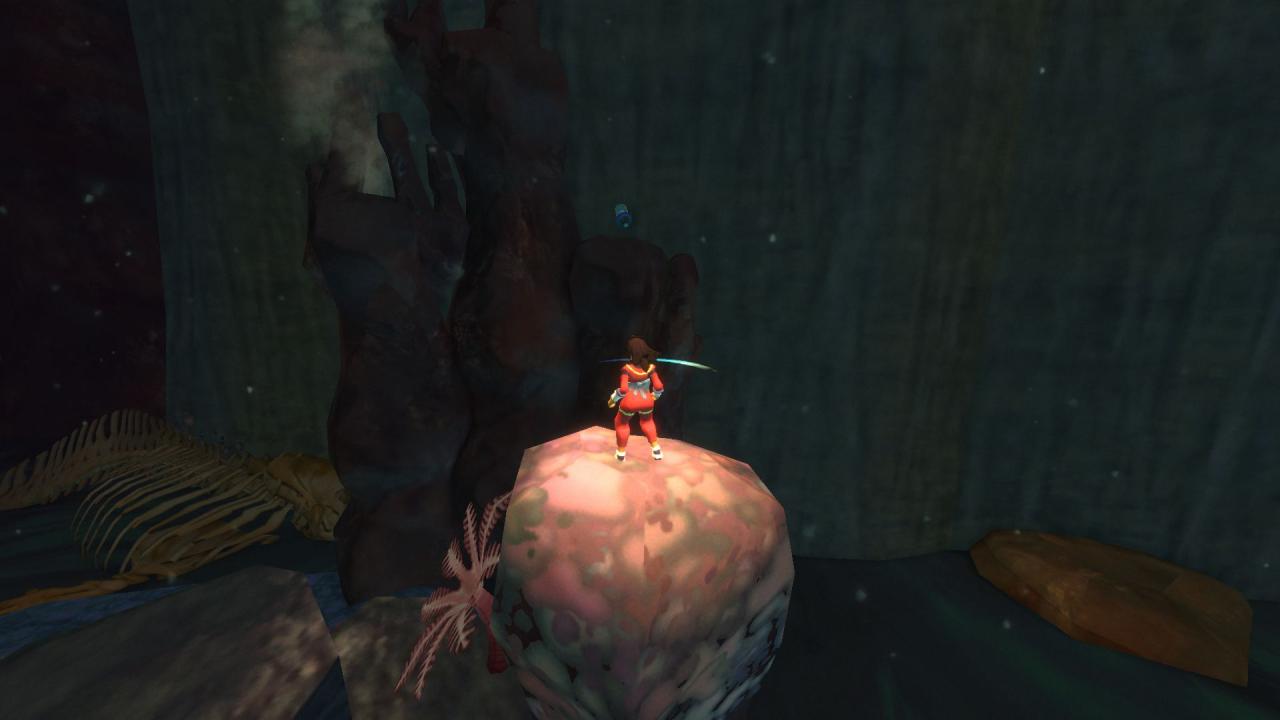
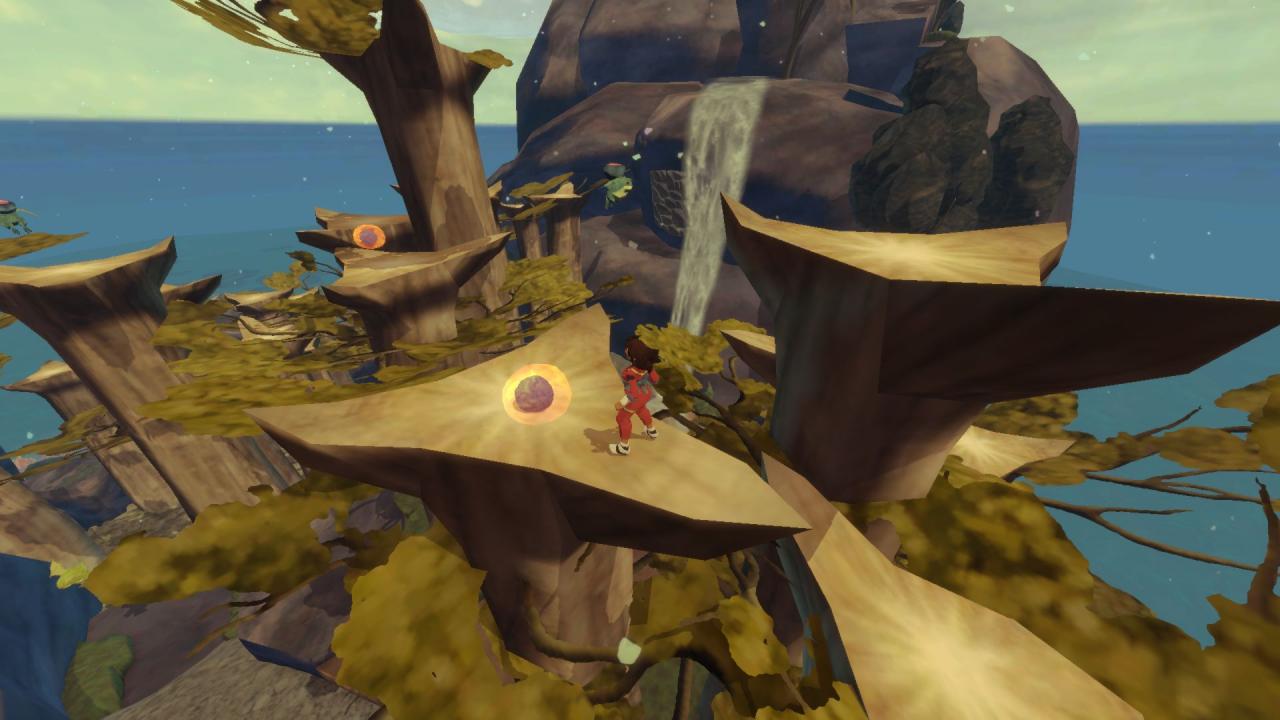
From the previous item, climb out of the rock and up to the highest point of the island where there’s a bird.

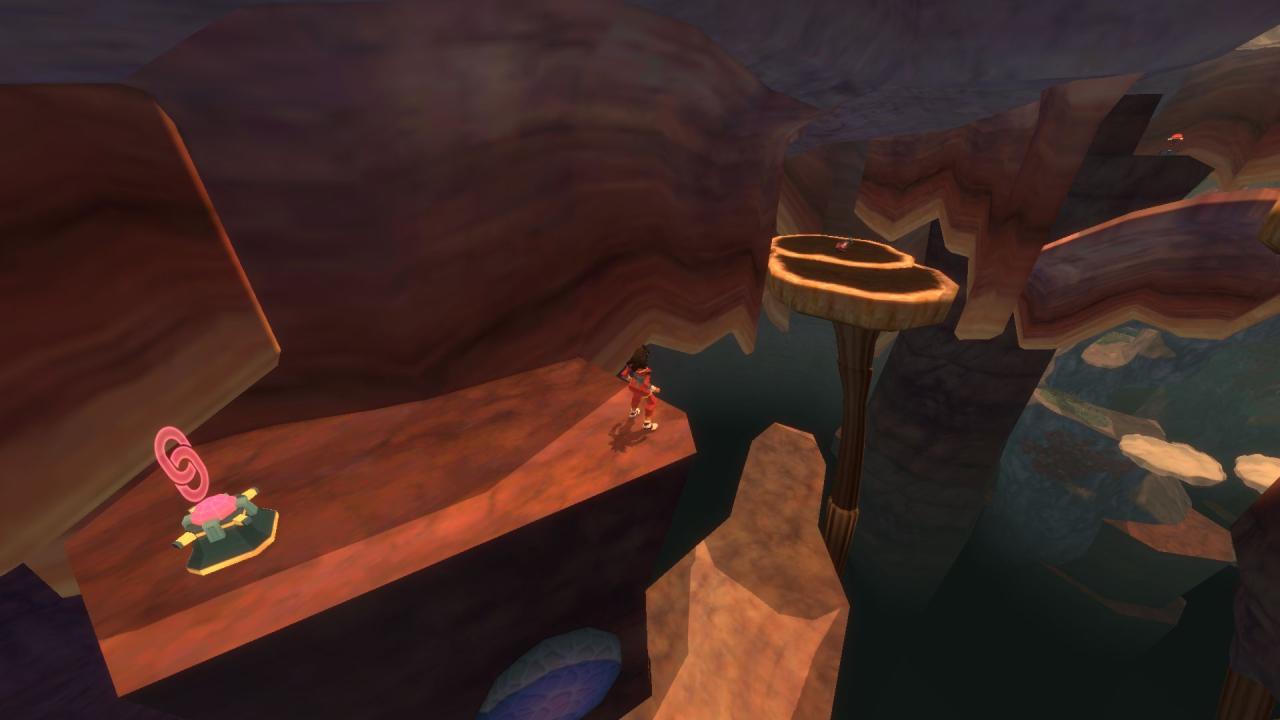
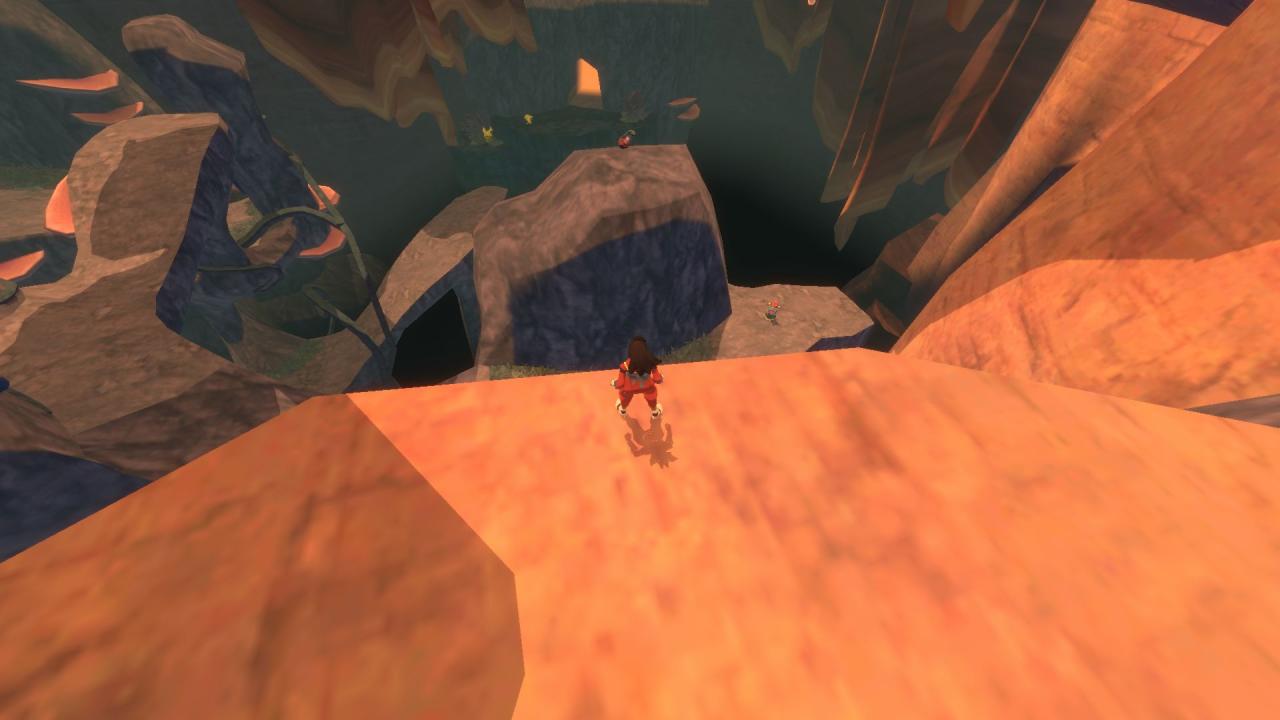
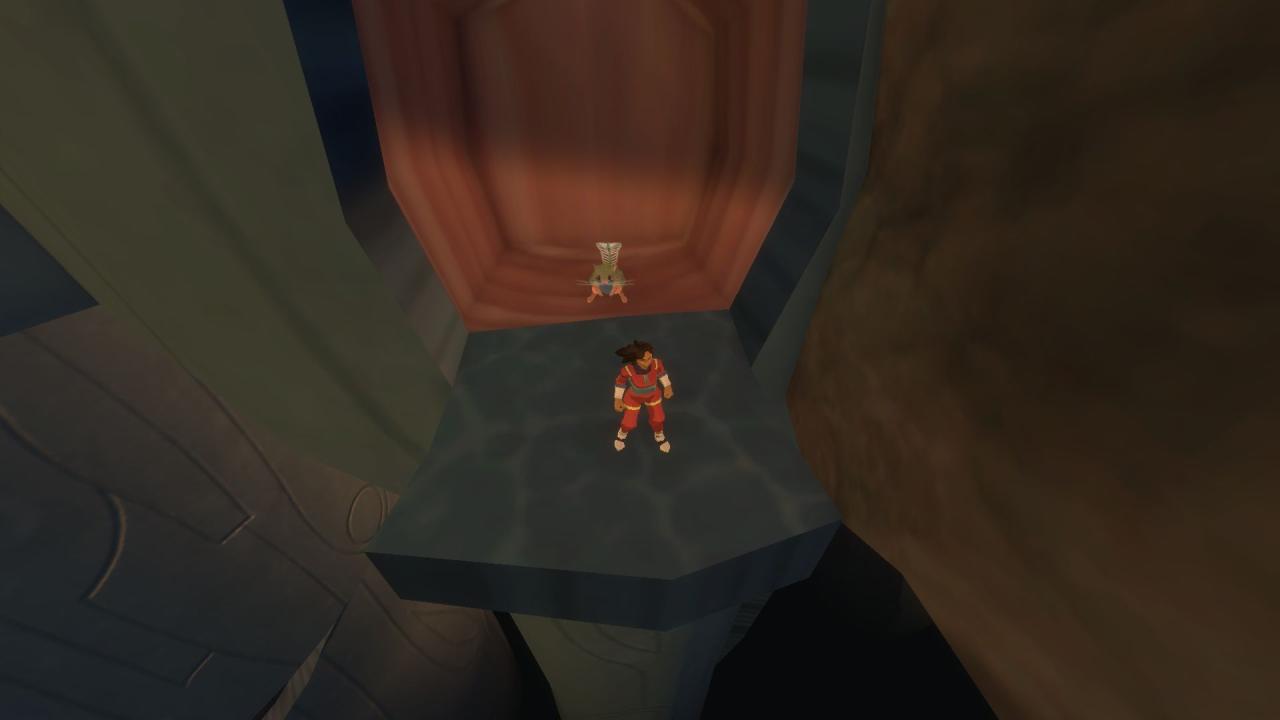
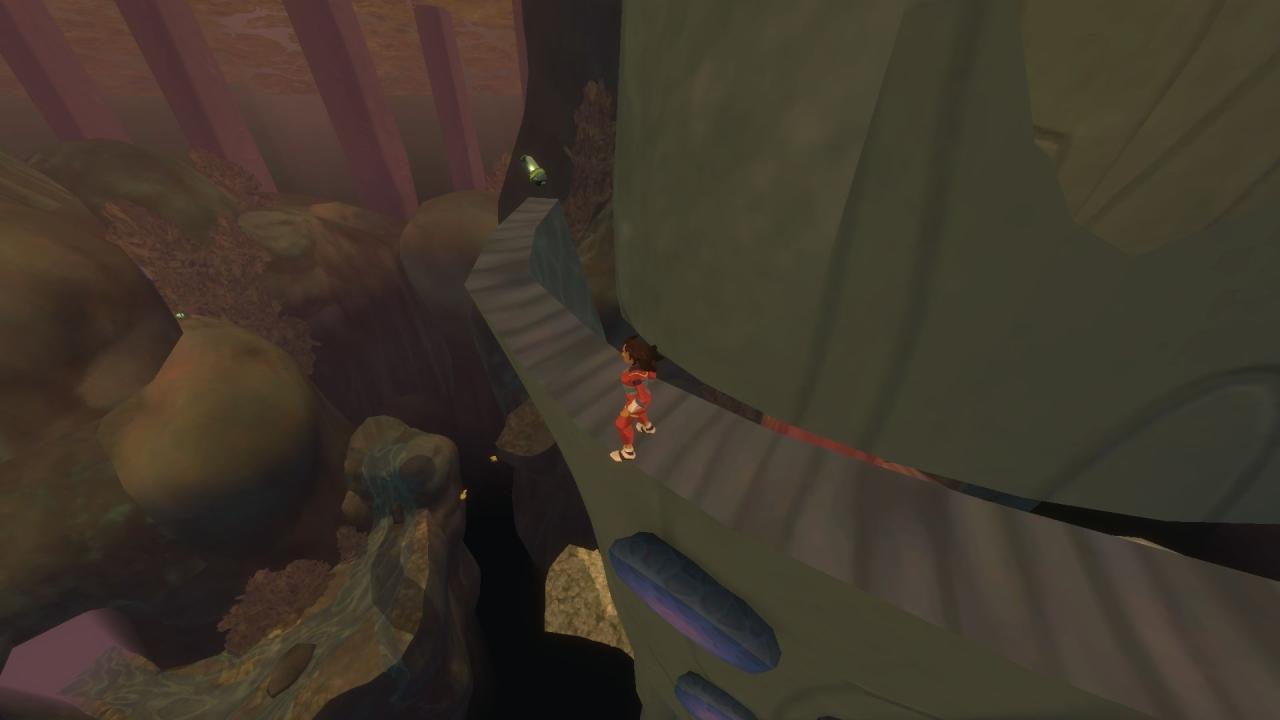
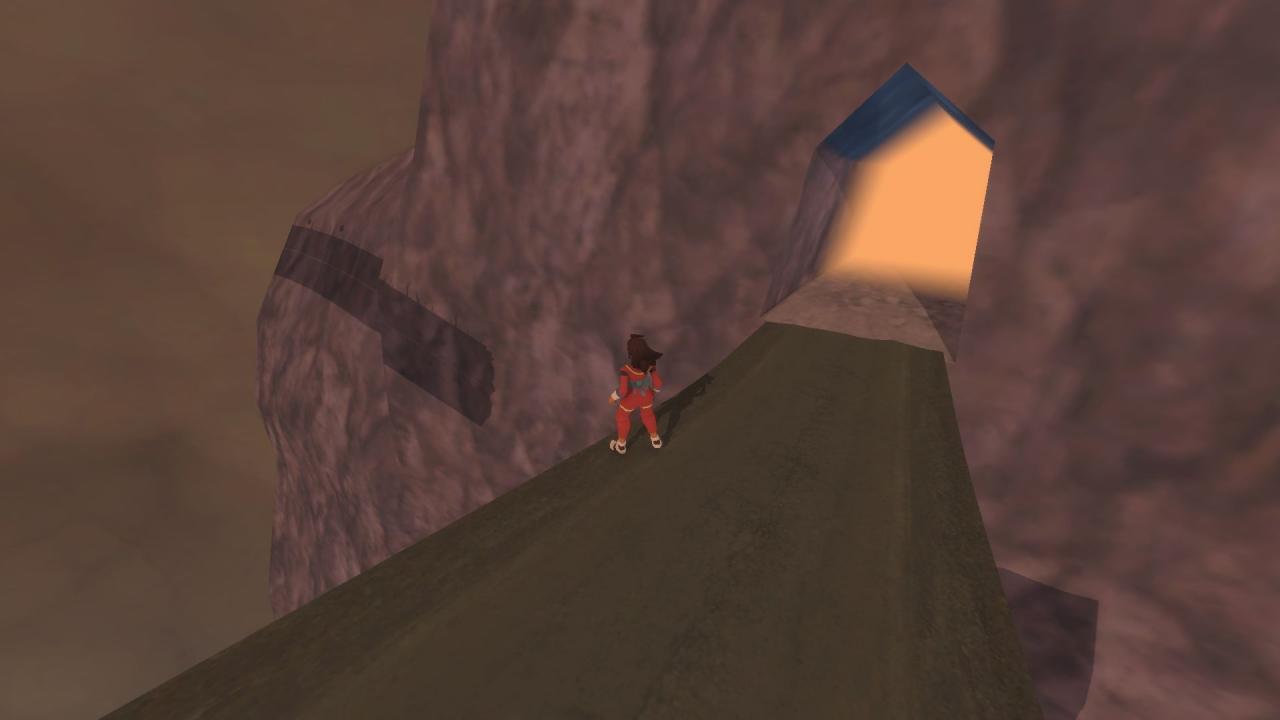
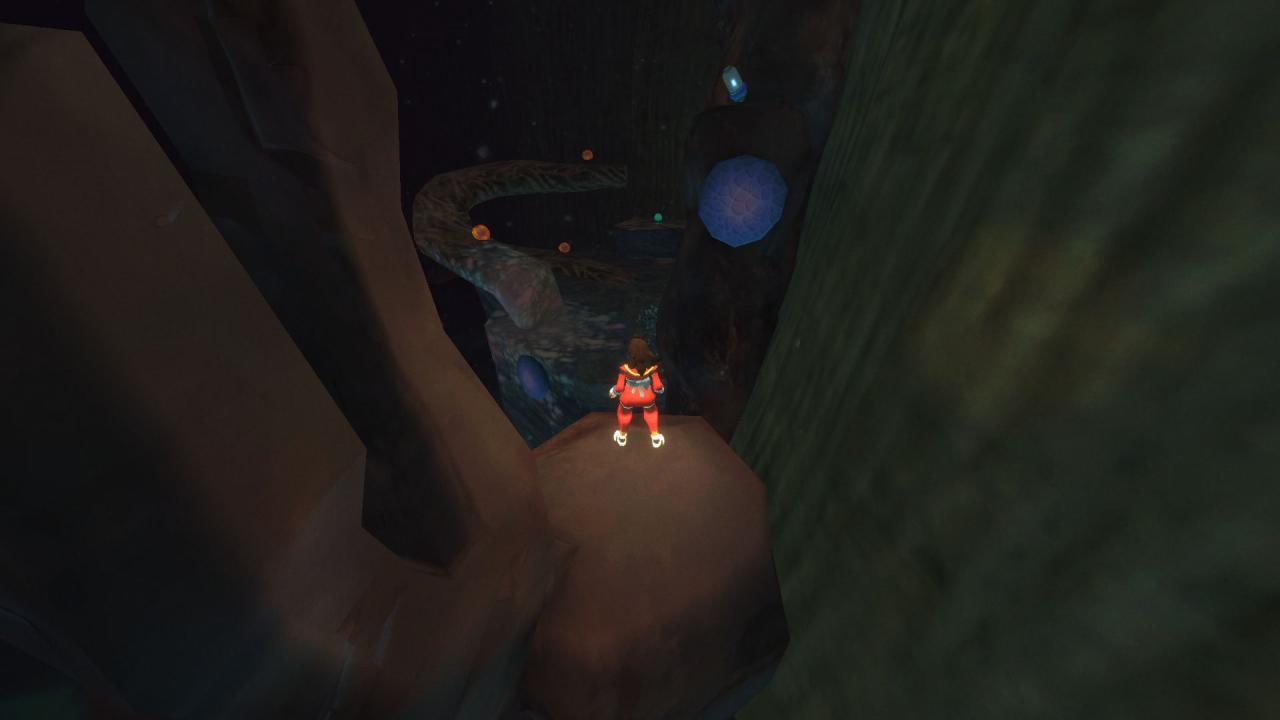
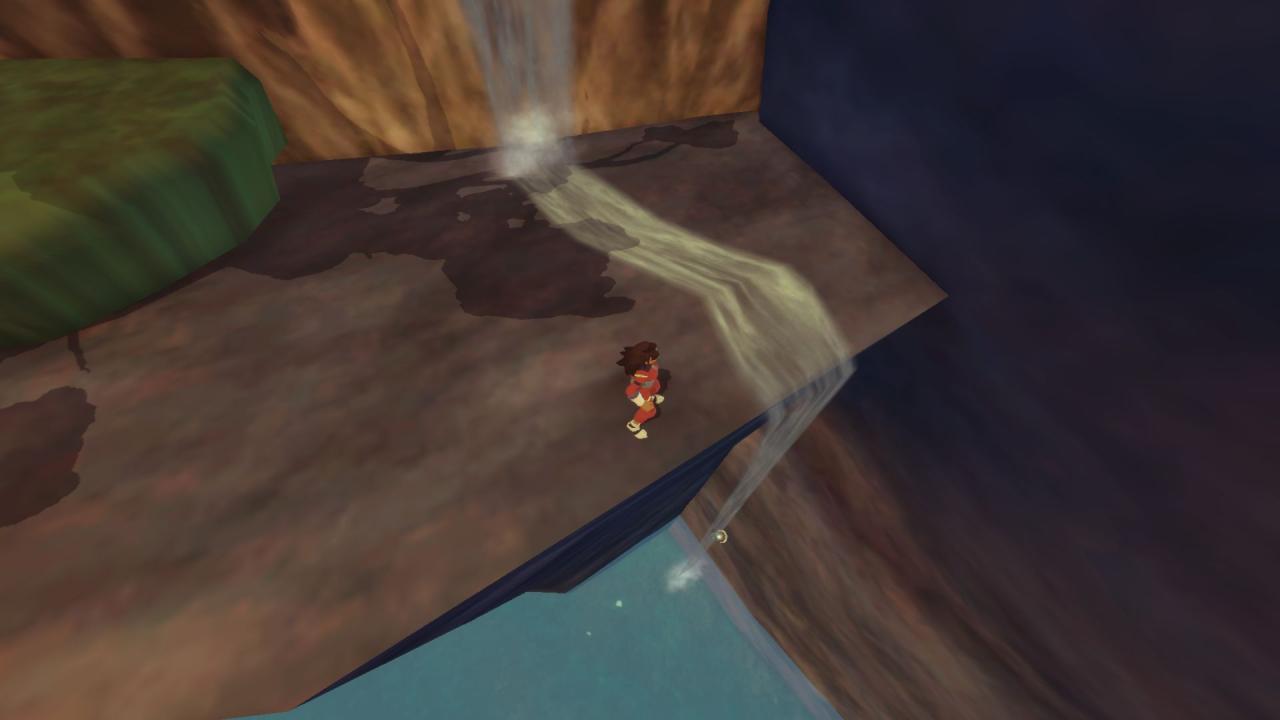
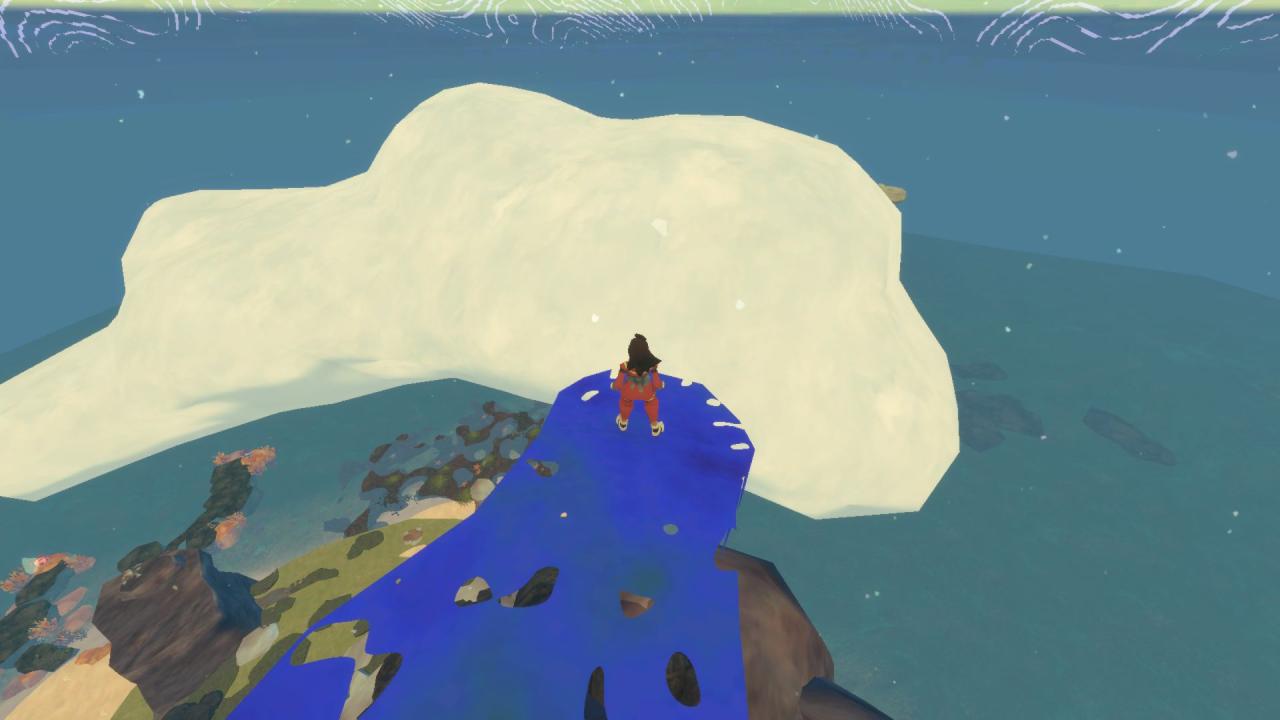
Head down a level from the nearest checkpoint and look straight down to find a triangular the gap in the rocks. It’s white in the screenshot. There’s another capsule down there.
Return to the bird to find an invisible pathway. Follow it to the clouds. Find the bouncy cloud and jump to the next cloud with the capsule.
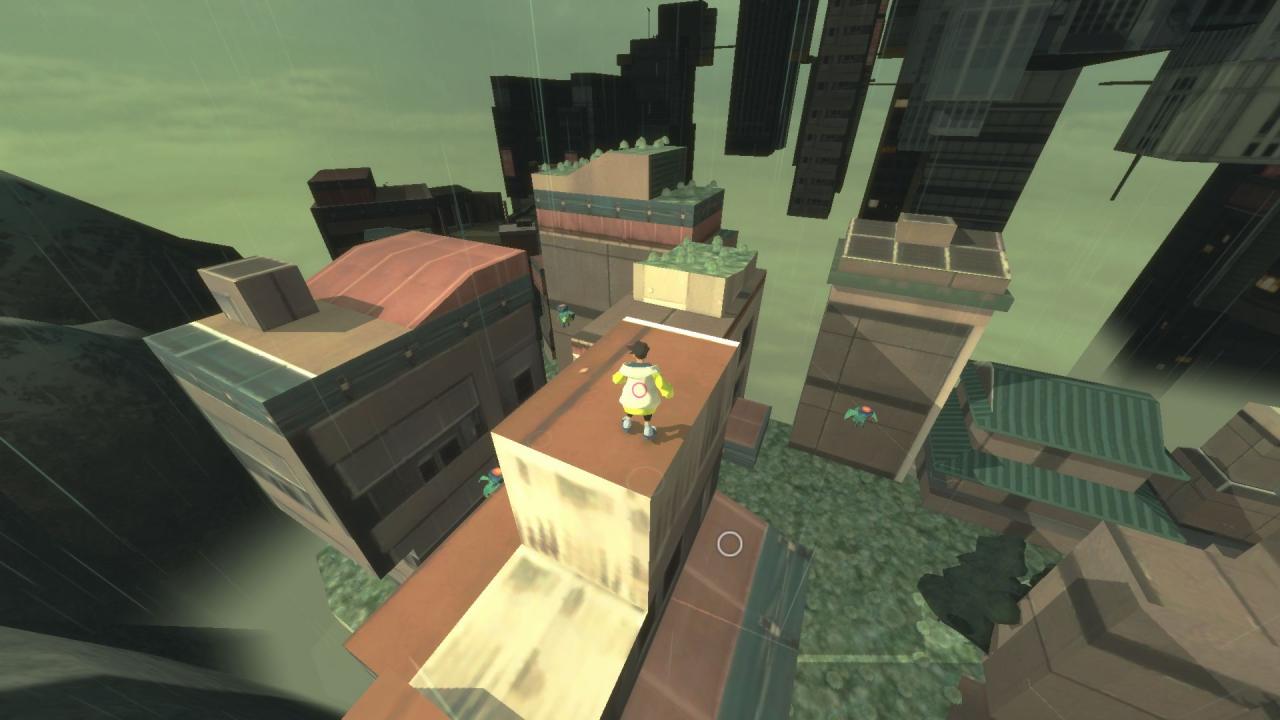
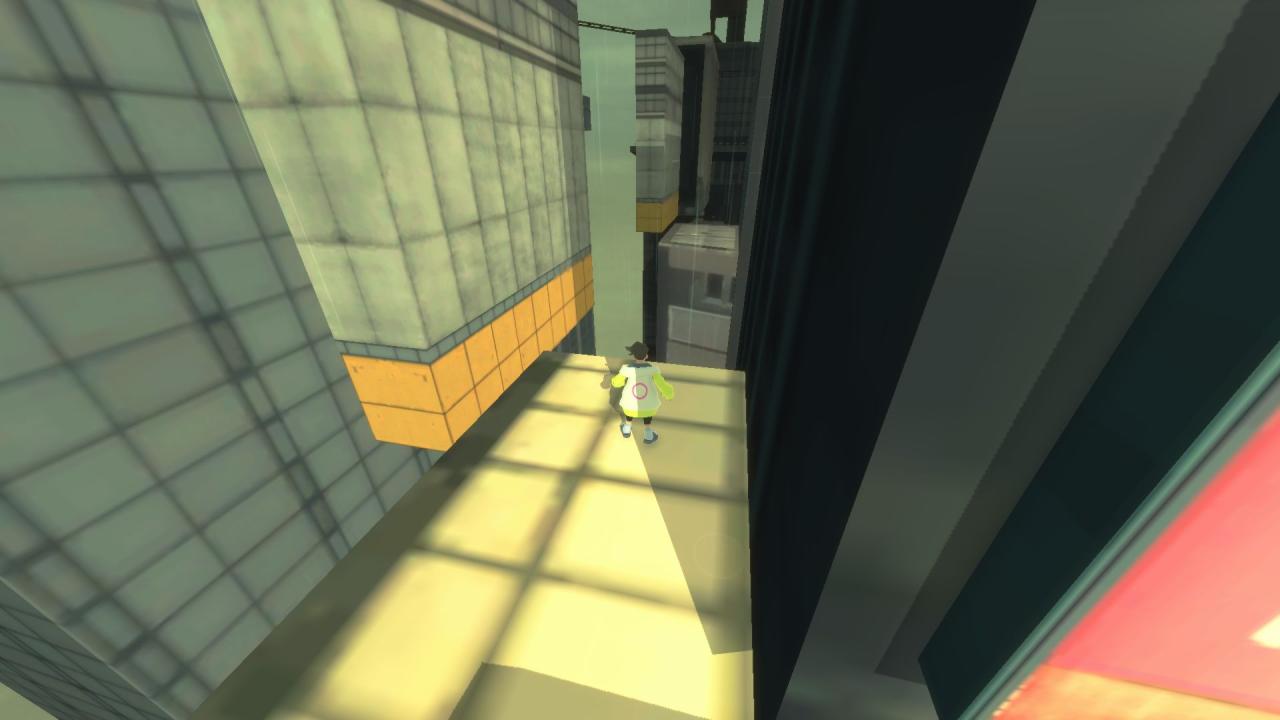
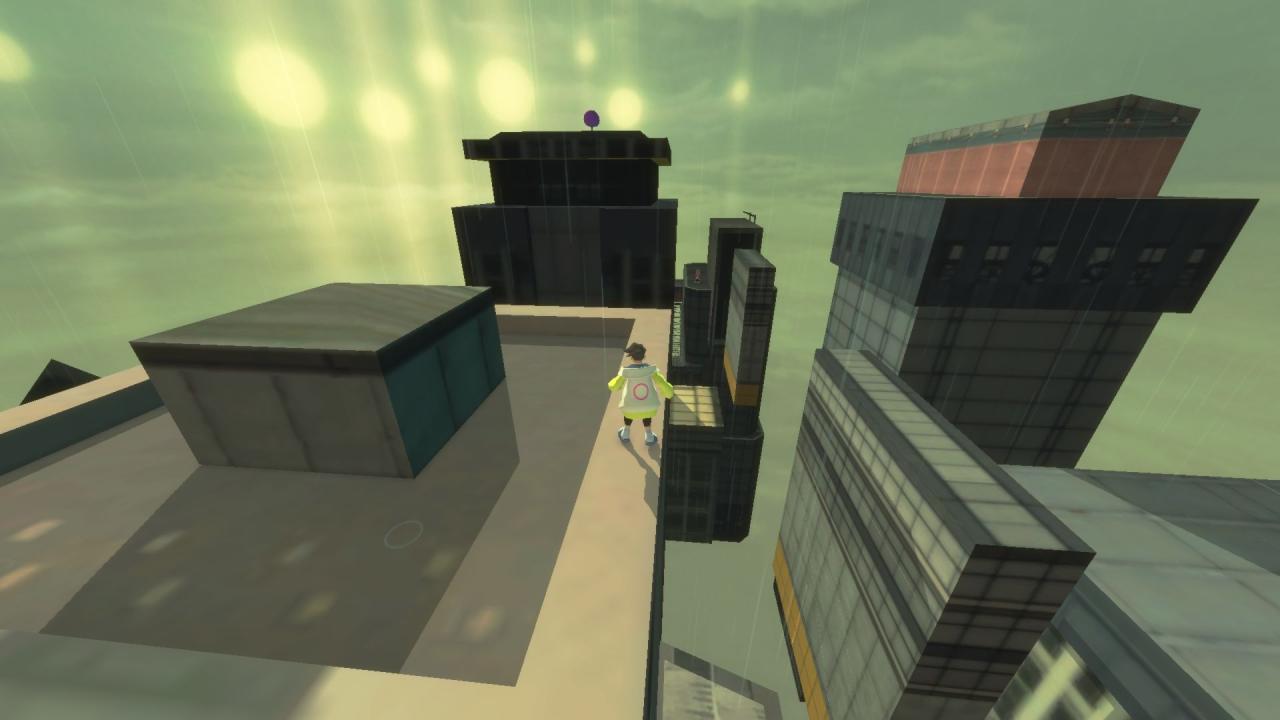
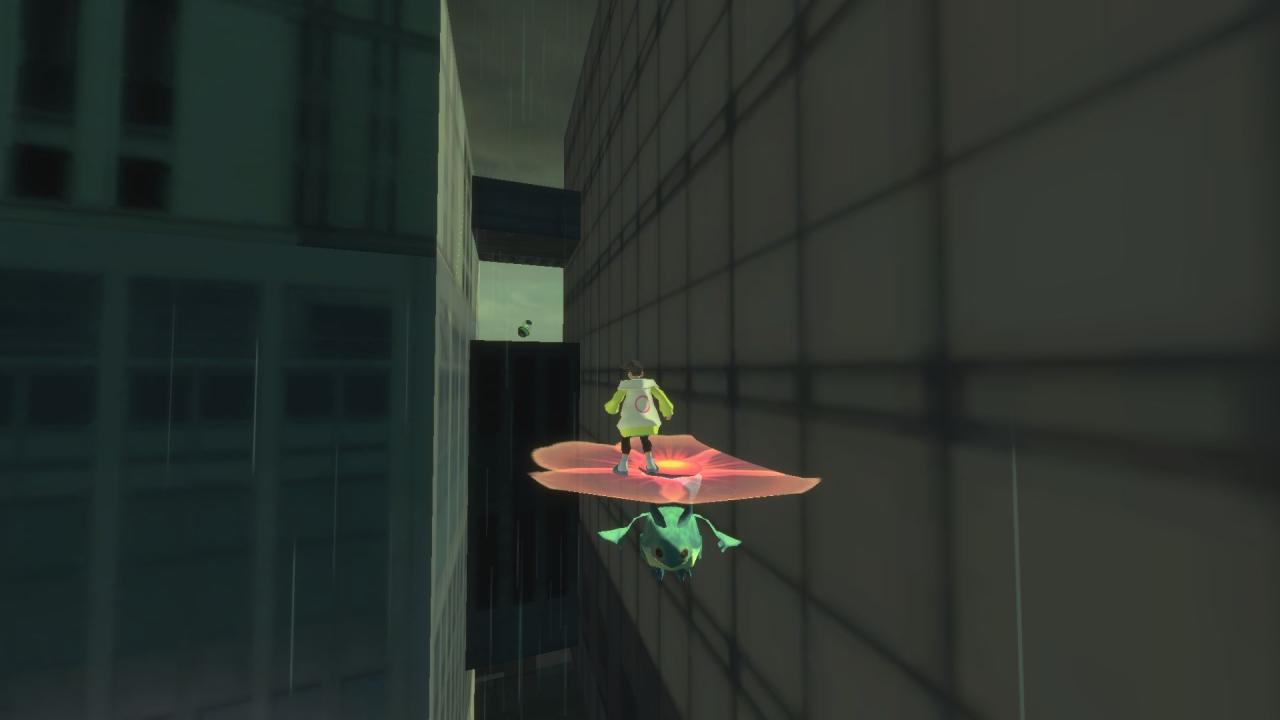
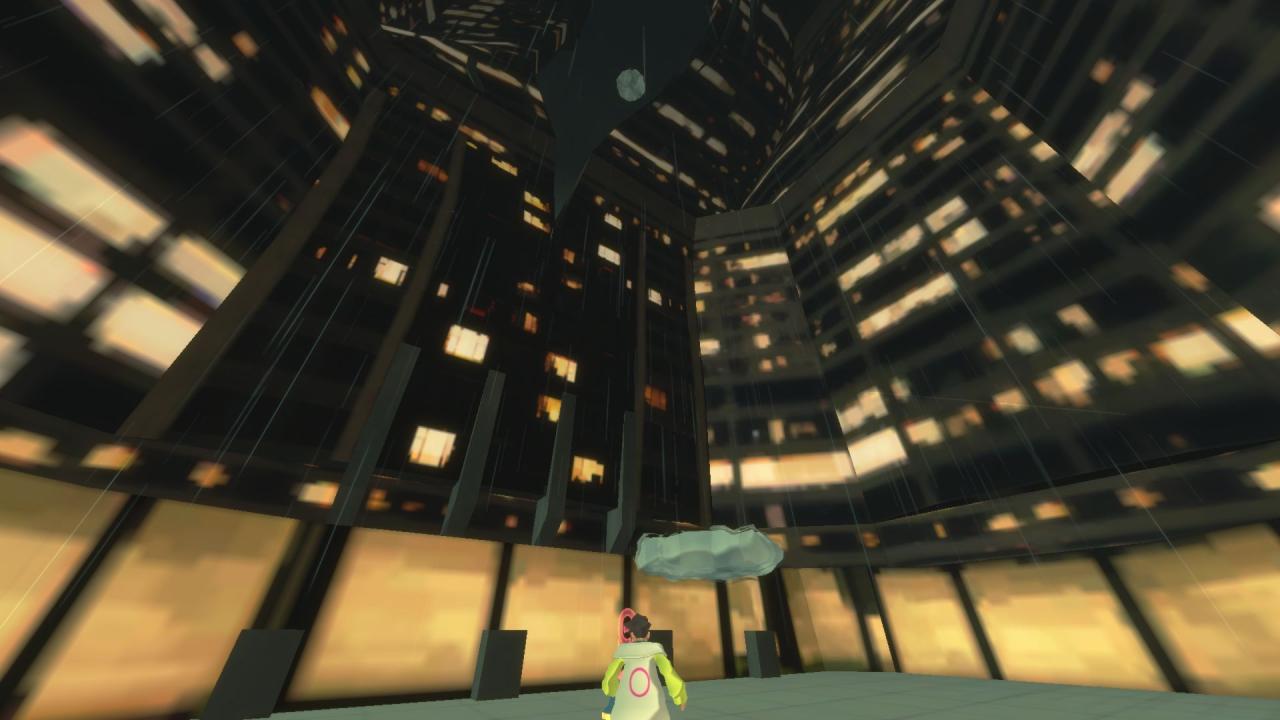
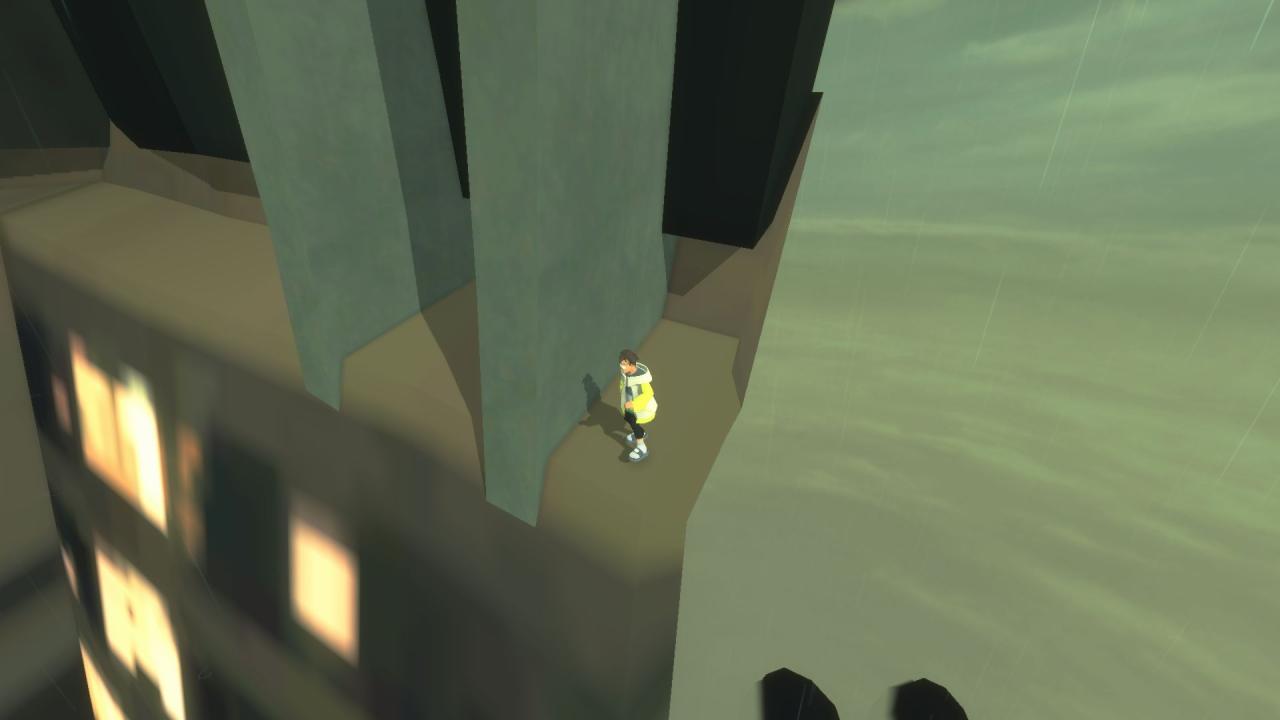
Chapter 6-2 – City
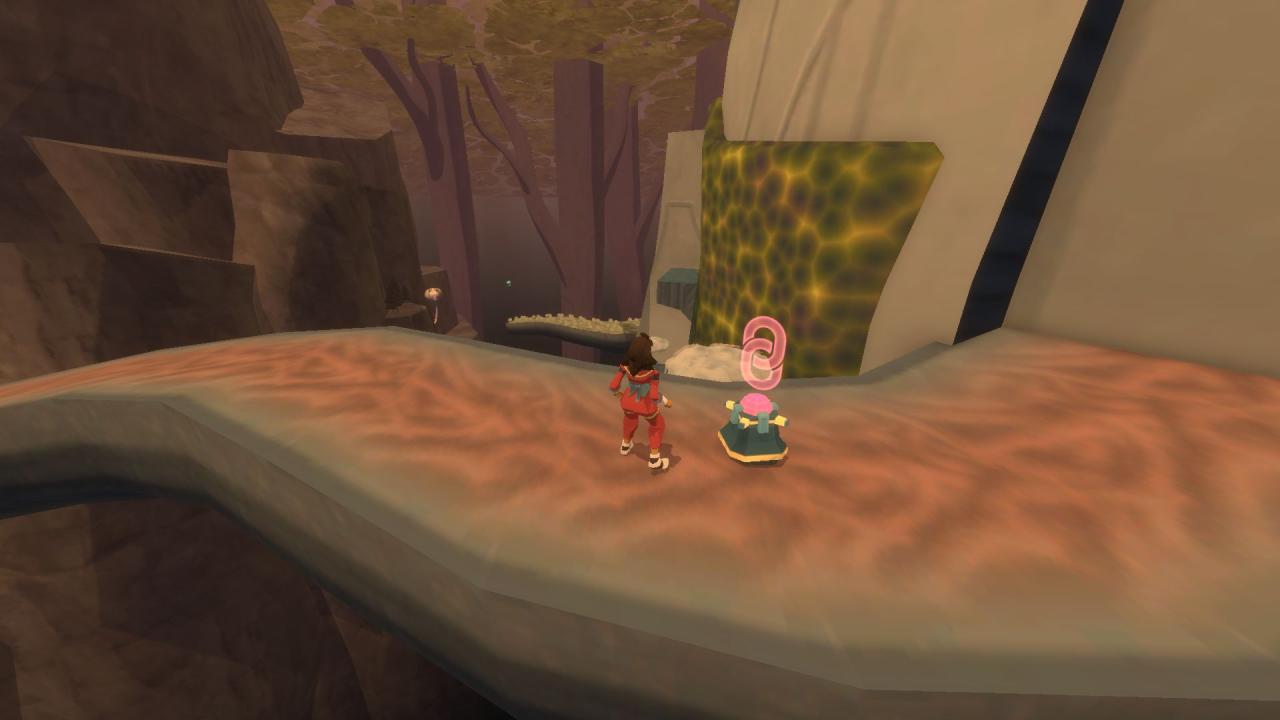
From the entrance, keep the wall on your right and follow it to the creature.
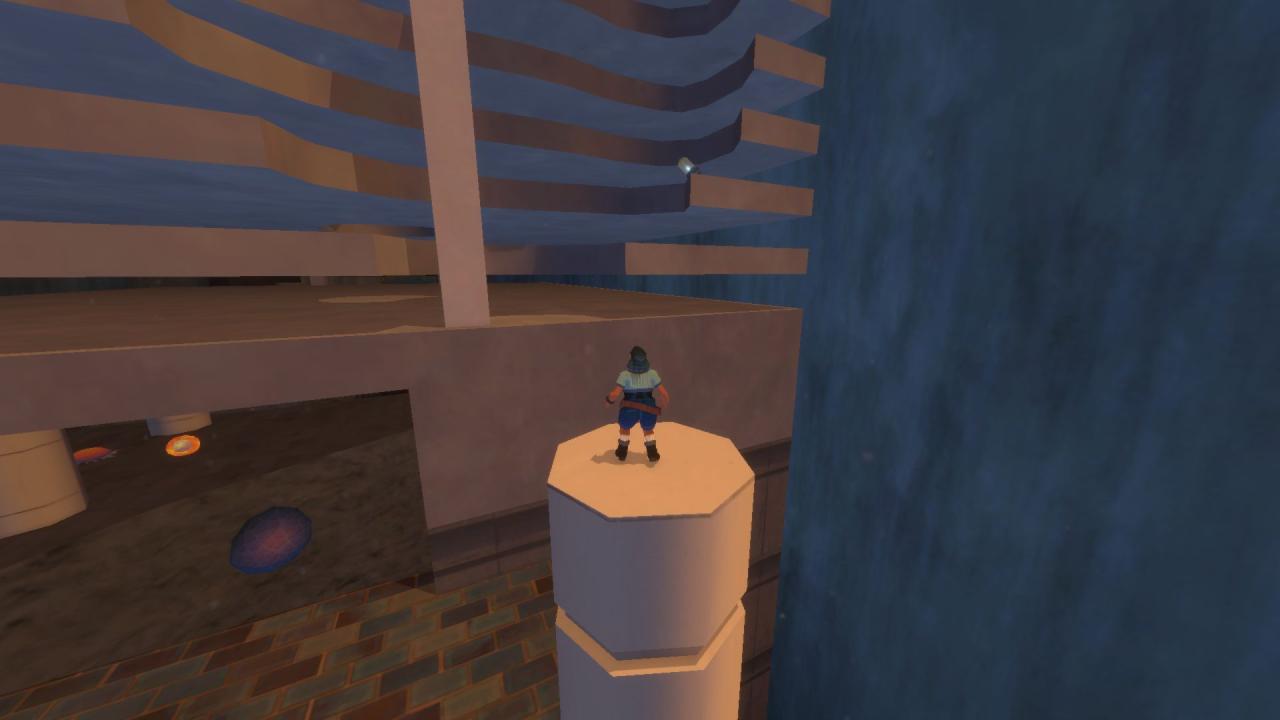
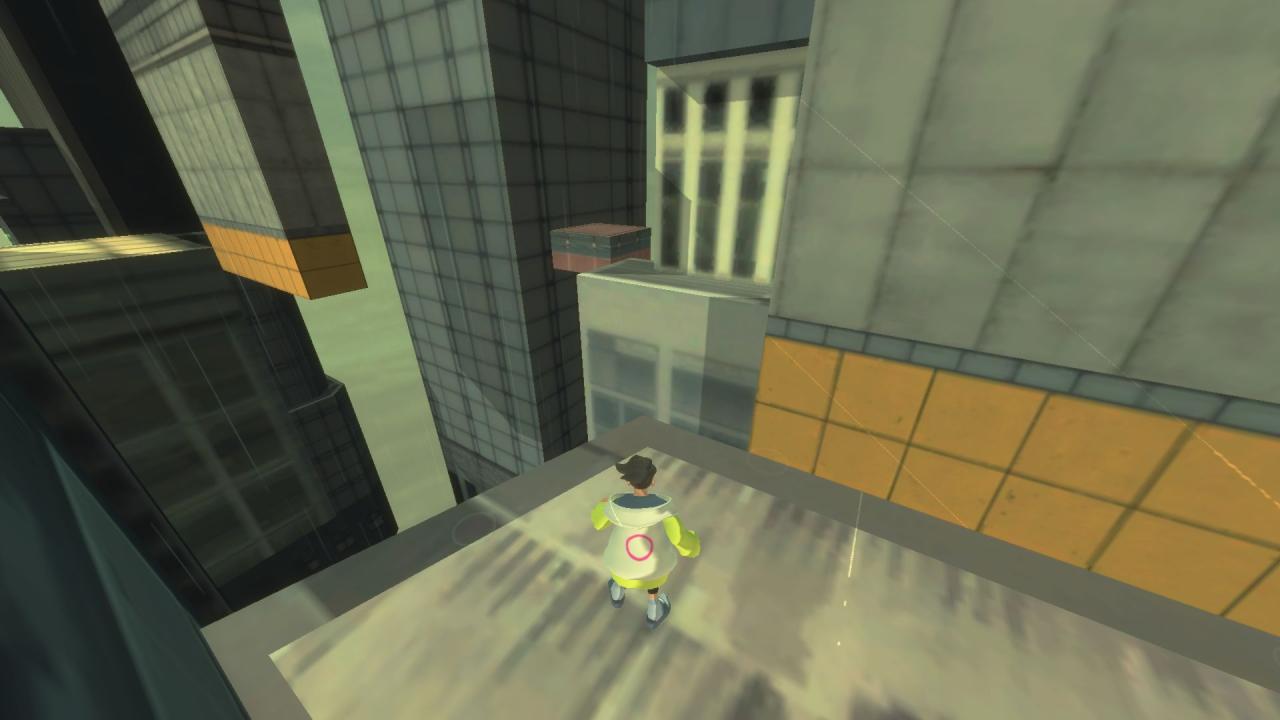
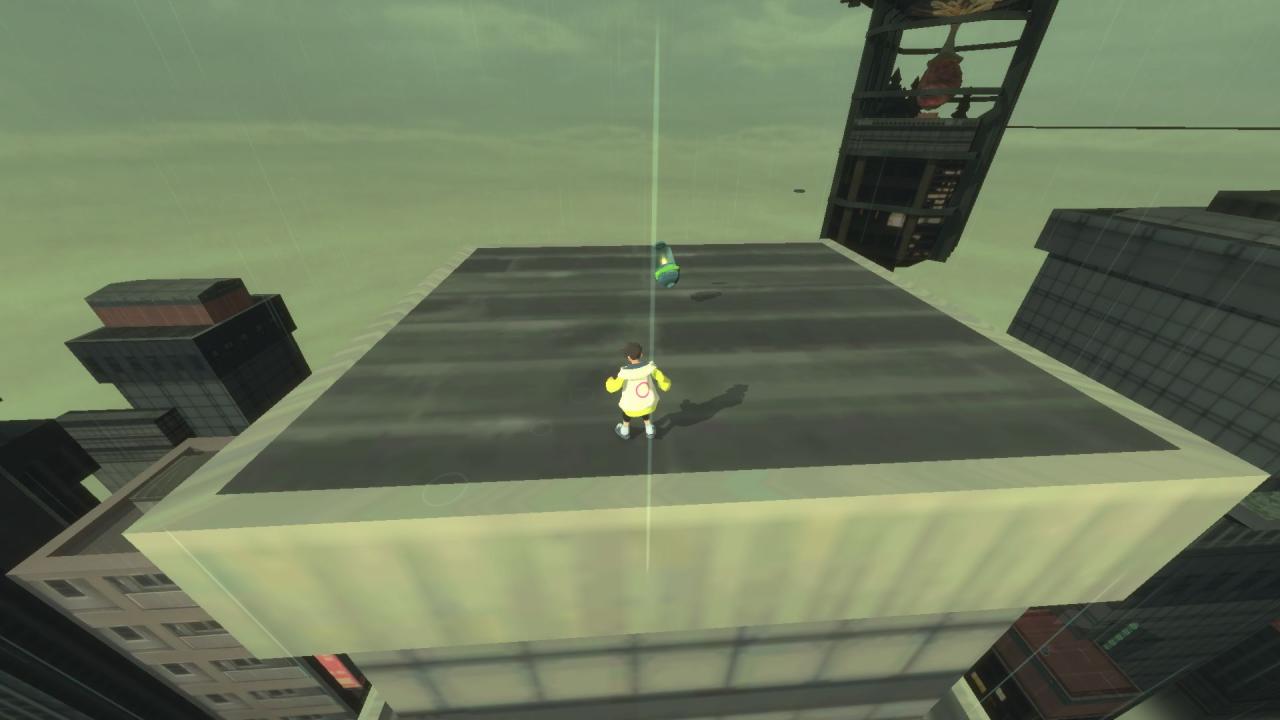
Just before dropping onto the tracks that lead to the city is a pillar with a capsule.

Above the entrance to the city.
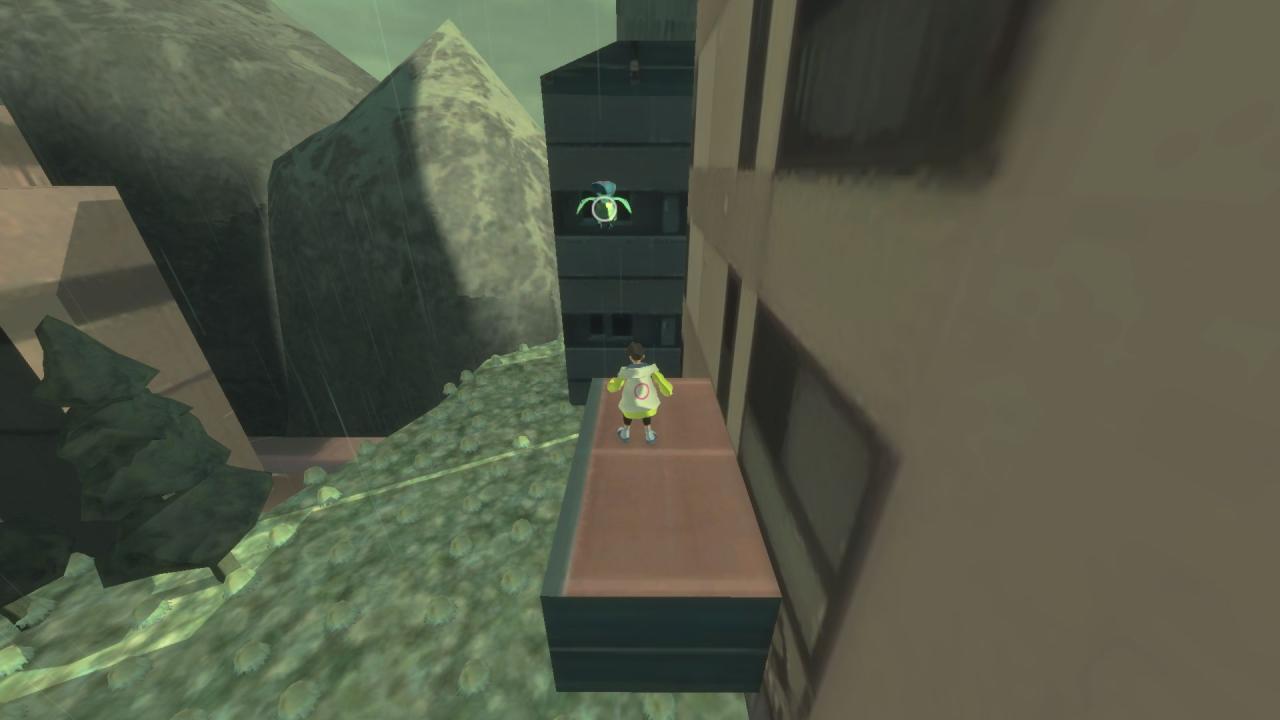
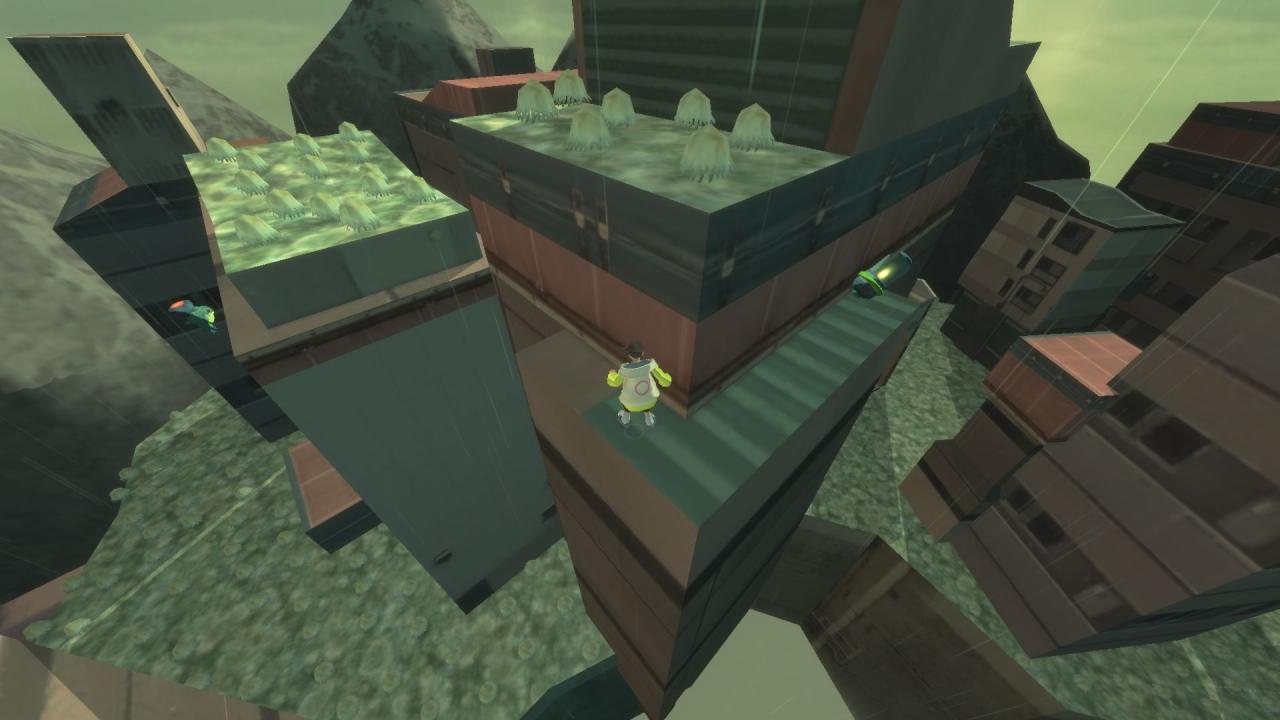
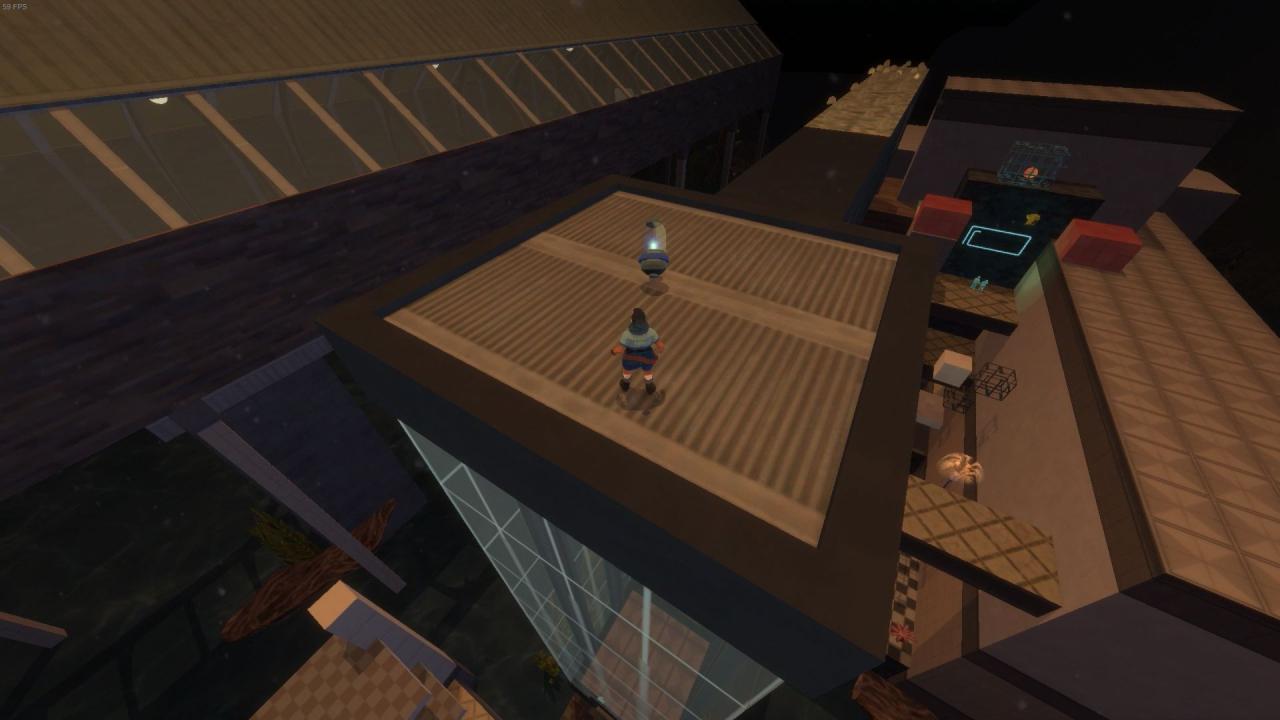
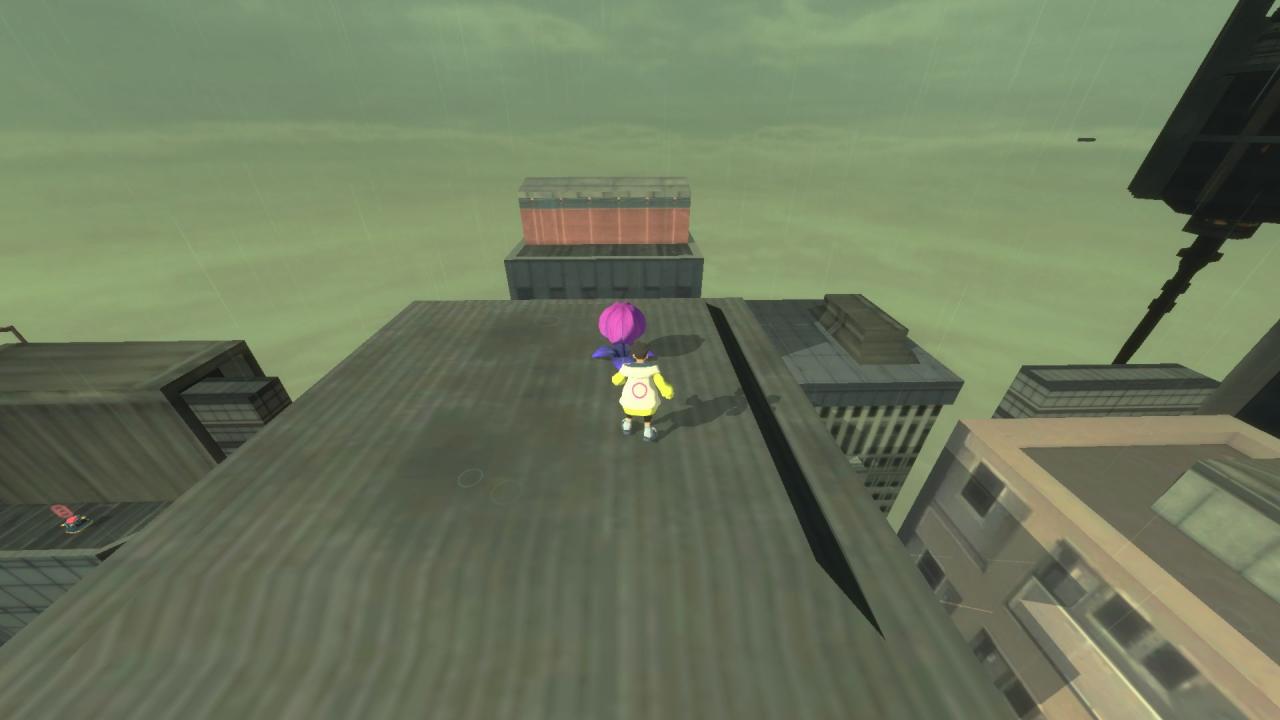
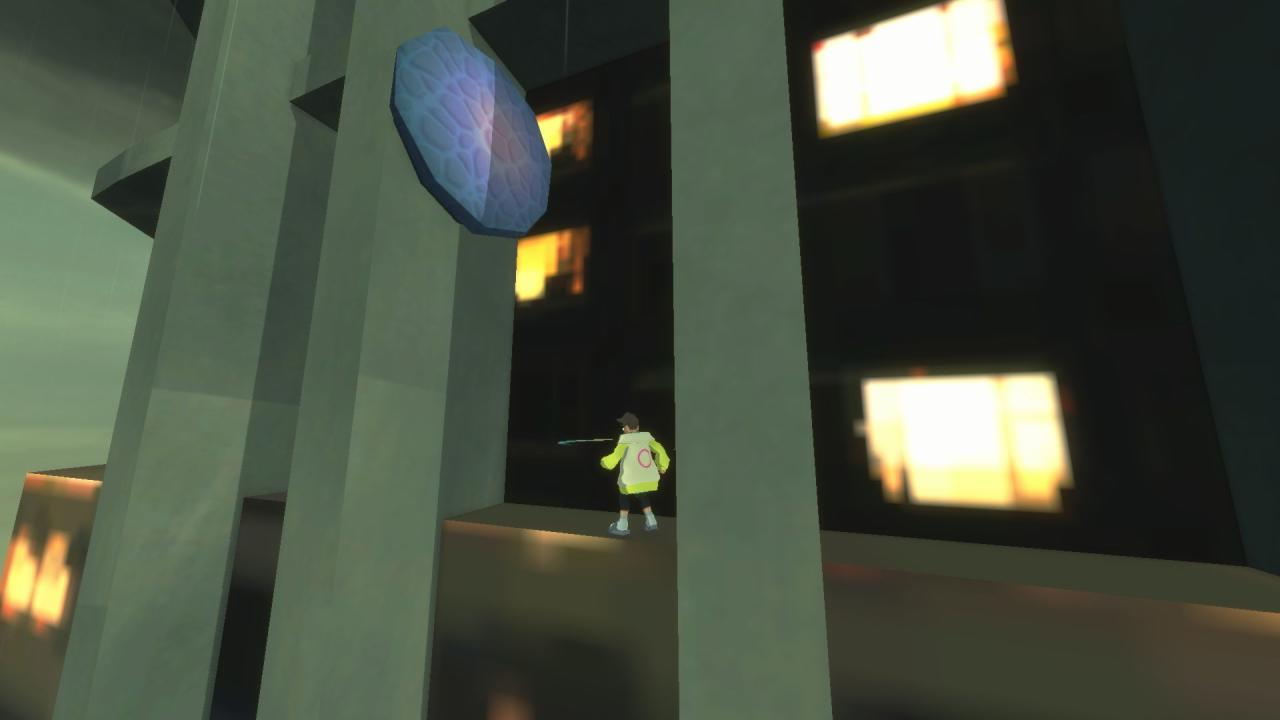
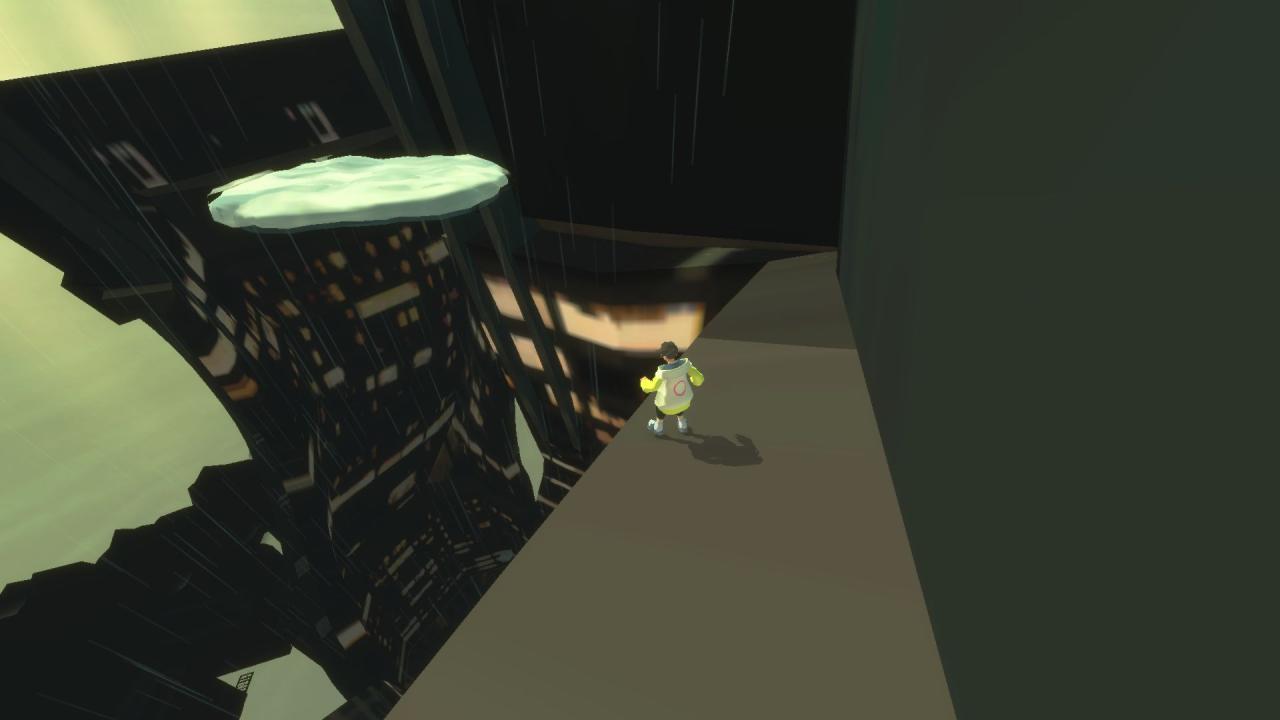
Climb onto the roof of the building opposite in the screenshot. Jump to the next roof and follow the narrow ledges to the capsule.
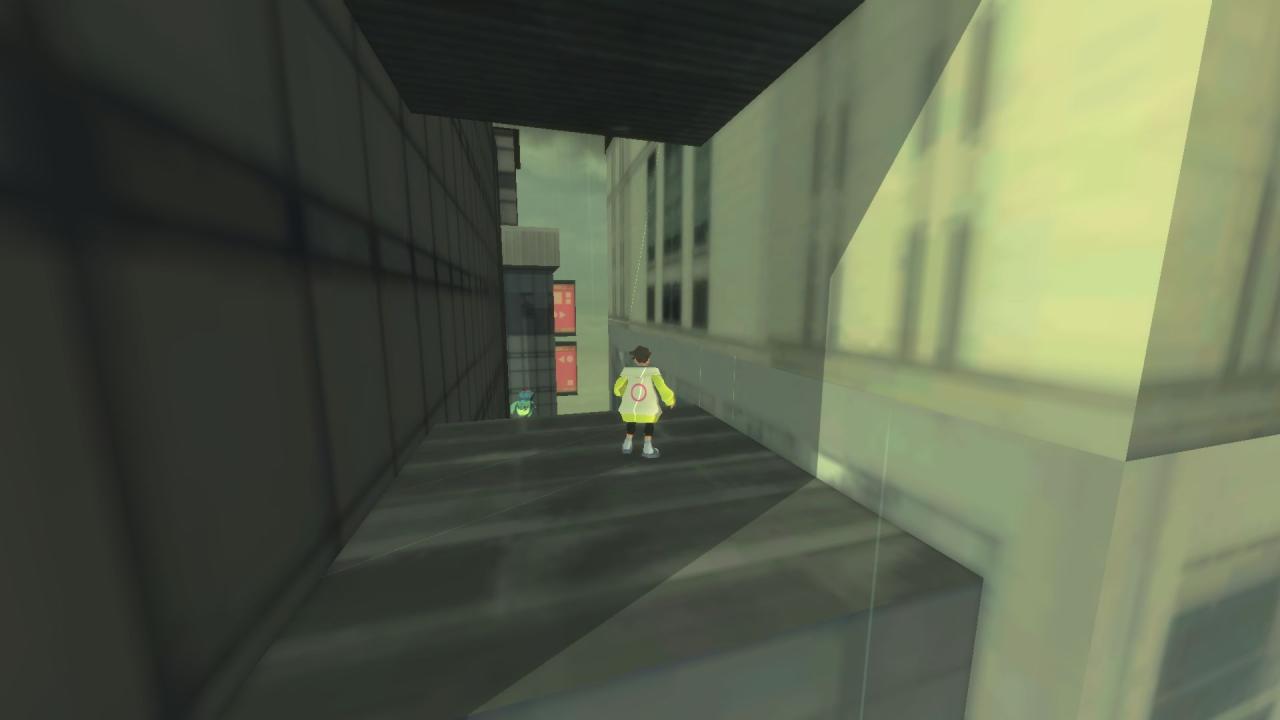
Eventually you’ll drop down onto a narrow pathway leading into a bedroom. Look right immediately after dropping down to find the creature.
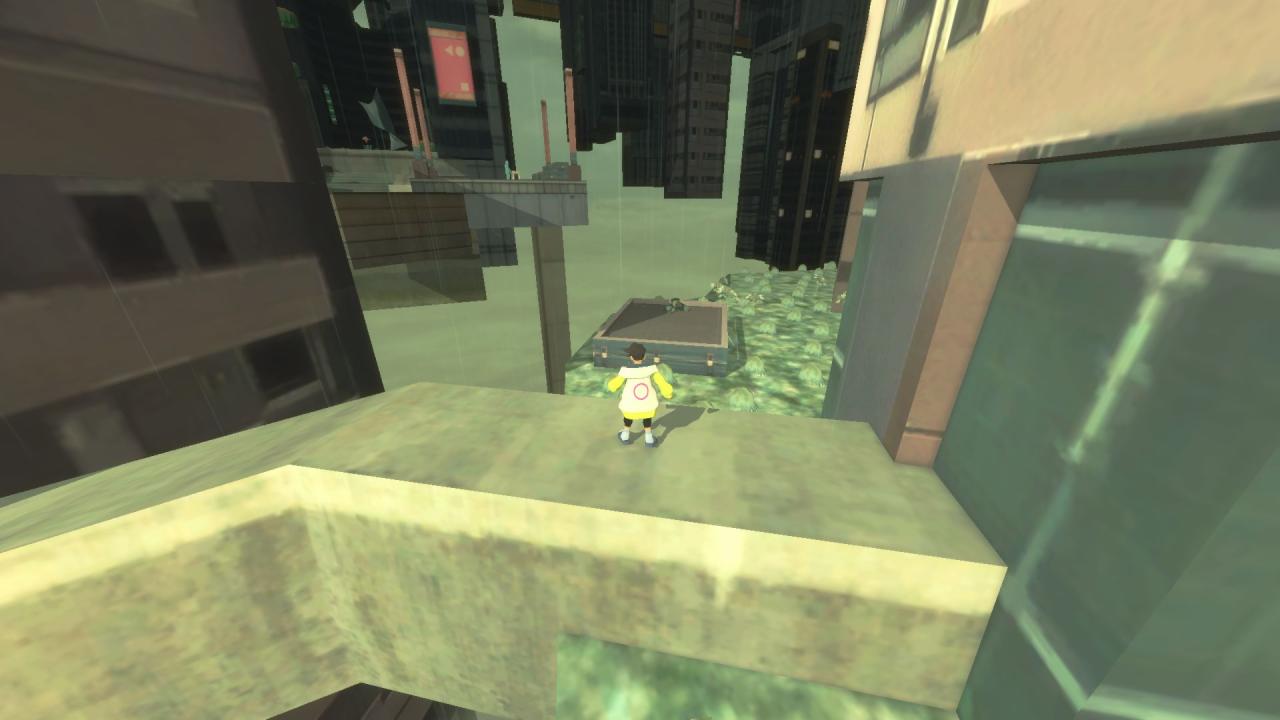
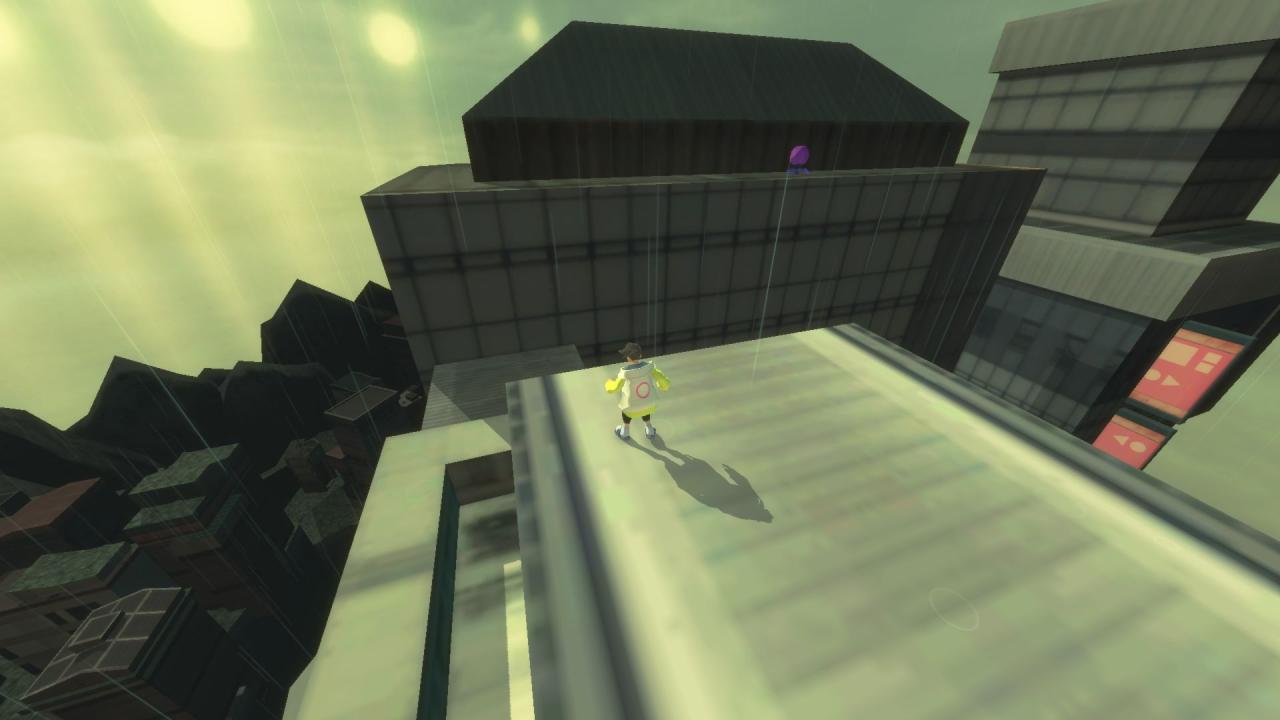
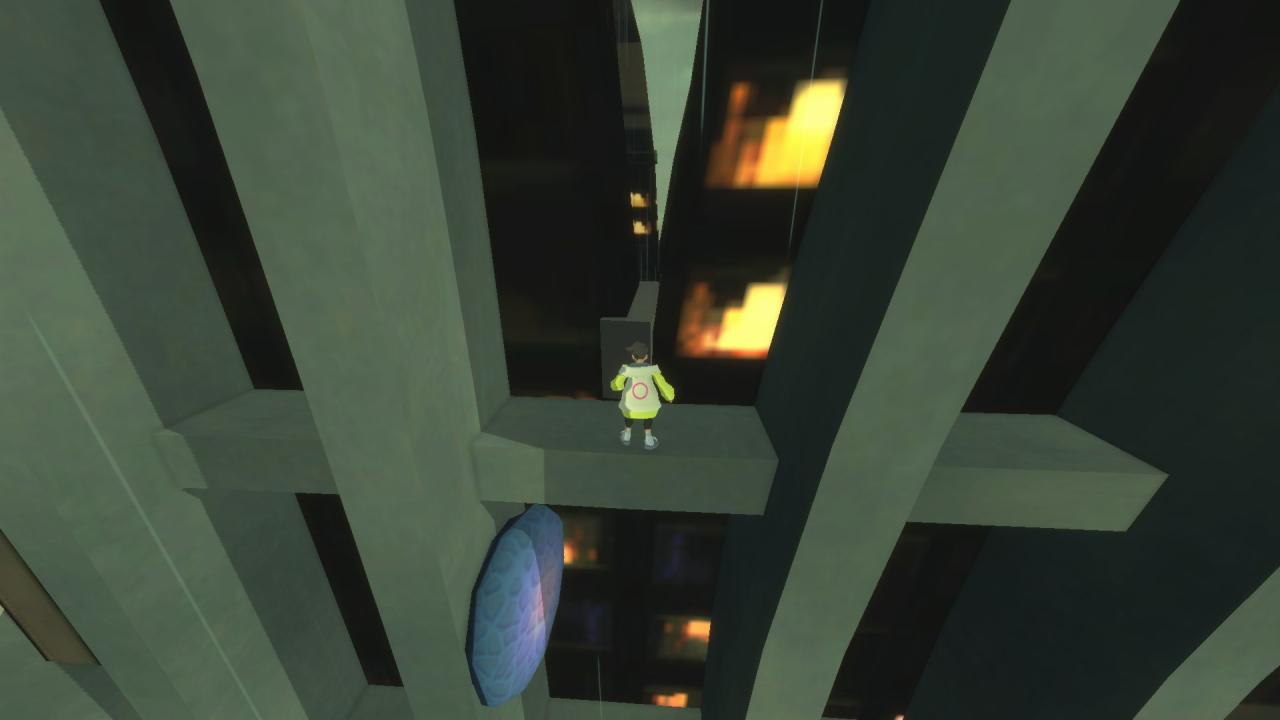
Once you reach the plaza, climb up the wall, and jump over to the capsule.
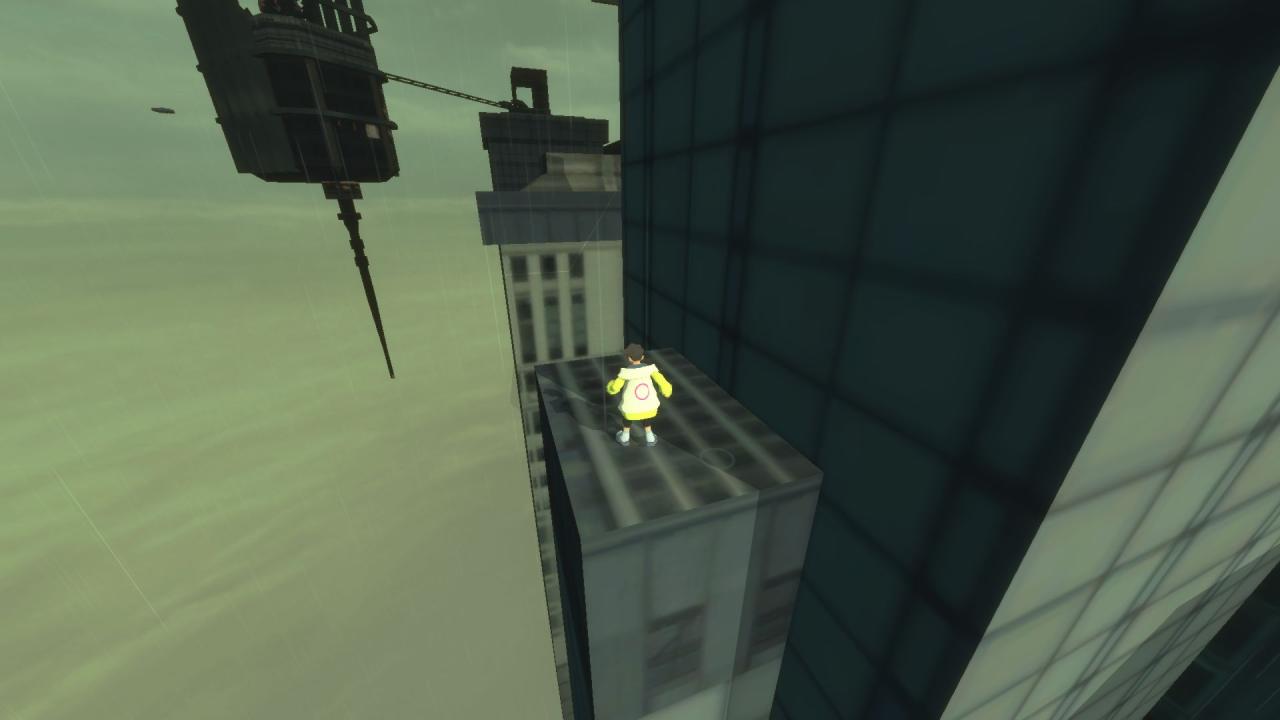
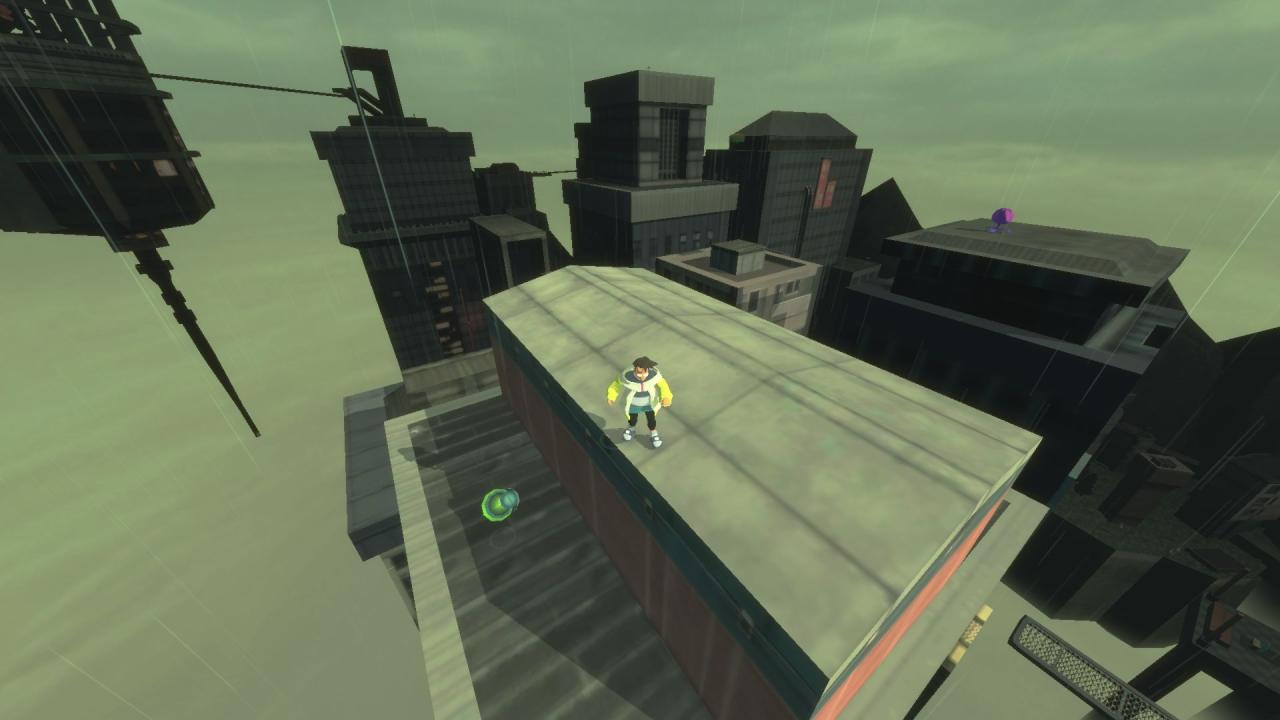
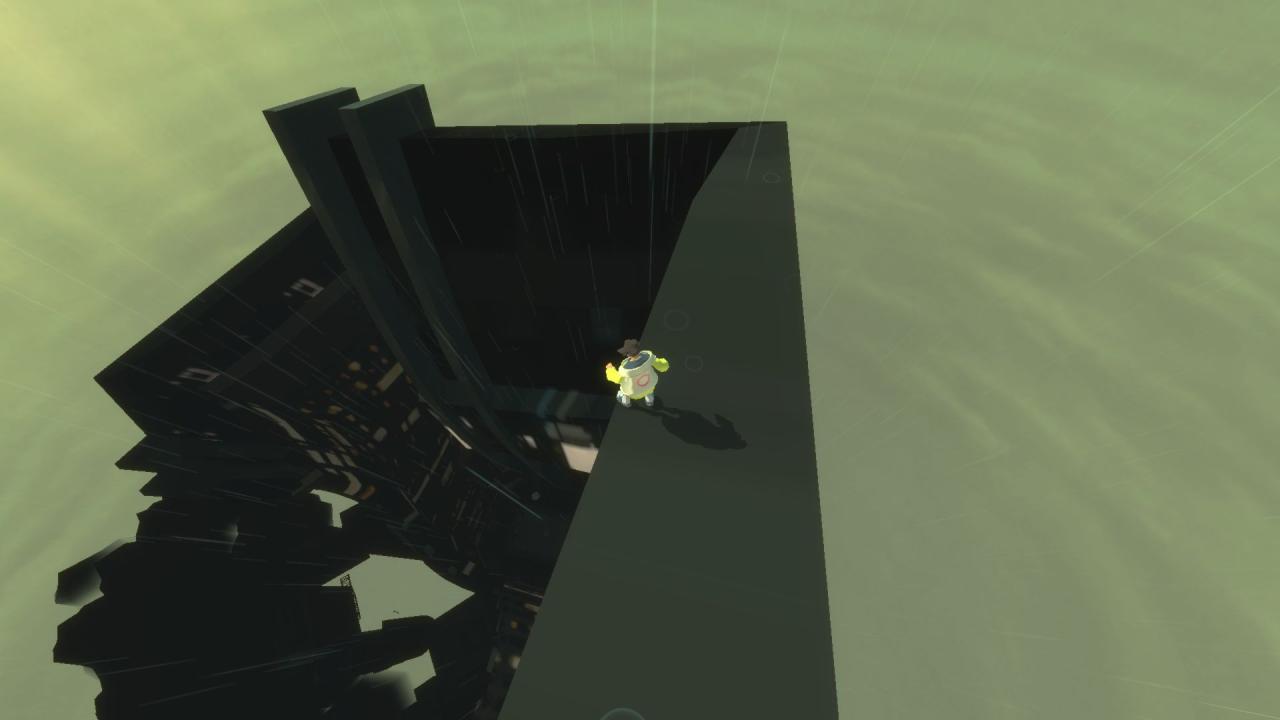
When you reach the moving grey/yellow walls, wallrun across the first the gap and jump to the red platform. Get onto the rooftop and jump from rooftop to rooftop to the capsule.

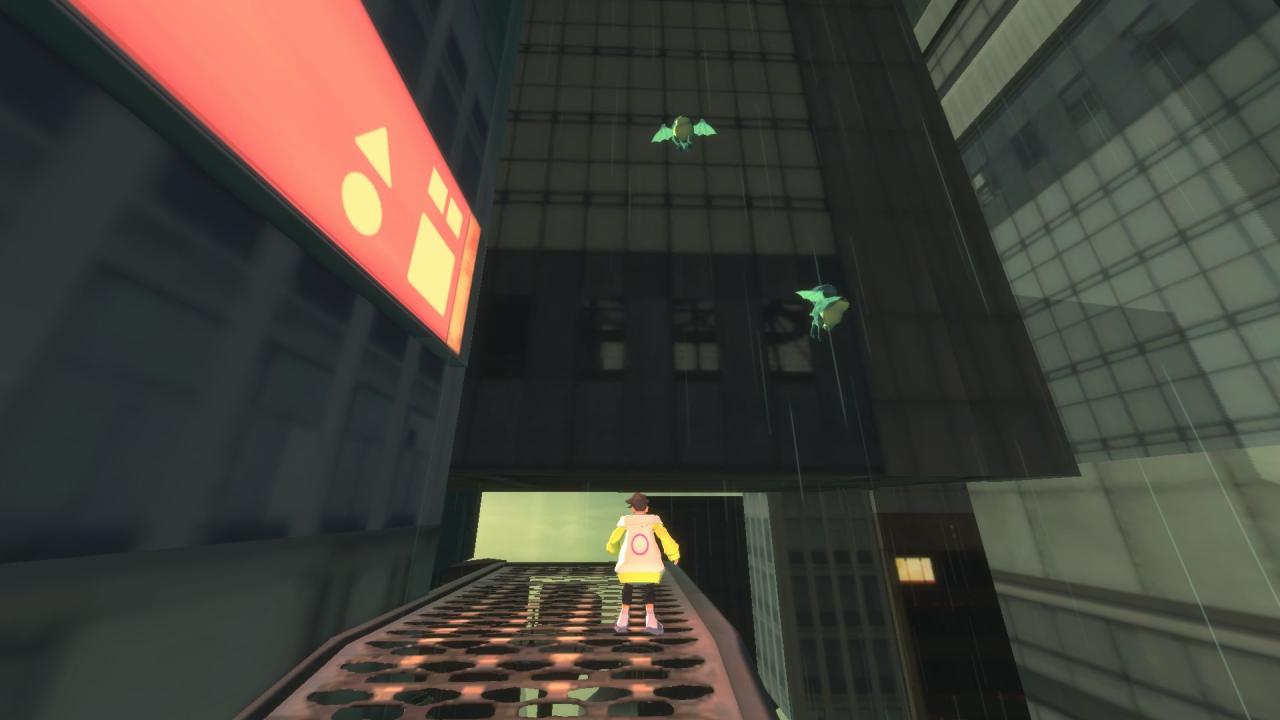
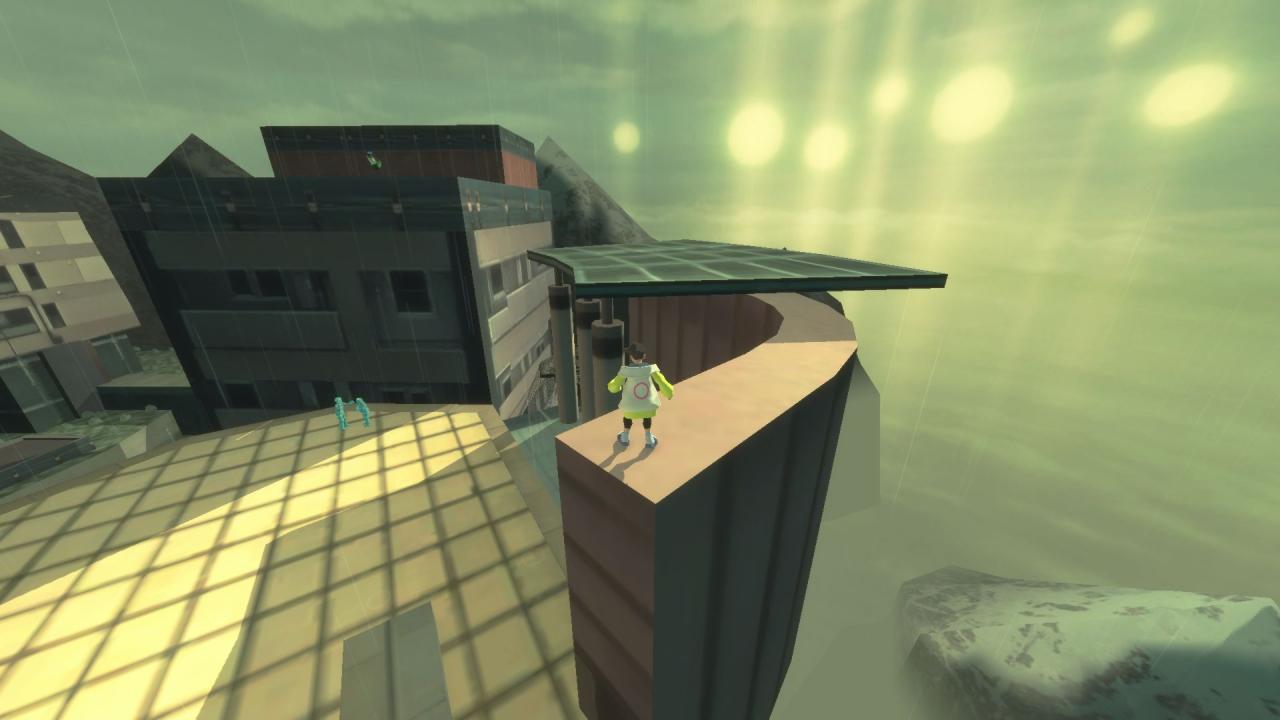
After jumping to the curved ledge, turn around and wallrun jump to the metal walkway. Climb up the two ribbats to the capsule.
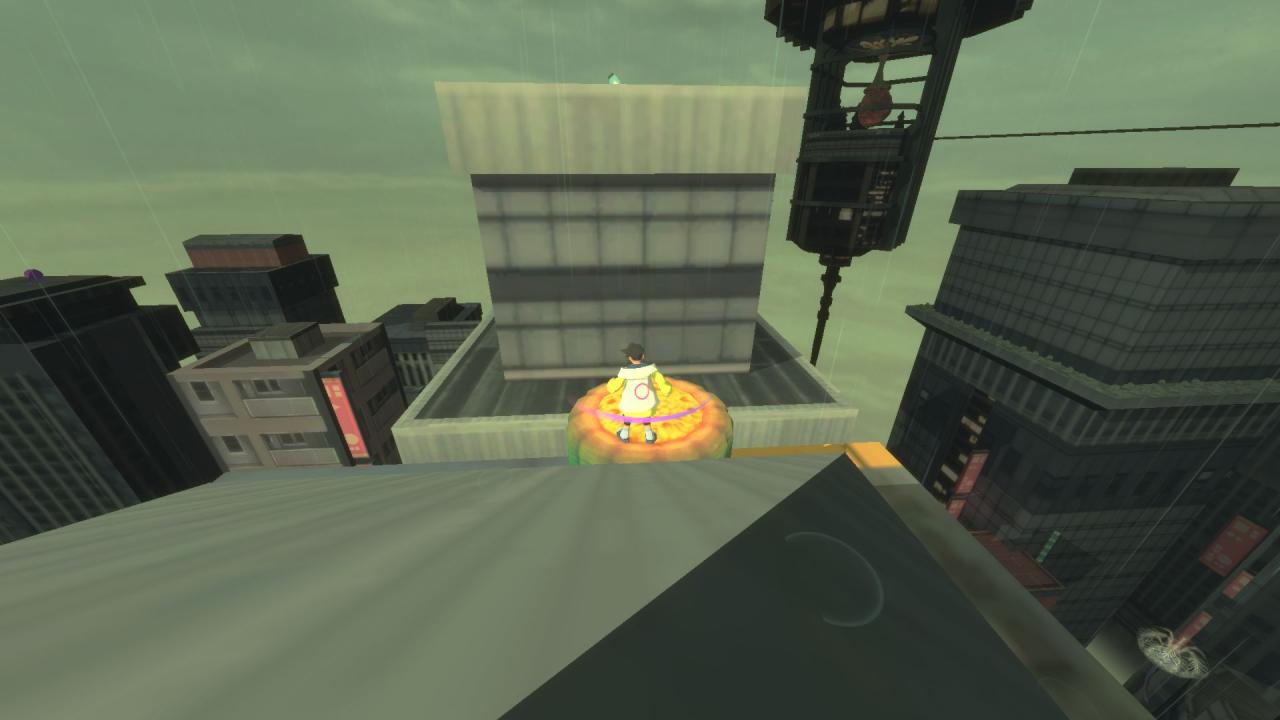
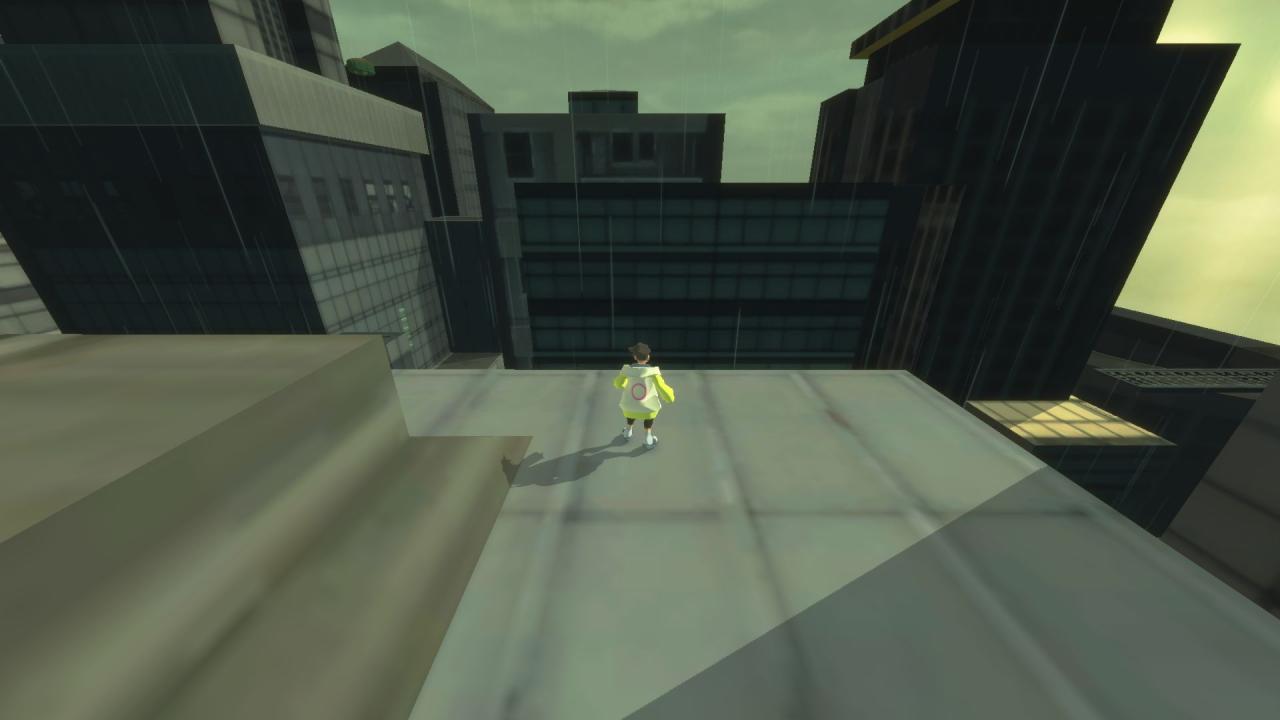
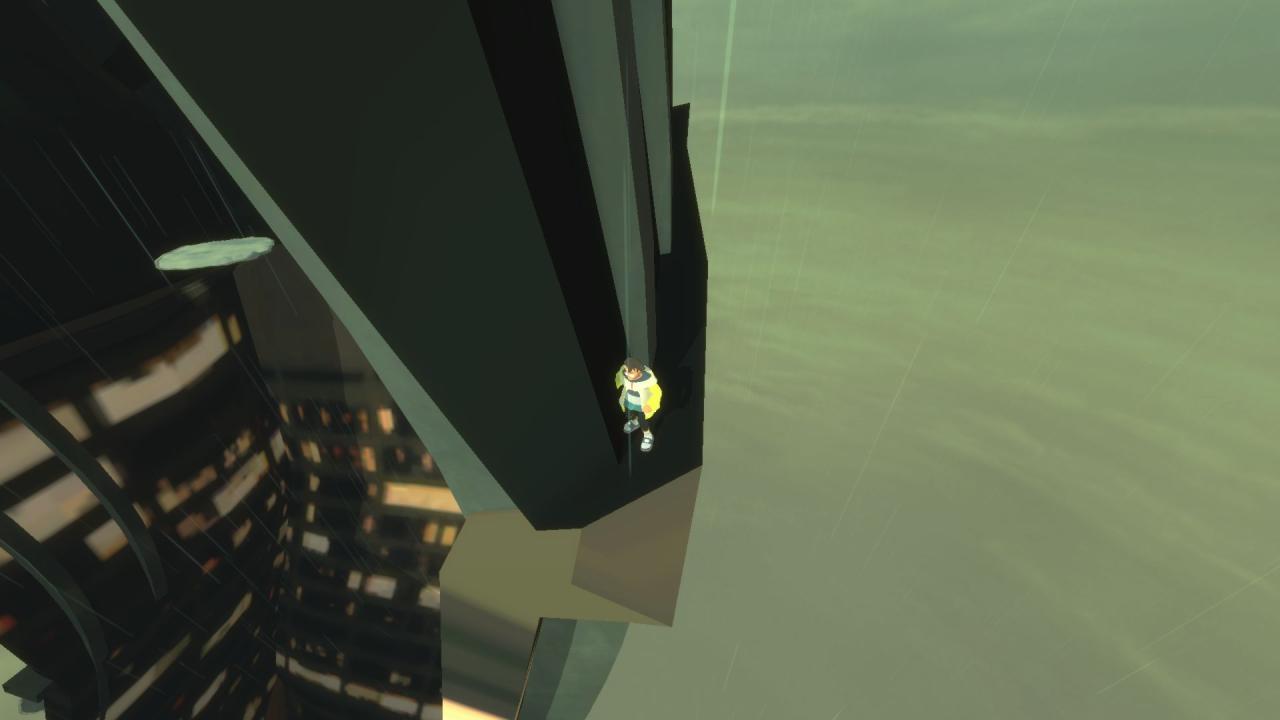
Turn around immediately after the previous item and wallrun jump to the rooftop on the right. Jump to the purple bulb, climb onto the jump booster and across to the next rooftop with the capsule.
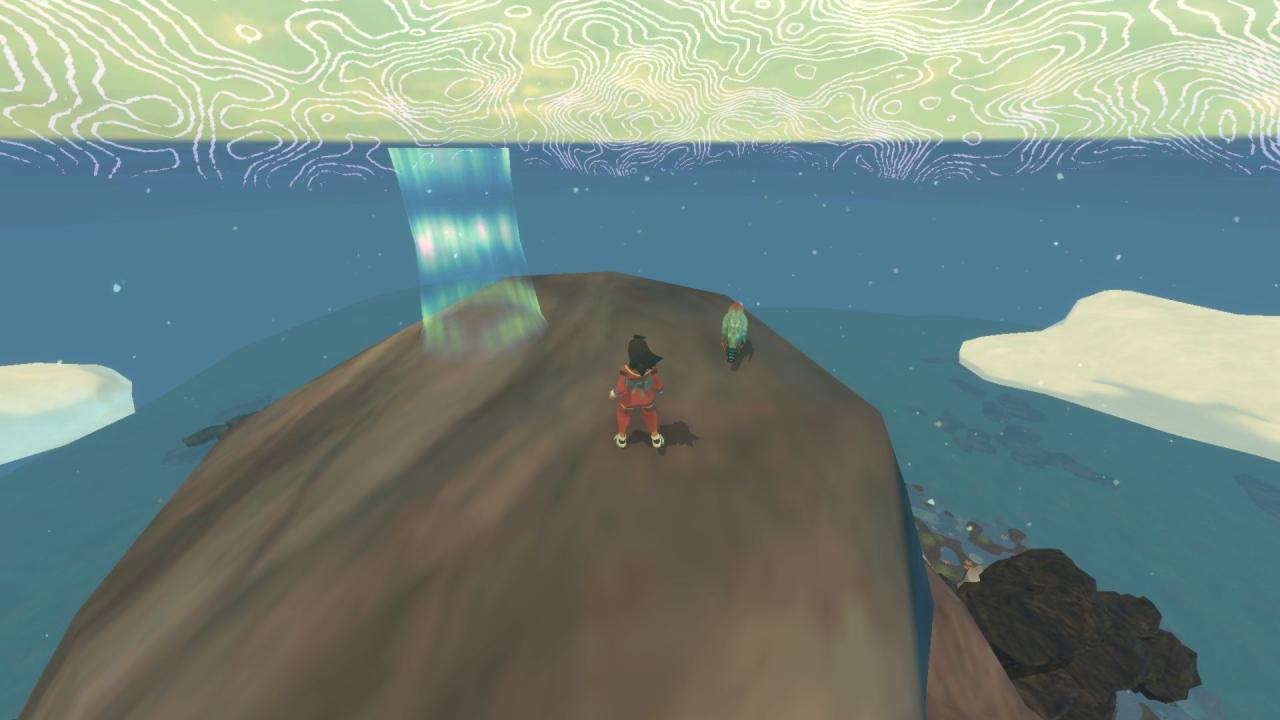
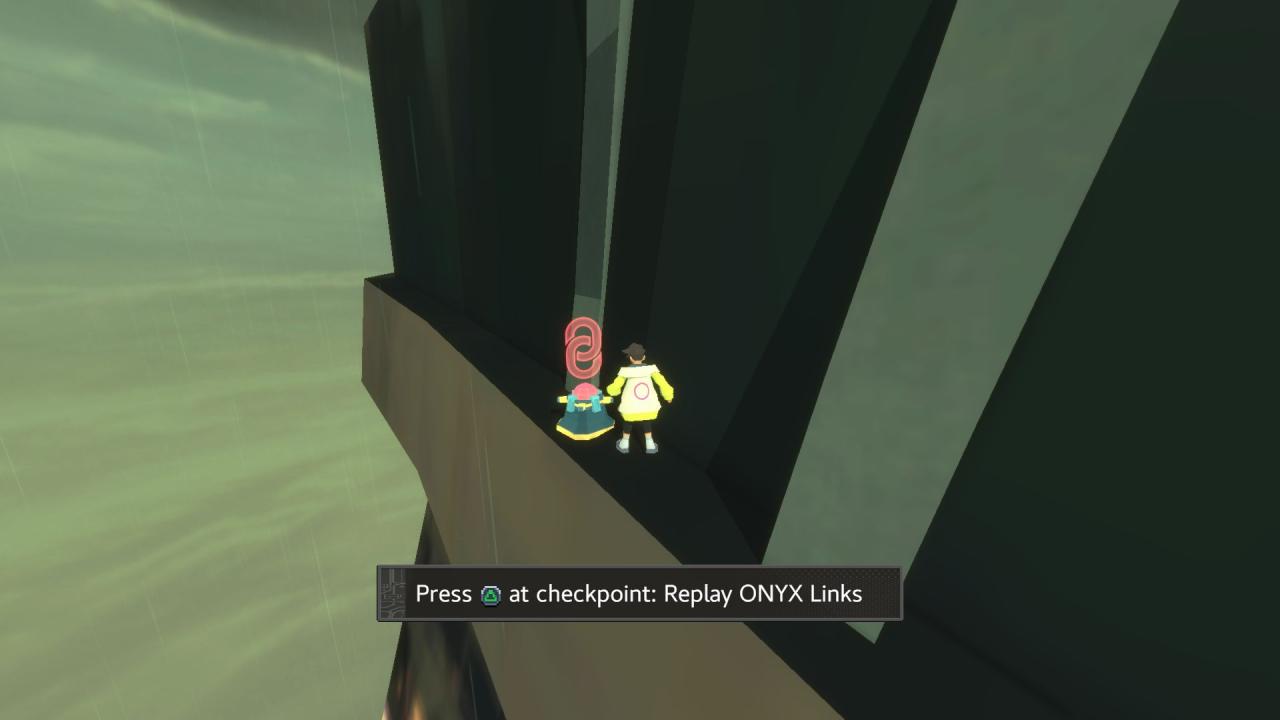
Story. Key species #5.
Given by Bathysmus.
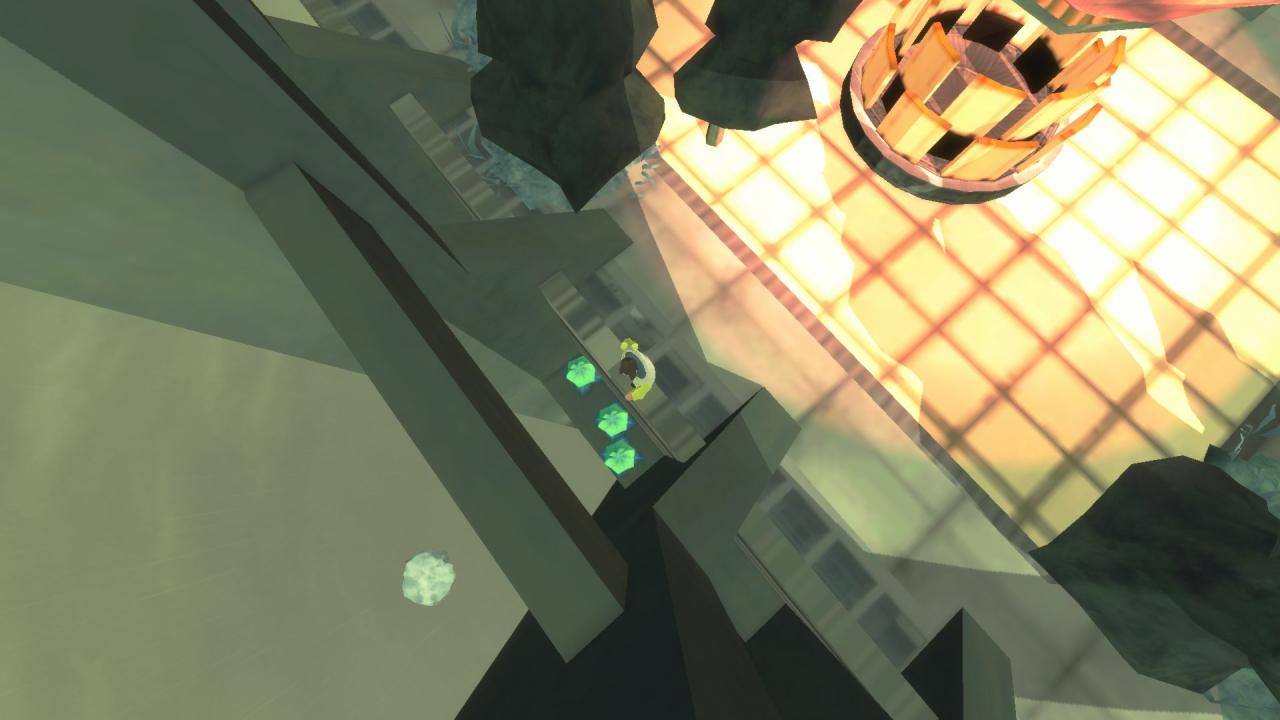
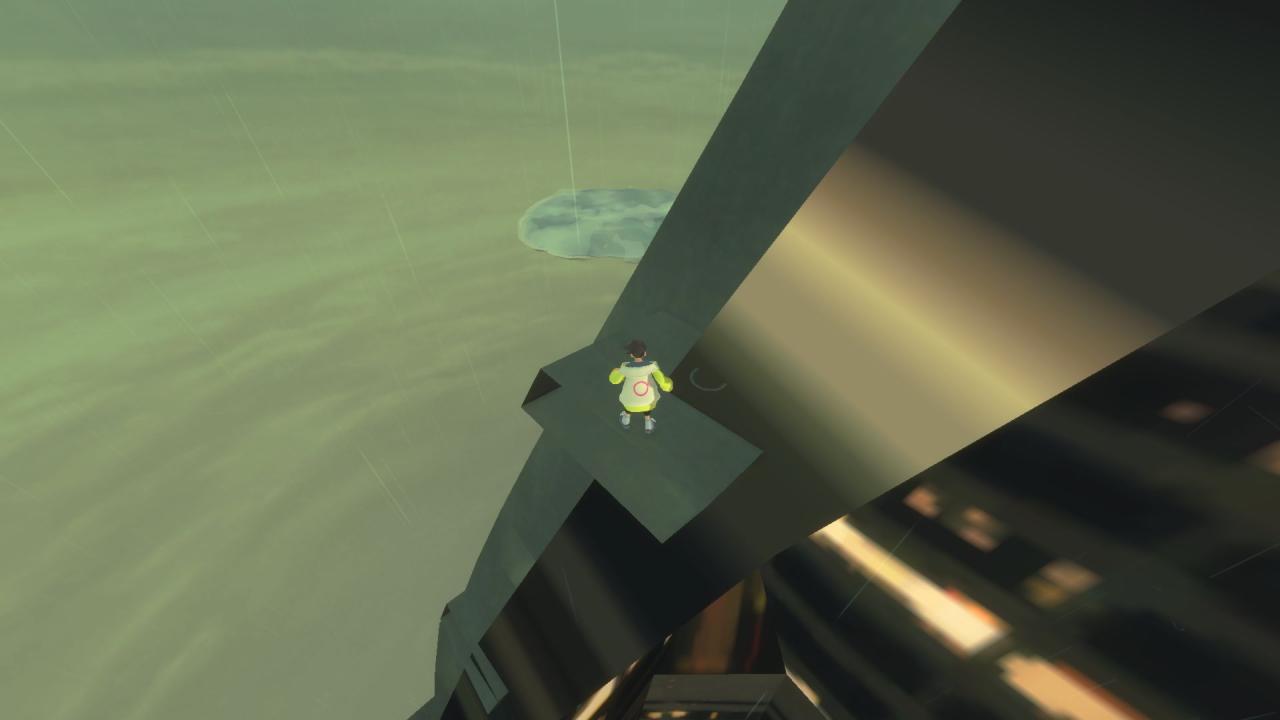
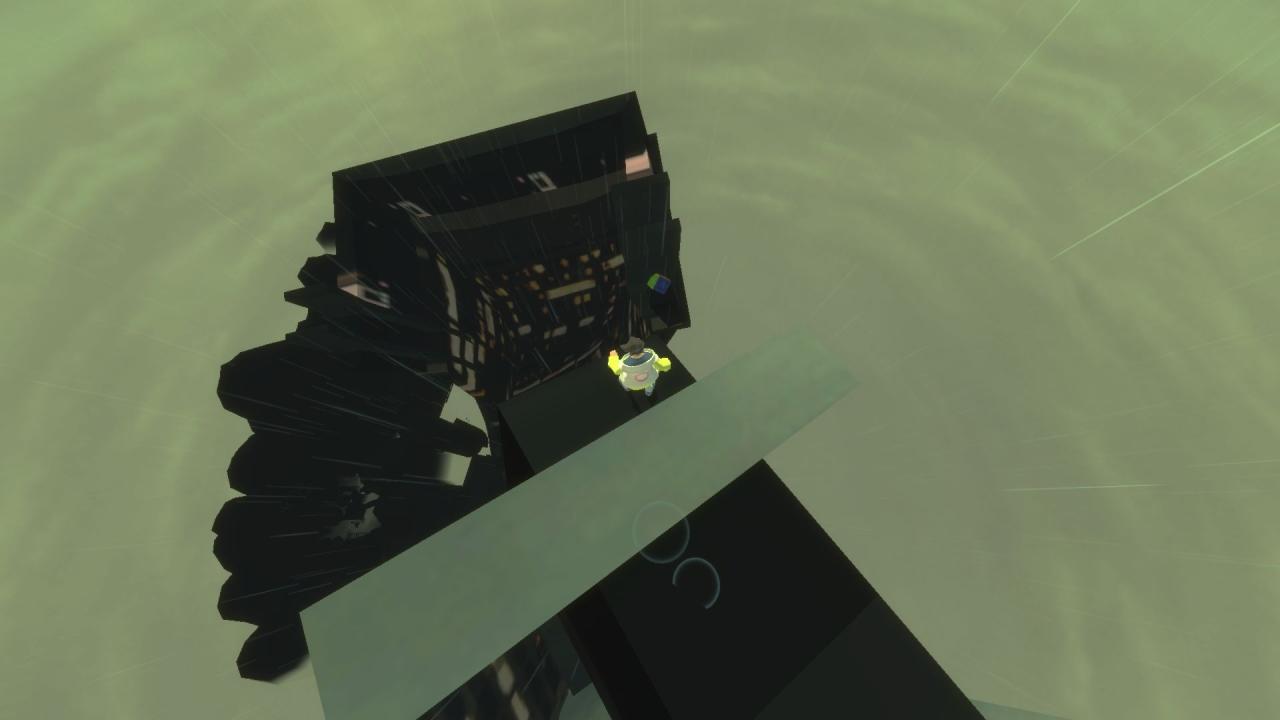
After linking with Bathysmus, head behind it to find a bounce cloud and three green bulbs. Grab them and use the bounce cloud to reach a high ledge with a jump pad. Use the pad to reach an even higher ledge, go through the gap and fall to a checkpoint. Bounce up the next three clouds to another checkpoint. Follow the narrow ledge around the building, and drop down to the lower ledge. Follow the ledge to another cloud and bounce up to the very top of the building. Follow the path to the end and drop onto the item.
Story.
Creature List
- Thraskias (Creature #11)
- Pomelia (Creature #16)
- Chandramita (Creature #20)
- Nemagnathi (Creature #29)
- Bathysmus (Creature #34)
- Riyou (Creature #35)
- Rapscallion Finch (Creature #30)
- Dreaming Coralyde (Creature #01)
- Faithful Coralyde (Creature #02)
- Ballastile (Creature #04)
- Martyr Whale (Creature #03)
- Chorapod (Creature #05)
- Clown’s Balloon (Creature #06)
- Cave Bishop (Creature #08)
- Dreamsipper (Creature #07)
- Flyreaper (Creature #09)
- Quahosaur (Creature #10)
- Odeonoptera (Creature #13)
- Shackleworm (Creature #15)
- Sushruta’s Lichen (Creature #14)
- Pteromin (Creature #12)
- Cragfruit Tree (Creature #19)
- Isle Auroch (Creature #17)
- Charge Viper (Creature #18)
- Vulture Locust (Creature #21)
- Pearl Belt (Creature #23)
- Featherknight (Creature #22)
- Boring Crab (Creature #24)
- Colossal Cagefish (Creature #27)
- Flotsam Octopus (Creature #25)
- Peacock Kelp (Creature #26)
- Peacock Kelpwyrm (Creature #28)
- Intrepid Bowerbird (Creature #32)
- Plurifera (Creature #31)
- Ghost Tarantula (Creature #33)
Item List
- Barrier Fallout Resistance (Item #16)
- Ribbat Grapple (Item #26)
- Fusion Cells (Item #34)
- Reveal (Item #50)
- Fungal Eraser (Item #61)
- Amy Meets ONYX (Item #02)
- Riyou Meets ONYX (Item #01)
- Ing-wen Meets ONYX (Item #52)
- Riyou’s Lost Photo (Item #53)
- Amy’s Lost Quarter (Item #54)
- Ing-wen’s Lost Book (Item #51)
- Ing-wen’s Point Sticker (Item #09)
- Riyou’s Conbini Receipt (Item #10)
- Amy’s Plastic Bag (Item #13)
- Ing-wen’s Chewing Gum (Item #18)
- Riyou’s Phone Charger (Item #19)
- Amy’s Baggage Tag (Item #24)
- Ing-wen’s Climbing Memory (Item #08)
- Riyou’s Fern Memory (Item #12)
- Amy’s Mushroom Memory (Item #07)
- The Color Red (Item #15)
- Sound of Falling Pebbles (Item #14)
- An Ordinary Pebble (Item #11)
- Speculation On Wet Leaves (Item #06)
- Amy’s Honey Roasted Peanuts (Item #05)
- Riyou’s Beek Jerky (Item #03)
- Ing-wen’s Wafers (Item #04)
- The Color Green (Item #23)
- White Plant Pod’s Life (Item #27)
- A Sea of Trees (Item #28)
- Amy’s Fast Food Plate (Item #25)
- Ing-wen’s Headphones (Item #22)
- Riyou’s Espresso Maker (Item #17)
- Amy’s Tree Memory (Item #20)
- Riyou’s School Memory (Item #21)
- Agriculture Exploitation Sim (Item #35)
- Escape From Tonjima (Item #36)
- Kirakira Datespot VR (Item #40)
- Ing-wen’s Goodnight ASMR (Item #38)
- Amy’s Shredder Videos (Item #39)
- Riyou’s Rhythmic Ambiences (Item #37)
- Swampy Blue (Item #43)
- Primeval Bubbling (Item #41)
- The Grain of Sand (Item #42)
- Dream of Asia (Item #44)
- Sakura Personal Messenger (Item #45)
- Two Play Programmes (Item #47)
- Children’s Book Idea (Item #49)
- Mall from the Swamp (Item #46)
- Lonesome Ceiling Tile (Item #48)
- Fifty Push-Ups (Item #55)
- Lucky Boxers (Item #56)
- Summer Classroom Memory (Item #57)
- Sauce Collection (Item #58)
- Streaming PIN (Item #59)
- Unbuttered Microwave Popcorn (Item #60)
- The Urban Cave Rises (Item #62)
- A Second Kiss (Item #30)
- The Concert (Item #32)
- Neighbor’s House (Item #31)
- Jade Dragon (Item #33)
- Bursting of a Prairie (Item #29)
That’s all we are sharing today in Sephonie – Achievements, Creatures & Items Guide, if you have anything to add, please feel free to leave a comment below, you can also read the original article here, all the credits goes to the original author alphabetsoup