Introduction
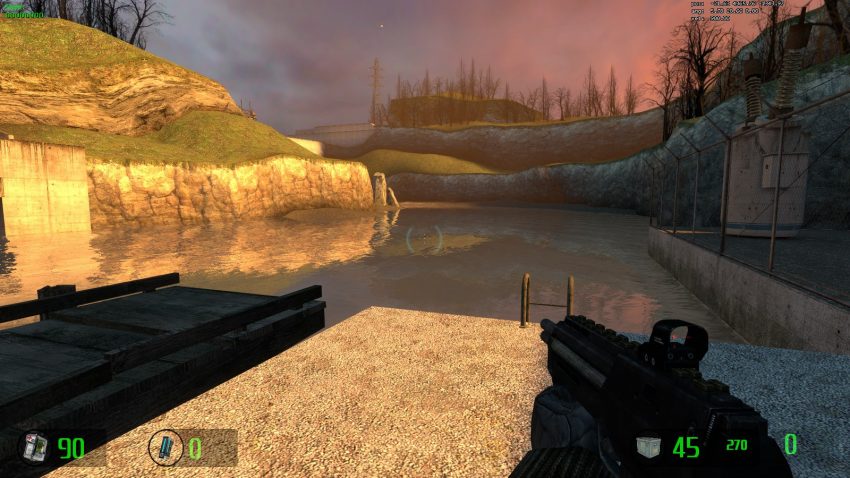
The current public release still uses Source SDK 2007, which presents a few weird quirks that this guide aims to help alleviate.
With that said, let’s dive in.
Installation
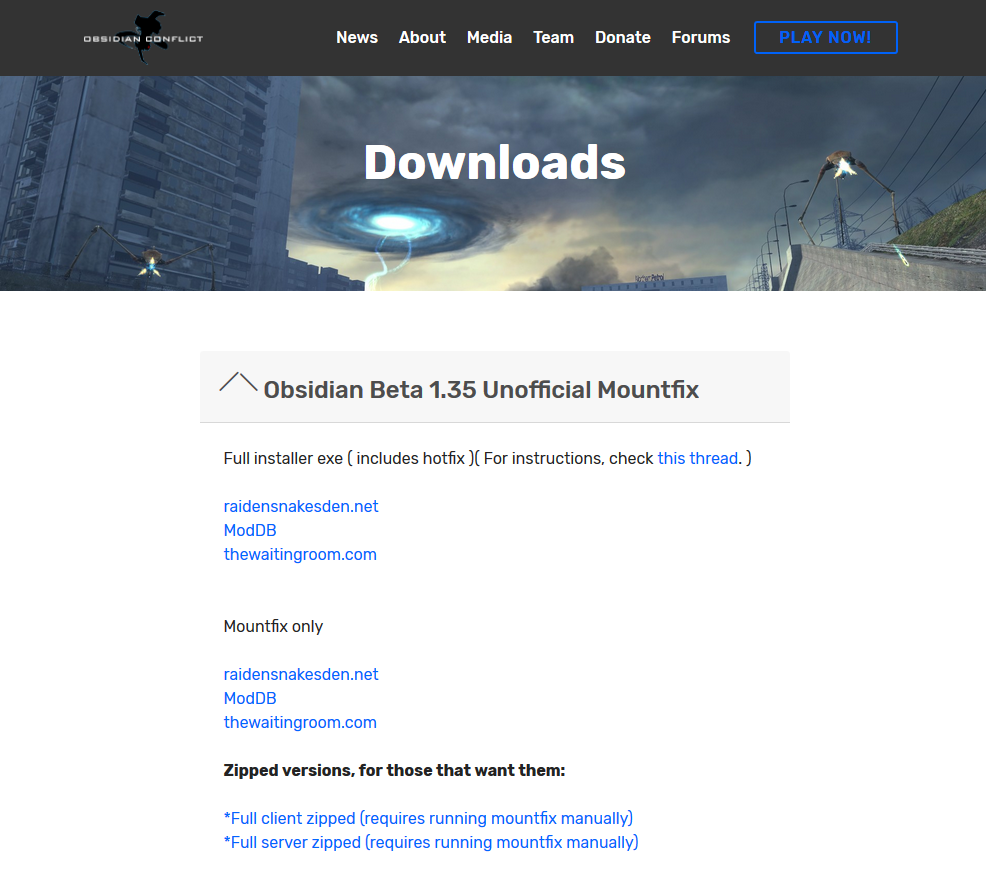
As of this writing, you want the version named Obsidian Beta 1.35 Unofficial Mountfix. Download the installer program from your mirror of choice, and run it. As of writing, the file is nominally 666 MB.
Run the installer program, to be greeted by the standard Windows prompt.
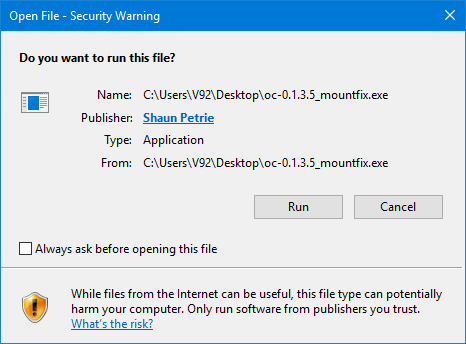
Approve the prompt to continue. You should next see a language selection prompt.
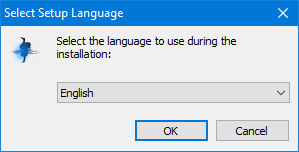
Select your language of choice, and move on to the path selection.
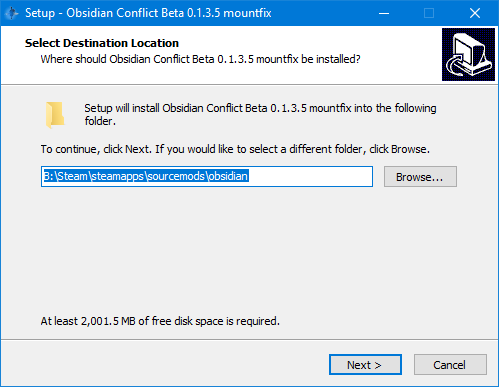
Please note, by default, Steam can not see “sourcemods” folders outside of your default Steam install path, and as such this guide will reflect that. Choose your sourcemods path and click continue. For reference, by default it is likely:
If the following prompt appears:
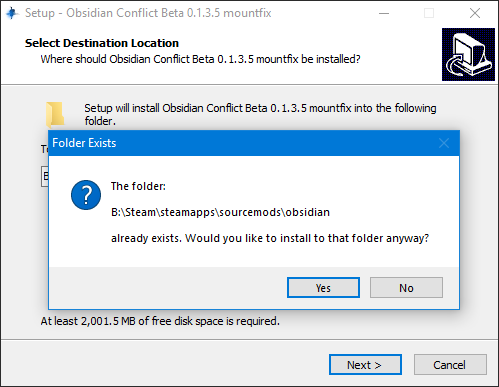
You might have Obsidian installed already, and it has detected the folder. If desired, check for old files you want to keep, and continue with the installer.
Next, we’ll go over client versus server.
Client or Server?
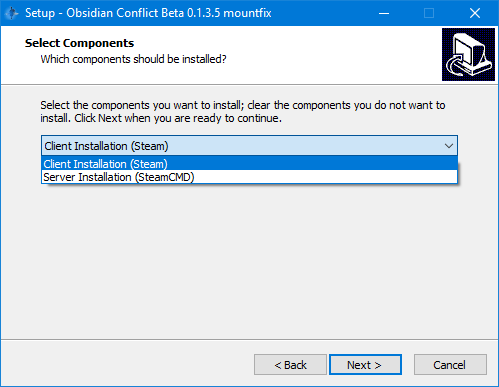
If you plan on playing the game on the install machine, you should pick client.
If you plan on purely hosting a game on the machine, and never playing, you should pick server.
For servers, usage of SteamCMD is a whole other can of worms than a client install. We’ll cover that later.
Client Install
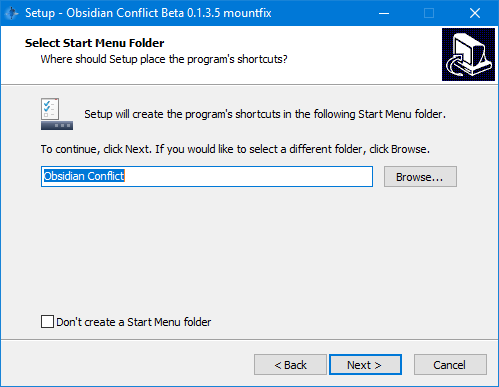
Next, the installer will ask if you want a Start Menu shortcut to be added. Dealer’s choice on this, depending on if you use your Start Menu for Steam games & such.
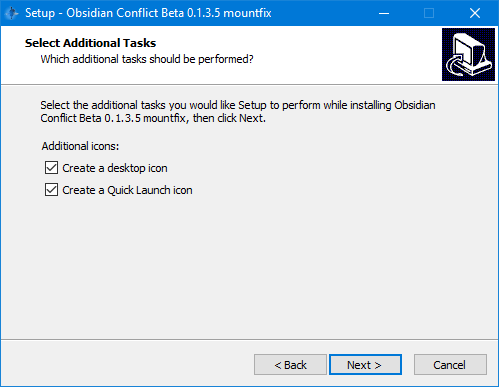
Next, it will prompt to see if you want a Quick Launch or Desktop Shortcut, and is also dealer’s choice.
The final prompt after this, will be a confirmation screen to check and make sure your paths/choices are correct.
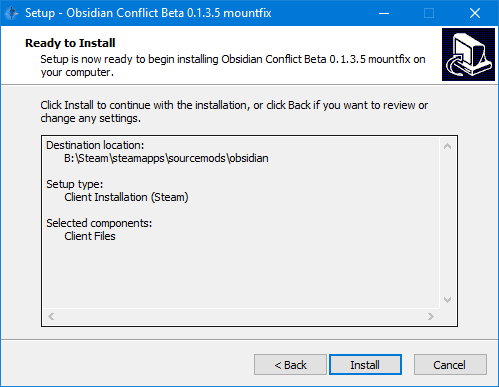
After hitting continue, this screen will appear:
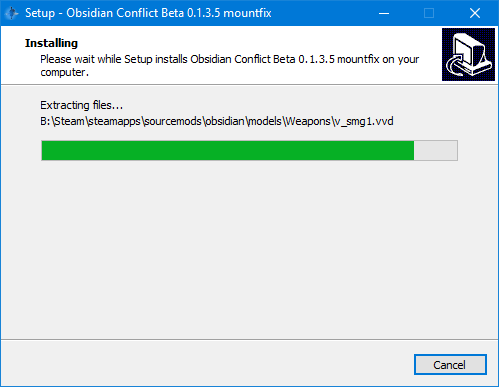
This is the program installing Obsidian’s own custom files. Sit back and wait, as after this scren finishes, this screen will appear:
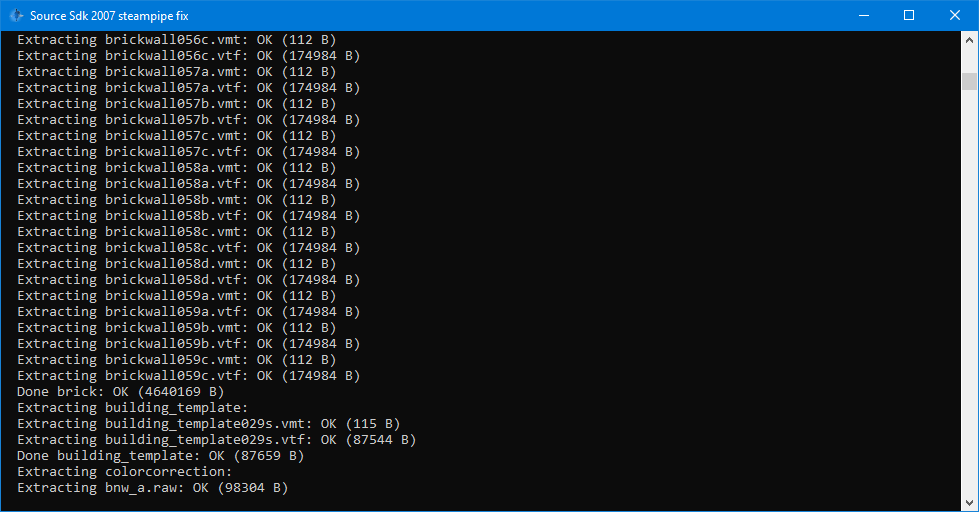
This is the trust Windows Command Prompt, which is installing the mount files for Obsidian.
Why does this exist? Blame Valve sending the older Game Cache File system to the bin and replacing it with the Valve Pak system. Since .GCF files no longer exist (and as a result, mods like Obsidian can no longer read from them due to them not existing), to make the mod work a script had to be written that would copy the needed files from mountable games to the OC folder.
In the upcoming public release version on Source SDK 2013, this is a thing of the past, so enjoy it while it lasts.
After a while you’ll see this prompt once the command line screen finishes:
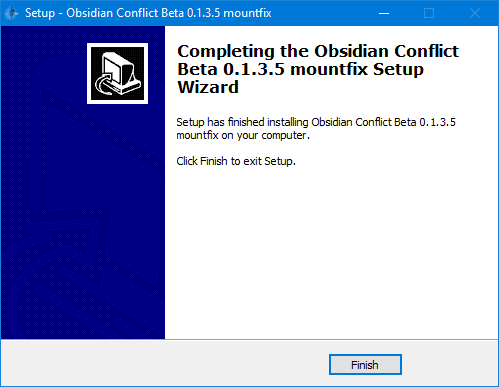
Obsidian is now ready to play. Due to the old Sourcemods system being a bit antiquated, Steam won’t detect the mod in your library until it is rebooted. Close out Steam and relaunch if to have Obsidian appear in your library.
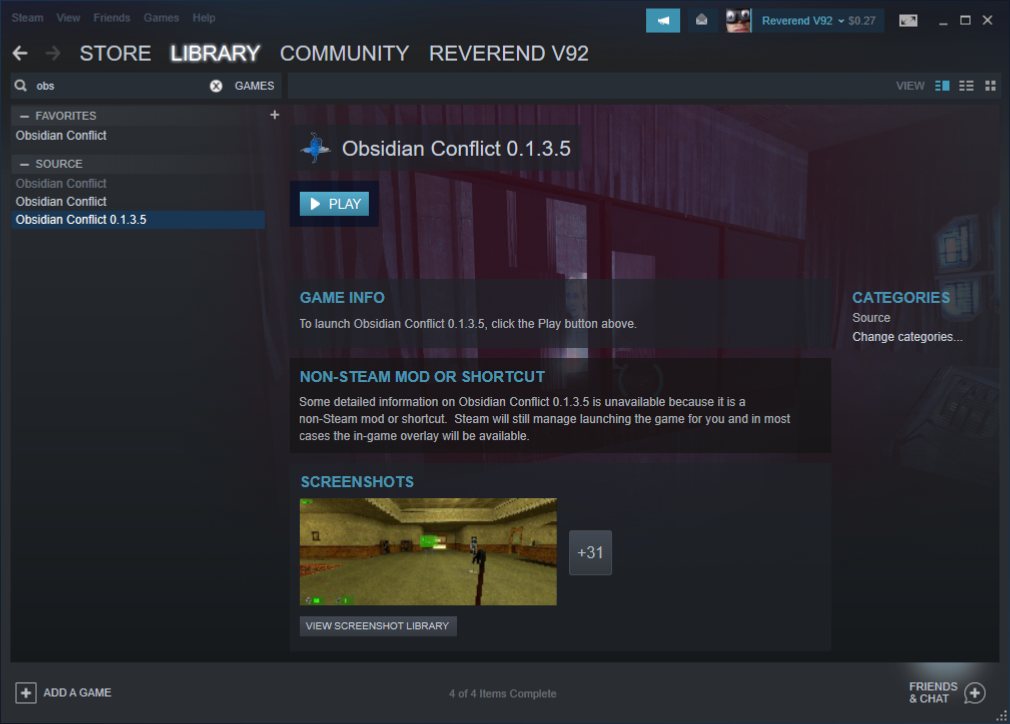
Client Setup
When you start the game, you should see one of the background images:
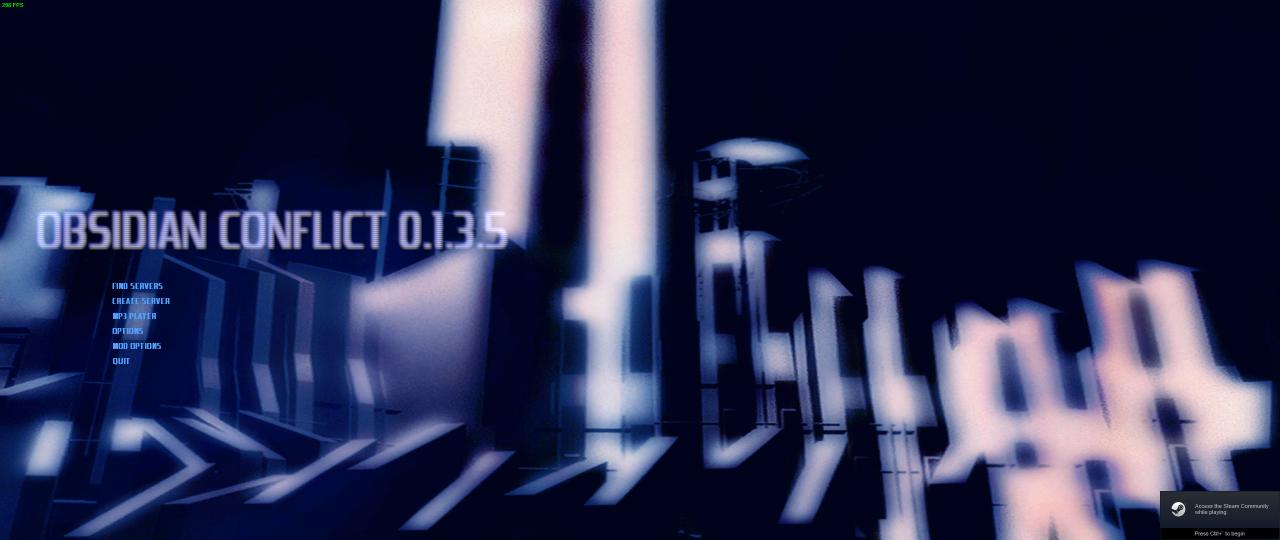
The most important of which is to go to the Find Servers button, and click it.
You should see this:
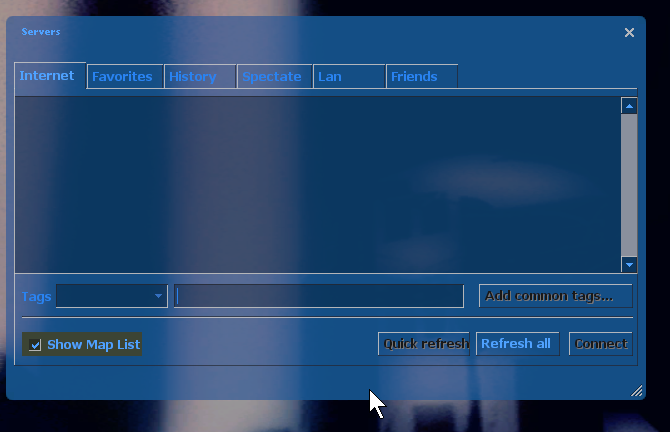
See anything wrong here? No servers?
There’s a little checkbox at the bottom left you need to uncheck, and then after doing so hit Refresh All.
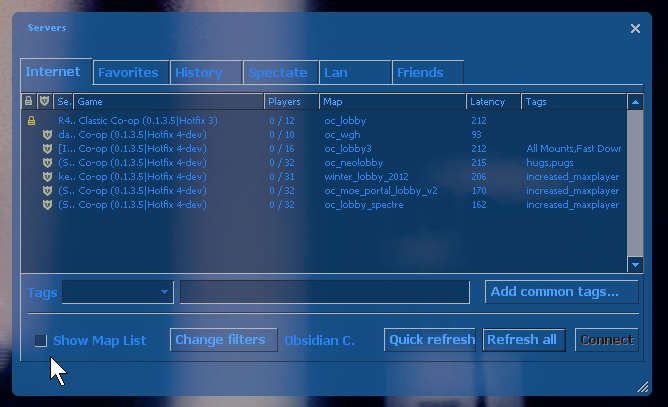
This is due to a change made to the Steam server browser intended for TF2 to show map icons in the server list. Without us having the feature added ourselves, it appears empty like that for this reason. Essentially, never enable that checkbox, as it doesn’t work.
Outside of that, you’re good to go.
In the “Mod Options” panel of the main menu, completely ignore the “Mounts” box, as due to the aforementioned GCF to VPK conversion, it is no longer relevant.
You can set your HUD & custom colours in this menu, while your standard multiplayer options like player model & spray are in the standard “Options” menu.
