If you want to create your own custom map in Ultimate Ragdoll Game, this is a sstep by step tutorial on how to create your own Maps and upload them to Steam Workshop.
How to create Map
First, you need to create a new session. To do this, click on PLAY, then choose NEW MAP and click START.
NOTE: NAME, PASSWORD, and PLAYER LIMIT have no significance here.
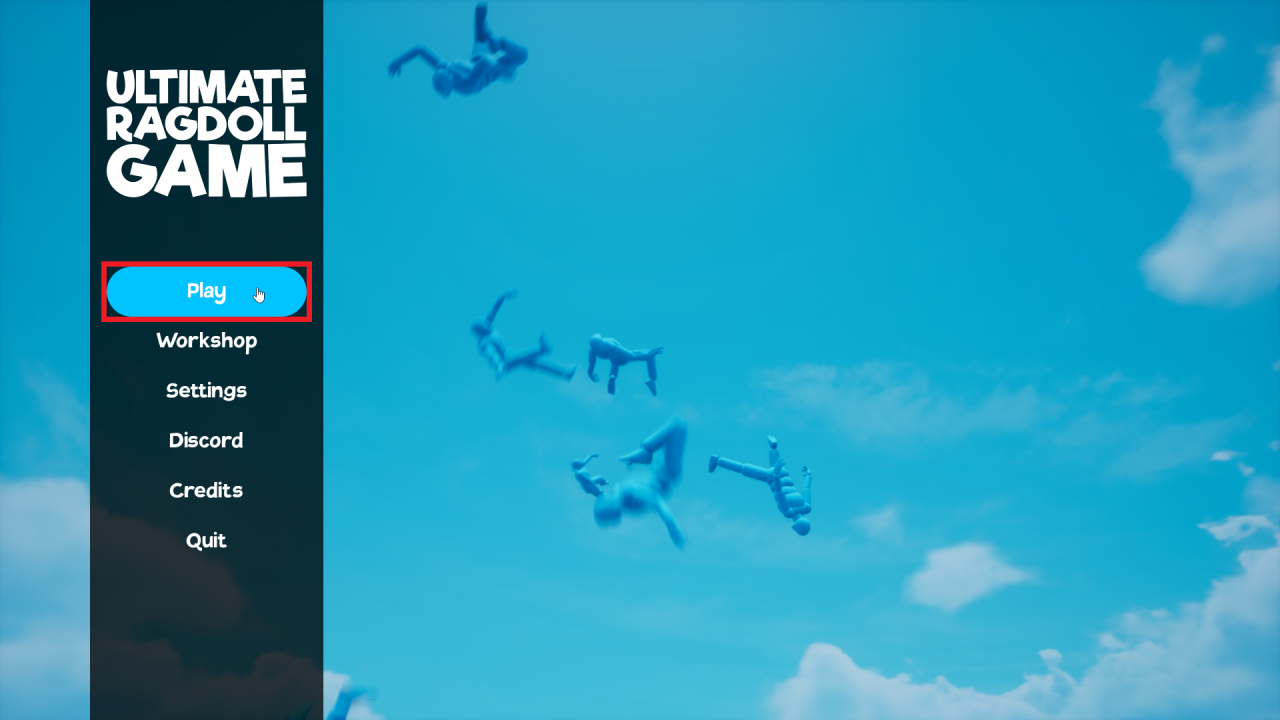
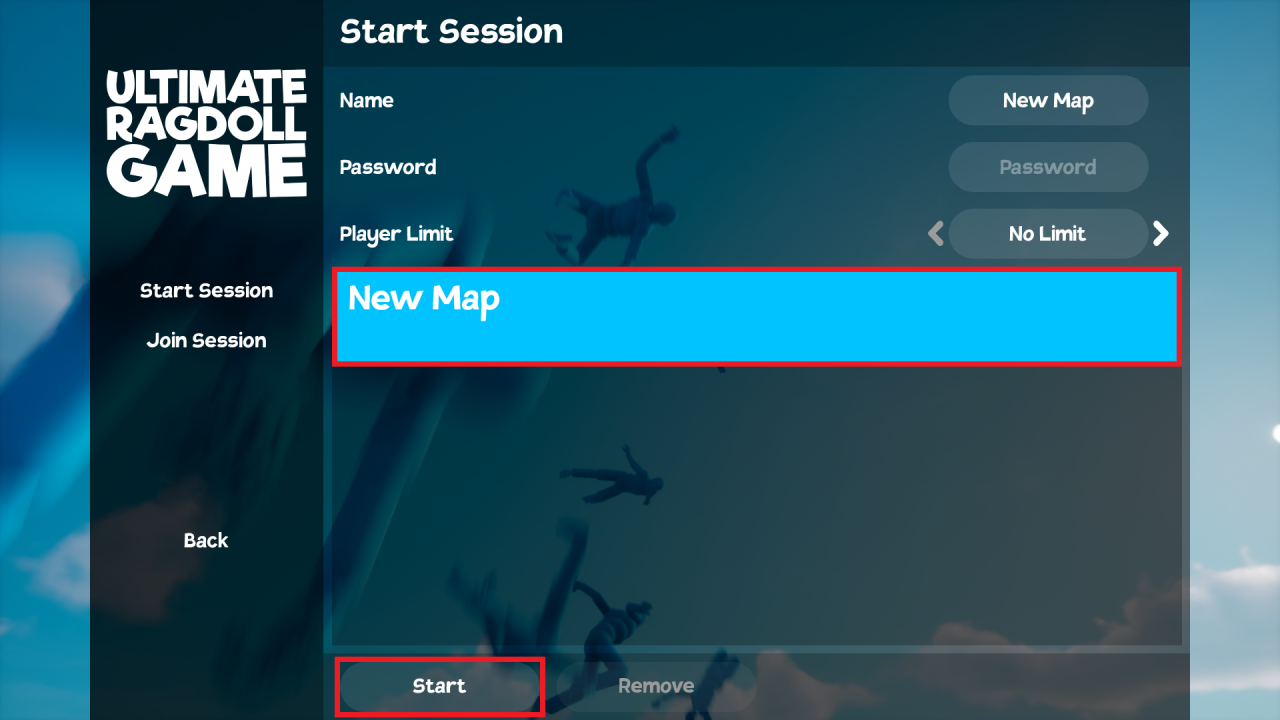
You have just created a NEW MAP.
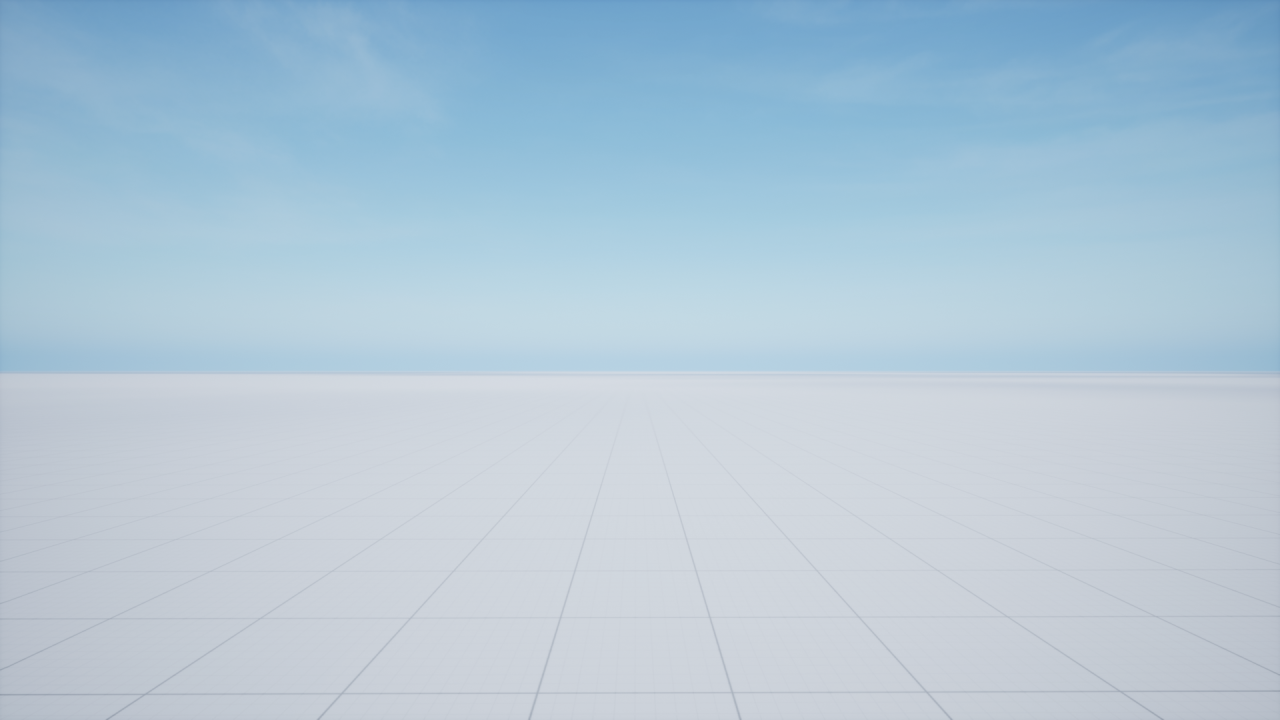
Now you can start building. Create any construction you like and when you finish the game, follow the next steps.
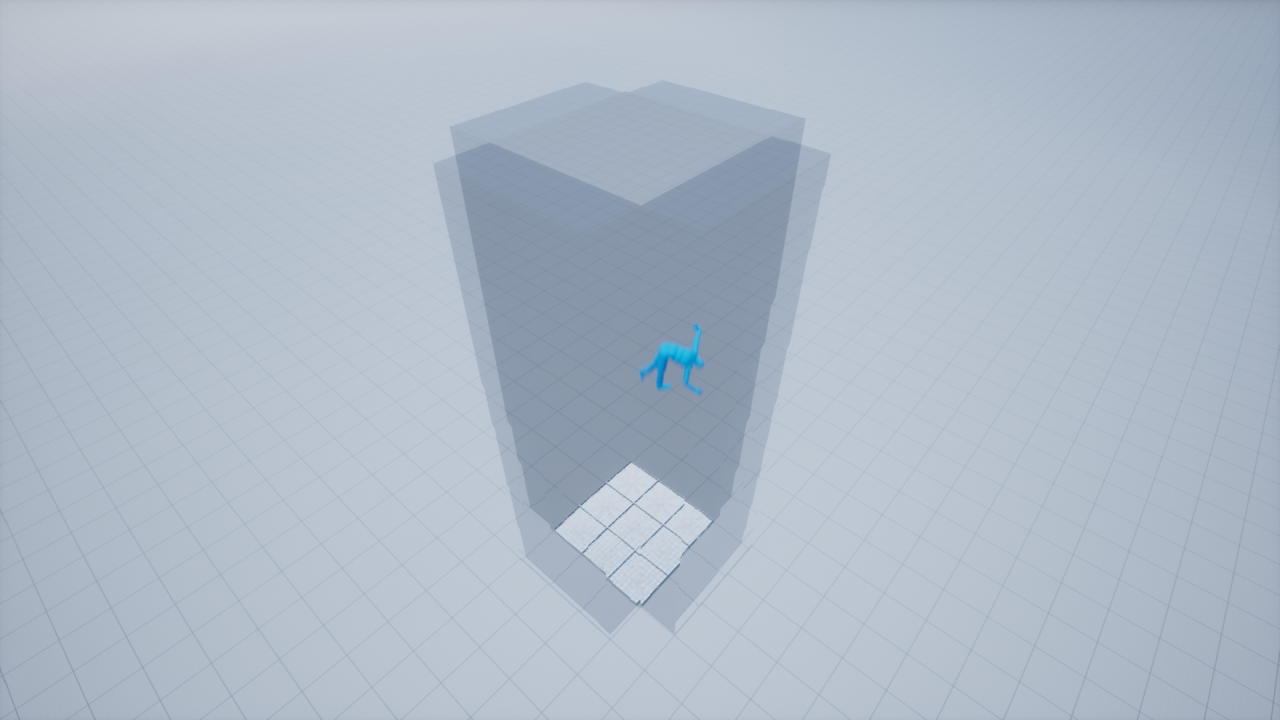
Go to the Main Menu and select SAVE MAP. Choose NEW MAP, enter the NAME, and then click SAVE.
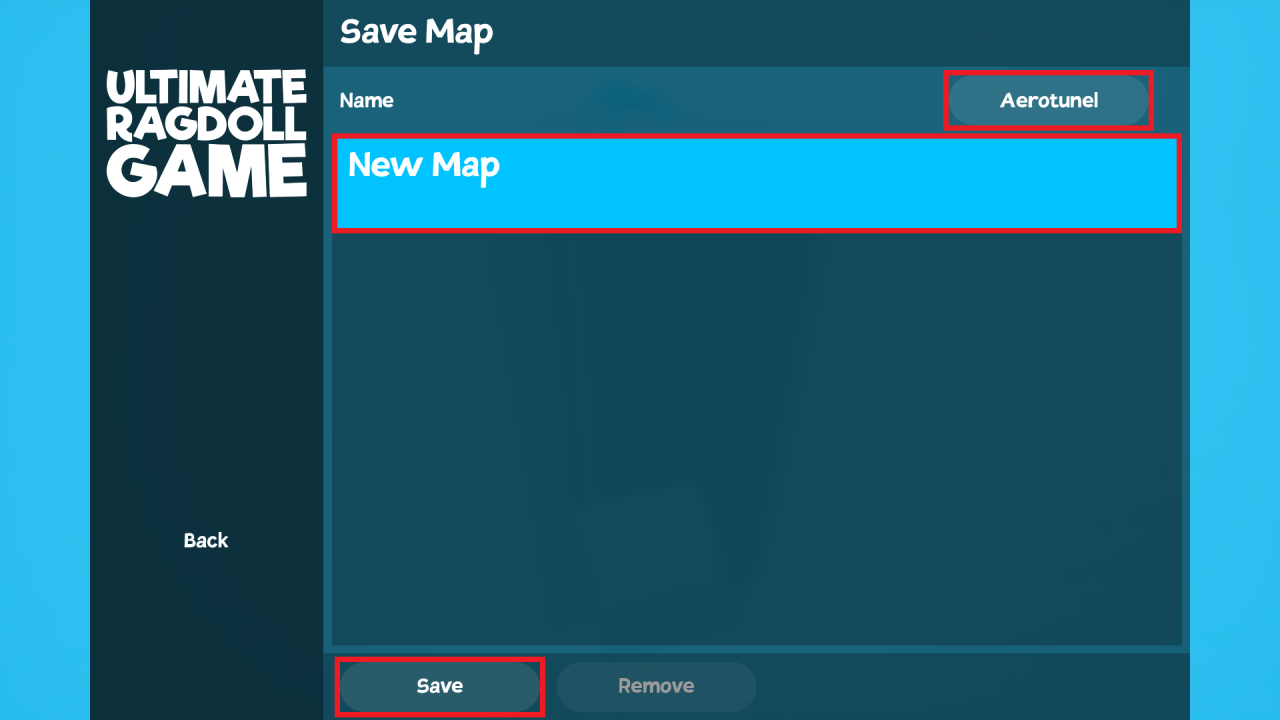
The end result should look like this:
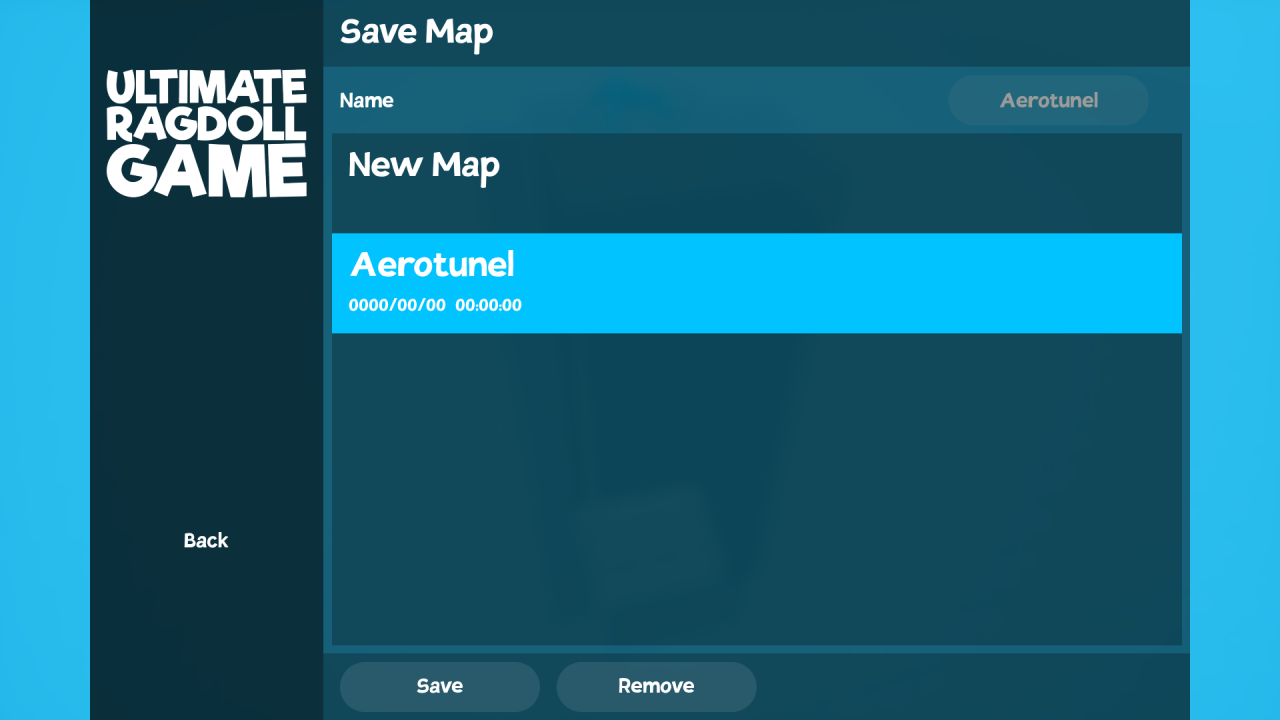
You can find your map file in the AppData > Local > URG > Saved > SaveGames folder.

NOTE: If you want to change the name of the map or the date by editing the file name, it is very important not to violate the name structure. The correct structure looks like this:
Map_MapName_0000-00-00-00-00-00.sav
Map_ – Every map save file must start with this
MapName – This is the name of your map, it can also contain spaces (for example, “Map Name”)
_0000-00-00 – The first three fields refer to the date the map was created. For days and months expressed by one digit, the structure may look like this: _0000-0-0
-00-00-00 – The remaining 3 fields refer to the hour, minute, and second the map was created. Similarly, when using 0-9 for hour, minute, and second, the structure may look like this: -0-0-0
.sav – The file extension must always be .sav.
How to upload Maps to Steam Workshop
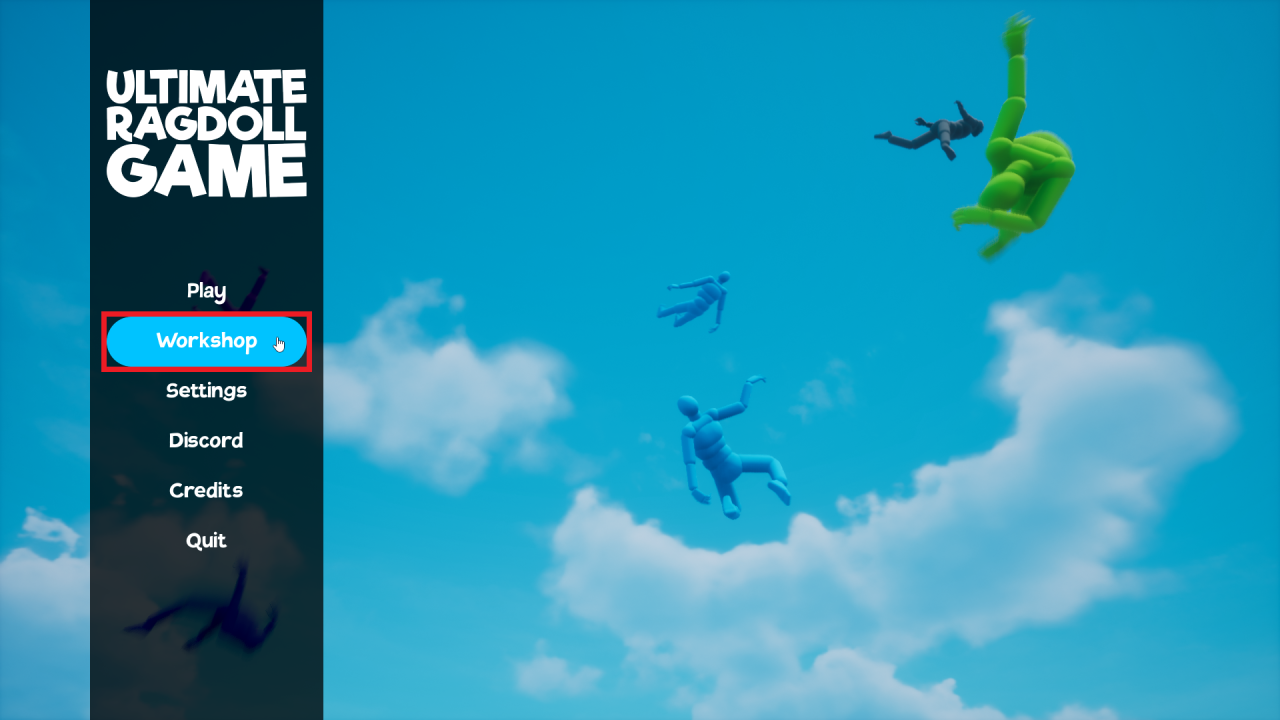
To upload your Map or Ragdoll to Steam Workshop, first go to the WORKSHOP tab in the Main Menu.
Next, enter the NAME, DESCRIPTION, select IMAGE, and the folder with your Map/Ragdoll FILE, then click UPLOAD.
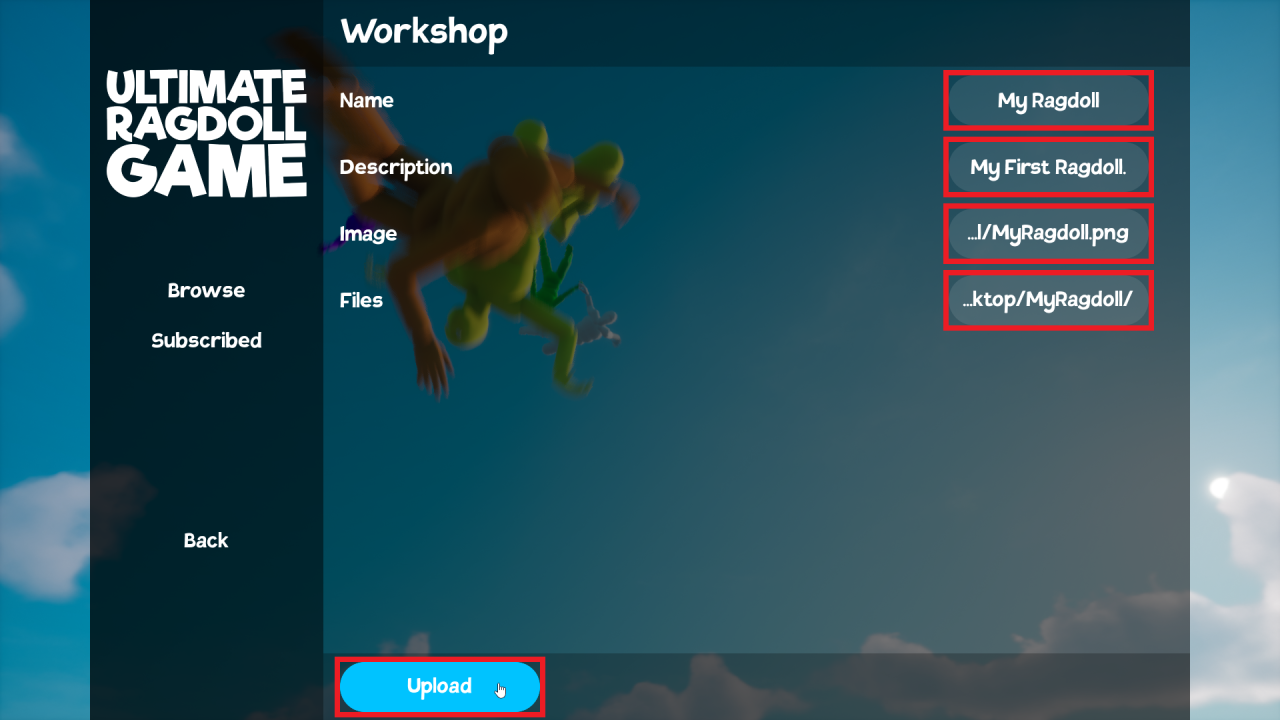
- NAME – Enter any name you want
- DESCRIPTION – Enter any description. You can edit it later directly in the Steam Workshop
- IMAGE – Select an image that will be a thumbnail for your item in the Steam Workshop. The image can’t weigh more than 1MB.
- FILE – Choose the folder where your Map or Ragdoll file is located. It’s important that the folder only contains files with the downloadable content.
After clicking UPLOAD, the process of uploading your files to Steam Workshop will begin. If everything goes correctly, the message “Success” will appear.
If something goes wrong, remember the result that appears and then check what caused the failure HERE.
