Getting Started
Building
To add objects to your level, you must be in Build Mode, indicated by a pencil. To enter Build Mode, click on the pencil button at the top left part of the screen. This is the mode the editor starts in, so it should already be selected if you’re just starting a new level. You can also press B to enter Build Mode, as a shortcut. In general, if you hover over the buttons in the editor, they will tell you what they do, and have their key shortcut in parentheses. You can change these shortcuts in the game’s input options.
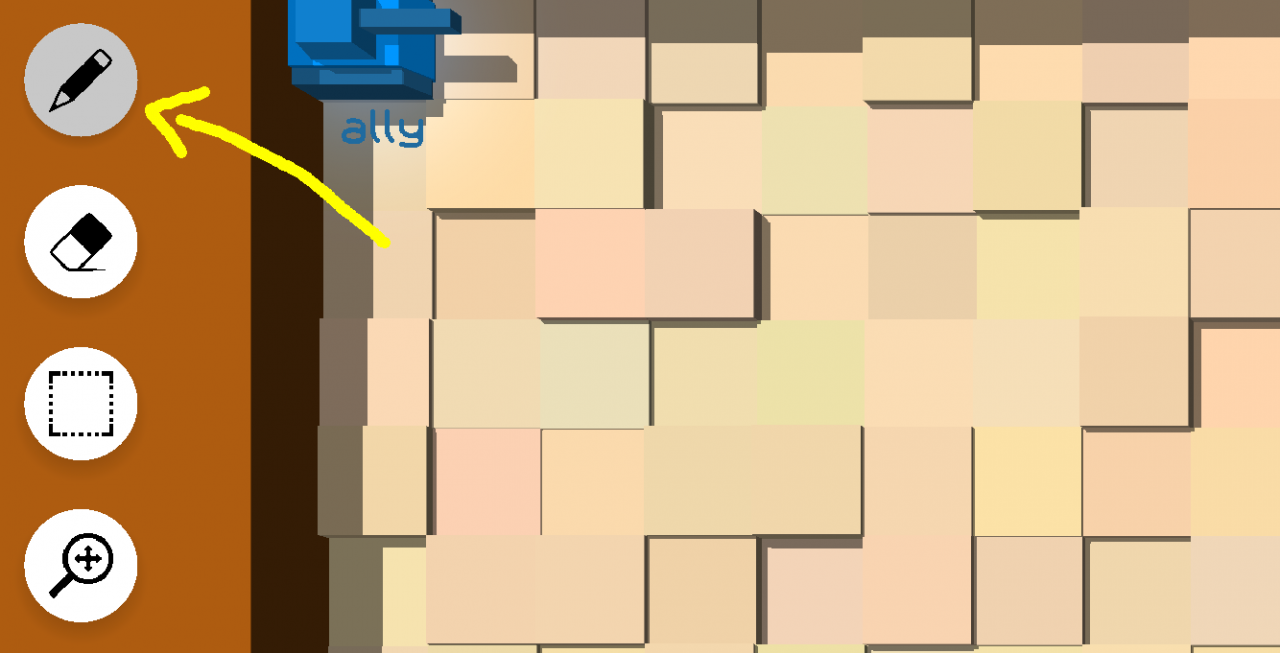 The button to access build mode
Now that you’re in Build Mode, let’s pick something to add to the level. Press the second button at the top right of your screen to access the Object Menu. The shortcut for the Object Menu is Space.
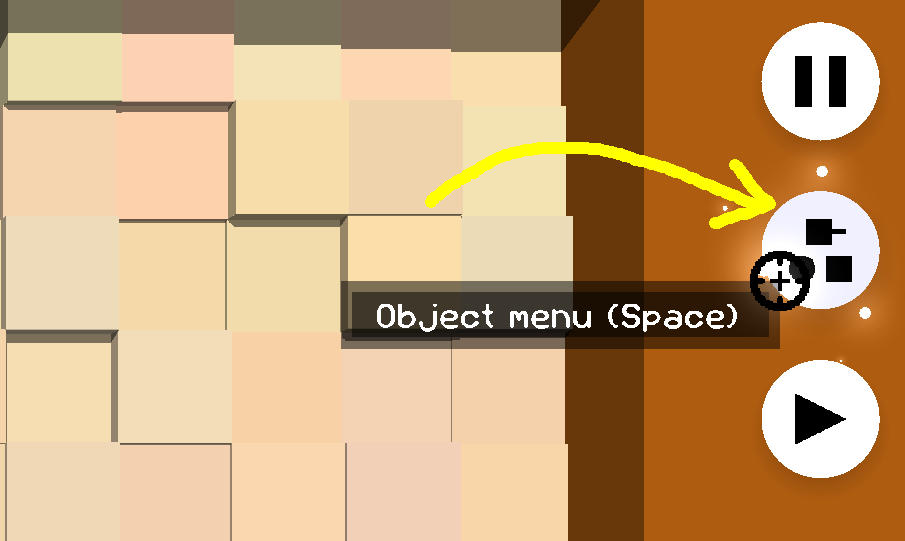 The button to access the object menu
Once you’re in the Object Menu, you’ll see a lot of things.
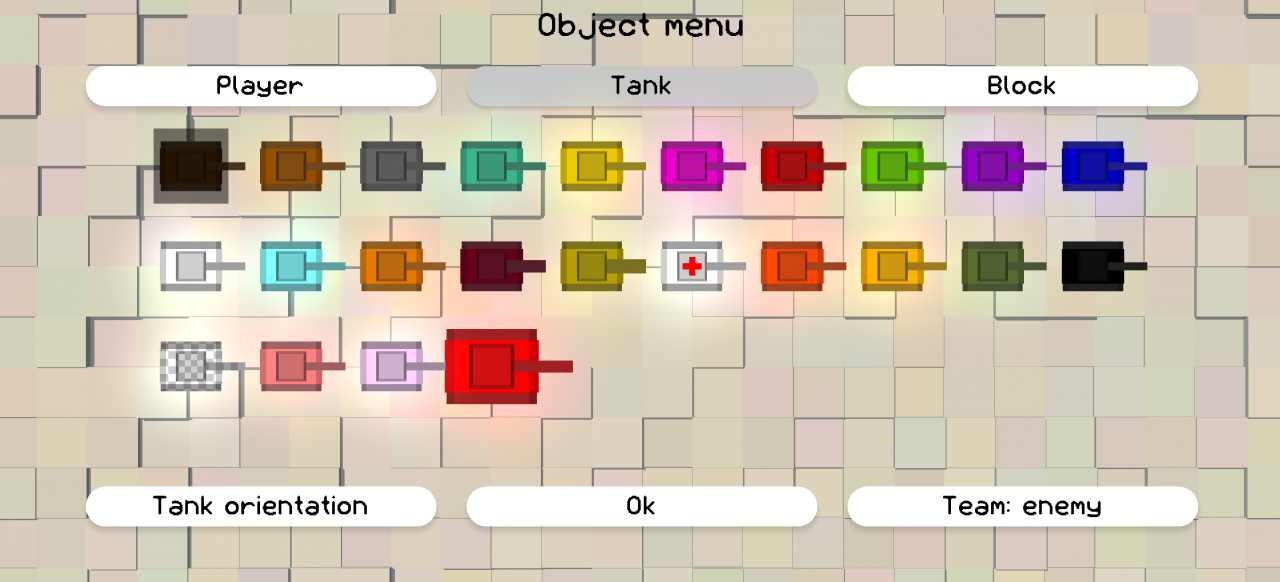 What you’ll see when you open the object menu
At the top of the menu, you will see 3 buttons – “Player”, “Tank”, and “Block”. These buttons let you switch between editing player spawn points, placing computer-controlled Tanks, and placing blocks. the next sections will go into detail describing each of these button tabs.
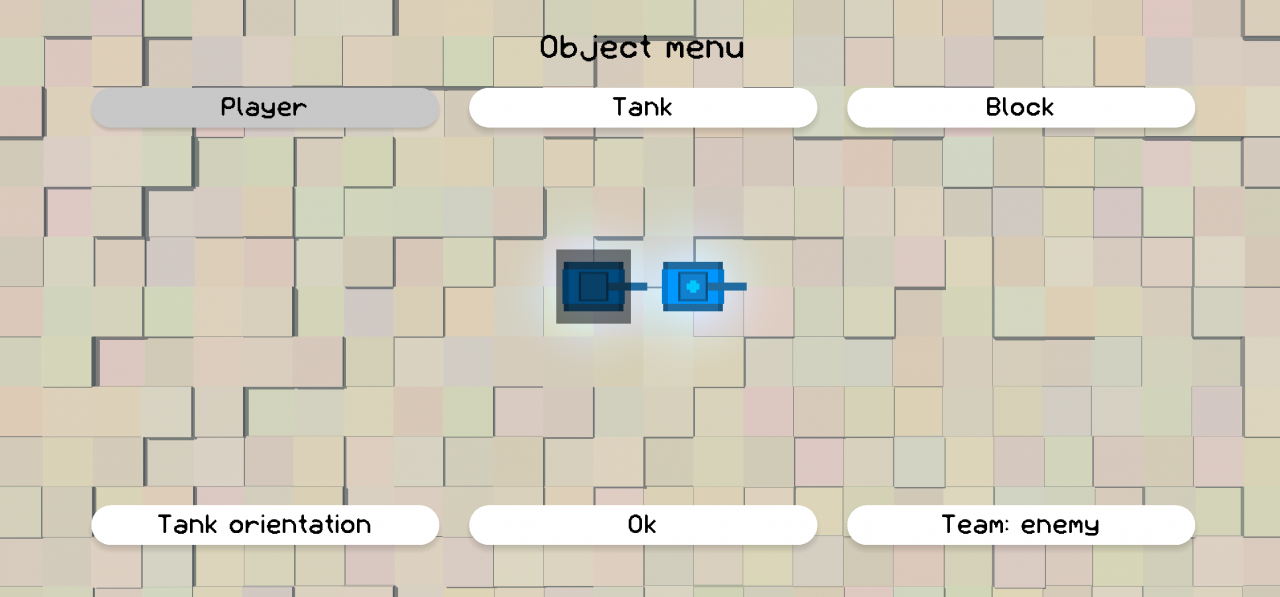 The player tab
This tab lets you edit the player spawn points. There are two modes.
The first mode is for moving the player spawn point. When you use this mode, all previous player spawn points will be deleted and replaced with the new one you specify.
The second mode, indicated with a cyan “+” on the player tank, is used for adding multiple player spawn points. Each player will be randomly assigned a spawn point when the level is played. If there are more players than spawn points, the game will attempt to place the extra players near an existing spawn point. (The game will also ensure that it does not place the “overflow” players in an inaccessible spot, like crossing walls.)
Once you have selected a mode you are happy with, you can press “Ok”, Space, or Escape to close the Object Menu. Simply left click the level where you’d like the new player spawn point to be. If there are 2 or more spawn points, you can also right click on one of them to remove it.
Keybindings
- Left click to set a new spawn point
- Right click a spawn point to remove it, if there are multiple spawn points
- Right click the ground to rotate the tank
- Up and Down arrow to change spawn point mode
- Left and Right arrow to cycle through block, tank, and player tabs while the object menu not open
- = and – to cycle through tank teams
 The tank tab
This tab lets you place different tanks in the level. This is the tab you start out on.
You can click on the different tanks to choose one to place. Hover over each tank to see what it does. Then, you can choose the initial tank orientation with the “Tank orientation” button. You can also choose what team to put the tank on with the “Team” button. Tanks will only fight tanks that are not on their team, so you can use this feature to place computer-controlled companions for the player that help them fight.
Once you have selected a tank, team, and orientation you are happy with, you can press “Ok”, Space, or Escape to close the Object Menu. Simply left click the level where you’d like to add a new tank in order to add it. You can also right click a tank to remove it.
Keybindings
- Left click to place tanks
- Right click tanks to remove them
- Right click the ground to rotate the tank
- Up and Down arrow to cycle through tanks while the object menu is not open
- Left and Right arrow to cycle through block, tank, and player tabs while the object menu not open
- = and – to cycle through tank teams
Shortcuts
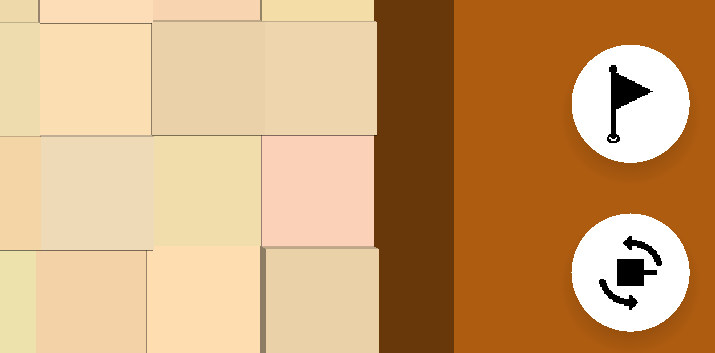 The shortcuts for tanks, available at the bottom right of the screen
- Flag button (or T) – choose tank team
- Rotation button (or R) – choose tank orientation
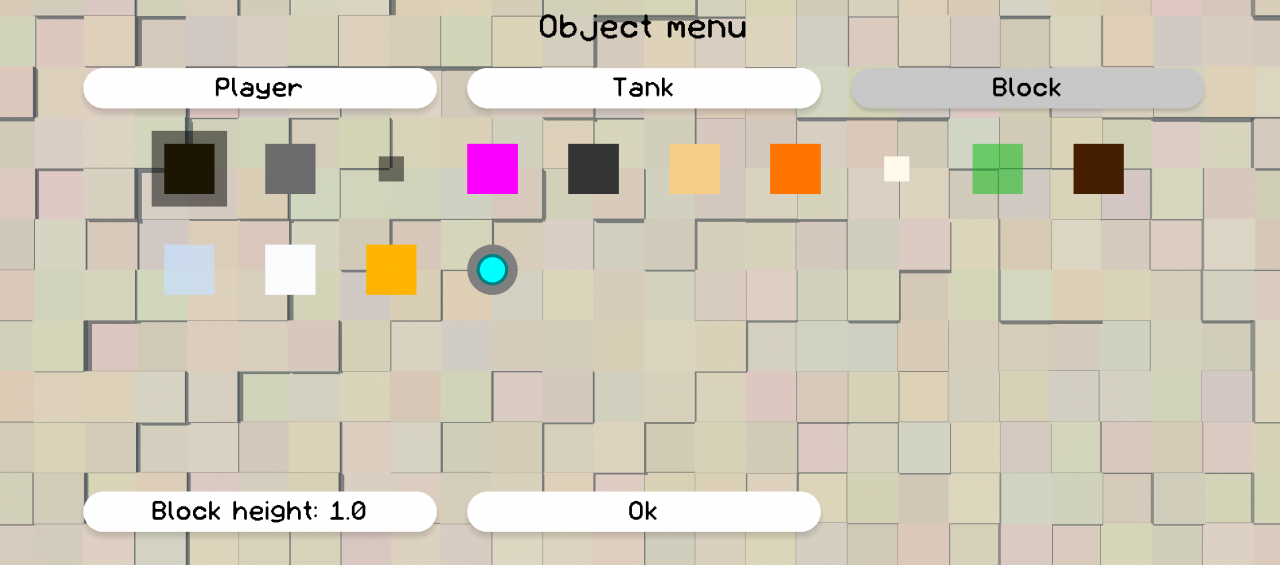 The block tab
This tab lets you place blocks and terrain to make your level more interesting. You can click on the different blocks to choose one to place. Hover over each block to see what it does. Some blocks support varied heights. To change a block’s height, choose the “Block Height” button at the bottom left.
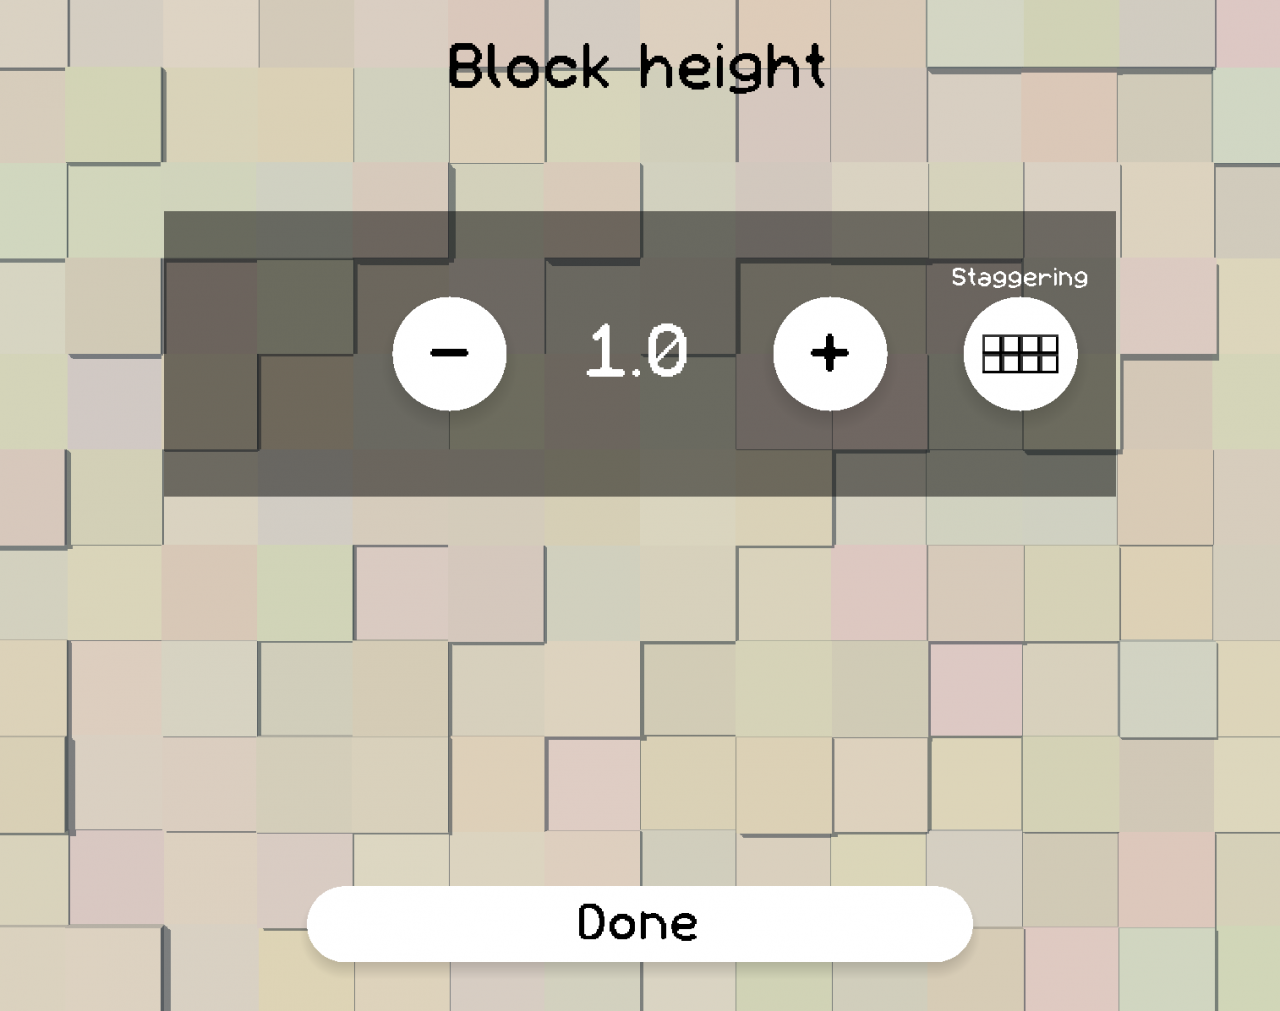 The block height menu
Use the “+” and “-” buttons to change the block’s height. The “Staggering” button will make block heights alternate, to create a castle-like wall.
 The result of making a wall with a block height of 2.0 with staggering enabled
Teleporters can have their Group IDs configured. Teleporters with the same Group ID link to each other and have the same color.
To place blocks, exit the object menu, and then can left click and drag the mouse. You can right click and drag as well to erase. Some blocks, like explosives and teleporters, do not work well when there are too many of them in a level, so dragging to place multiple blocks is disabled for them.
Keybindings
- Left click to place blocks (drag to place multiple)
- Right click to remove blocks (drag to remove multiple)
- Up and Down arrow to cycle through blocks while the object menu is not open
- Left and Right arrow to cycle through block, tank, and player tabs while the object menu not open
- = and – to cycle through block height or group ID
Shortcuts
Stacked blocks button (or H) – choose block height
ID button (or G) – choose block group ID
Erasing
To remove objects from your level, you must be in Erase Mode, indicated by an eraser. To enter Erase Mode, click on the eraser button at the top left part of the screen. You can also press E to enter Erase Mode, as a shortcut.
 The button to enter Erase Mode
In erase mode, simply left click and drag around the screen to delete obstacles. Click directly on tanks or, if multiple are present, player spawn points to delete them.
Right clicking in Build Mode has the same effect as left clicking in Erase Mode.
The Undo and Redo buttons
If you make a mistake, you can also use the arrow buttons at the bottom left to undo or redo your changes. The keys Z and Y work as well as shortcuts.
Selecting
To enter Select Mode, click on the square button at the top left part of the screen. You can also press S to enter Select Mode, as a shortcut. You can press S again when you are done selecting to return to the previous mode.
 The button to enter Select Mode
Once you are in select mode, left click and drag the mouse to create a rectangular selection. You can add more tiles to your selection by left clicking and dragging again. When you have made a selection, it will be highlighted in a flashing white.
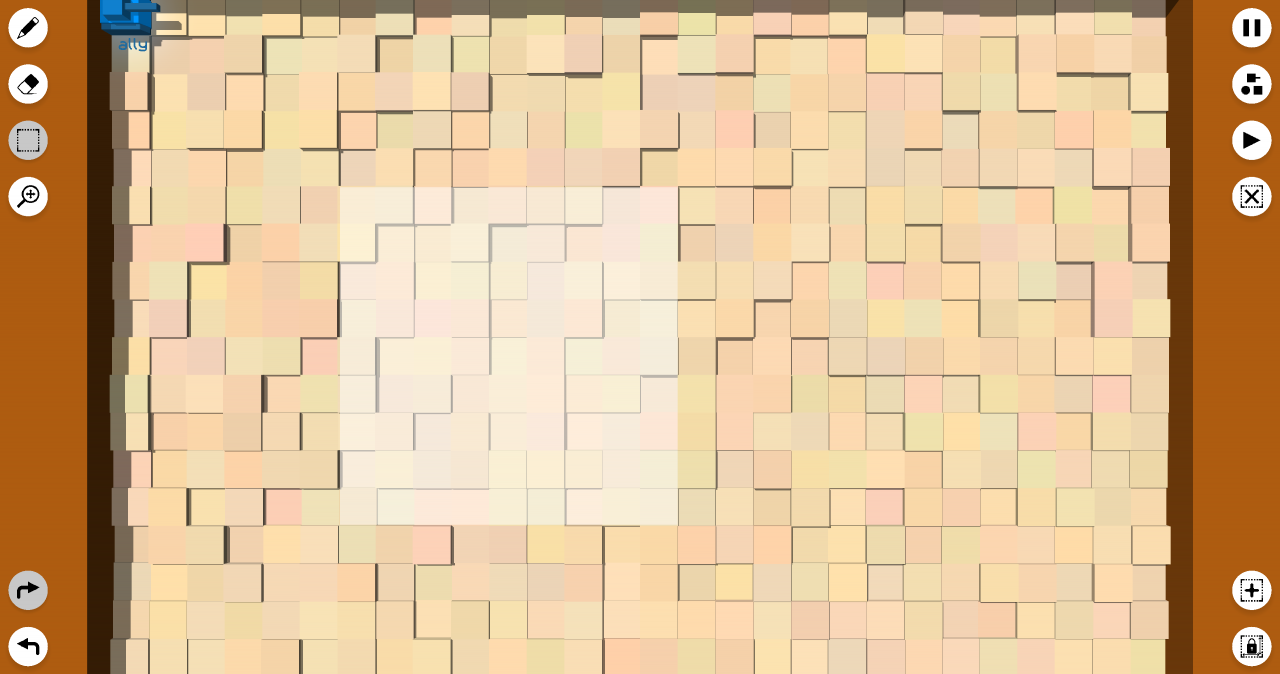 A selection
You also have a few additional options to help you make your desired selection more accurately and quickly.
The buttons in the bottom right of your screen can help refine your selection.
 The bottom right buttons
The button in the bottom right corner with the lock can be used to toggle between making square selections. You can also hold shift while selecting to make a square selection, or pressing L to toggle between square and rectangular selection mode.
If you have already made a selection, the button above (or the key shortcut A) lets you toggle whether you are adding or removing from your selection. You can also right click and drag to remove from your selection while in add mode, and for remove mode, vice versa.
 The clear selection button
You can also clear your selection at any time by pressing the button in the top right below the play button, or by pressing Backspace.
Once you have made a selection, simply enter build mode and click inside of it to fill it with the selected object. Right click (or left click in erase mode) inside of it to clear it.
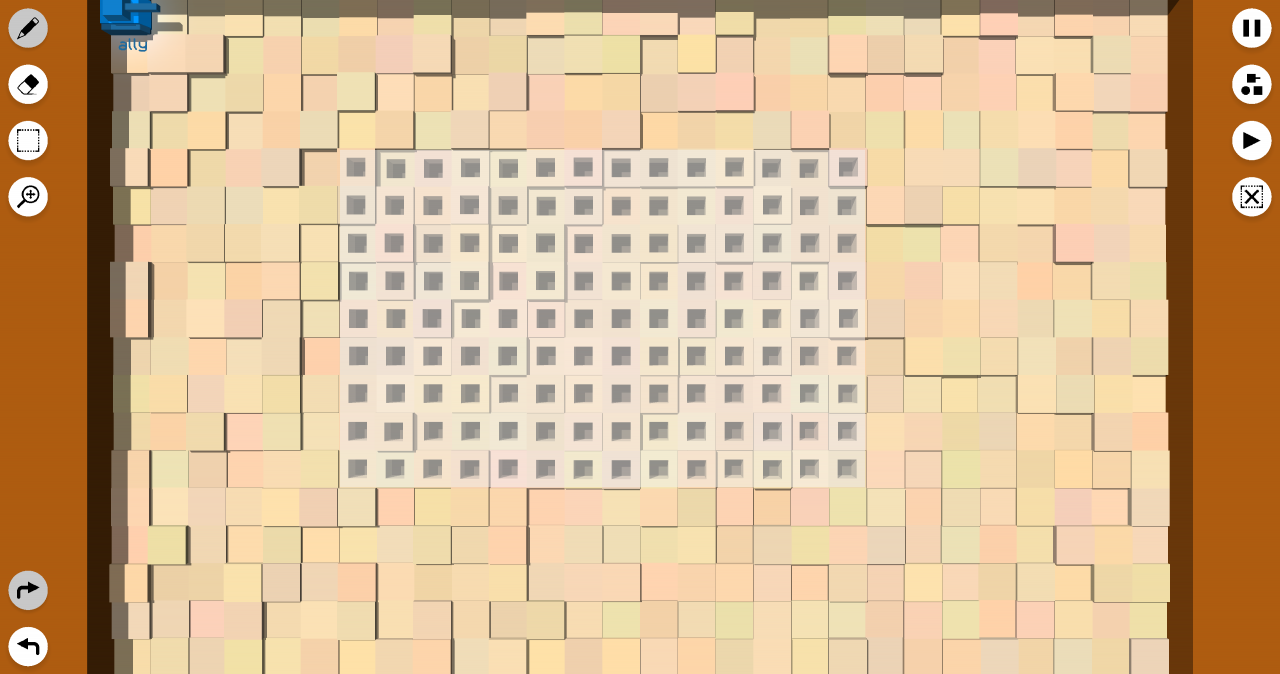 Filling a selection with holes
Panning and Zooming
To enter Adjust Camera Mode, click on the magnifying glass button at the top left part of the screen. You can also press I to enter Adjust Camera Mode, as a shortcut. You can press I again when you are done adjusting the camera to return to the previous mode.
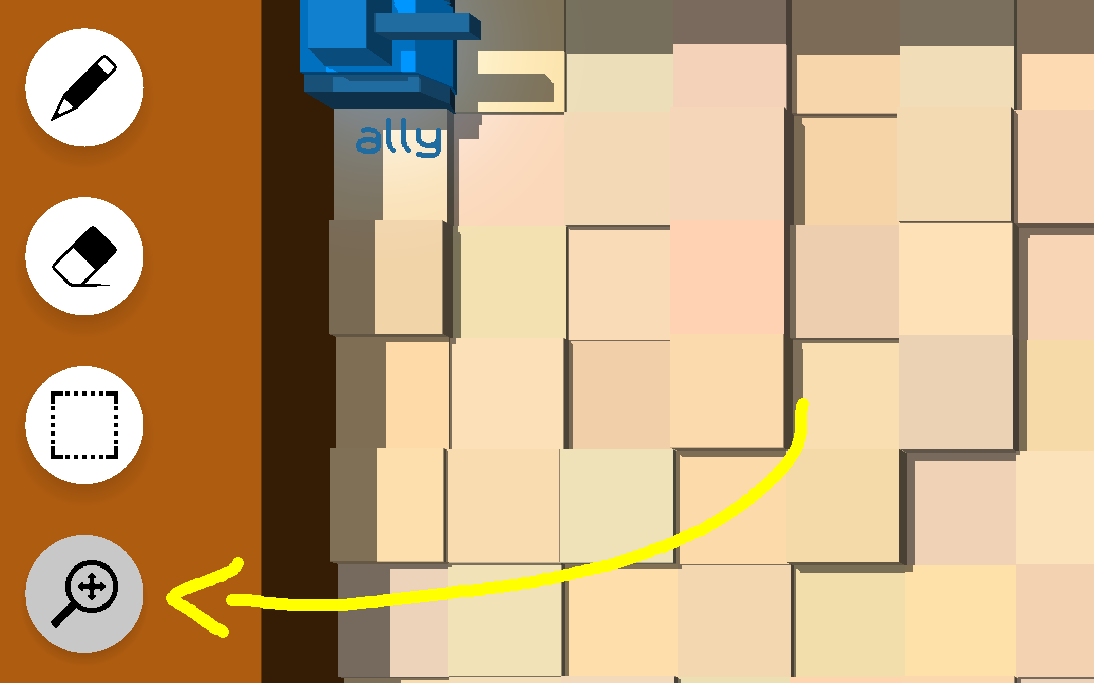 The button to enter Adjust Camera Mode
Once you are in Adjust Camera Mode, you can scroll or press = or – to zoom and left click and drag to pan. You can revert to the original view at any time, not just when you’re in Adjust Camera Mode, by pressing 0.
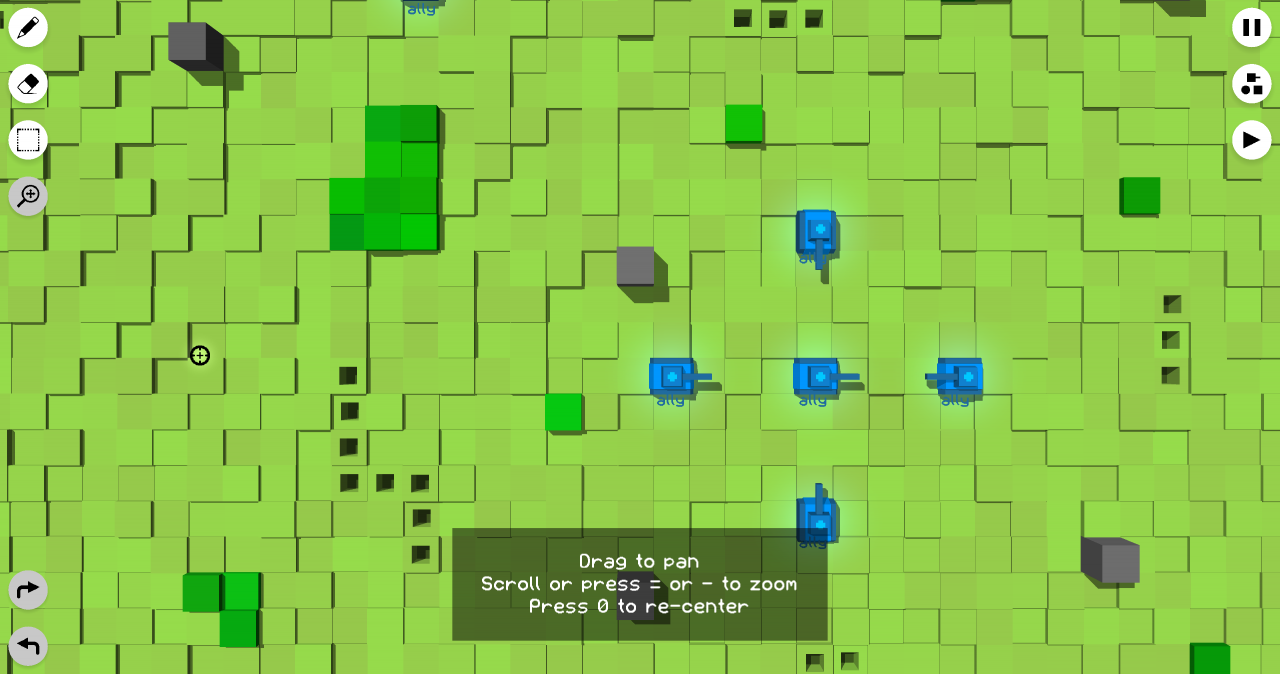 Adjusting the camera
Level Options
 The button to access the editor menu
There are several options that you can change.
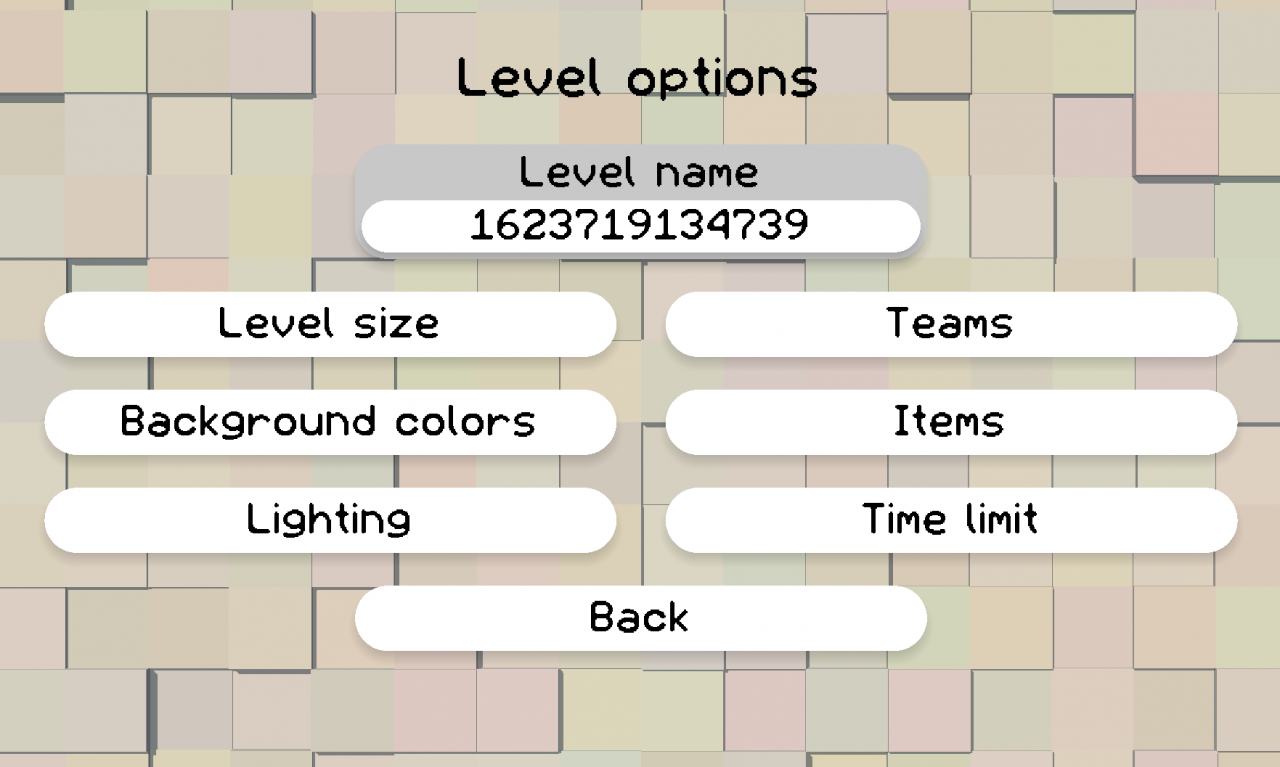 The level options
The level’s name is originally set to the system time of it’s creation. Set it to something you can remember it by.
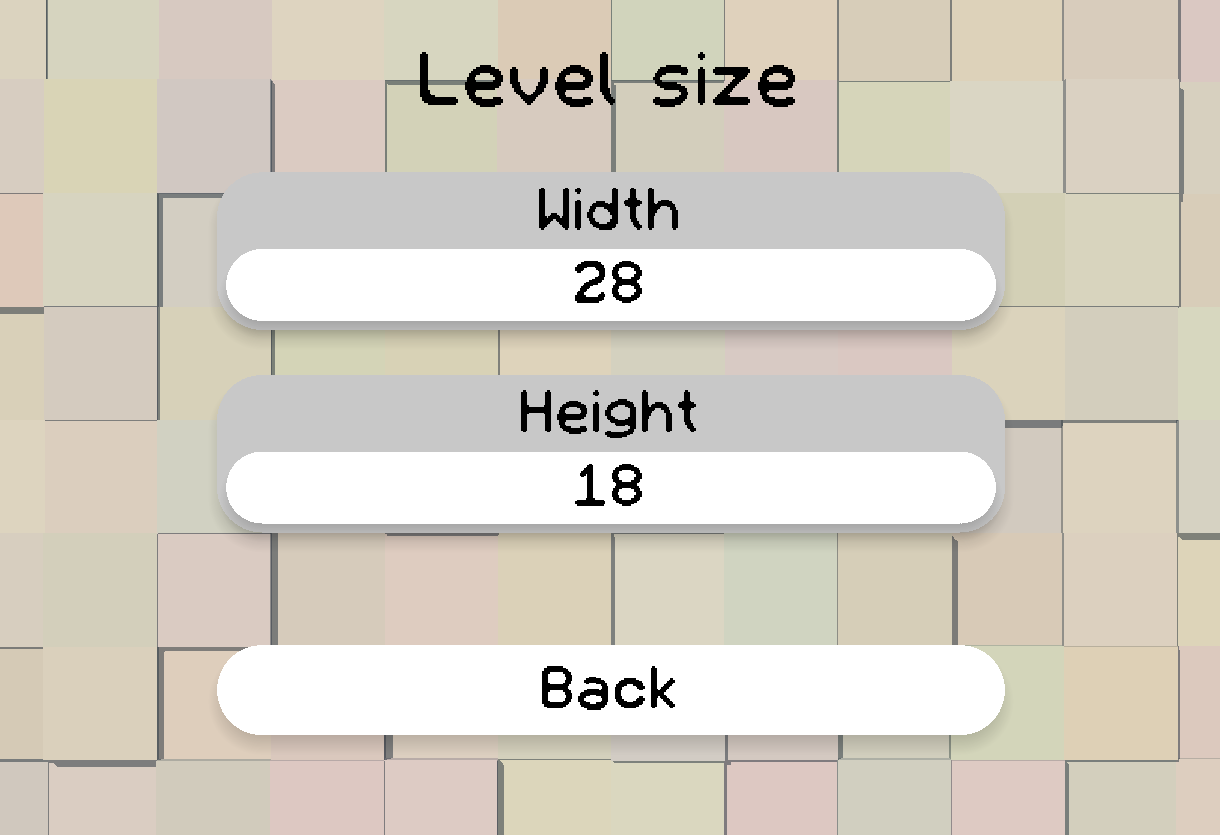 The level resizing menu
You can make your level bigger or smaller than the default size, up to a maximum size of 400×400. Keep in mind, though, that really large levels can be quite performance intensive. Before adding objects to a level, pick a size that you think will make it fun. If you adjust the level size after adding objects, you may get objects out of bounds or large empty spaces. The level’s right and bottom boundaries move when the level is resized, with the top left corner staying in place.
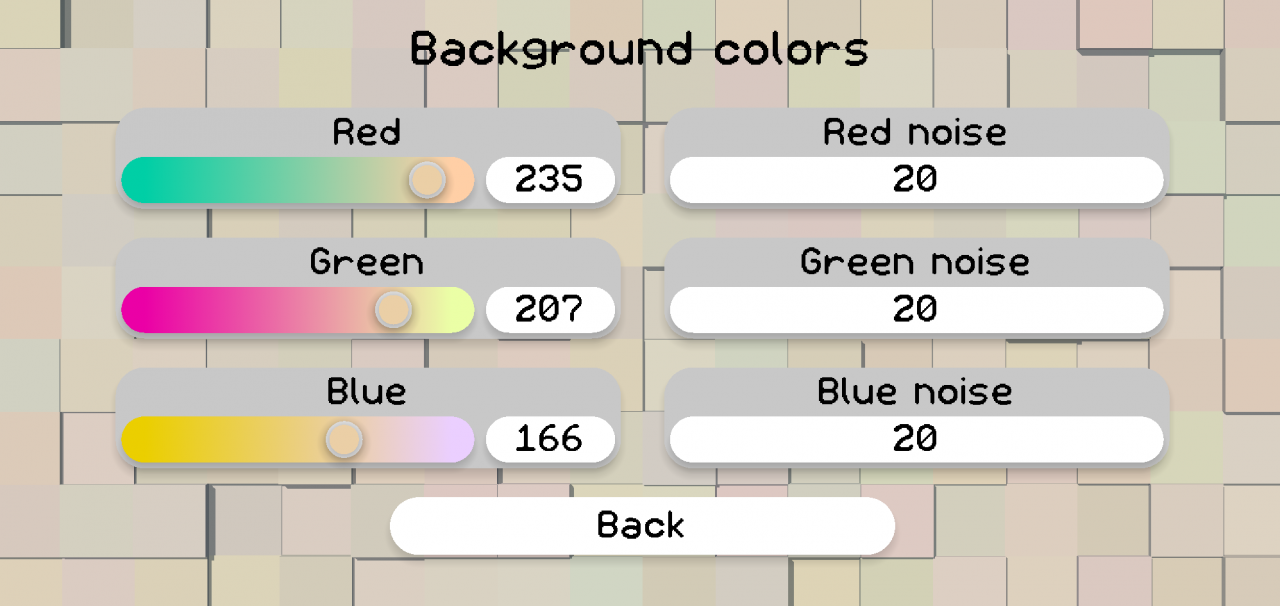 The background colors menu
There are two things you can change here. The main background color, and the noise – the “randomness” in color added to the level. The noise value can only go up to 255 minus the color value, so if your red value is 200, your red noise can only go up to 55. Generally, it’s recommended to not use a high noise value as it can be distracting. Pick a color that suits the theme of your level nicely and that isn’t too violent, so that it doesn’t distract from the gameplay.
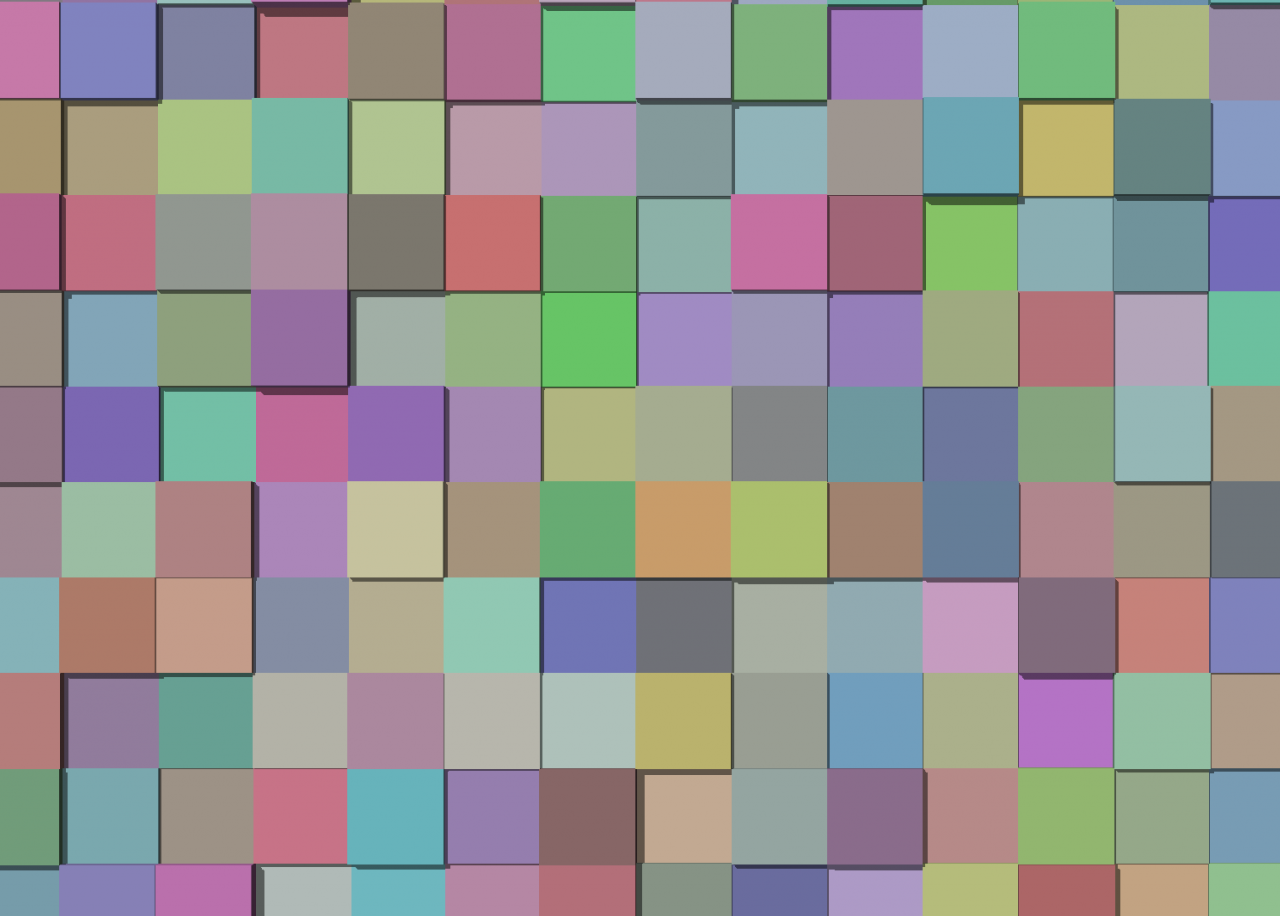 What the background looks like with 100 noise
Lighting changes the atmosphere of your level to give it a certain mood. There are two options here: direct light and shadow light.
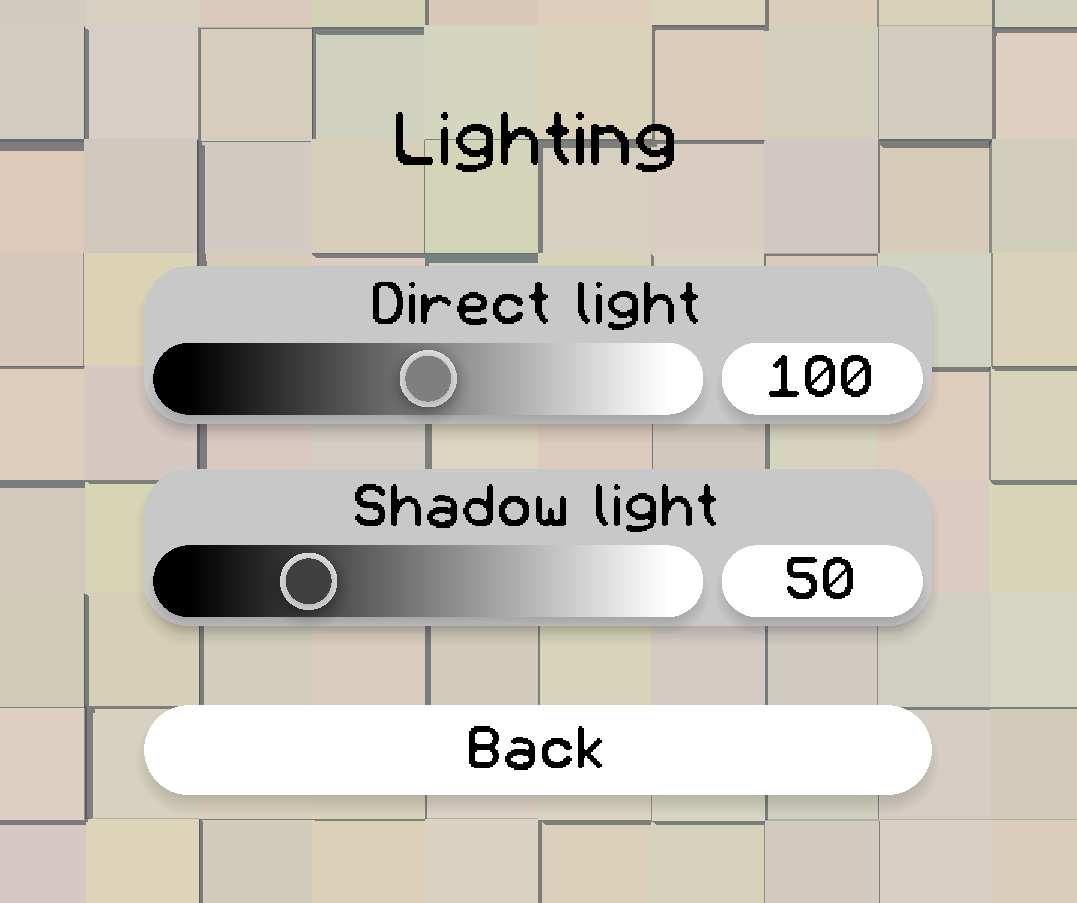 The lighting menu
Direct light represents light directly from the sky, such as sunlight. Shadow light represents ambient light scattered by the atmosphere.
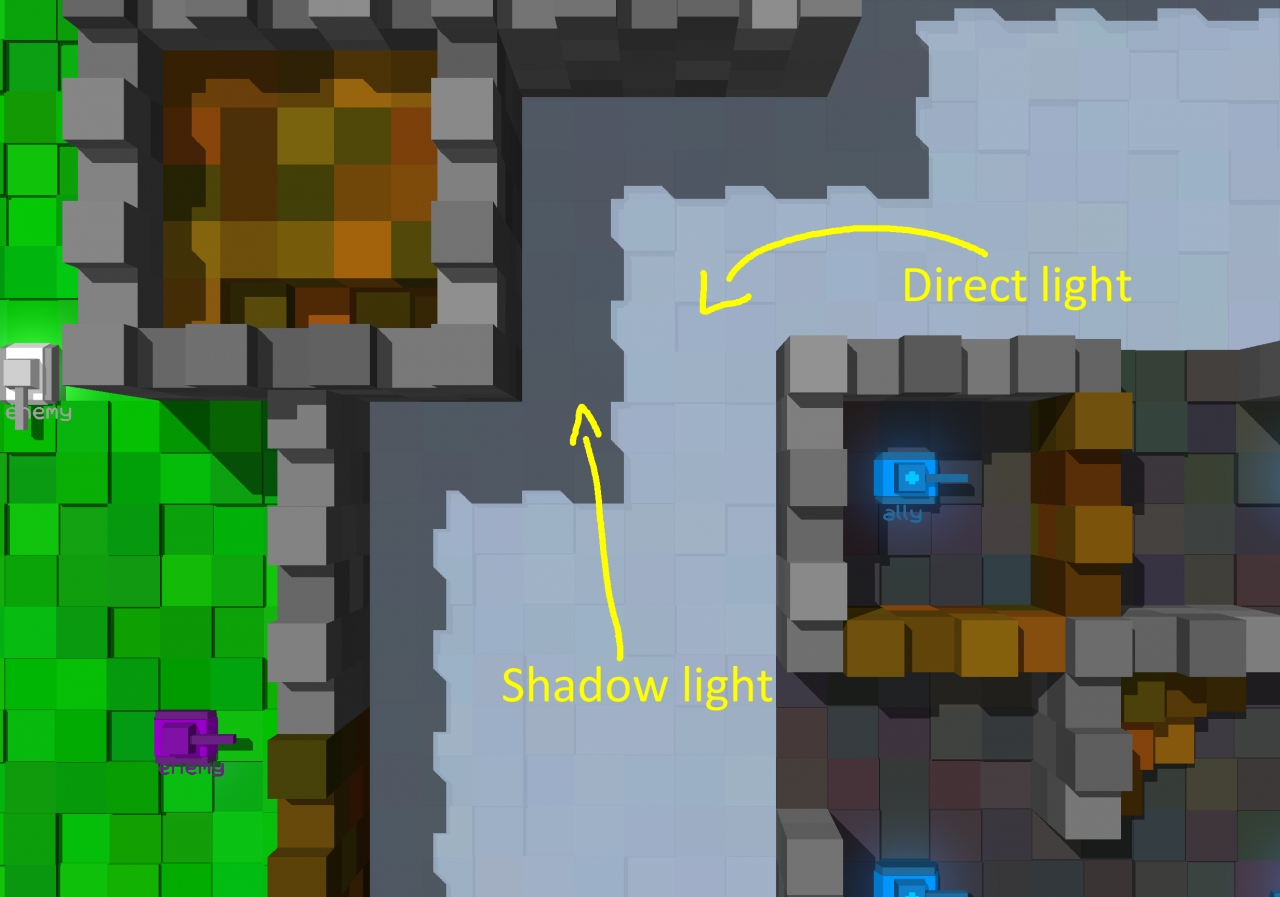 Direct vs shadow light
You can try different lighting combinations to create different moods.
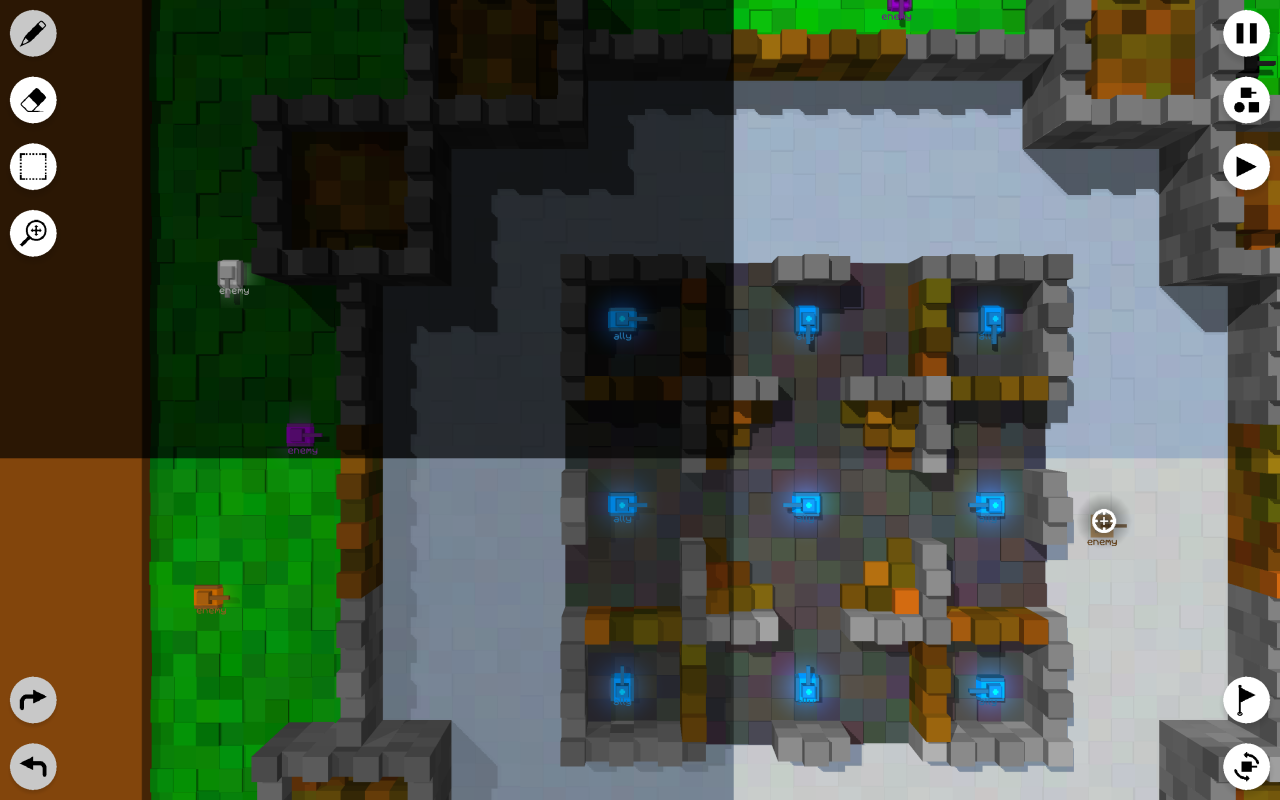 4 different lighting moods in one level
Here you can see 4 different lighting combinations in a level. In the top left, both direct and shadow light are lowered, to create a night time effect. Tanks, bullets, mines, and effects will glow in the dark. On the top right is the default lighting. In the bottom left, direct light is slightly lowered and shadow light is raised to give the effect of an overcast day. On the bottom right, direct and shadow light are increased to give the effect of a very bright day.
You can create and edit different tank teams, which you can place tanks on. In this menu, you can click on a team to edit it, and click “New Team” to create a new team.
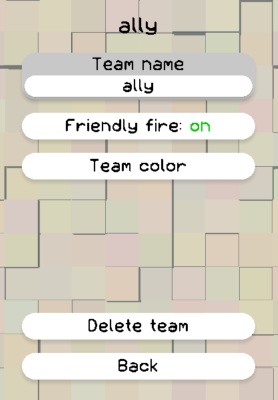
The options for a team
You can change the team’s name, whether it has friendly fire enabled, and select a color to highlight the team. For player teams, turning off friendly fire can be convenient if you plan to play with a large number of players. When you enable the team color, tanks on that team will have their treads recolored to their team color. Bullets and mines will also be outlined with the team color.
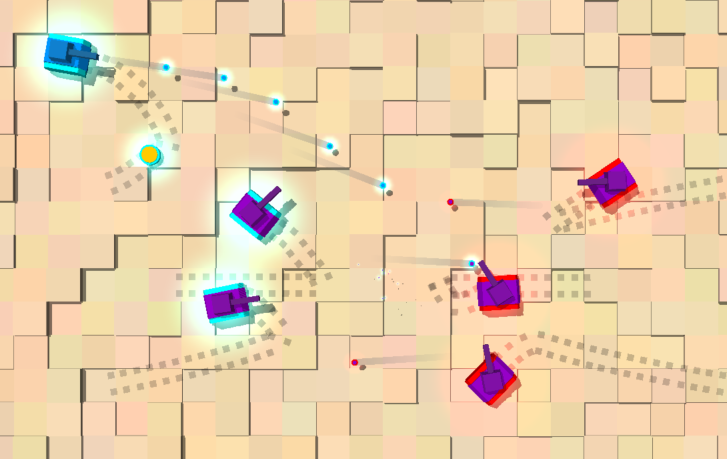 Team colors enabled
It is recommended to use team colors whenever it can be unclear what tanks are on a team during regular gameplay, such as if players are ever allied with computer-controlled tanks.
You can set up items for the player to start with, along with a shop with a given number of starting coins for a level. Use starting items when you’d like everyone to have the same item, and use the shop when you would like players to be able to choose their items wisely, given the limited number of coins they start with. Items in shops can be made free by setting their prices to zero. Starting items which fill more than the given 5 item bar slots will not be added.
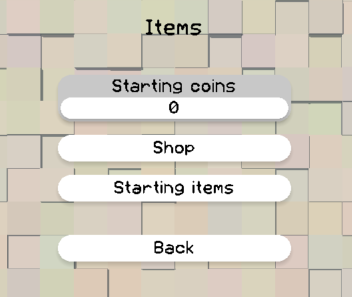
The items menu
Instructions on how to design and set up individual items are a topic for a separate guide of their own.
You can set a time limit for levels in minutes and seconds to require the player to be quick!
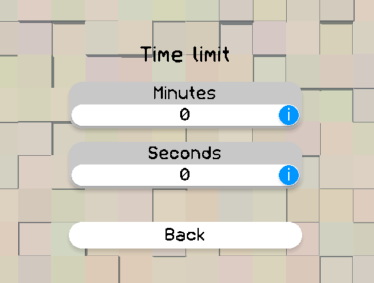
The time limit menu
Setting a time limit will change the level’s music to a more intense remix of the battle theme. Set both minutes and seconds to 0 to disable the time limit. Make sure to test your level to ensure that you can beat it in the given time!
Best Practices
When using blocks, straight (vertical, horizontal, and diagonal) lines tend to look better than crooked ones. Sharp edges can look clean and inviting. However, more organic, irregular shapes can work too, especially if you want to give the feeling of a natural environment such as a forest.
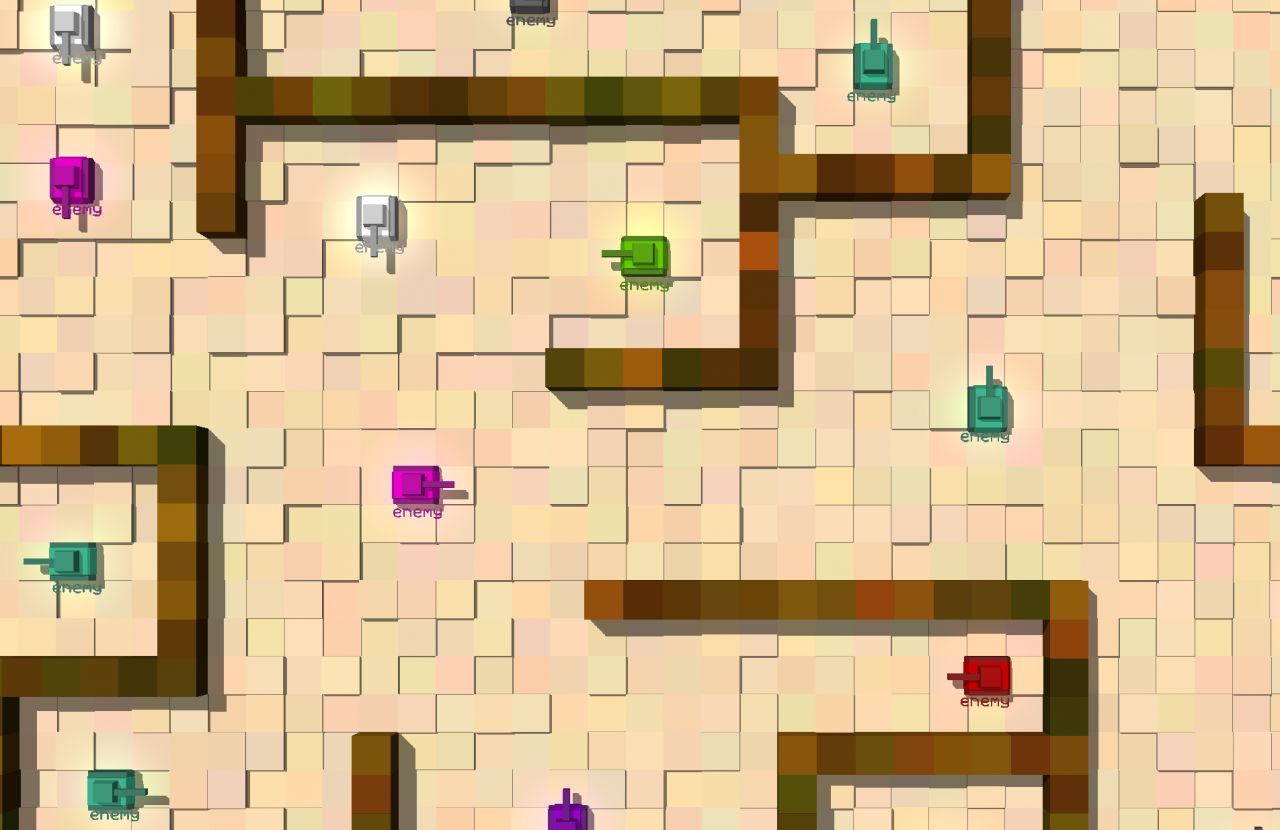 A good example of a level with straight walls
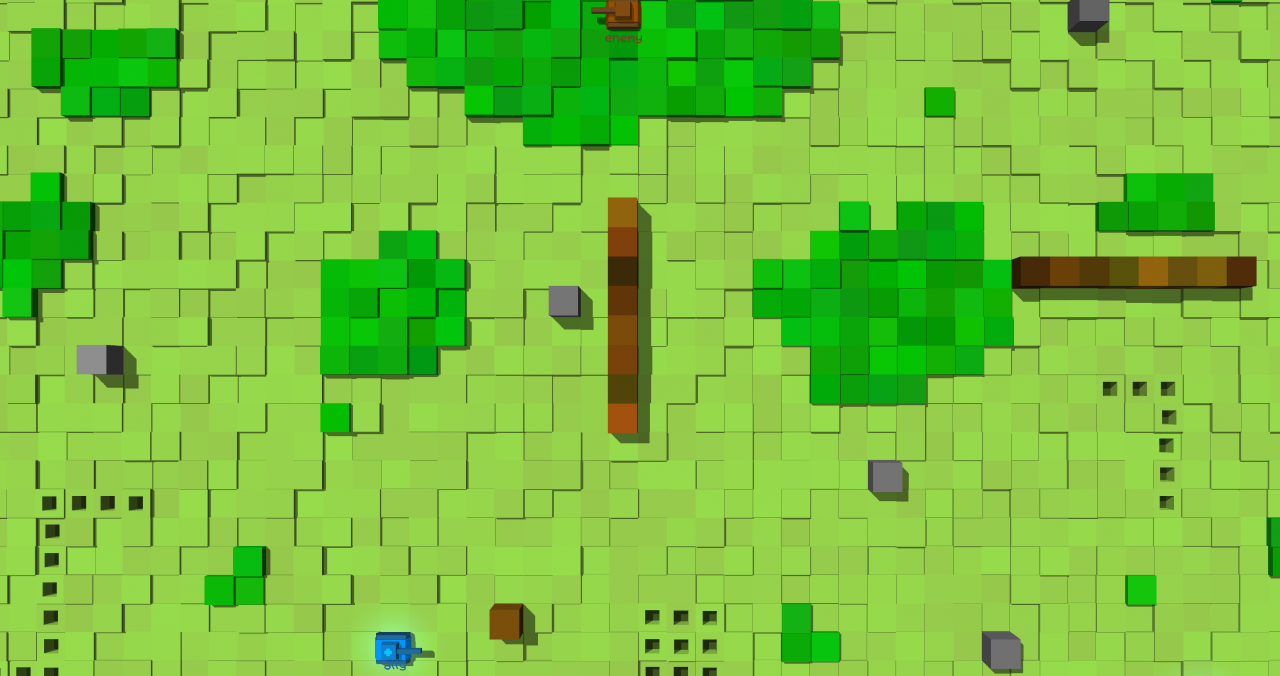 An example where organically shaped bushes give the level a forest feel
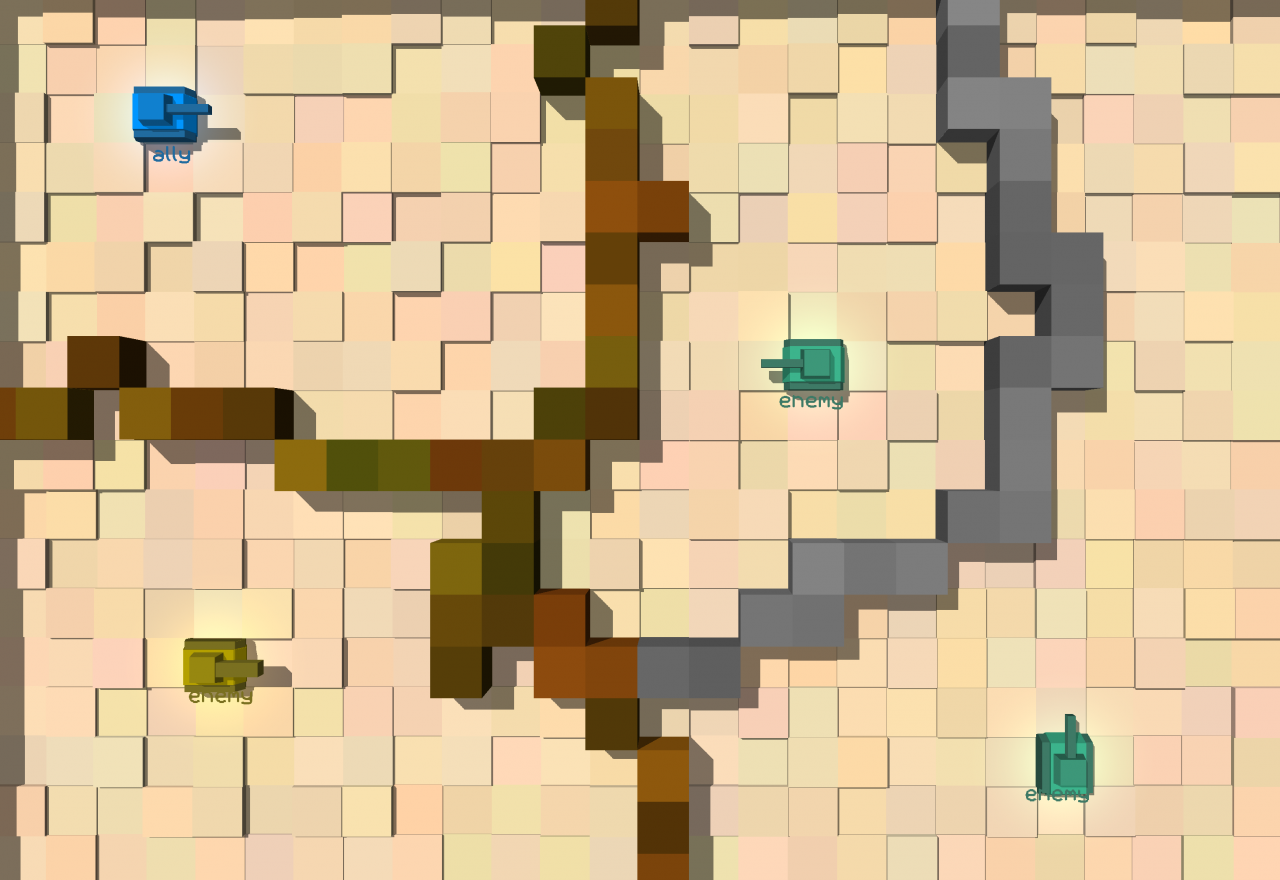 A less visually appealing level with more crooked walls
Make sure your level is fun! A level might look nice but be quite boring – what matters in the end is that the player is having fun! Test your levels to make sure they are balanced and fun. Even a very simple layout can be quite fun to play.
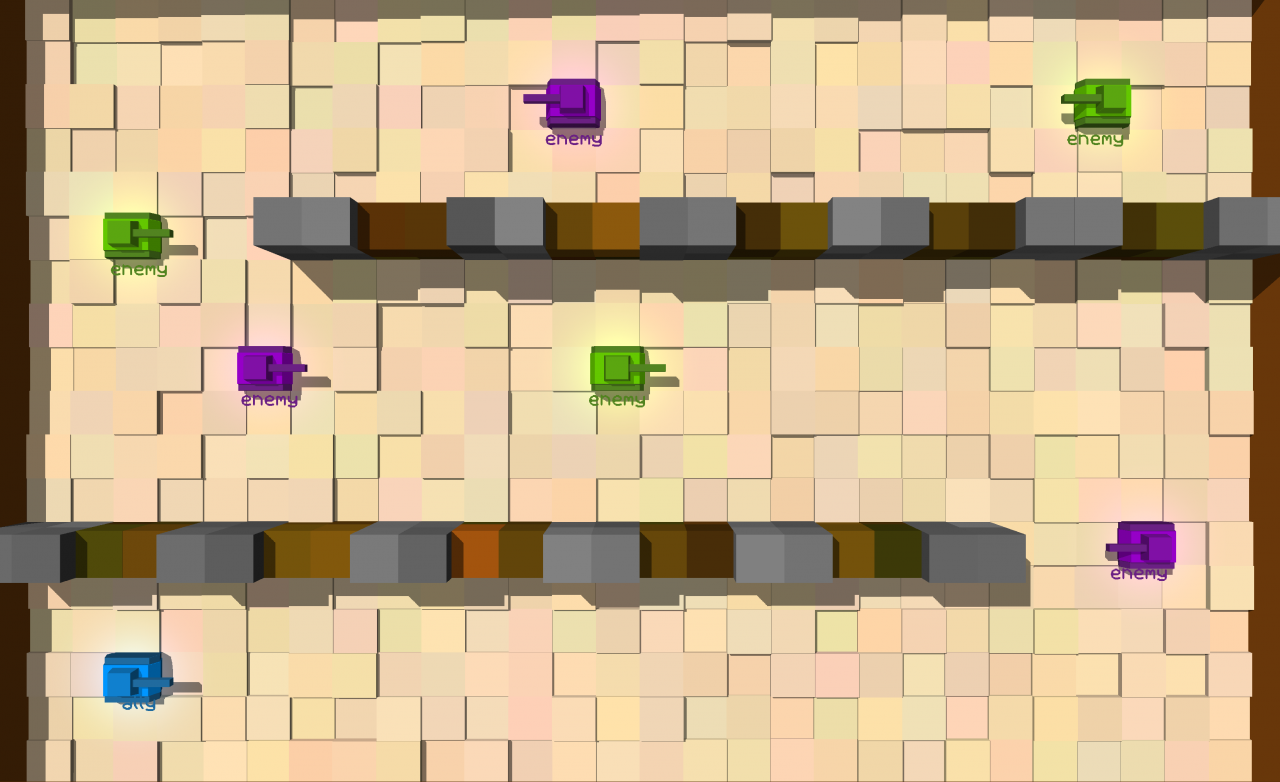 A simple yet challenging layout for a level
Consider giving your level a theme. Along with changing the background color and lighting of your level, you can theme a level through your use of different blocks, the block heights, and the colors of the tanks you use.
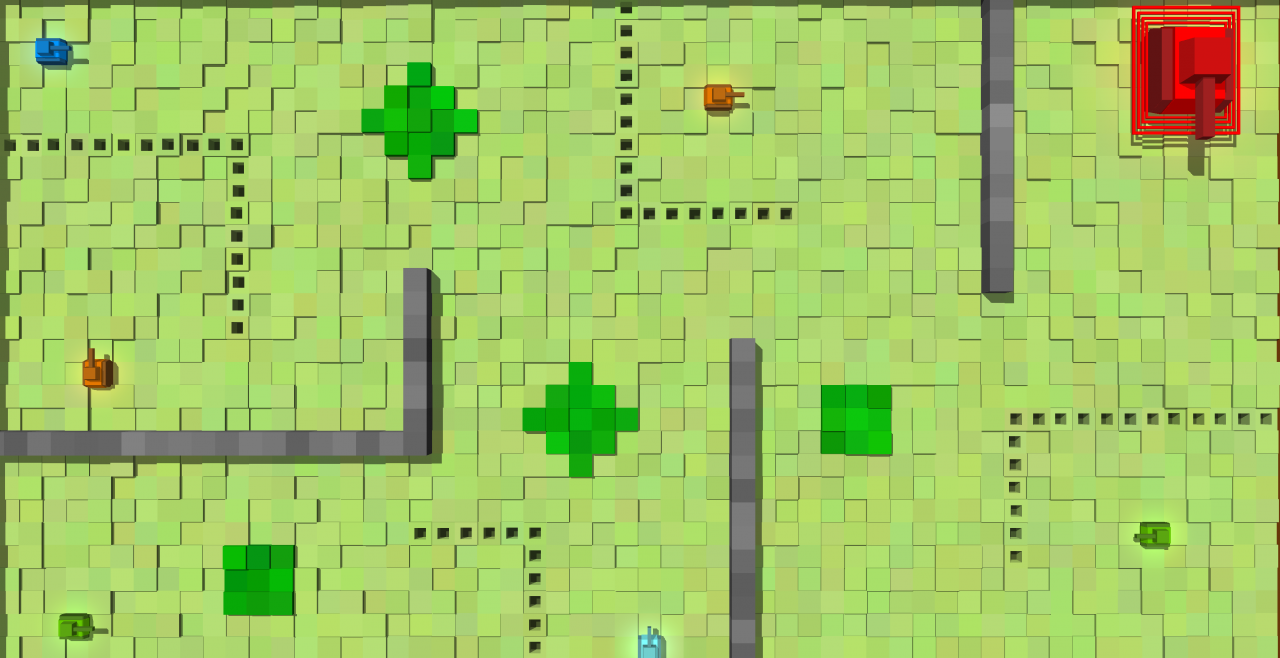 A level themed to look like a grassy plain
If you include too many tanks in your level, it can become too hard and not very fun. It can also harm players’ framerates. A good limit for a normal-sized level is 10 tanks. More open areas generally are harder to manage, so if you have a level with many obstacles, it can be easier to add more tanks without making the level too hard.
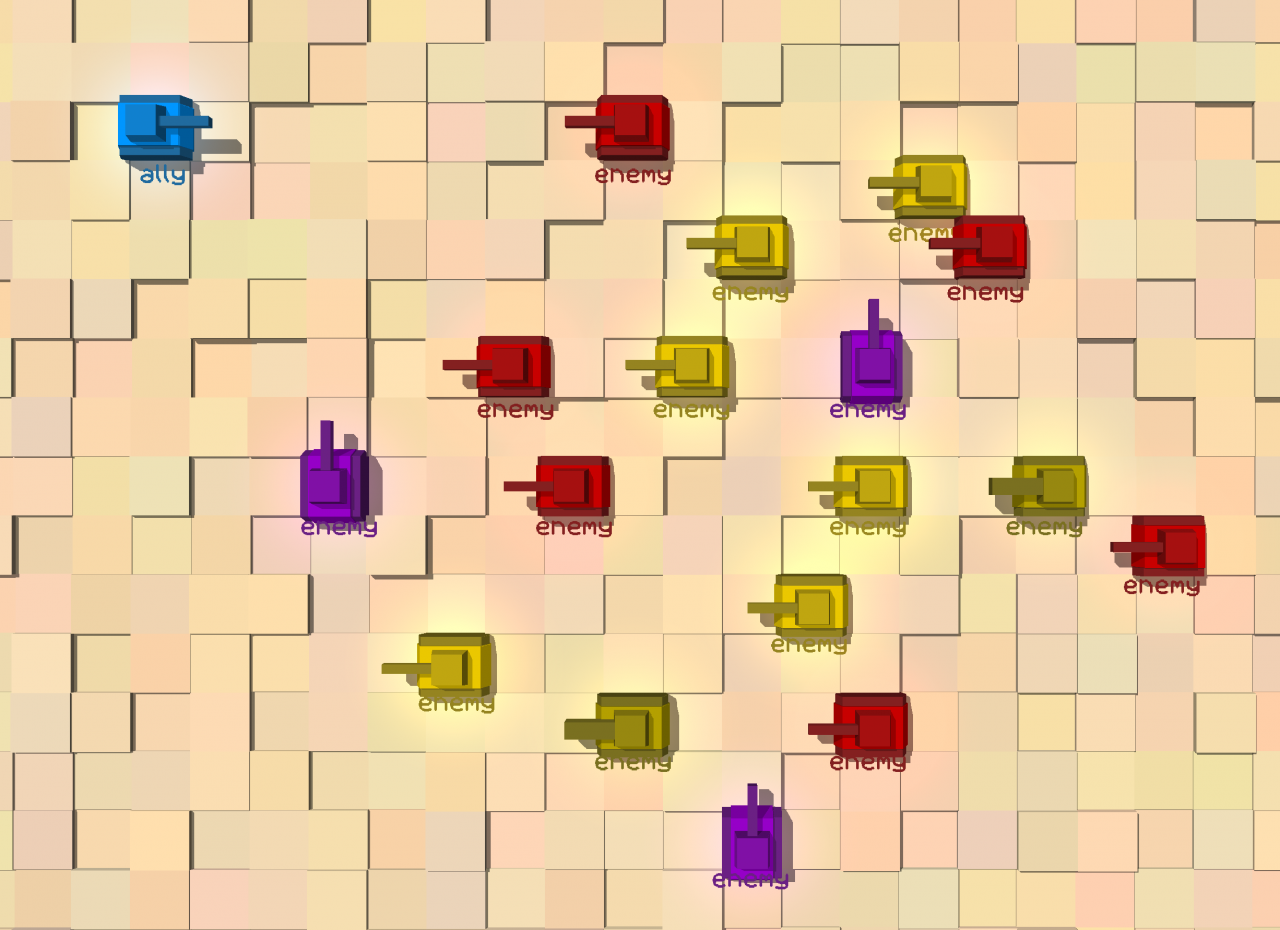 Too many tanks!
Some tanks work better in certain areas, whereas others may work better in other areas. For example, green tanks work best in areas with a decent amount of walls (but not too densely packed) where they can hit you with rebounds. It’s generally recommended to avoid one-tile gaps, because they’re hard to fit in.
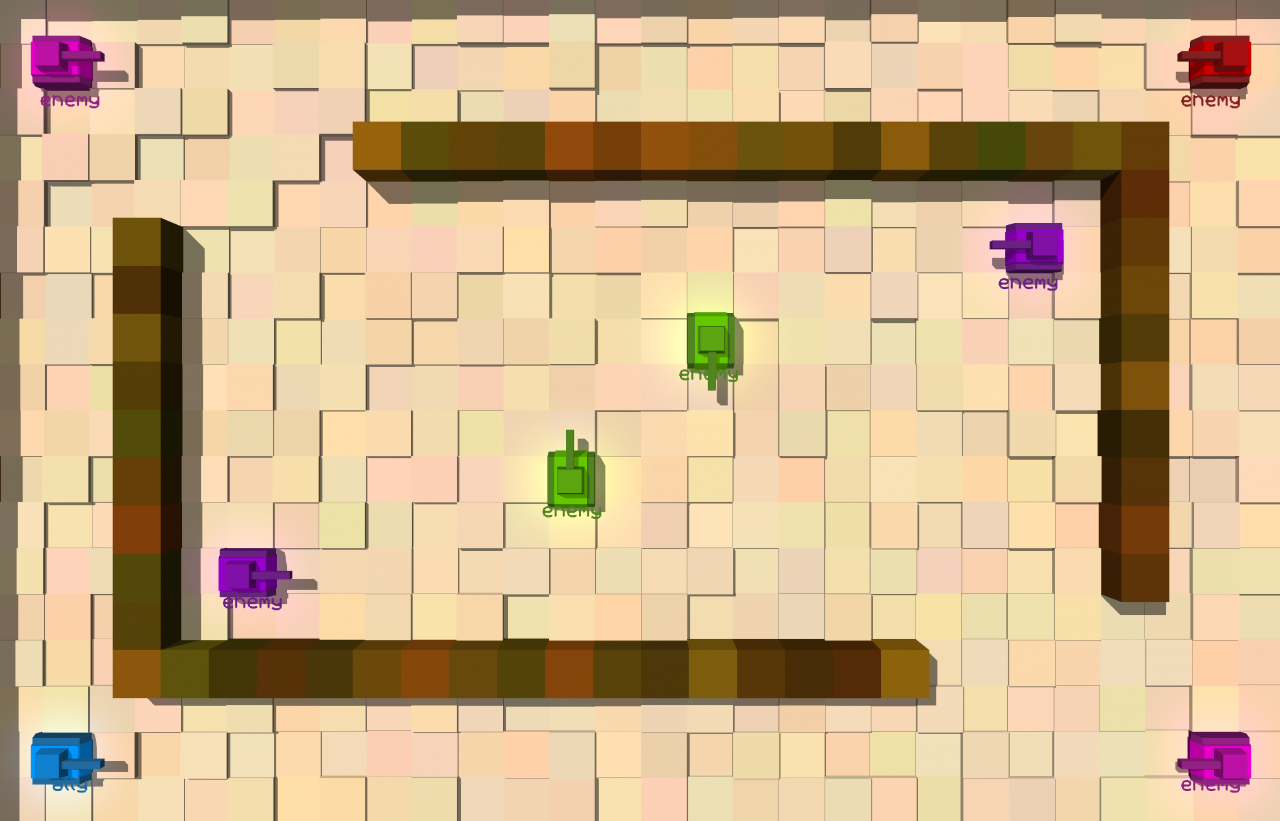 These green tanks in the center of the field are quite evil, they can control the whole map with their rebounding bullets
Some tanks (orange, purple, white, black, orangered, maroon, medic, gold) are quite interesting in that they will track down and pursue their enemies. Some of these will use mines to their advantage to get through walls. These tanks make good teammates for the player too because if the player dies they will continue to actively pursue other enemies.
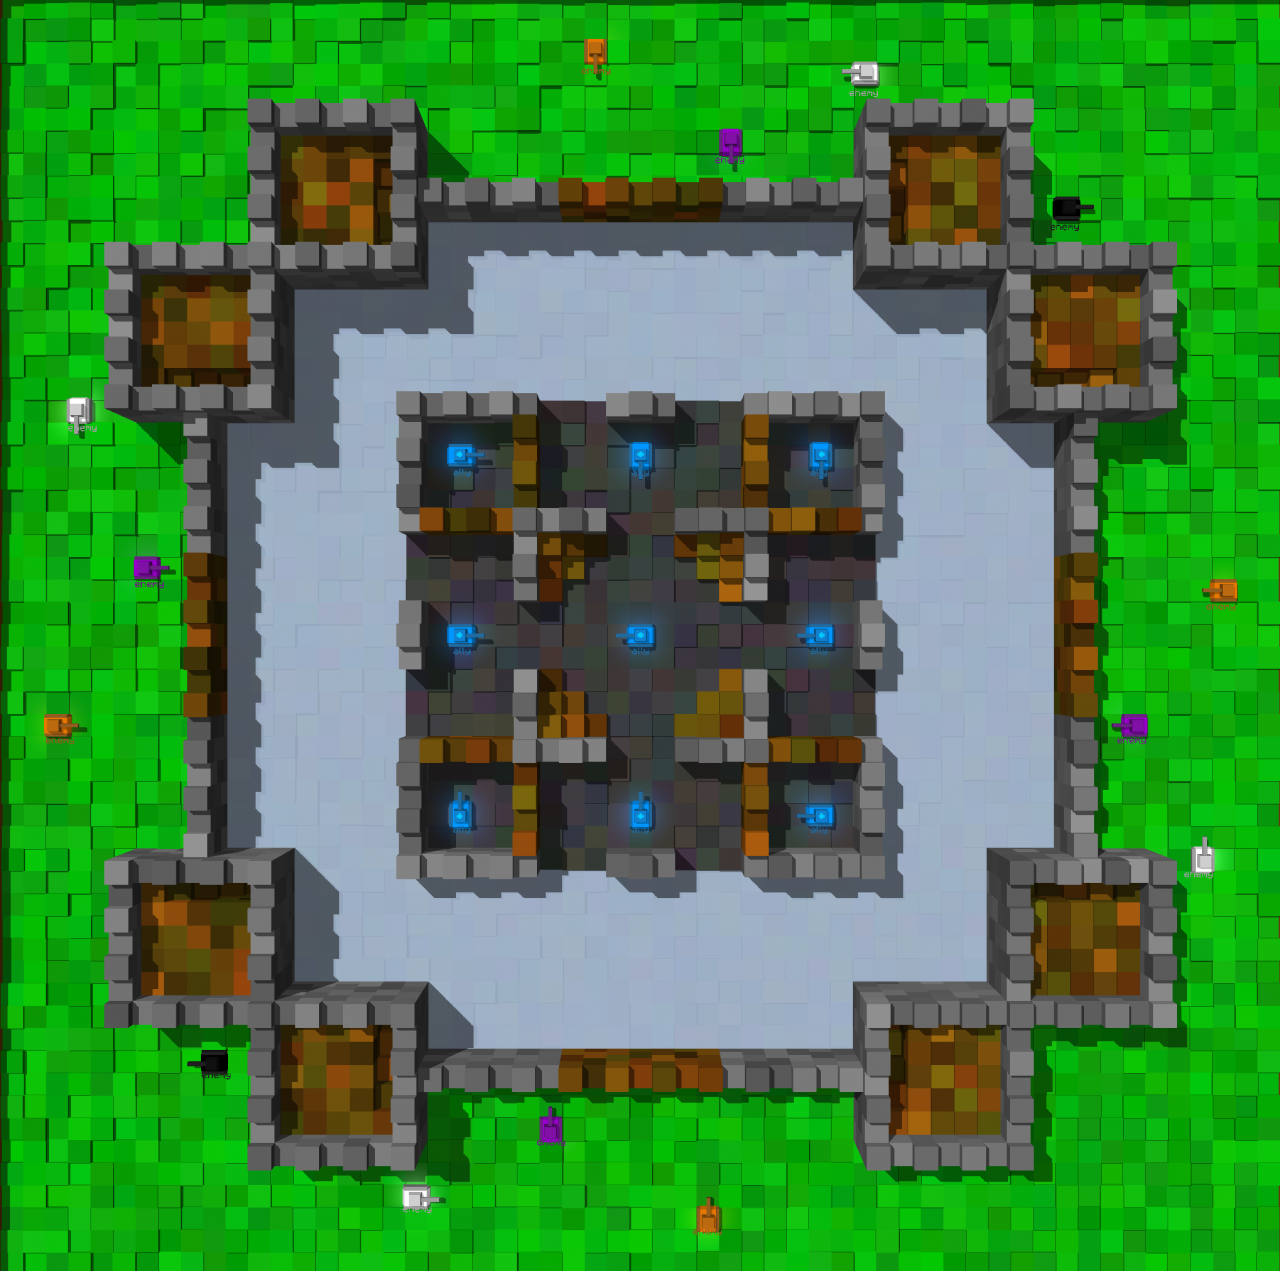 A level which takes advantage of pathfinding tanks – the tanks use their abilities to break into the castle the player starts in, and the player has to defend against the invading tanks.
Select the staggering option in the block height menu to make pretty castle-style walls!
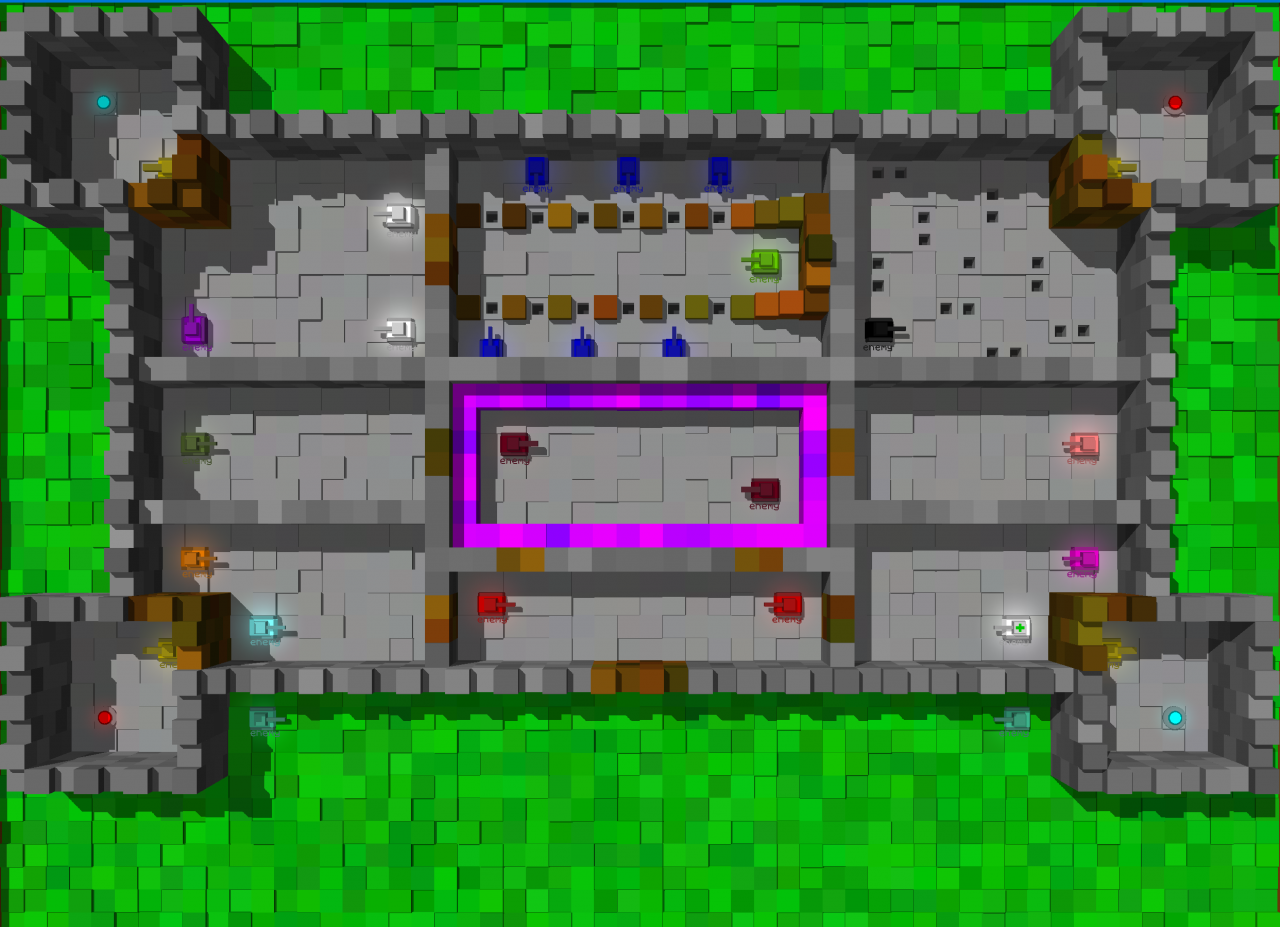 A castle made with staggered walls
Consider messing with certain gimmicks in the game. Maybe make a shooting range where the player has to aim carefully to hit the enemies. Or make a racetrack with a time limit. Or a barrage of tanks you can only destroy by triggering explosive blocks. Make sure the trick to your level isn’t too obscure or difficult to pull off, or else you may frustrate players!
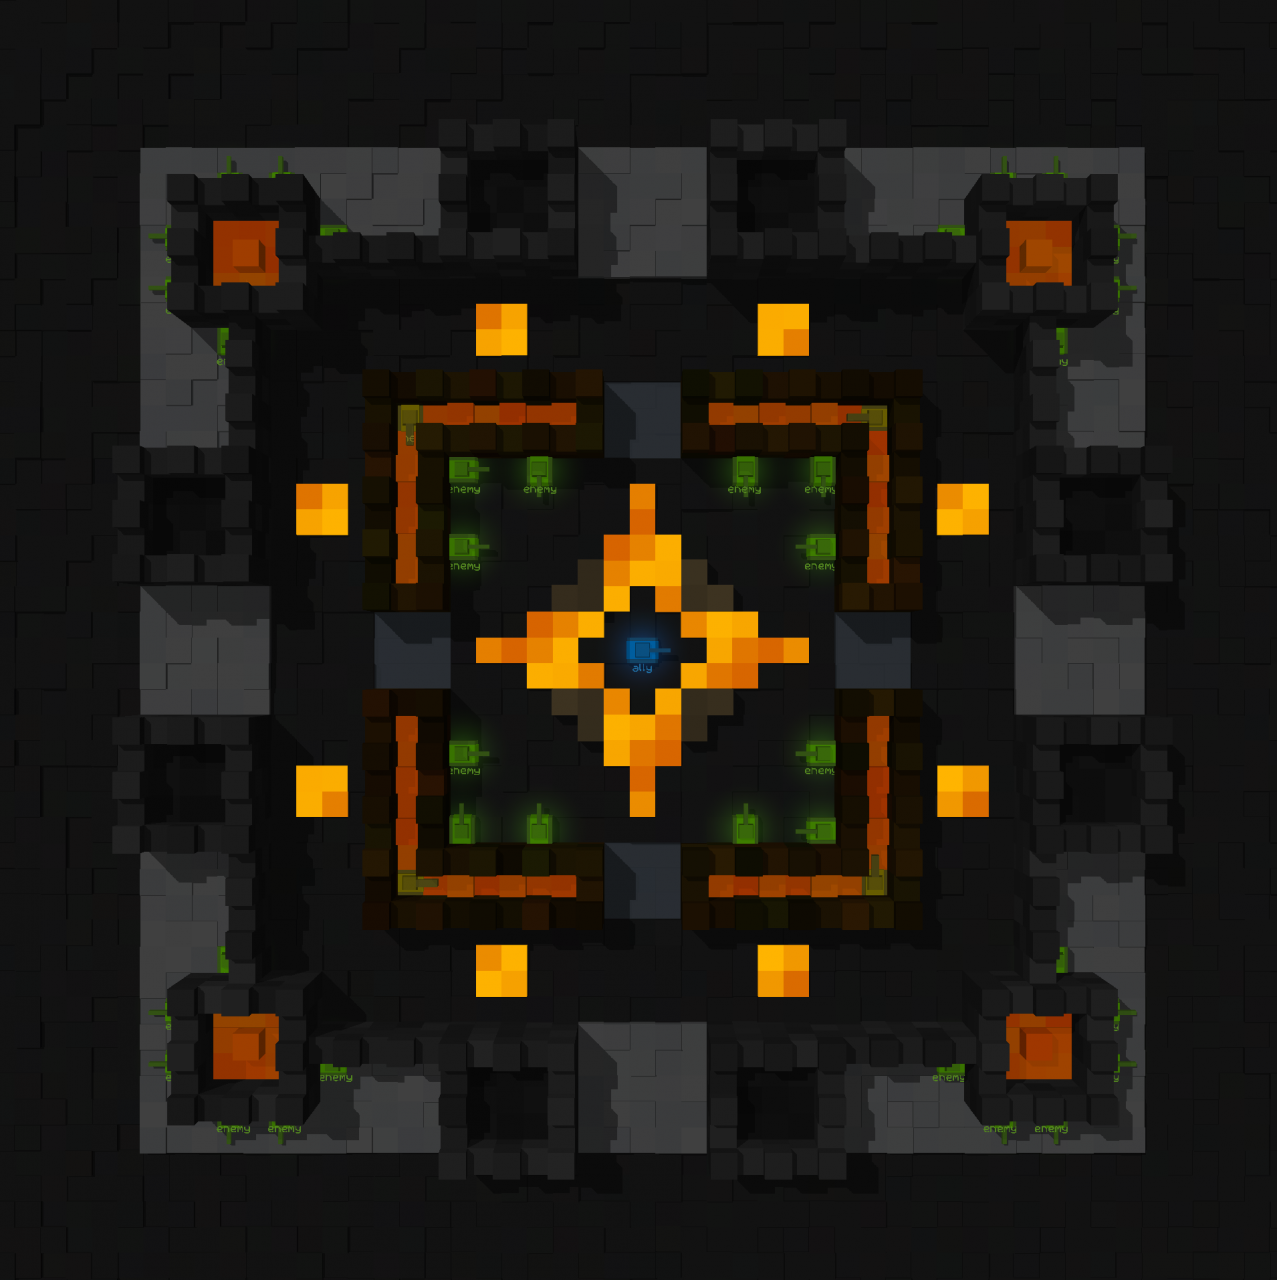 A level with way too many green tanks to manually destroy, instead giving you the option to quickly blow them up with explosives while dodging their bullets with boost panels!
Conclusion
That’s all we are sharing today in Tanks: The Crusades How to Create Levels, if you have anything to add, please feel free to leave a comment below, and we’ll see you soon.
Credit to aehmttw
