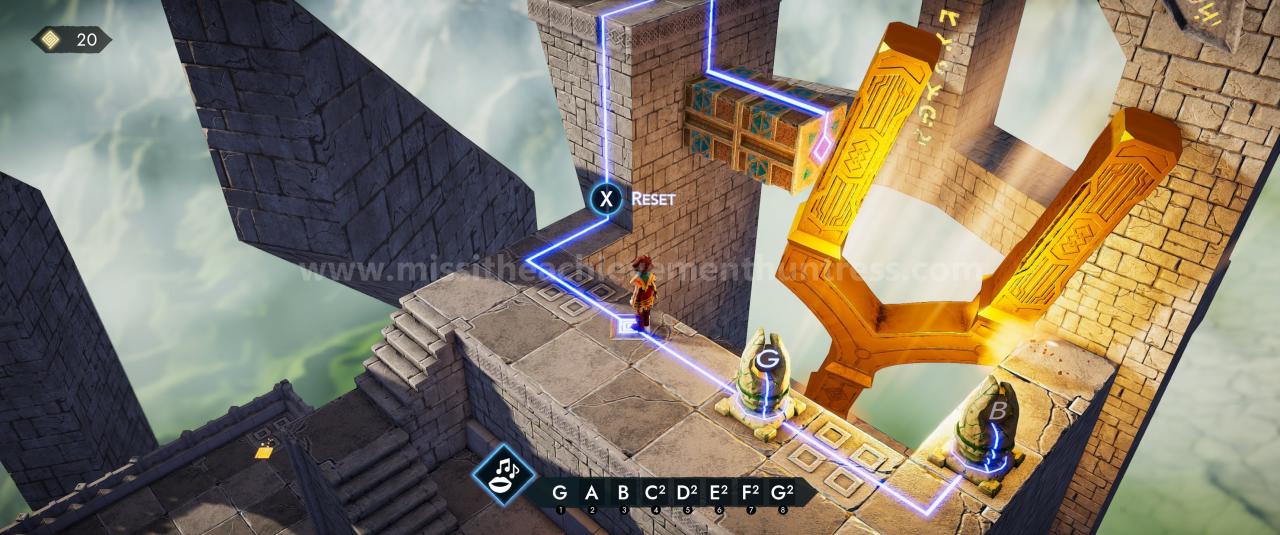
For Sonority players, this guide will show you solutions to all the puzzles, they are all explained with images, let’s check them out.
Welcome
Welcome to this sonority walkthrough.
I want to start off by telling you that the game isn’t that hard, you won’t need this guide, but maybe you are stuck somewhere and want to look something up?
The numbers of the puzzles don’t tell you anything, you should look it up by the area you’re in and then try to find the puzzle you’re stuck at. Some puzzles require notes you won’t have yet and you have to come back later, or instruments you don’t have yet. In the last part of the guide also the totems can have different places, that is something to keep in mind as well.
I hope you’ll enjoy the game and won’t need this guide. Personally, I fell in love with the song that is played in “The Valley of Stones” after you finished all the puzzles.
Screenshots gone?
I have no idea why but at one point the screenshots from this guide were gone. I had to rename them all, upload them again and then add them to the guide. If this happens again or you think one is missing/at the wrong please, please check out the guide at my own website to see if it has something to do with me quickly trying to put this guide here together again.
https://www.missitheachievementhuntress.com/sonority-walkthrough-solution-guide/
The Big Gate
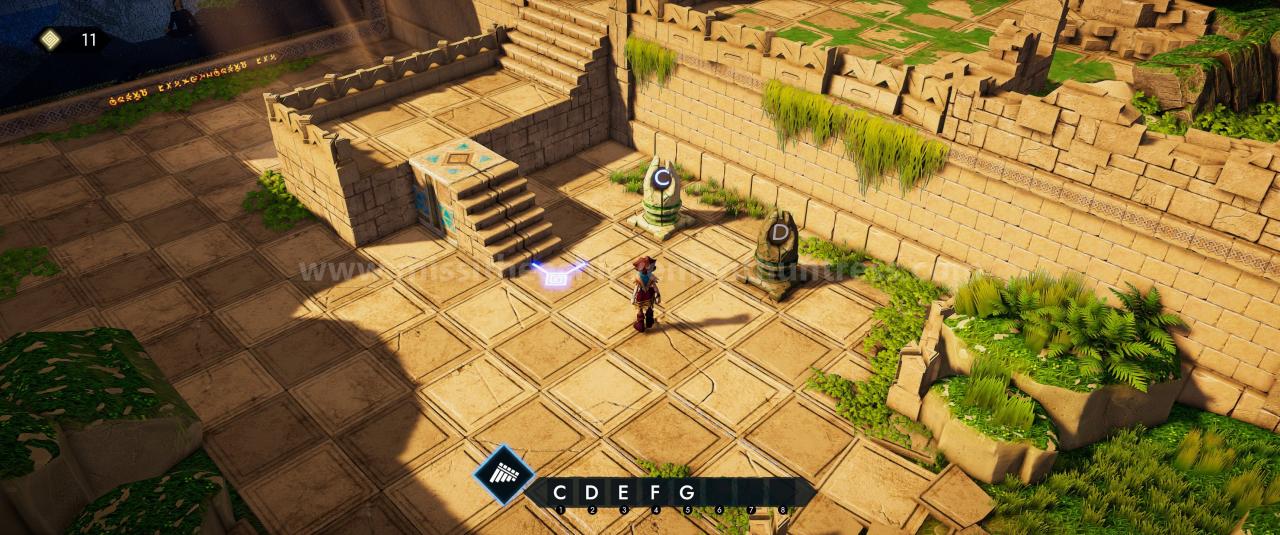 Puzzle 2:
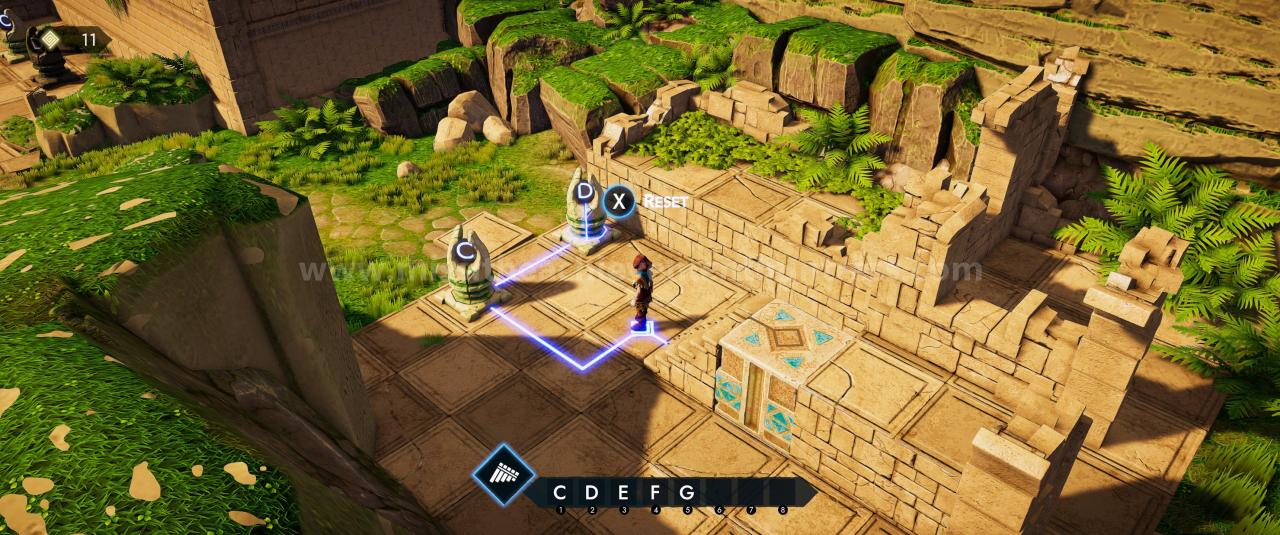
Chest 1:
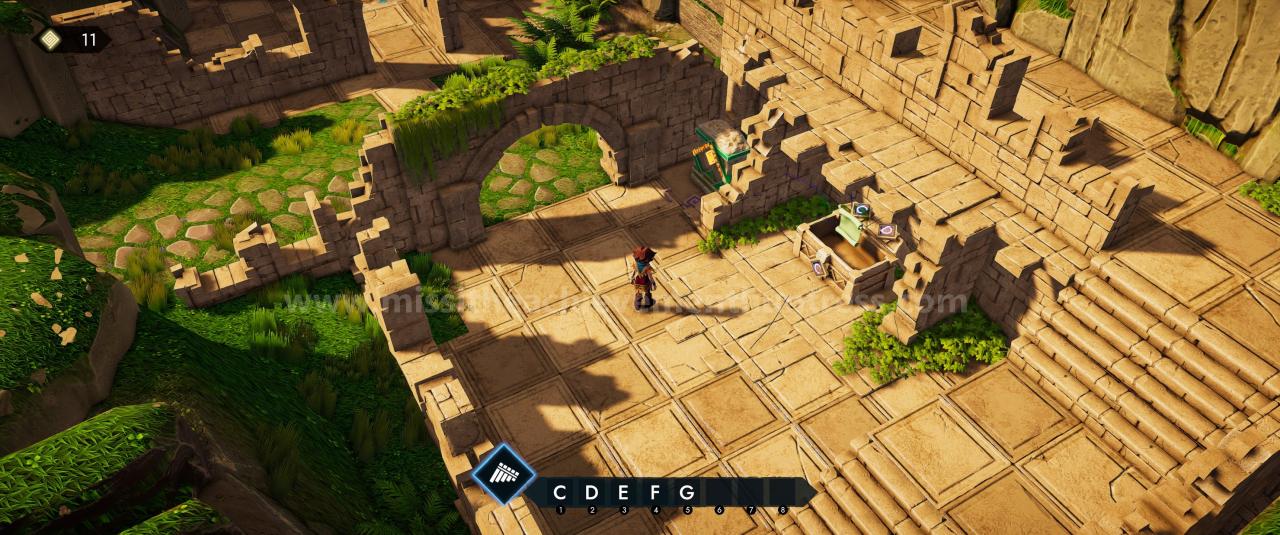
Puzzle 3:
This is only possible after you received the 7th note.
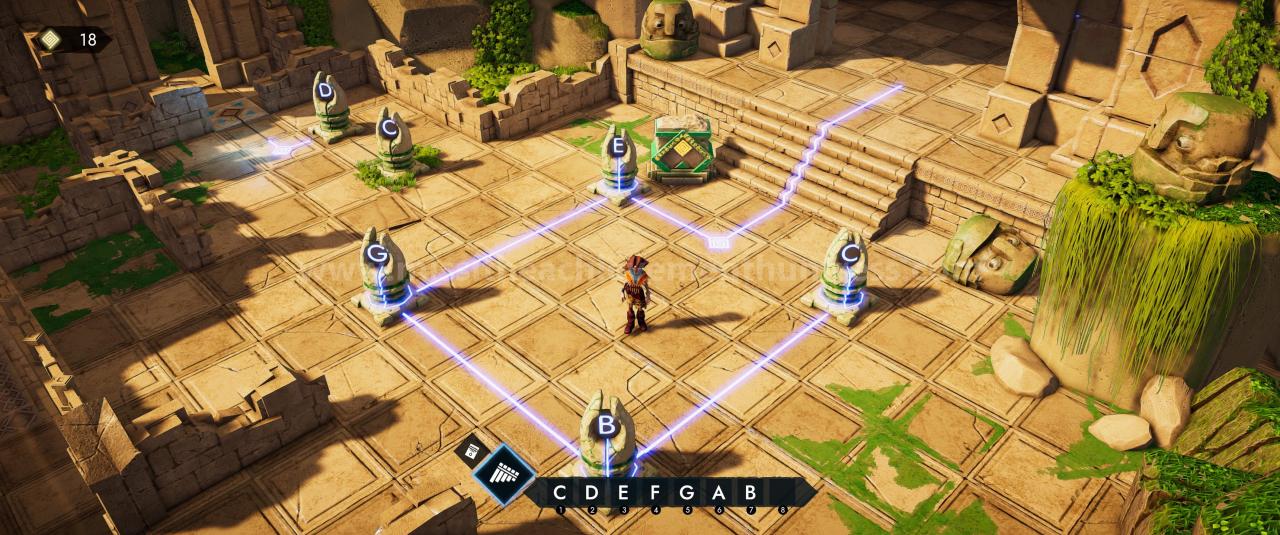
The Ruins of Man
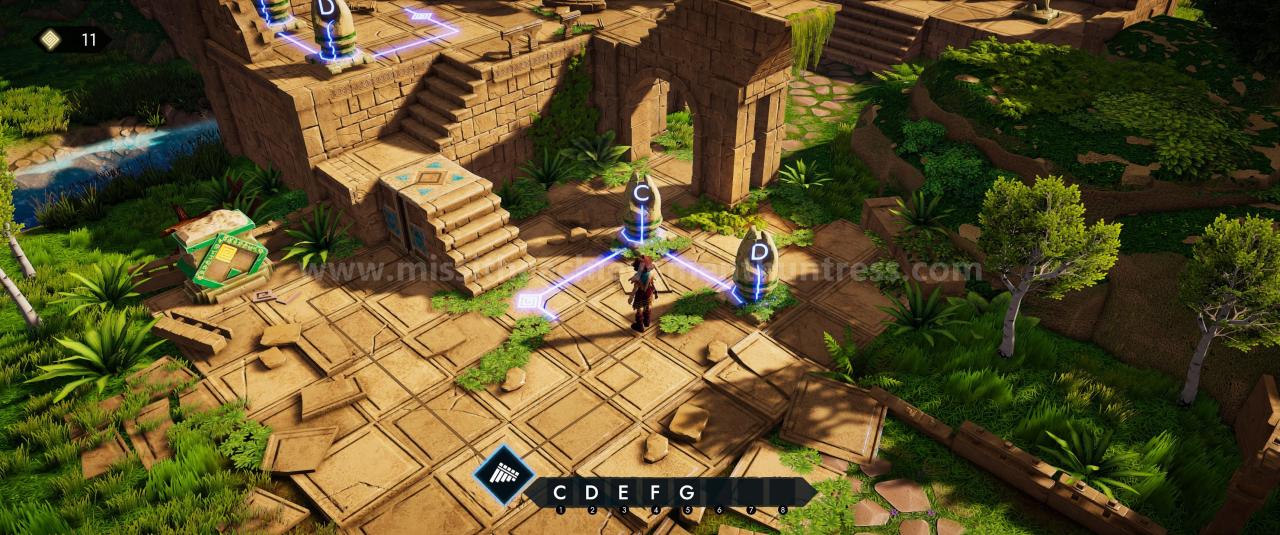 Puzzle 5:
For this puzzle, you have to complete The old Fort first
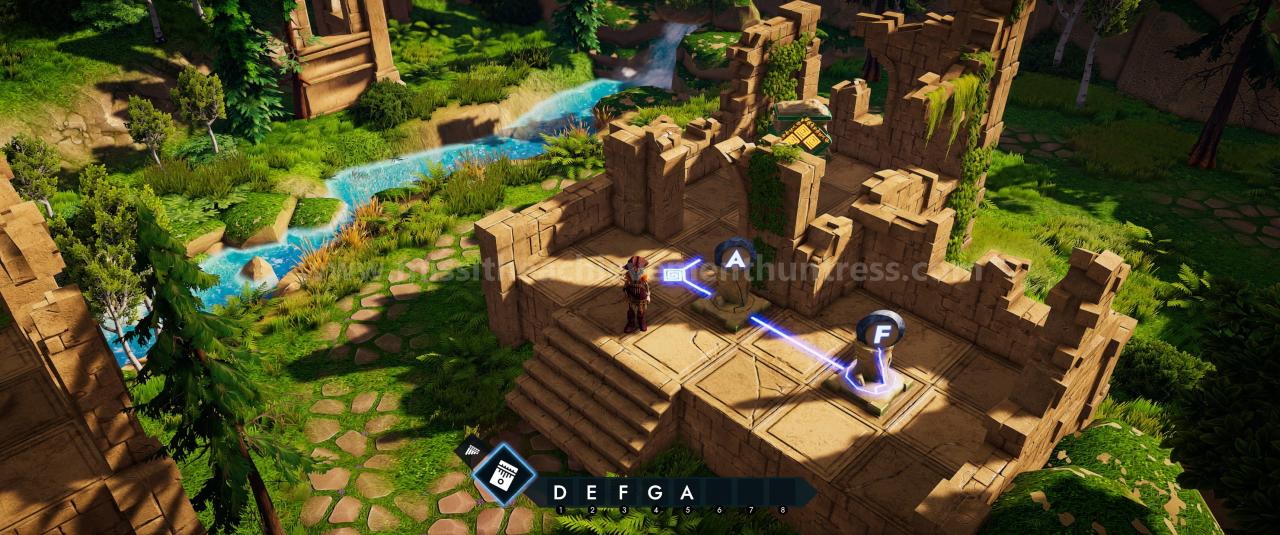
Puzzle 6:
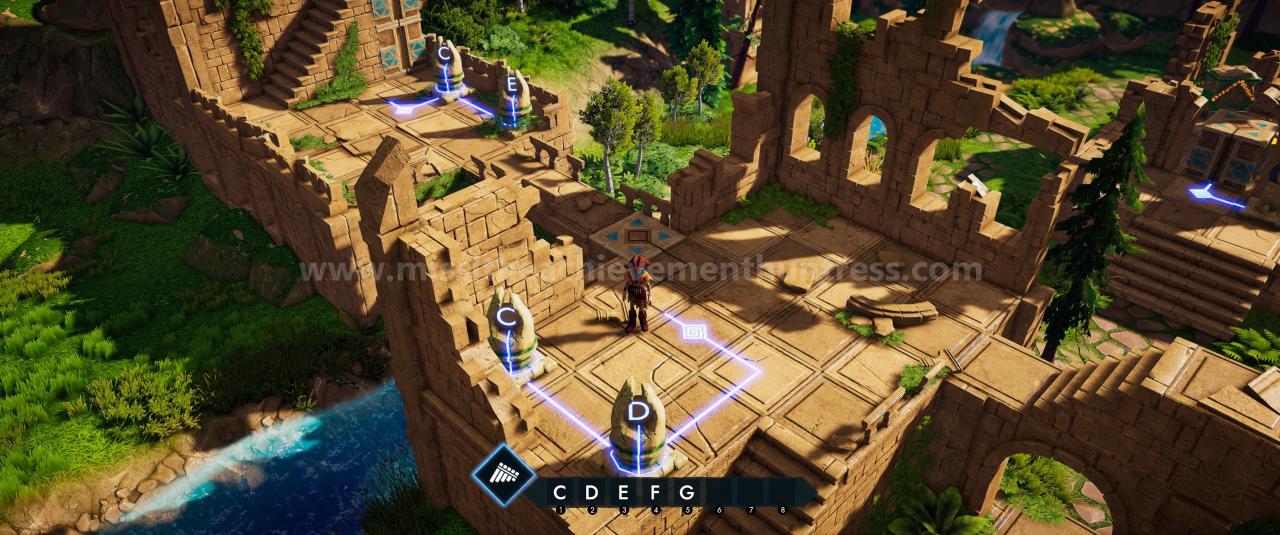
Puzzle 7:
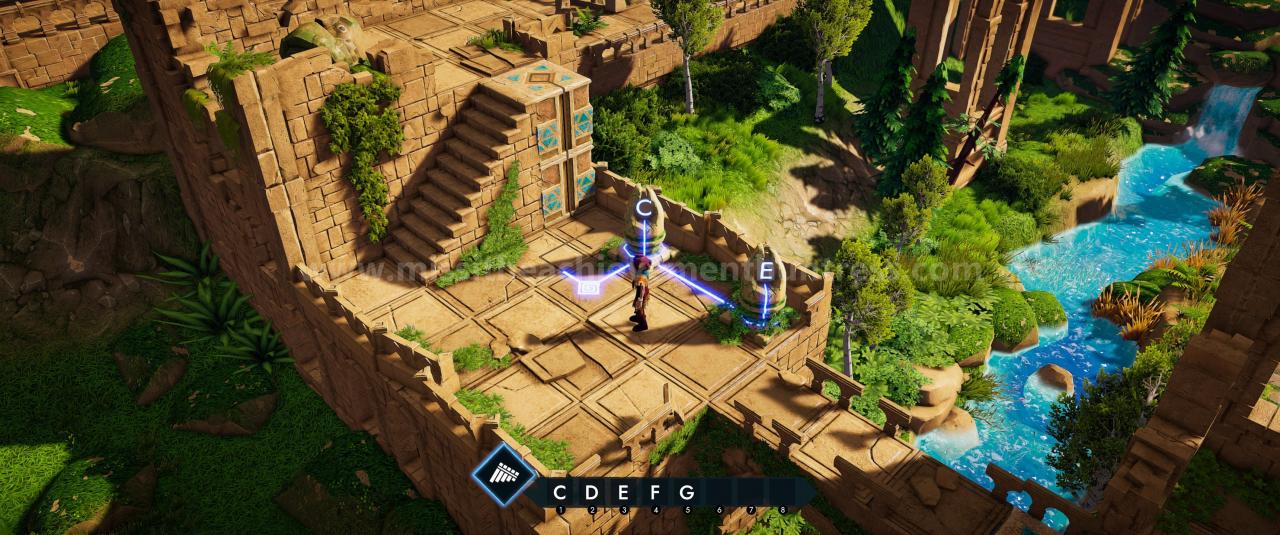
Chest 2:
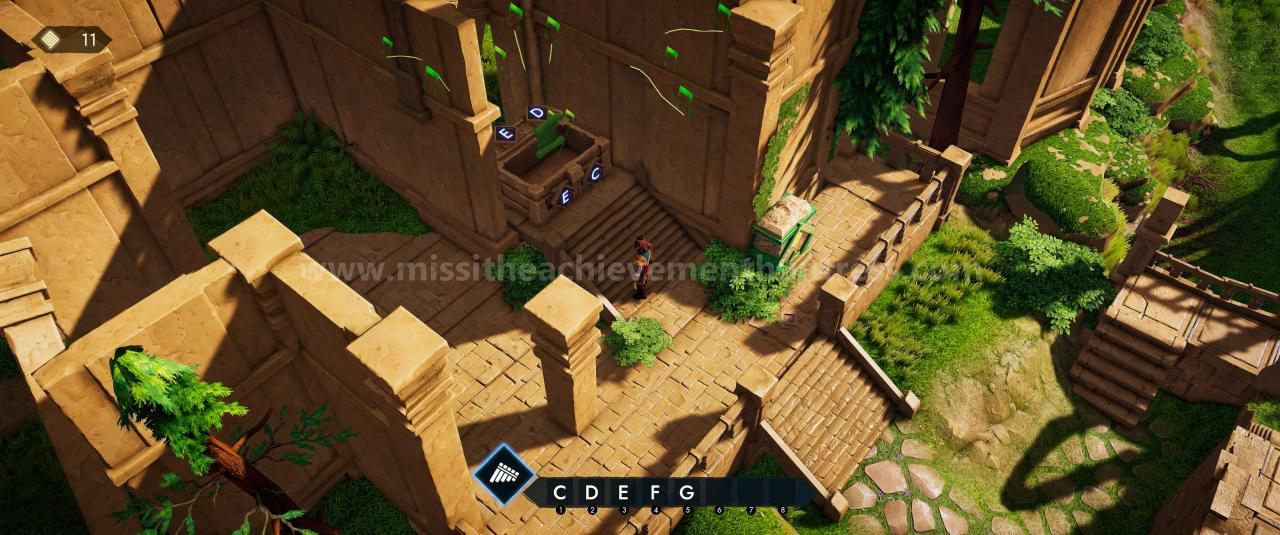
The Ruins of Man 2
(DCD is needed to pick up the item)
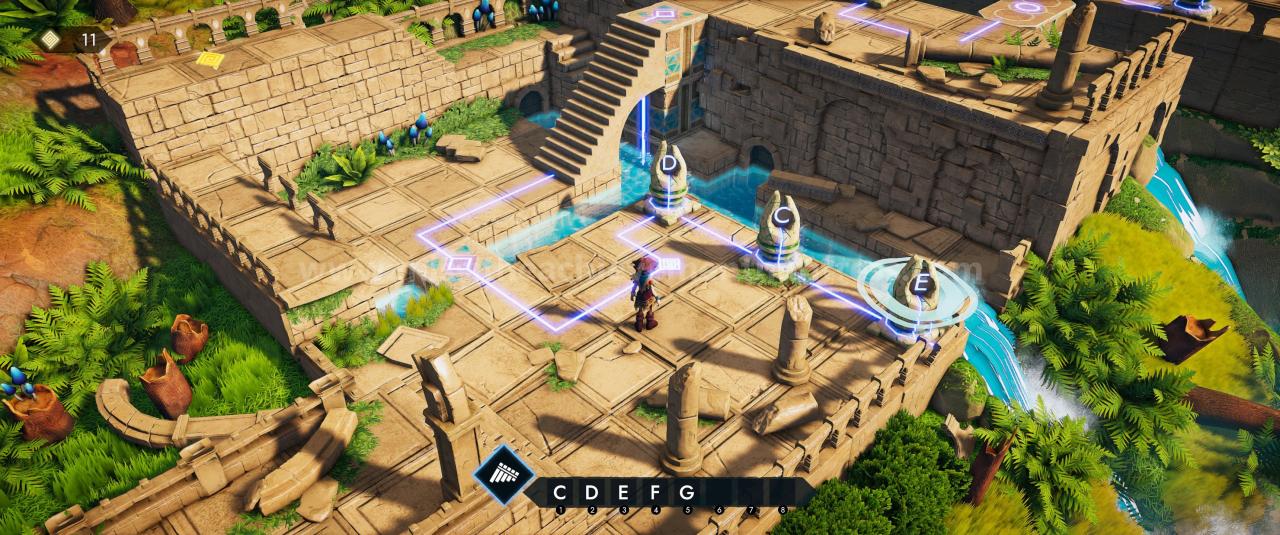
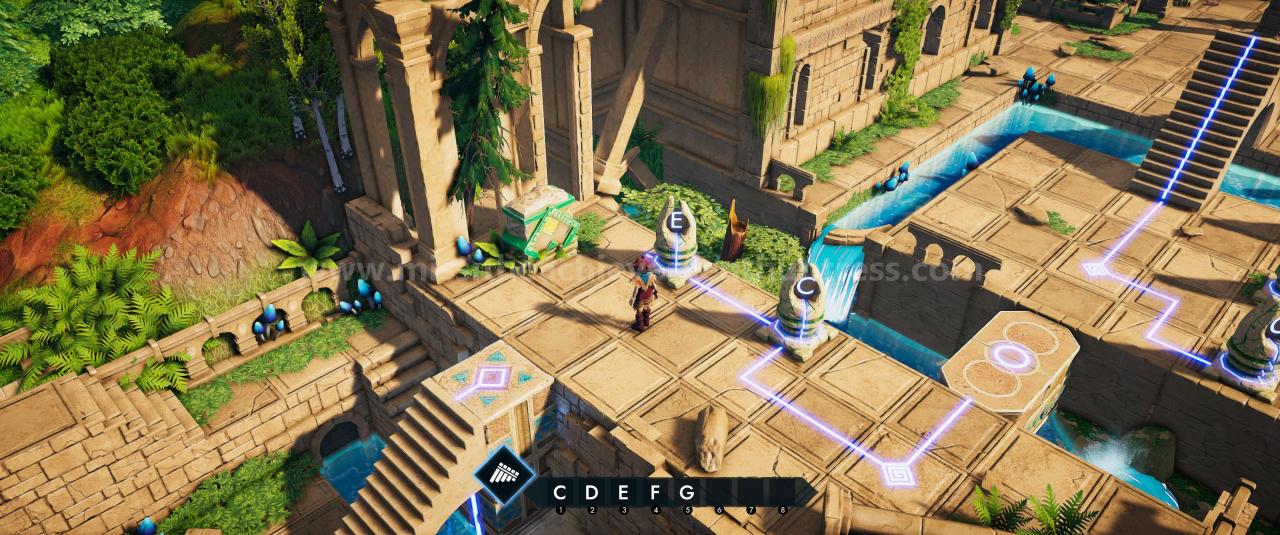
Puzzle 10:
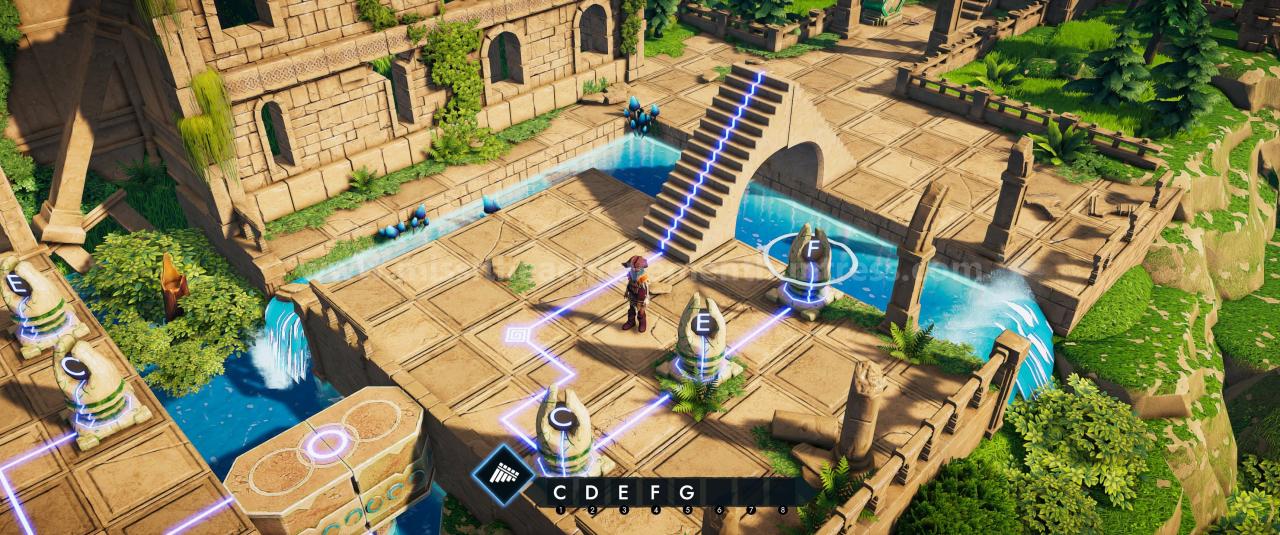
Puzzle 11:
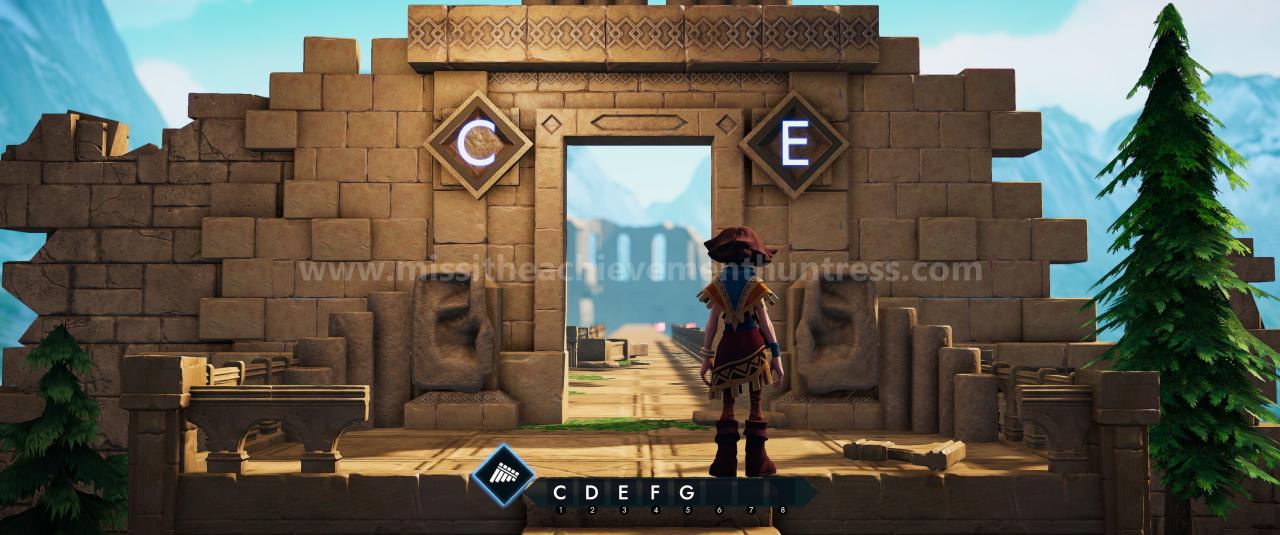
The Broken Tower
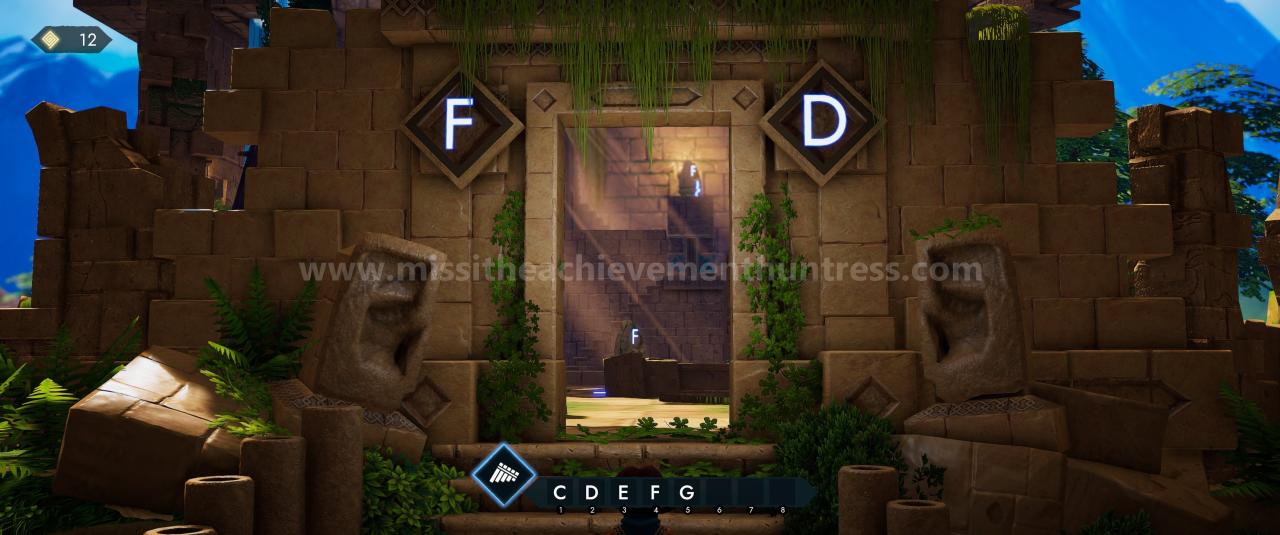 Puzzle 13:
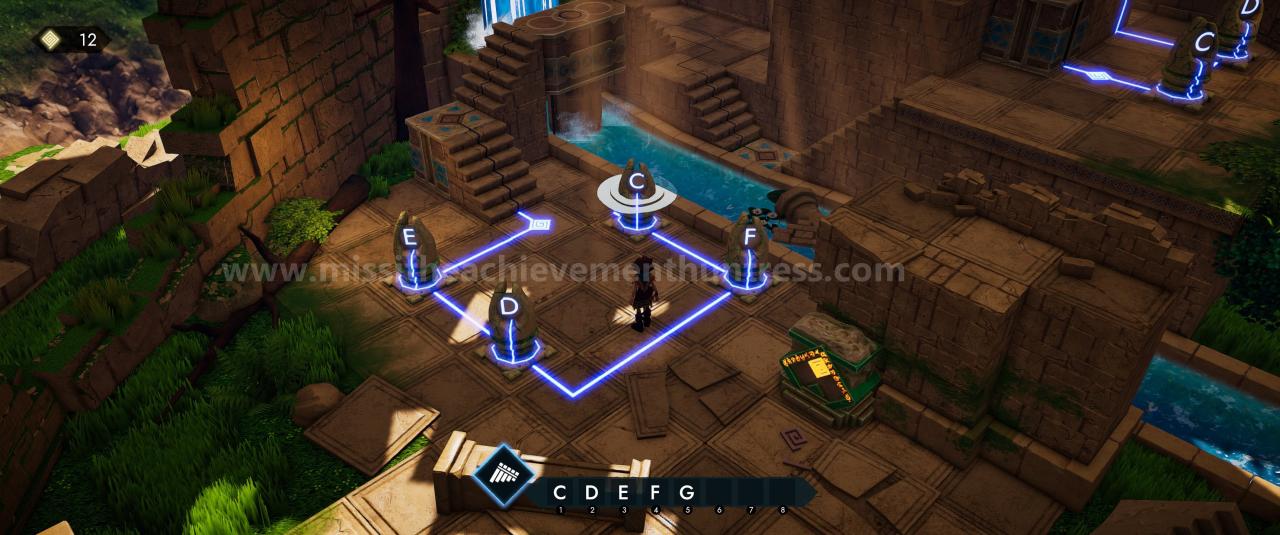
Puzzle 14:
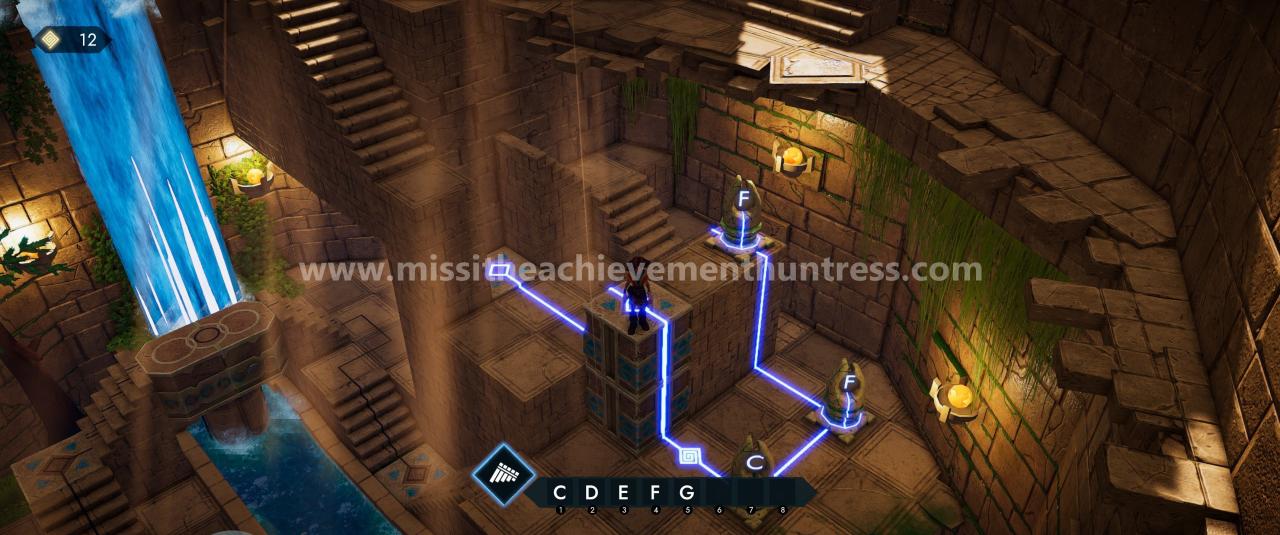
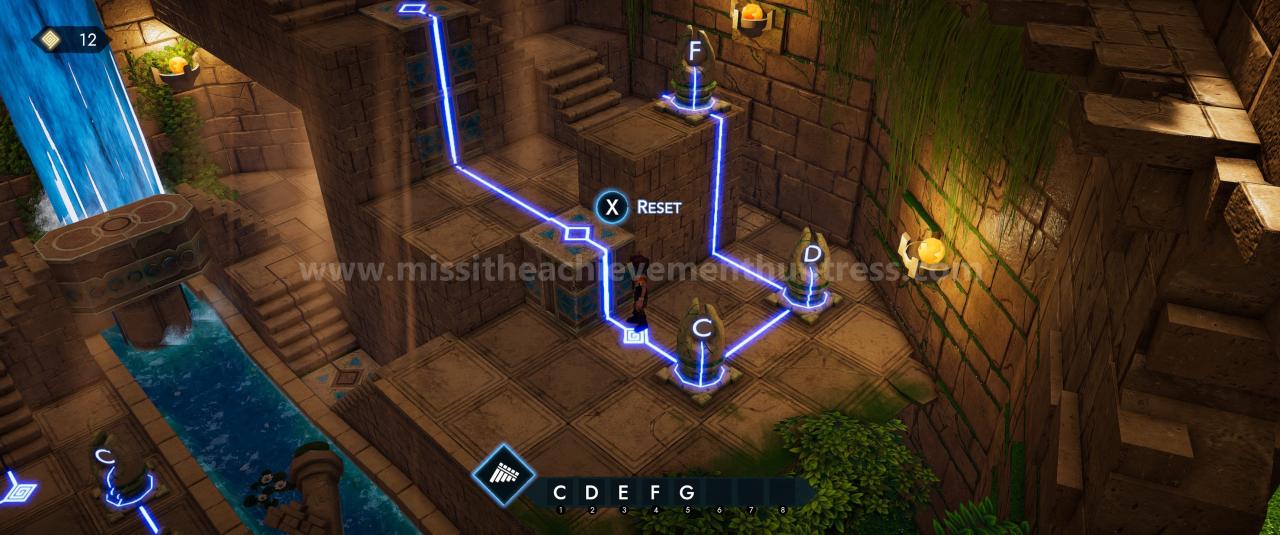
For this one you need to do this in two steps:
The Valley of Stones
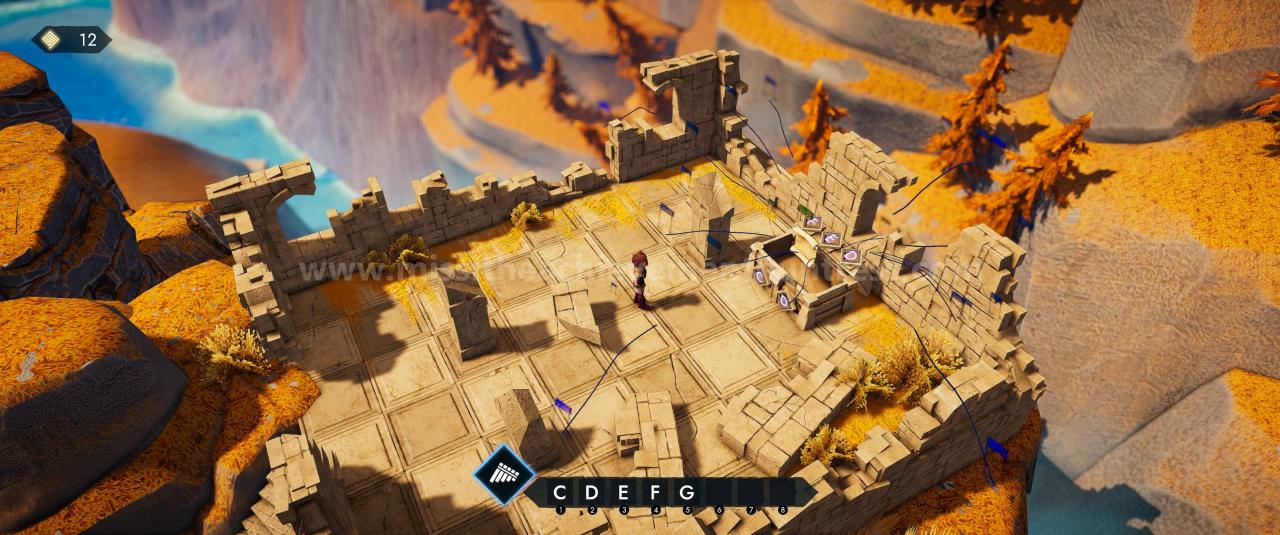
Puzzle 15:
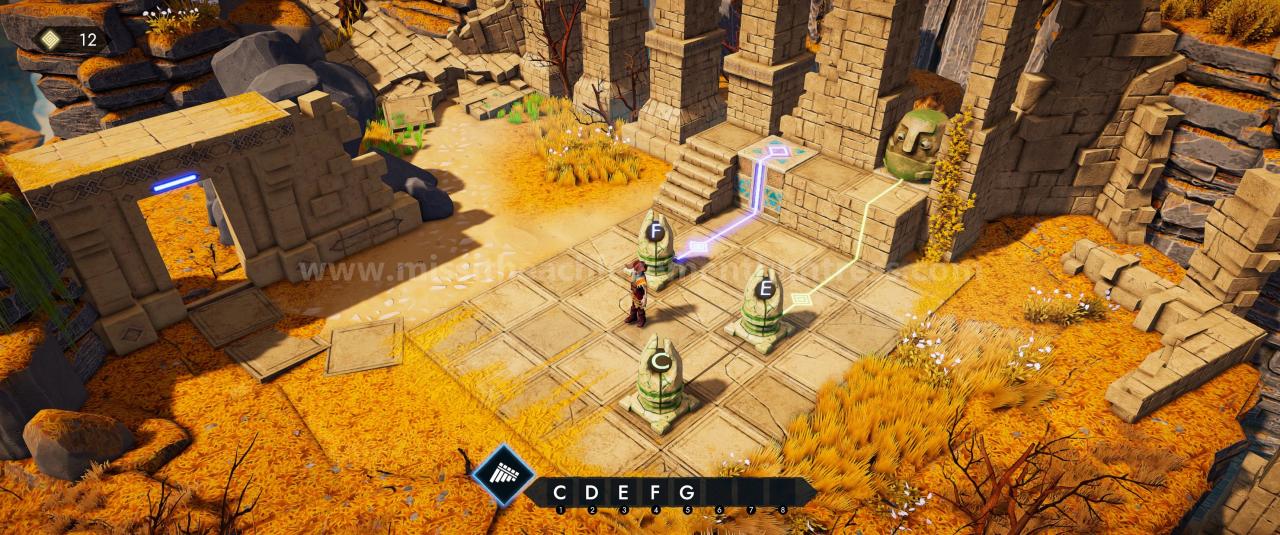
Puzzle 16:
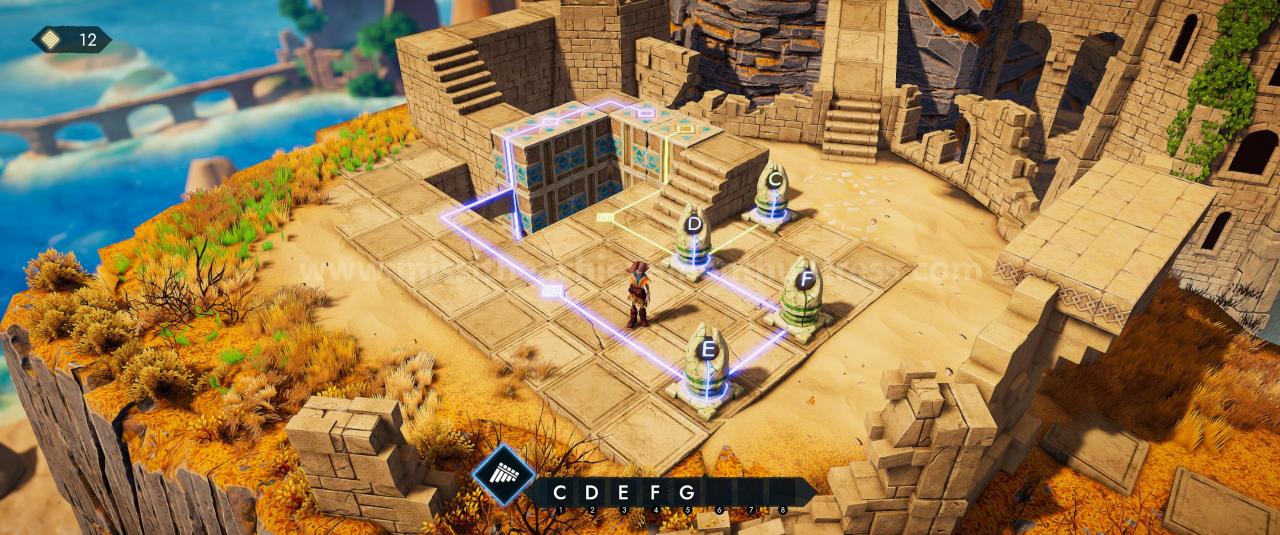
Puzzle 17:
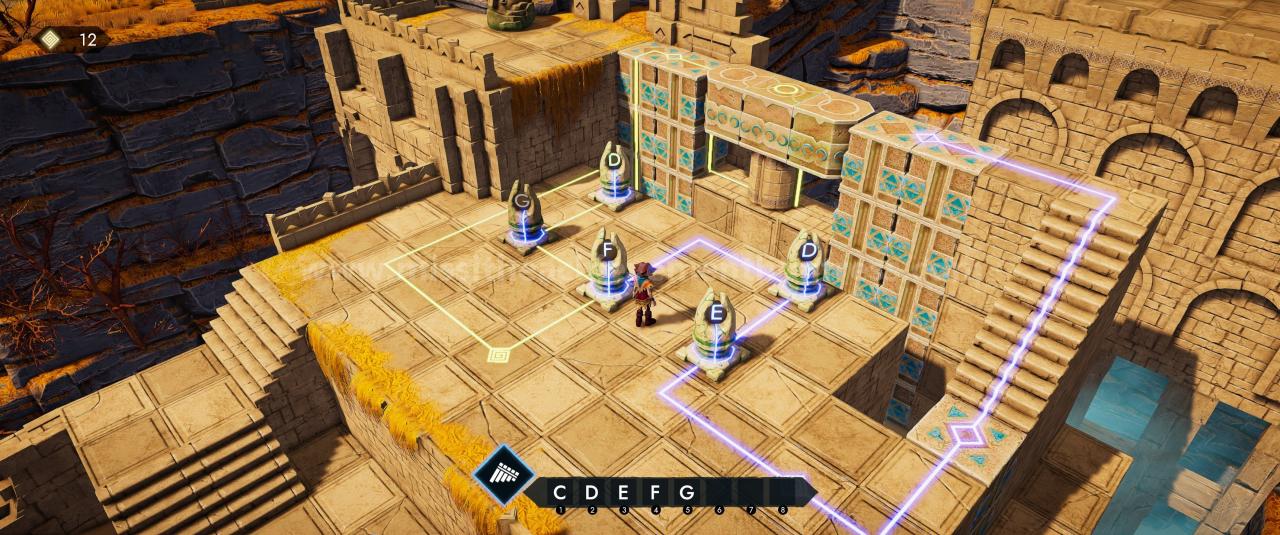
Puzzle 18:
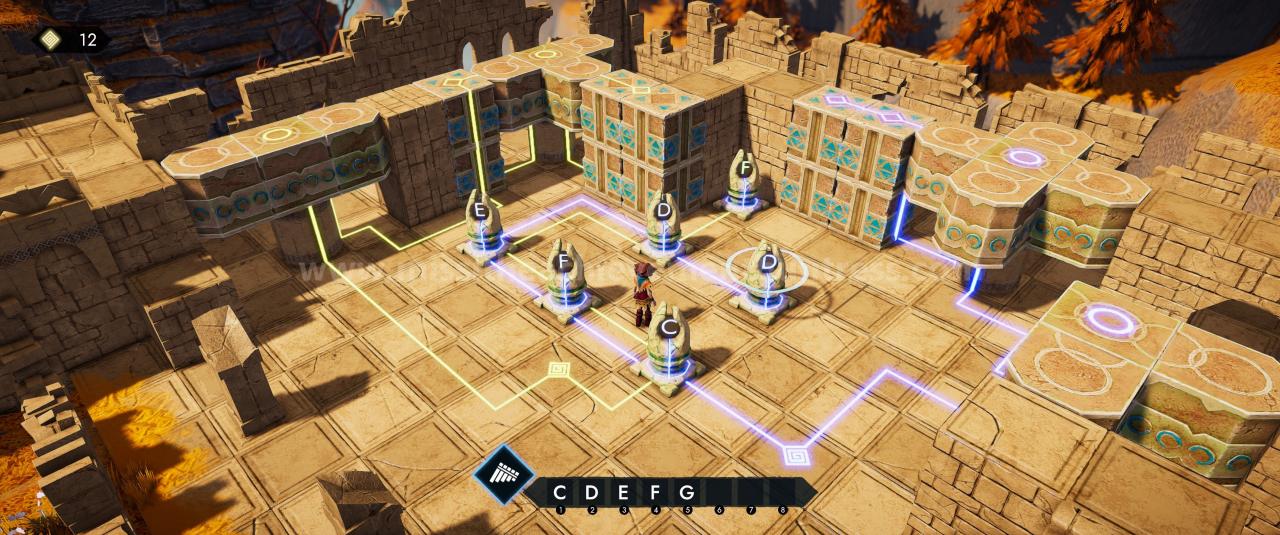
Puzzle 19:
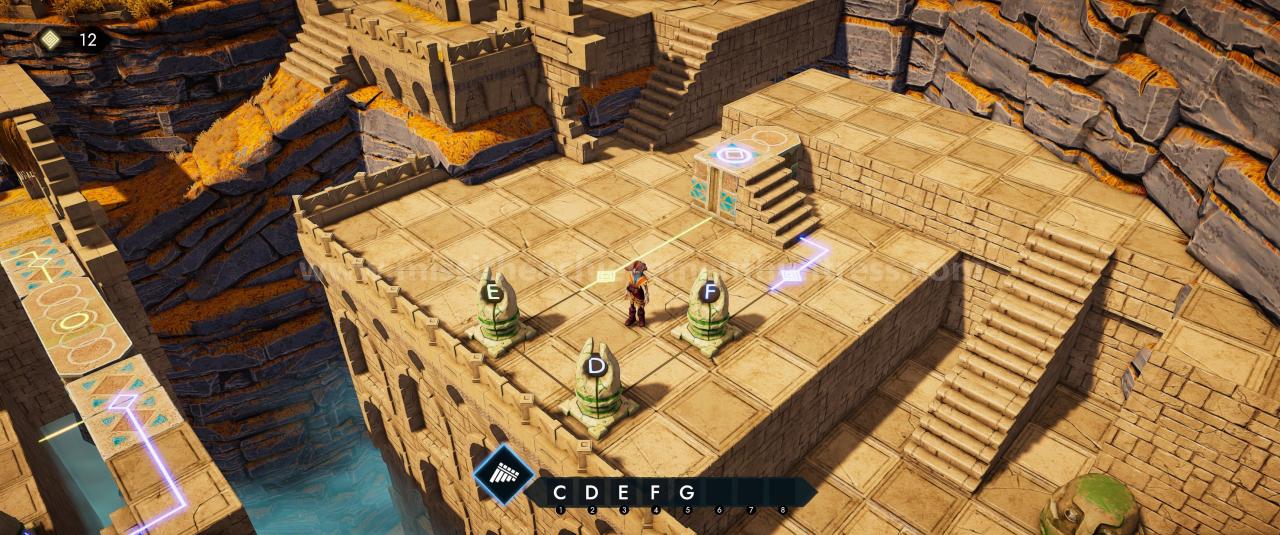
Puzzle 20:
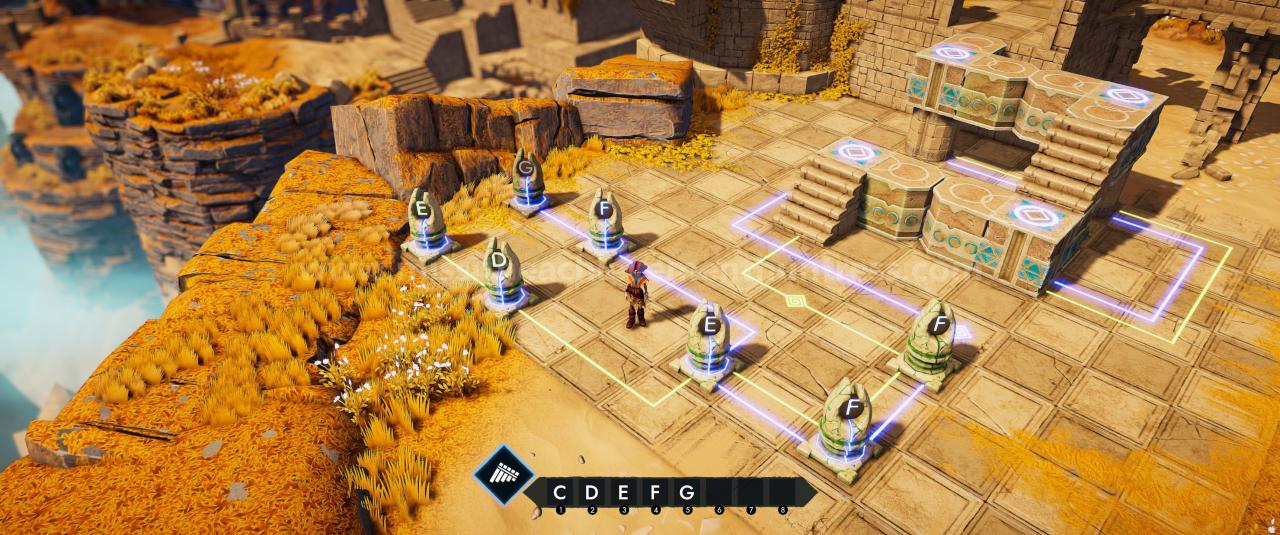
Puzzle 21:
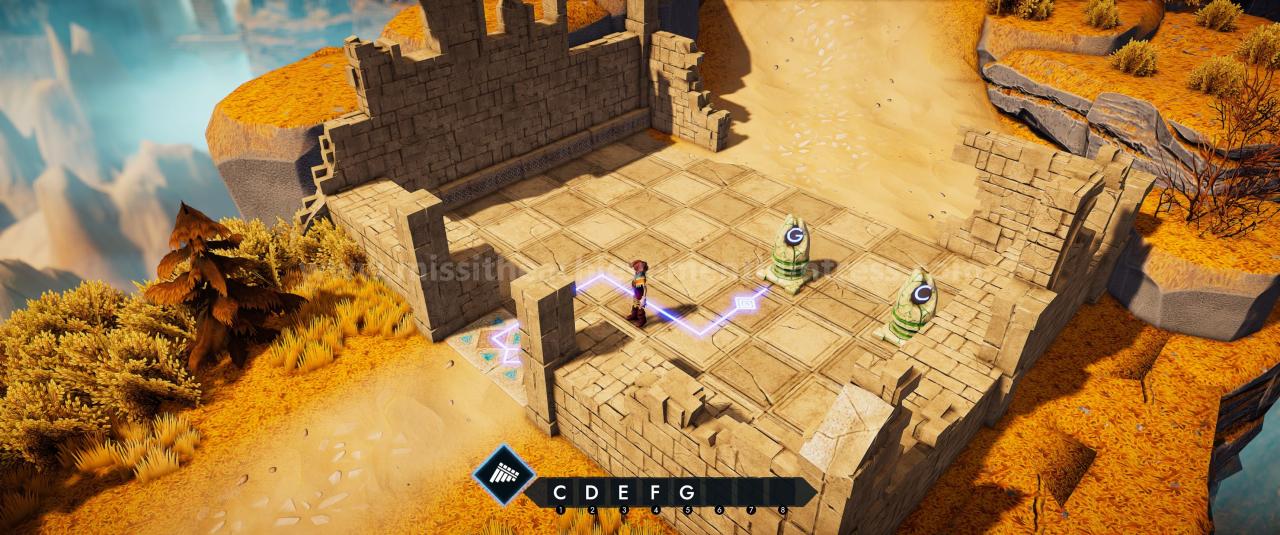
The Music Shrine
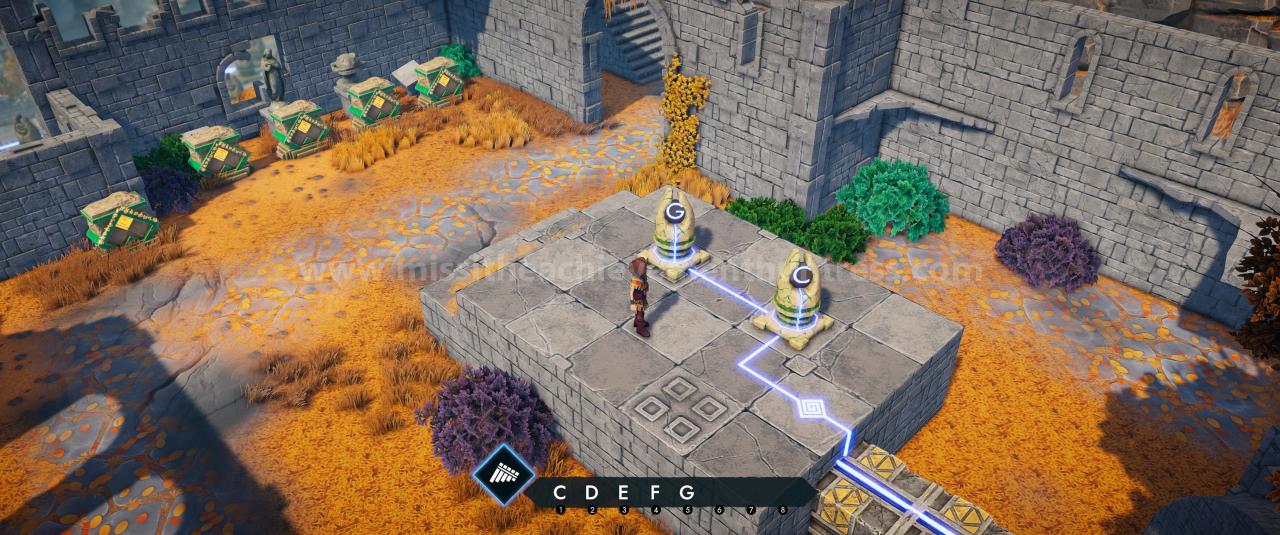
Puzzle 32:
You can only complete this one after finishing The old Fort.
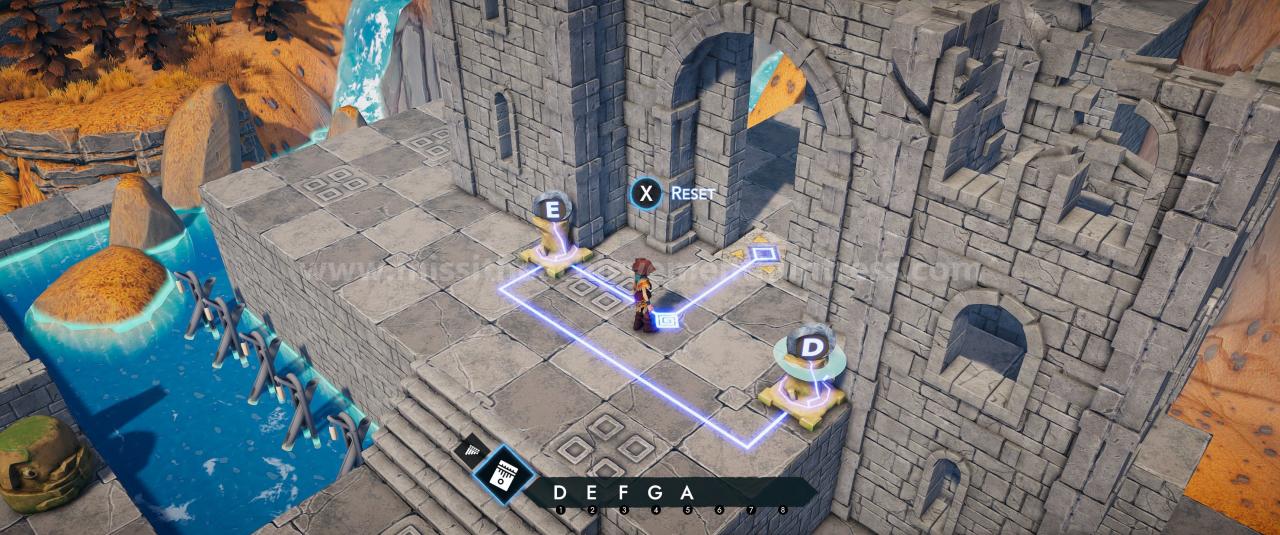
Puzzle 50:
This one you can only complete after completing The Temple of Rocks.
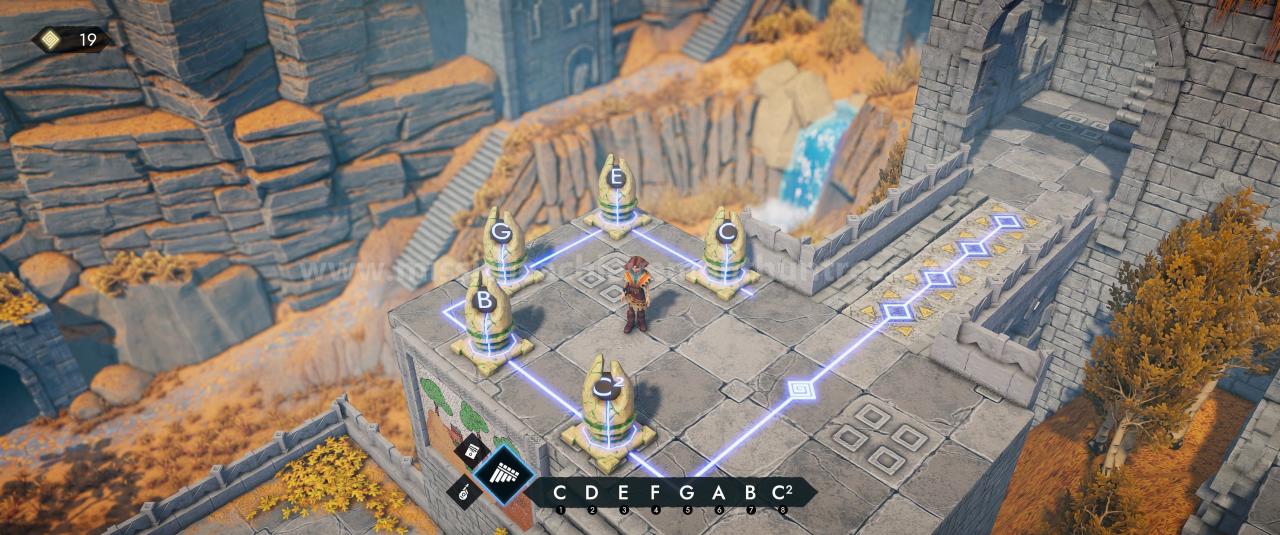
The Old Fort
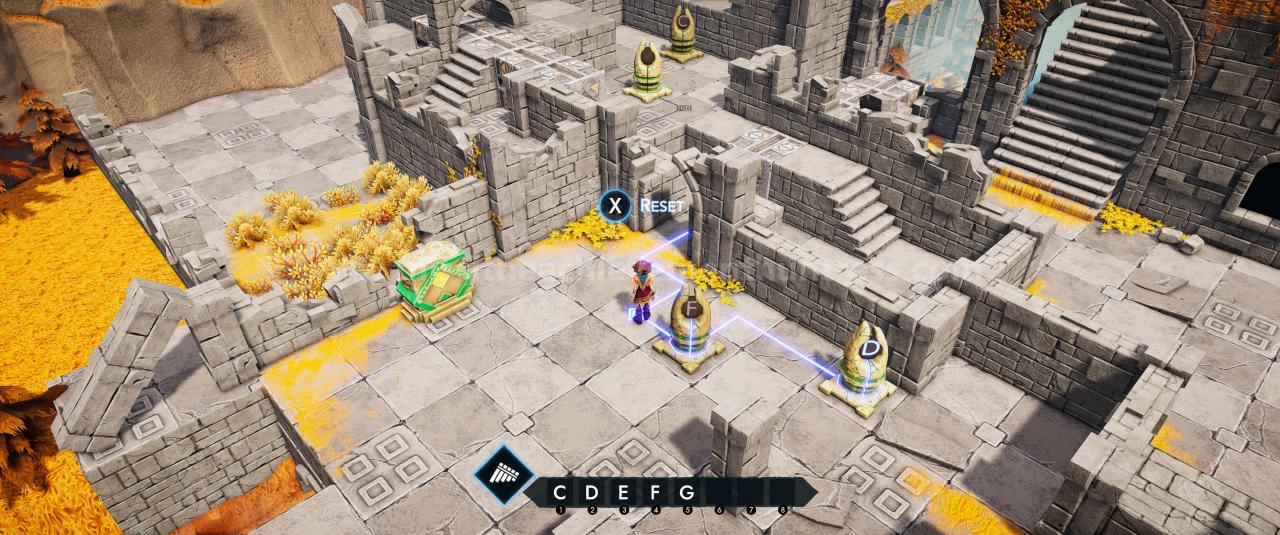
Puzzle 24:
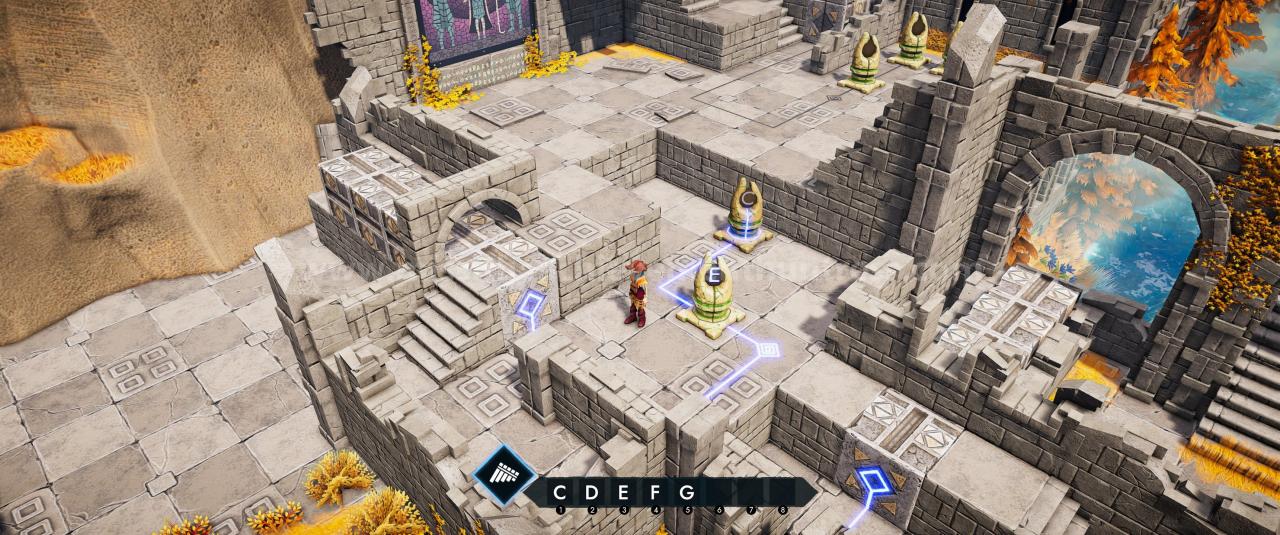
Puzzle 25:
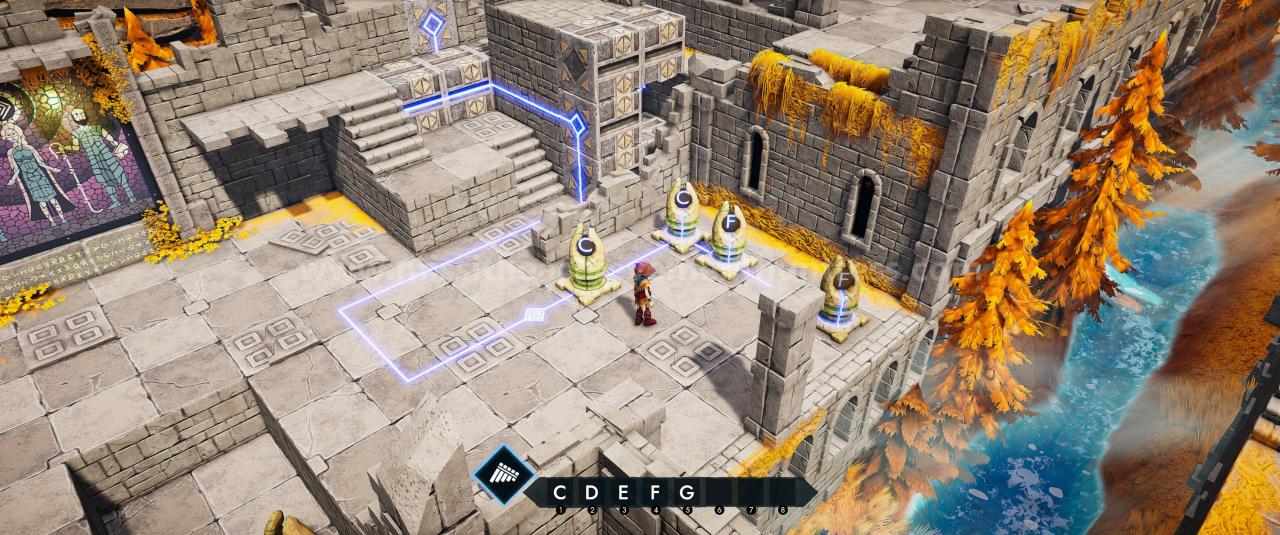
Puzzle 26:
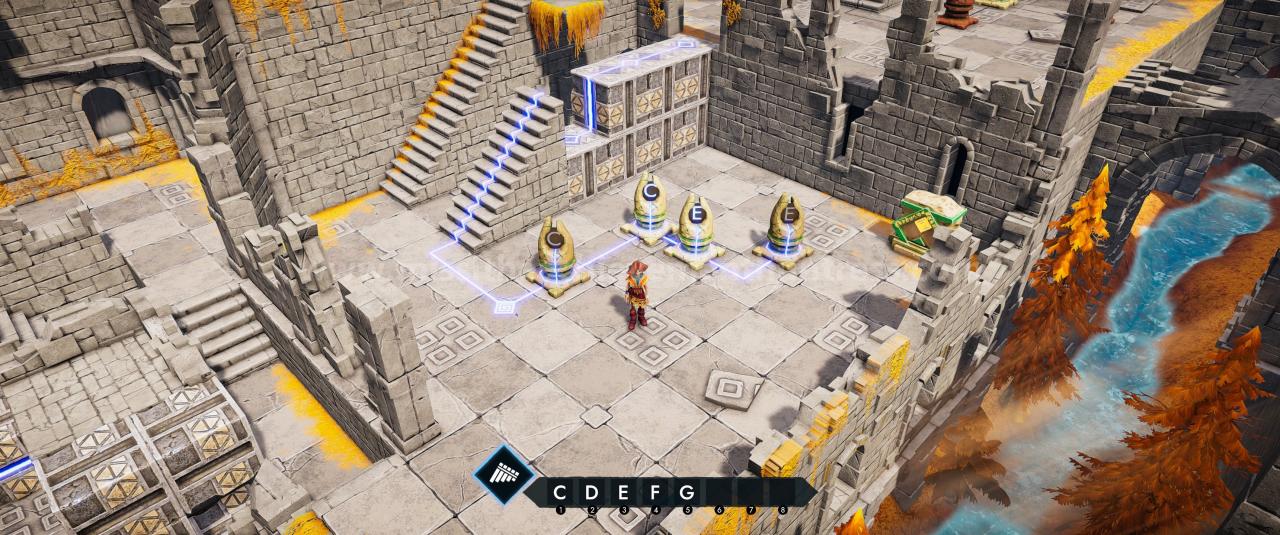
Puzzle 27:
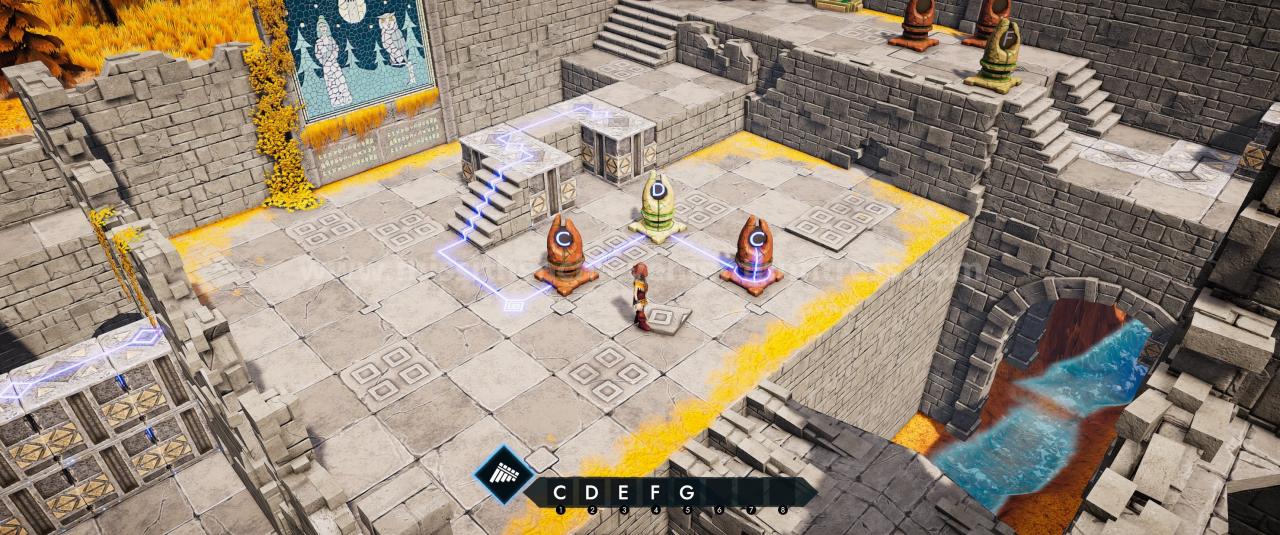
Puzzle 28:
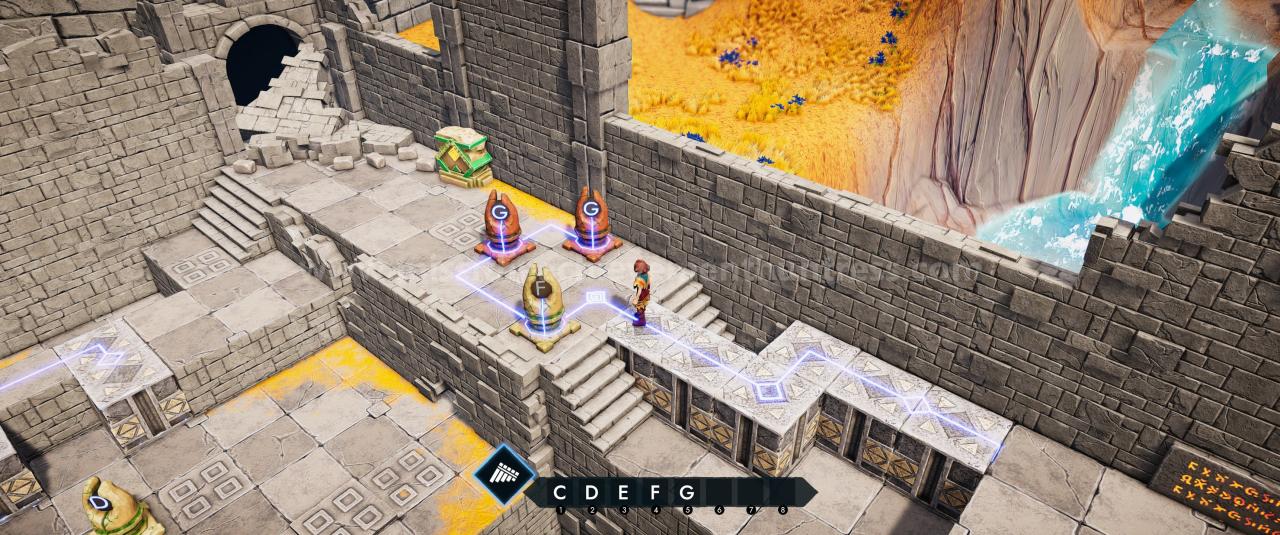
Puzzle 29:
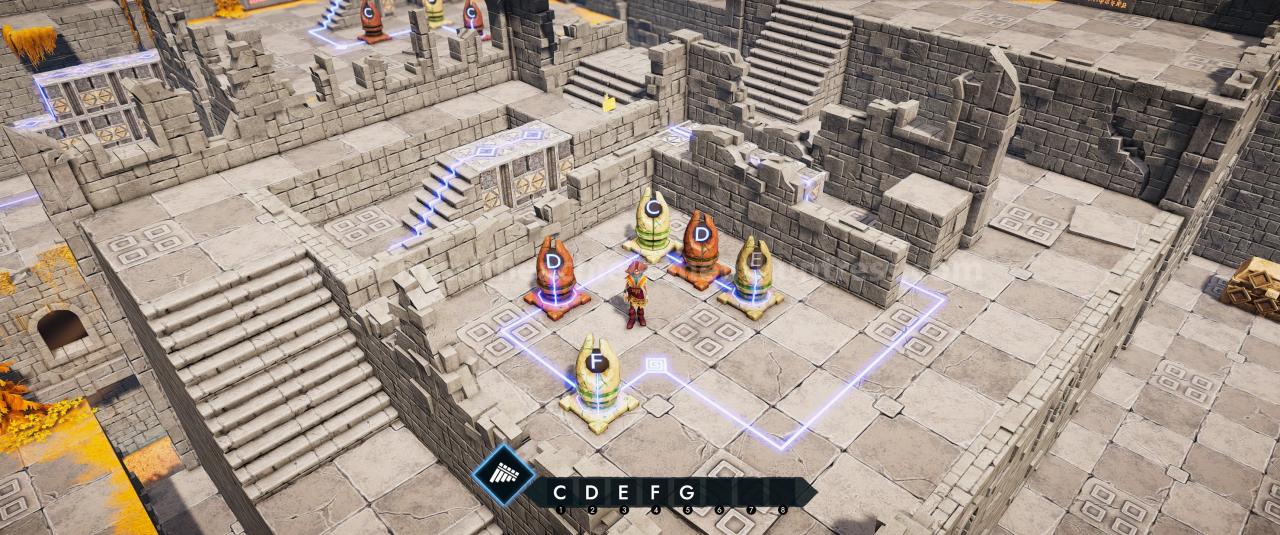
Cheste 4:
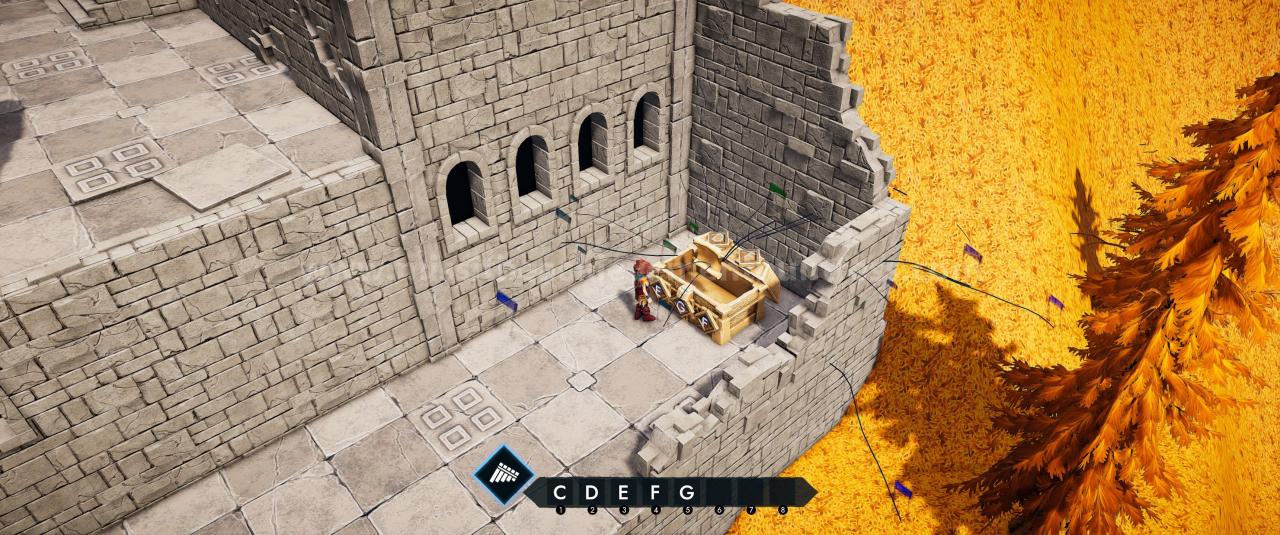
Puzzle 30:
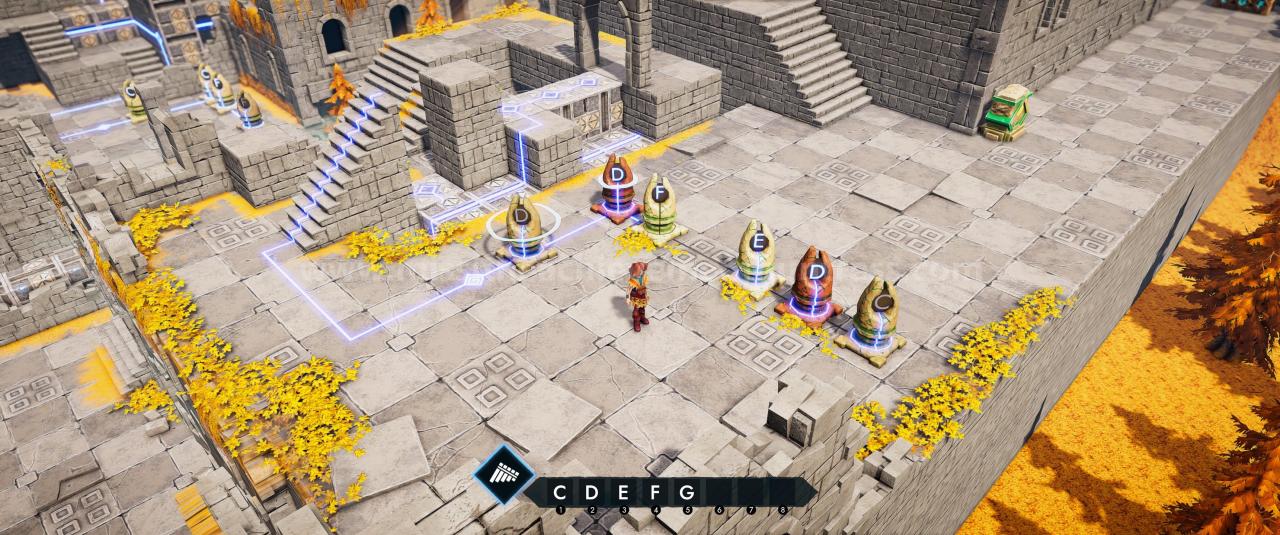
Puzzle 31:
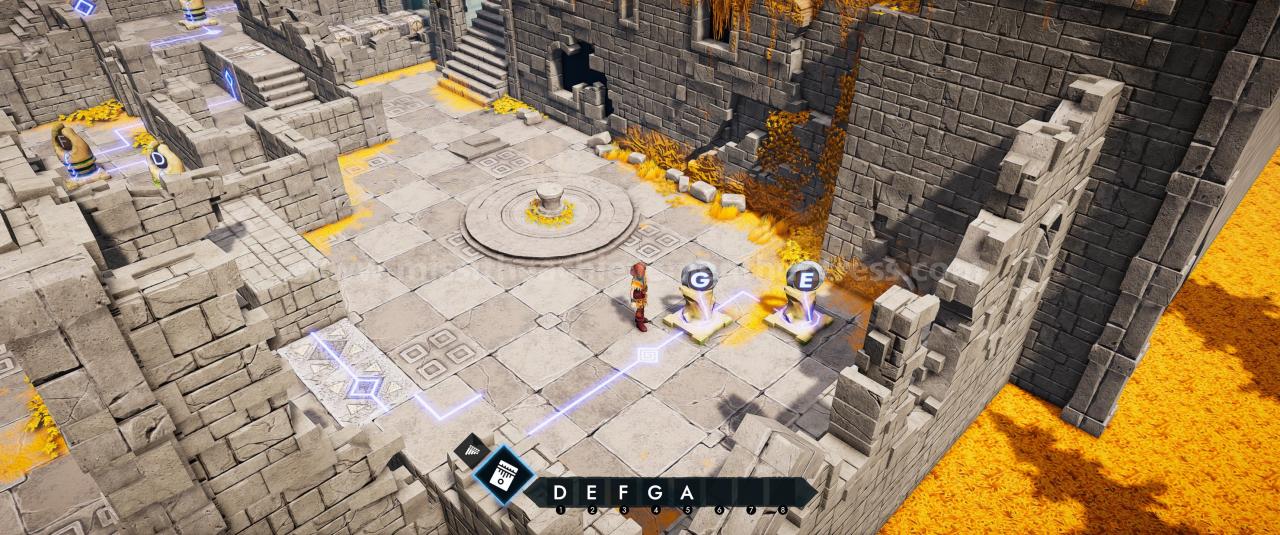
The Temple of water
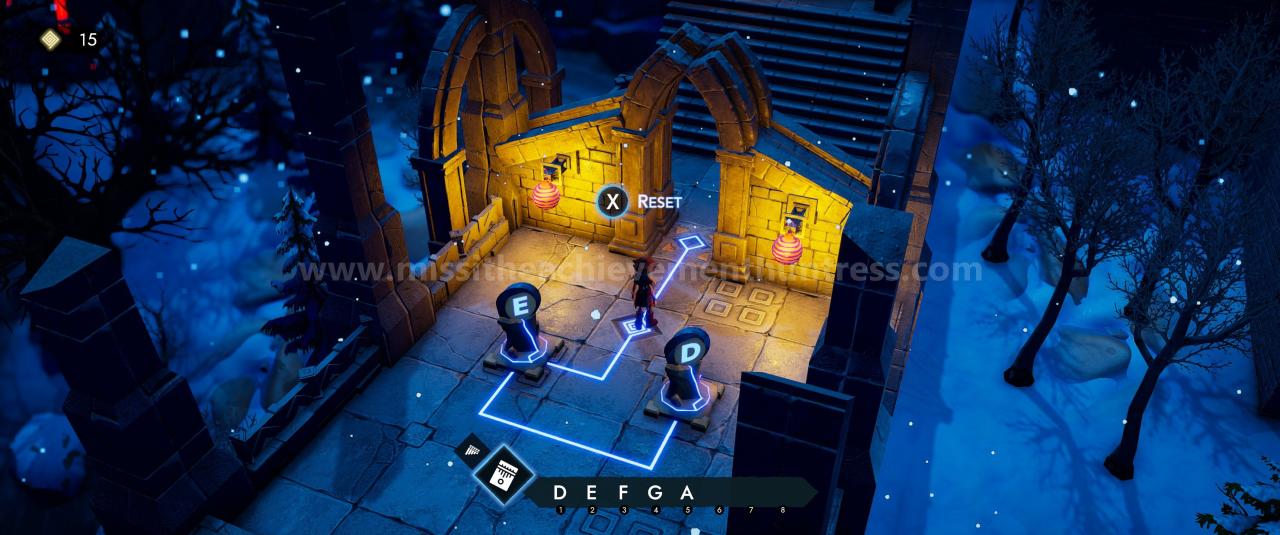
Puzzle 34:
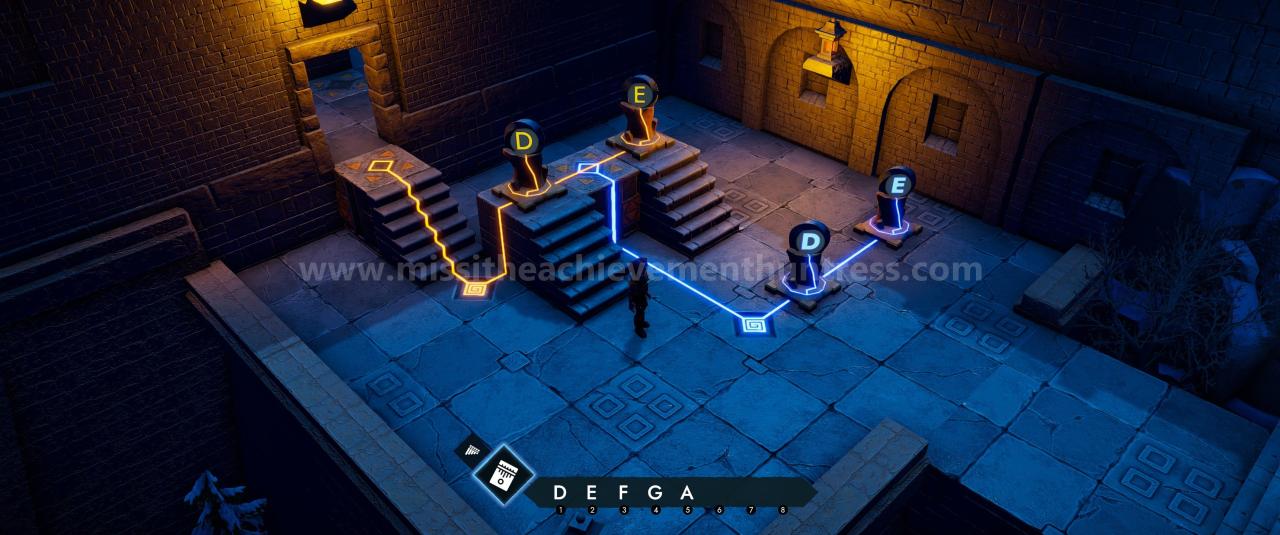
Chest 5:
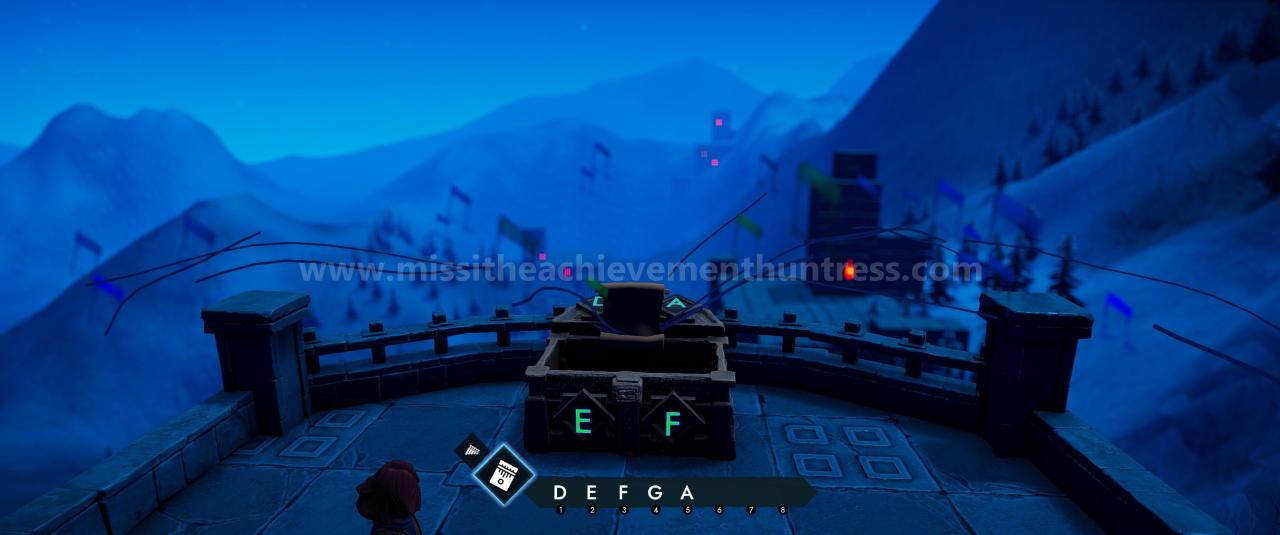
Puzzle 35:
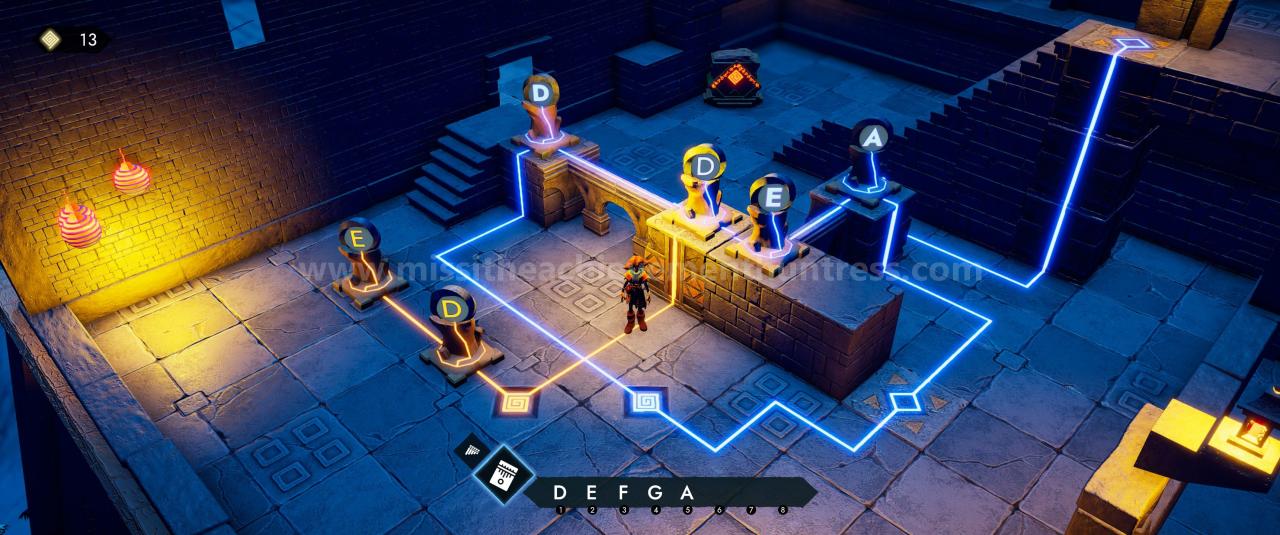 Puzzle 36:
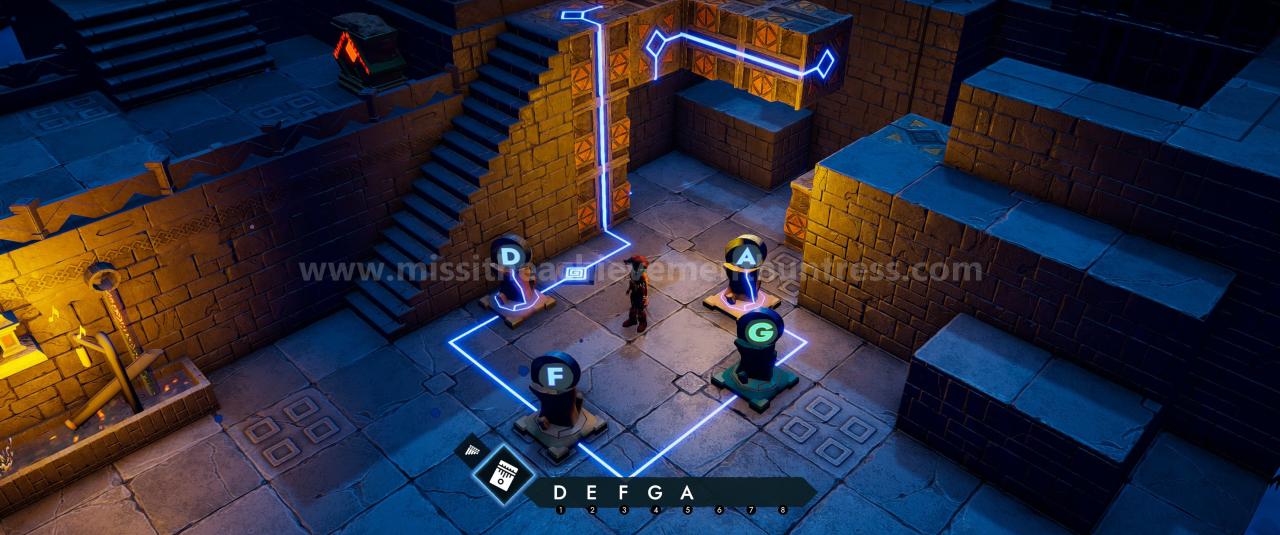
Puzzle 37:
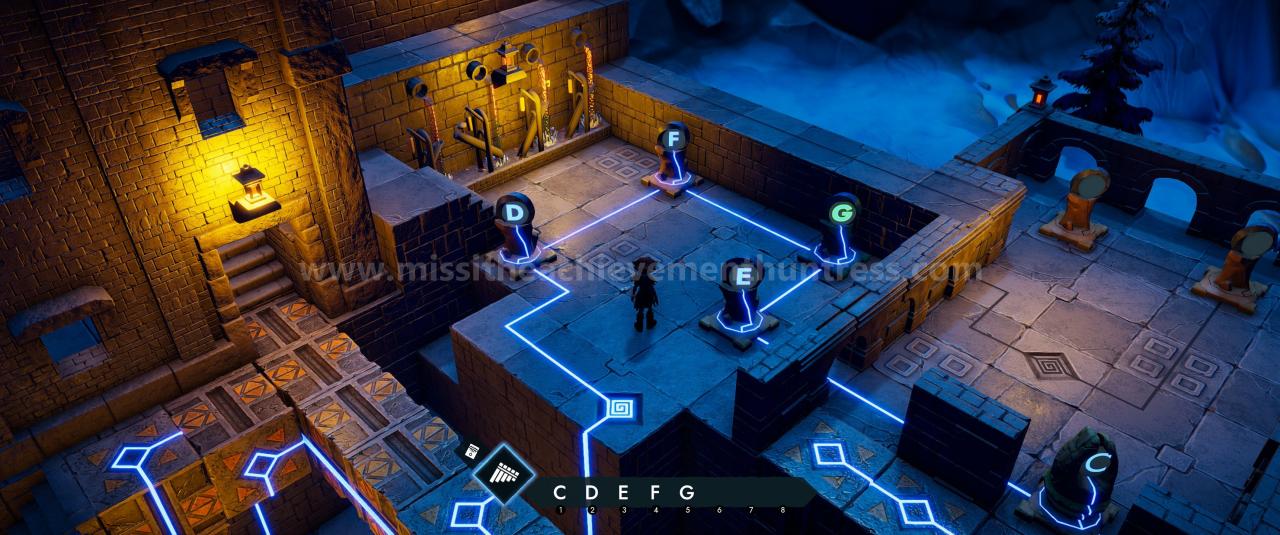
Puzzle 38:
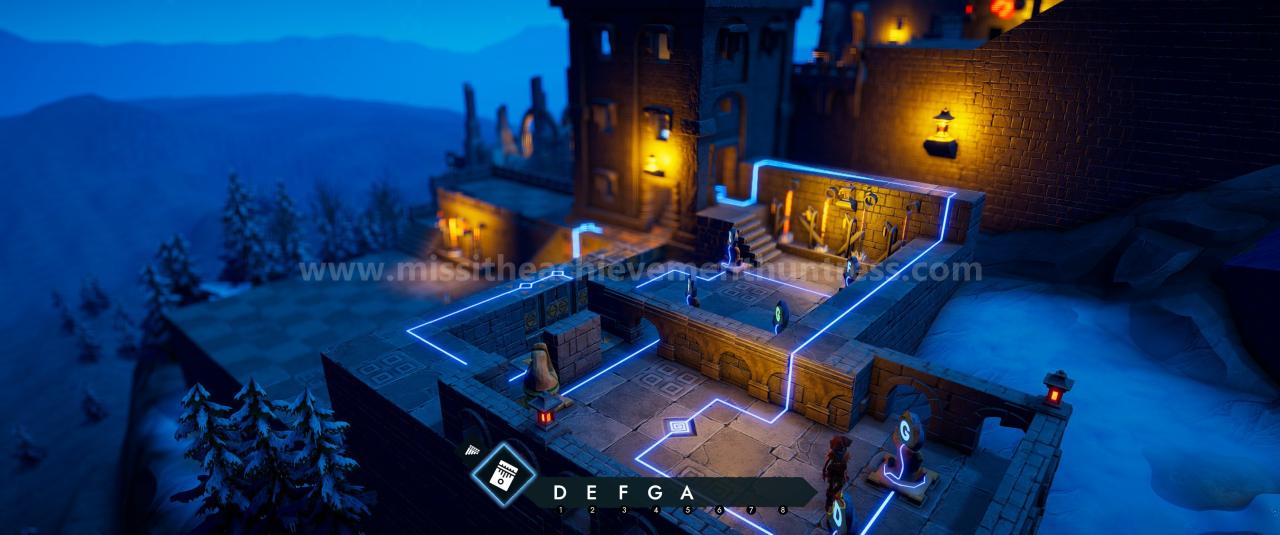
Puzzle 39:
This puzzle has different phases.
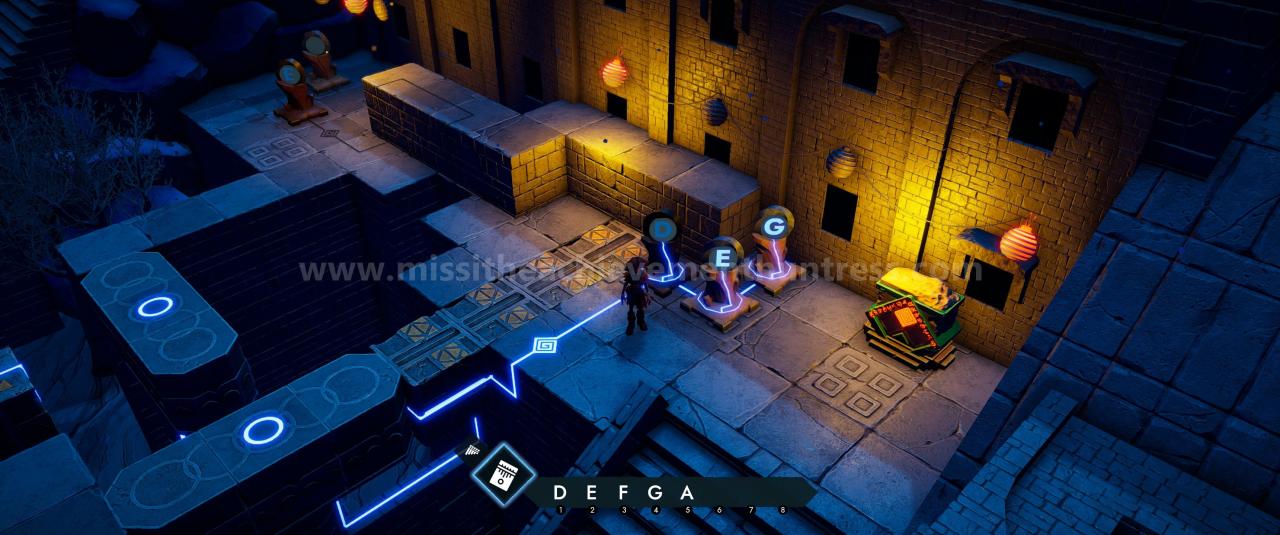
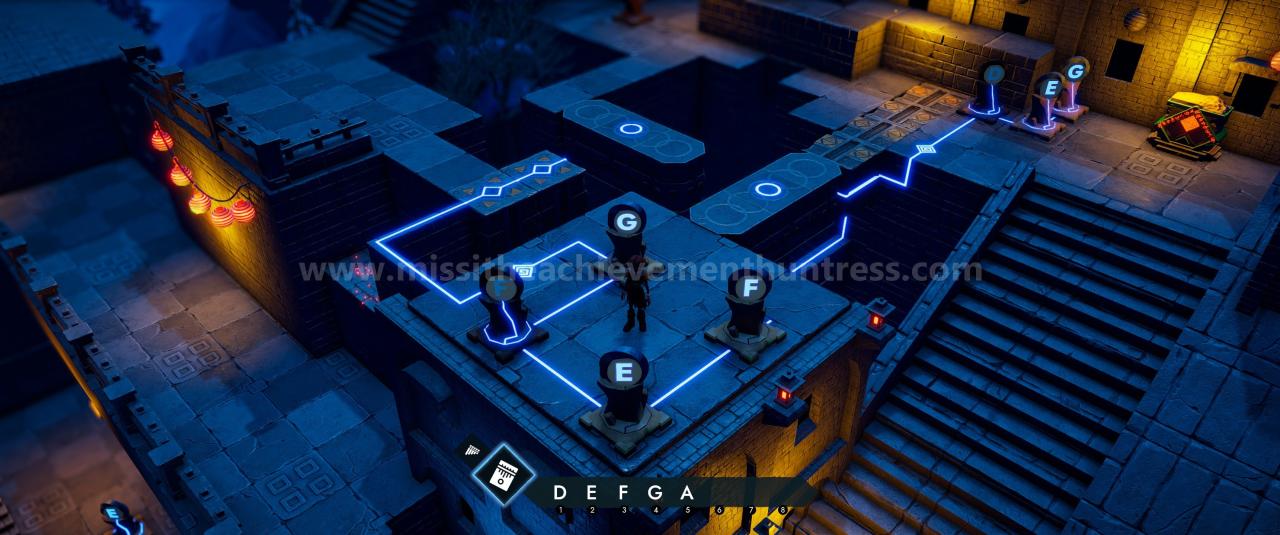
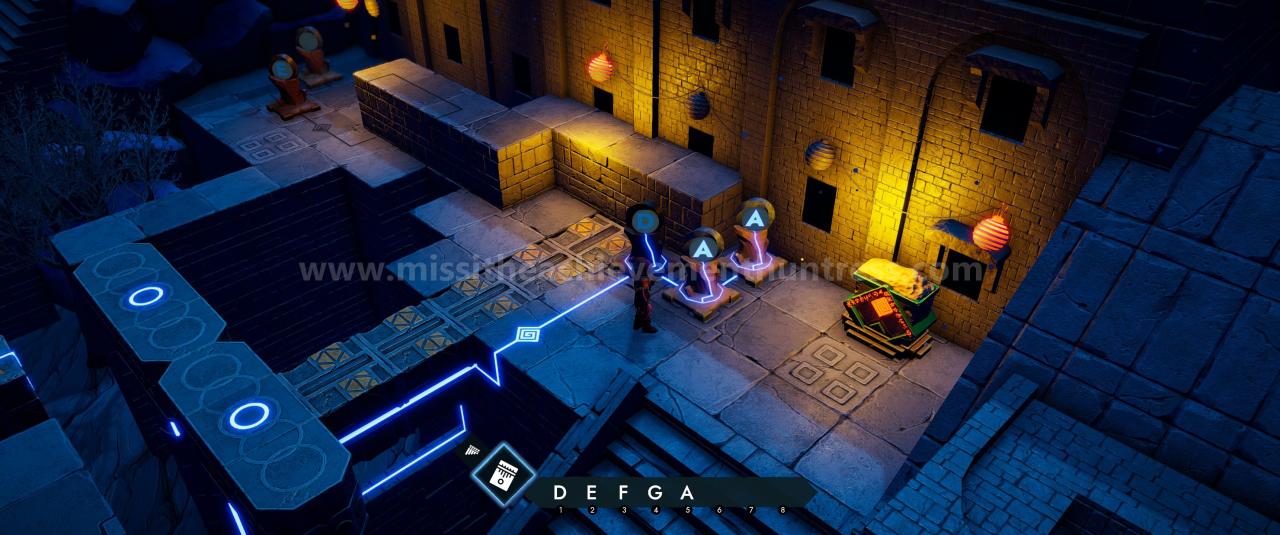
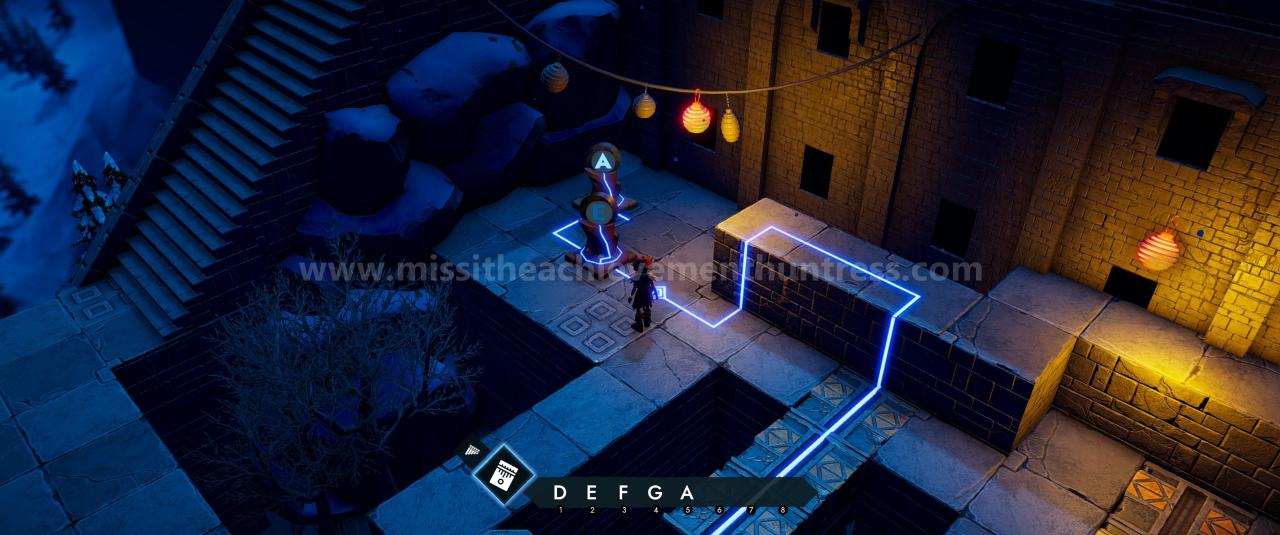
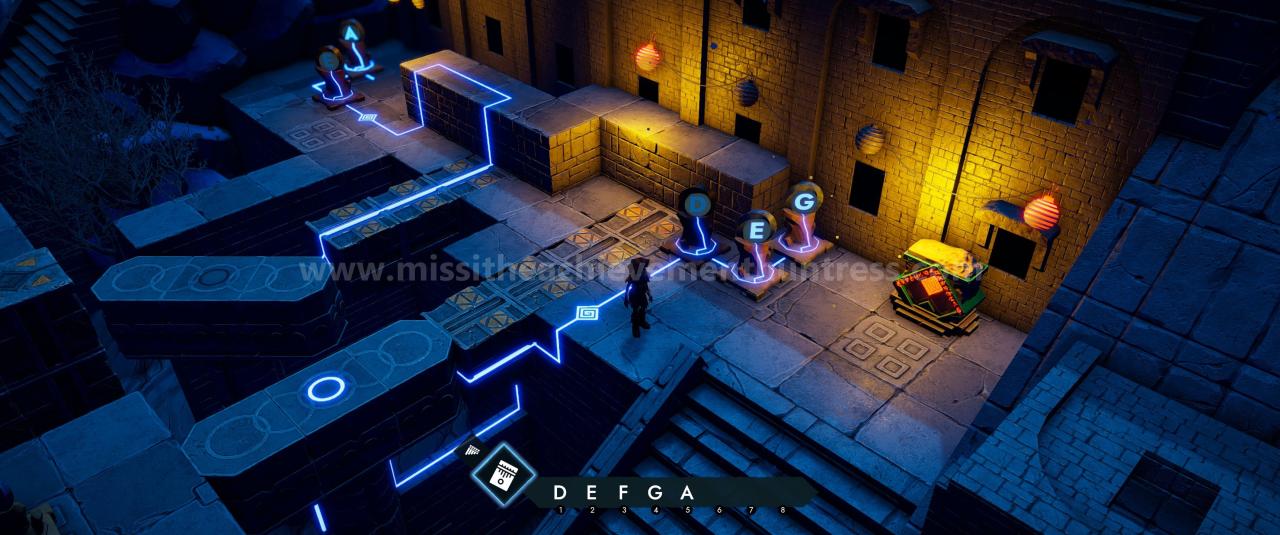
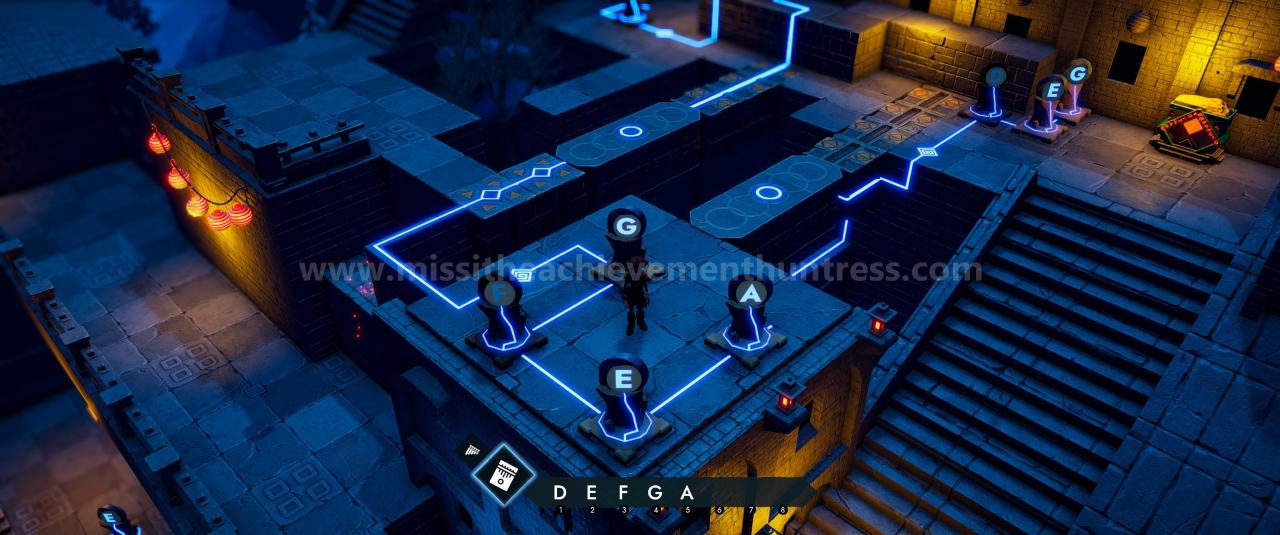
Puzzle 40:
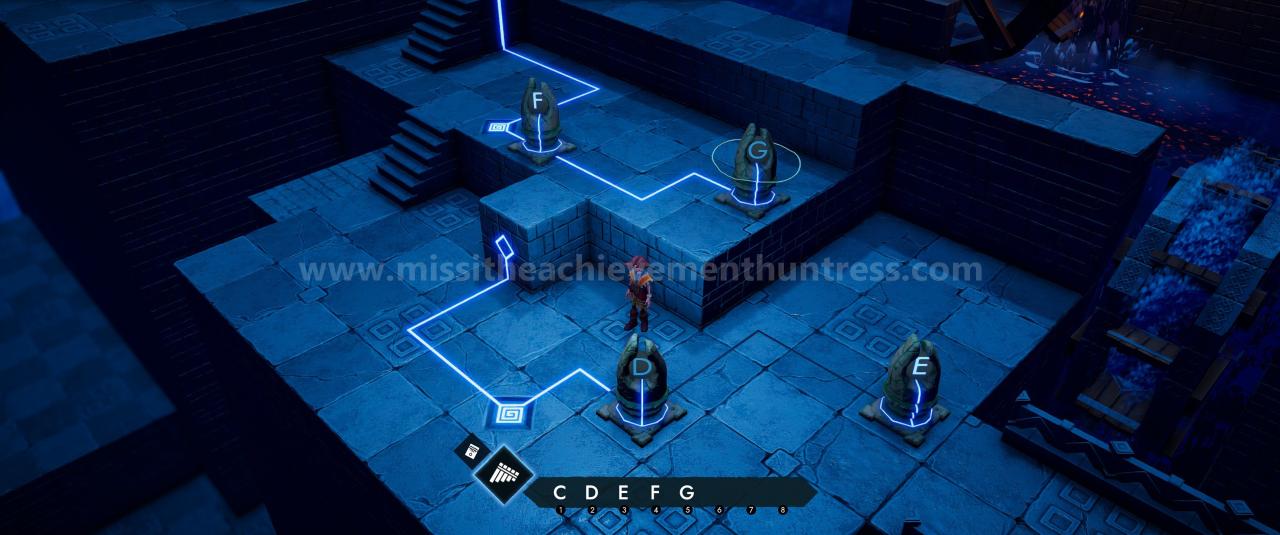
Puzzle 41:
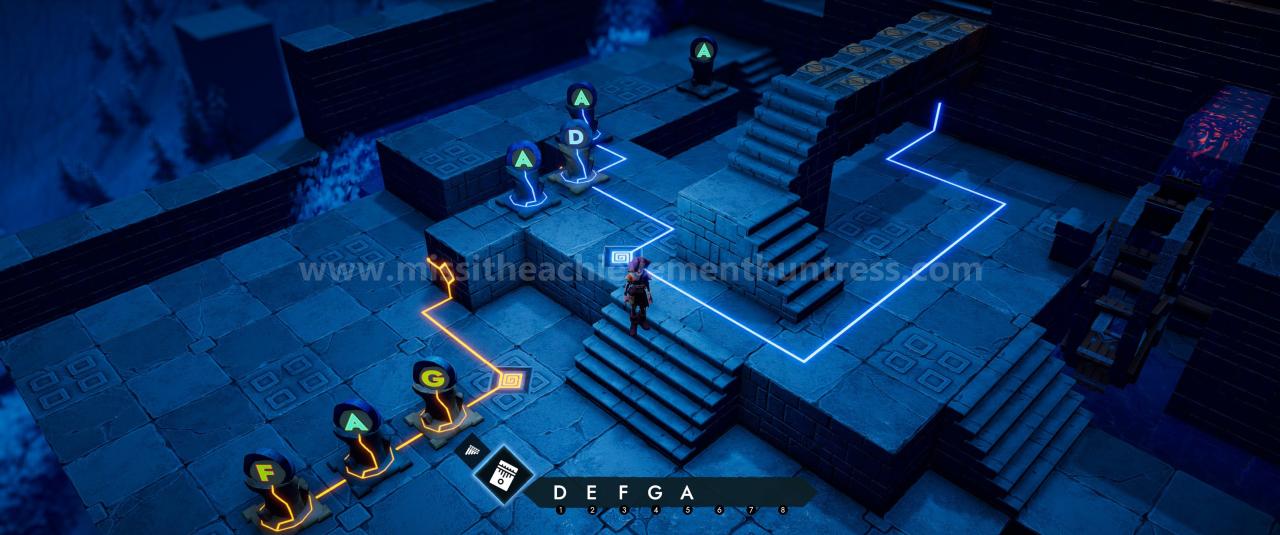
Puzzle 42:
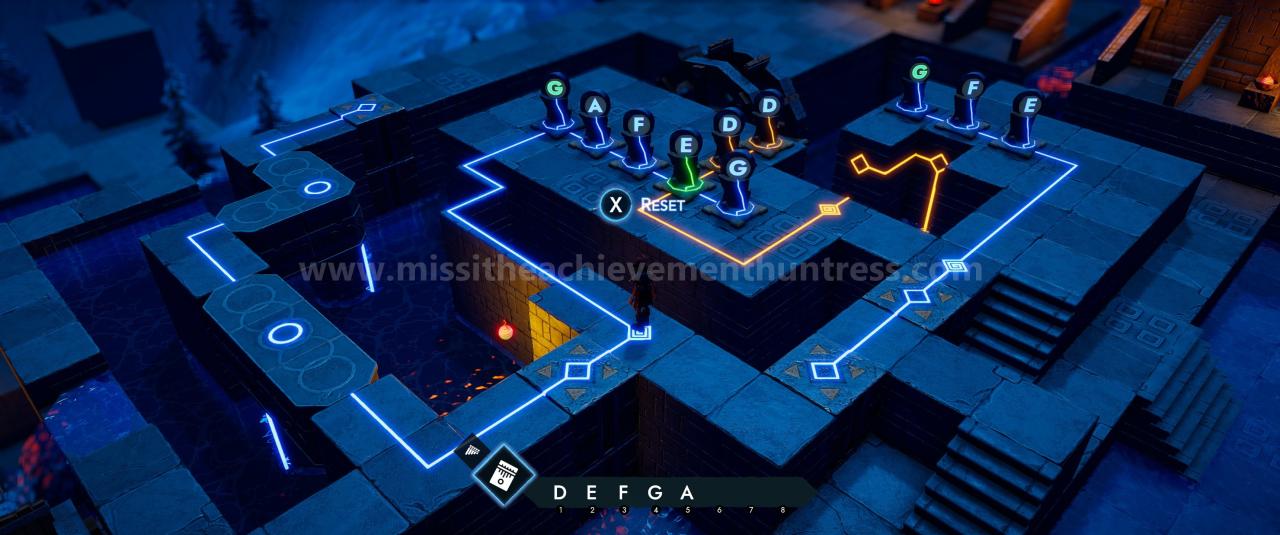
The Temple of Rocks
From here on you also have to change the places of the pieces.
Puzzle 43:
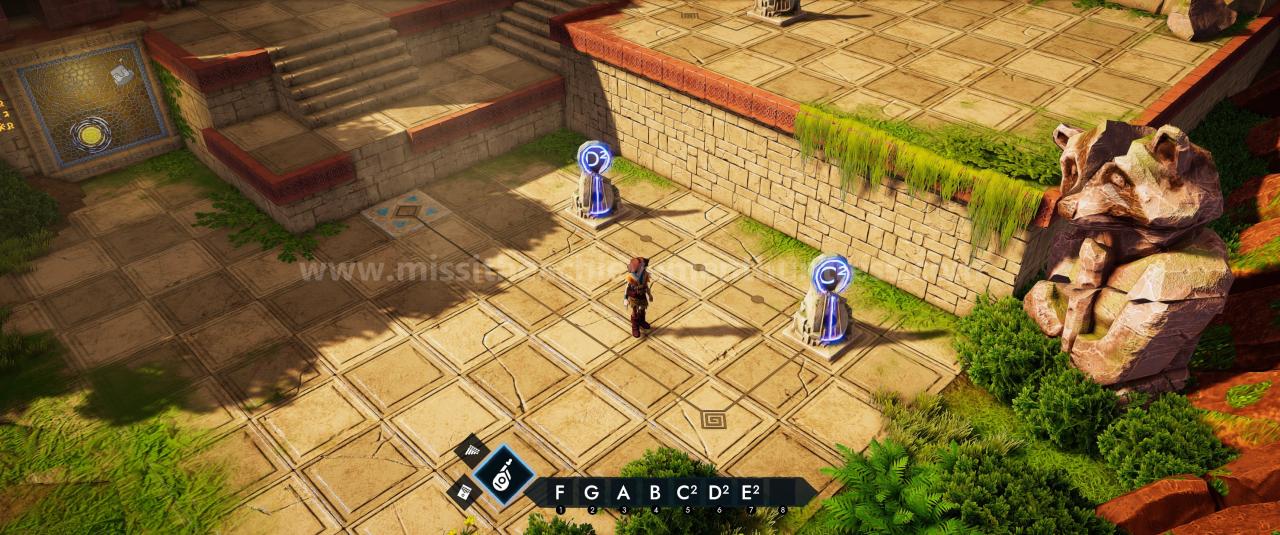
Puzzle 44:
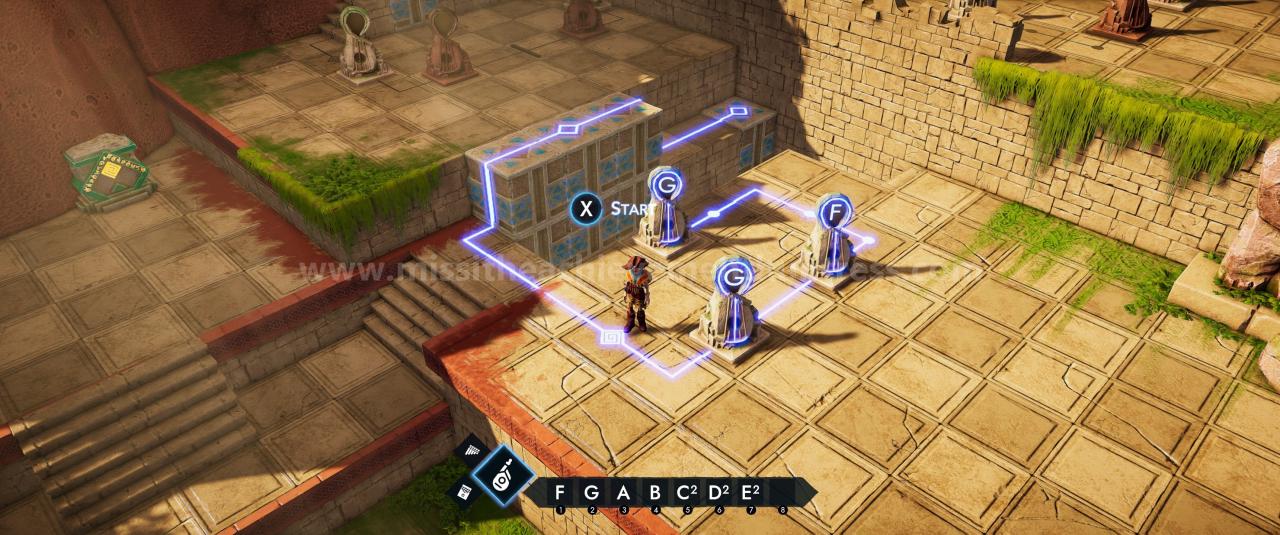
Puzzle 45:
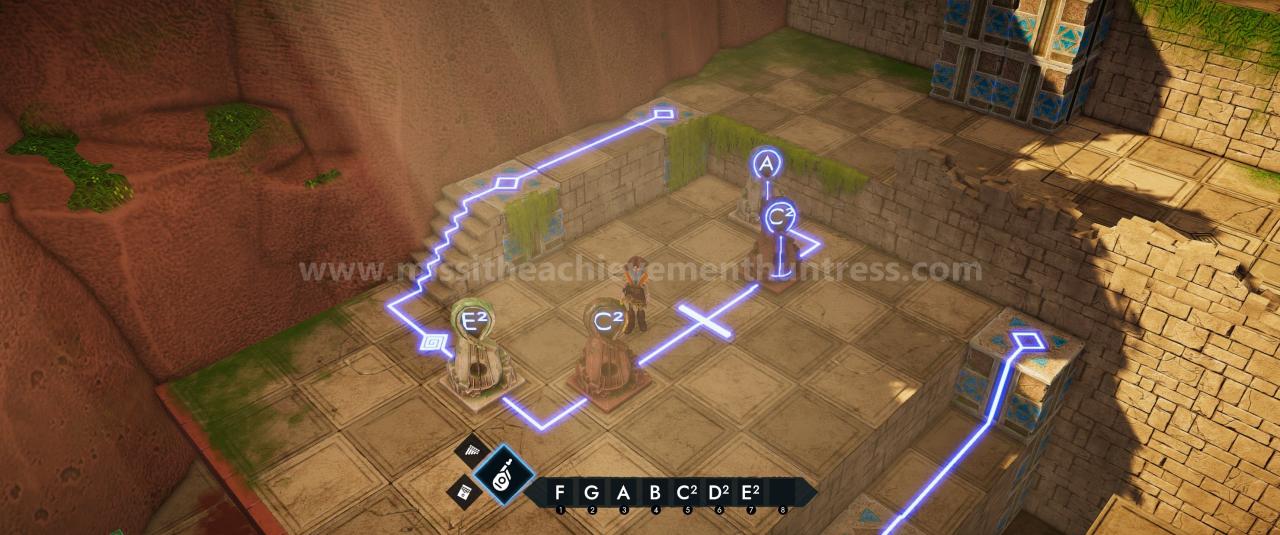
Puzzle 46:
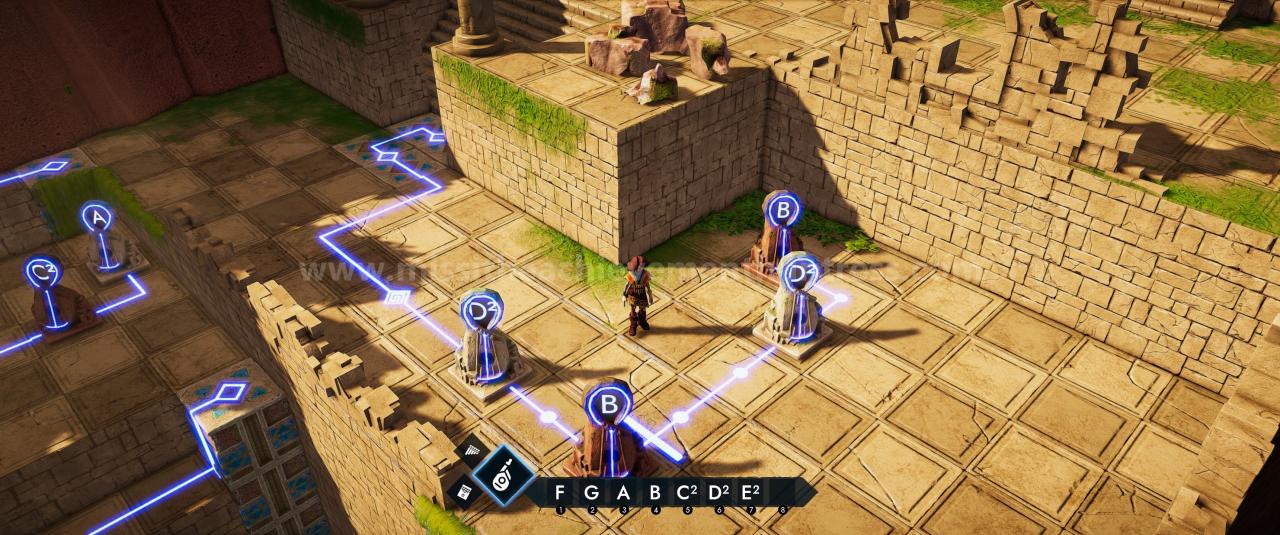
Puzzle 47:
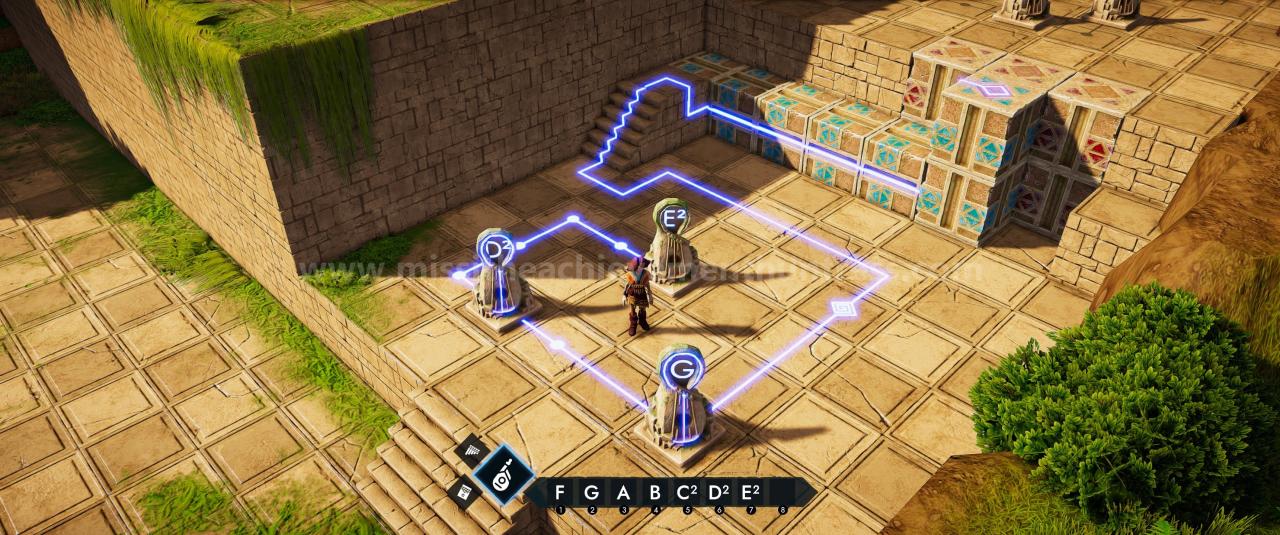
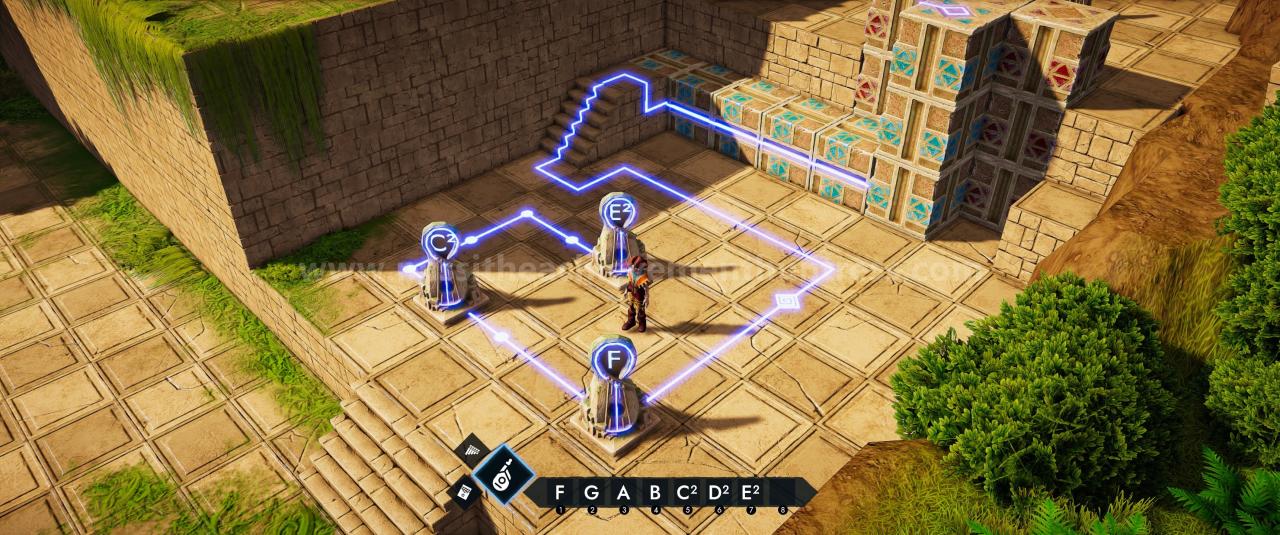
Puzzle 48:
You have to run quickly for this one
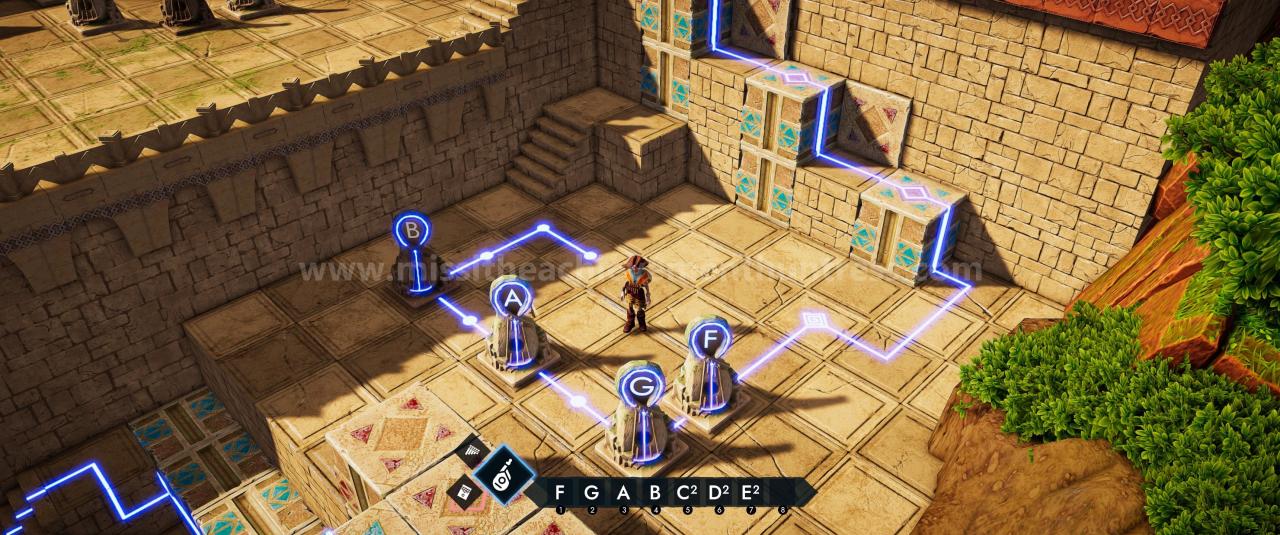
Puzzle 49:
Another one which requires speed, gladly we have breaks in between to open a pathway to make it a bit easier.
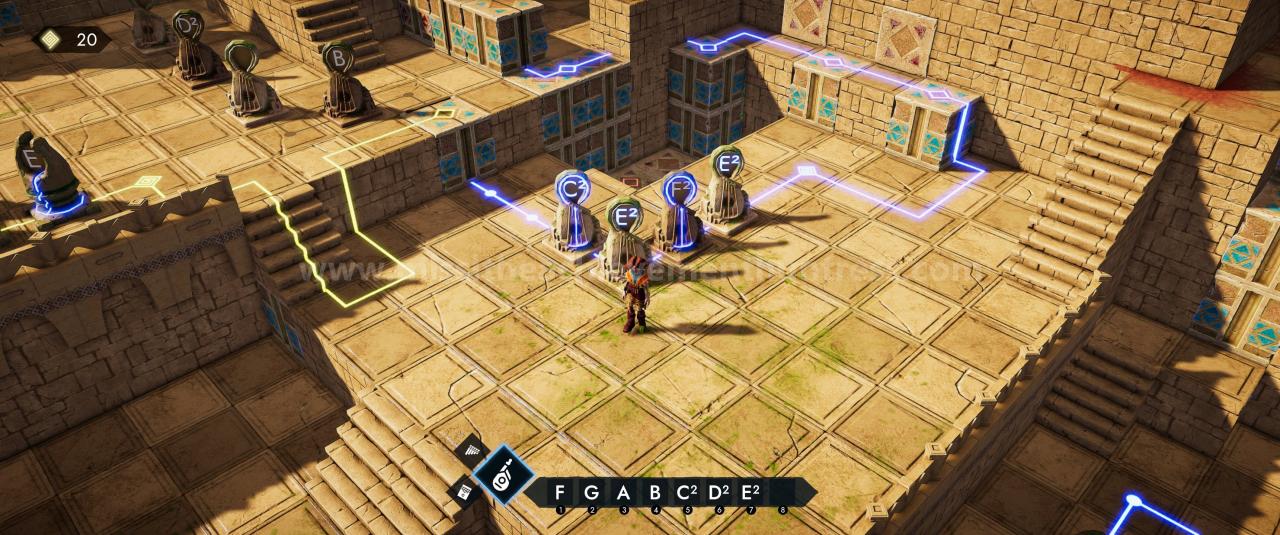
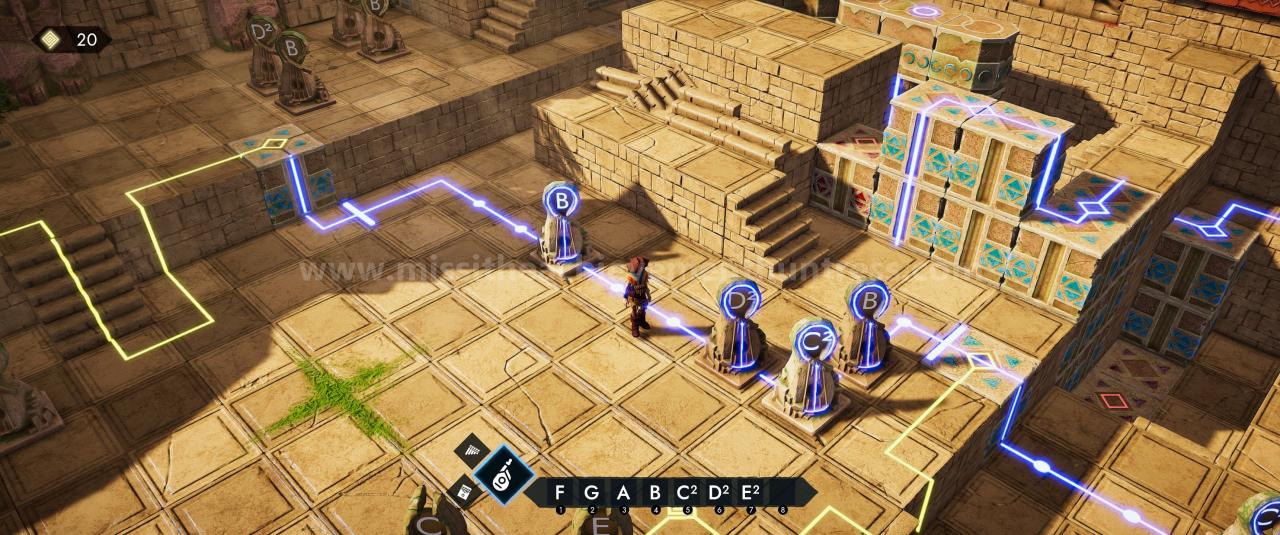
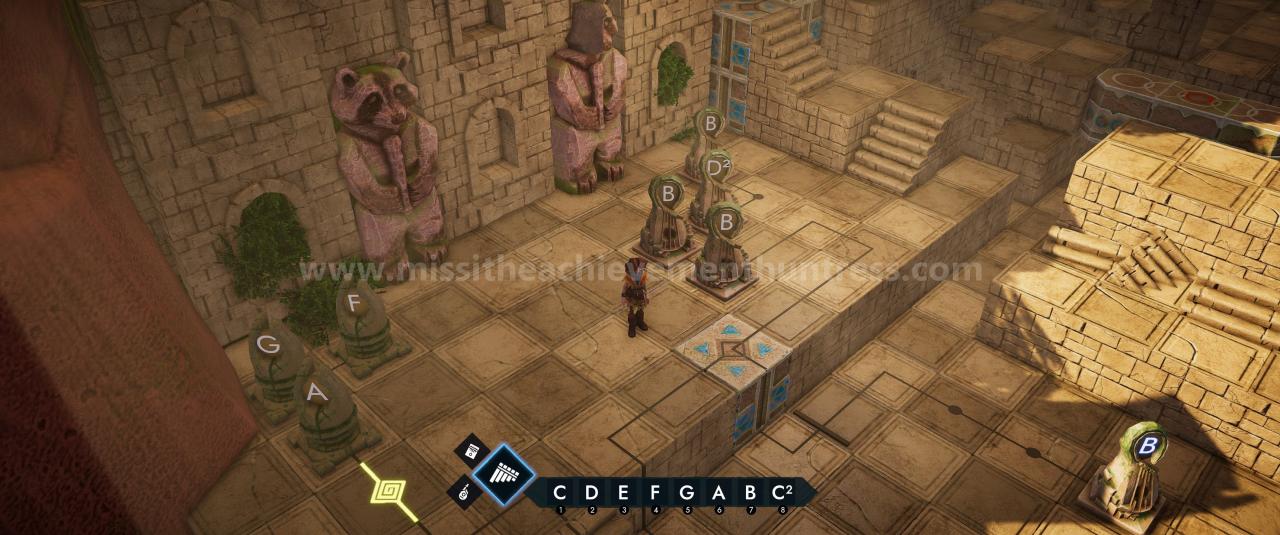
The Entrance of the Sonor Tower
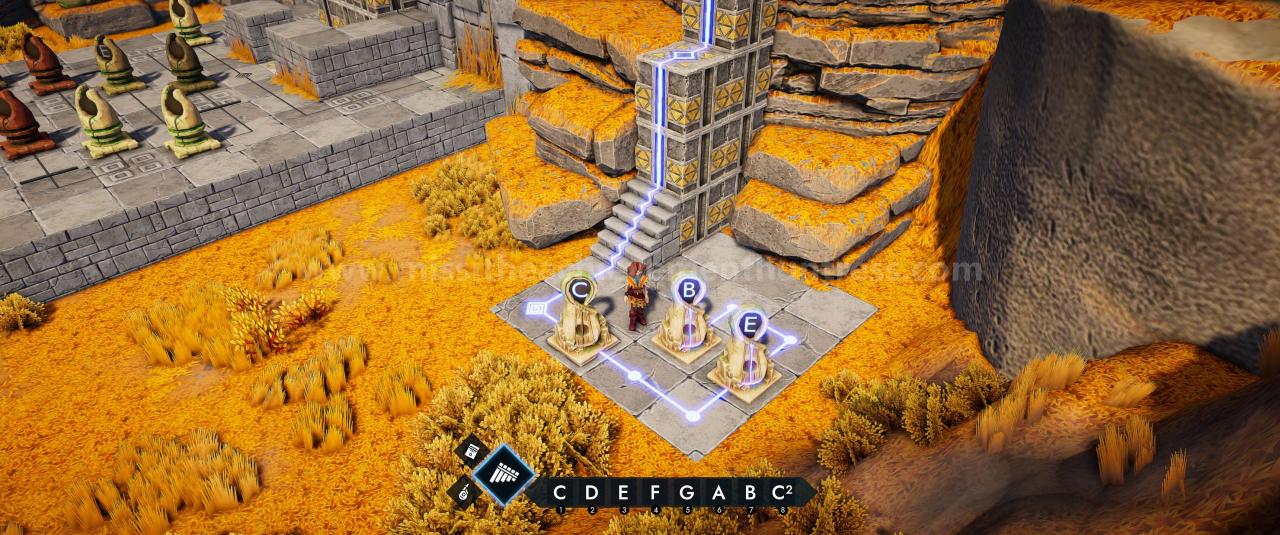
Puzzle 52:
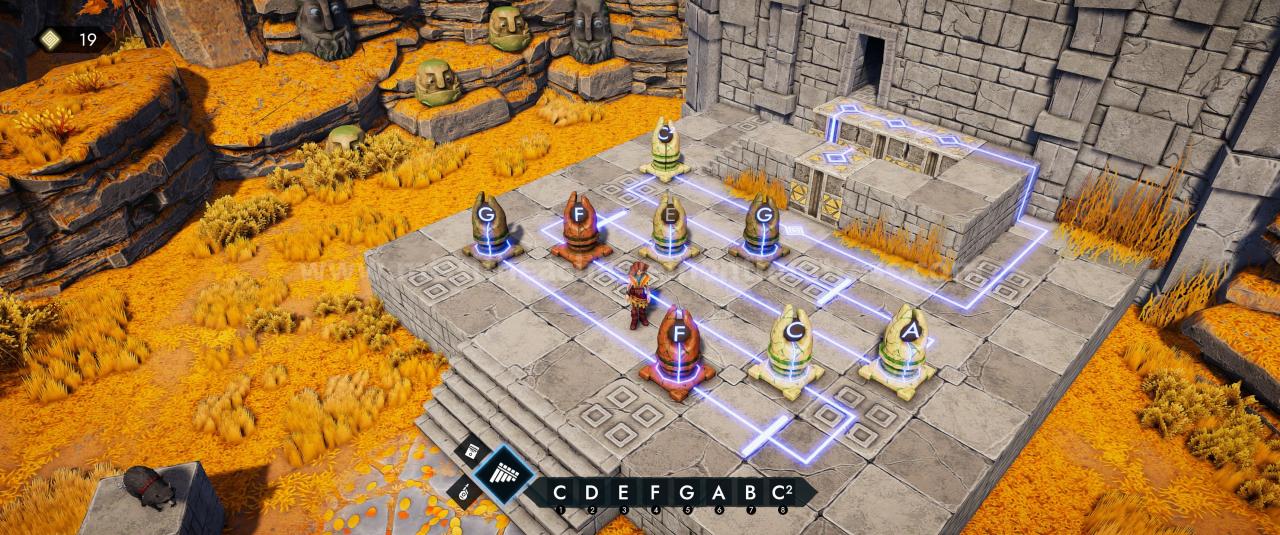
The Sonor Tower
I have used different instruments in this area, so keep an eye on that on the following screenshots:
Puzzle 53:
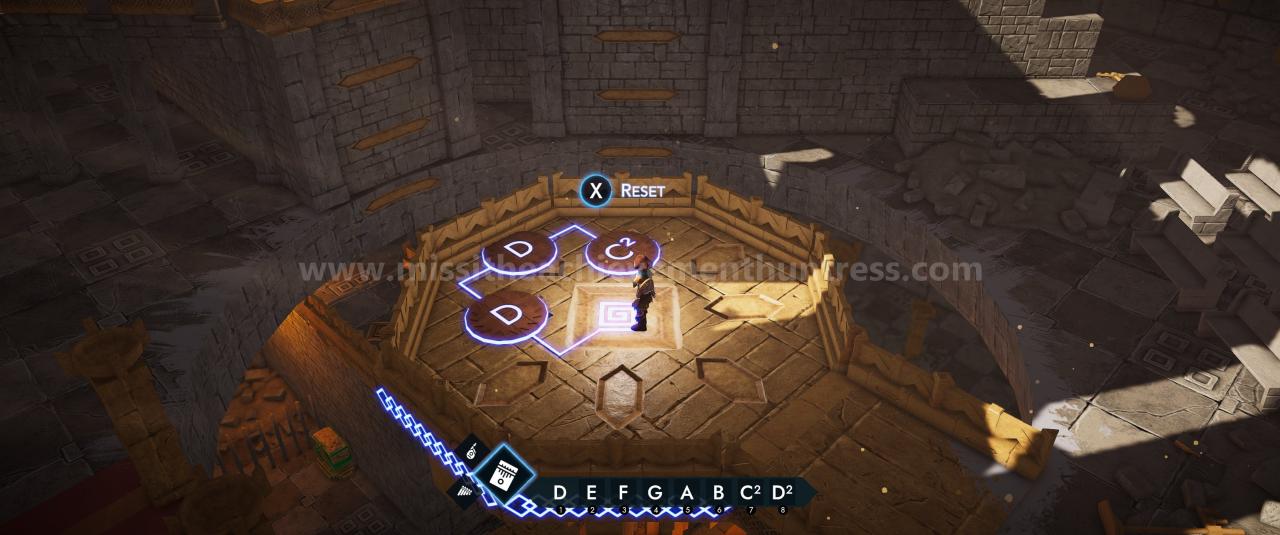
Puzzle 54:
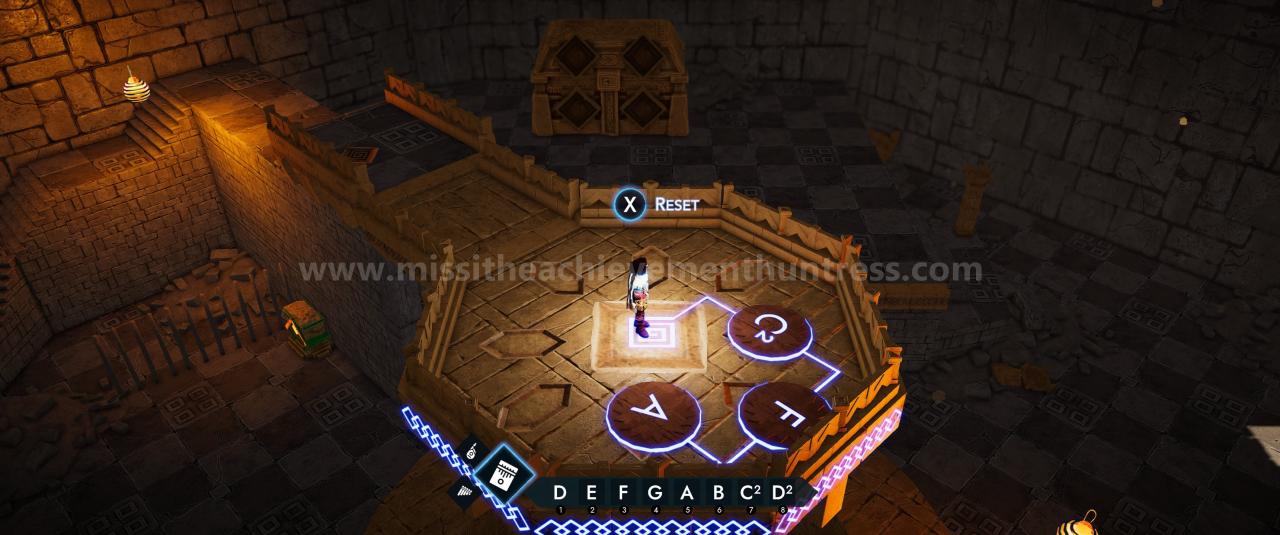
Puzzle 55:
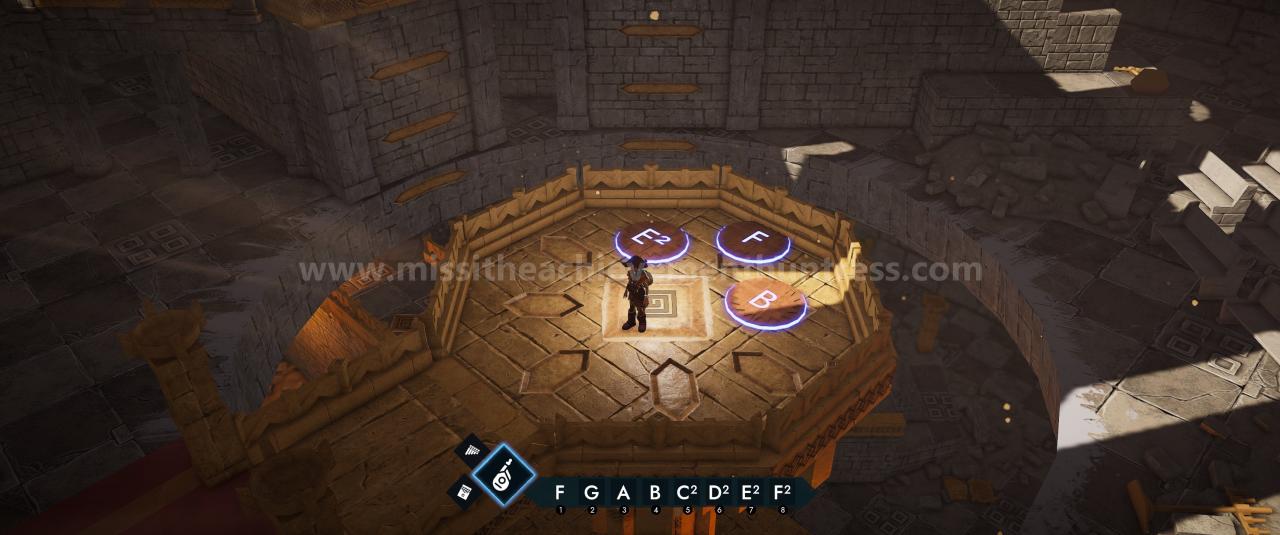
Chest 6:
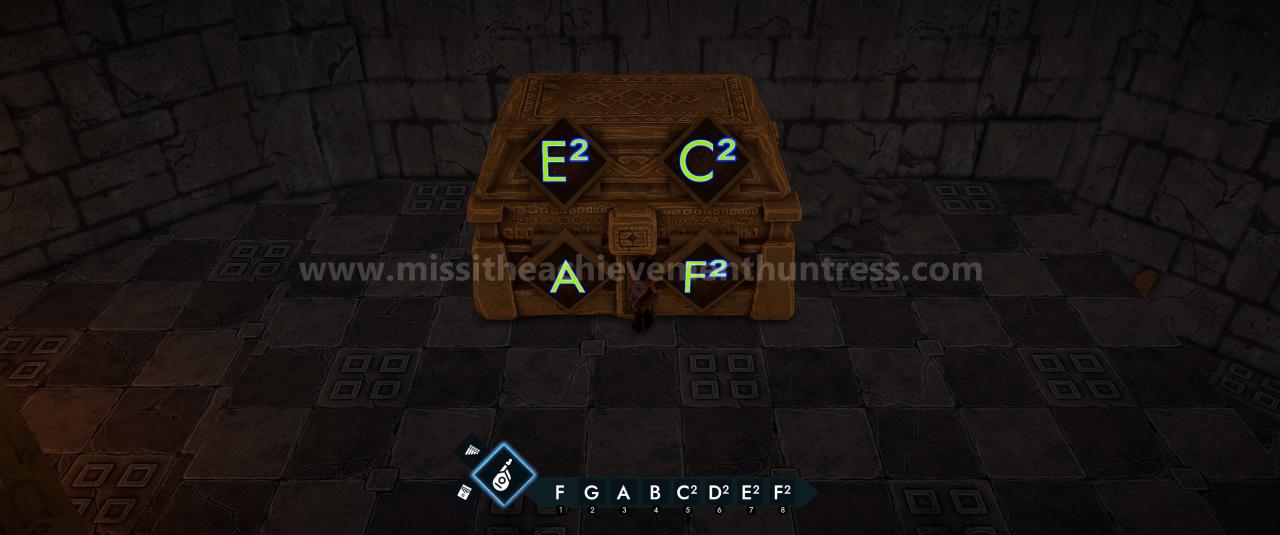
Puzzle 56:
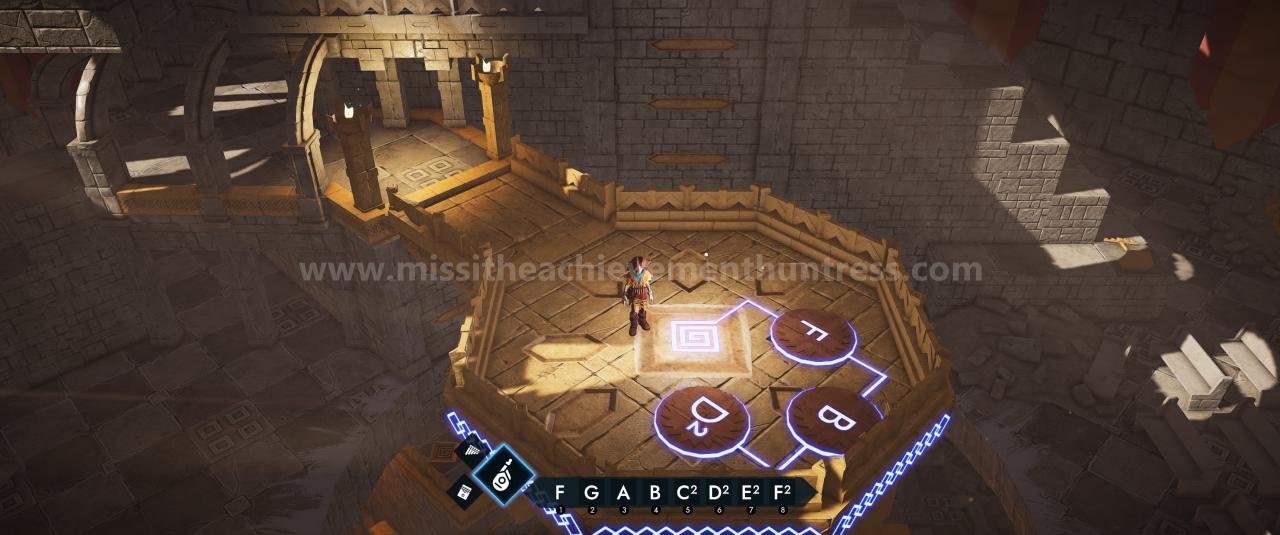
Puzzle 57:
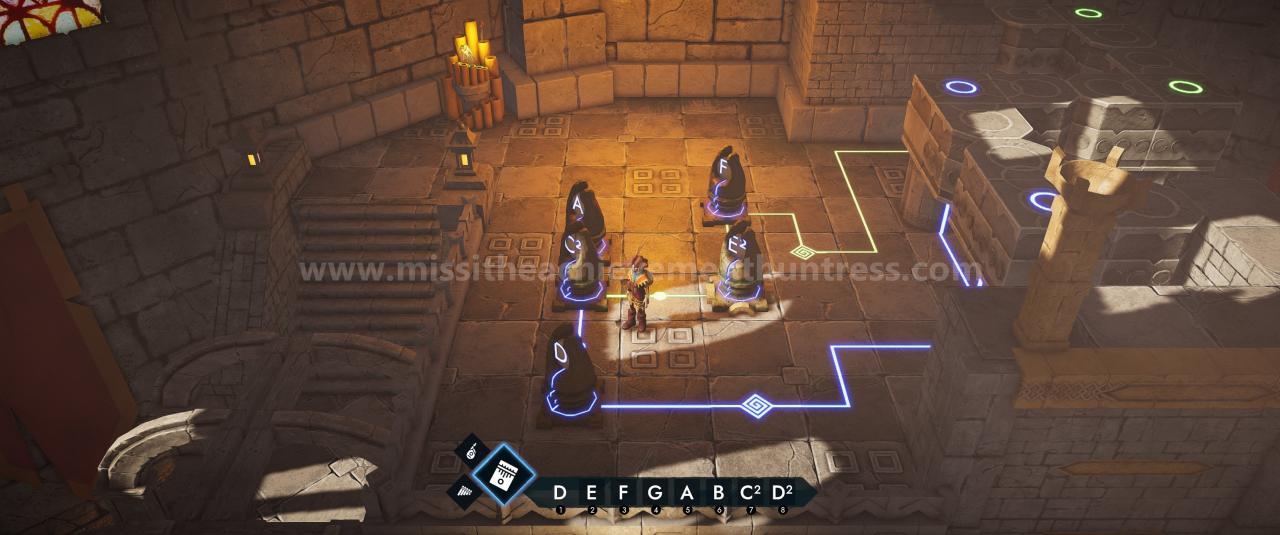
Puzzle 58:
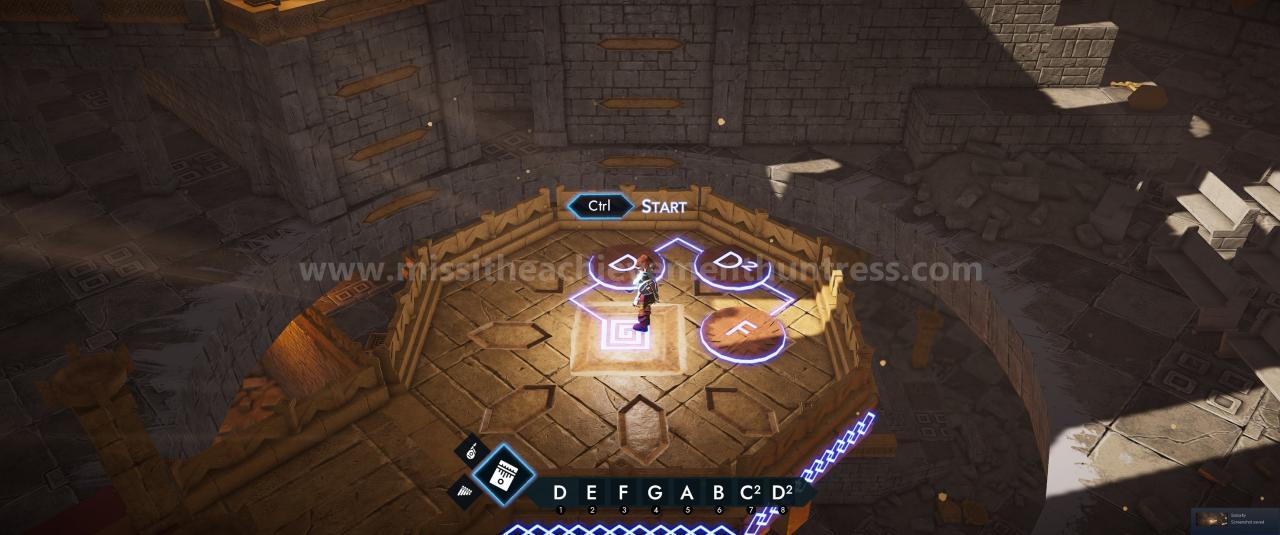
Puzzle 59:
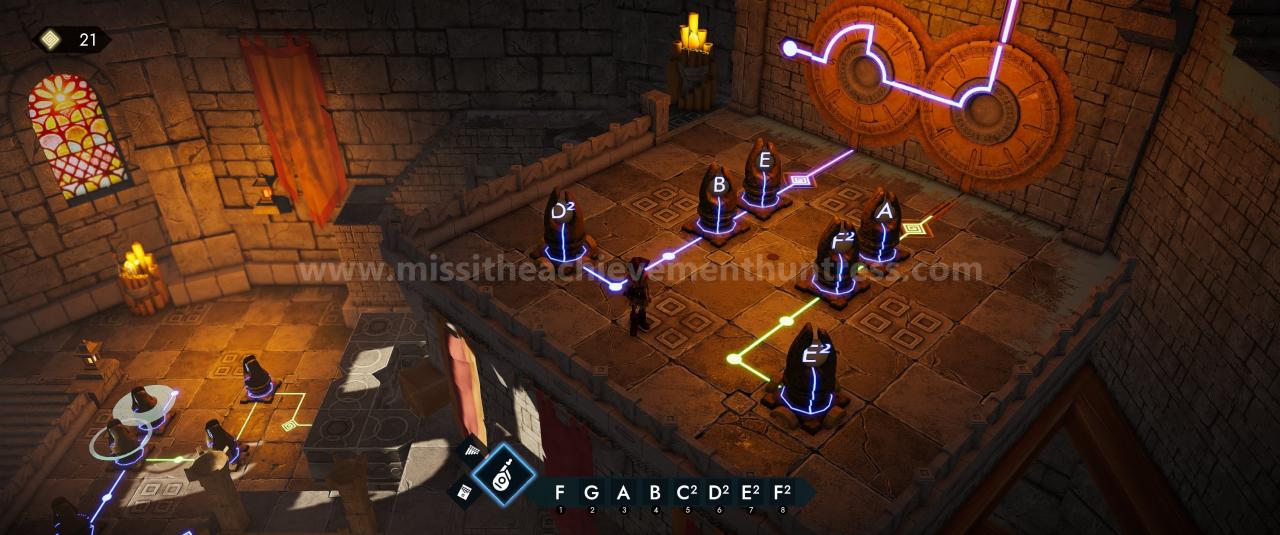
Puzzle 60:
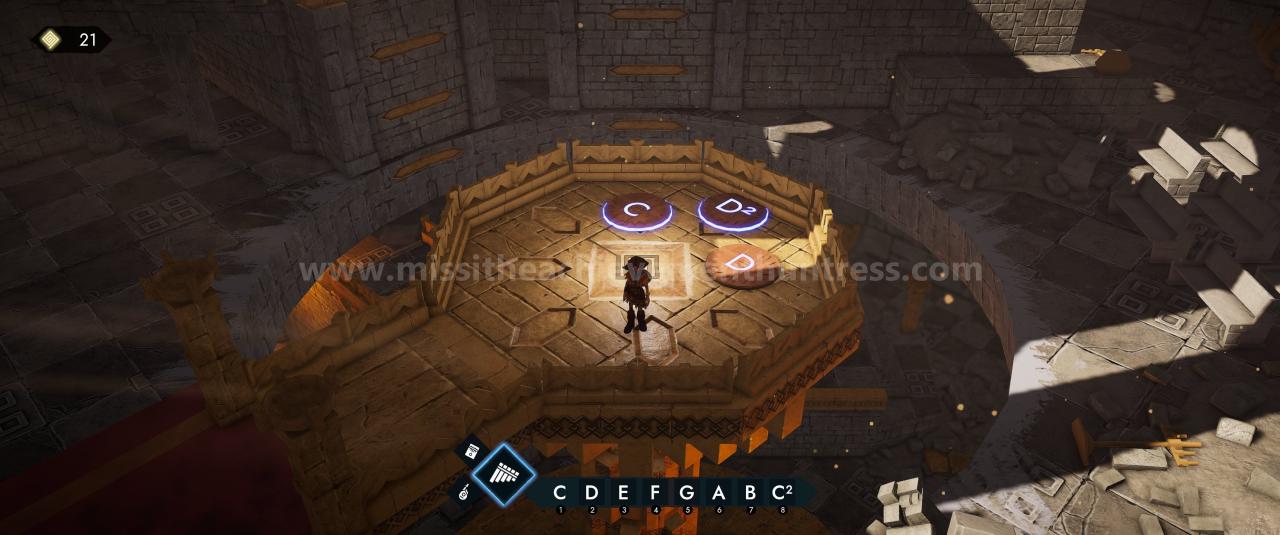
Puzzle 61:
Start with RED (Deep Down Below) and then go in clockwise order.
Puzzle 62:
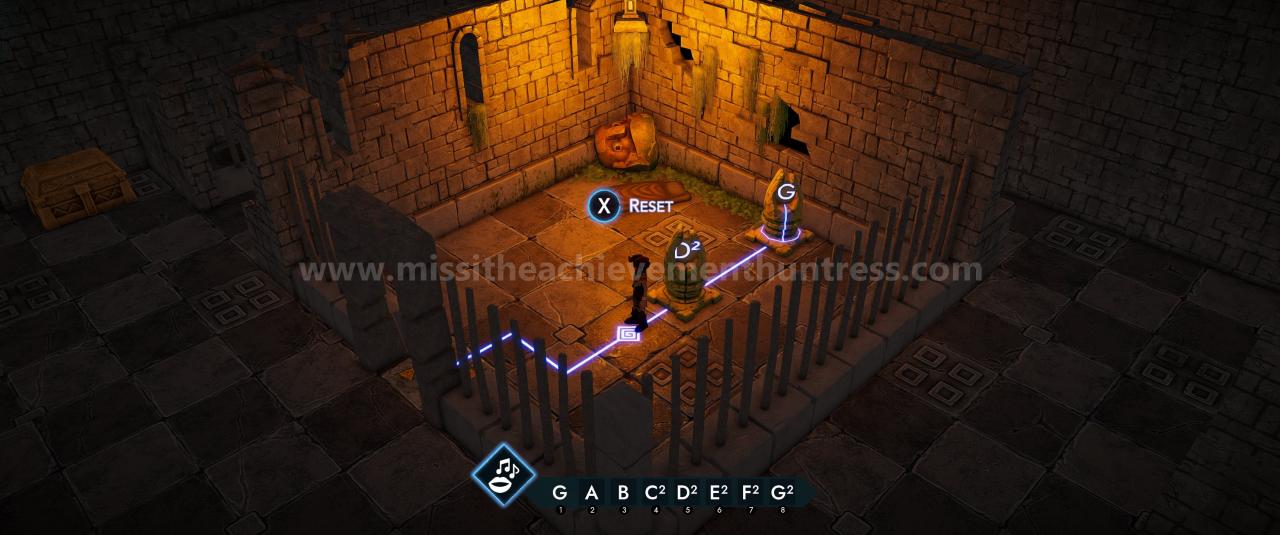
Puzzle 63:
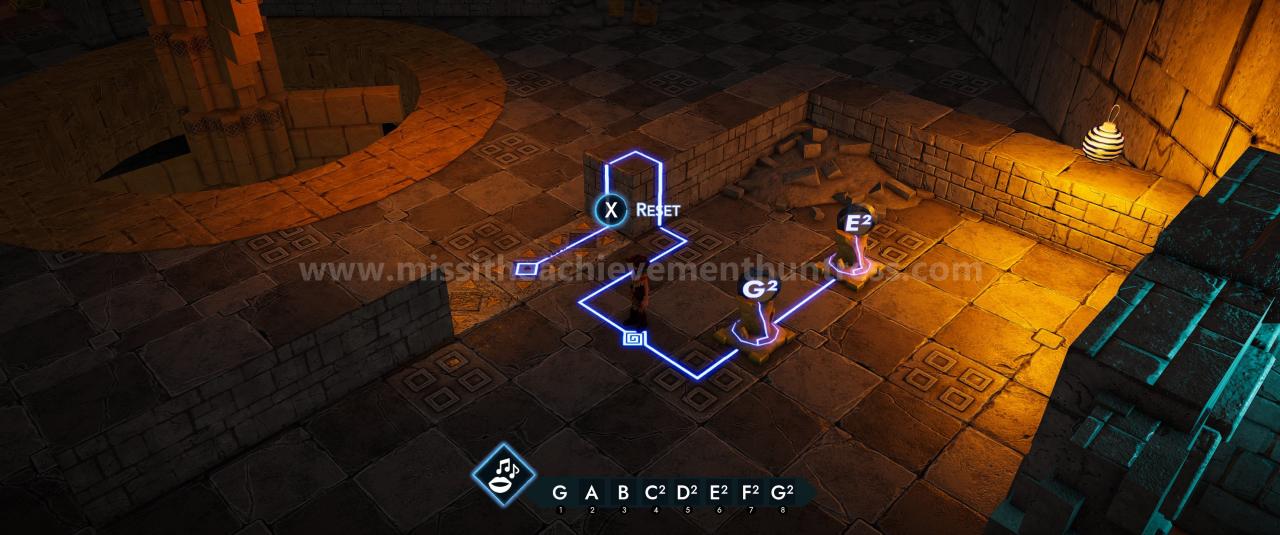
Puzzle 64:
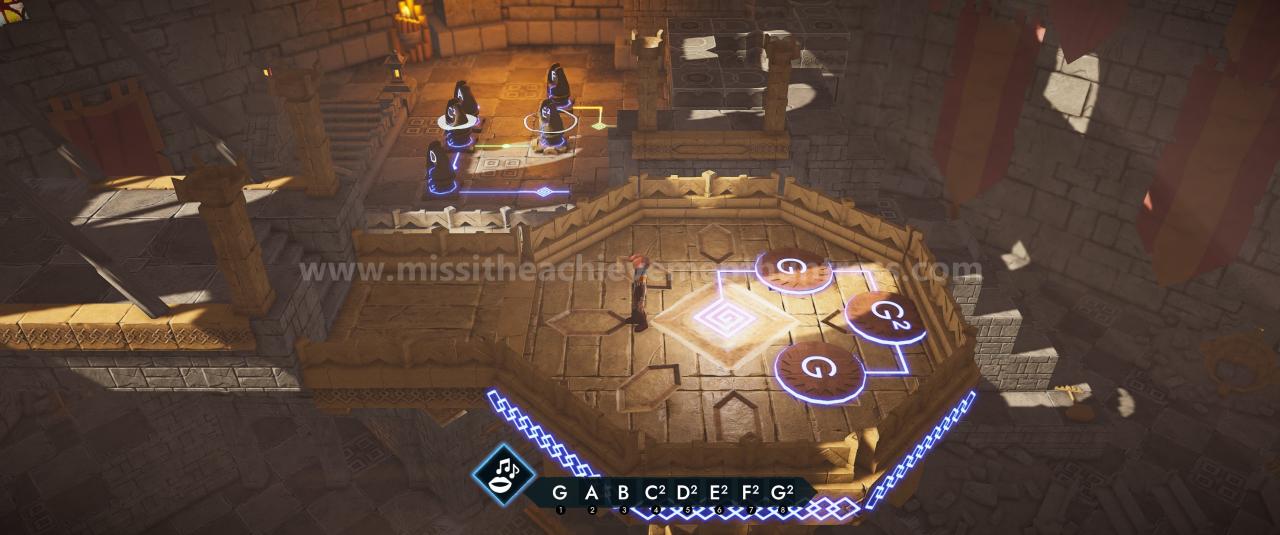
Puzzle 65:
This might not be the best solution, as for the second have you have to run really fast and can get stuck on that part where the blocks touch each other diagonally, but after a few tries I managed to get on time on that block in the middle.
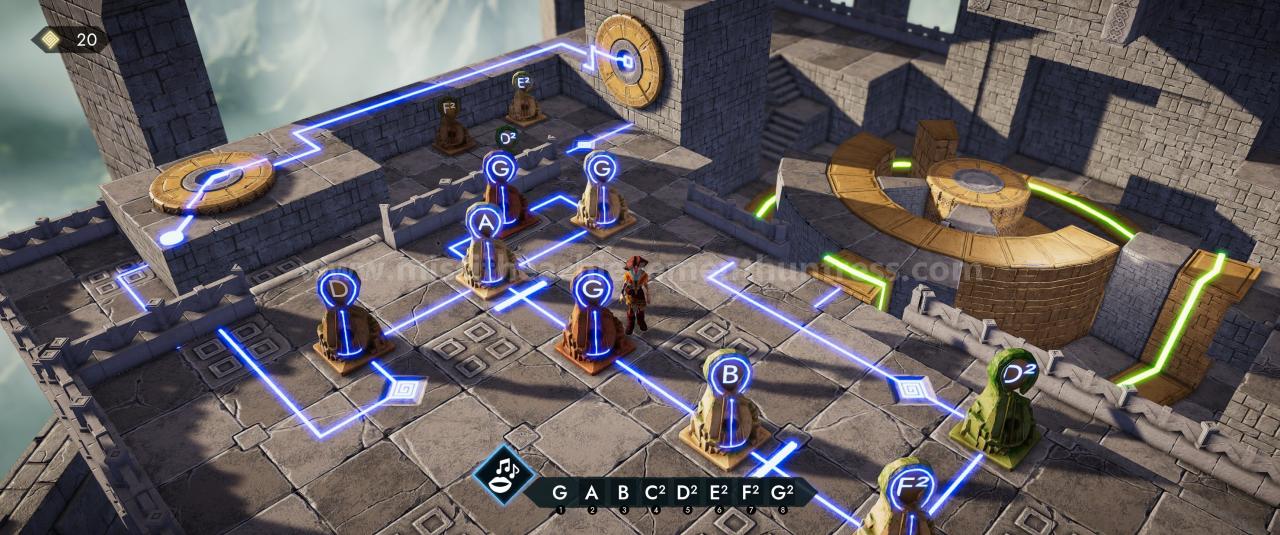
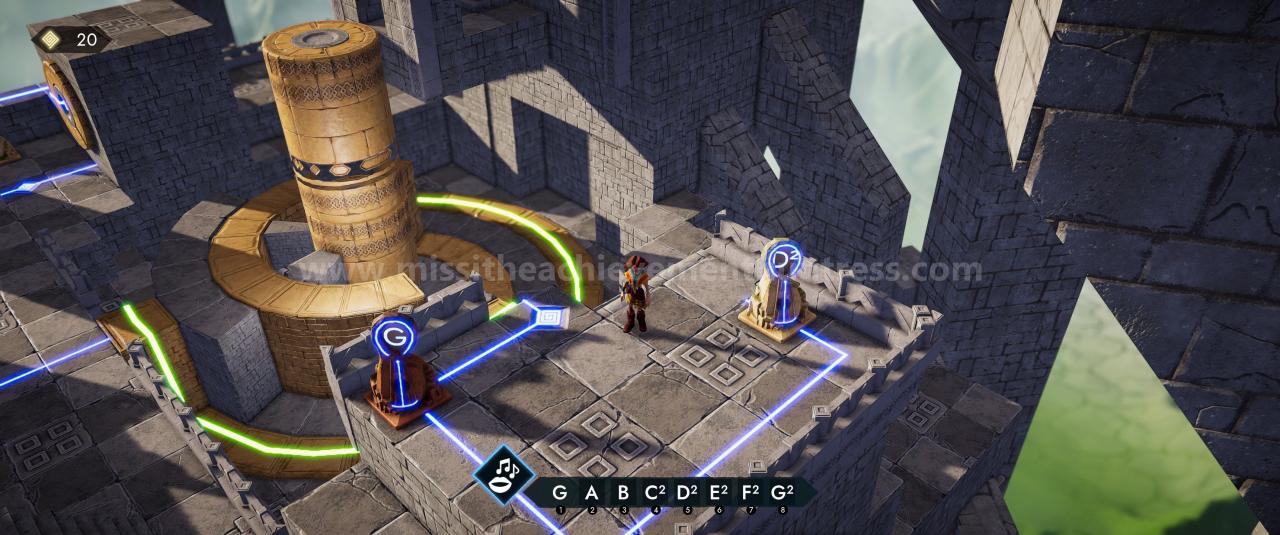
Puzzle 66:
