For new players of Potion Craft if you want to make a quick and easy 1k in the game Potion Craft, this guide will show you how.
Make sure you have rocks and minerals
_
The use of rocks in Potion Craft allow you to not deal with the skulls on the potion map.
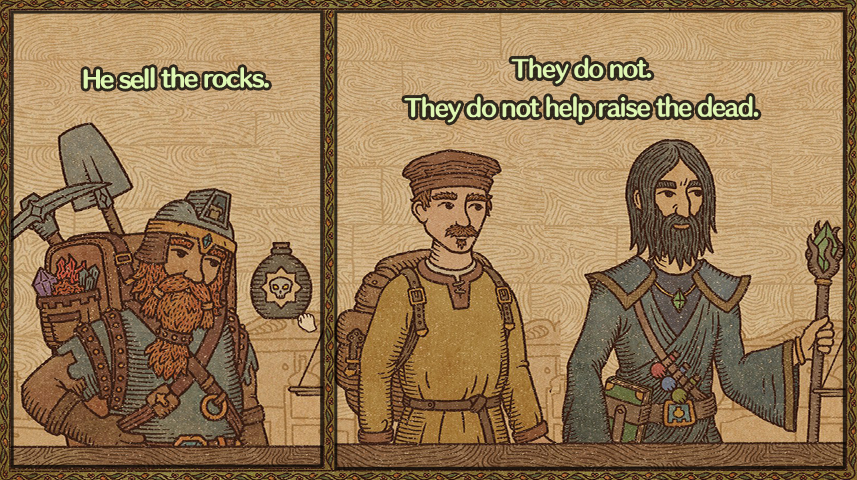
You can purchase rocks from the dwarf miner that will visit you at the beginning of a new day. You may instead run into a fellow alchemist or the Jack (of all trades.)
 _
_
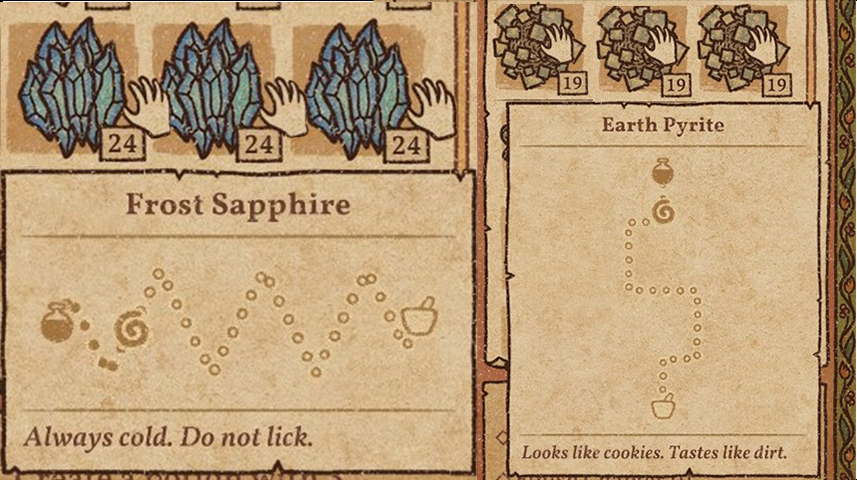
The two options you have as rocks that will help you cross this chasm are the Frost Sapphire or Earth Pyrite. You can use any other rock but it may be more tedious to use those from where the Necromancy Potion Spot is located. Make sure you have two of either one, because you will need to pop over a spot of skulls twice.
 _
_
Once you have bought your rocks, hopefully on sale, you can start brewing your potion to raise the dead.
The use of rocks in Potion Craft allow you to not deal with the skulls on the potion map.
You can purchase rocks from the dwarf miner that will visit you at the beginning of a new day. You may instead run into a fellow alchemist or the Jack (of all trades.)
 _
_The two options you have as rocks that will help you cross this chasm are the Frost Sapphire or Earth Pyrite. You can use any other rock but it may be more tedious to use those from where the Necromancy Potion Spot is located. Make sure you have two of either one, because you will need to pop over a spot of skulls twice.
 _
_Once you have bought your rocks, hopefully on sale, you can start brewing your potion to raise the dead.
Using the Rocks and Minerals
_
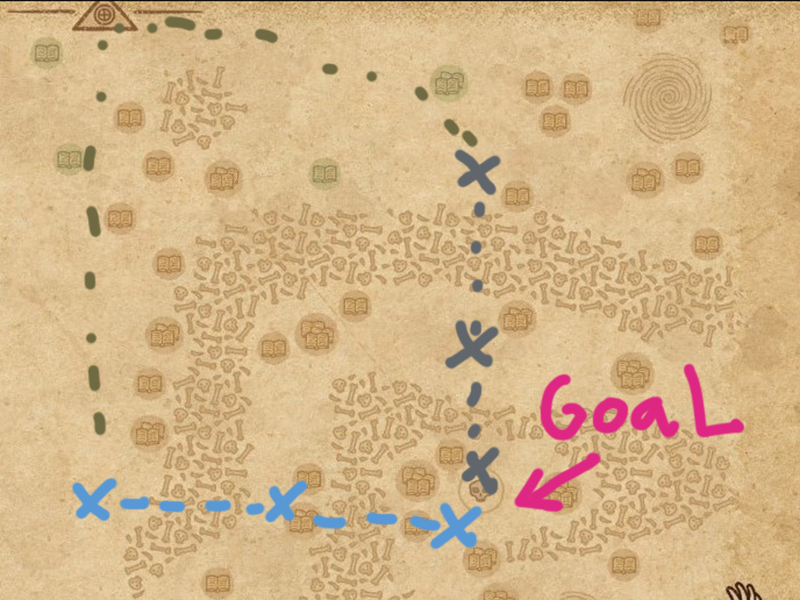
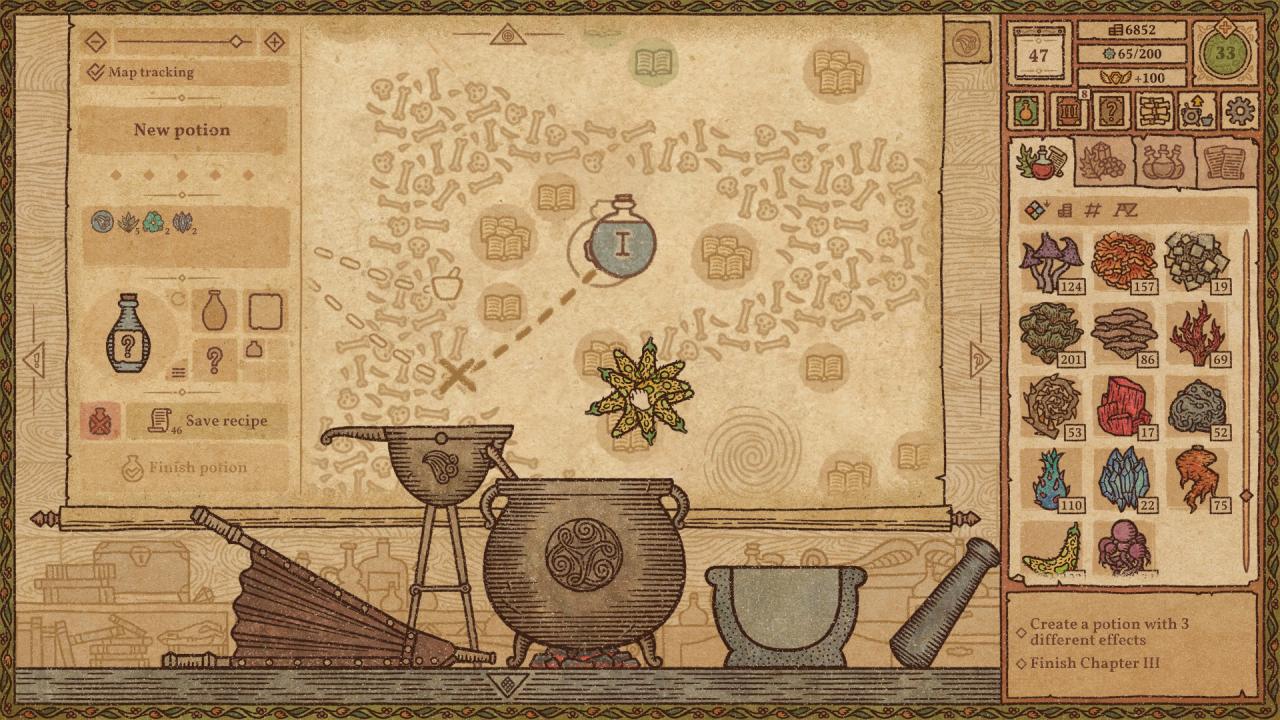
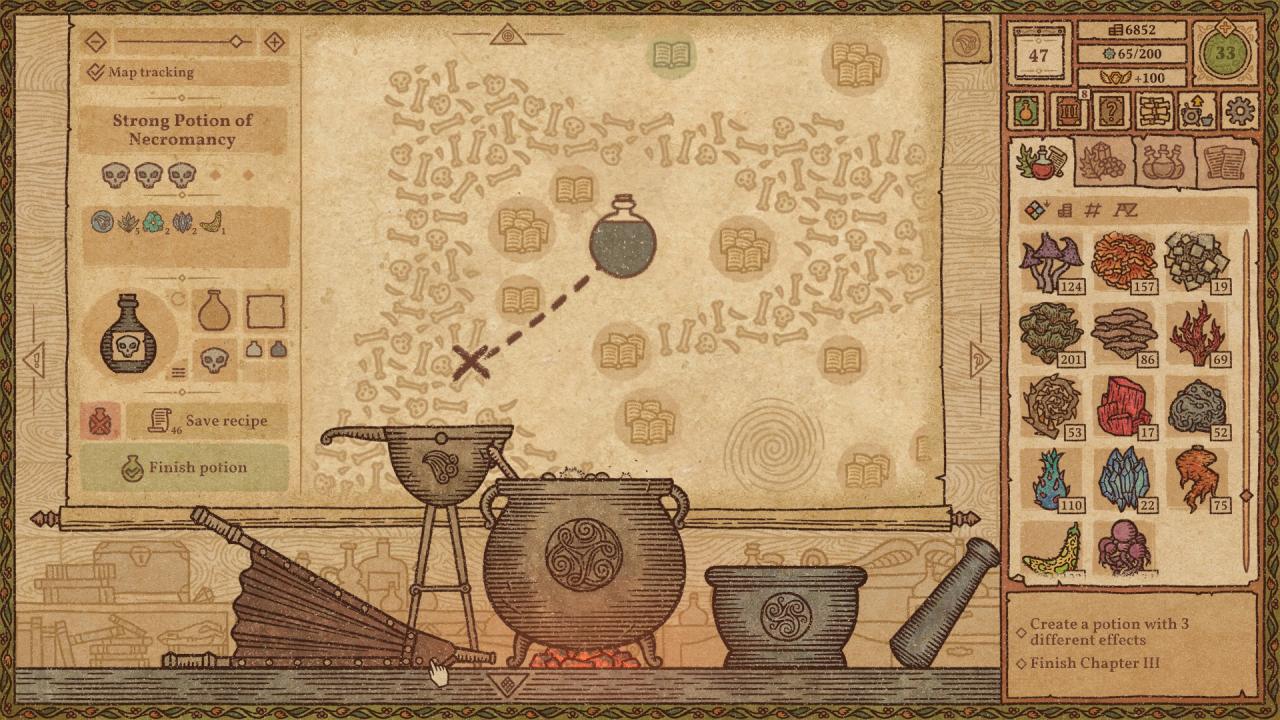
Depending on whether you want to go in from the side or drop in from above, brew other ingredients to get your potion as close to the jump points as possible. The X’s represent the approximate areas where you would use the rocks to jump.
 _
_
The little portal symbol of any rock and mineral just shows you were the potion will teleport. It only matters where the portal symbol ends. Make sure when you’re done grinding and mixing the rock into the potion the portal symbol is not on top of the skulls.
If the portal symbol is on skulls before you start mixing or grinding don’t worry. The potion will teleport the moment you start mixing.
Depending on whether you want to go in from the side or drop in from above, brew other ingredients to get your potion as close to the jump points as possible. The X’s represent the approximate areas where you would use the rocks to jump.
 _
_The little portal symbol of any rock and mineral just shows you were the potion will teleport. It only matters where the portal symbol ends. Make sure when you’re done grinding and mixing the rock into the potion the portal symbol is not on top of the skulls.
If the portal symbol is on skulls before you start mixing or grinding don’t worry. The potion will teleport the moment you start mixing.
Option 1: Frost Sapphire
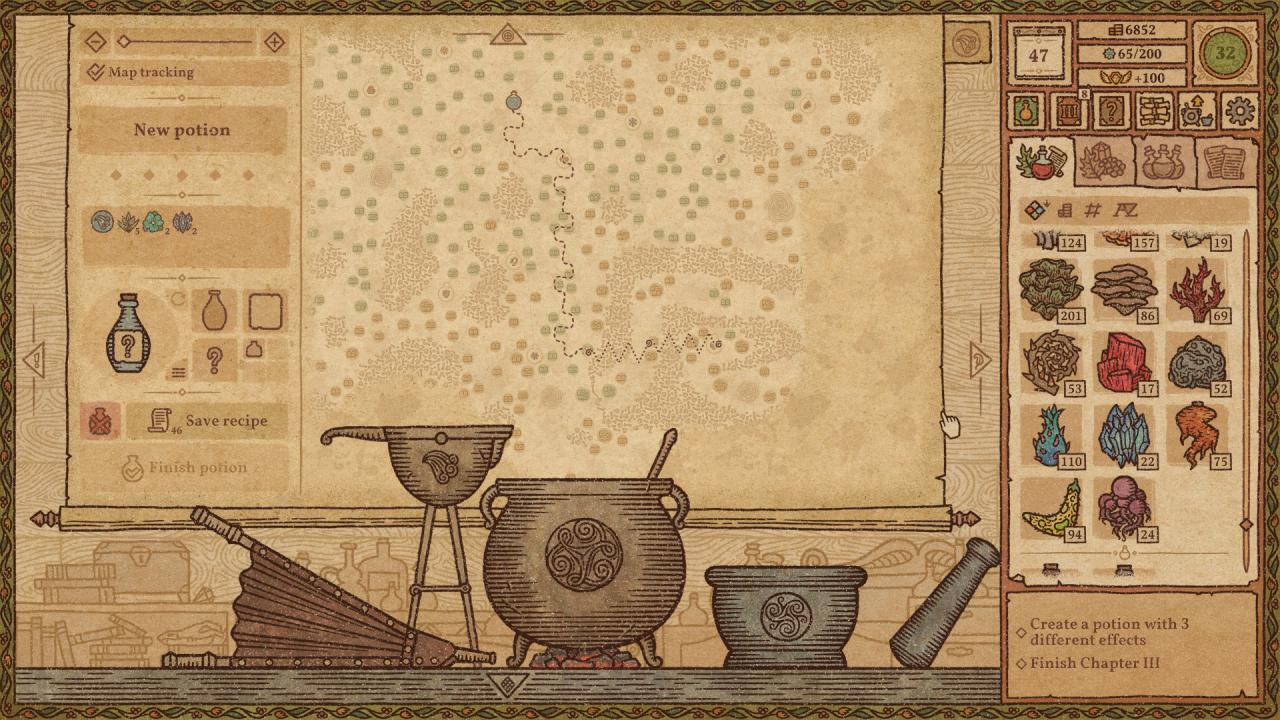 _
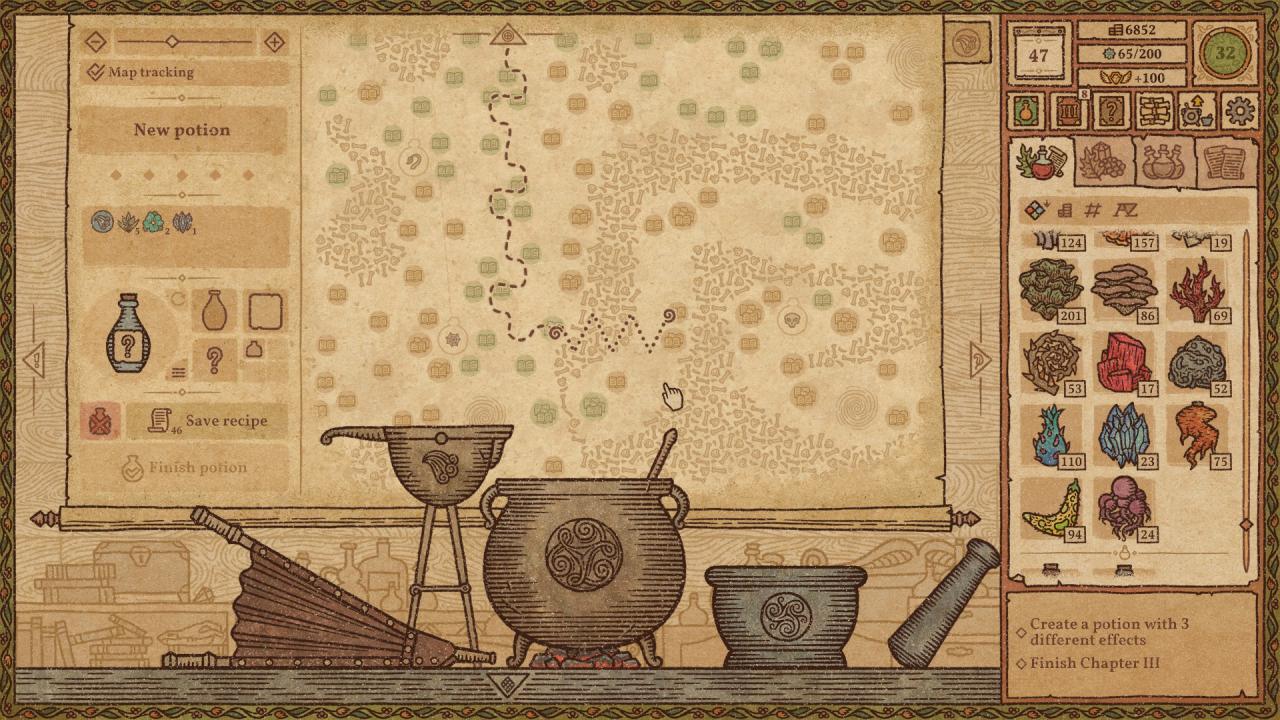
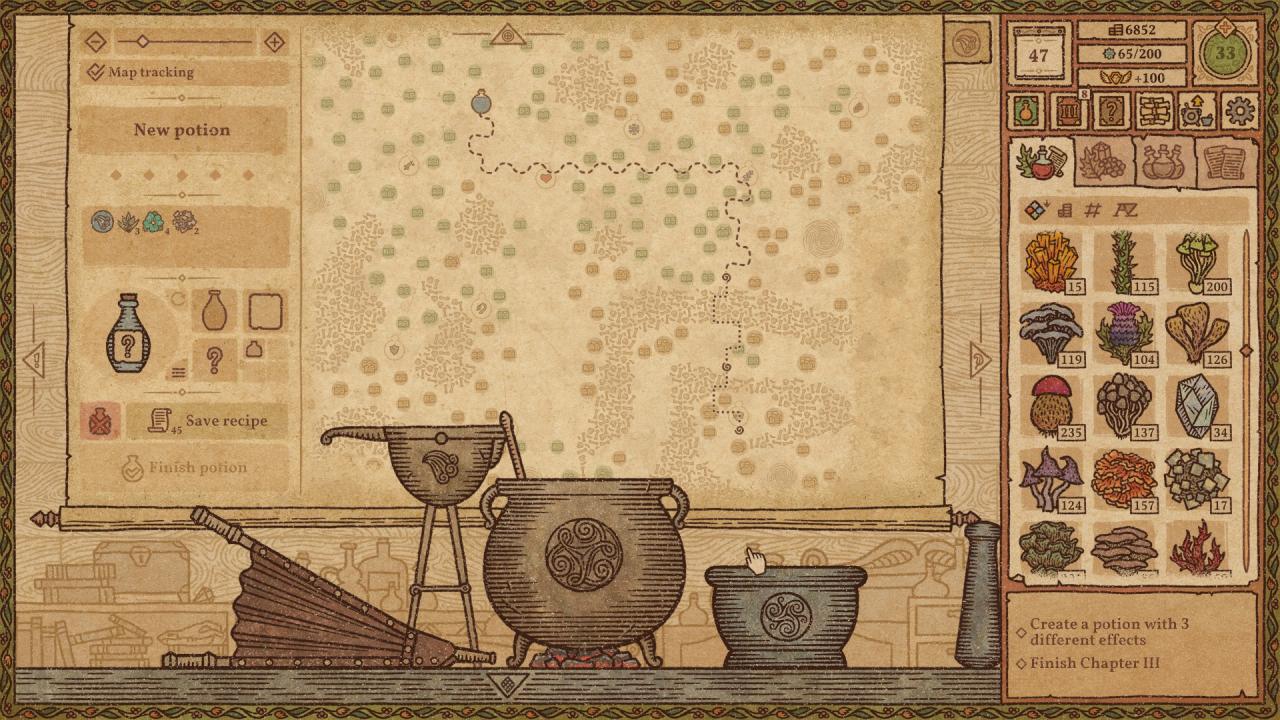
_If you choose to use this mineral, you have to work your way straight down near the Potion of Slow Down. There are many ways to get there, but for simplicity sake here is what I did.
- 1 Terraria Fully Grinded
- 1 Waterbloom Fully Grinded
- 4 Terrarias Fully Grinded
- 1 Raw Waterbloom (Do not Grind)
- 1 Frost Sapphire Grinded (Do not Grind all the way. Use your own judgement and get as close as you can to the skull wall.)
- 1 Frost Sapphire Fully Grinded
 _
_
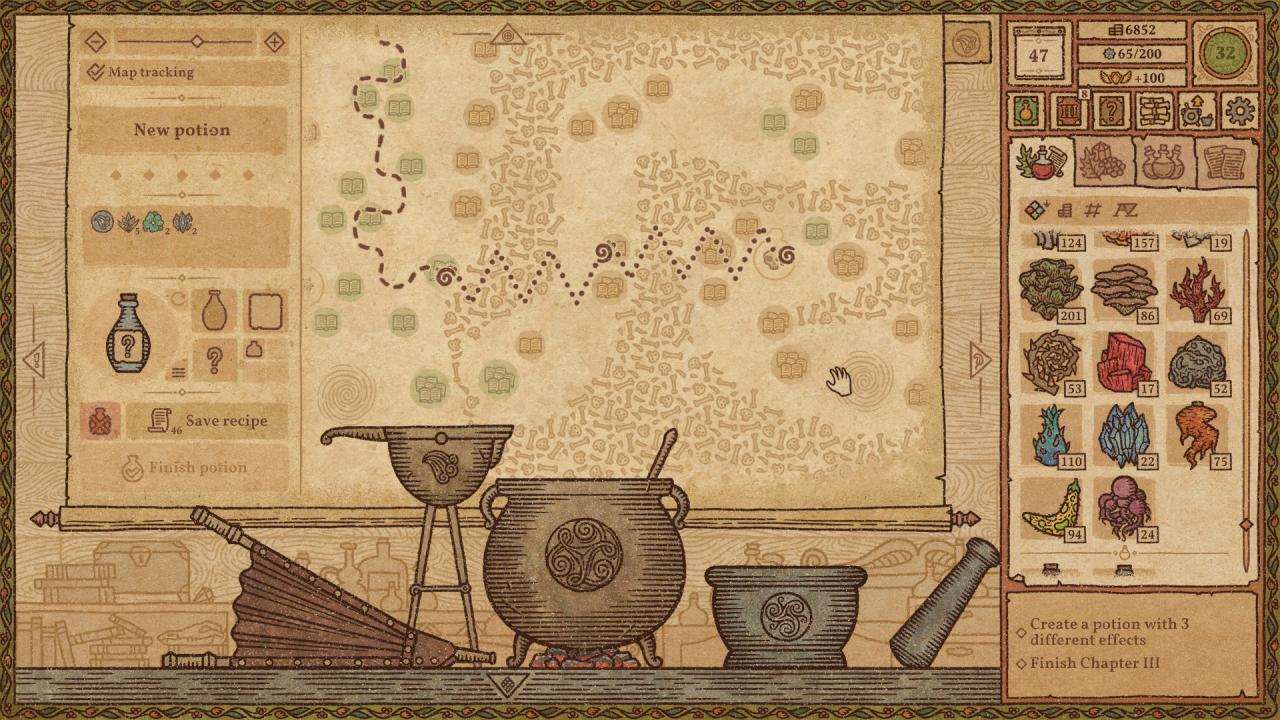
You may not get a level 3 potion, You will need to fumble around with ingredients and use water to line up the perfect potion. There is space to maneuver. Make sure you don’t waste too many ingredients trying to get a level 3 potion.
 _
_
I used a Hairy Banana to line my potion up and used water to bring it to the center. You can use whatever is at your disposal.
Option 2: Earth Pyrite
 _
_This is similar to the previous one, but you will move more to the left using Waterblooms.
- 1 Terraria Fully Grinded
- 4 Waterblooms Fully Grinded
- 1 Terraria Fully Grinded
- 1 Terraria Grinded (Get as close to the skull wall as possible)
- 1 Earth Pyrite Fully Grinded (You don’t have to fully grind it. Just as close as you can to the skull wall.)
- 1 Earth Pyrite Grinded (The down-word movement of this pyrite should cross right over the potion spot.)
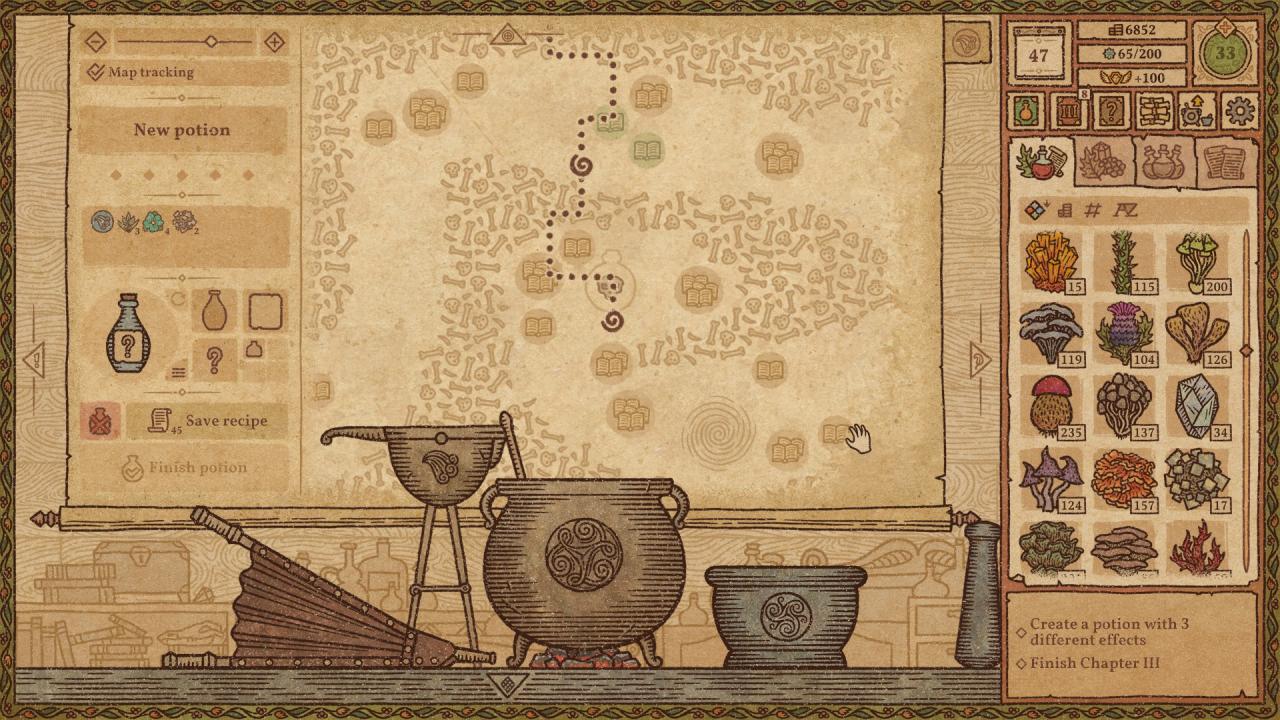
If you overshoot, just correct the position with a raw Windbloom or Shadow Chanterelle. Mix slowly to line up the Necromancy Potion’s line with the faint line of your own potion. And then slowly add water until you get a level 3 Necromancy Potion.
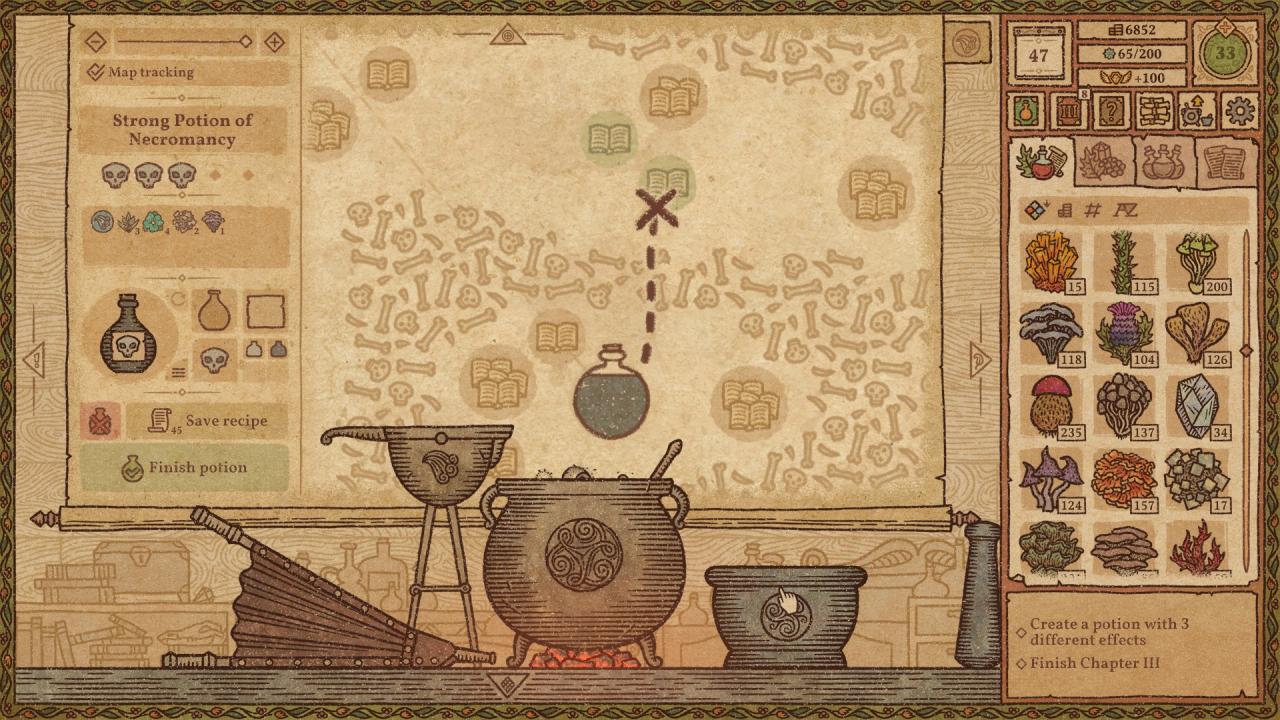
Finish
_
Congrats! You can now sell this potion to a complete stranger for approximately 1k and -30 rep.
The option to sell this potion rarely comes up. You’d be better off losing rep by selling acid potions to thieves who want to open chests but “lost the key.”
Congrats! You can now sell this potion to a complete stranger for approximately 1k and -30 rep.
The option to sell this potion rarely comes up. You’d be better off losing rep by selling acid potions to thieves who want to open chests but “lost the key.”
But hey. October is coming up. Why wouldn’t you want to raise the dead?
Related Posts:
- Potion Craft Potion Tier List Guide
- Potion Craft How To Craft Tier 3 Healing Potion
- Potion Craft Maps & Recipes Guide (Beta)
