For Inunaki Tunnel players, this is a guide that features text and screenshots to help players complete the game with 100% achievements in as few playthroughs as possible.
Introduction
Beware that this game does not have a save function and must be finished in one sitting. You may also want to disable the screen effects in the options if you find it uncomfortable or difficult to see what you’re doing. This guide will of course contain spoilers. Thank you for viewing, and please rate if you found this helpful.
Game Information
Developer: Chilla’s Art
Release date: 19th November 2019
Filesize: 3.52GB
Number of Achievements: 7
Minimum number of playthroughs: 3
Achievement difficulty: 0/10
Estimated time to 100%: Under 2 hours.Default Controls:
Movement: WASD
Look: Mouse
Flashlight on/off: F
Sprint: Hold Shift
Interact: Left click
Drop item: Q
Menu: Esc
Achievement Reference
 Chickened out
Better luck next time.
 The cursed clock
Complete the clock puzzle.
 Avid reader
Read all the letters.
 Saint
Saint
Place all the Jizos on the alters.
 Good ending
Get the good ending.
 Bad ending
Get the bad ending.
 Secret ending
Get the secret ending.
Walkthrough
Starting a New Game, walk forward and to the left to find a ladder partially hidden behind a tree.
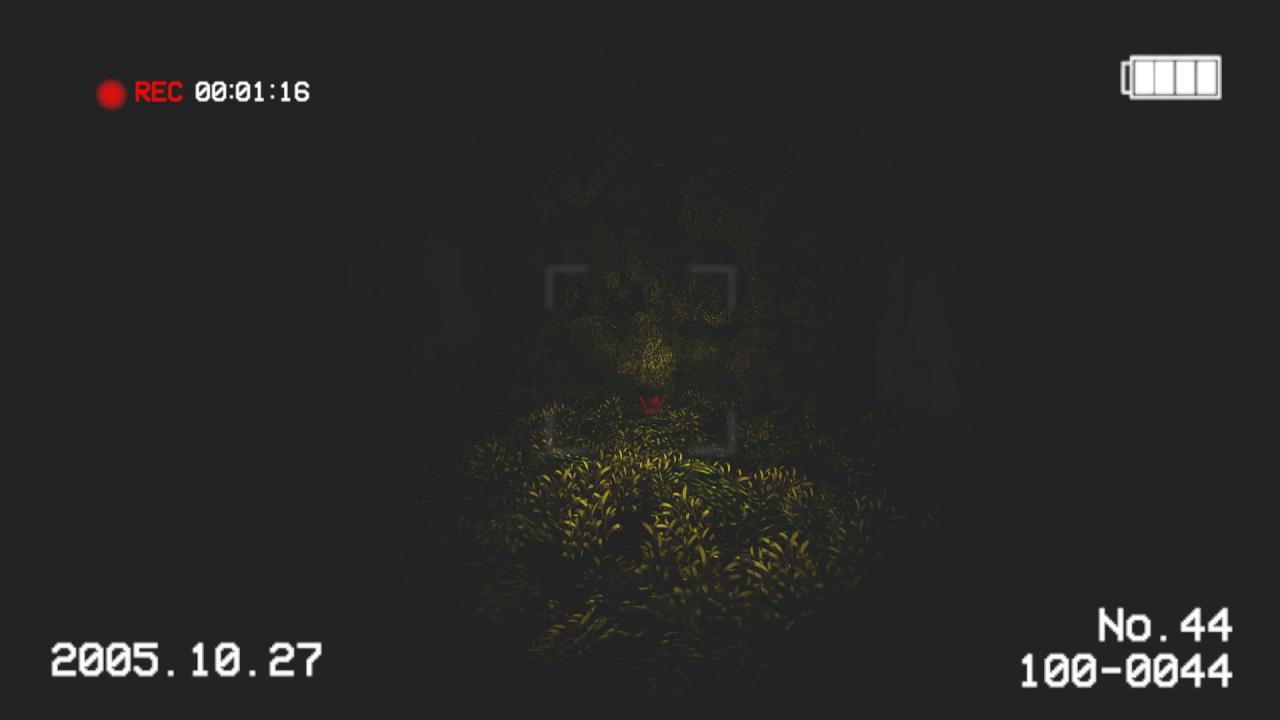
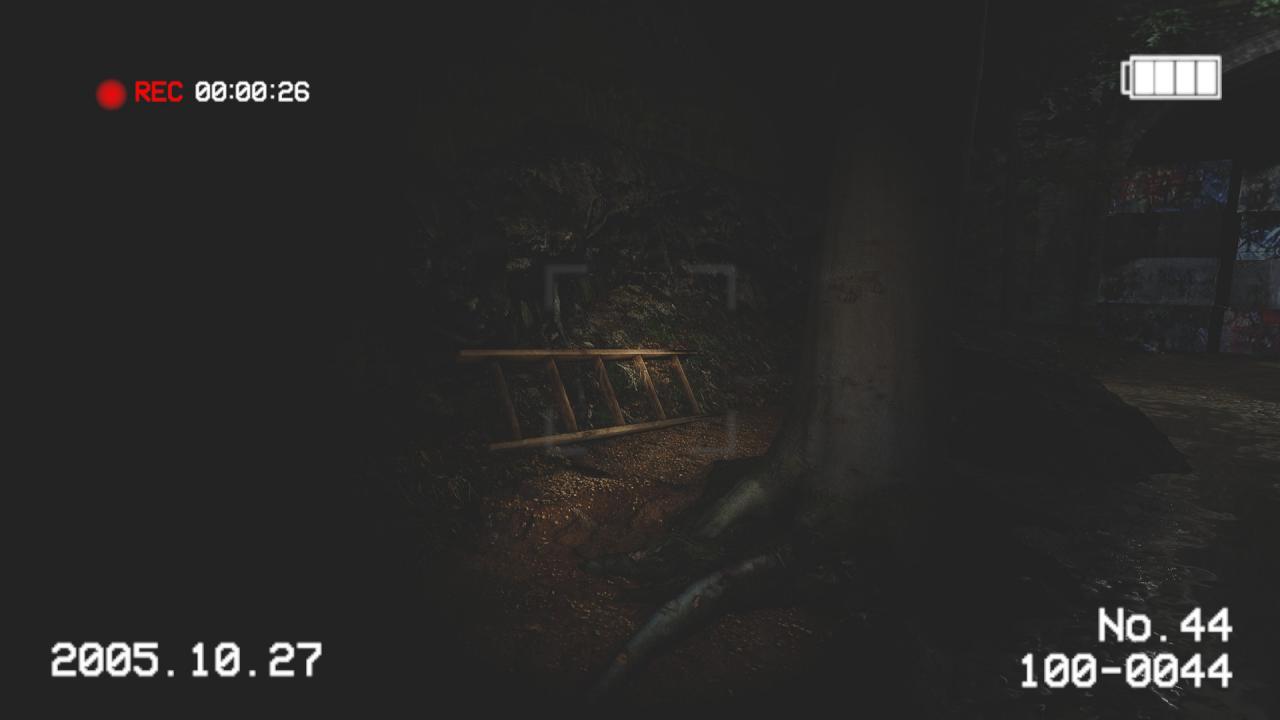 Pick it up and place it at the blocked main entrance allowing you to climb over. You’ll now be following the tunnel for a little while, so you may want to make use of the Sprint function. Keep going until you come to a four way split in the tunnel. Head straight into the green overgrown area to find the first note (1/7) on the floor.
 Now turn around and go down the right side tunnel, then take the next left. Keep following the tunnel until you come to an open area with a bulldozer and another blocked off tunnel ahead.
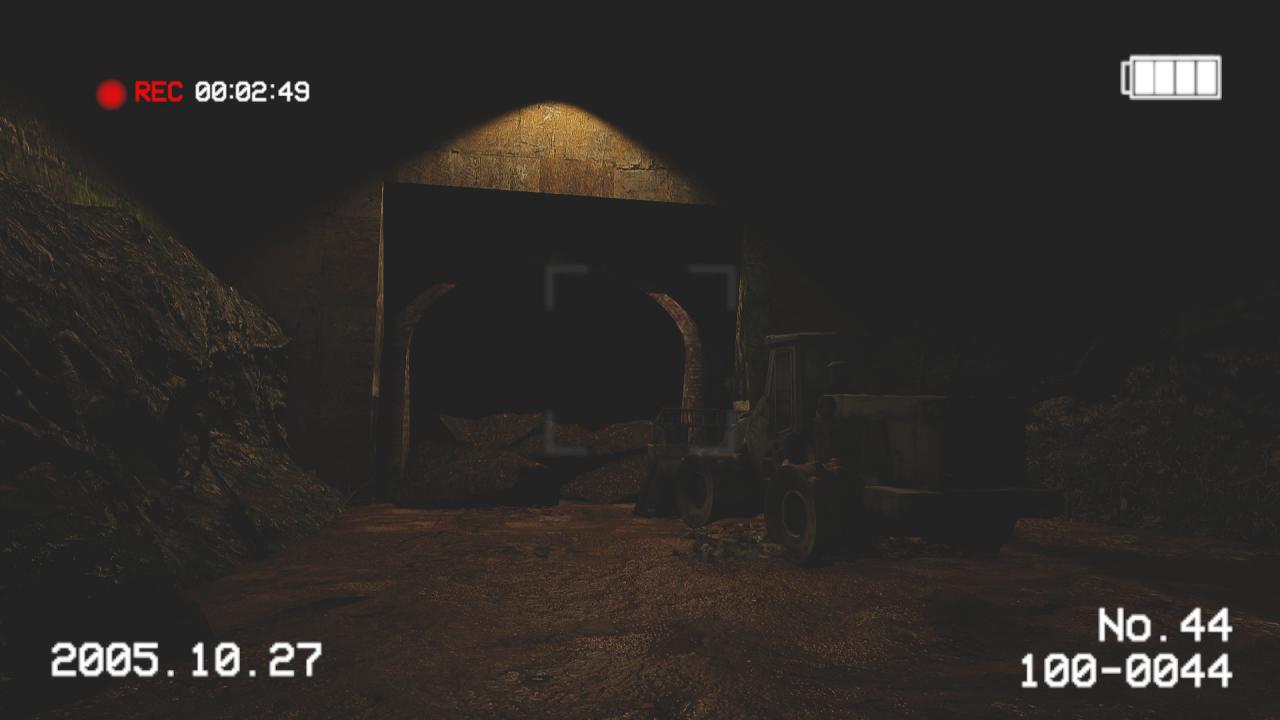
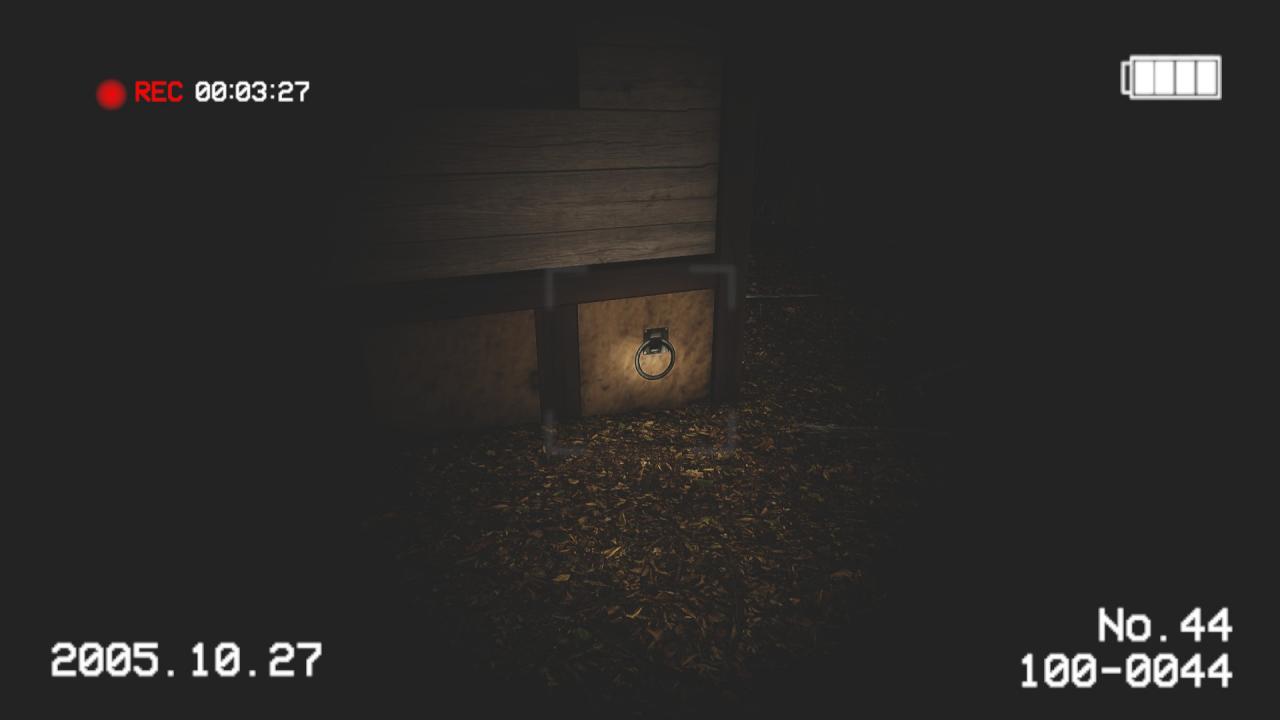 Interact with it to open the doors. As you step inside the building you’ll experience an earthquake. Pick up the red note (2/7) from the corner and take the statue with you.
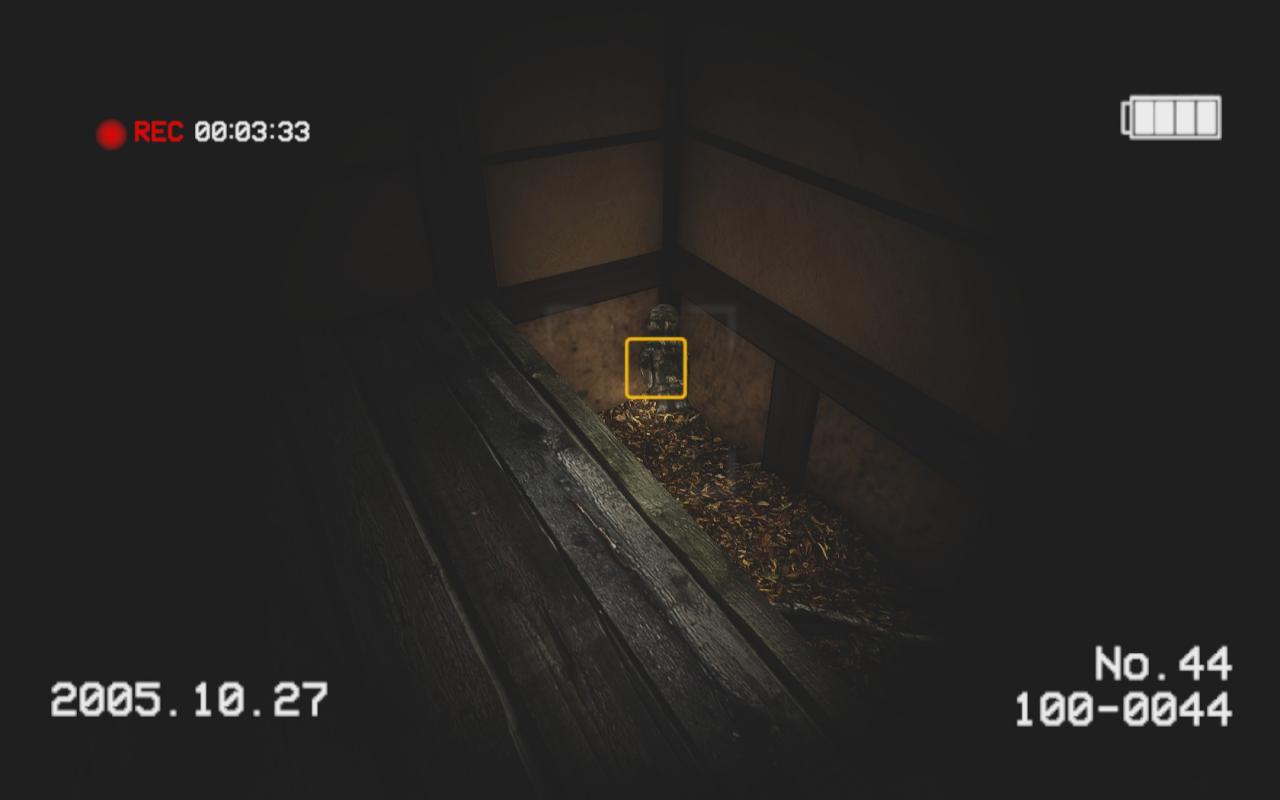 Outside, return to the back of the shrine and place the statue (1/5). Now the corpse is on the ground pick up the key and make your way back down to the bulldozer. Use the key on the vehicle to clear the blocked tunnel. Follow the tunnel again until you come to a bus on your right. Enter and pick up the note (3/7).
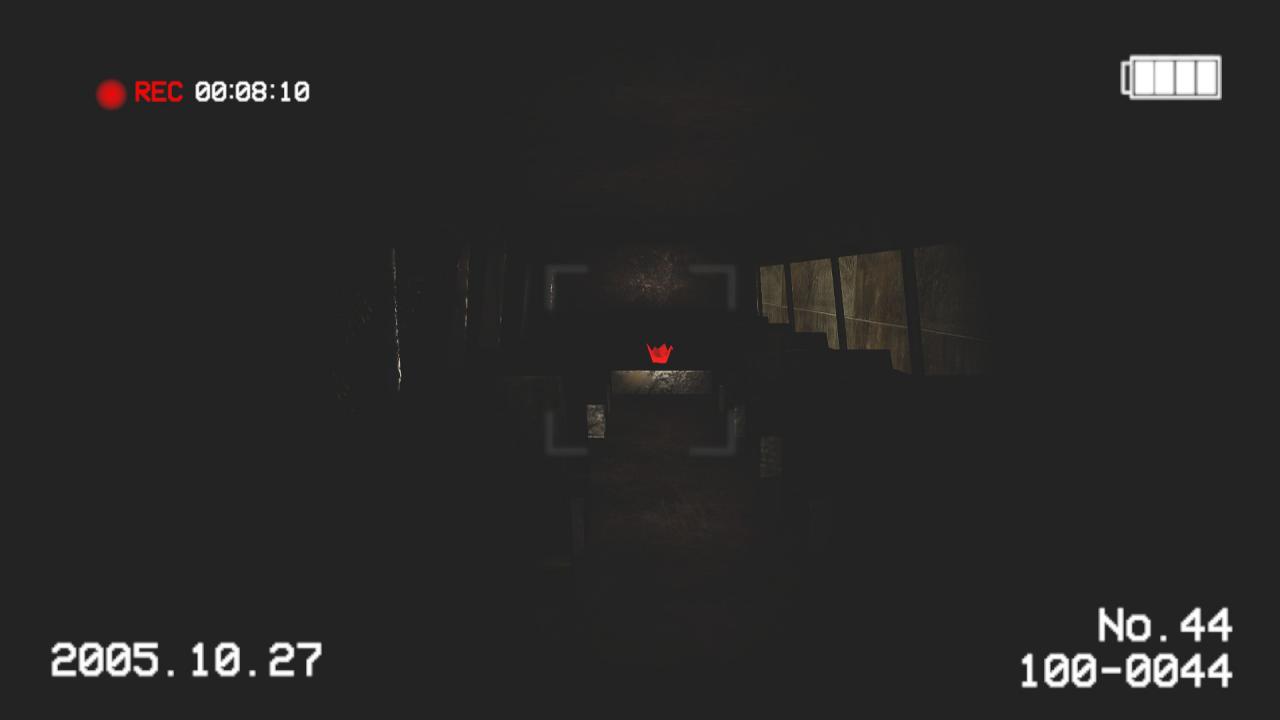 You’ll now be in a graveyard area. Pickup a note (4/7) from the grave 2nd grave along.
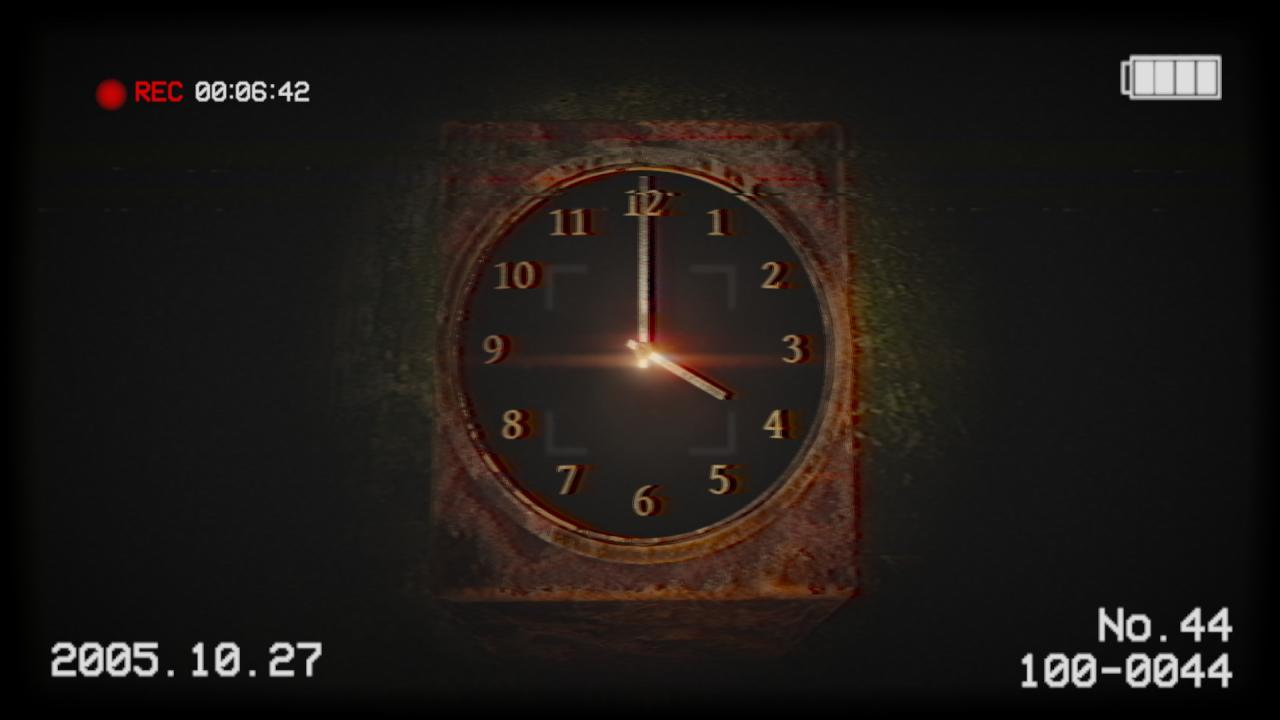
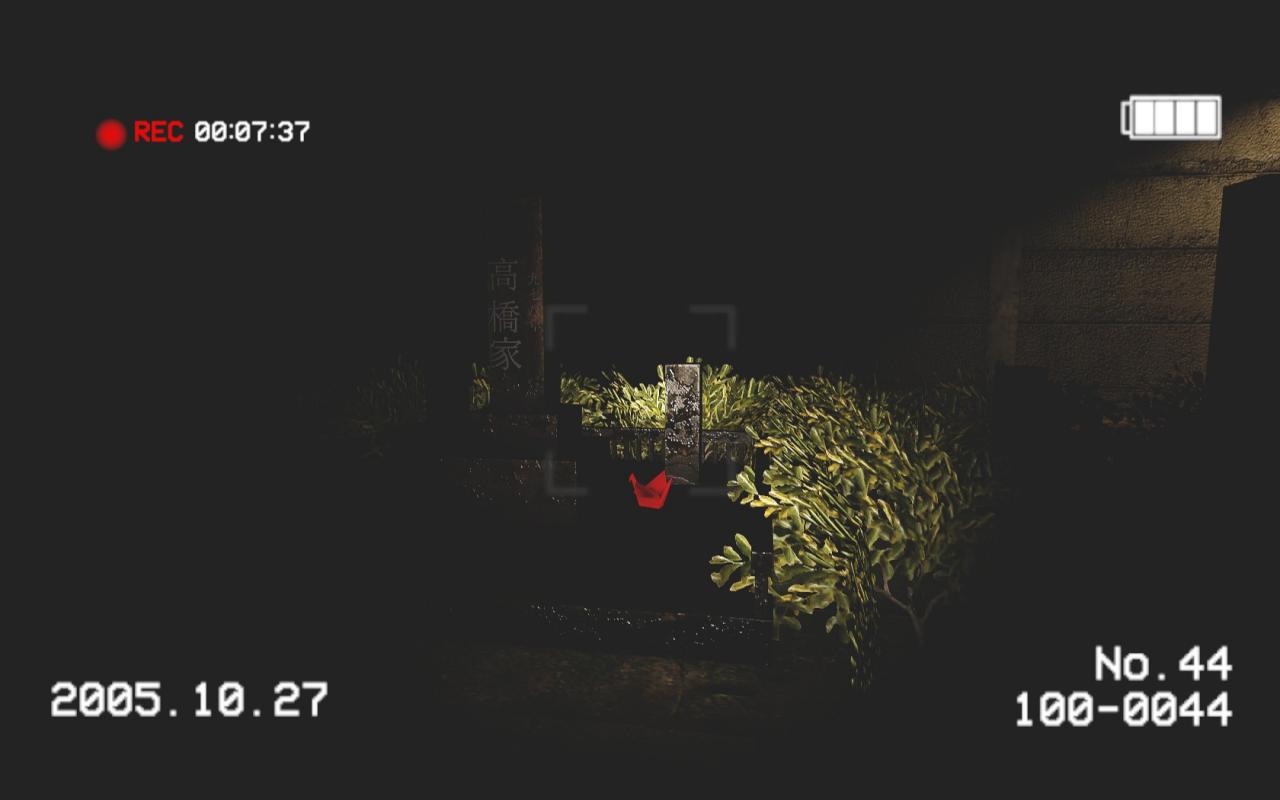 Move into the middle of the area and interact with the clock.
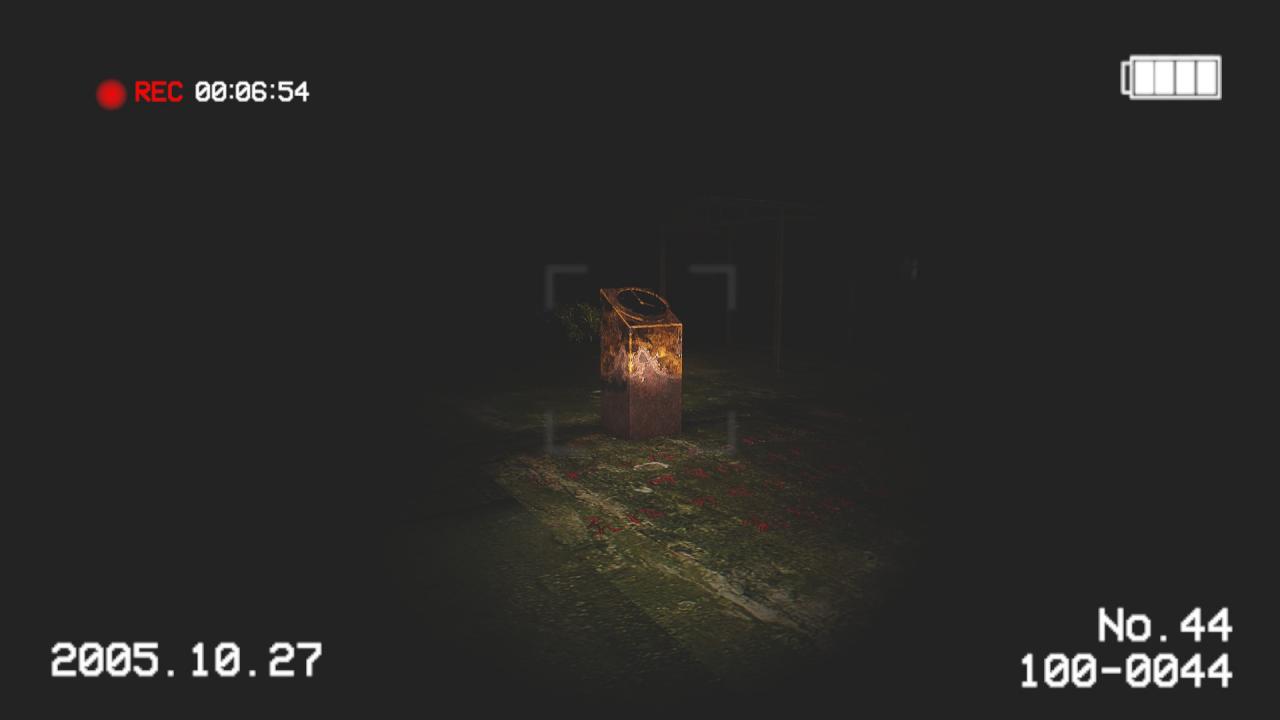 Use the movement keys to change the time to 4:00, causing the nearby gate to open and unlocking the Cursed Clock achievement.
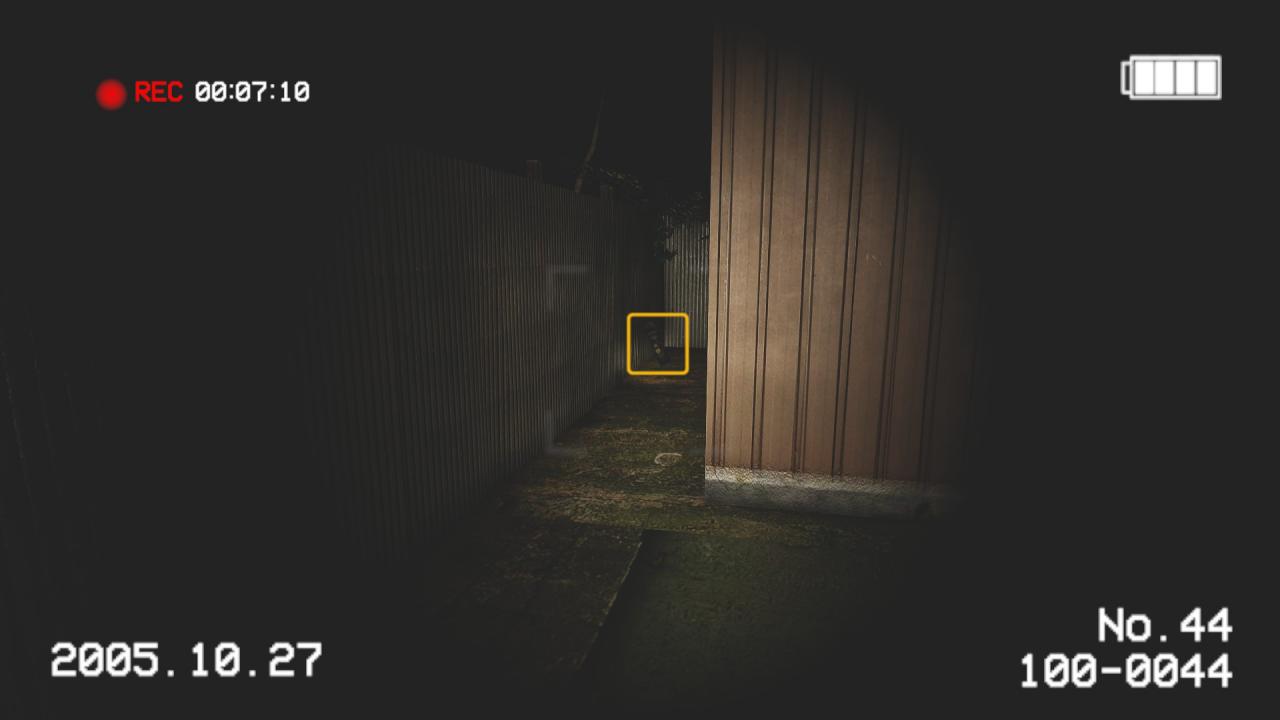
 Before you leave walk to the far right corner of the graveyard and pickup another statue.
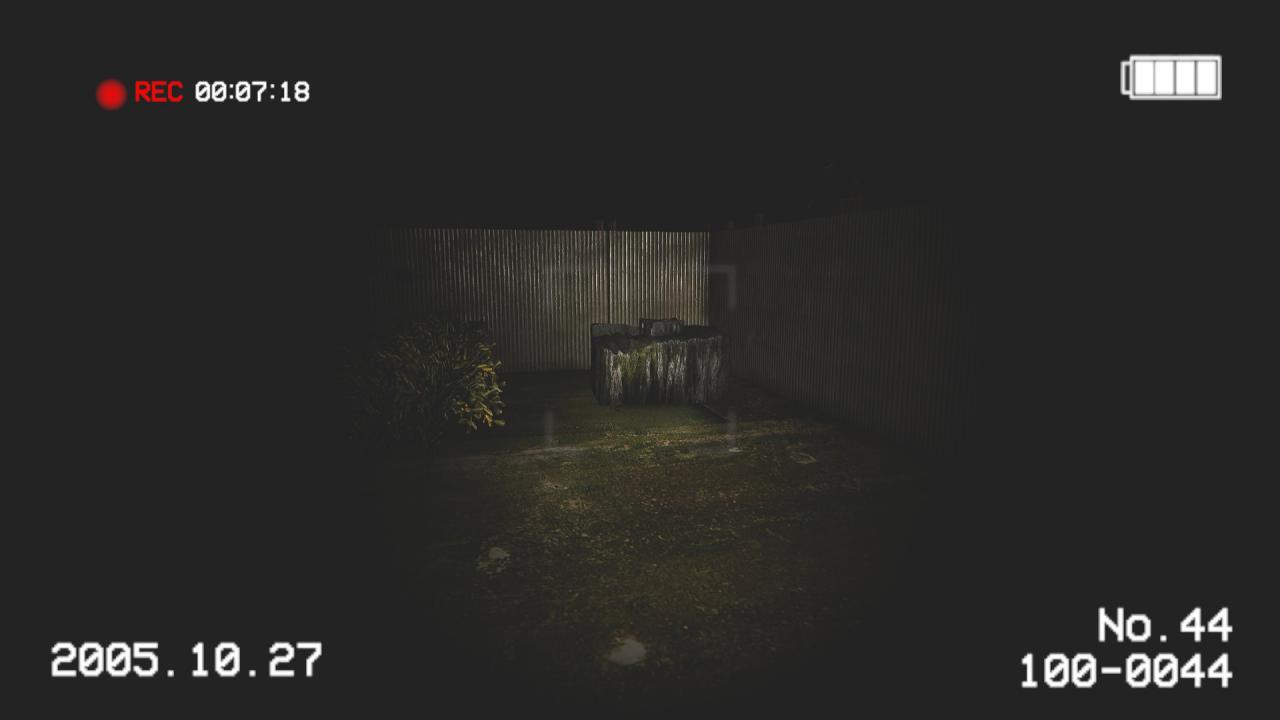
 Place this one in the opposite back corner (2/5).
 Through the gate you’ll be following the dirt path. Pass the van on the left side of the path and keep going.
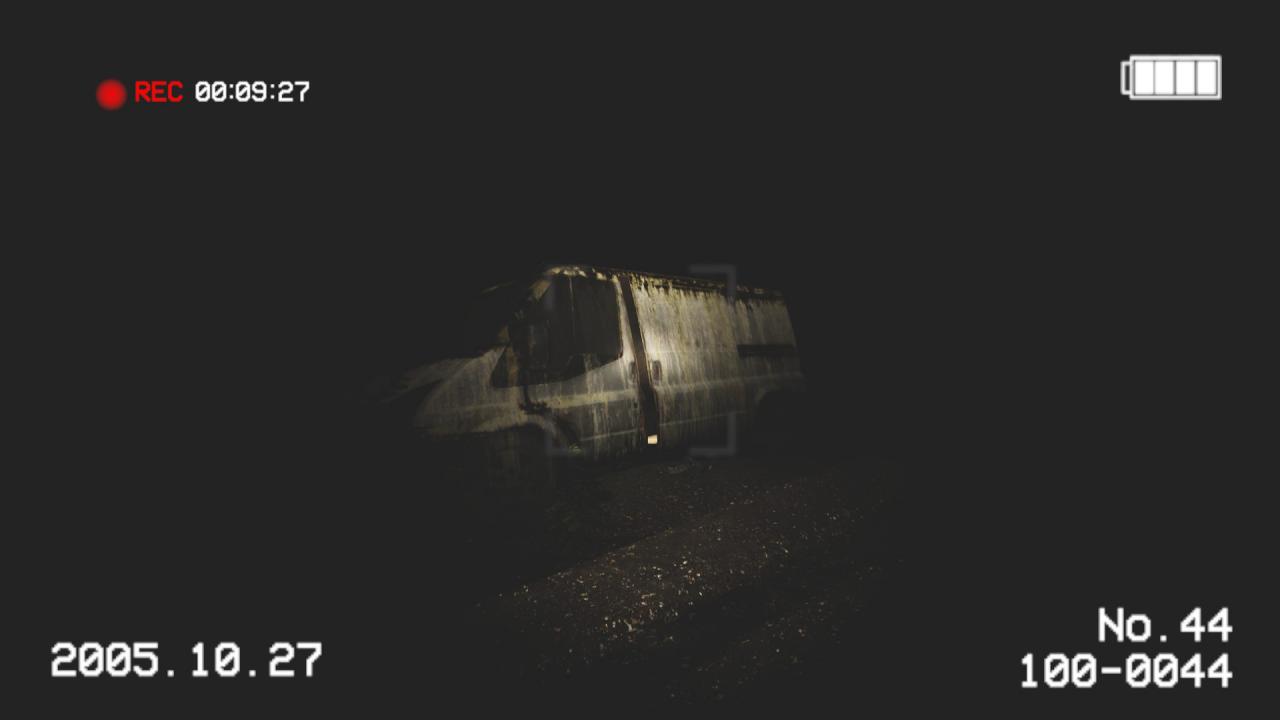 You’ll come to an impassable stream. Look to the ground on your left to find a tool.
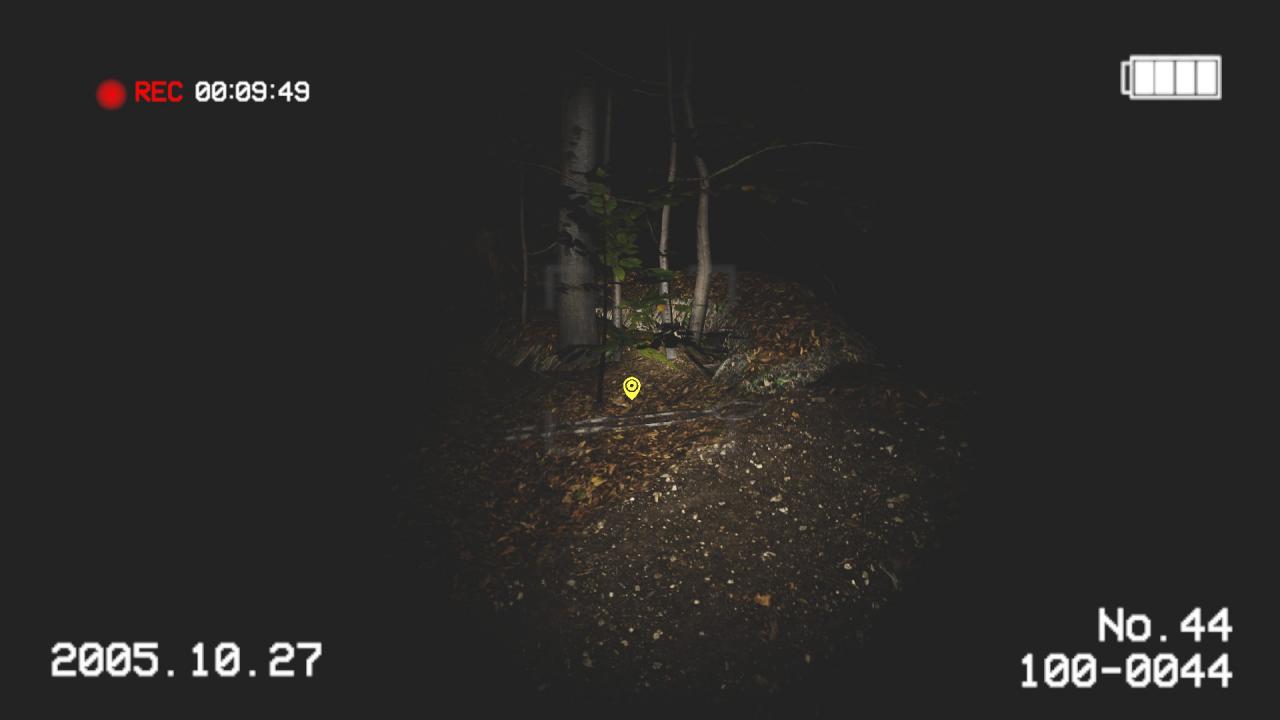 Take it, and backtrack to the van. Open the van up to get an Axe. Go back to the stream and use the axe on the right side tree to make a bridge. Cross over. Follow the path and you will hear the sound of a dog. Stay on the path for now until you see another statue plinth on your left.
Look up and to your right to see the statue up in the tree.
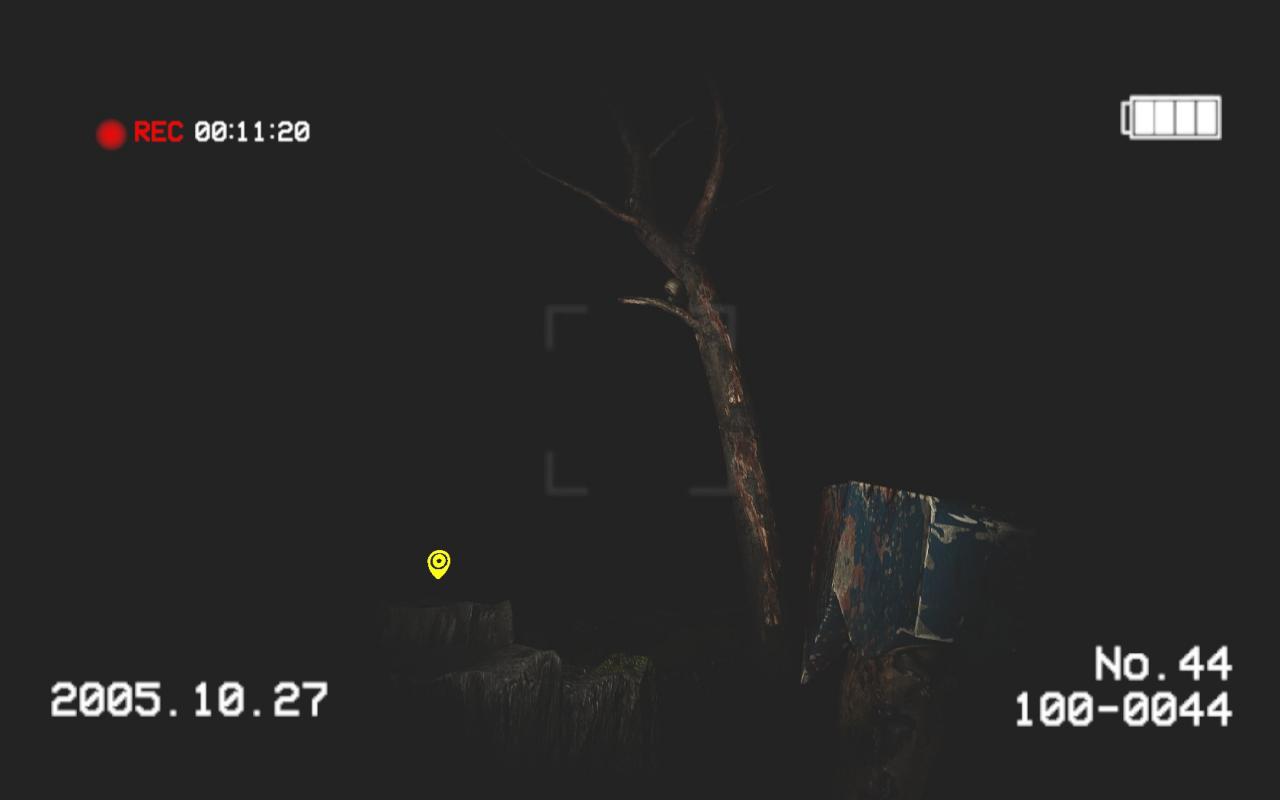 Use your axe to cut it down and set it (3/5). You can drop the axe here as it is no longer needed. A little further on is a gate.
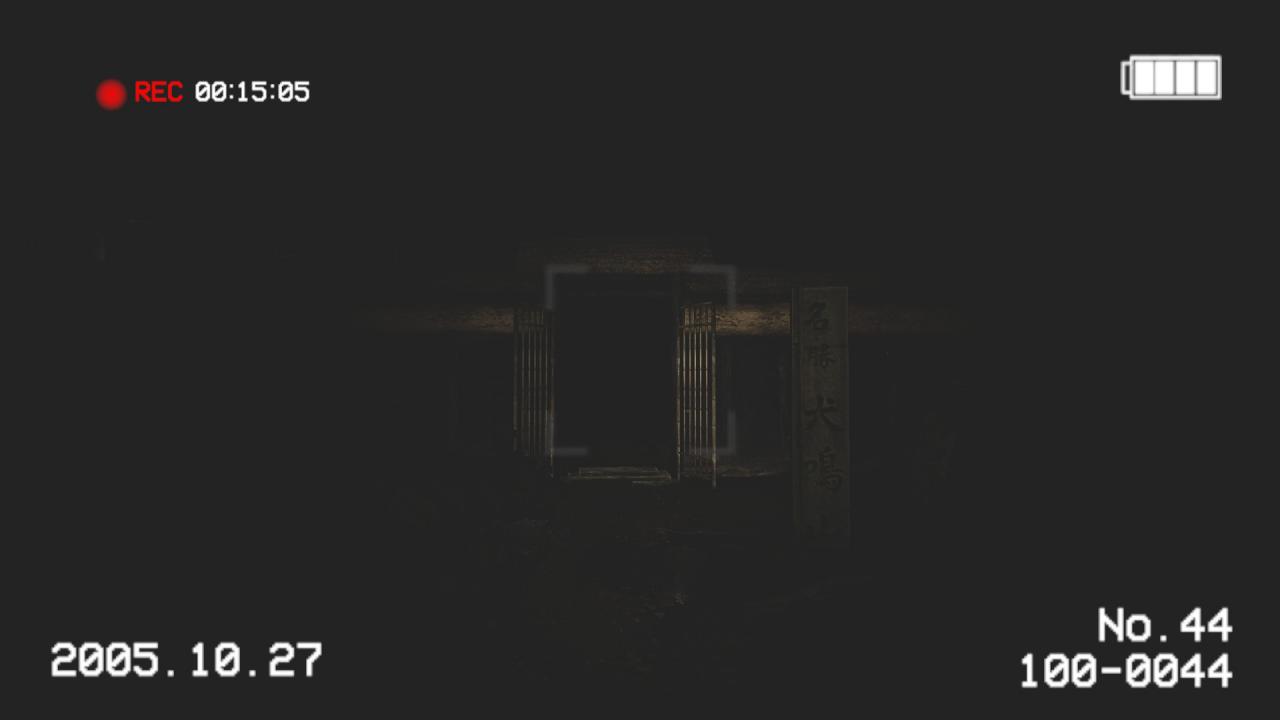 From here turn left and move towards the sound of the dog, keeping the wall on your right. You will eventually get to the dog and another statue plinth.
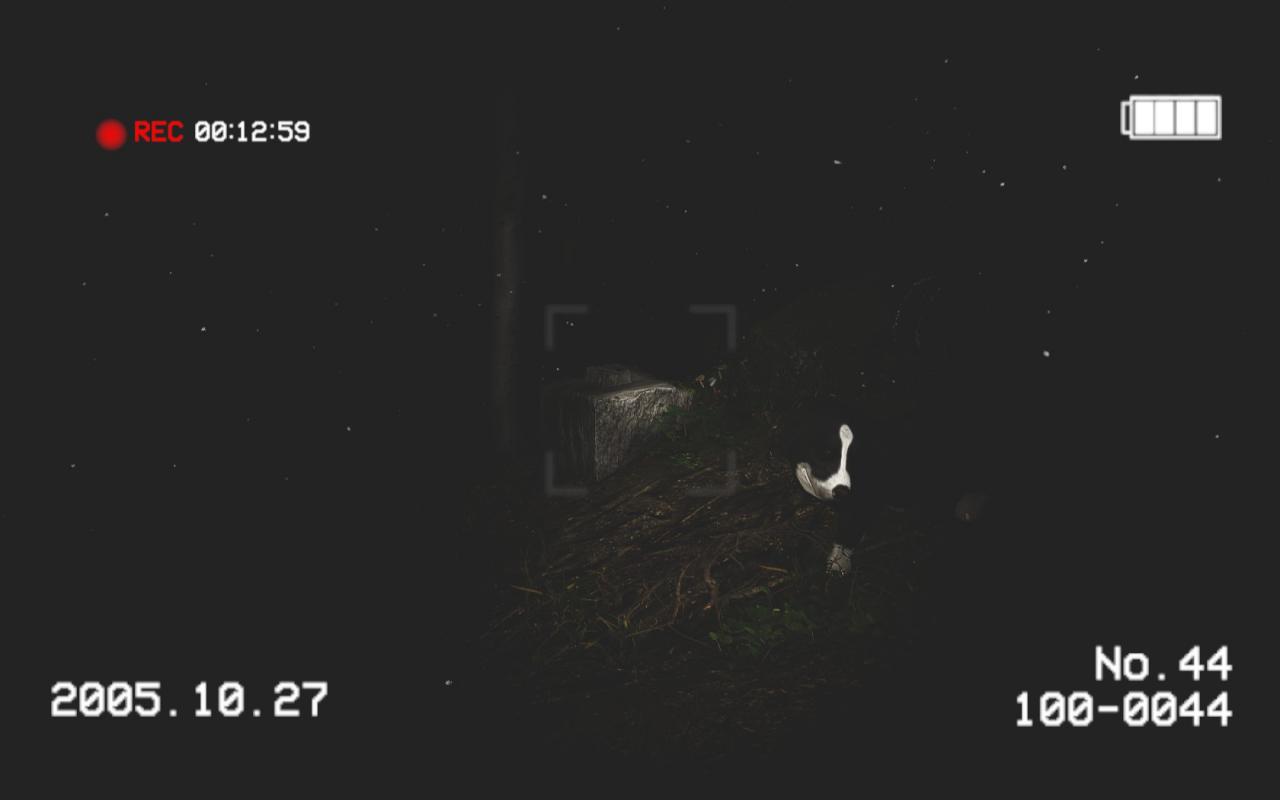 Interact with the barbed wire to set him free. Now follow him into the corner of the area and interact with him again when he stops. He will dig up a note (5/7) and statue for you.
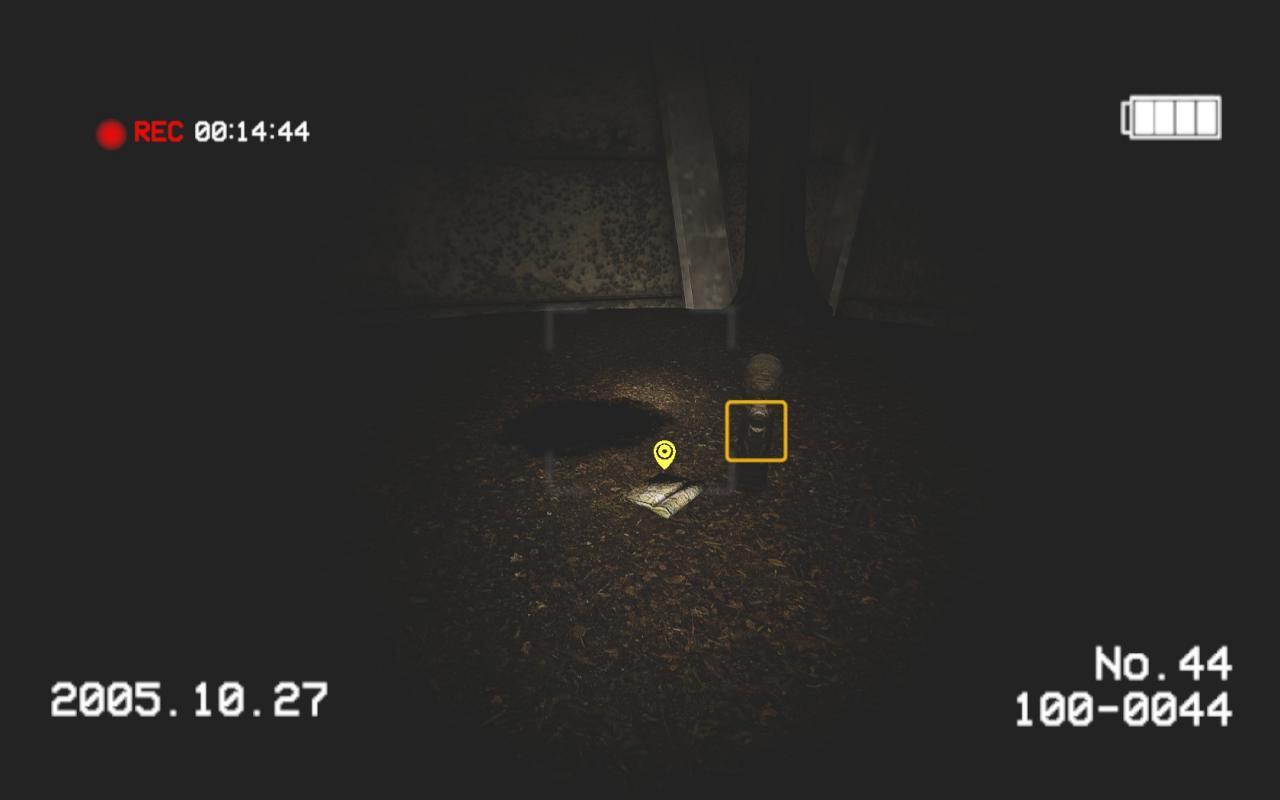 Read the note, then take the statue back to where the dog was trapped (4/5). With that all done you can return to the gate and move into the next area. You will find yourself in a garden. Move towards the bridge and pick up the bucket.
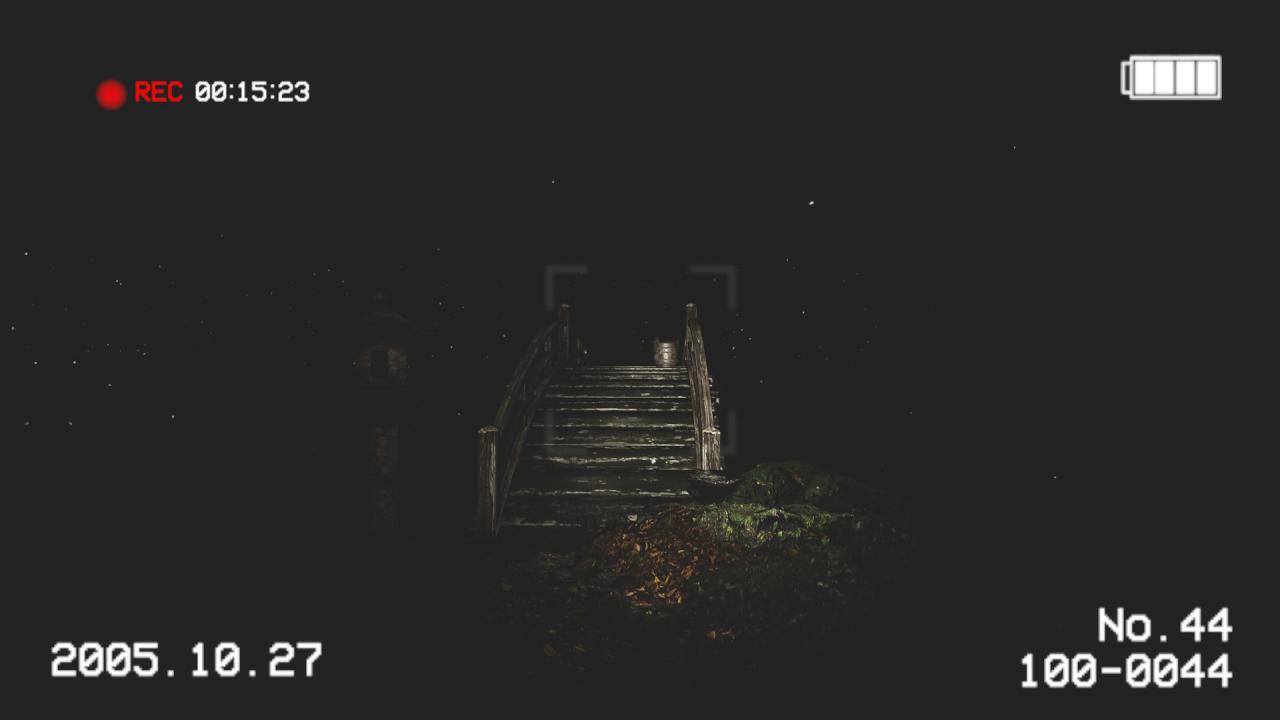 Turn left and you should see an illuminated well.
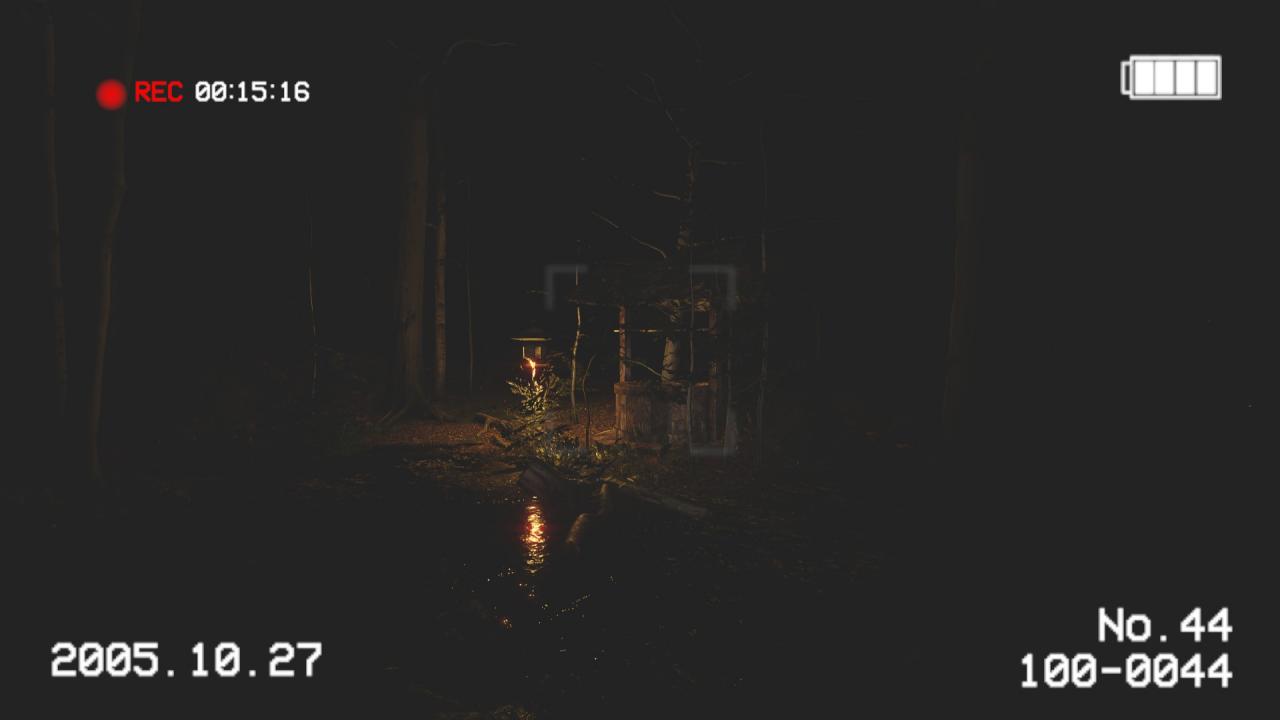 Place the bucket on the well and turn around. Move towards another archway with three red candles and you will see a log resting against it.
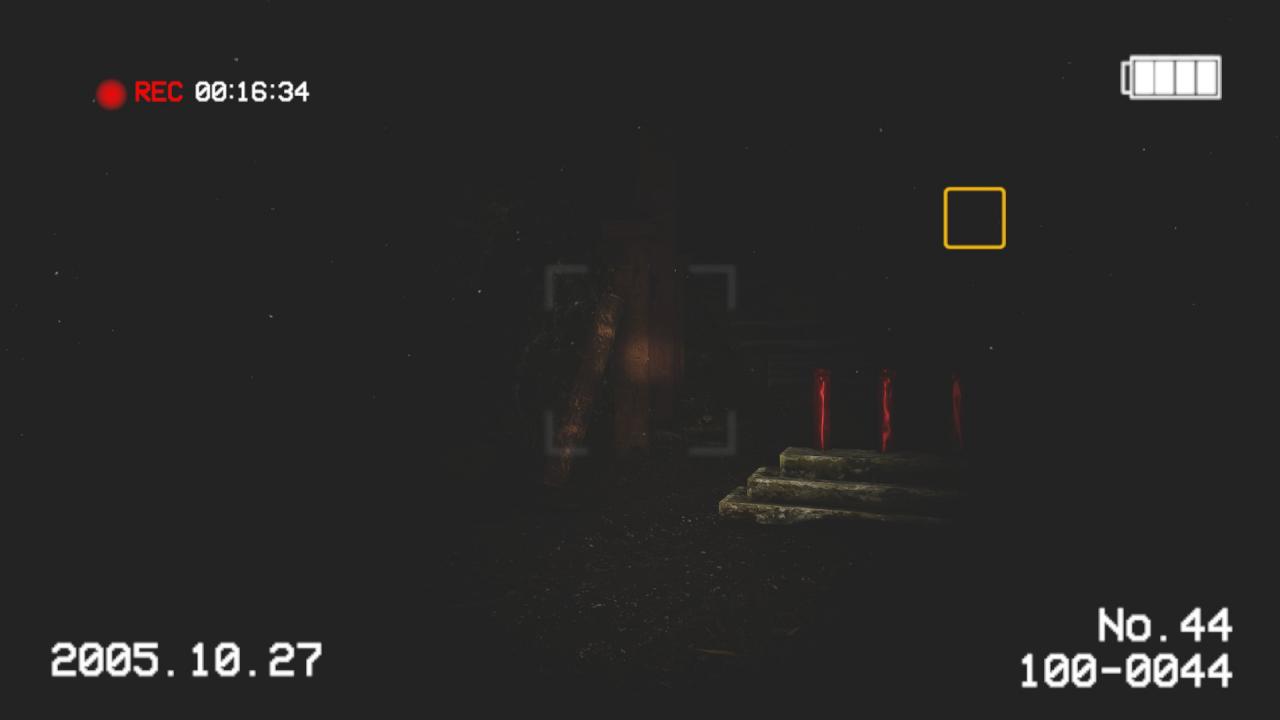 Pick it up and keep going to the other side of the area to another shrine building.
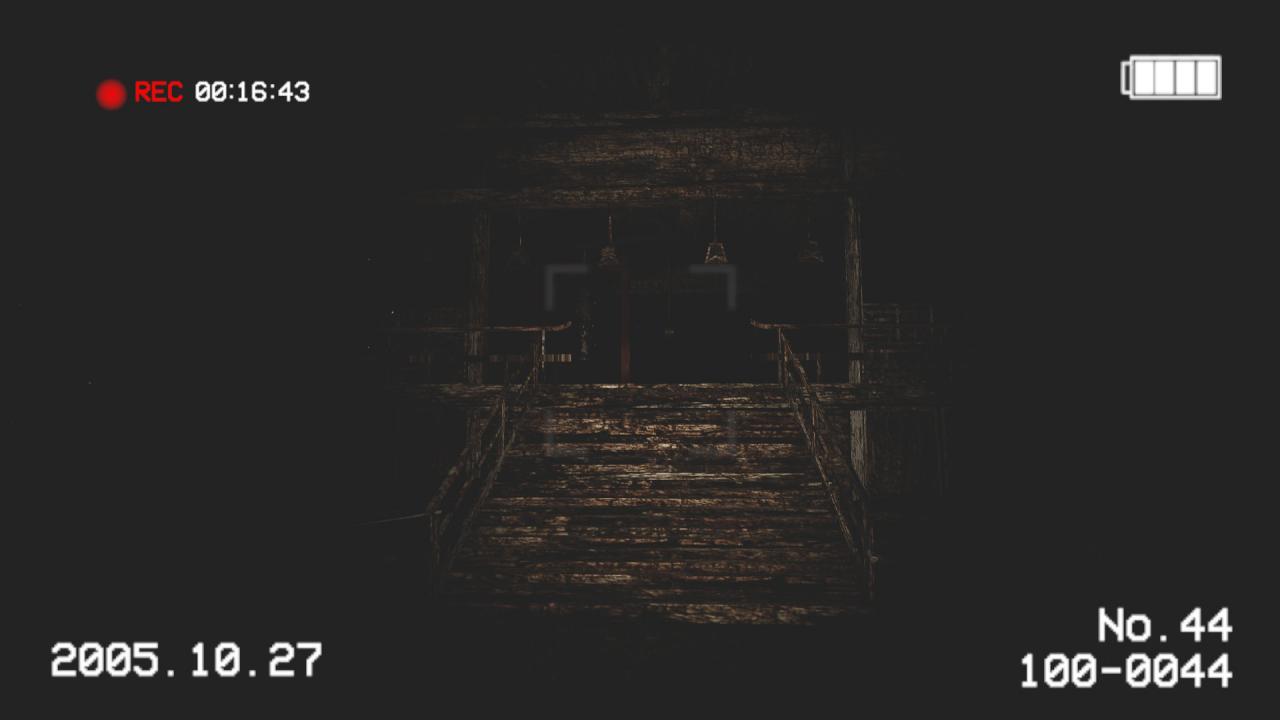 Pickup the note (6/7) straight ahead.
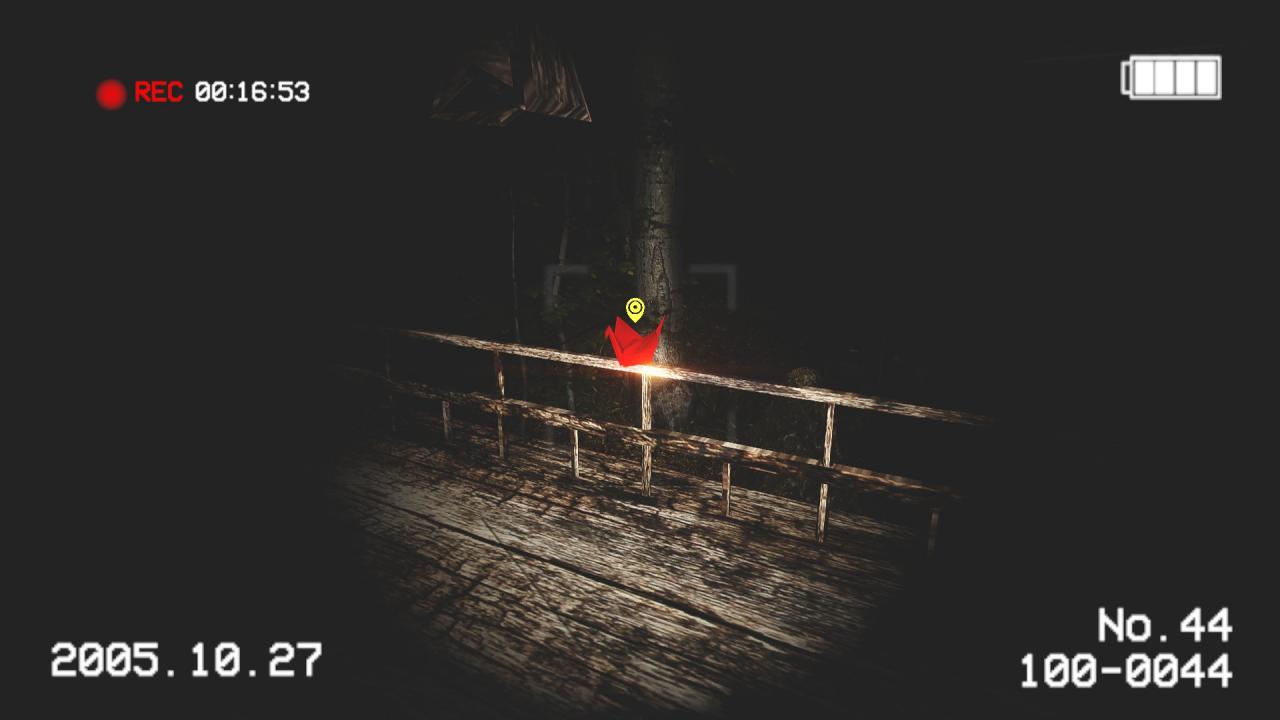 Attach the log to the bell, ring it and pick up the crank handle. Return this to the well. Finally you need rope for the well. You can find this in the same building as the bell, but around the corner on the outer area.
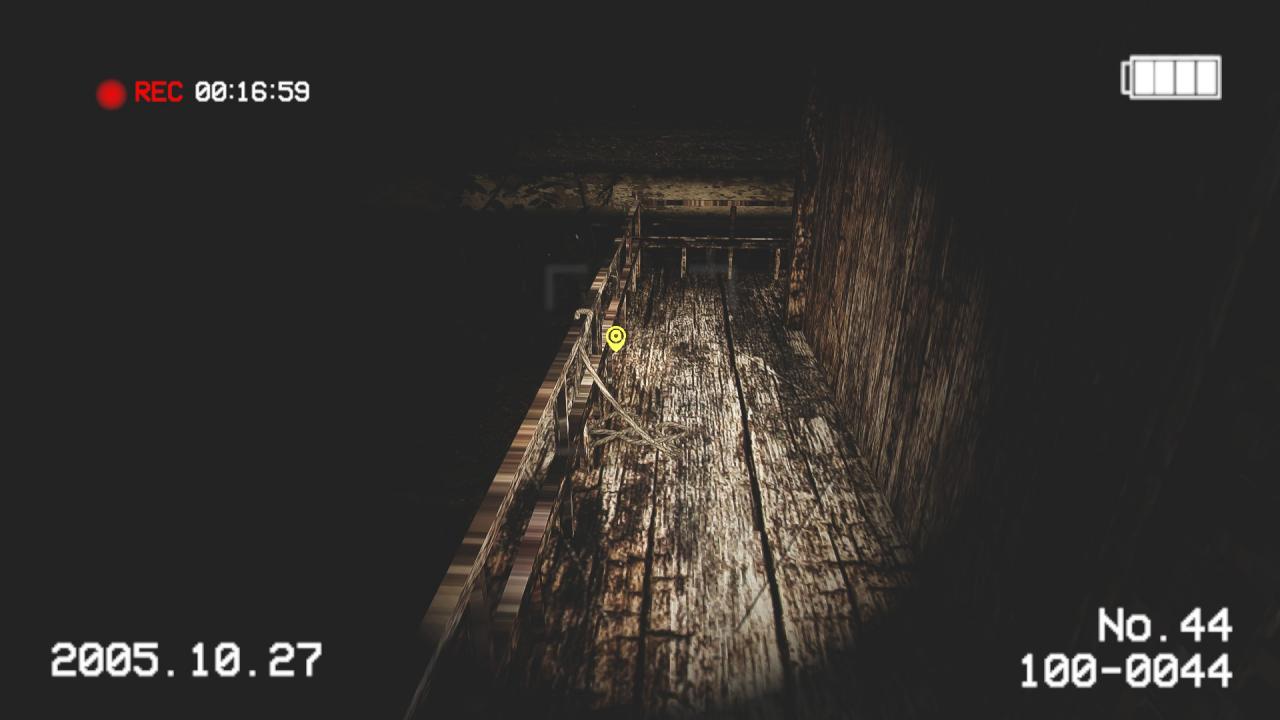 With the well fixed, interact with the crank handle and you will bring up a lighter. Pick it up and use it to light the three red candles infront of the archway, allowing you to proceed. Before you leave the garden area return to the deck around the shrine building. In one of the corners you will find a note and a shovel.
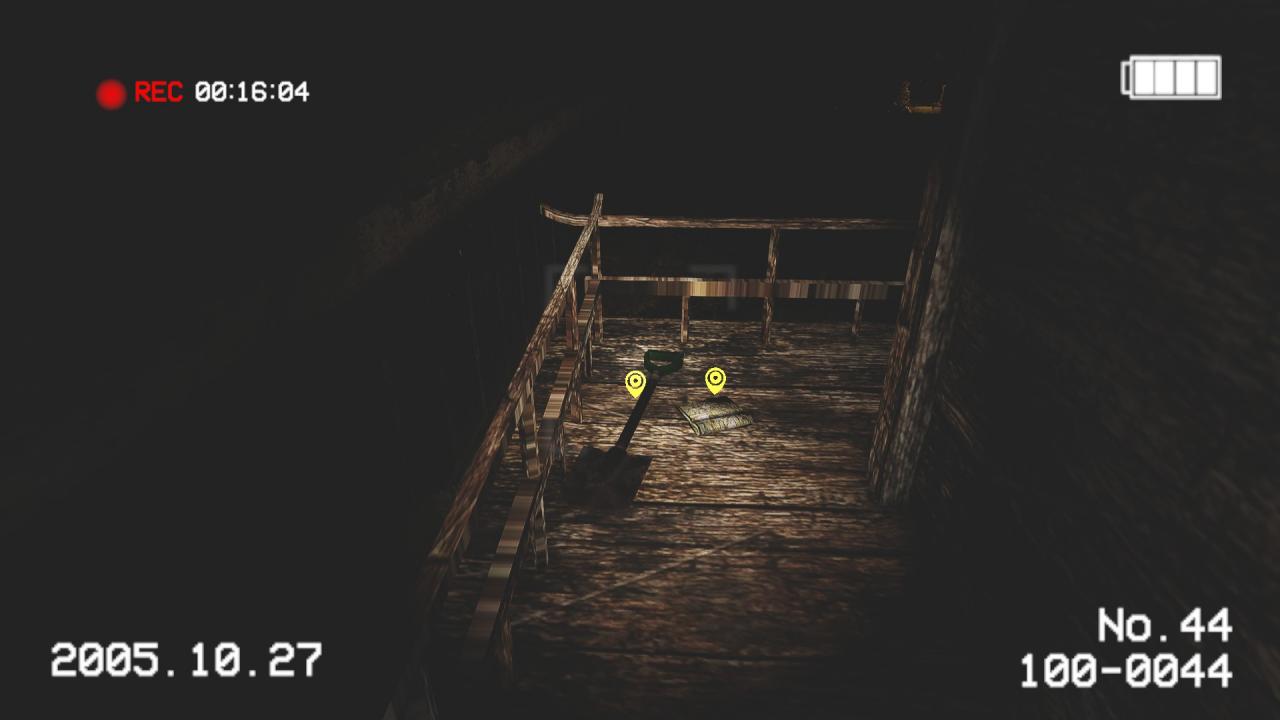 Read the note (7/7) unlocking the Avid Reader Achievement. Take the shovel and interact with the shortest lamp in the area. You will dig up another statue to put on the nearby plinth (5/5) unlocking the Saint achievement.
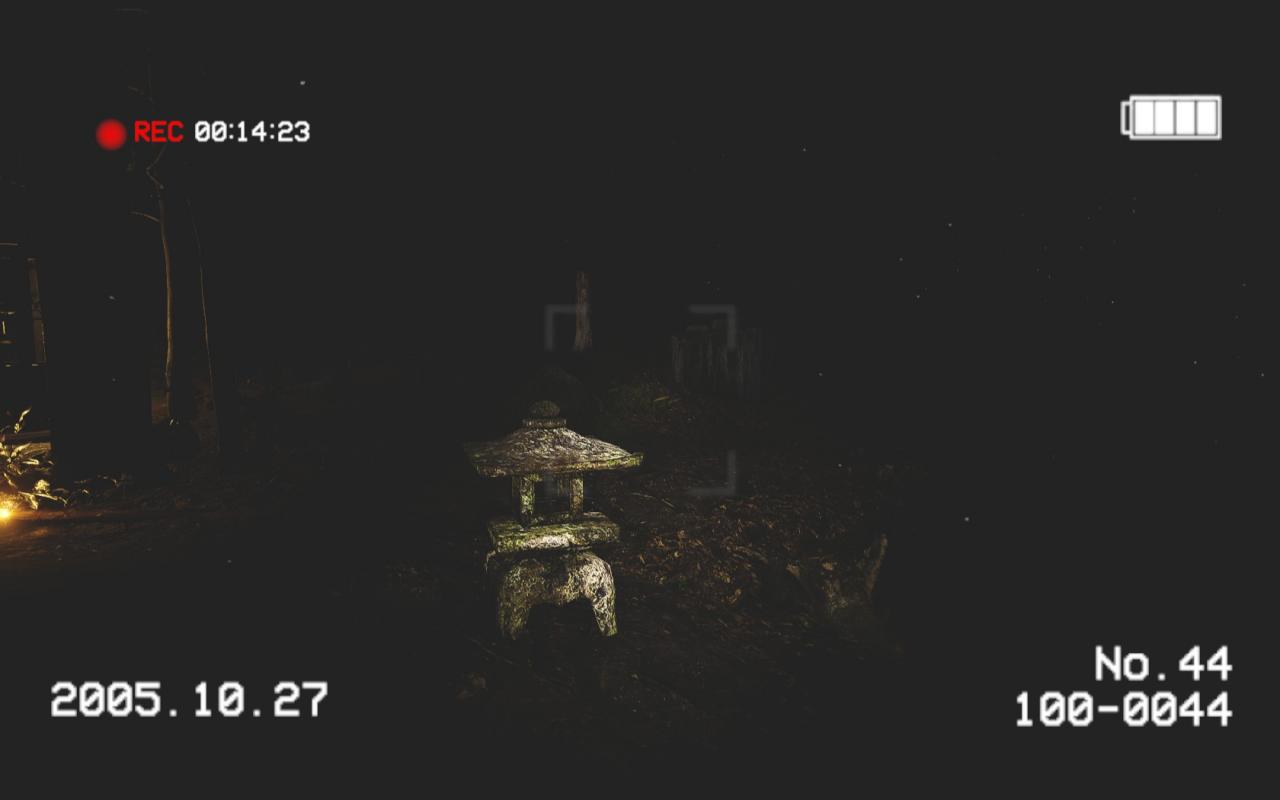 Follow the path up the hill until it splits. Turn left and keep following the dirt path, but take note of the yellow barriers on the right side.
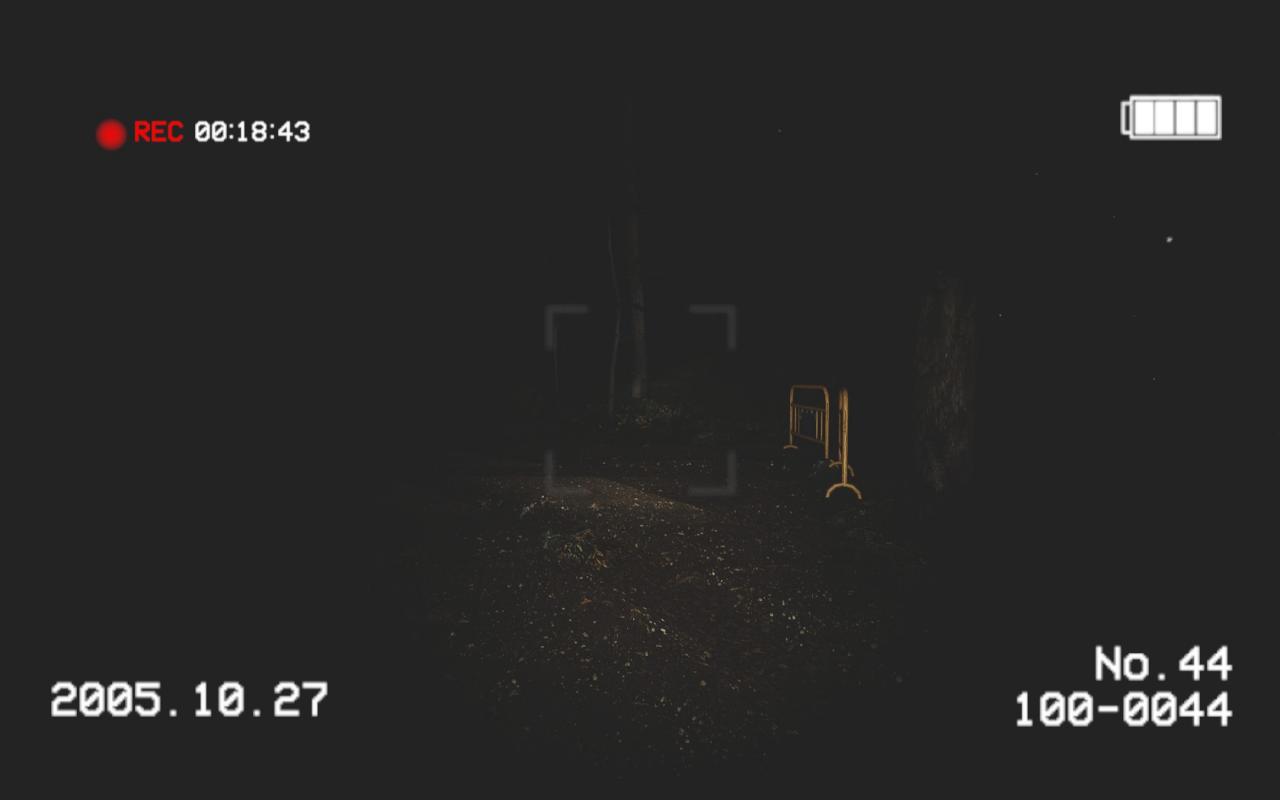 Keep going until you come to a phone box. Interact with it to call for help, and then just wait. If you collected and placed all the statues you will unlock the Good Ending achievement. Now all that’s left is to do the last two runs for the other two endings.For ending 2 you need to replay the game while ignoring the statues. When you get to the phone box you will see a different ending and unlock the Bad Ending achievement.
To unlock the secret ending you need to play through the game a third time. You can ignore the statues, but make sure you rescue the dog again. For the dog to count as rescued you have to free it from the barbed wire and follow it to where it digs out the collectables for you. Just freeing the dog from the wire will not unlock this ending. Proceed as normal, but this time when you climb the hill at the end you’ll want to turn right and go past the yellow barriers mentioned earlier. Follow this dirt path to the end to find the body of the dog next to a note.
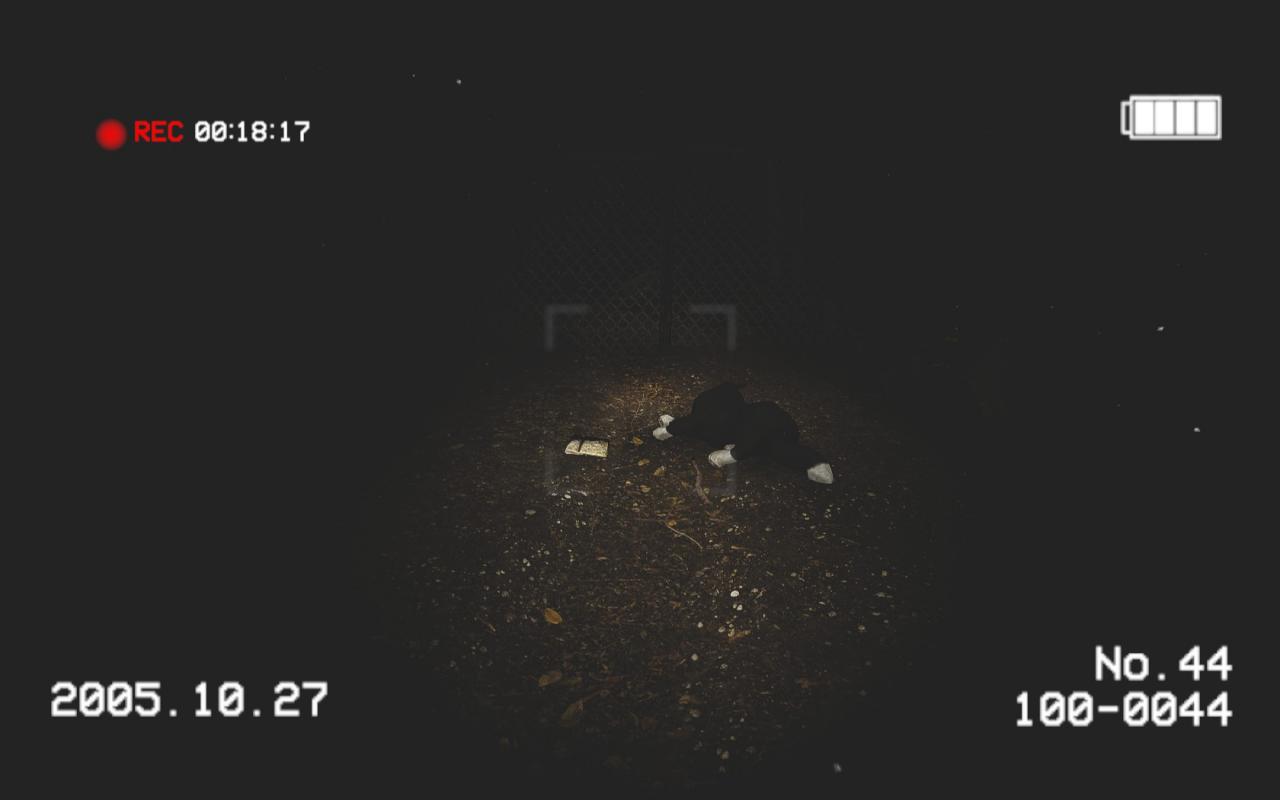 After reading the note you’ll see a ghost beyond the fence. It will reappear closer to you, prompting you to run. Turn around and follow the path to the normal ending. The phone will be gone so you’ll have no choice but to run out into the road. This will unlock the Secret Ending achievement.
That completes the game and all achievements. Thank you for reading and I hope you found this helpful.
