For Hand Simulator: Horror players, this is a full and comprehensive walkthrough for the game, the walkthrough will be explained with pictures, let’s check it out.
Part 1: Unforeseen Consequences
This a comprehensive guide for Hand Simulator: Horror. In this guide, we aim to give an incredibly easy and well-explained walkthrough.
After the beginning cutscene, you can begin by checking on the goat. To do so, simply grab the goat and give it a good shake.
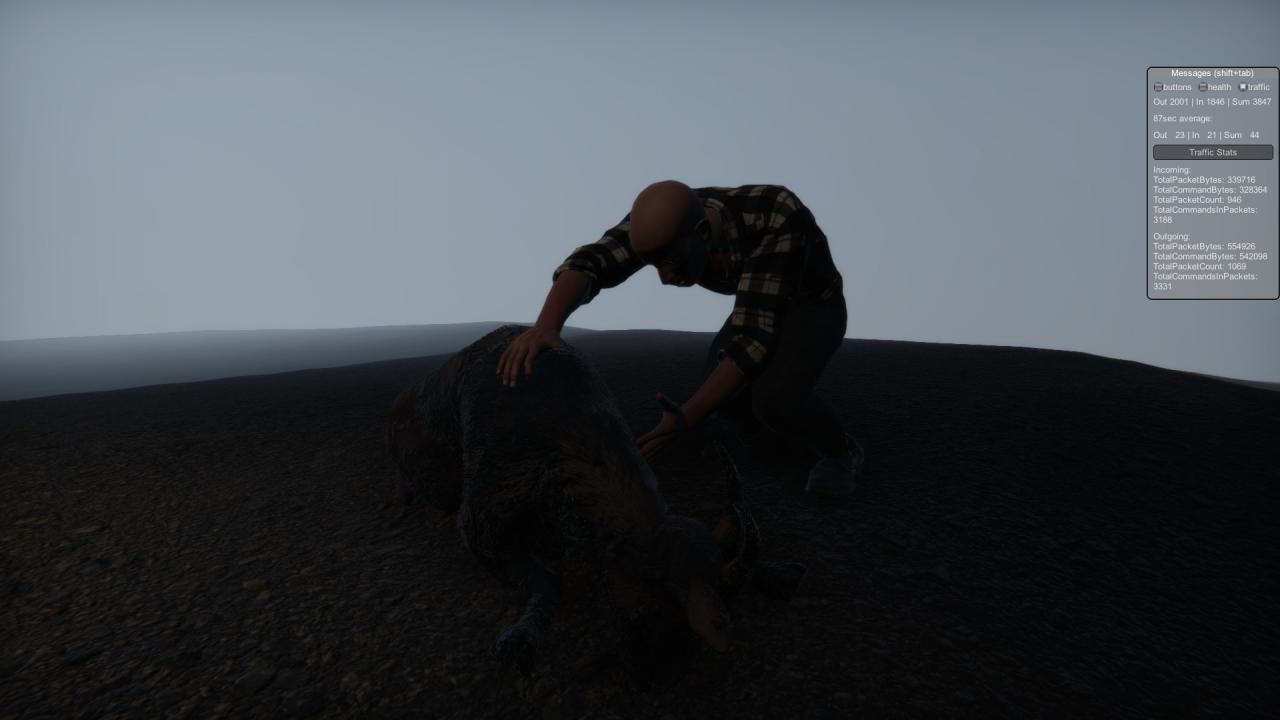 We do not know if this is necessary, but do it
Part 2: The Tractor and Garage
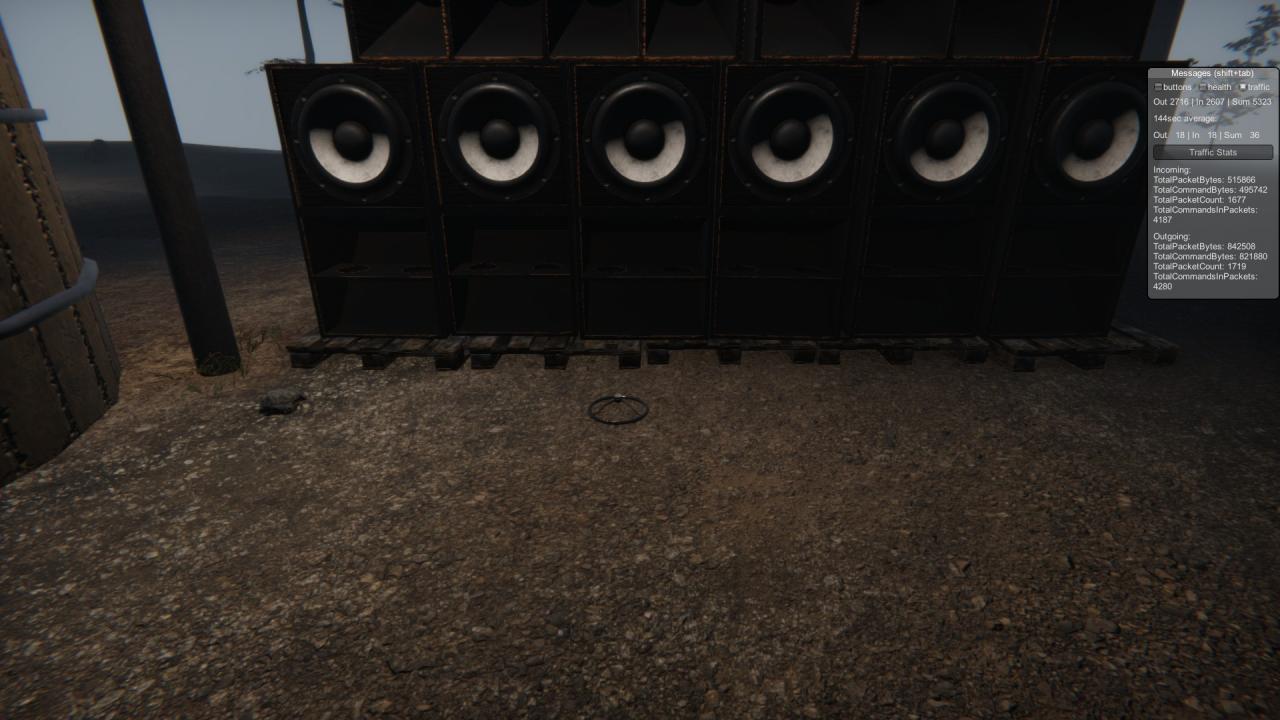
Next, you need to retrieve the steering wheel from atop the sign on the speakers.
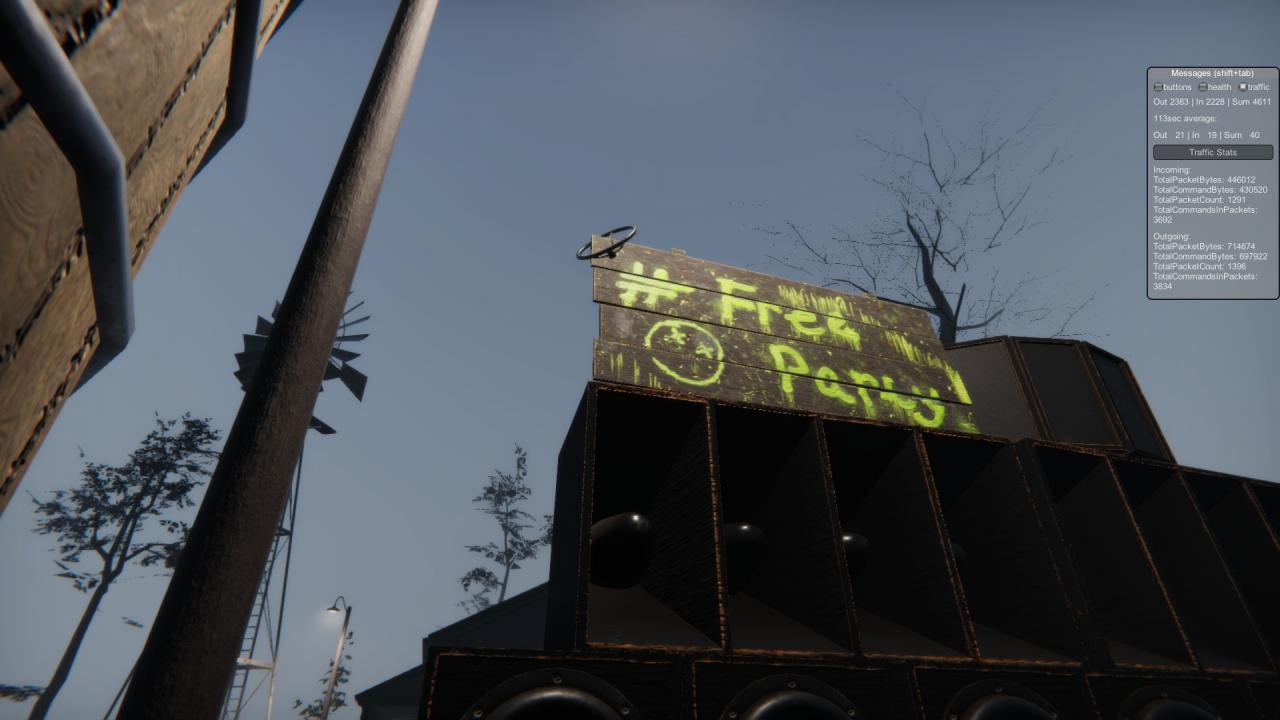 To reach it, you must cause it to fall by pressing the glowing button on the pentagram mixer.
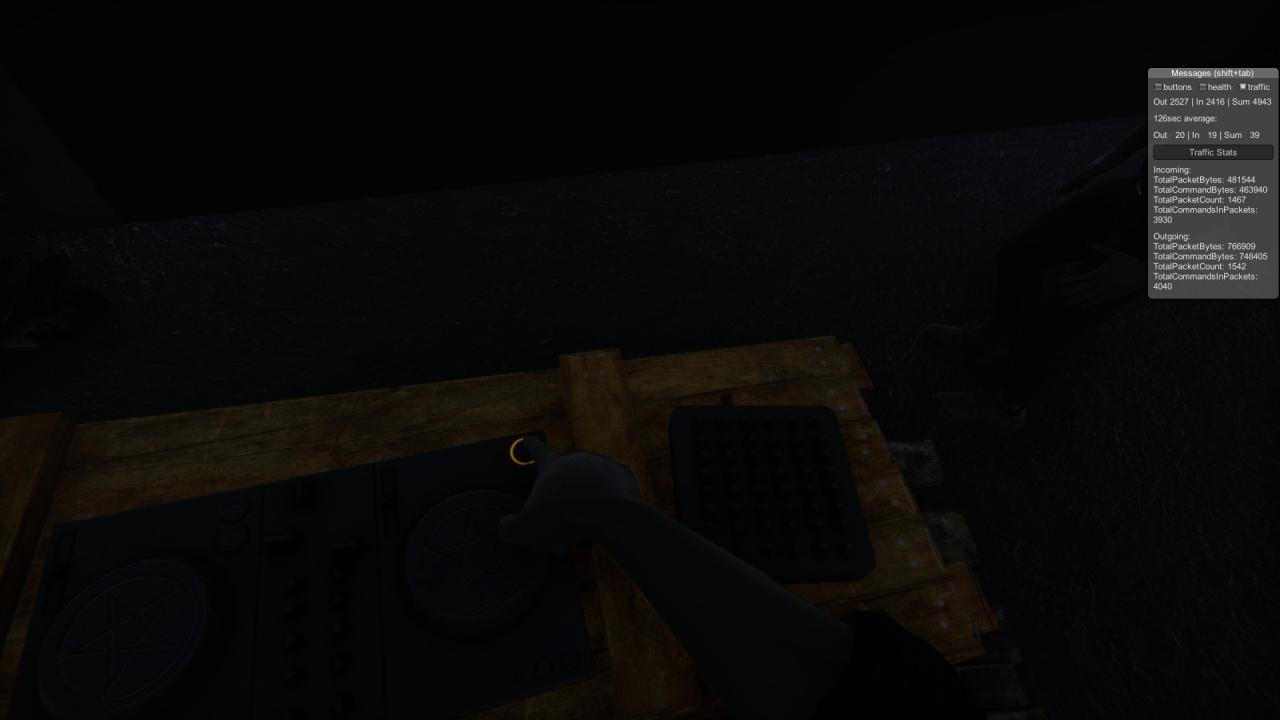 After the cutscene, pick up the fallen steering wheel and go attach it to the tractor.
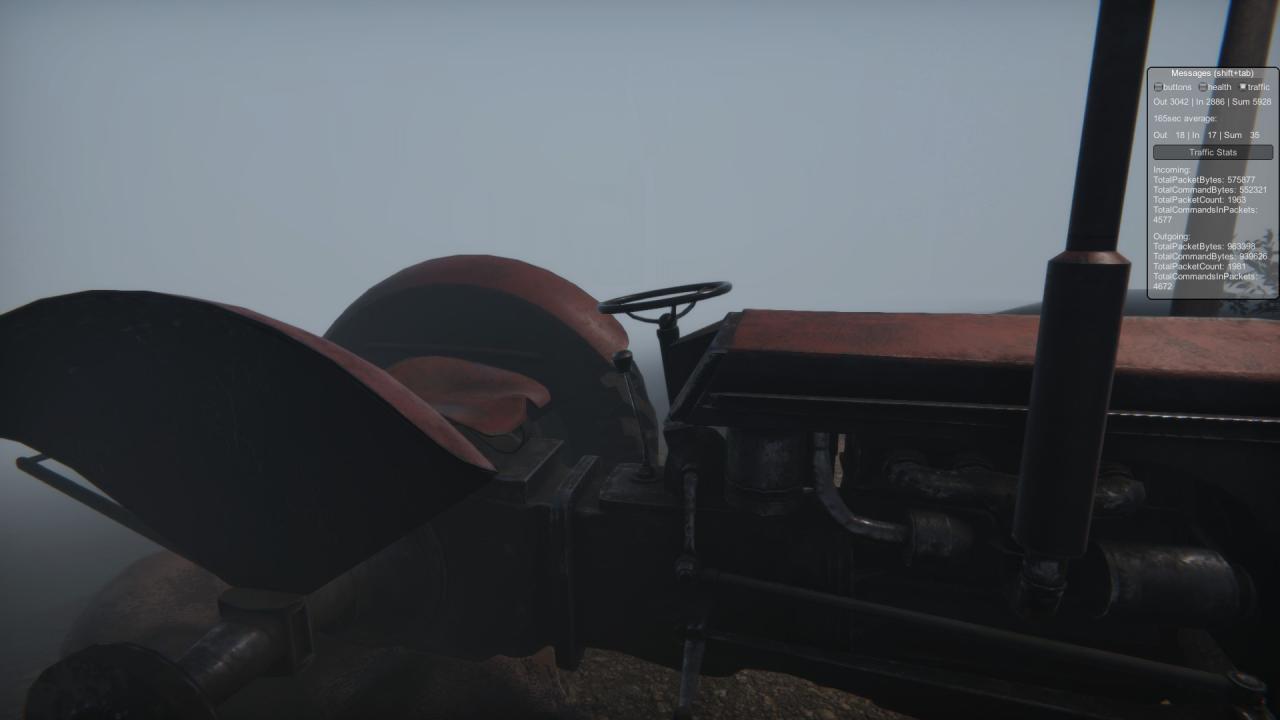 Before doing anything else, make sure that the tractor is in neutral. Do not have the throttle too far forward or backwards, as it could injure or kill you or your pals.
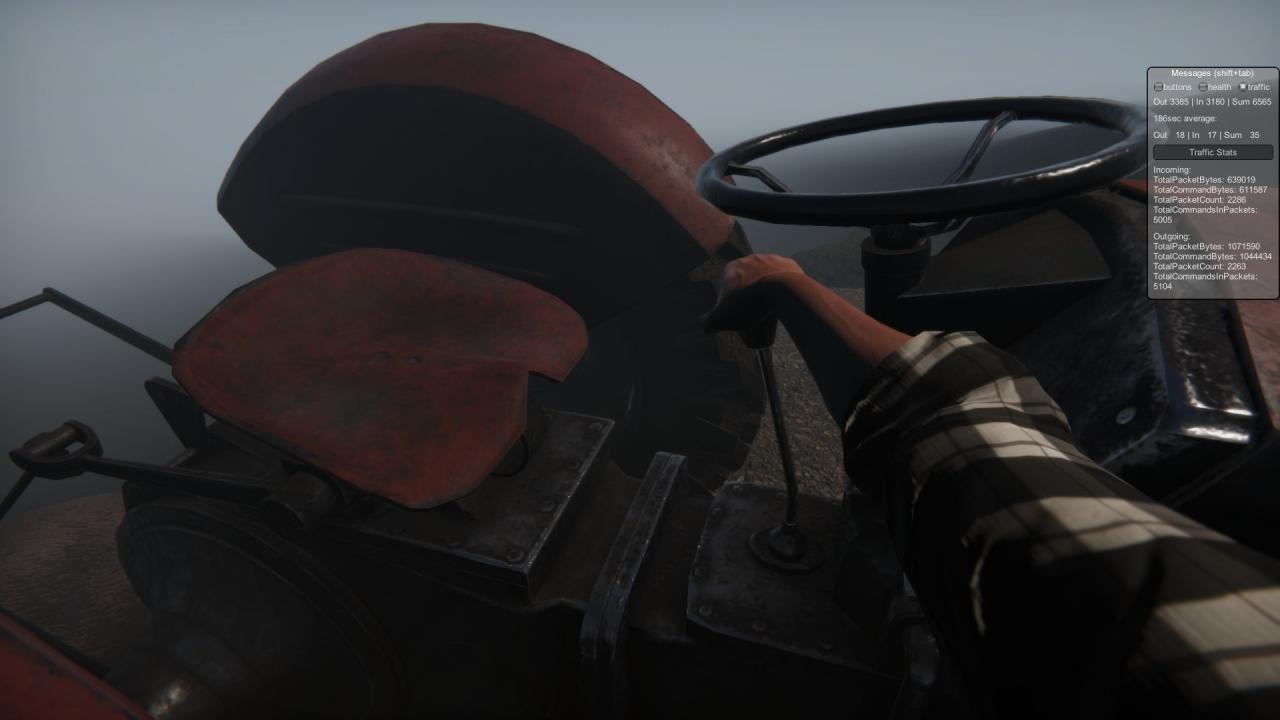 The tractor is still missing a large component, the right rear tire. It is found a few feet away from the right side and can be lifted with one hand and installed by simply pressing it against the back of the tractor.
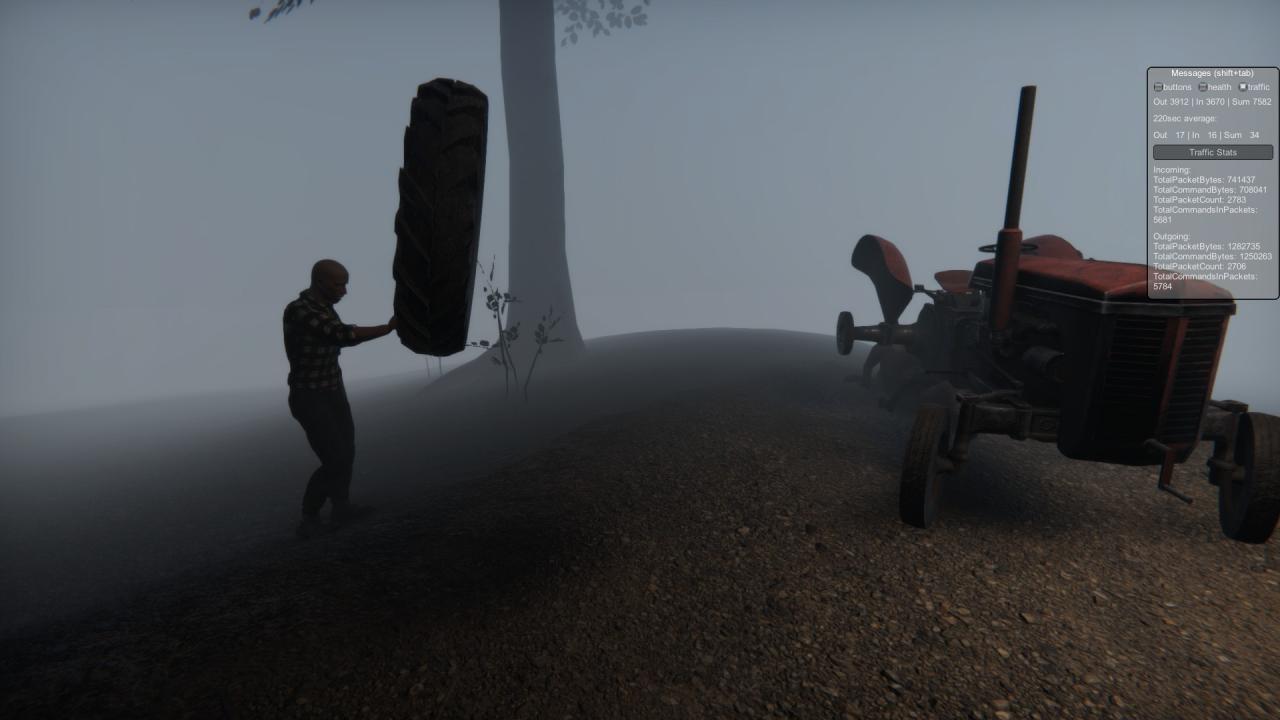
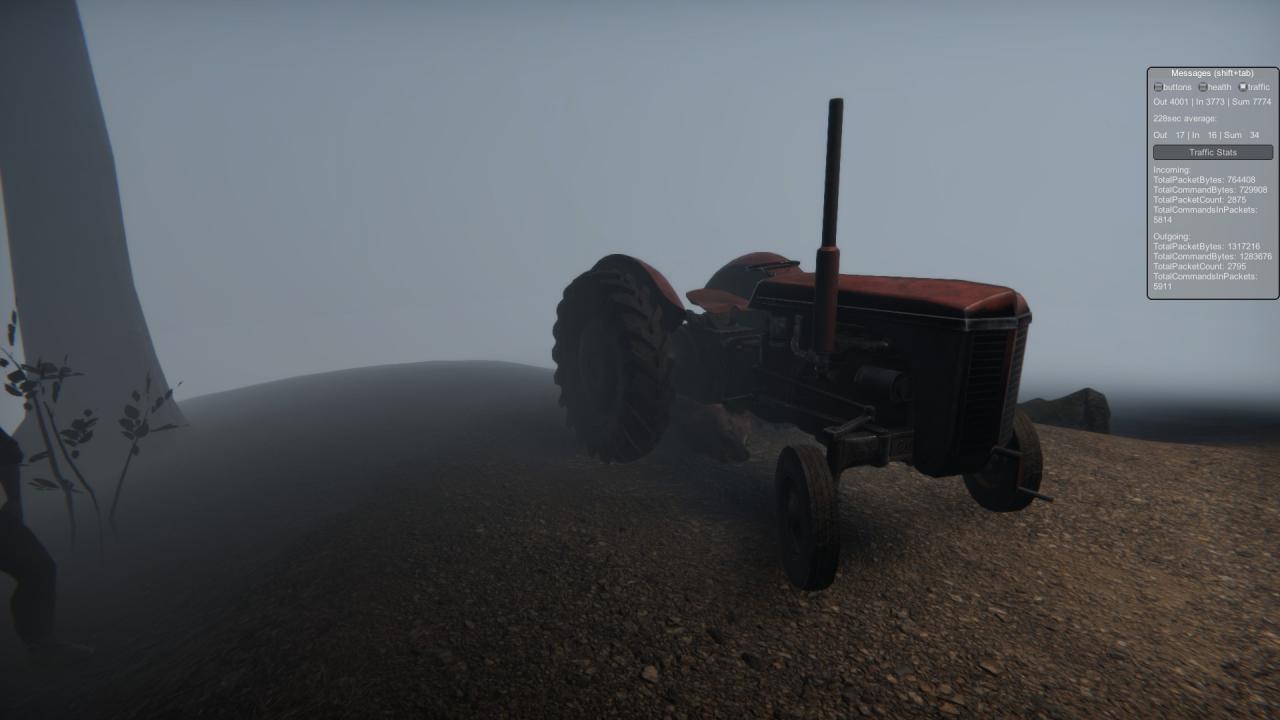 The next step is to adjust the wheel so the front tires are facing the garage door.
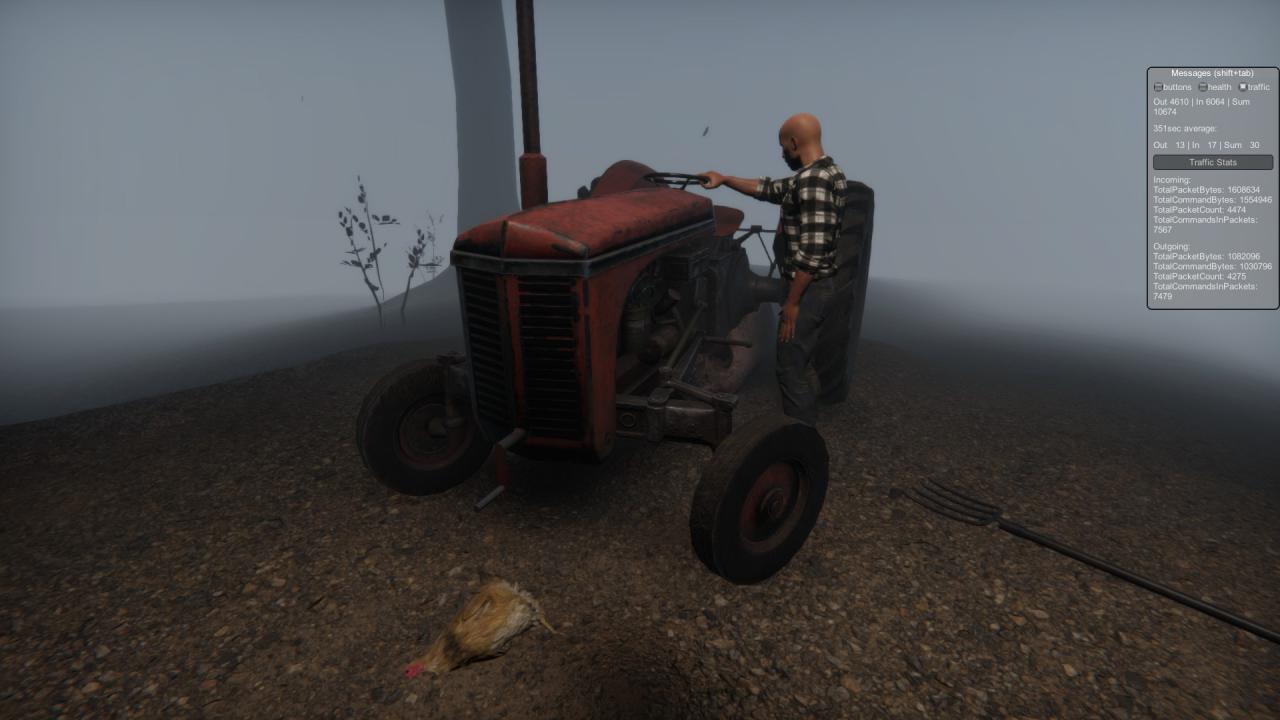 Before the final tractor steps, go grab the pitchfork from behind the speakers and place it next to the tractor. This will ensure your survival.
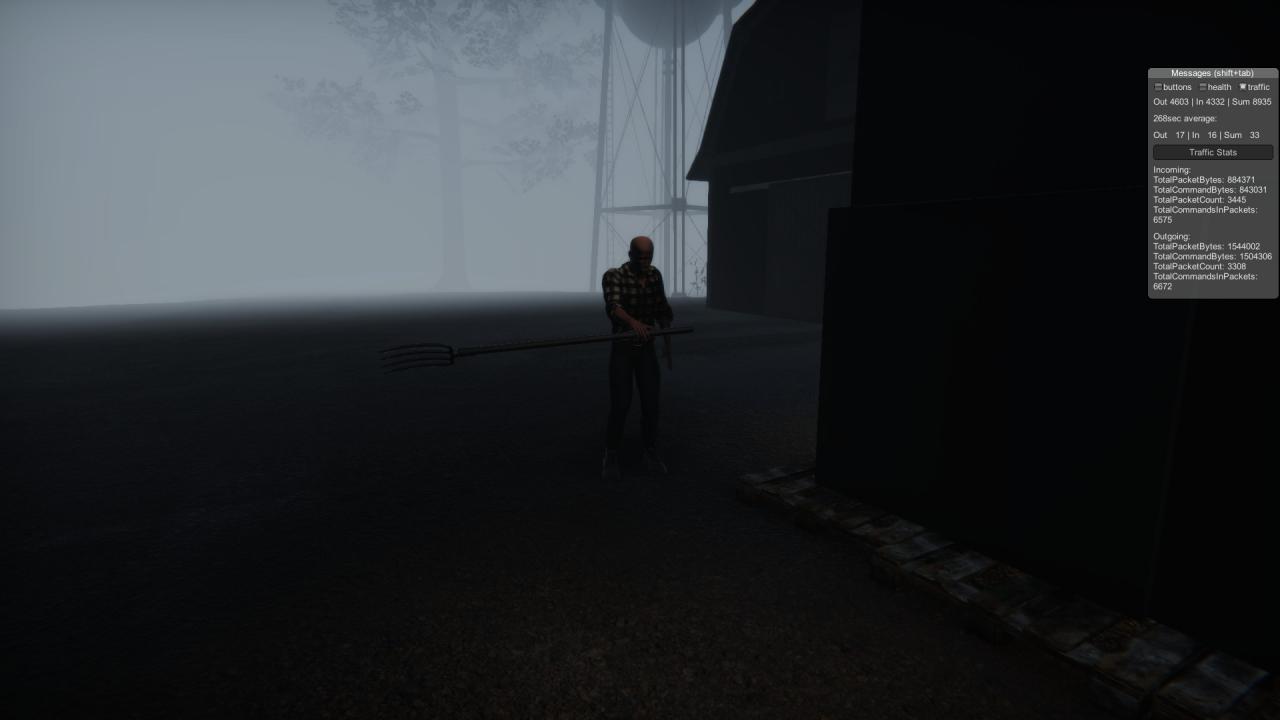
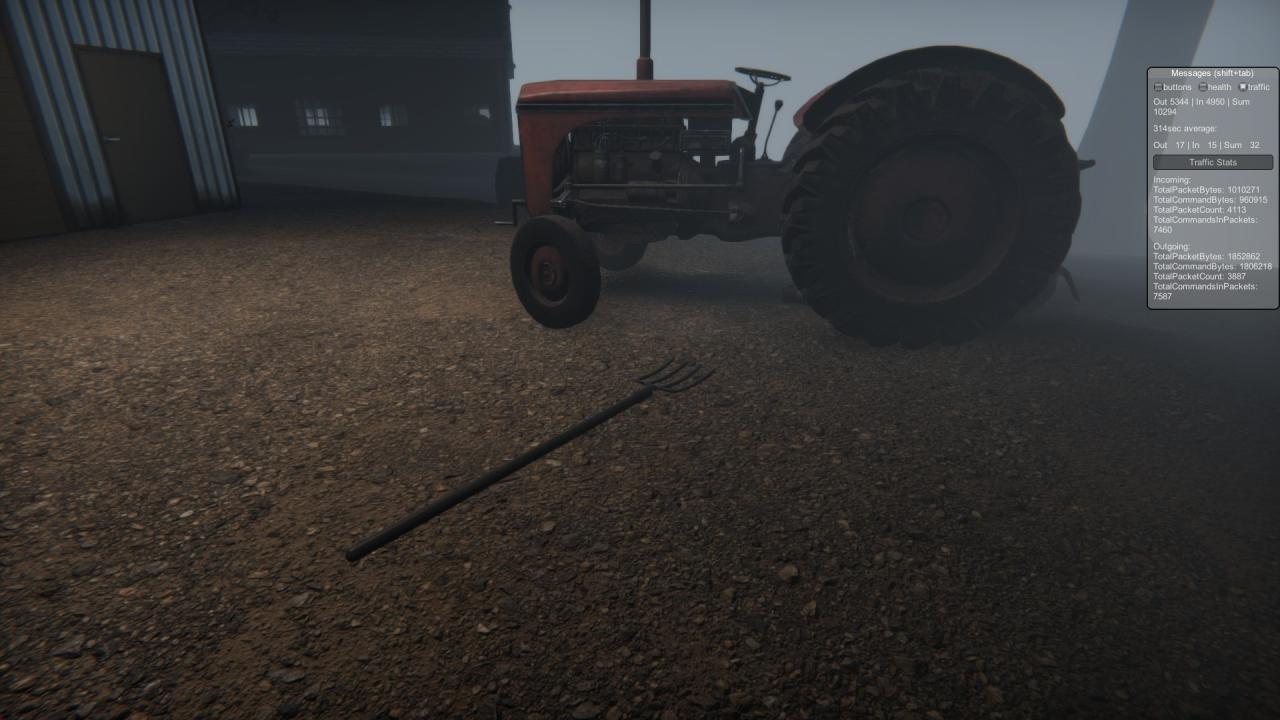 Now, to start the engine, turn the front crank counterclockwise until you hear the engine of the tractor start to purr.
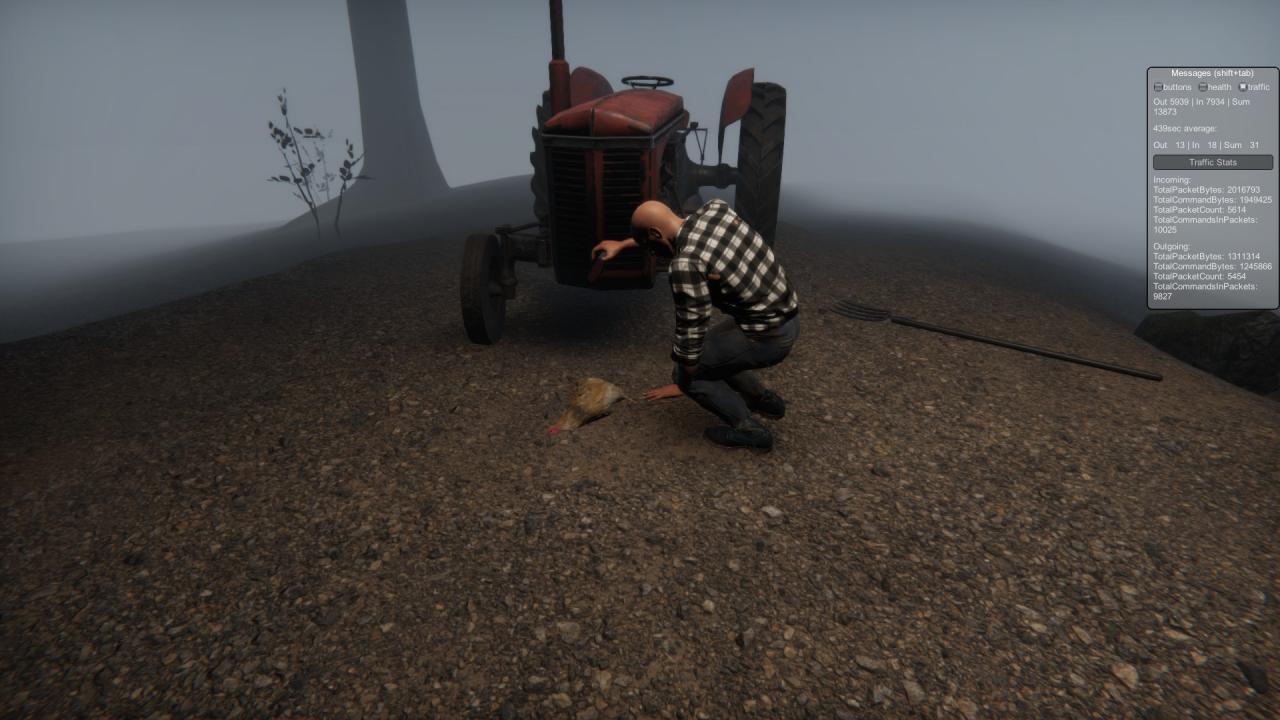 Next, pick up the pitchfork and use it to push the throttle forward on the tractor.
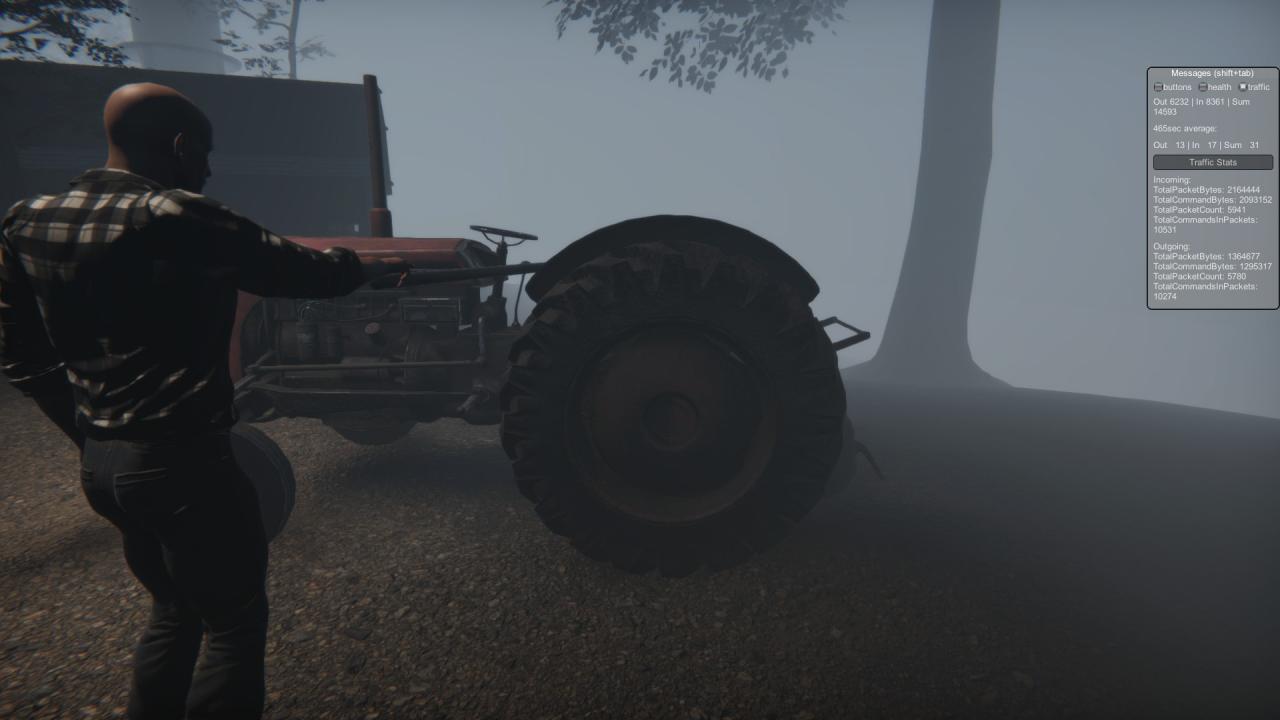 If done correctly, the tractor should smash through the garage door.
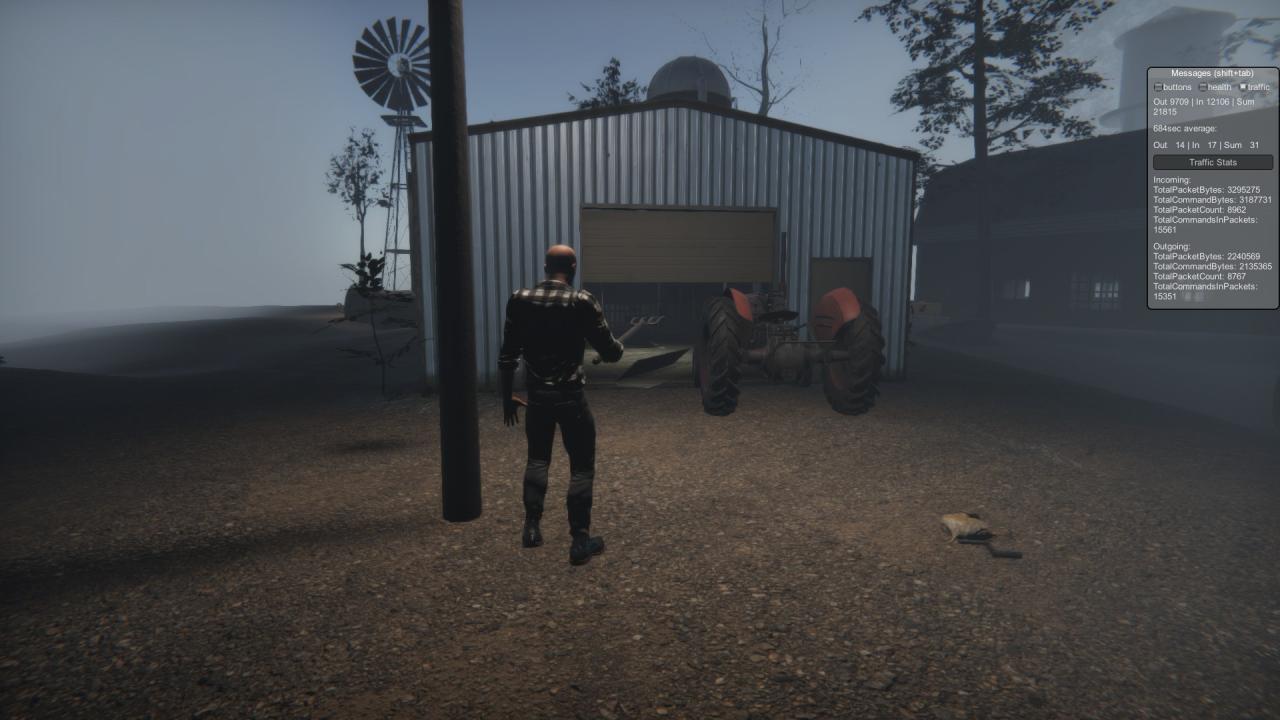 Inside, there should be a tape recorder used to save. This is a core component of the game, as there are a limited amount of tapes and reloading the game will bring you back to your last save.
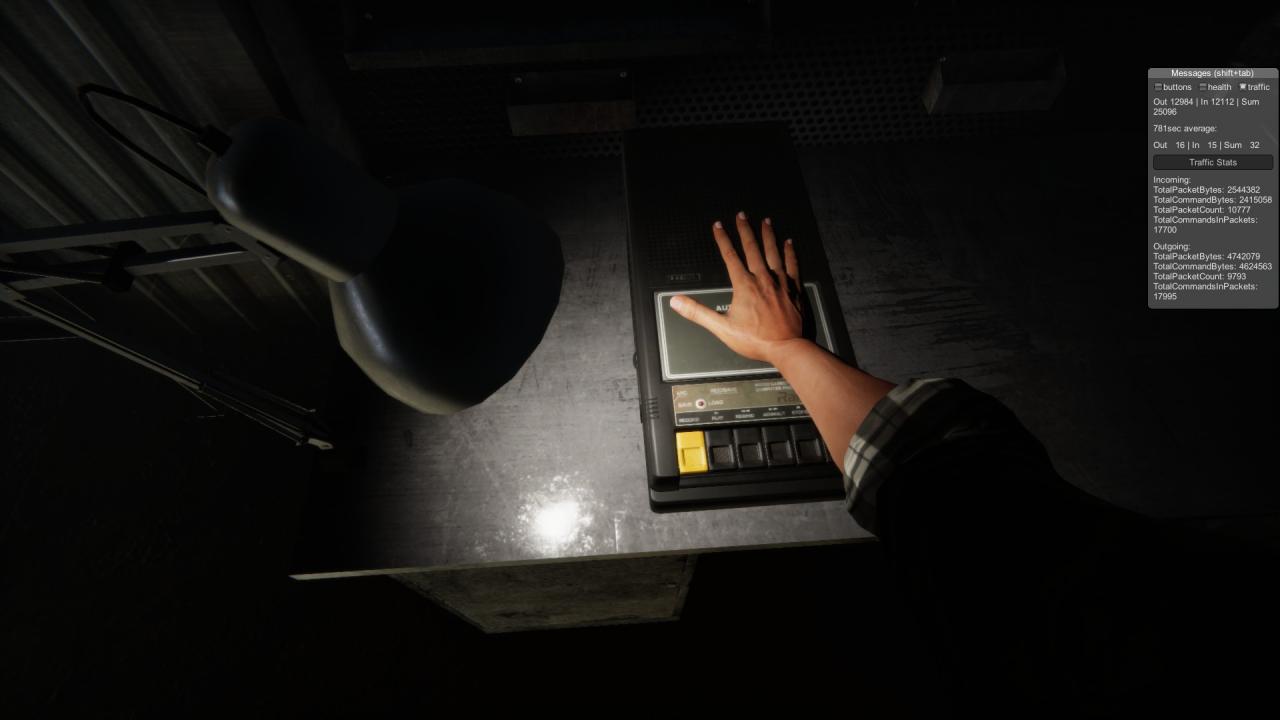
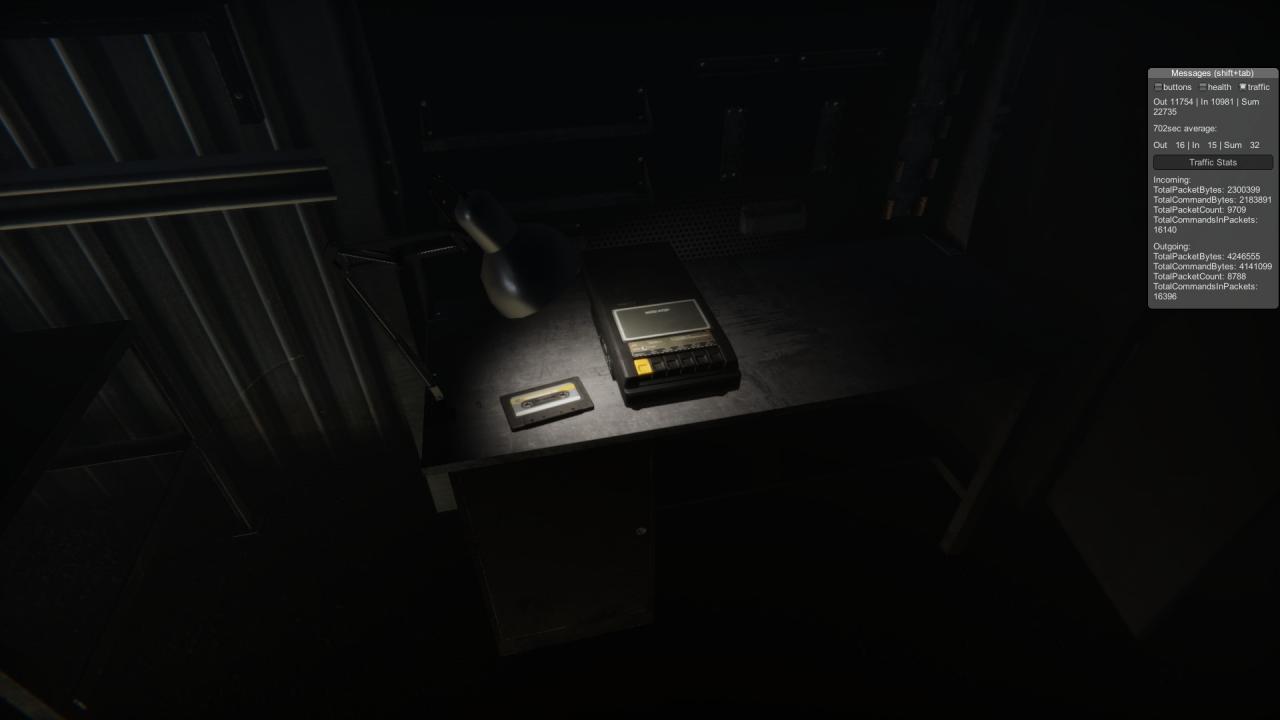 To save, you must open the tape recorder and insert a tape.
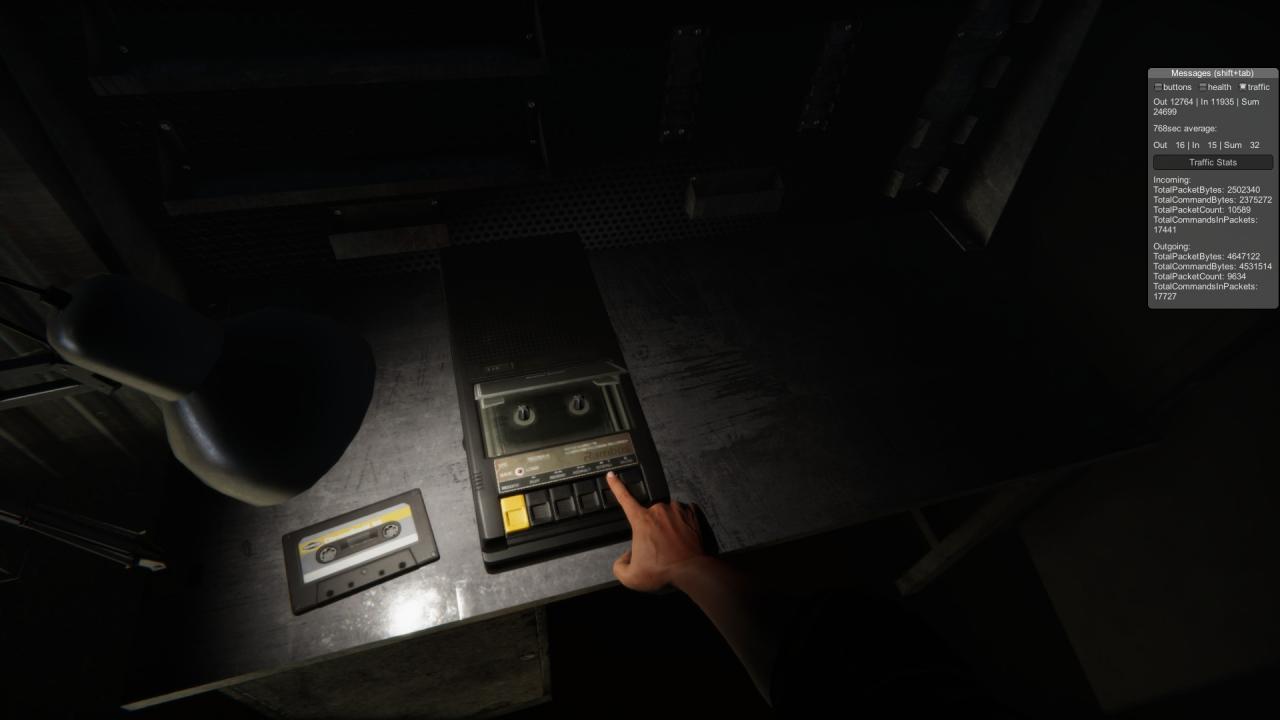
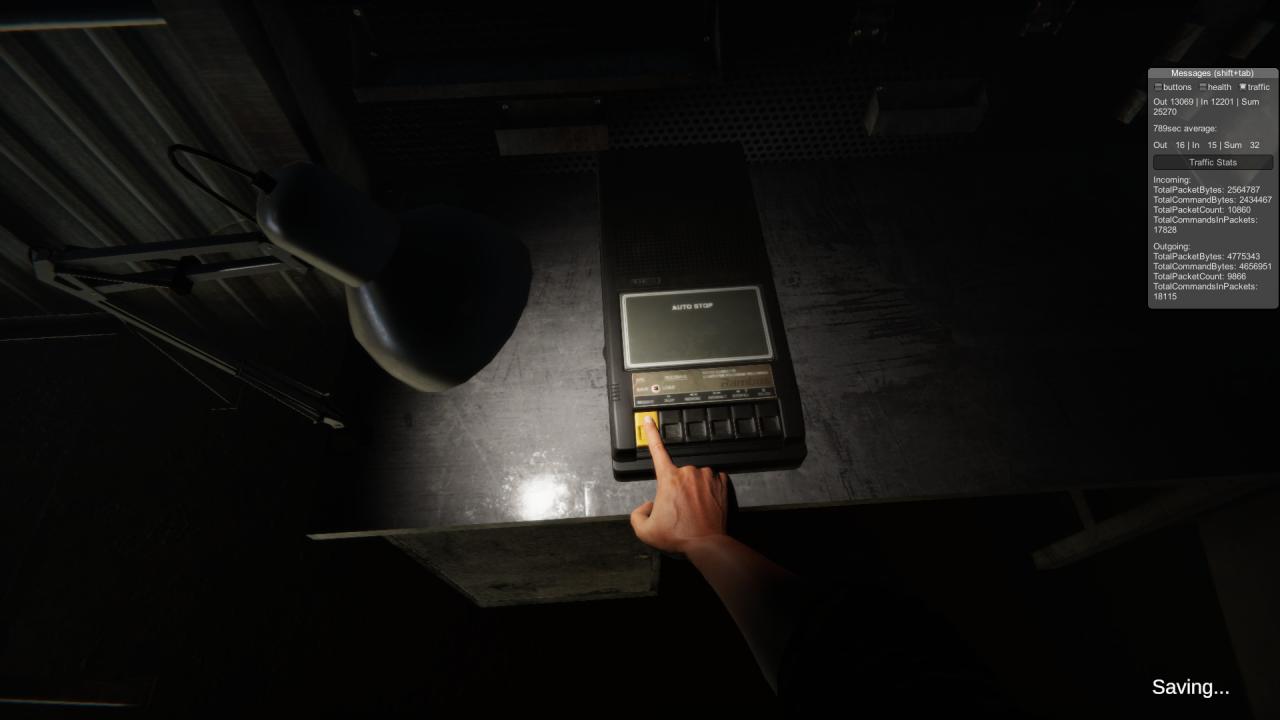
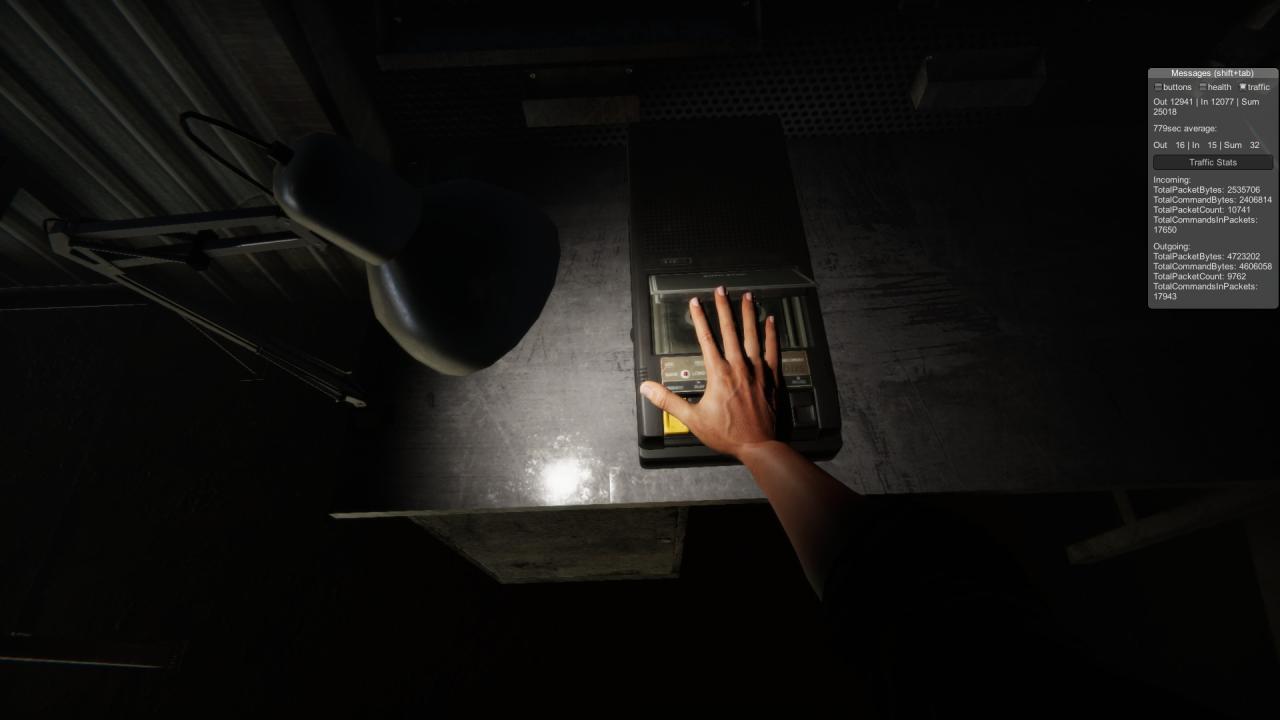 Close the tape recorder and then hit the leftmost orange button. Your game will now be saved.
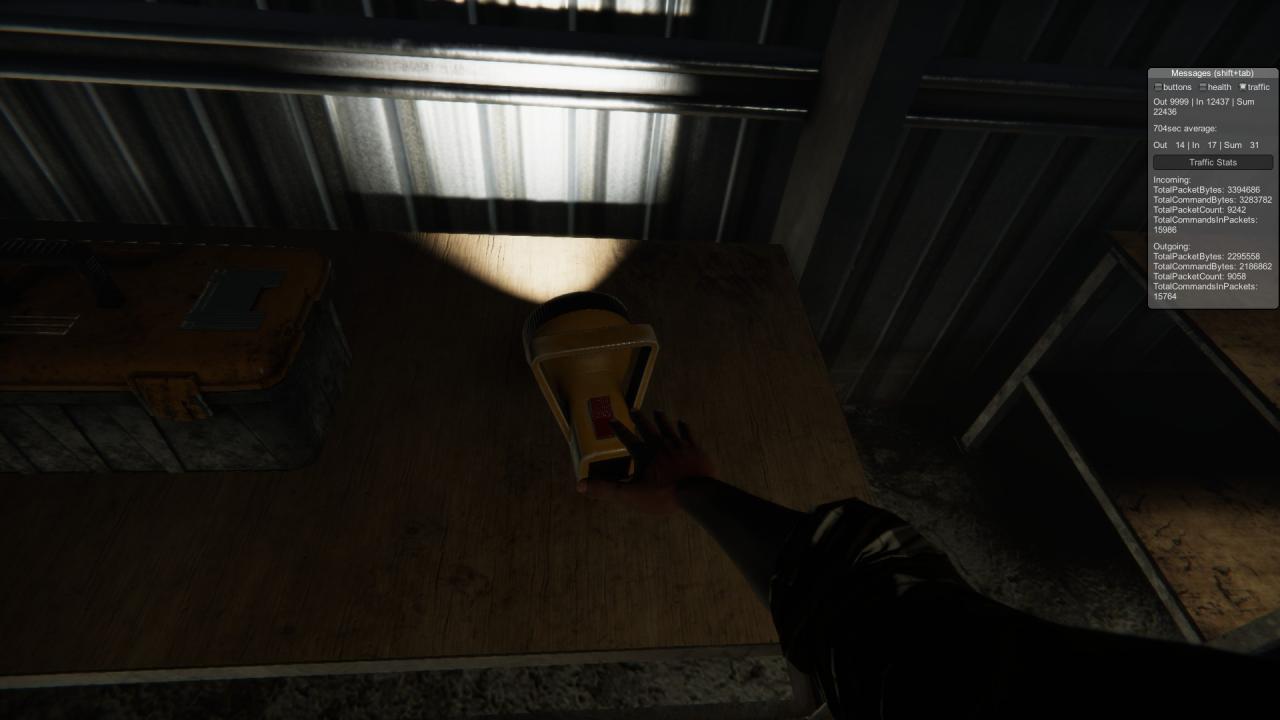
 There is also a flashlight in the garage. Flip it on and take it with you. It will be particularly important on the main floor of the house.
 To reach it, you must cause it to fall by pressing the glowing button on the pentagram mixer.
 After the cutscene, pick up the fallen steering wheel and go attach it to the tractor.
 Before doing anything else, make sure that the tractor is in neutral. Do not have the throttle too far forward or backwards, as it could injure or kill you or your pals.
 The tractor is still missing a large component, the right rear tire. It is found a few feet away from the right side and can be lifted with one hand and installed by simply pressing it against the back of the tractor.
 The next step is to adjust the wheel so the front tires are facing the garage door.
 Before the final tractor steps, go grab the pitchfork from behind the speakers and place it next to the tractor. This will ensure your survival.
 Now, to start the engine, turn the front crank counterclockwise until you hear the engine of the tractor start to purr.
 Next, pick up the pitchfork and use it to push the throttle forward on the tractor.
 If done correctly, the tractor should smash through the garage door.
 Inside, there should be a tape recorder used to save. This is a core component of the game, as there are a limited amount of tapes and reloading the game will bring you back to your last save.
 To save, you must open the tape recorder and insert a tape.
 Close the tape recorder and then hit the leftmost orange button. Your game will now be saved.
 There is also a flashlight in the garage. Flip it on and take it with you. It will be particularly important on the main floor of the house.
Part 3: The House
Go to the front door of the house and use any object to smash open the lock.
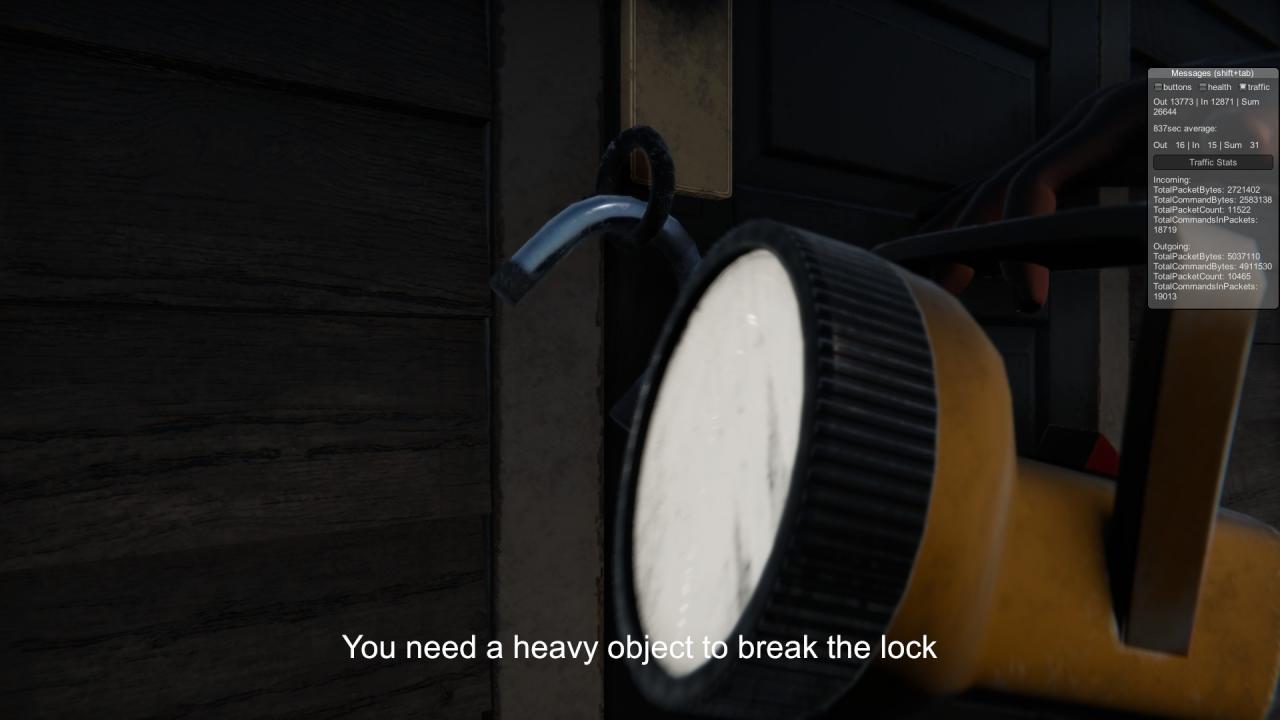 In the first room, you will find a key in the cabinet to the right. You can use that to open the door directly next to it. Just put the key in the lock and then turn it to the right.
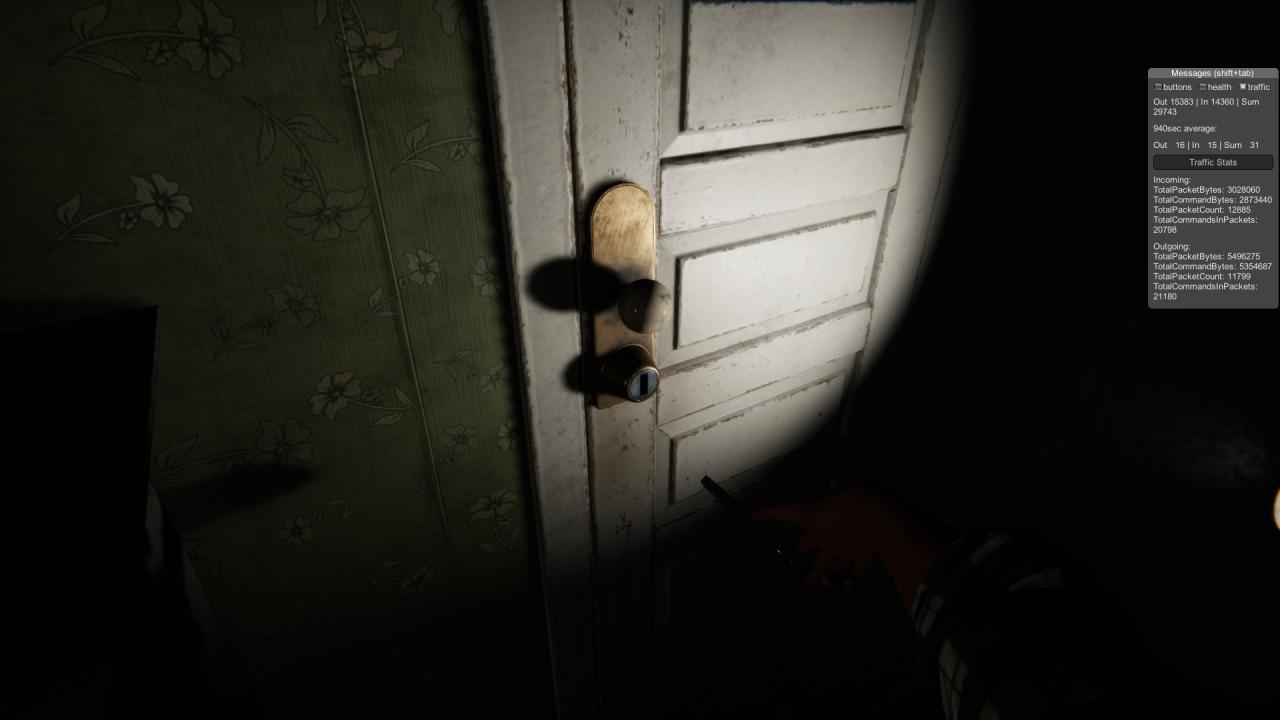
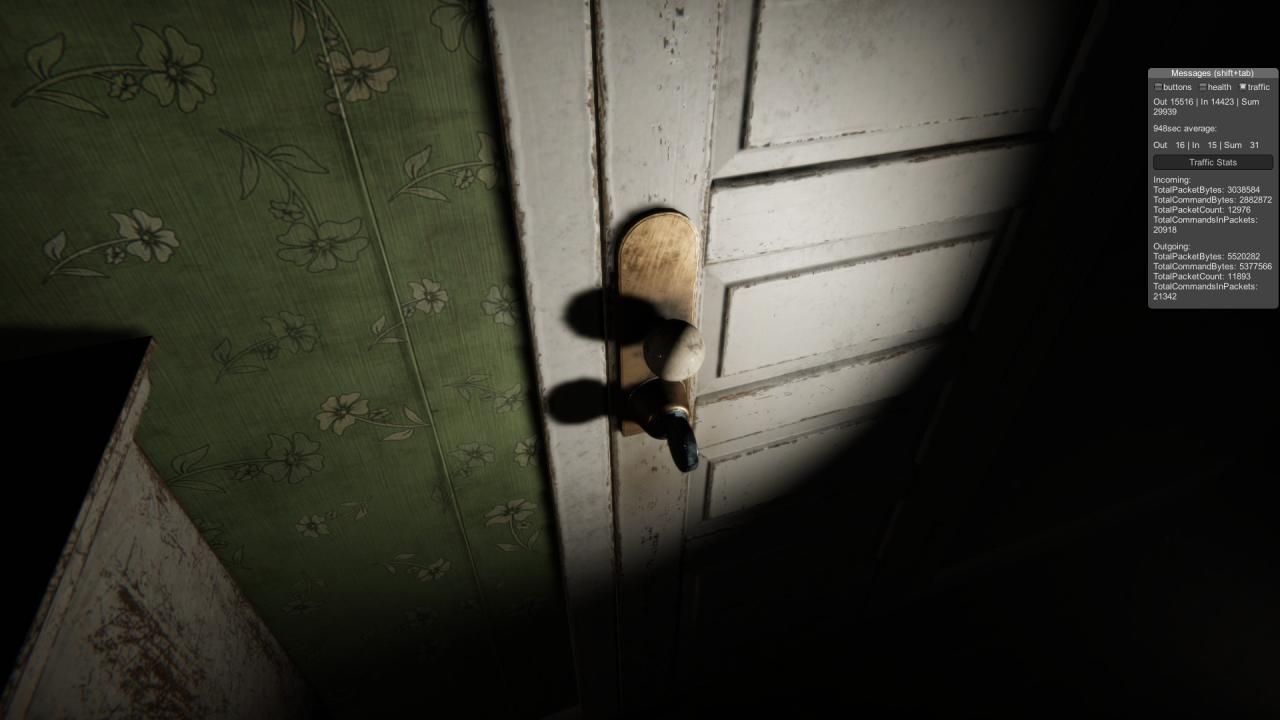
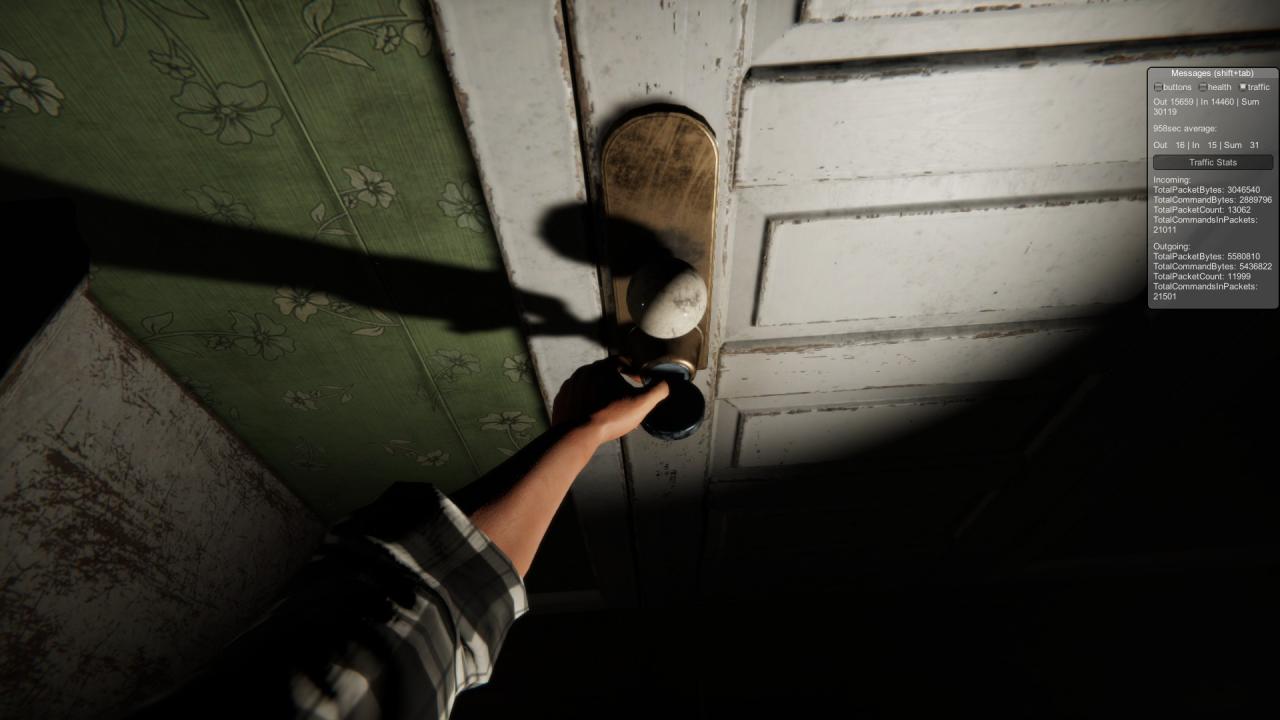 Alternatively, in the room to the right when first entering the house, there is another door that can be unlocked to lead to the same exact room. However, the door has a shape above the lock, and only a key with the same shape can open it.
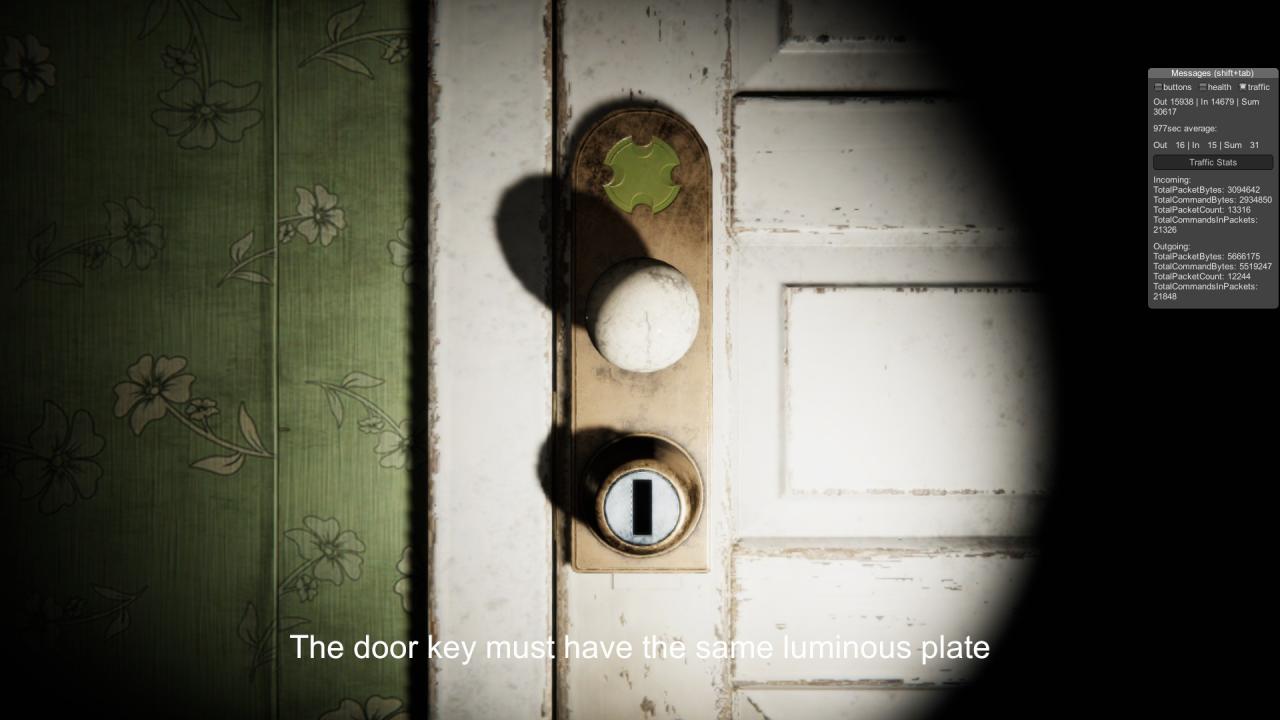 The key for this door can be found in a drawer to the left of the door.
 When going through either of these doors, it is recommended to have a weapon as there are two chicken assailants that can dispatch of you quickly. Any heavy object will work, but the pitchfork is an ideal weapon.
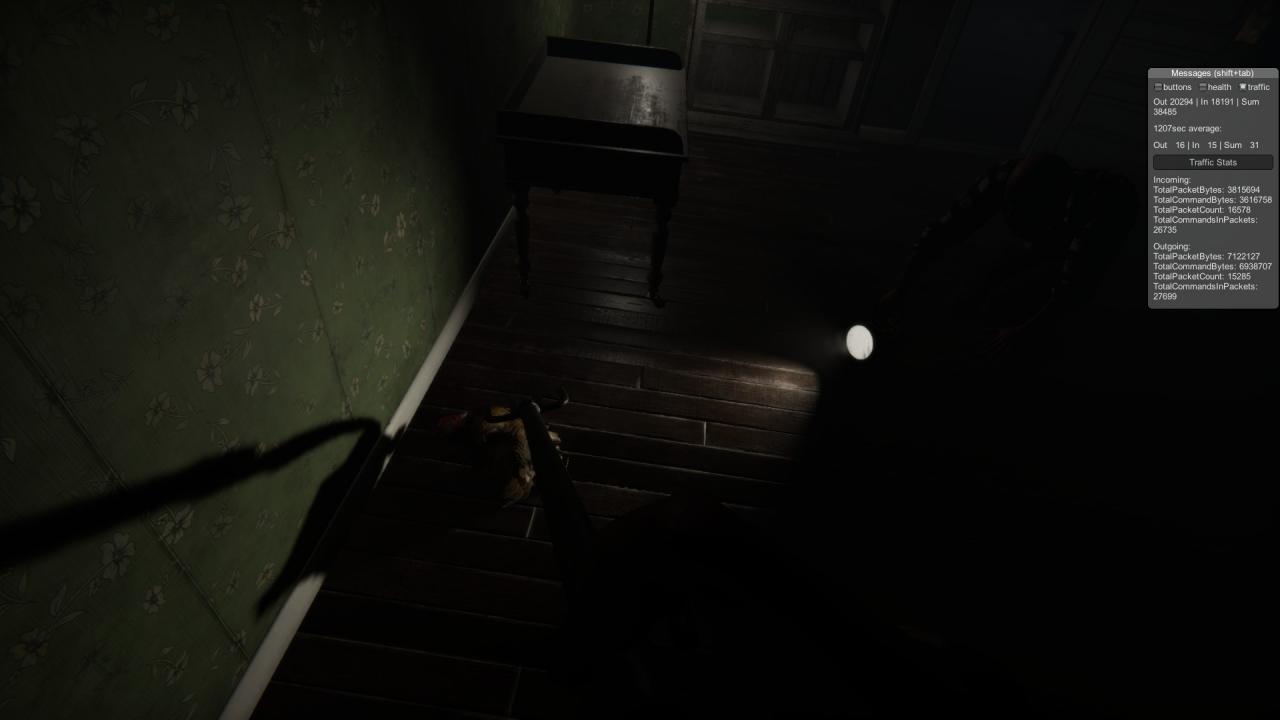 Another door to the back left of the house needs to be unlocked before the one on the front left of the house can be unlocked. The key for the bathroom door can be found on the counter in the back of the house.
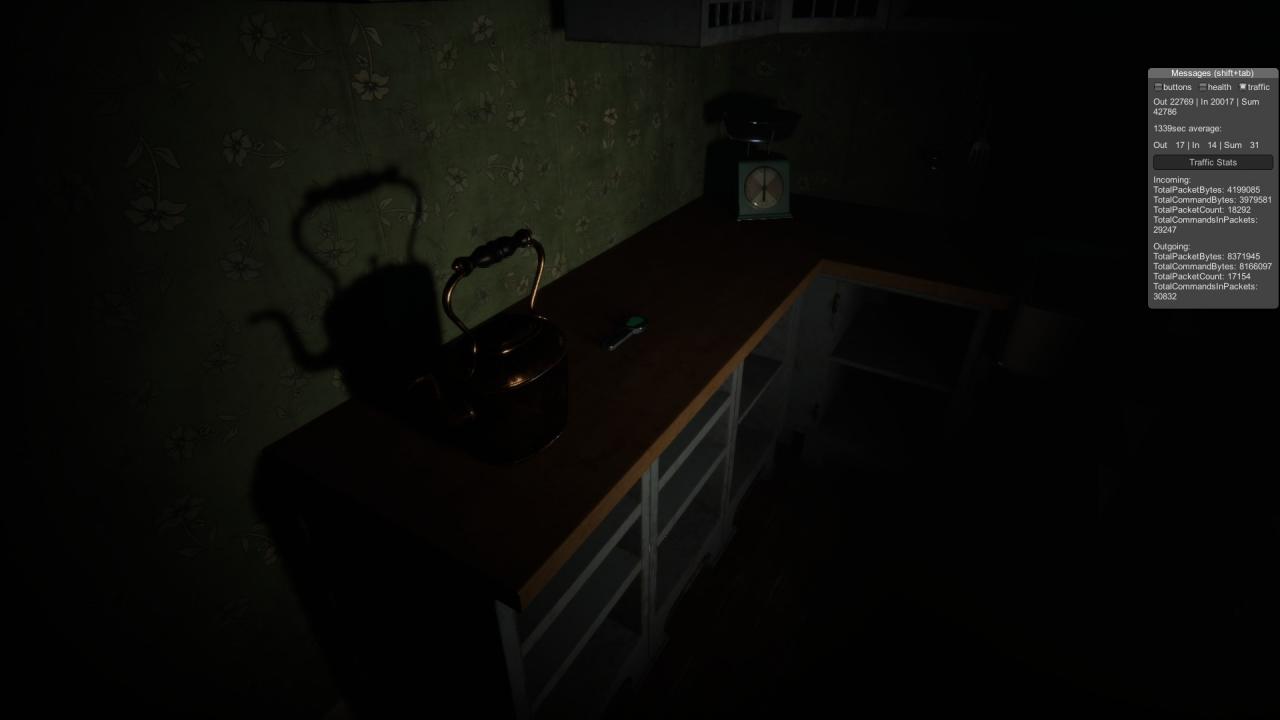
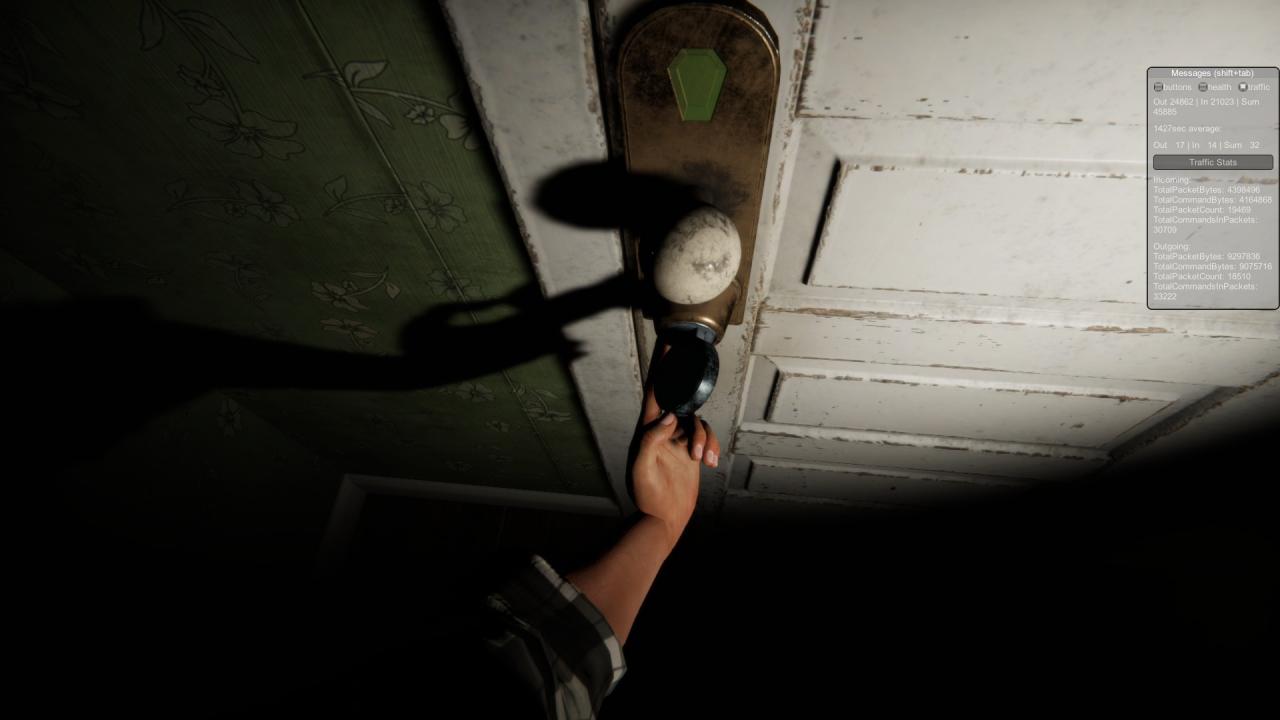 In the bathroom, next to the sink, sits the key for the other door. Grab it and move to the next door.
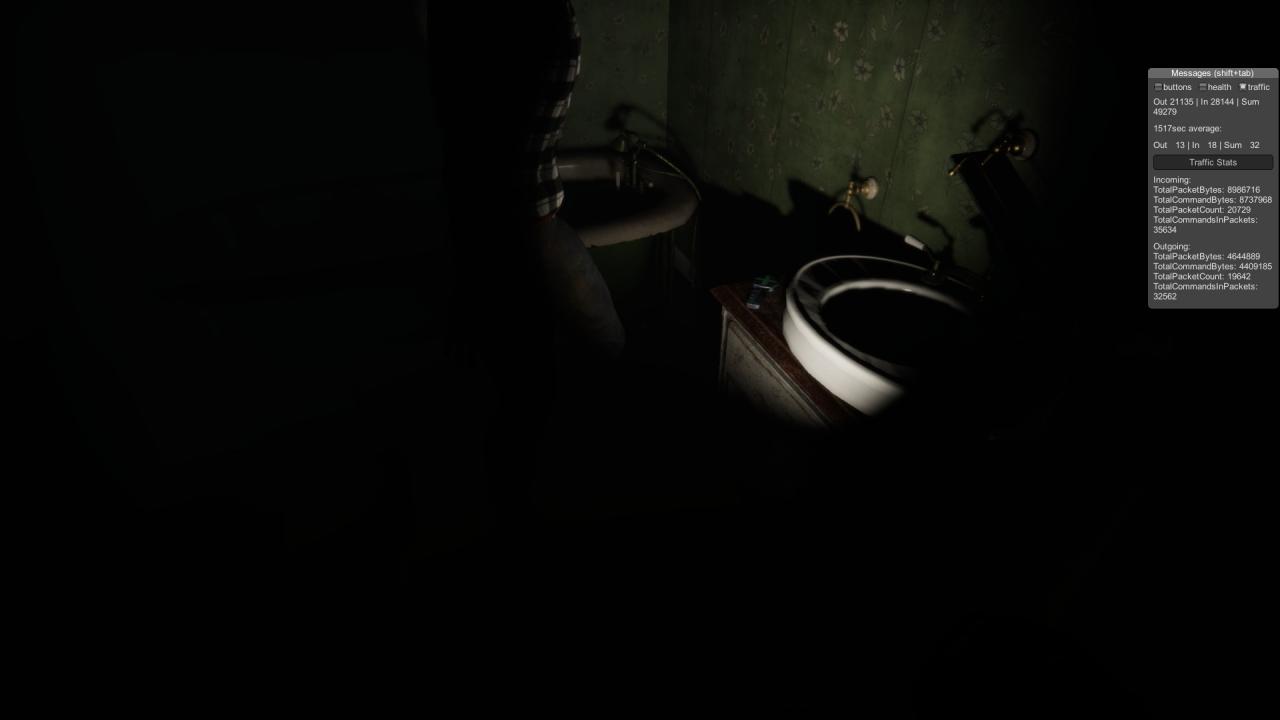
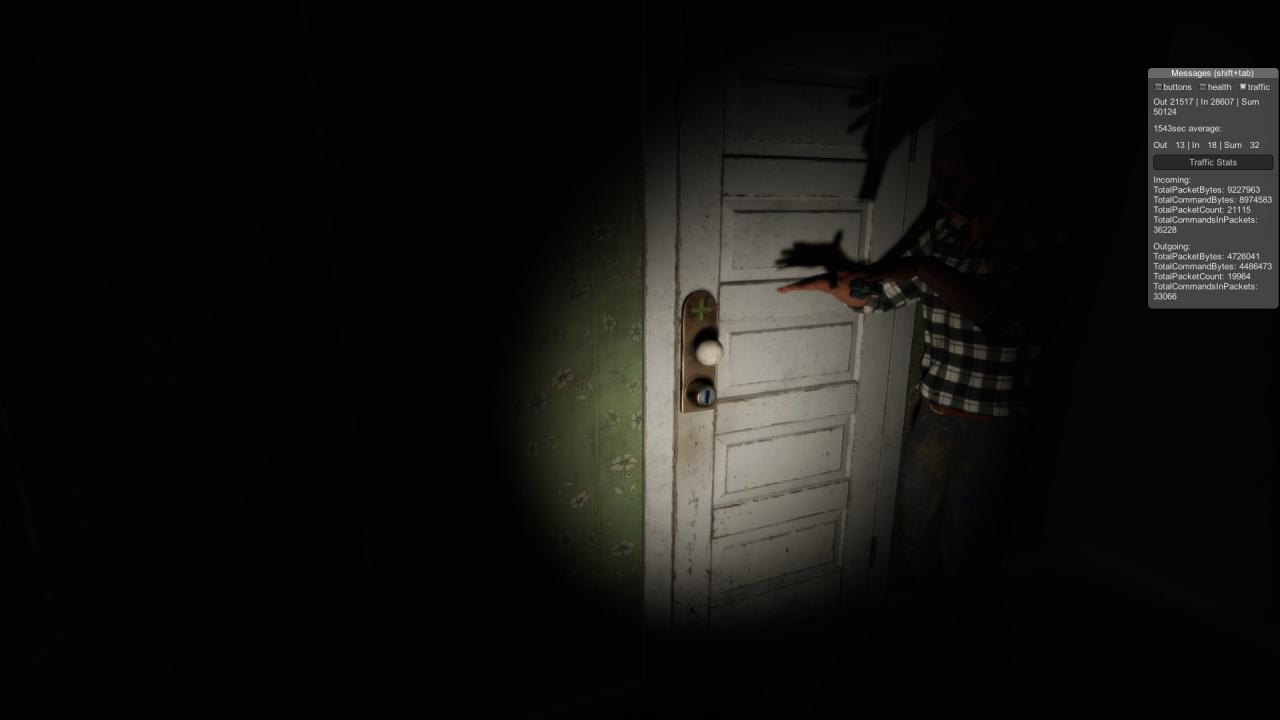 Right through that door to the left lies a save station, and the cabinet directly opposite of the door you enter has a tape in the bottom and key for the door to the right of it. You can save now, or you can wait until later.
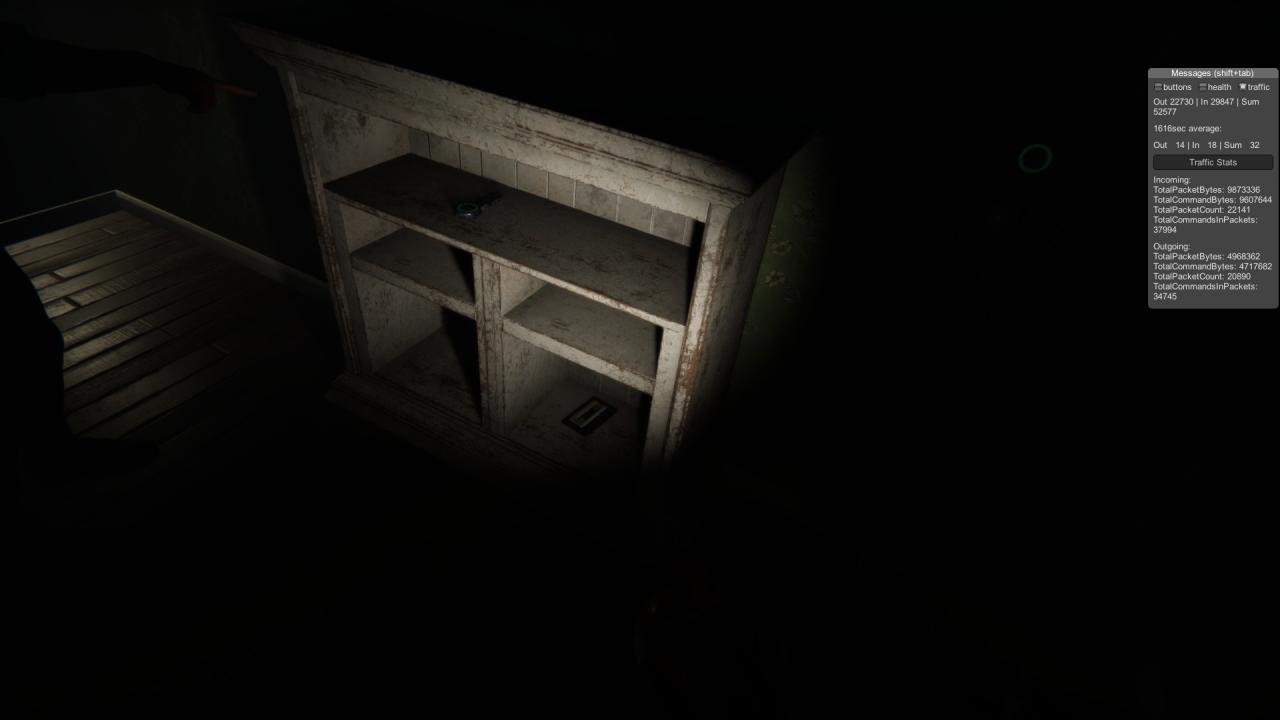 Take the key and unlock the door to the right. Continue down the hallway to the room at the end.
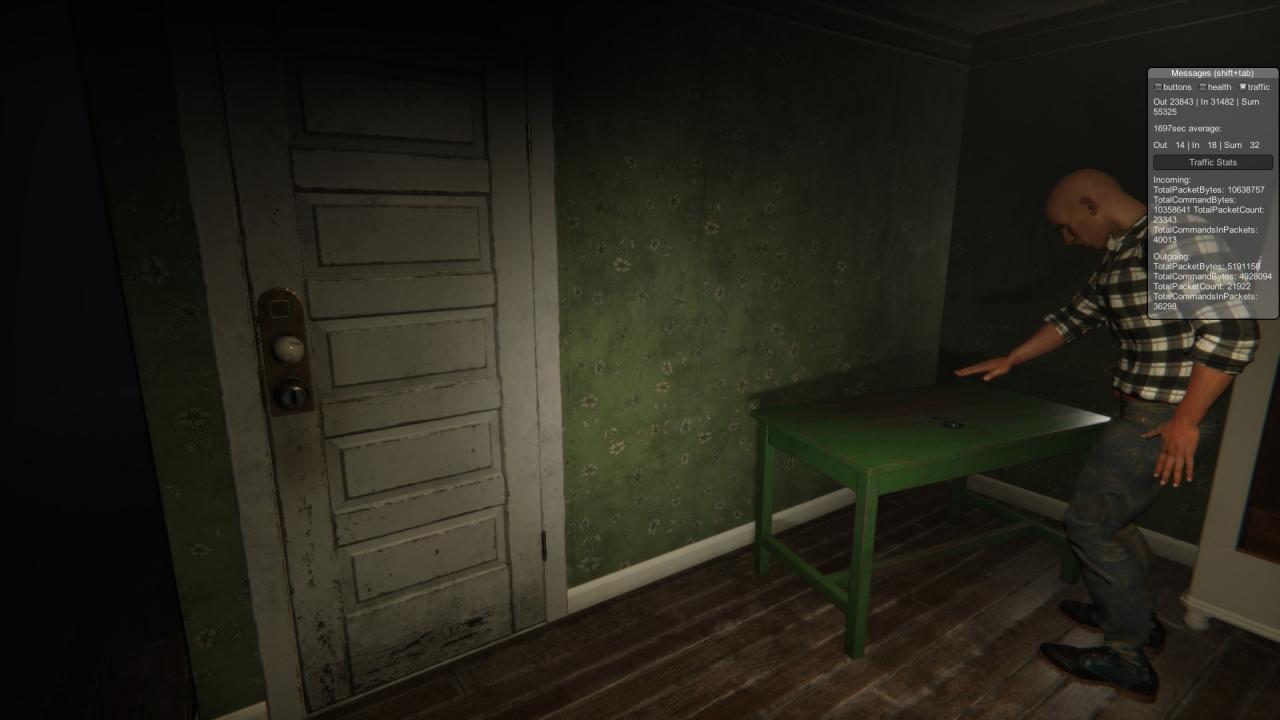
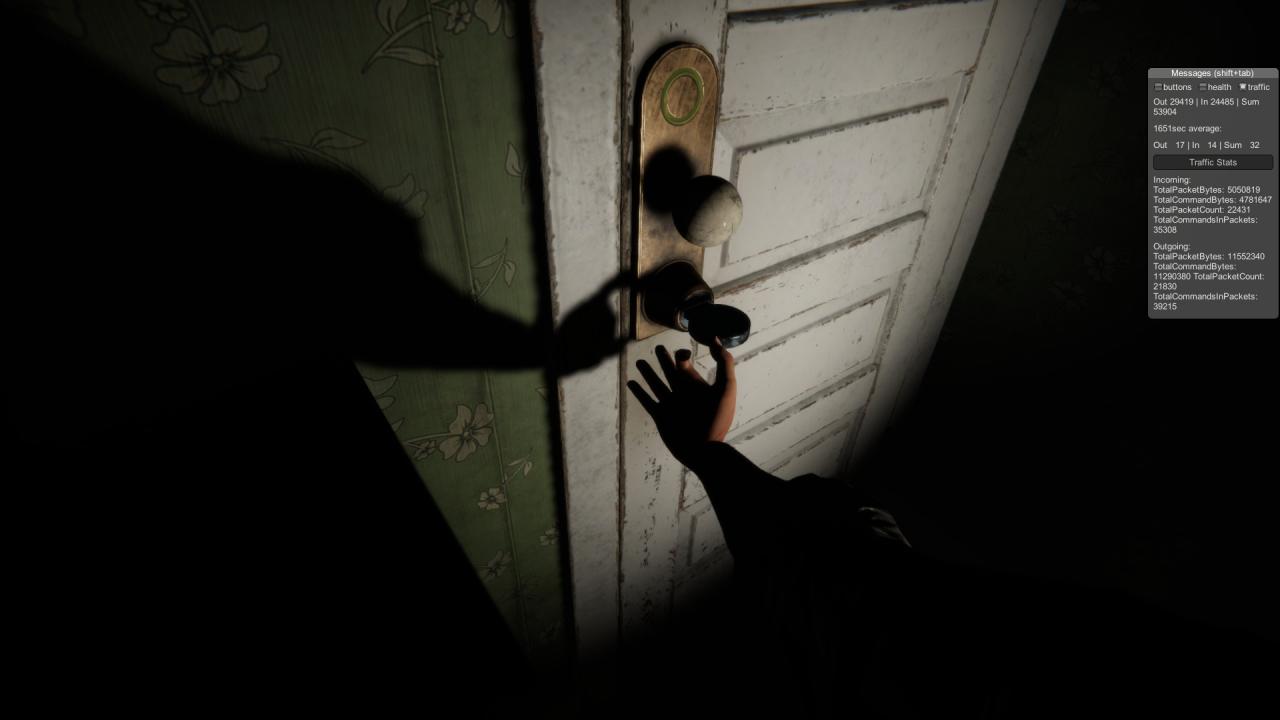 On the green table, there should be the final key to the door directly left of the table. Unlock the door and continue to the basement where you will find a fuse box.
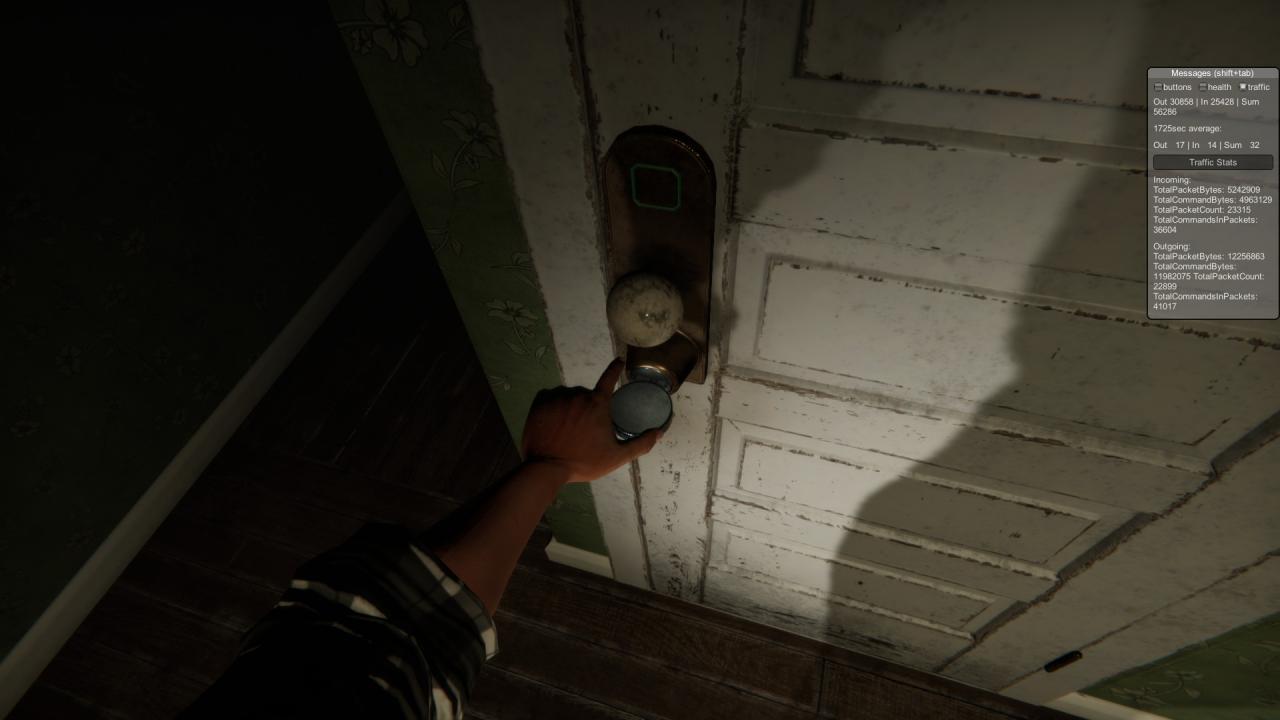
 In the first room, you will find a key in the cabinet to the right. You can use that to open the door directly next to it. Just put the key in the lock and then turn it to the right.

 Alternatively, in the room to the right when first entering the house, there is another door that can be unlocked to lead to the same exact room. However, the door has a shape above the lock, and only a key with the same shape can open it.
 The key for this door can be found in a drawer to the left of the door.
 When going through either of these doors, it is recommended to have a weapon as there are two chicken assailants that can dispatch of you quickly. Any heavy object will work, but the pitchfork is an ideal weapon.
 Another door to the back left of the house needs to be unlocked before the one on the front left of the house can be unlocked. The key for the bathroom door can be found on the counter in the back of the house.
 In the bathroom, next to the sink, sits the key for the other door. Grab it and move to the next door.
 Right through that door to the left lies a save station, and the cabinet directly opposite of the door you enter has a tape in the bottom and key for the door to the right of it. You can save now, or you can wait until later.
 Take the key and unlock the door to the right. Continue down the hallway to the room at the end.
 On the green table, there should be the final key to the door directly left of the table. Unlock the door and continue to the basement where you will find a fuse box.

Part 4: The Basement
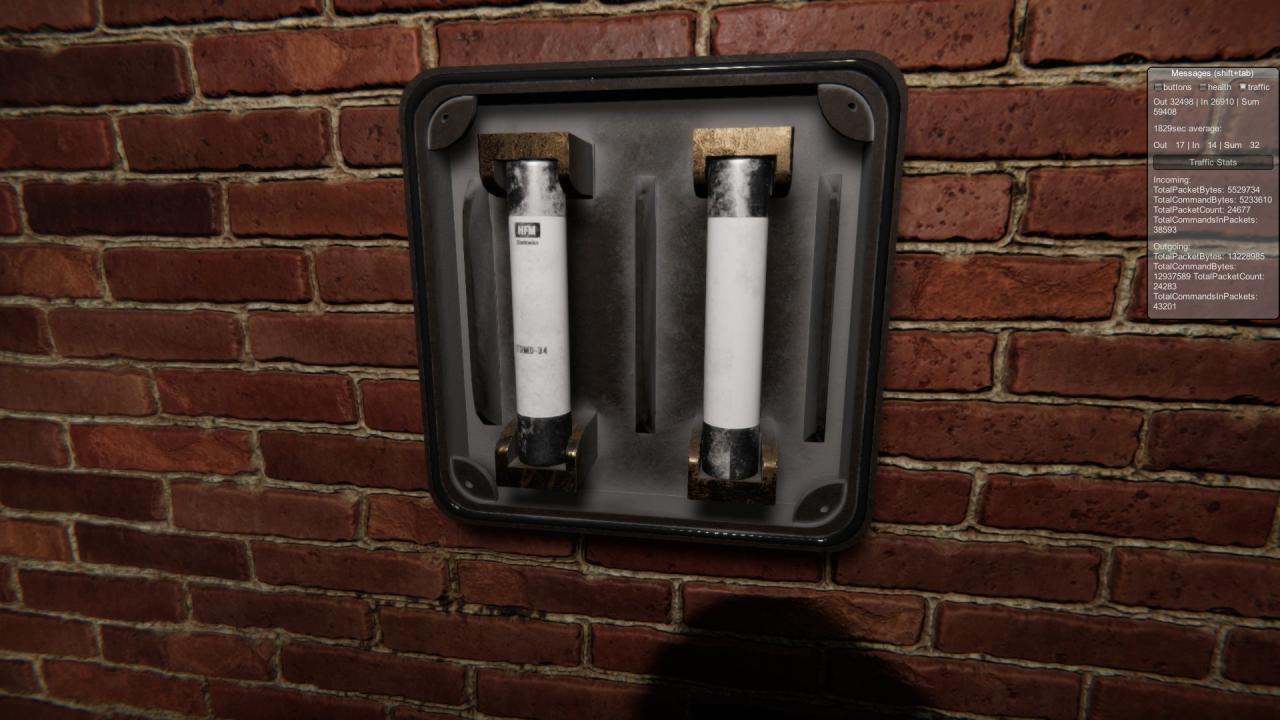
This section takes place directly after going down the stairs of the last locked door in the house. At the bottom of the stairs, you will find a fuse box.
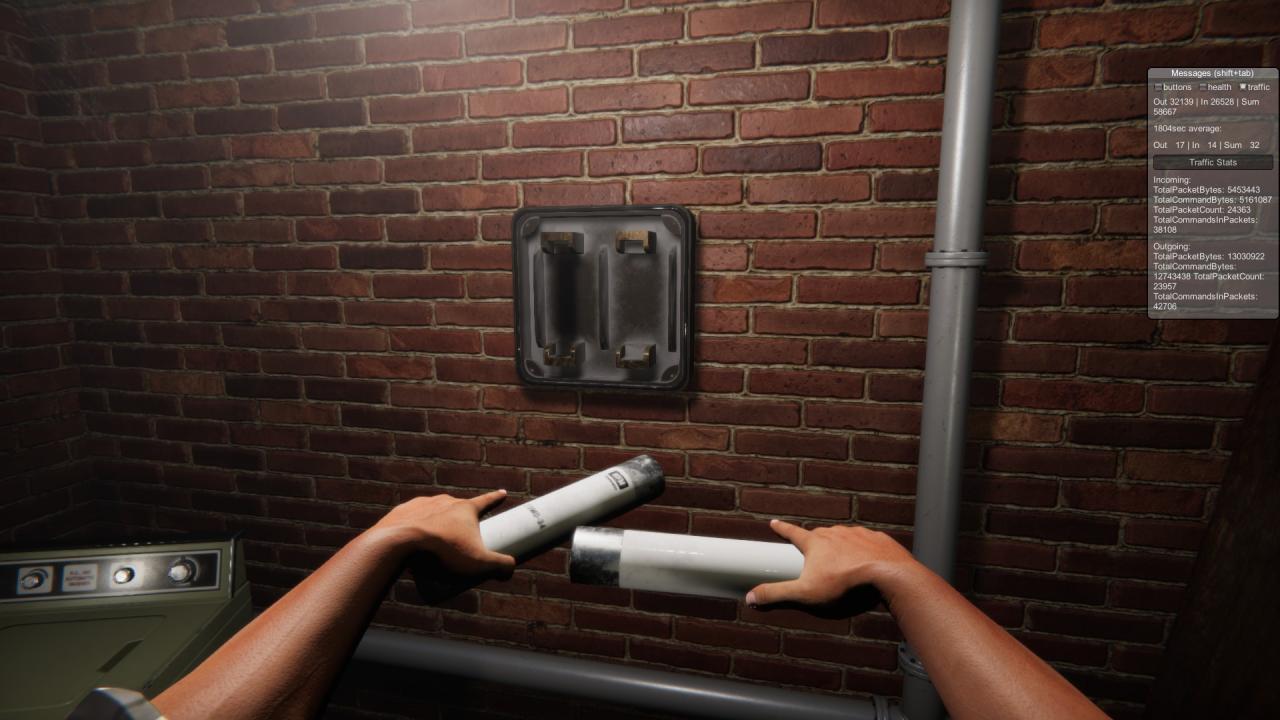
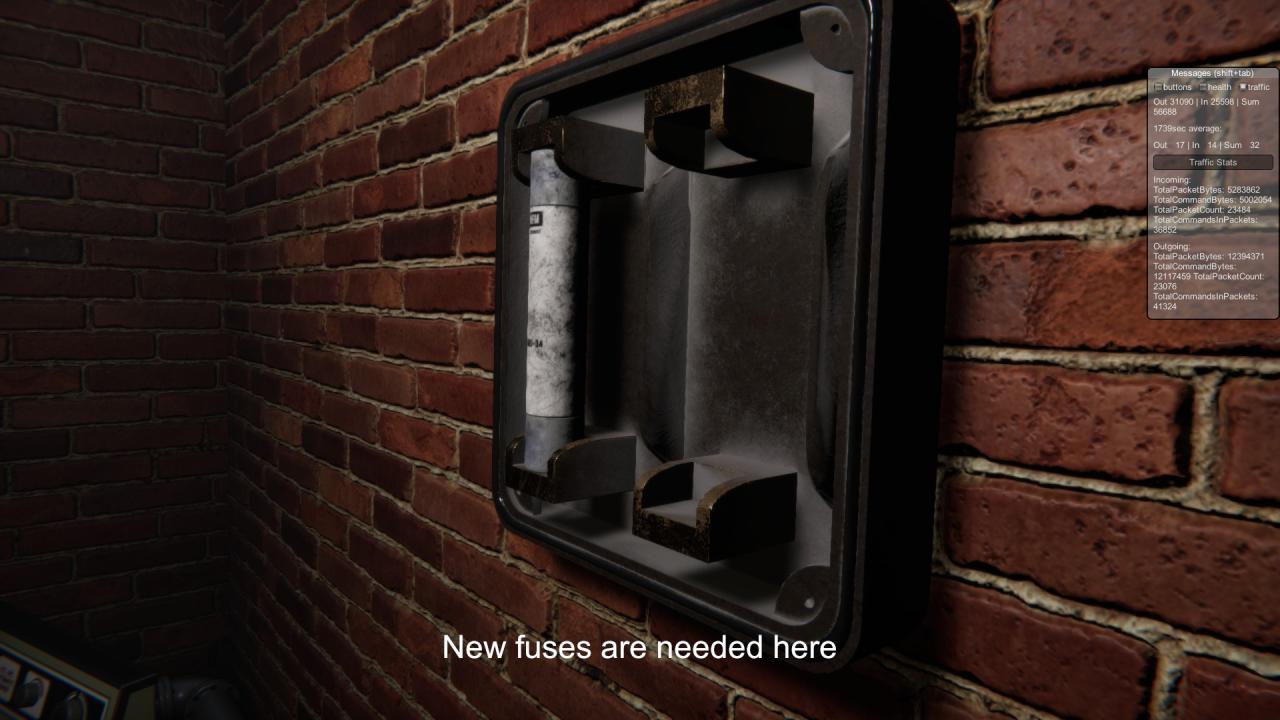 The two fuses are found in the first level of the basement, one on a table and the other on the bottom of a shelf. Pull the old fuse out and place the two new fuses into the fusebox.
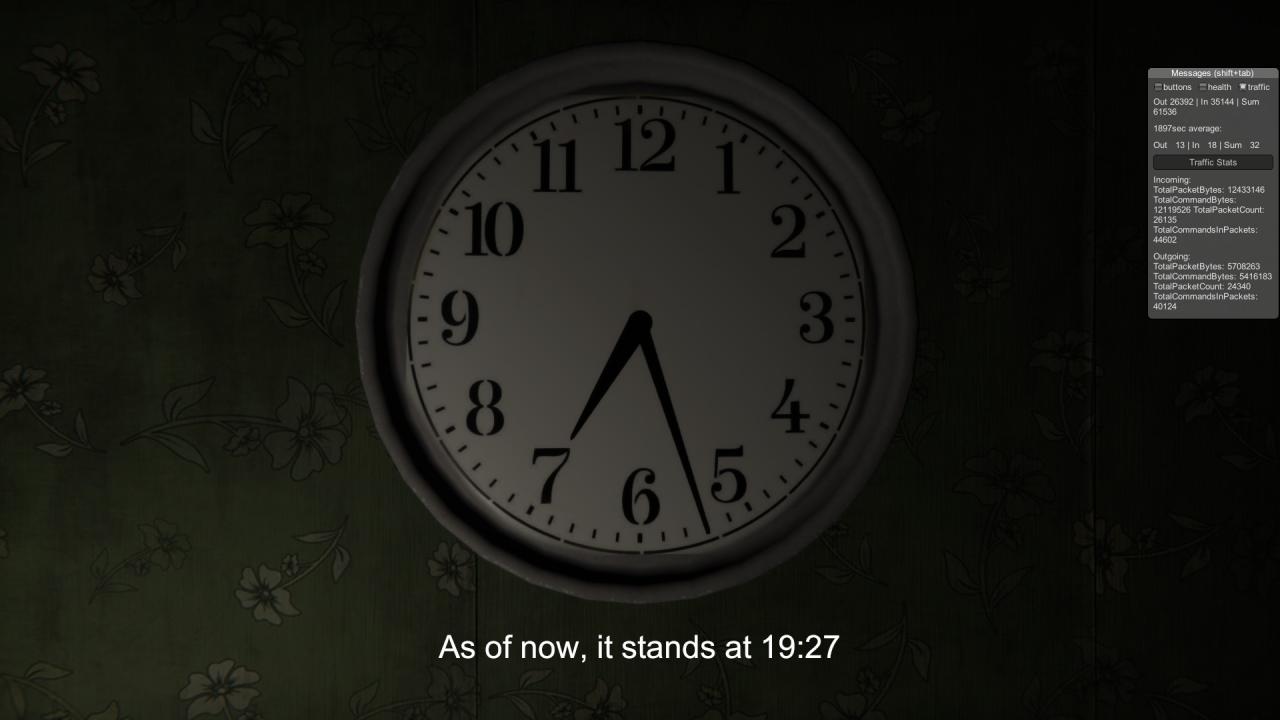
 It is recommended by professional hand simulationalists to go back up to the room above and then save. The next part is recommended for two people, but can be done with one if fast enough. In the first room of the house, walk into the clock to have the time displayed.
 Now, either run all the way through the house, into the basement, and then into the second basement, or have a friend already waiting. There will be a single keypad in the second basement.
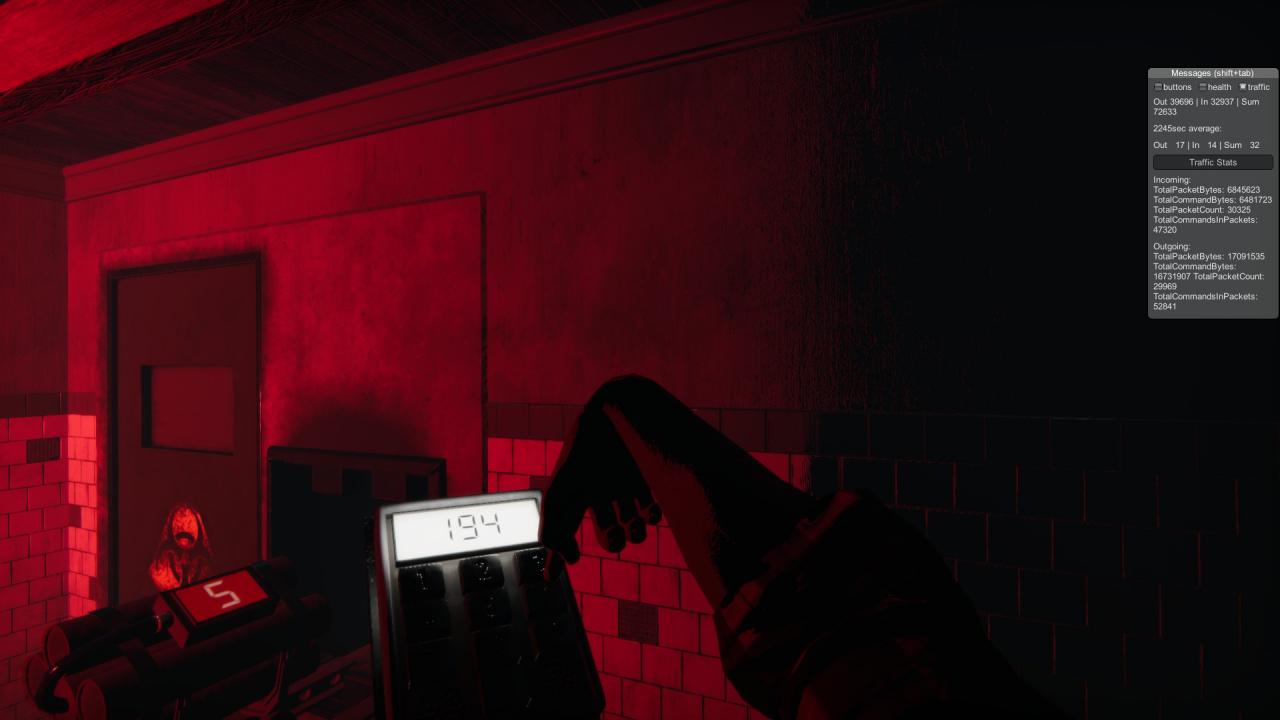
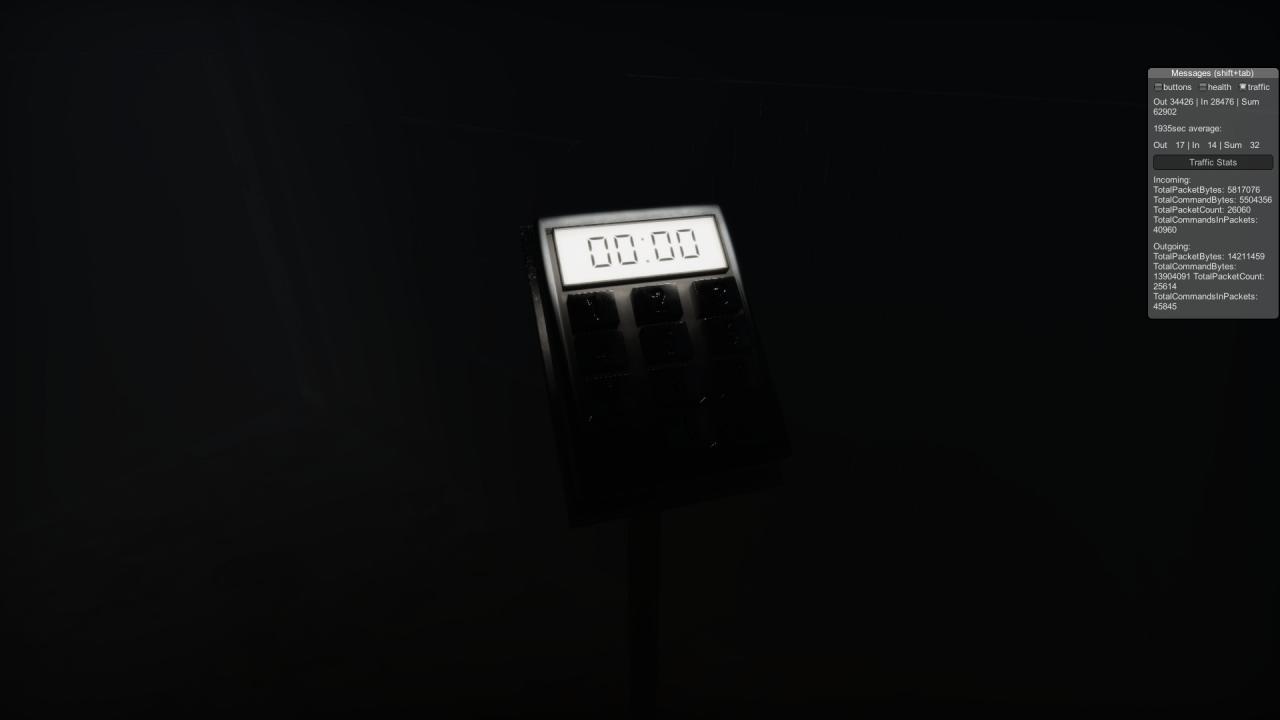 Enter the time that was displayed on the clock. You have one minute to reach the keypad before the time changes, and once you start pressing the keys, a bomb timer will go off and you will have ten seconds to enter the time that was on the clock. If you misclick a key, you die. If you run out of time, you die. If done correctly, the bomb will deactivate and a door in the second basement will open.
 The two fuses are found in the first level of the basement, one on a table and the other on the bottom of a shelf. Pull the old fuse out and place the two new fuses into the fusebox.


 It is recommended by professional hand simulationalists to go back up to the room above and then save. The next part is recommended for two people, but can be done with one if fast enough. In the first room of the house, walk into the clock to have the time displayed.
 Now, either run all the way through the house, into the basement, and then into the second basement, or have a friend already waiting. There will be a single keypad in the second basement.
 Enter the time that was displayed on the clock. You have one minute to reach the keypad before the time changes, and once you start pressing the keys, a bomb timer will go off and you will have ten seconds to enter the time that was on the clock. If you misclick a key, you die. If you run out of time, you die. If done correctly, the bomb will deactivate and a door in the second basement will open.

Part 5: The Bunker
It is worth noting that if you die, the chickens will respawn next time you reload. Once the basement door is opened, head through the hallway and you should find a tape and save station in the next room. It is recommended to save. You can ditch the flashlight as well, as you will not be needing it in the next section. This section will be difficult for those who are not that skilled, as it requires performing difficult tasks under a time limit with the penalty of death.
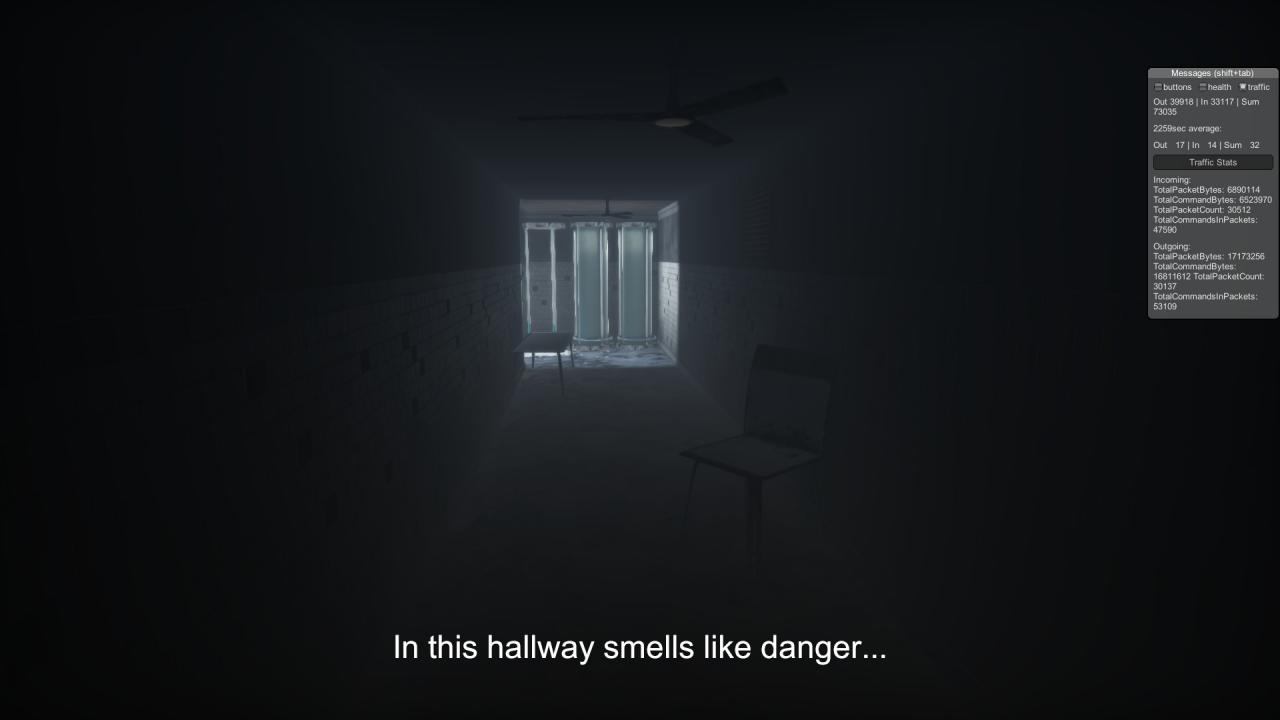
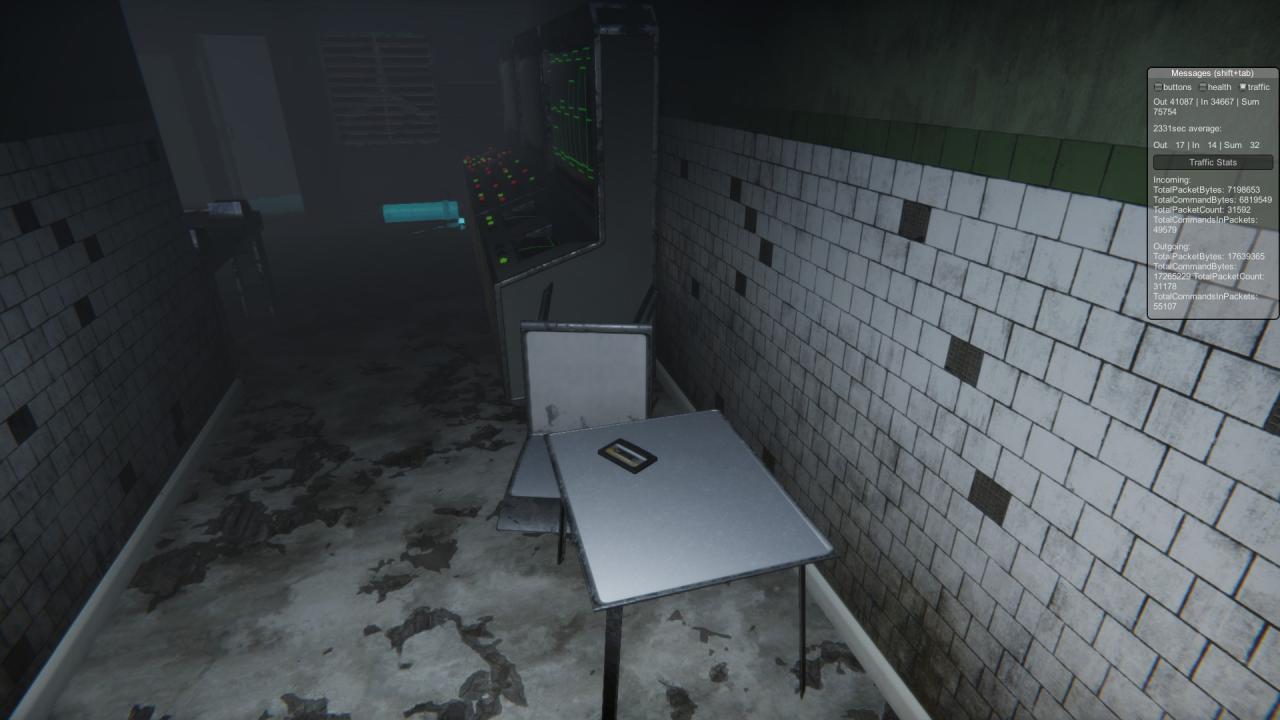 In the next room, a short cutscene will play where an evil pig lies in front of the door to the next area. The game recommends that you use the meat in the first basements fridge to distract it, but we’re not sure if that works and you can just sprint past it to the end of the hallway where the pig should stop chase.
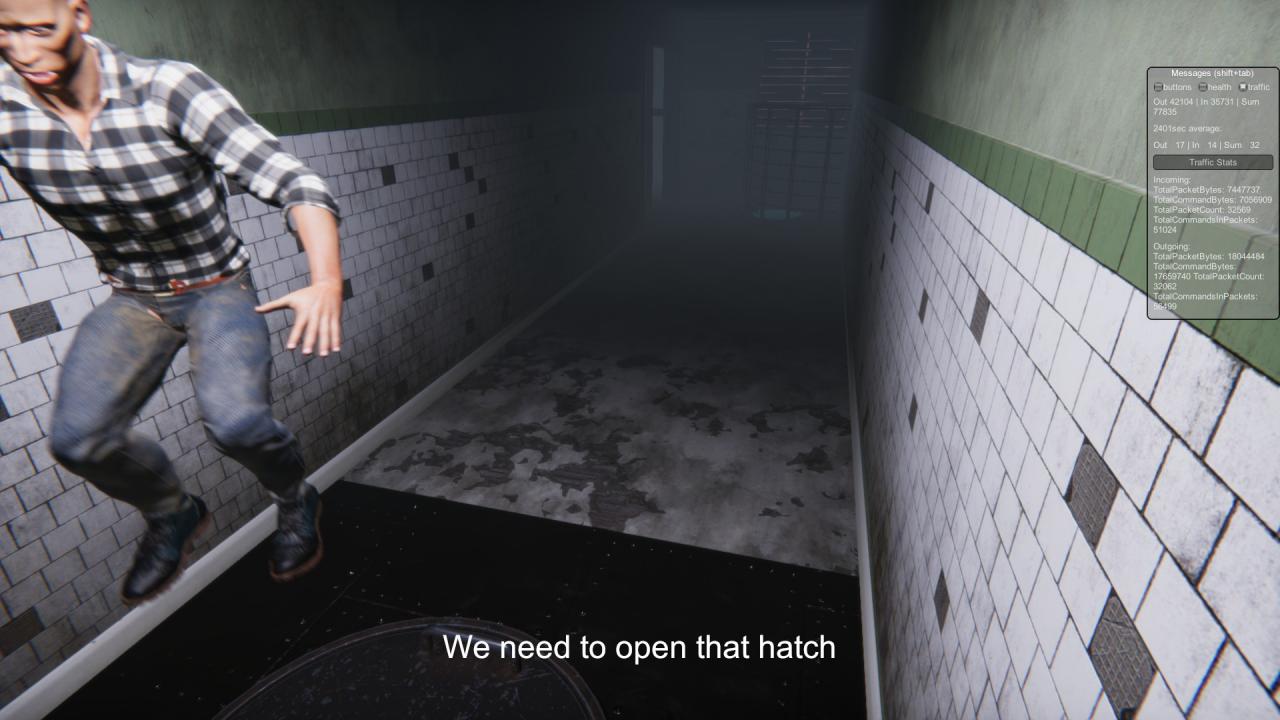 Next, you will need to open the hatch.
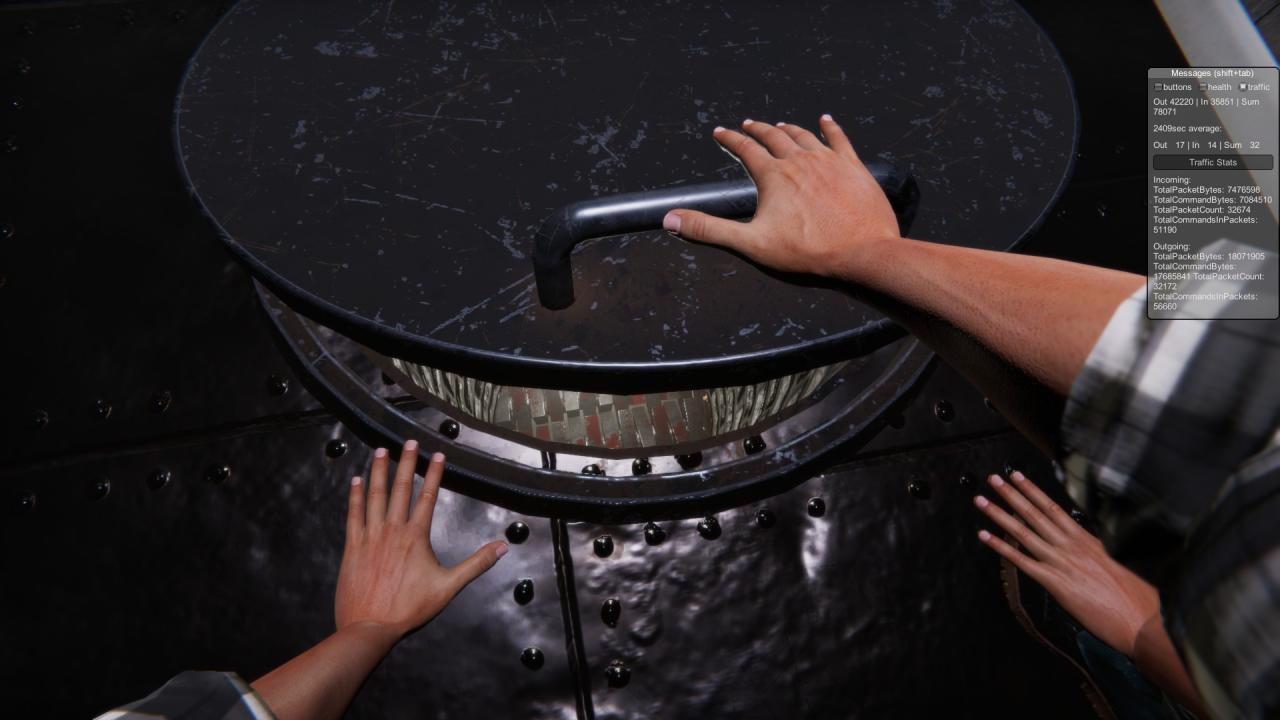
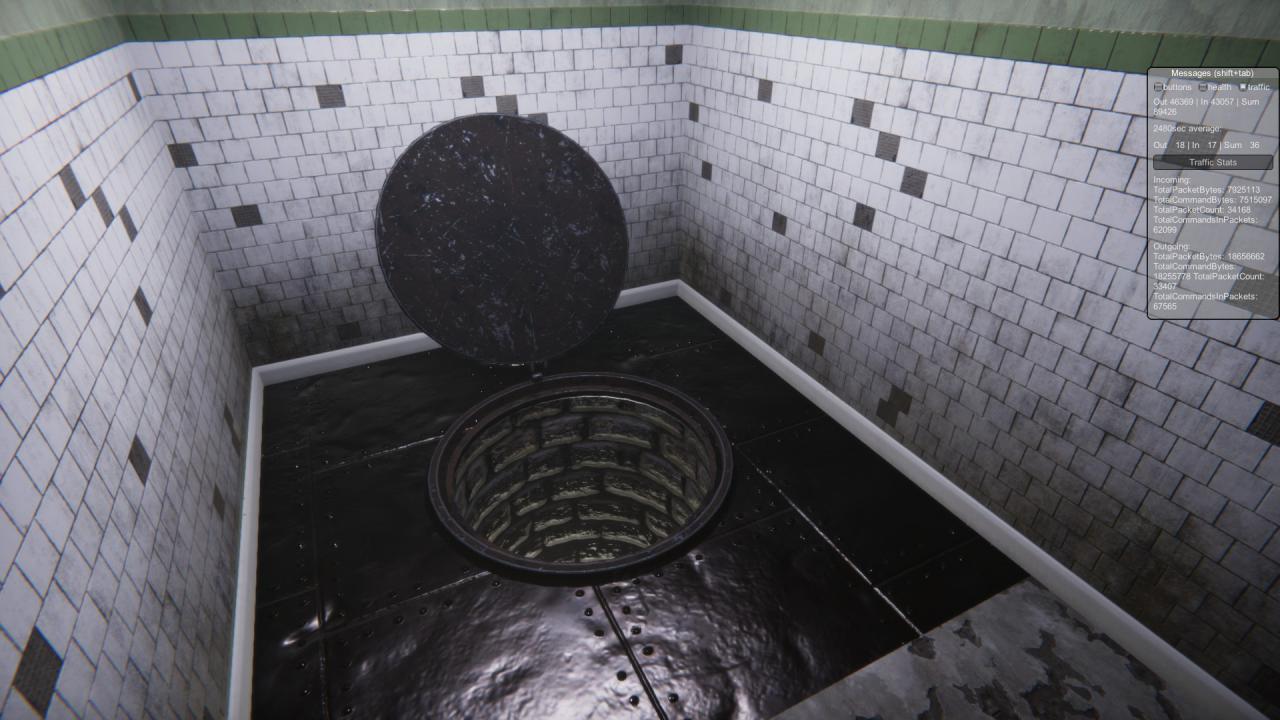 Once you jump through, you need to act quickly as there is a spinning blade heading towards you. Jump down and immediately grab the electric socket wrench. On the grinder in front of you, use the electric socket wrench to remove both bolts on the left and right sides and then quickly jump down.
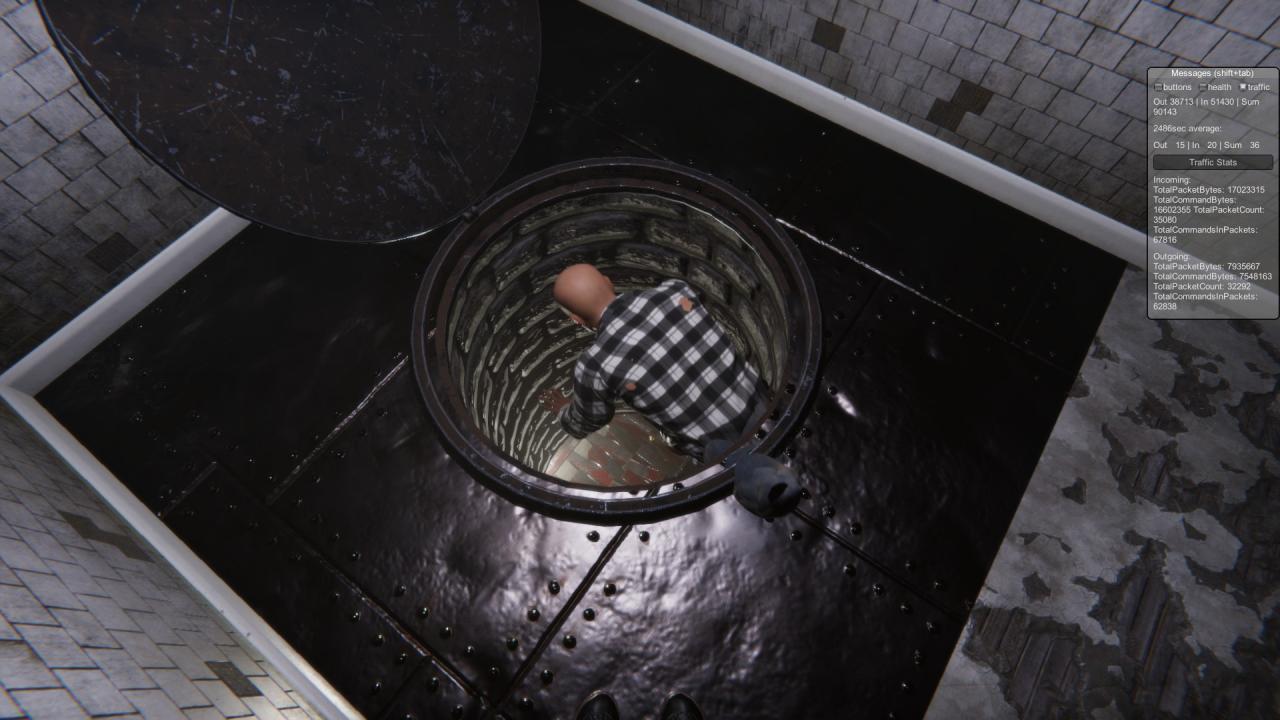
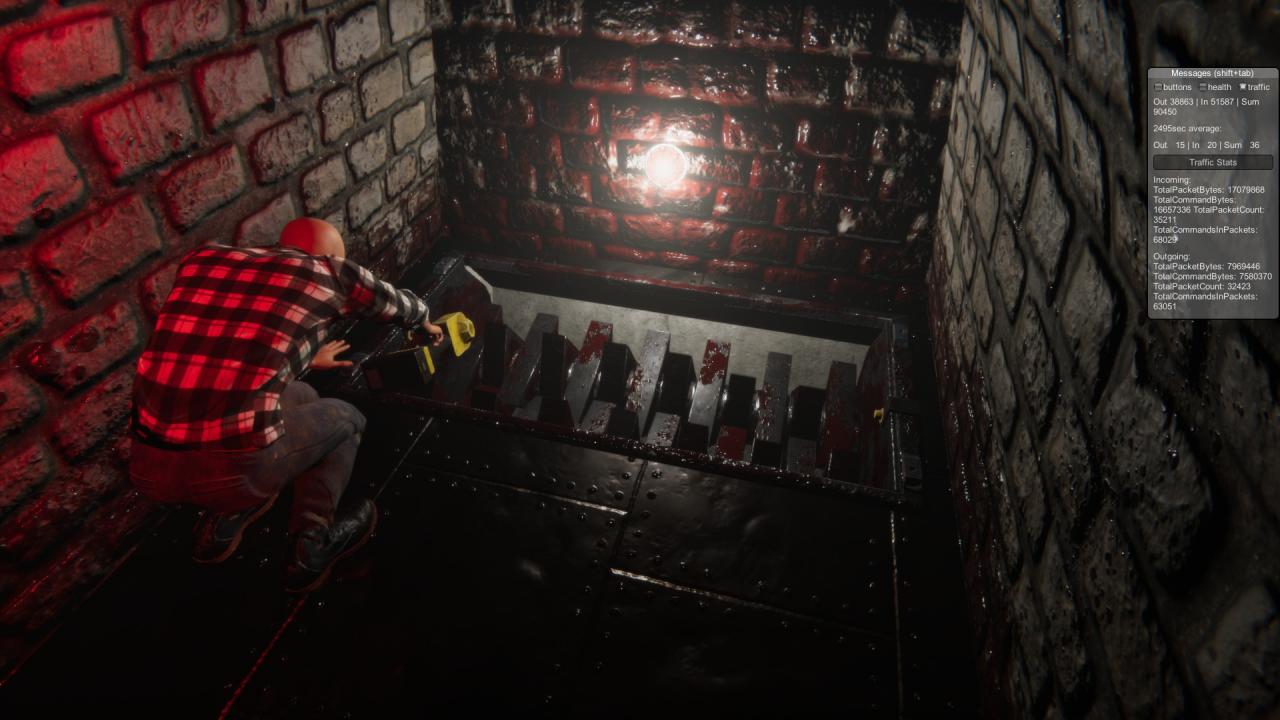
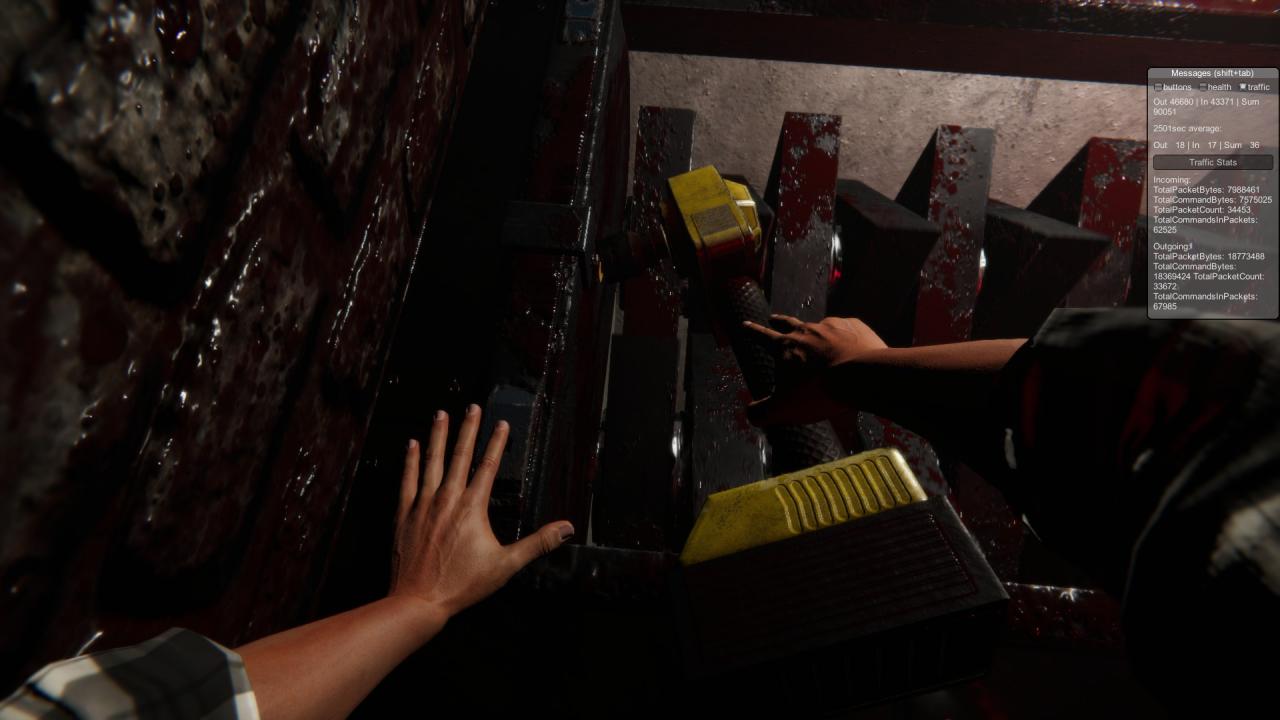
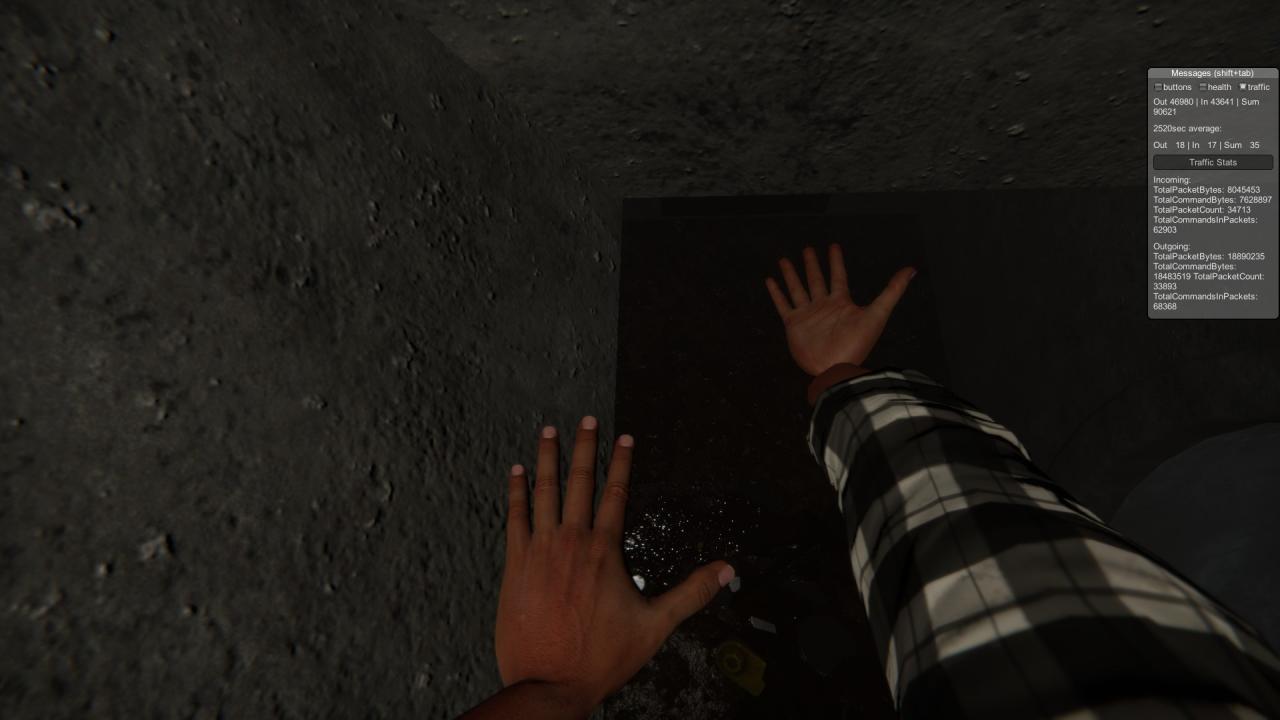 Once landing, get to either side of the passage next to the doors. Do not stand in the tunnel.
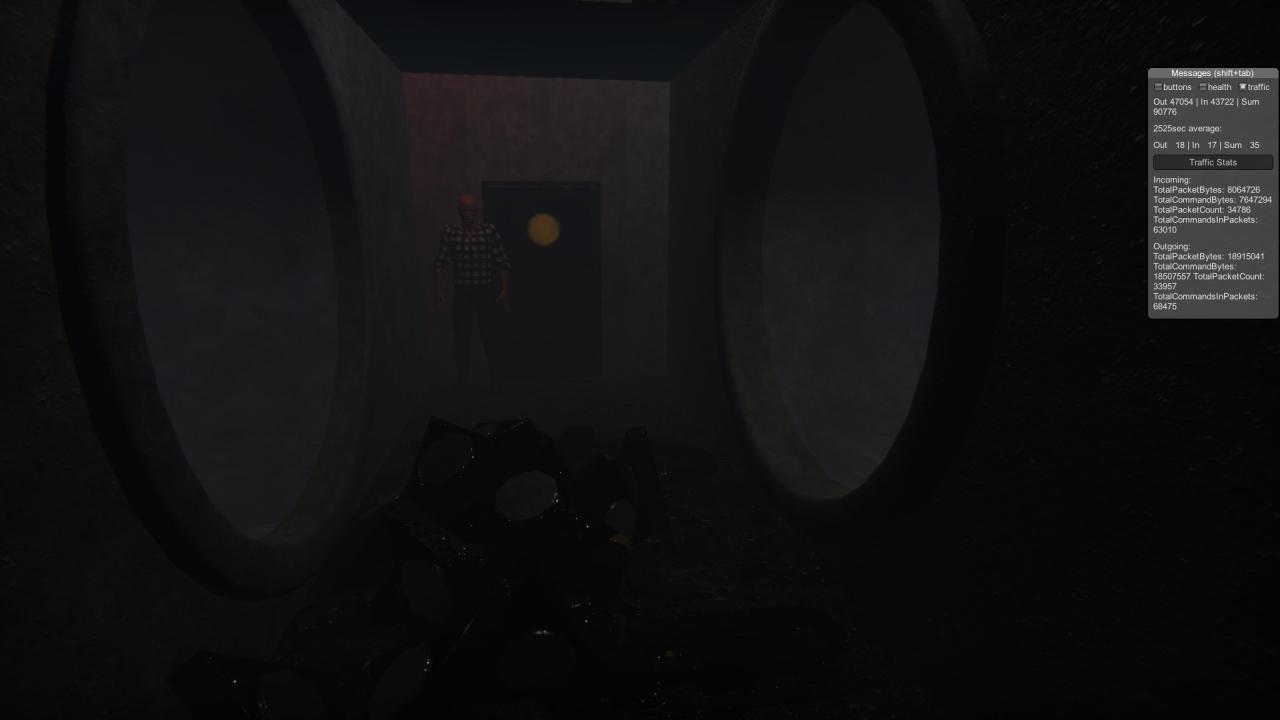 Every fifteen seconds, the tunnel fills with fire that will kill anything. Wait for the fire the first time and then run down the passage away from the burner.
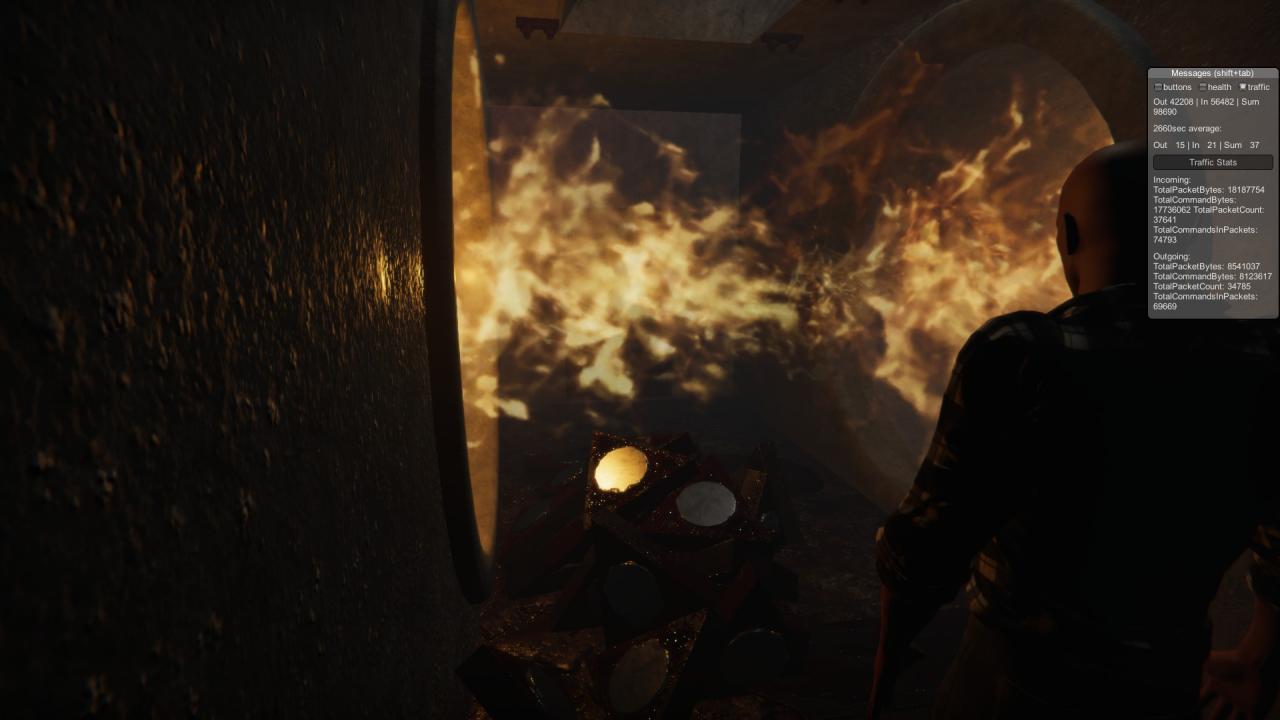 At the end of the tunnel, there is a grate that can be removed by pushing two levers down and towards the side they are located. After the initial run through the tunnel, you should have mere seconds to complete this before the fire shoots back through. Once you break open the grate, immediately drop down into the room.
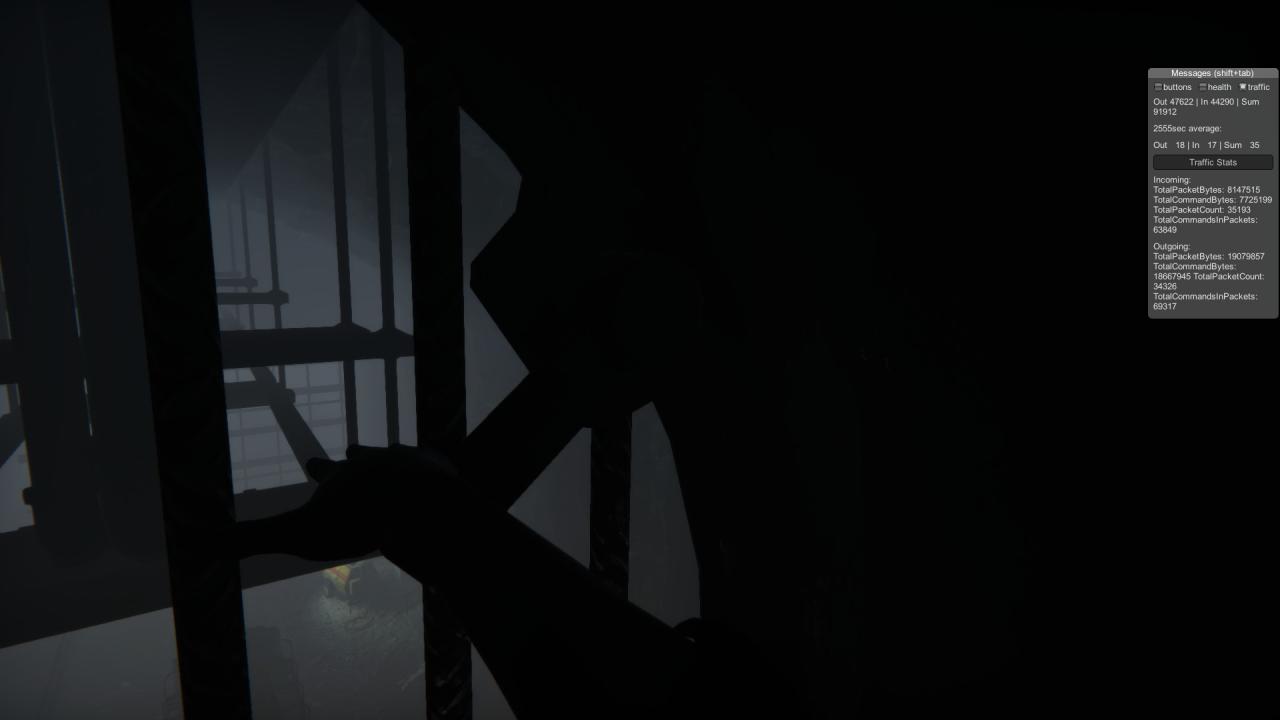
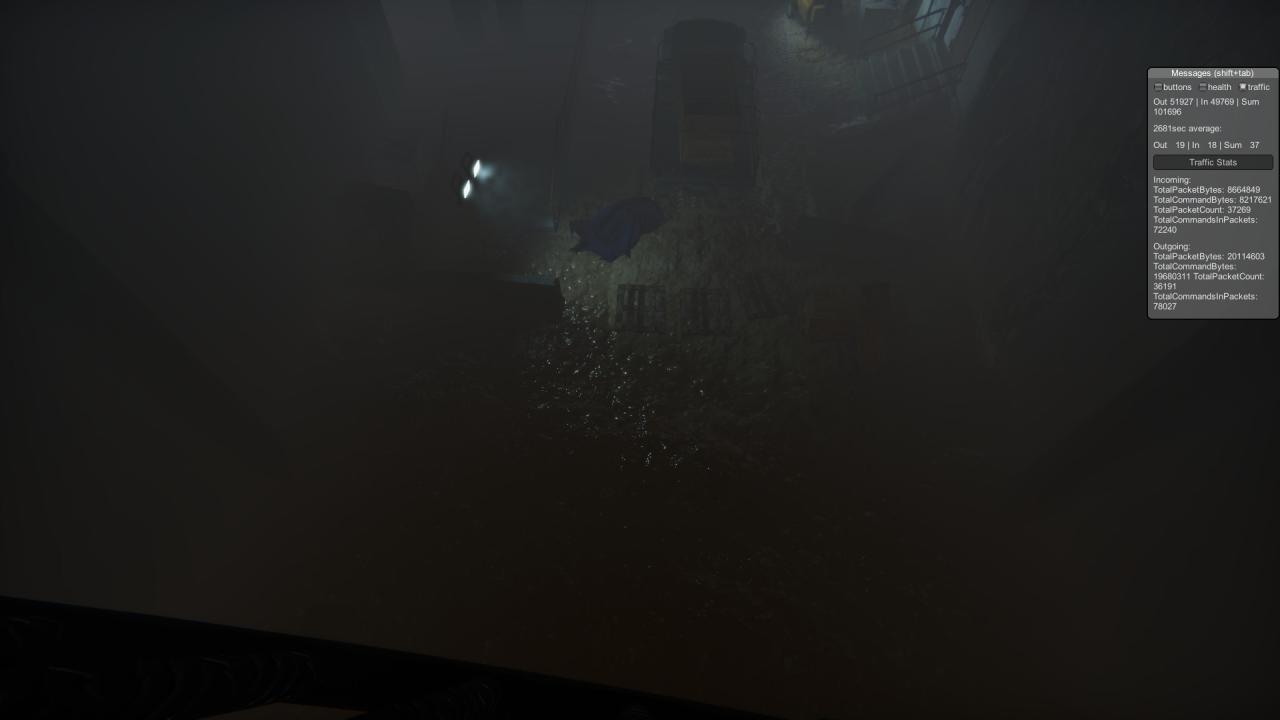
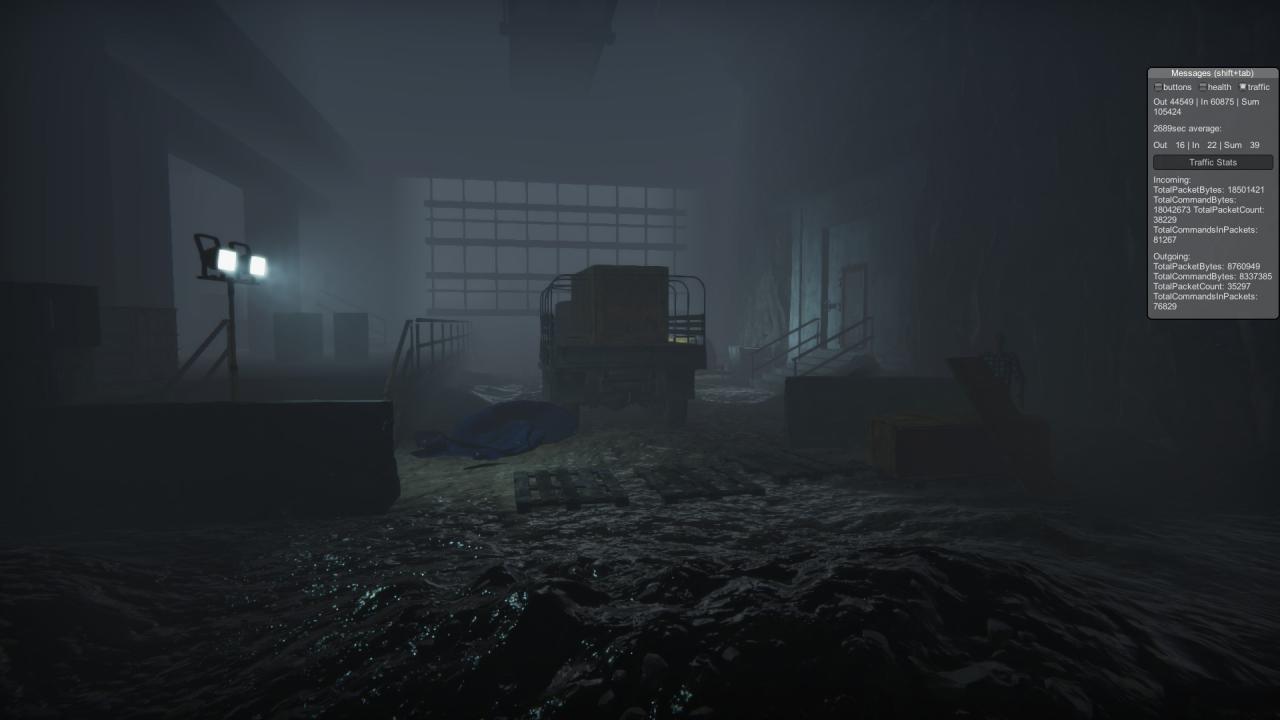
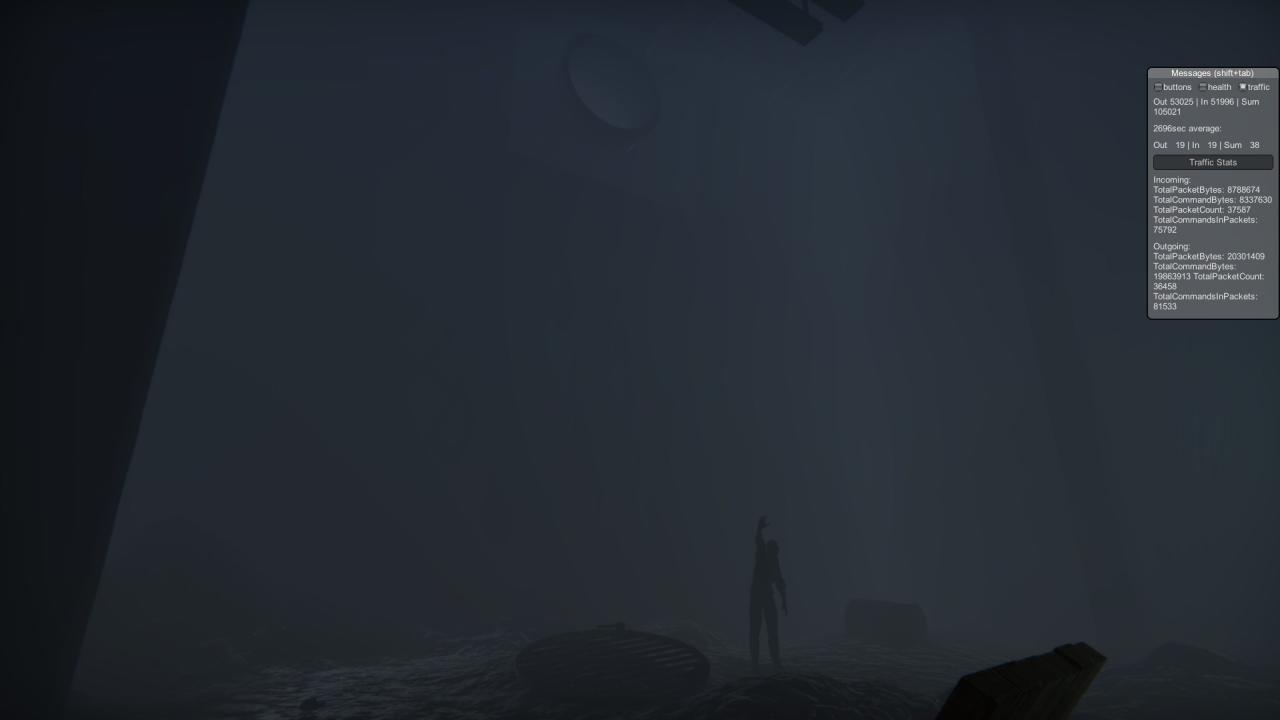 To the left in the room lies a save station, it is recommended to save. To the right, lies a flashlight, generator, and door.
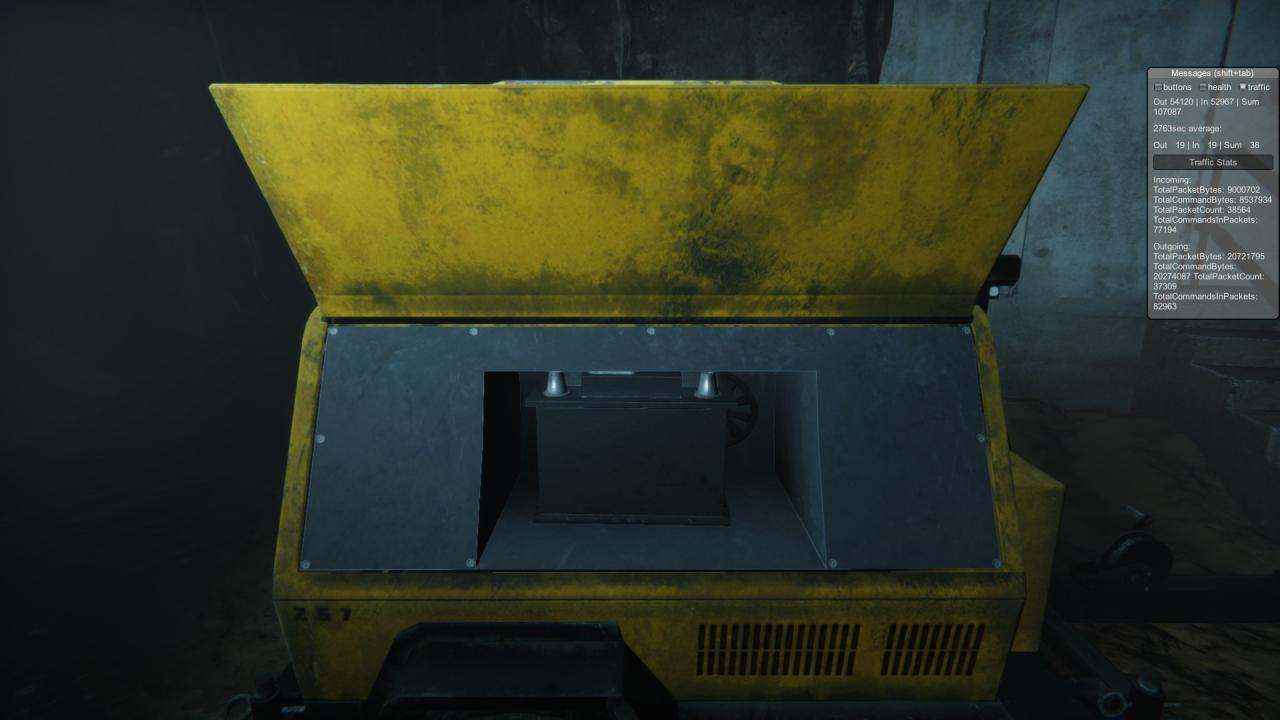
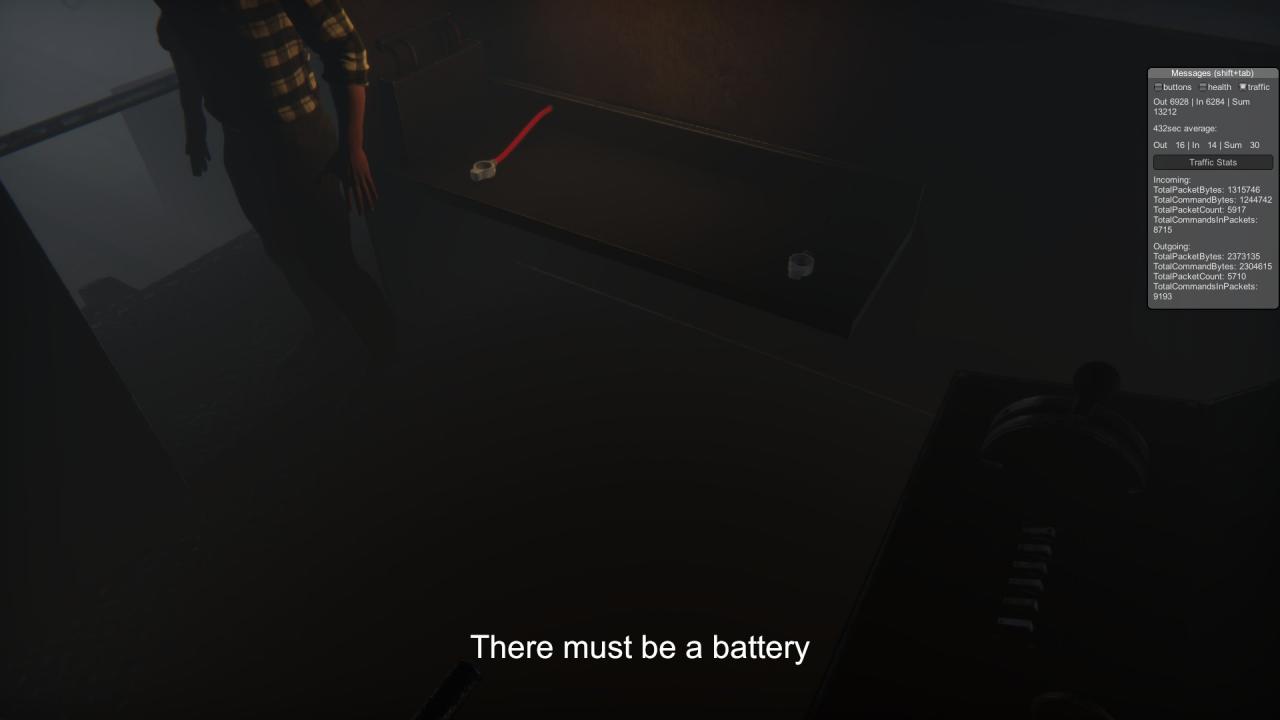
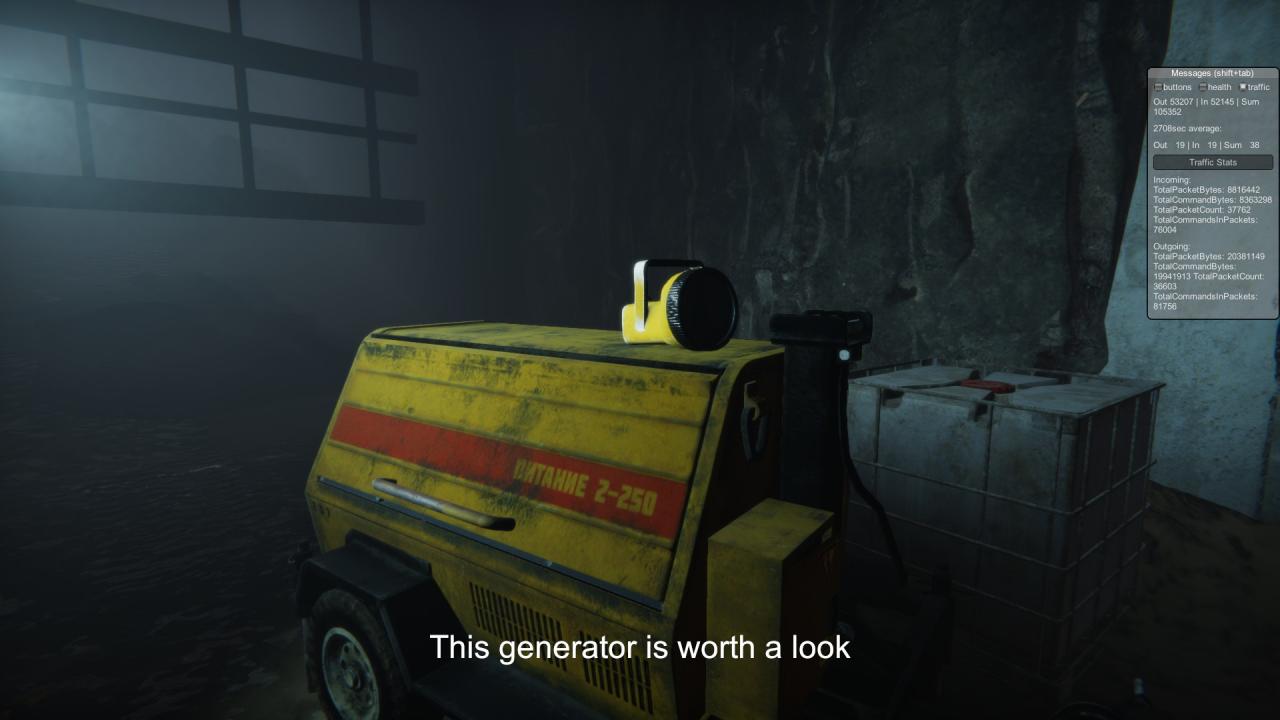 Open the generator and take the battery inside with you.
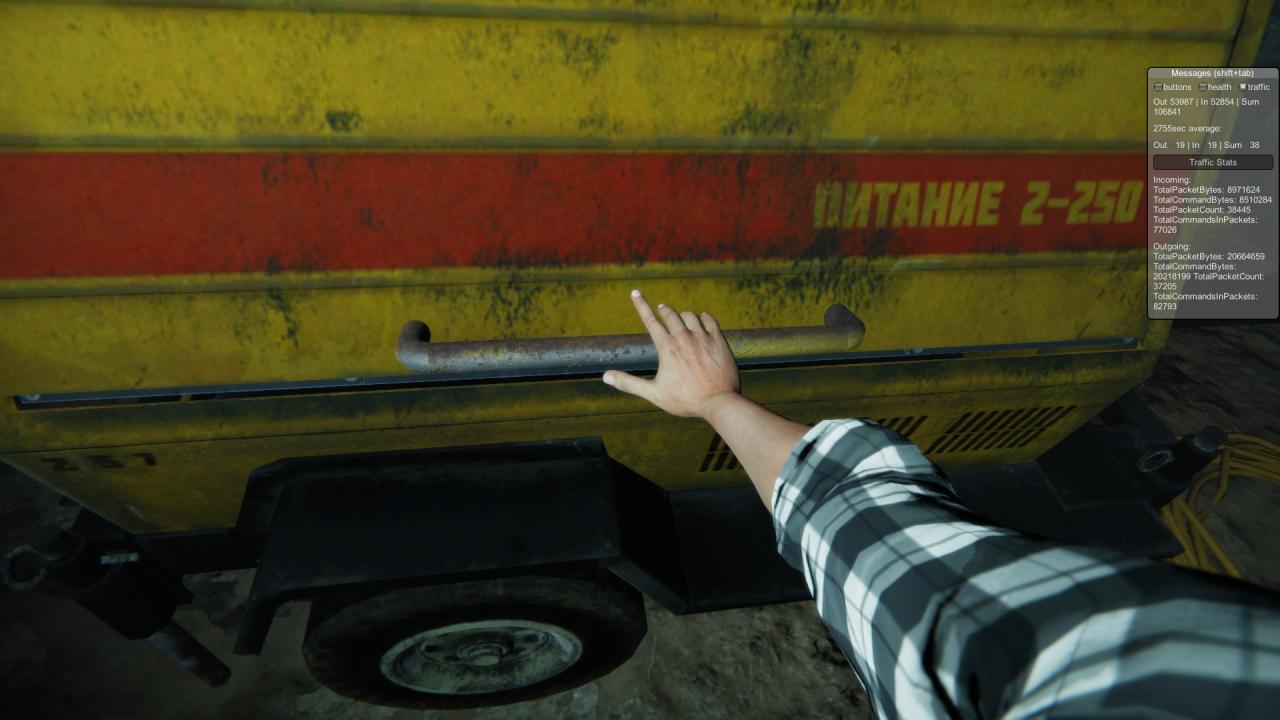
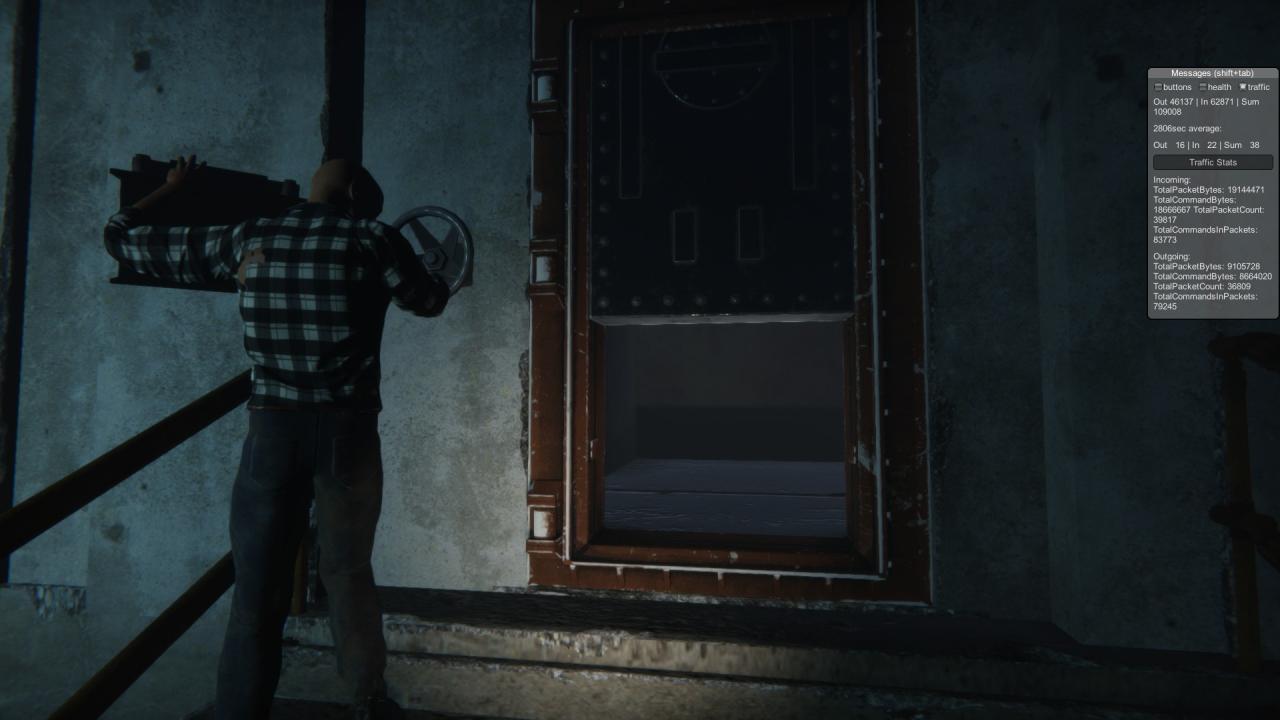
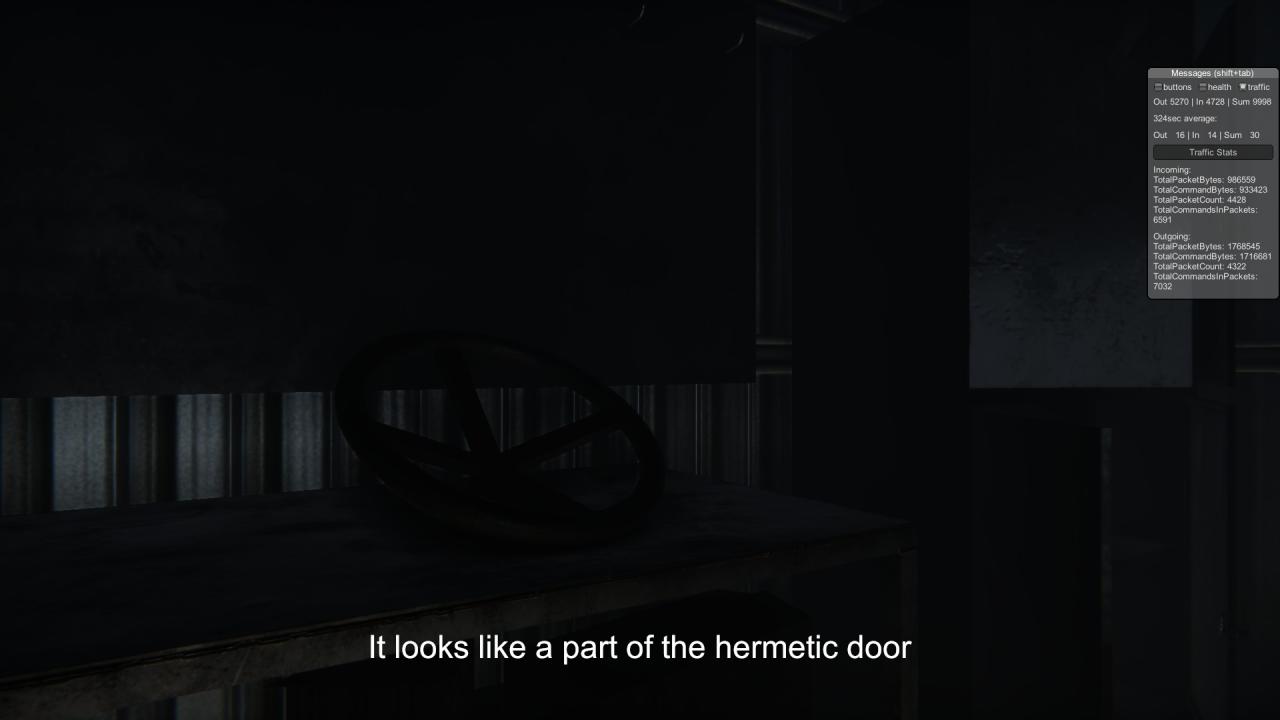
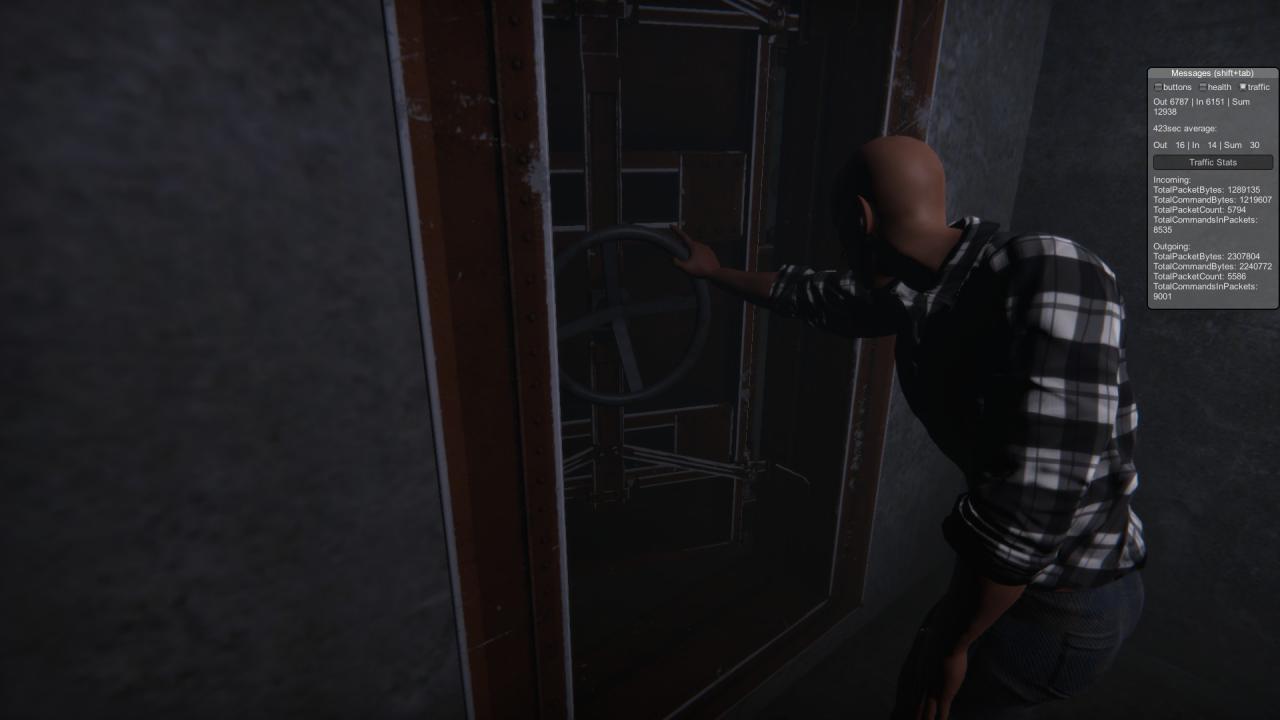
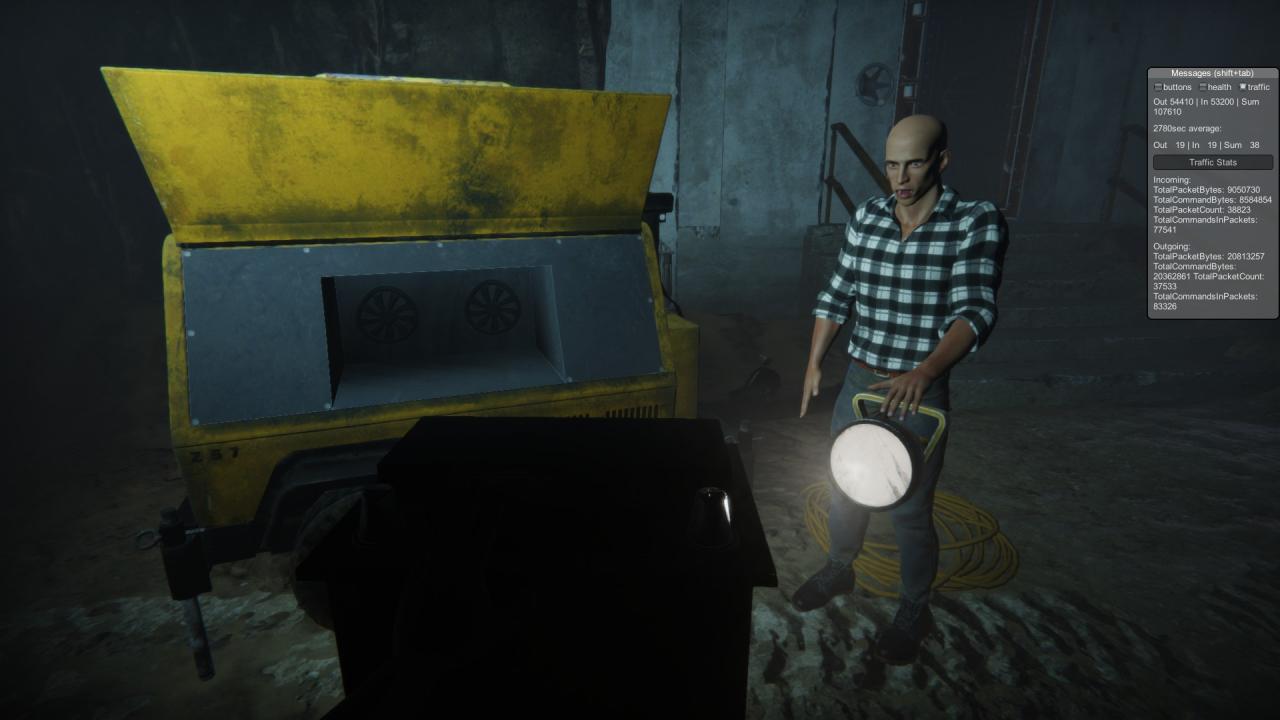 Then, turn the handle on the door clockwise until it opens. Head through the passage until you reach the inside of the barn.
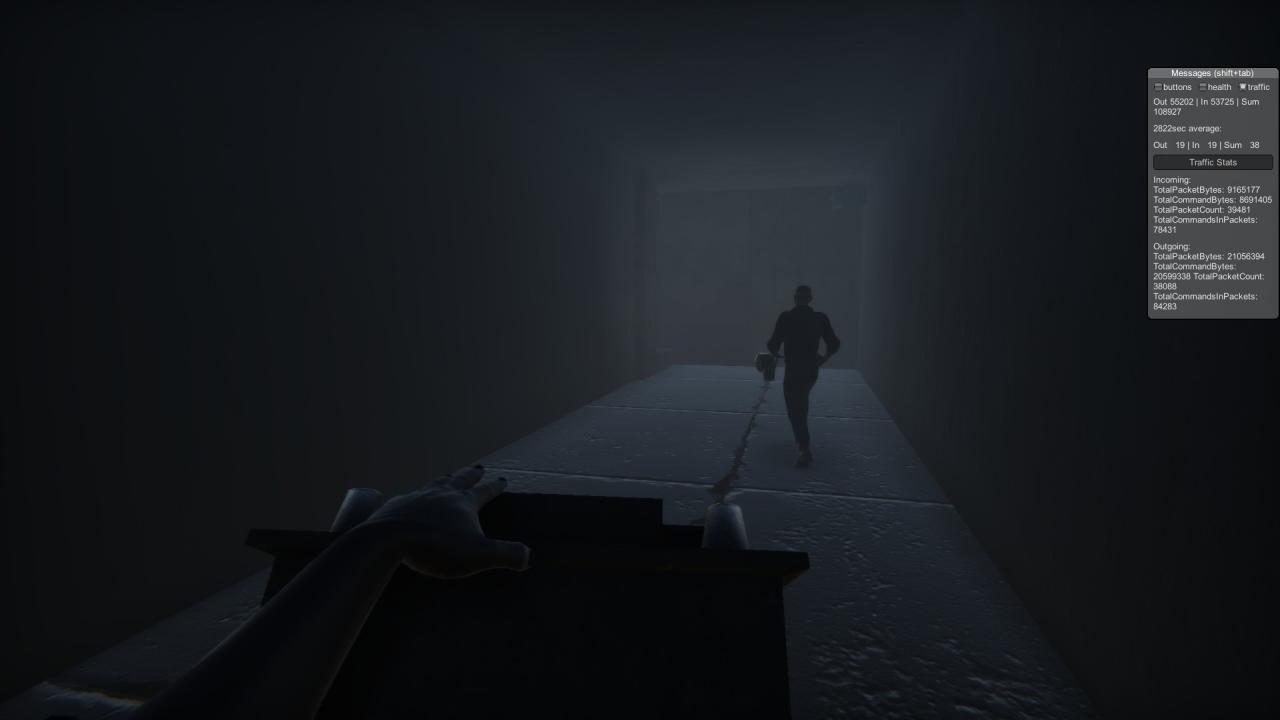

 In the next room, a short cutscene will play where an evil pig lies in front of the door to the next area. The game recommends that you use the meat in the first basements fridge to distract it, but we’re not sure if that works and you can just sprint past it to the end of the hallway where the pig should stop chase.
 Next, you will need to open the hatch.
 Once you jump through, you need to act quickly as there is a spinning blade heading towards you. Jump down and immediately grab the electric socket wrench. On the grinder in front of you, use the electric socket wrench to remove both bolts on the left and right sides and then quickly jump down.


 Once landing, get to either side of the passage next to the doors. Do not stand in the tunnel.
 Every fifteen seconds, the tunnel fills with fire that will kill anything. Wait for the fire the first time and then run down the passage away from the burner.
 At the end of the tunnel, there is a grate that can be removed by pushing two levers down and towards the side they are located. After the initial run through the tunnel, you should have mere seconds to complete this before the fire shoots back through. Once you break open the grate, immediately drop down into the room.

 To the left in the room lies a save station, it is recommended to save. To the right, lies a flashlight, generator, and door.
 Open the generator and take the battery inside with you.

 Then, turn the handle on the door clockwise until it opens. Head through the passage until you reach the inside of the barn.

Part 6: The Barn, Garage, and Train
In the barn, remove the piece of wood blocking the front door and go outside.
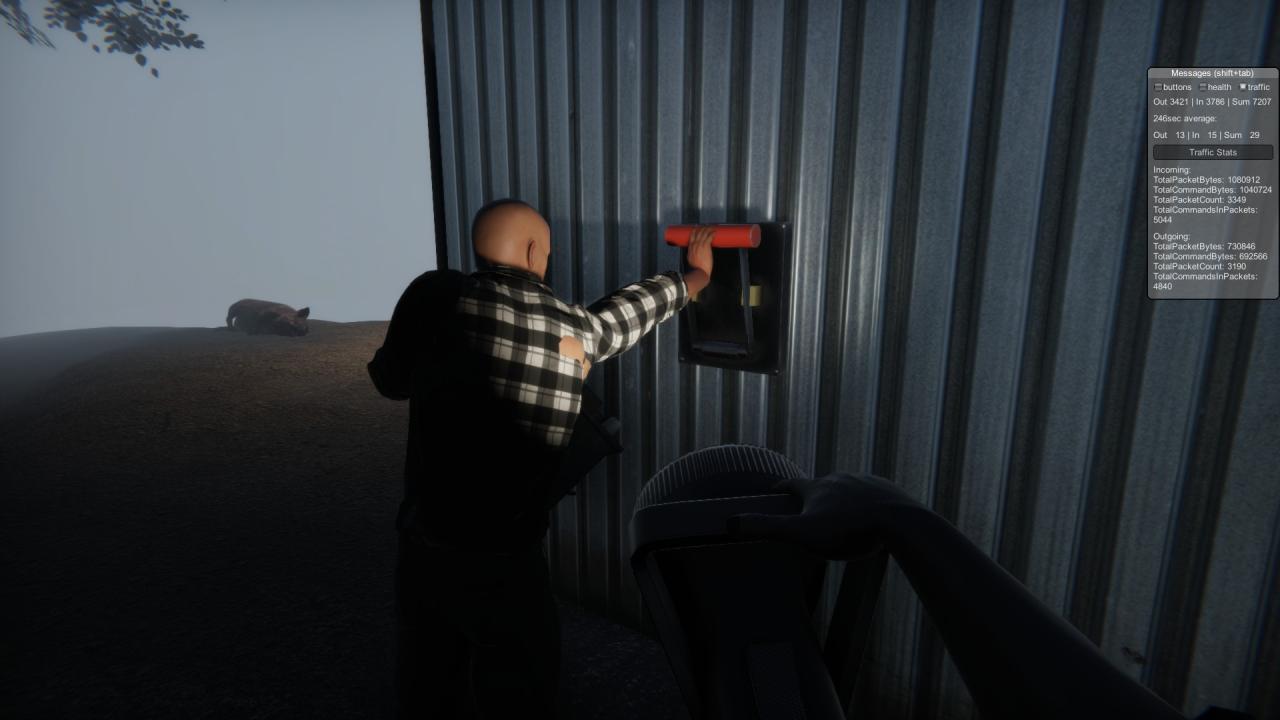
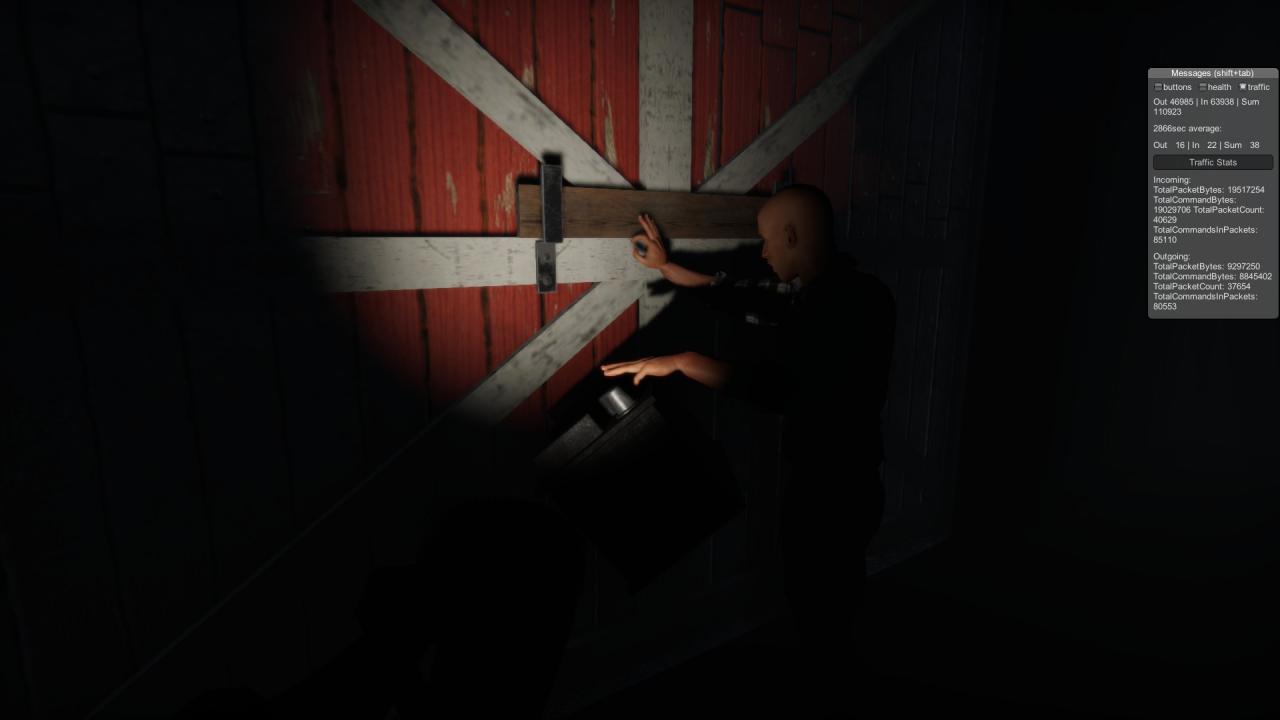 On the backside of the garage, push the lever into the upwards position and head inside the garage.
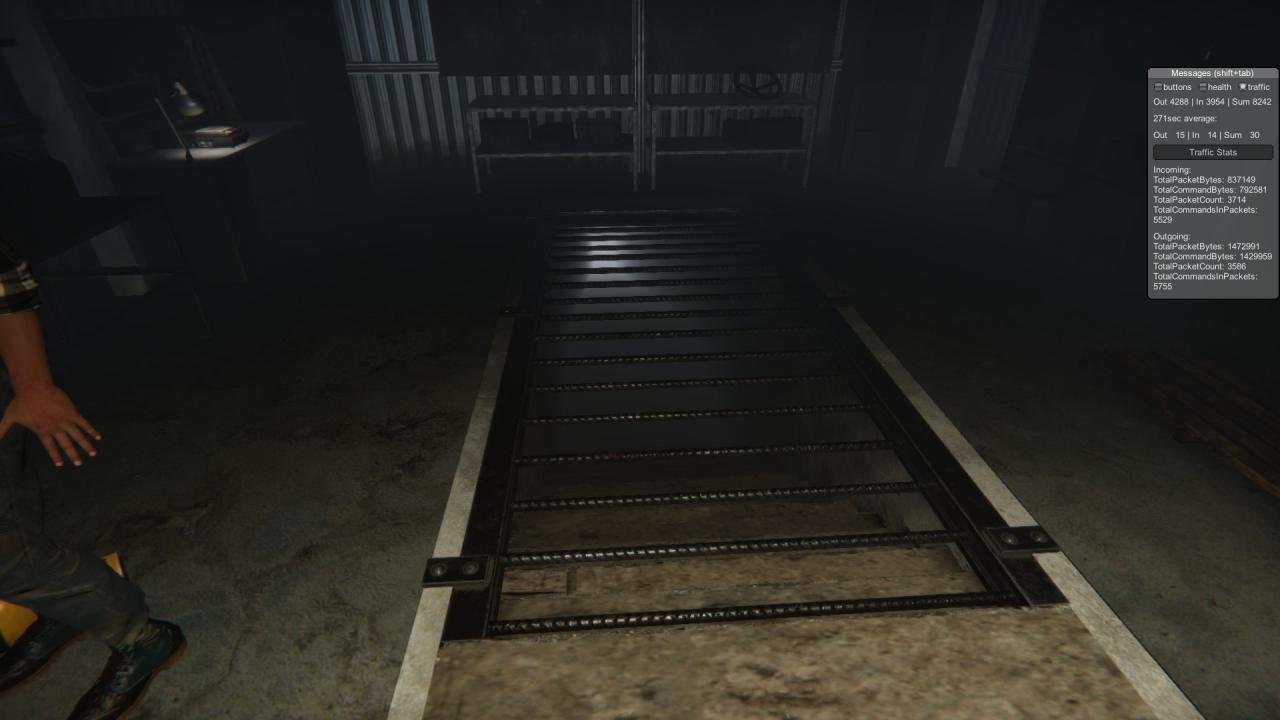
 Hit the button on the right of the wall to open the grated floor, but don’t head down the stairs yet.
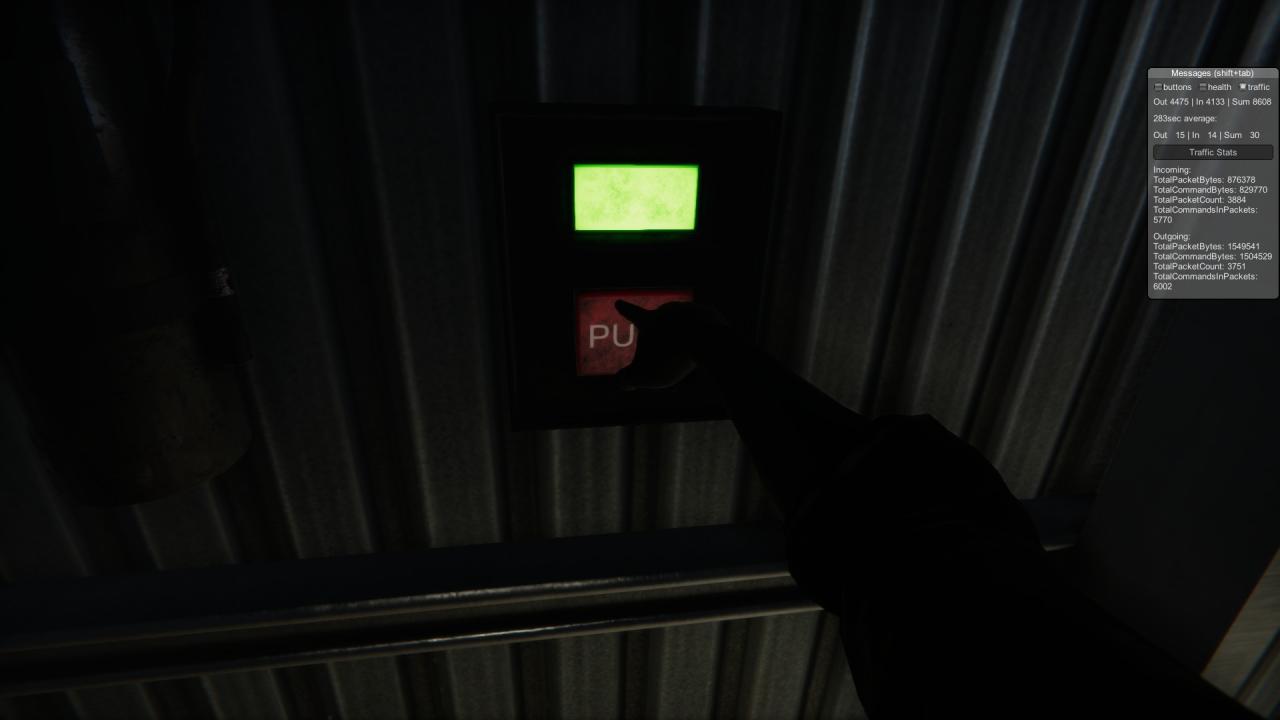
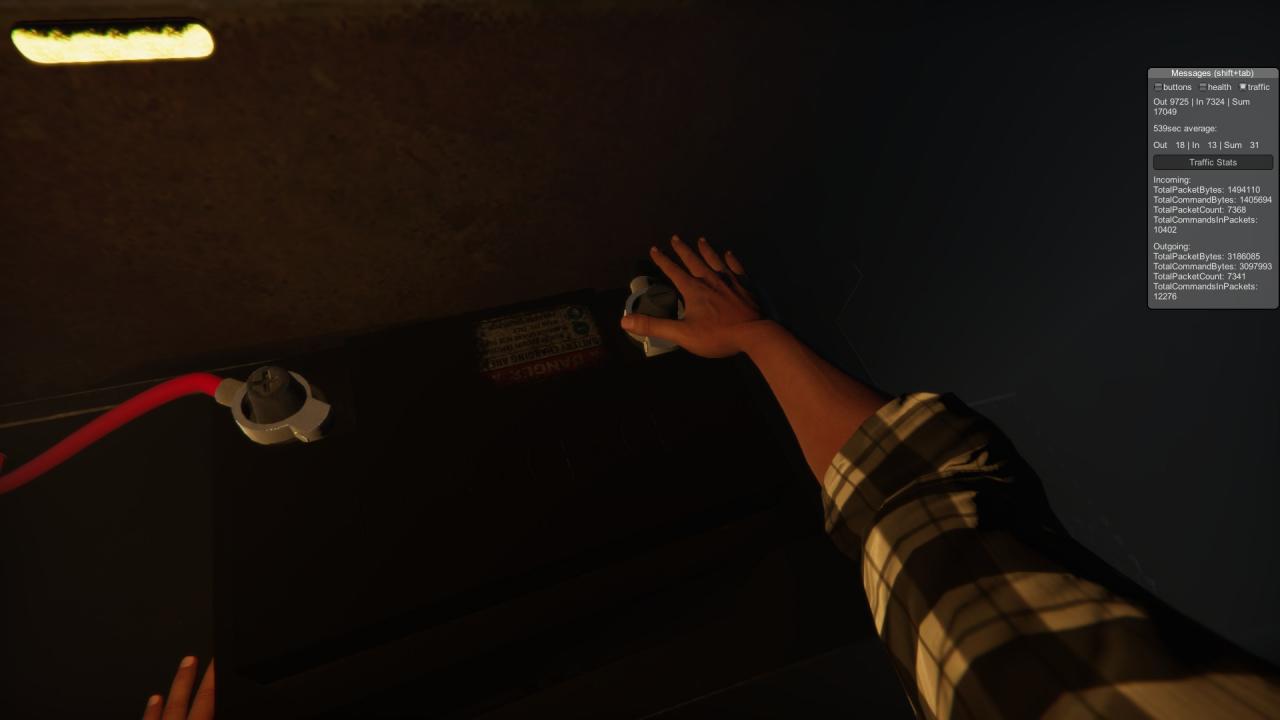
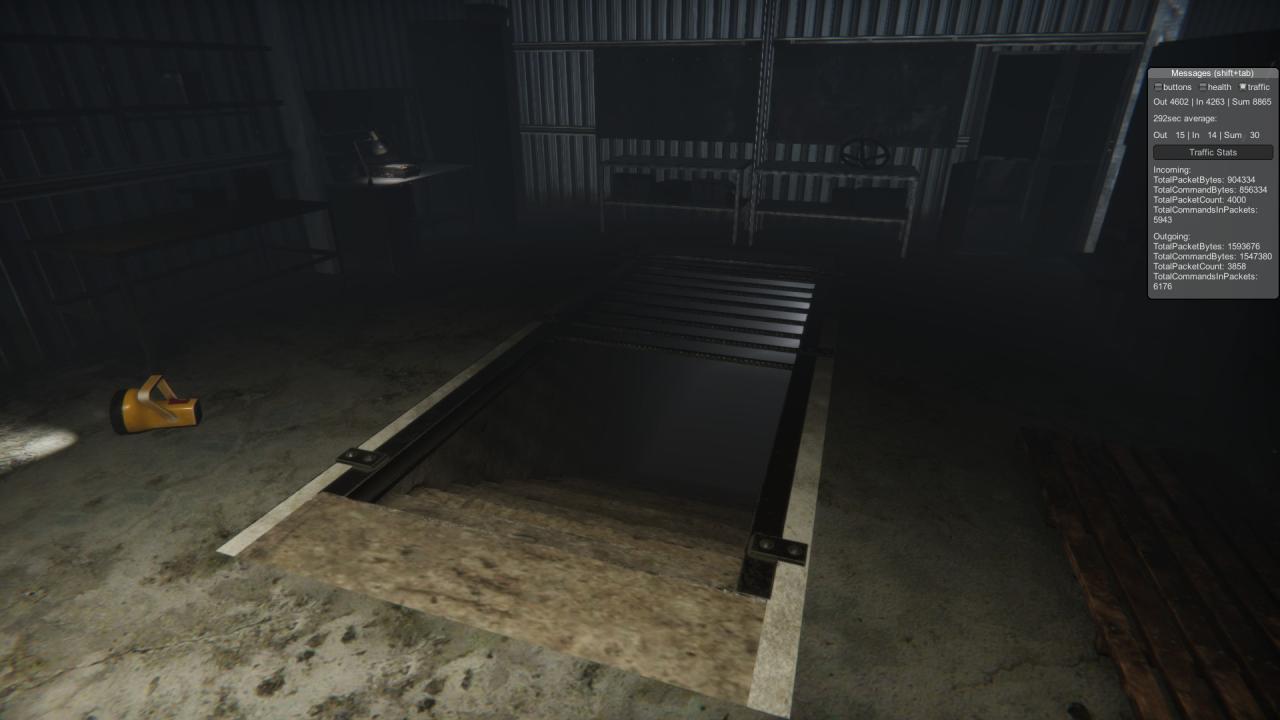 Next, place the battery on the chair so that the positive and negative terminals line up with the positive and negative cables. Place the cables on the battery and wait for the green light to stop blinking. You don’t need to worry about being electrocuted.
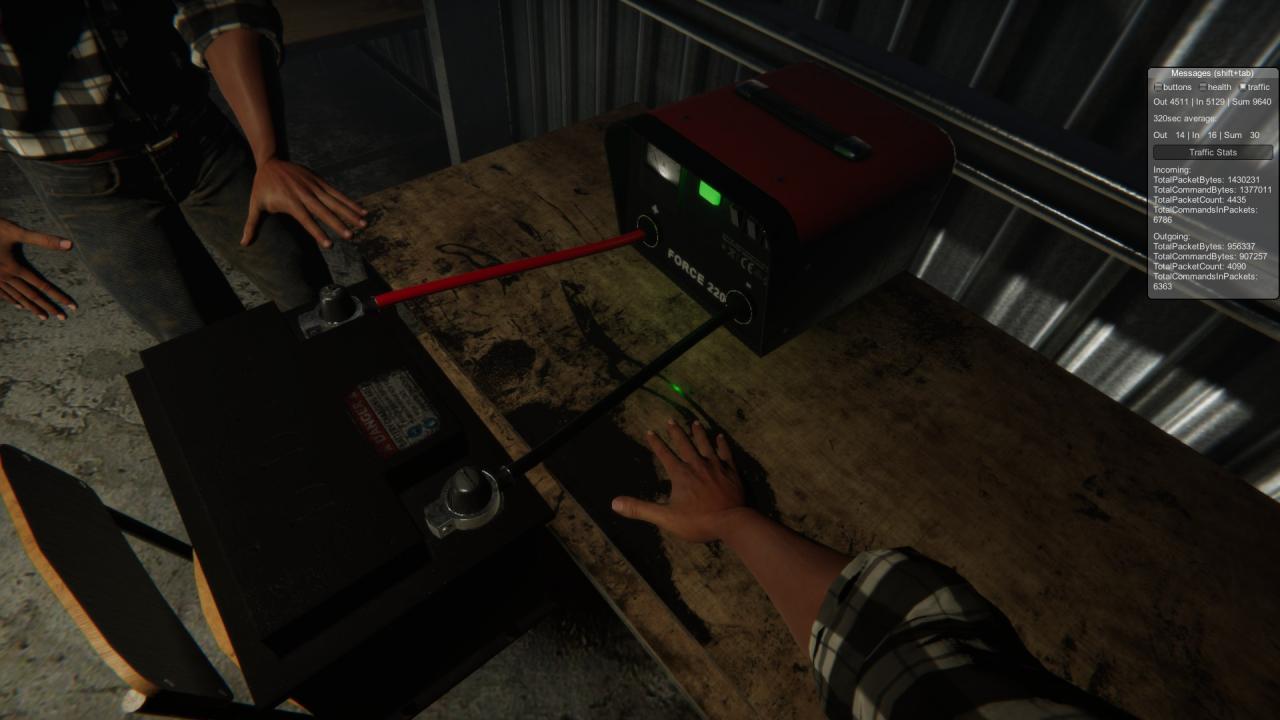 After the battery is charged, grab it along with the door handle in the back of the garage and head down the stairs until you reach the door at the bottom. Place the handle in the door and turn to open it.

 Next, climb into the cab of the train and set up the battery again.
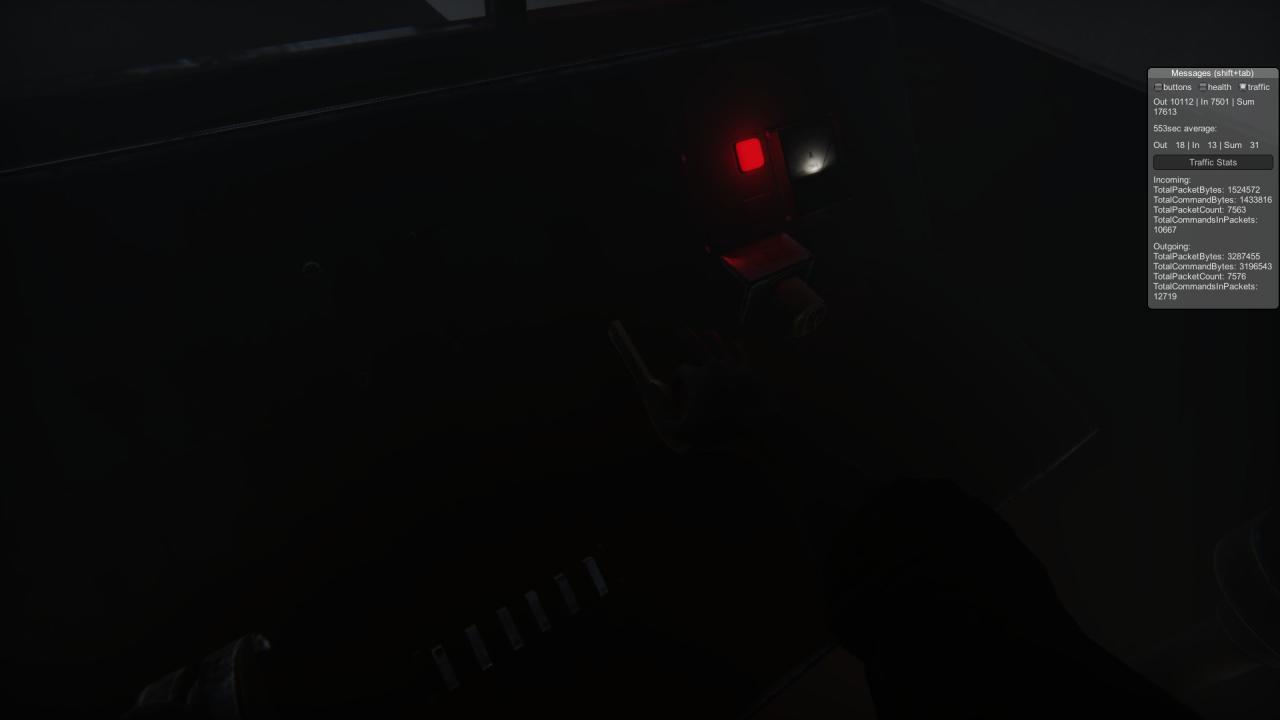
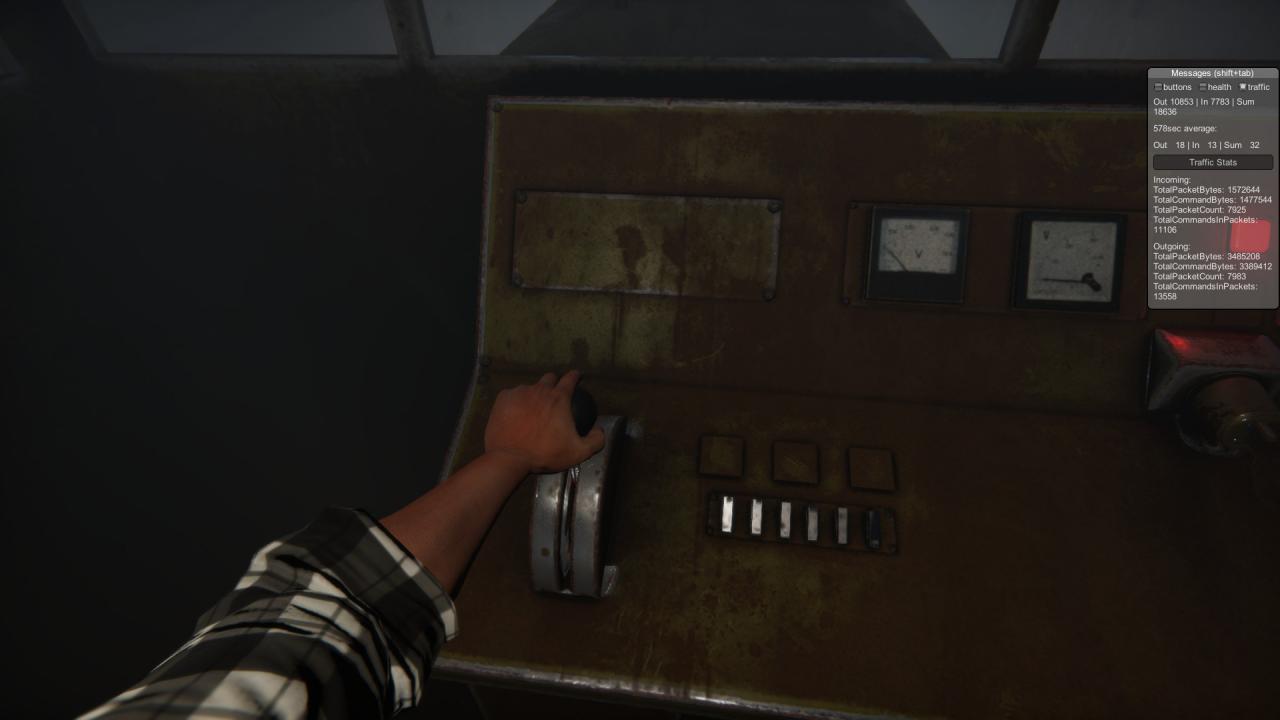
 Turn towards the front of the train, pick up the key and place it into the key slot directly next to it, turn the key until the engine starts up, and then push the throttle of the train forward.
 On the backside of the garage, push the lever into the upwards position and head inside the garage.
 Hit the button on the right of the wall to open the grated floor, but don’t head down the stairs yet.

 Next, place the battery on the chair so that the positive and negative terminals line up with the positive and negative cables. Place the cables on the battery and wait for the green light to stop blinking. You don’t need to worry about being electrocuted.
 After the battery is charged, grab it along with the door handle in the back of the garage and head down the stairs until you reach the door at the bottom. Place the handle in the door and turn to open it.

 Next, climb into the cab of the train and set up the battery again.
 Turn towards the front of the train, pick up the key and place it into the key slot directly next to it, turn the key until the engine starts up, and then push the throttle of the train forward.

The End
Congratulations, you have beaten Hand Simulator: Horror!


That’s all we are sharing today in Hand Simulator: Horror 100% Walkthrough Guide, if you have anything to addm please feel free to leave a comment below, and we’ll see you soon.
Credit to miscreant and swegdawgs
