This guide will give you summarized tips on how to create your very own VIP mods!
Step 1: Locate the template folder

If you are using windows, go to: Steam>steamapps>commons>BattleRoyaleTycoon_Data>Workshop
You should locate this folder which has the templates and other files Endless Loop Studios (our legend game devs) left for us.
You will find the Steam folder in your Local Disk (C:) in either Program Files or Program Files (x86).
Once located you have finished step 2.
Step 2: Create your own VIP Folder!
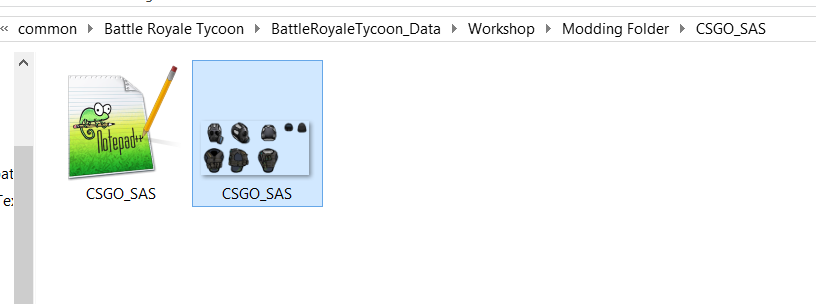
Always create your own VIP Folder and save changes separately, do not overwrite and replace any images you work with without a backup since you will see yourself off and lose your framework.
As an example, within the template folder I have created copies of the stuff Endless Loop Studios gave us and have replaced them safely with my own content for my mods.
Do this each time you upload a new VIP.
NOTICE: Make sure name your .ini file, your .png texture and your folder all the same for later’s upload.
Off to step 3.
Step 3: Editing your VIP texture
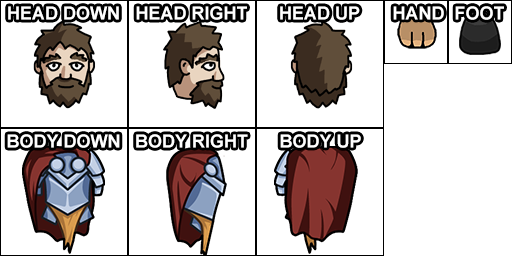
This is what is called a ‘texture’ in video games. This image has to be exported or saved in .png since the .png format in your image editing software is what allows transparency.
Using the template above, create your own torso, head, hand and feet texture by making sure you are perfectly aligned (or at least aligned to your body and head) to the template given above.
Below is my work for “CSGO SAS” which is a VIP mod I’ve done. It was done using Photoshop, if you cannot afford Photoshop I recommend using GIMP 2 since it is 100% free and will provide you the right tools for making mods in this game.
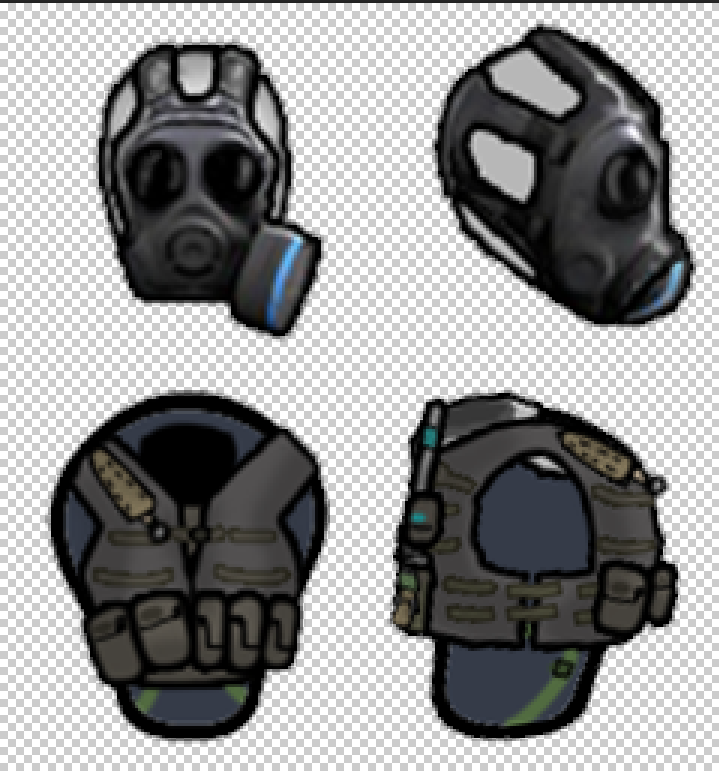
Let’s say you have finished your texture in your image editing software, make sure you have roughly estimated the VIP’s head and body alignment, you are now ready to save your file as a .png!
Once you saved it as a .png there shouldn’t be a white box anywhere in sight and it should have transparency and look like this:
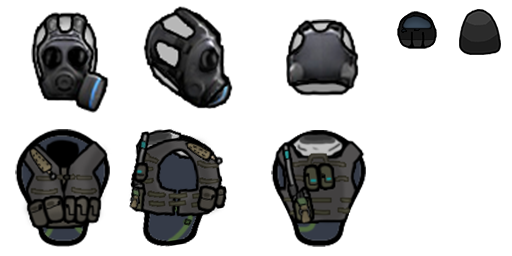
Note: This is not a drawing or art guide so unfortunately I have not gone into detail on texture work, I have simply pointed out how to align said textures and what format to save it in. You can draw by either using a mouse which is less costly, or use a drawing pad. Artist’s preference.
Once you have finished your artwork you have completed step 4.
Step 4: Coding your VIP name and one-liners.

Program you need is Notepad++ which you can download officially in this link:
https://notepad-plus-plus.org/download/v7.7.1.html

Link to my template file since the game does not provide one:
https://drive.google.com/open?id=1PI4tVpnEhT3W_uJlrjmZkMKXXVDB2s7L
Place this text file in the directory folder of your mod. If you followed Step 2 and you aren’t skipping anything, you should know to place this in your new mod folder that you made for yourself.
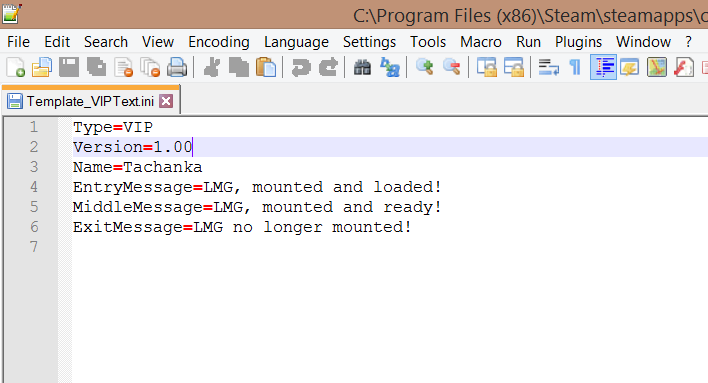
Once you have Notepad++ and you open (NOTE: Make sure you open with Notepad++) the .ini file I have provided, you will see something like this.
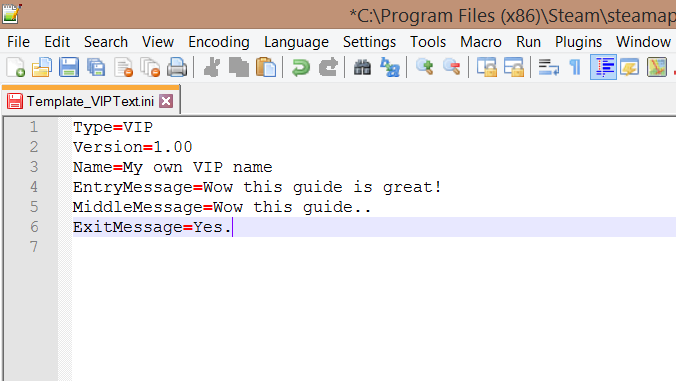
Change it to your own VIP name and description!
Once you are done, save your own file.
Rename the .ini file with the same name as your texture file:

It should look like this as the final product, make sure you do not delete the ‘.ini’ extension file or else the computer will get confused and not know what file type it is, meaning you’ll have to get a new .ini file.
Off to the step 5!
Step 5: Testing your VIP in-game
Endless Loop Studios has not created a good system for us to update our mods or provide bug fixes, if you upload your mod now and there’s a problem with it I.E. the head is way off the right so your character looks wonky, any fixes to your mod will not be saved in Steam Workshop. You are forced to delete the upload and then re-upload the updated version, if anybody has subscribed to your released mod they will lose the file and you will lose the subs.
Make sure you do lots and lots of testing before uploading and avoid having to delete and re-upload your VIP.
Back to the guide.
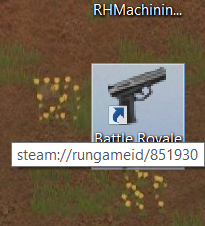
So open your Battle Royale Tycoon game.
In the Main Menu click ‘Workshop’ and you should see something like this:
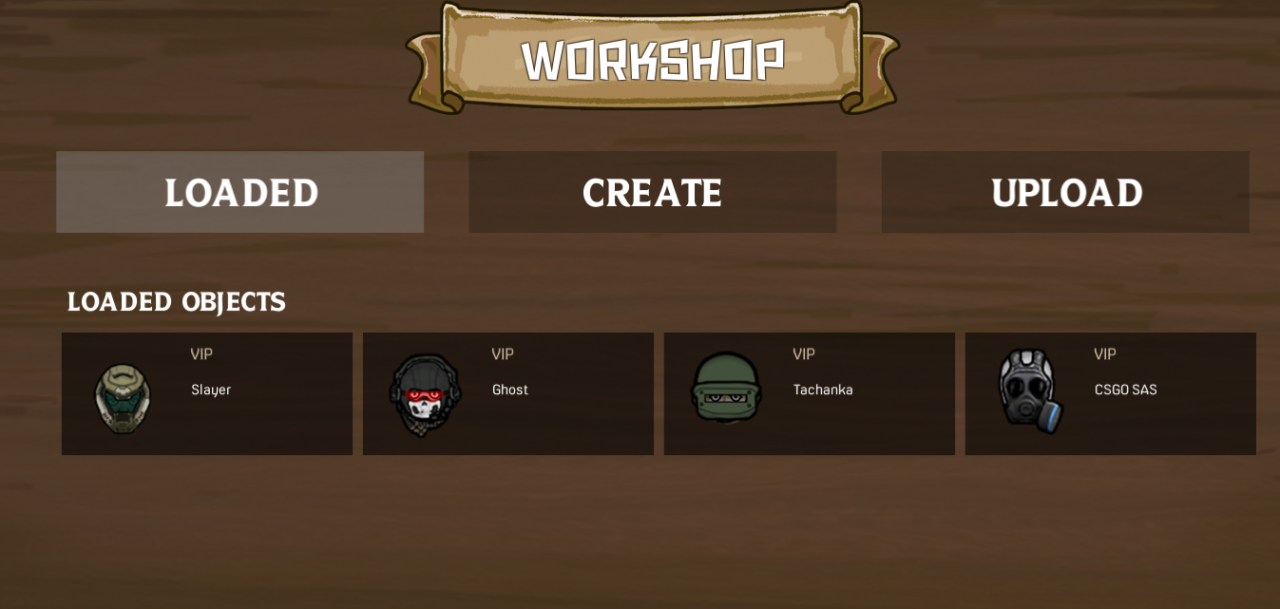
What you should find is your own created VIP and whatever mods you subscribed with. Again, read above, do not upload anything yet. Make a good habit of playing safe now since it is a good modder’s habit to not risk their mod user’s gamesaves with rushed releases.
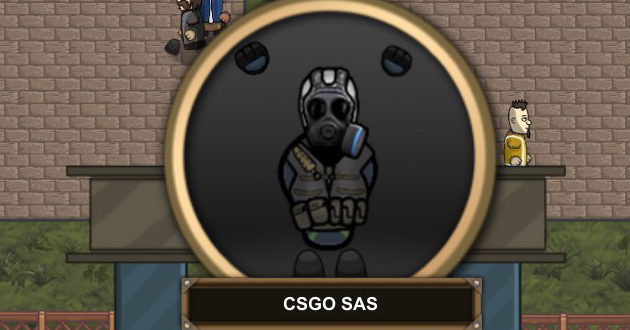
I recommend for ease of testing and making your VIP spawn in-game (not any subscribed ones), temporarily unsubscribe from all your workshop files since Endless Loop Studios haven’t given us the ability to force VIP spawns.
Get ready to start New Games A LOT or just fast forward a good save with lots of attractions until a VIP comes.
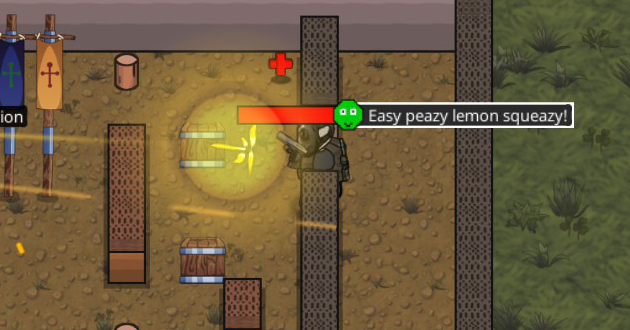
Moving on, if you find any issues with your VIP such as the head being aligned wrong or such, please go back to your VIP texture and just edit it. If not, it’s time to make a preview for the release.
NOTE: While you are testing, take some screenshots of your VIP in-game so you can use it later for previews!
Step 6: Make your custom preview – finishing touches

So this is the template preview, we want to make our own awesome one in our image editing software (Again, I am using Photoshop but you can use whatever.)
I like to stick with Endless Loop Studio’s format to make my mods feel all ‘official’ so I keep the white boarders.
I’ll skip the part of me doing this in Photoshop since it’s not so important to the guide and it’s pretty basic stuff.
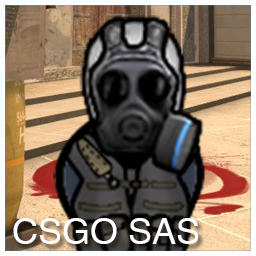
So there it is, I enlarged my CSGO guy in portait mode after the GabeN mod’s portait, you can use any template to help you set up your foundation.
NOTICE: Make sure you save in .jpeg or .jpg
Like the textures they need to be saved in a certain format, the thumbnail has to be .jpg for the game to find it.
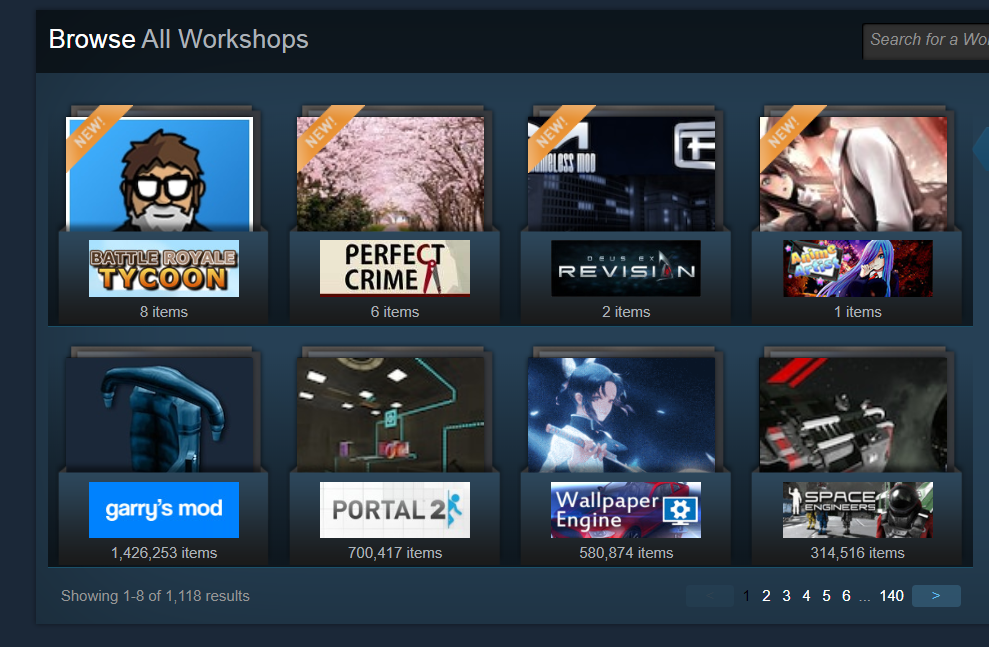
Try and make your mod’s preview eye-catchy and pleasing to people passing by so they can get pulled into checking out your mod and heck, even checking out Battle Royale Tycoon since your published work gets bumped into the front page of Workshop.
Battle Royale Tycoon can get more attention when it has more modding activities in it’s community, so not only do you get to do cool stuff for the game and add your own content, but you get to help support Endless Loop Studios!
Off to the final step.. The upload.
Step 7: Upload your mod to Steam Workshop
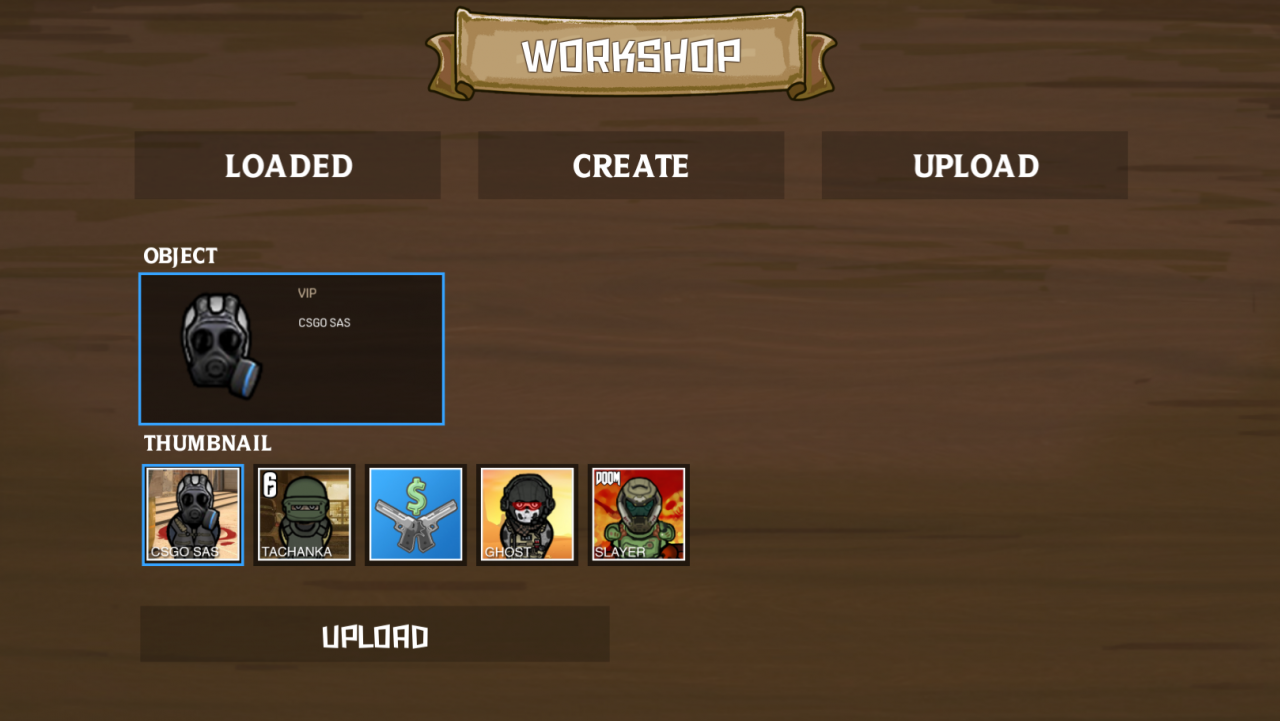
So once you go back to Battle Royale Tycoon, in the Workshop section from Main Menu you can now upload your VIP which has it’s own custom textures, name and thumbnail.
You have done rigorous testing which is the sign of a bonafide pro-modder before release so you make zero mistakes, and now it’s time to see it in Workshop to be enjoyed by many.
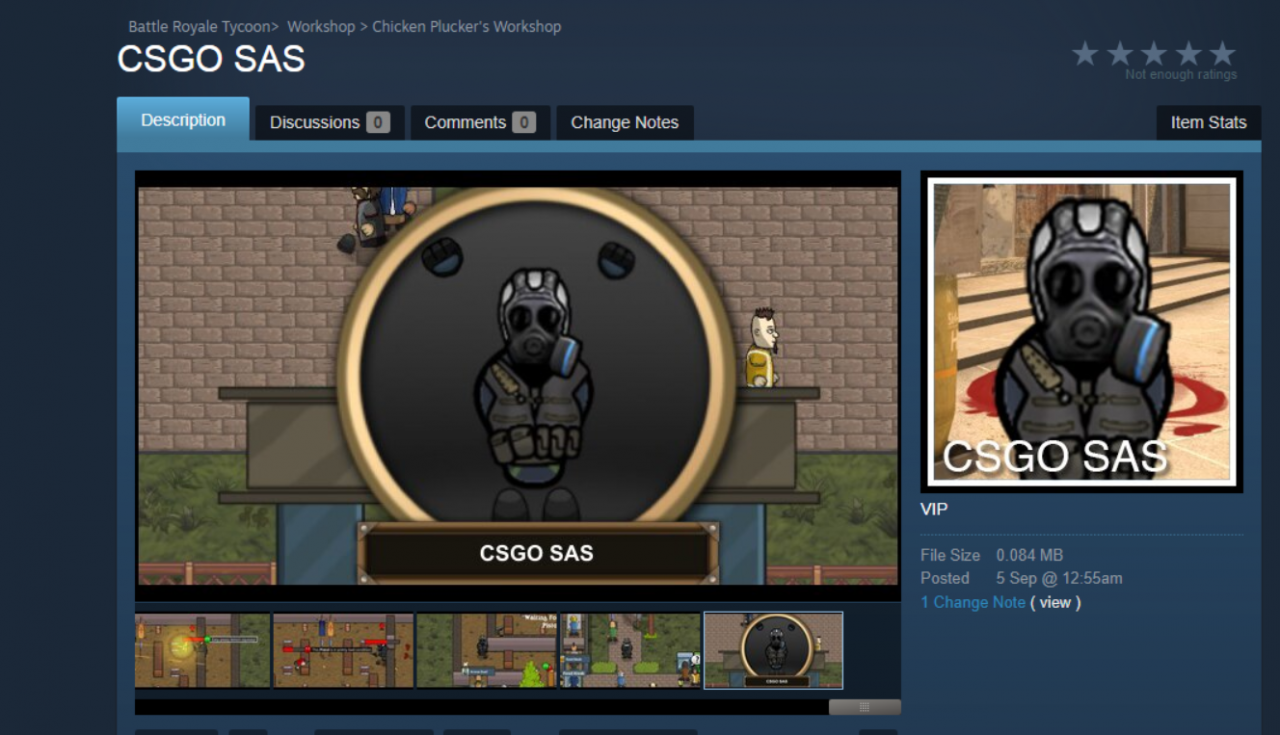
Add some previews! Make your mod look appealing, I’d also upload my thumbnail for people to see it twice. I usually edit my screenshots to a smaller resolution, making sure my modded VIP is the centre of attention like so:
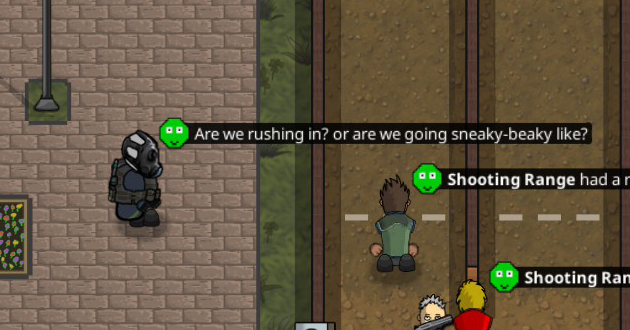
And finally make your description cool!
Write something witty, funny or just leave information about your character.

And you are completely done!
Congratulations on releasing your new VIP mod.
