For SUPER CHICKEN JUMPER players, this guide will teach you how to make and upload a skin for people to use in the game! Let’s check it out.
New Skin Tutorial Guide
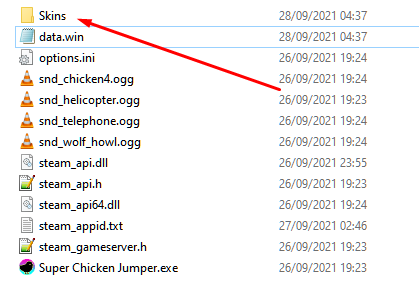
First go to your Super Chicken Jumper installation folder.
It’s usually somewhere like this: Steam\steamapps\common\Super Chicken Jumper
Inside this folder there should be another folder called “Skins”.

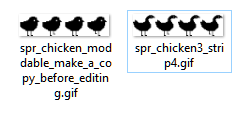
Inside the “Skins” folder you will find the Default skin for the main character.
IMPORTANT: EDITING THIS SKIN WILL EDIT THE ORIGINAL CHARACTER. MAKE A COPY BEFORE YOU DO THIS.

For this to work properly your character has to:
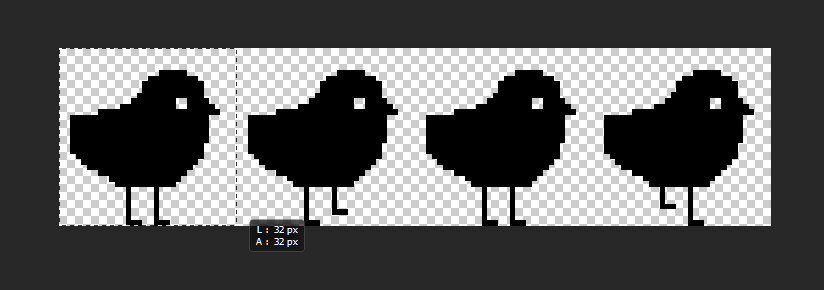
1 – have 4 frames for the animation to work (just like the default sprite shows)
2 – be a 32×32 pixel art on each frame, making the image have exactly 128×32 just like the default one.


3 – be transparent in the background.
4 – save it either as a gif or a png (if you save it as a png, rename it to a gif)
Now if this new .gif file on your skins folder, go into the items tab inside your game and change skins, it should automatically load your new skin!
Now, you main share it the way you like, but for now we are trying to start a community at the major modding websites like Nexus, so maybe that’s a great place to start!
