Tutorial
This level contains only a single (unmarked) secret.
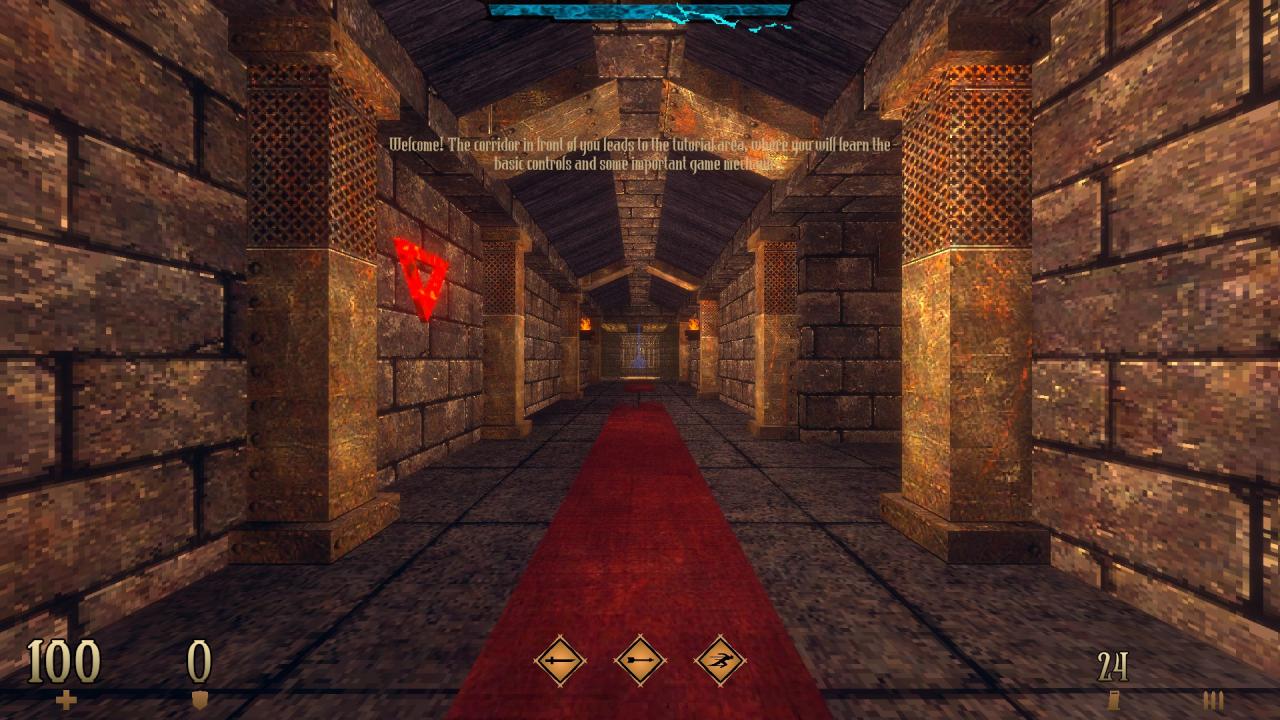
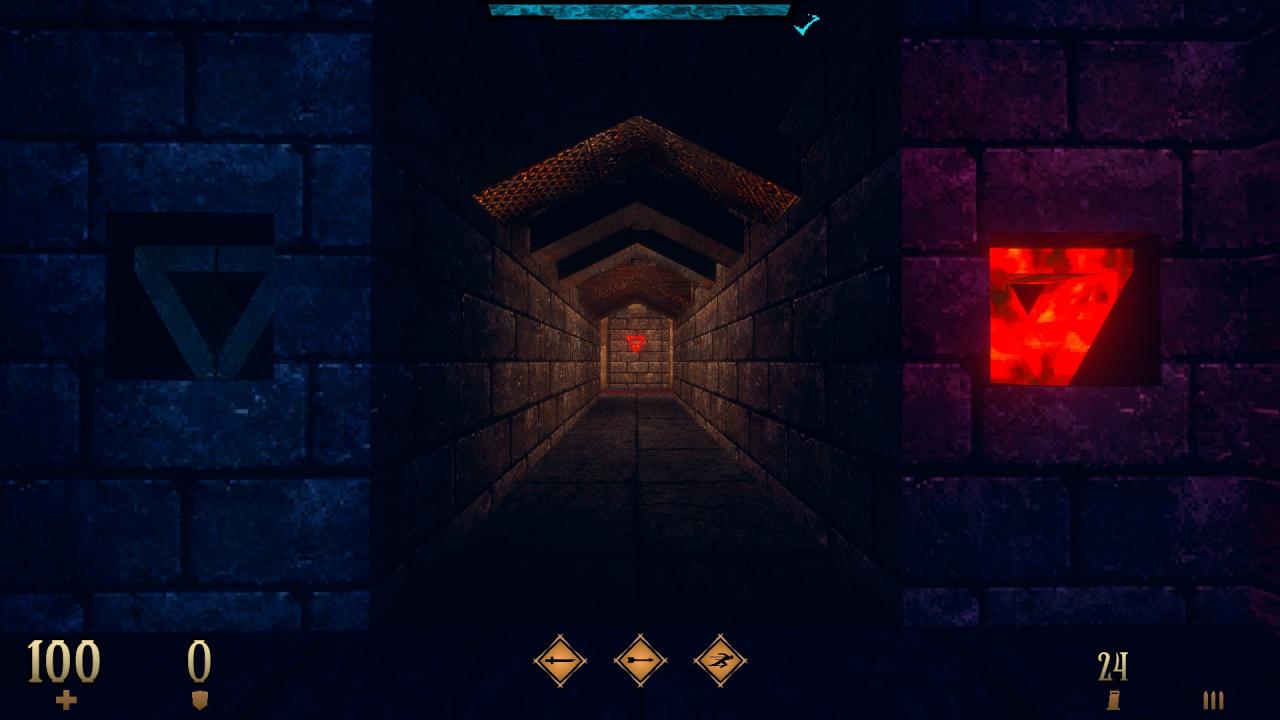
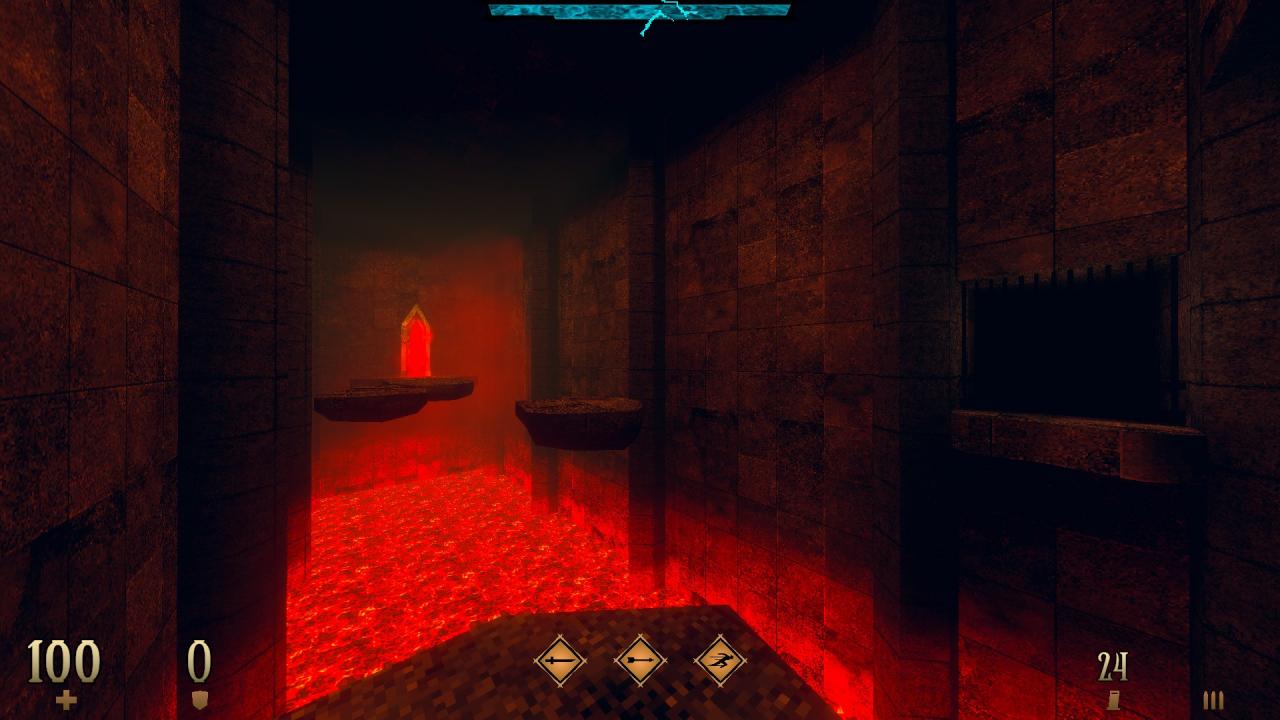
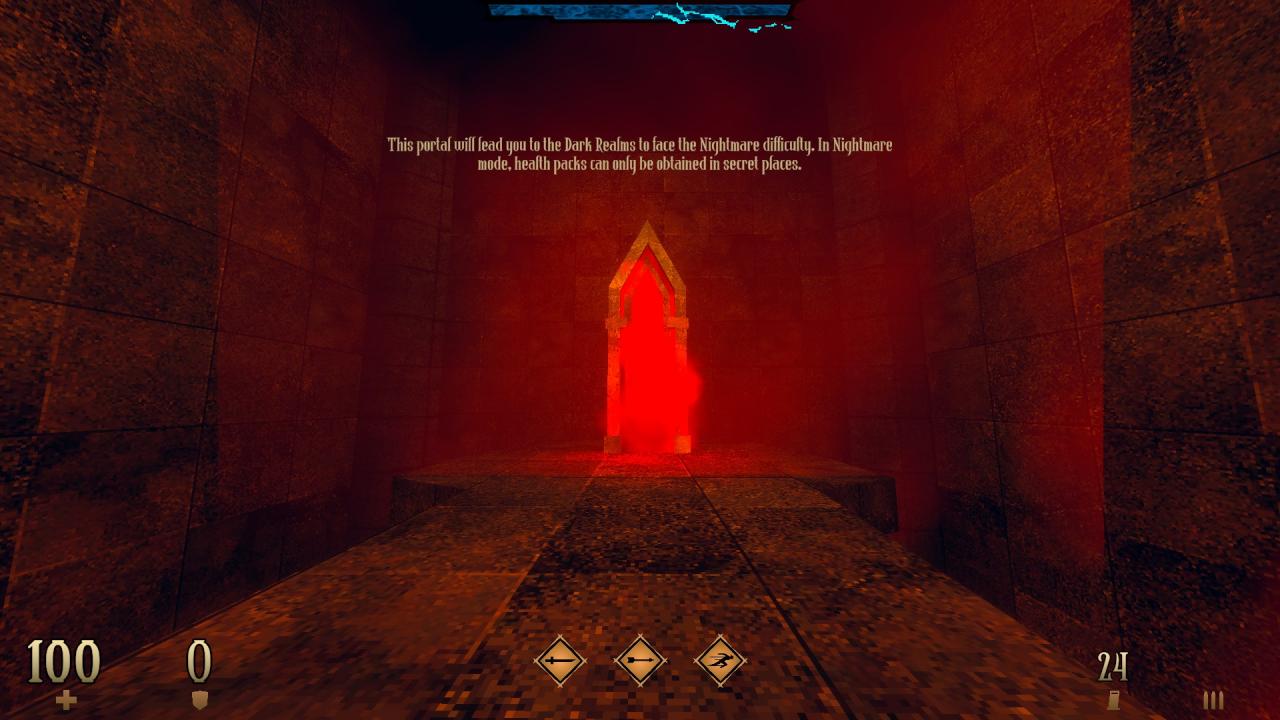
1/1 – Turn right and open the gate that leads to campaign proper. Instead of stepping into the portal, turn back and use the glowing emblem on the right side. Go through the newly-opened door and dash your way to the portal at the end to access Nightmare difficulty.
E1M1: The Beginning
This level contains 7 secrets.
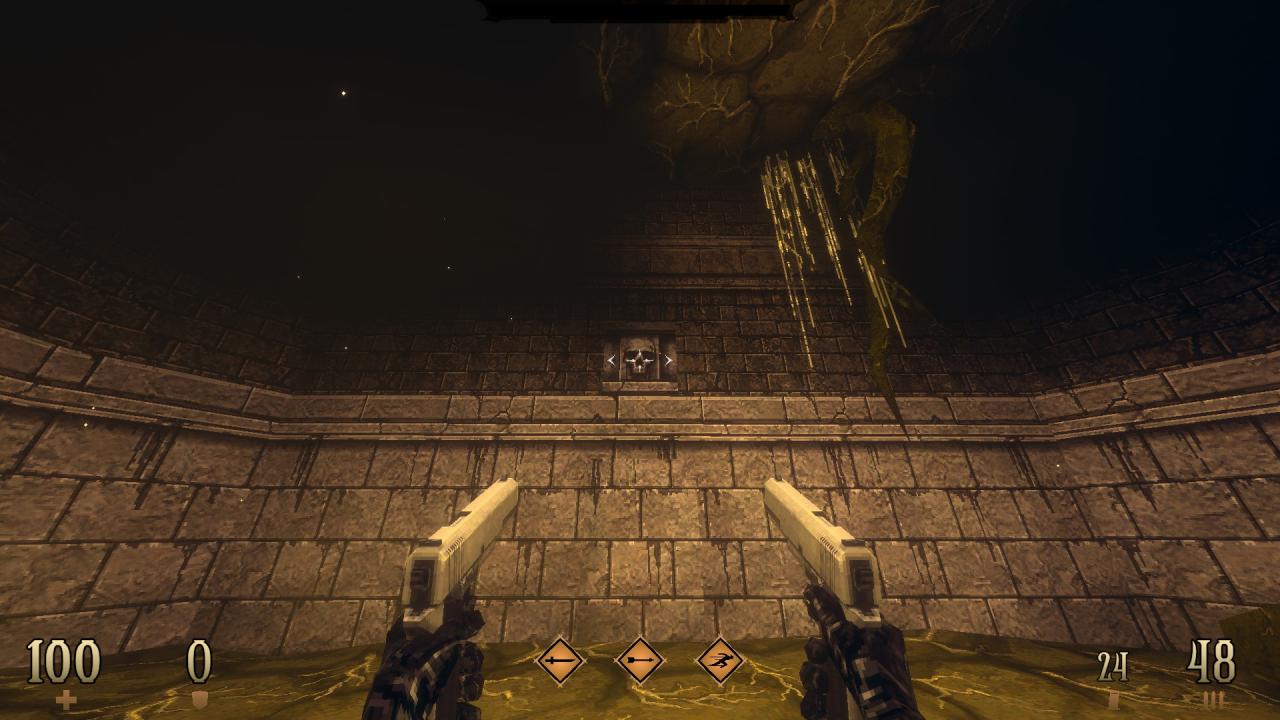
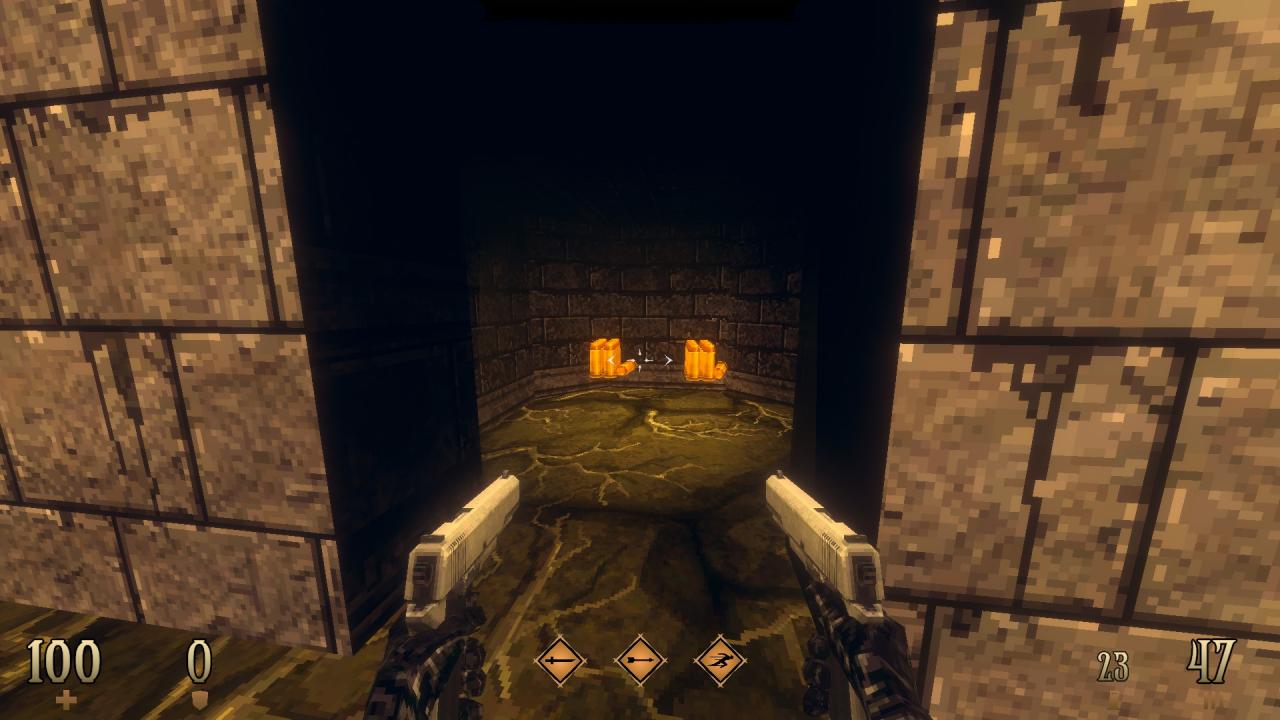
1/7 – Turn around at the beginning and shoot the skull plate to reveal a hidden compartment.
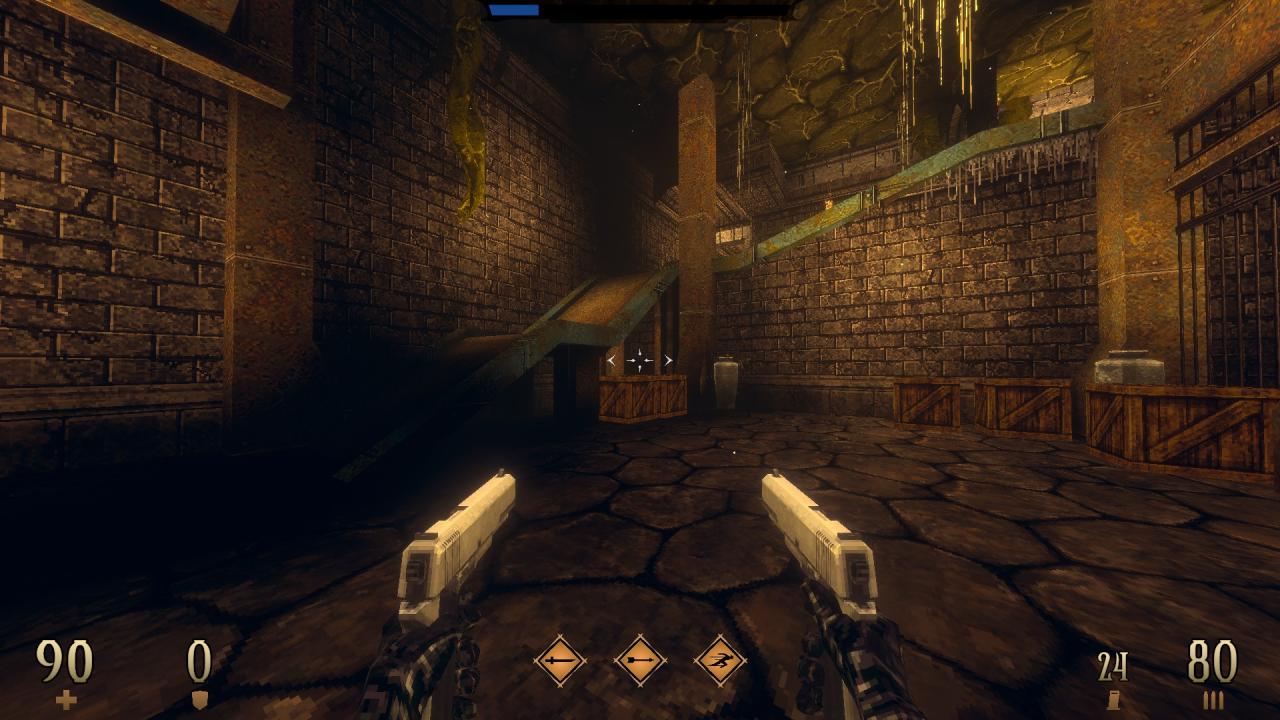
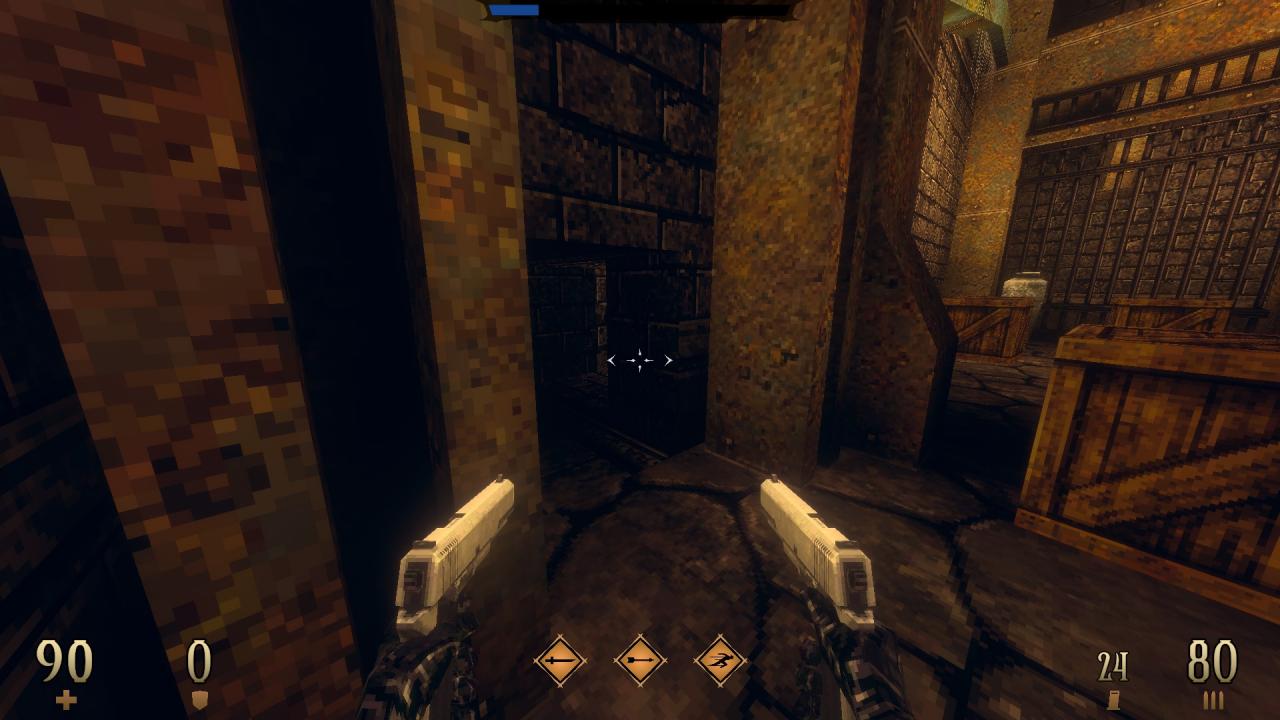
2/7 – Break the crates under the stairs and crawl in to find a hidden compartment.
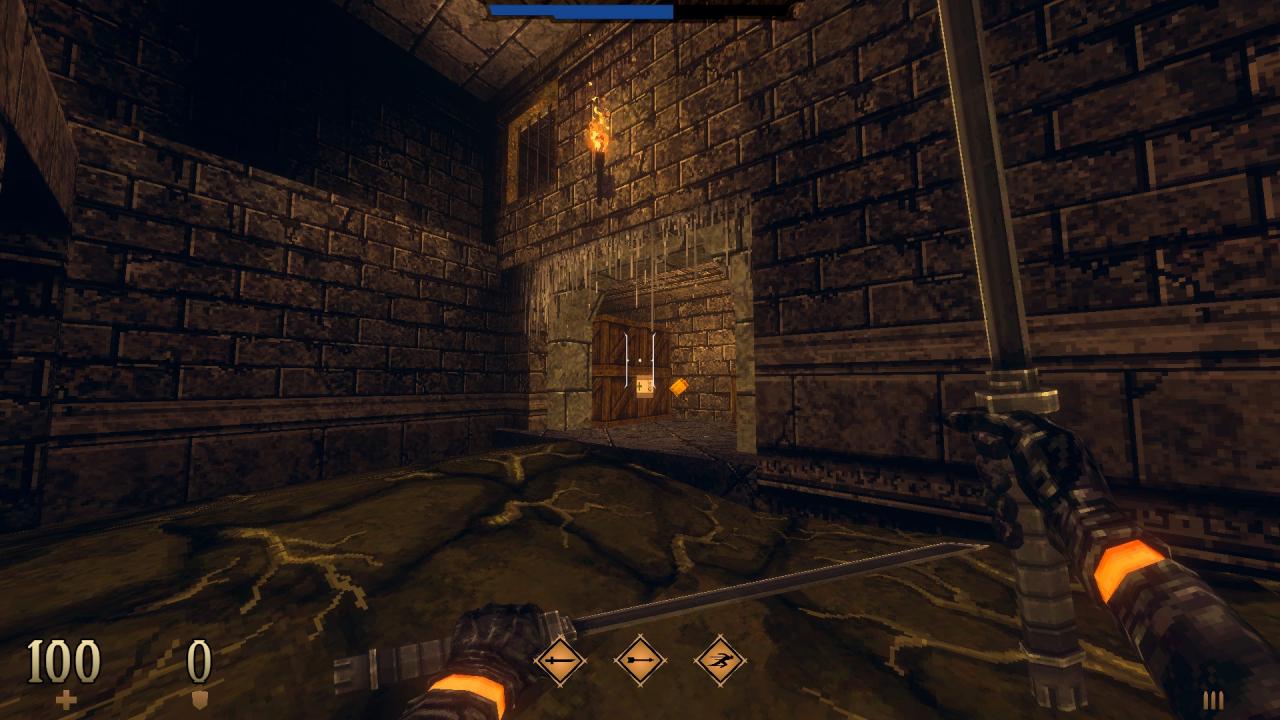
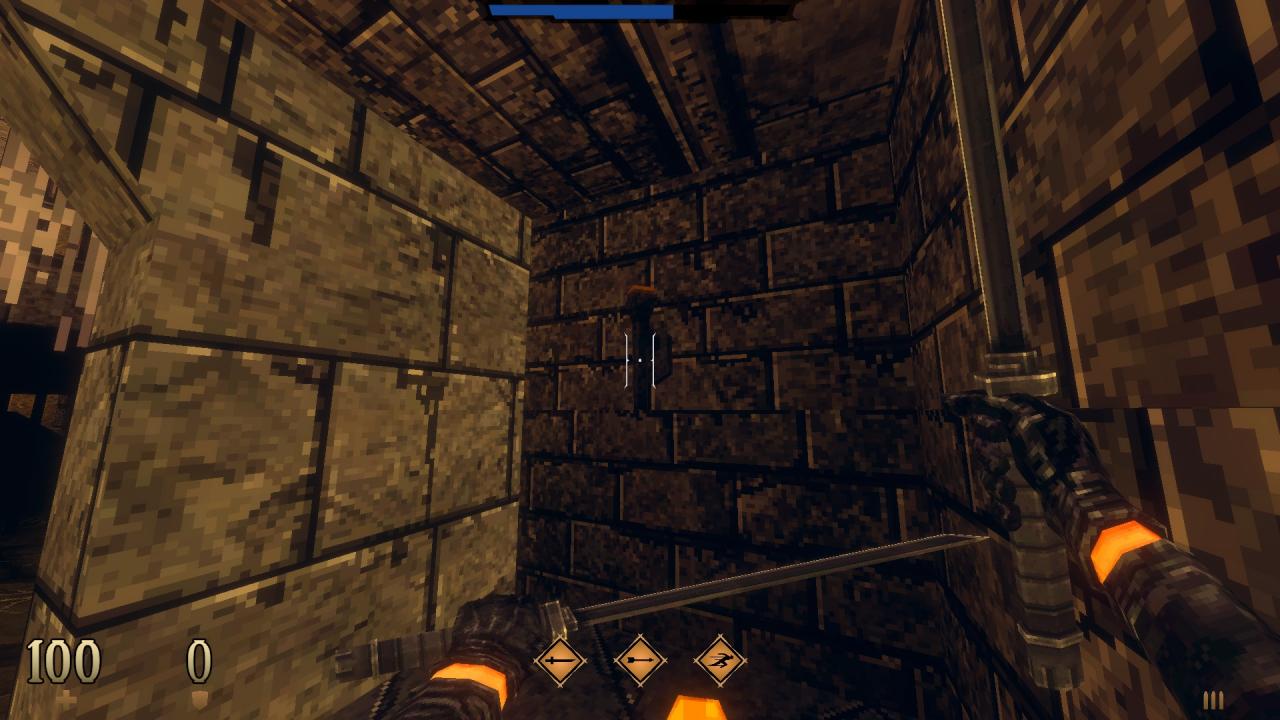
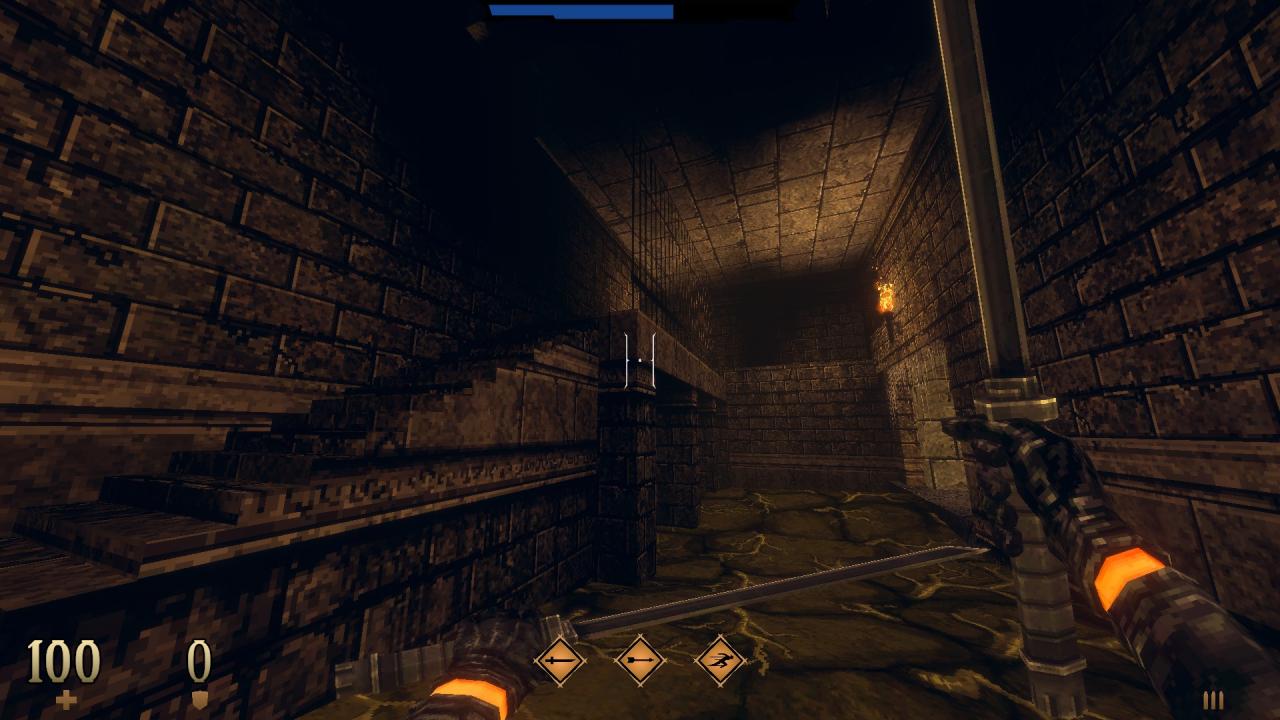
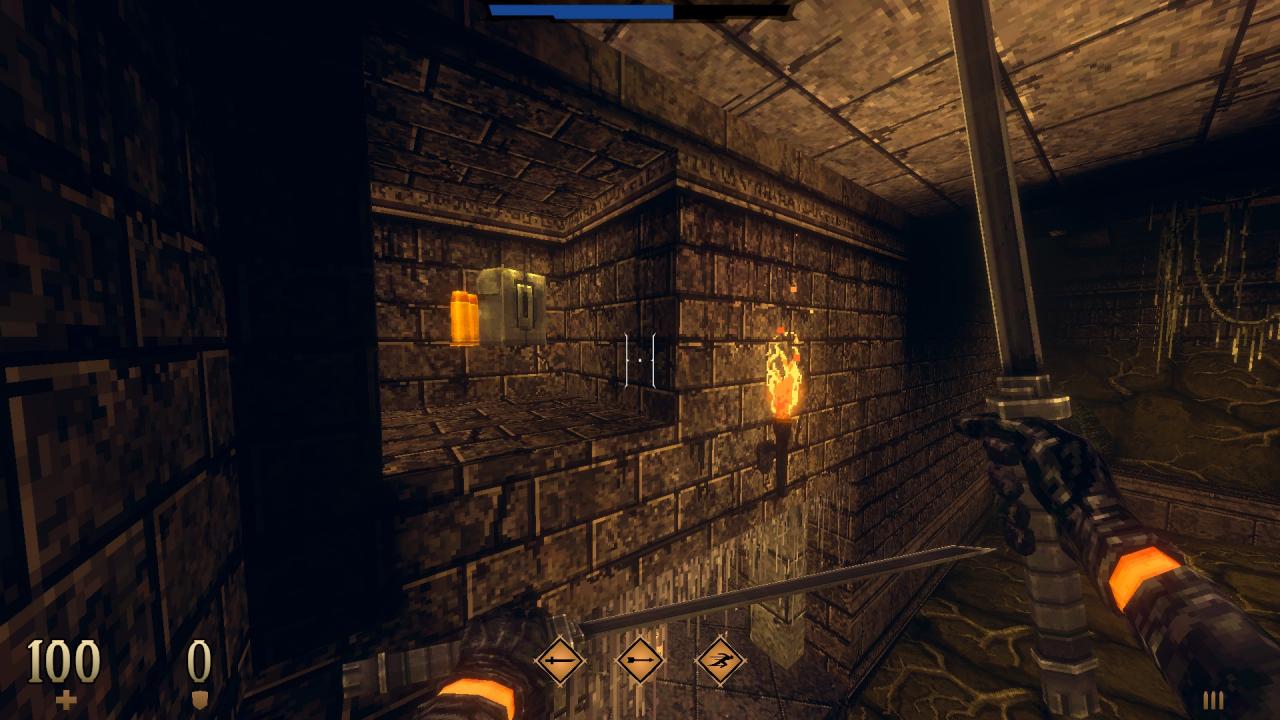
3/7 – Break the crates and use the unlit torch behind to open up the locked compartment in the same room. Move alongside the fence to reach it.
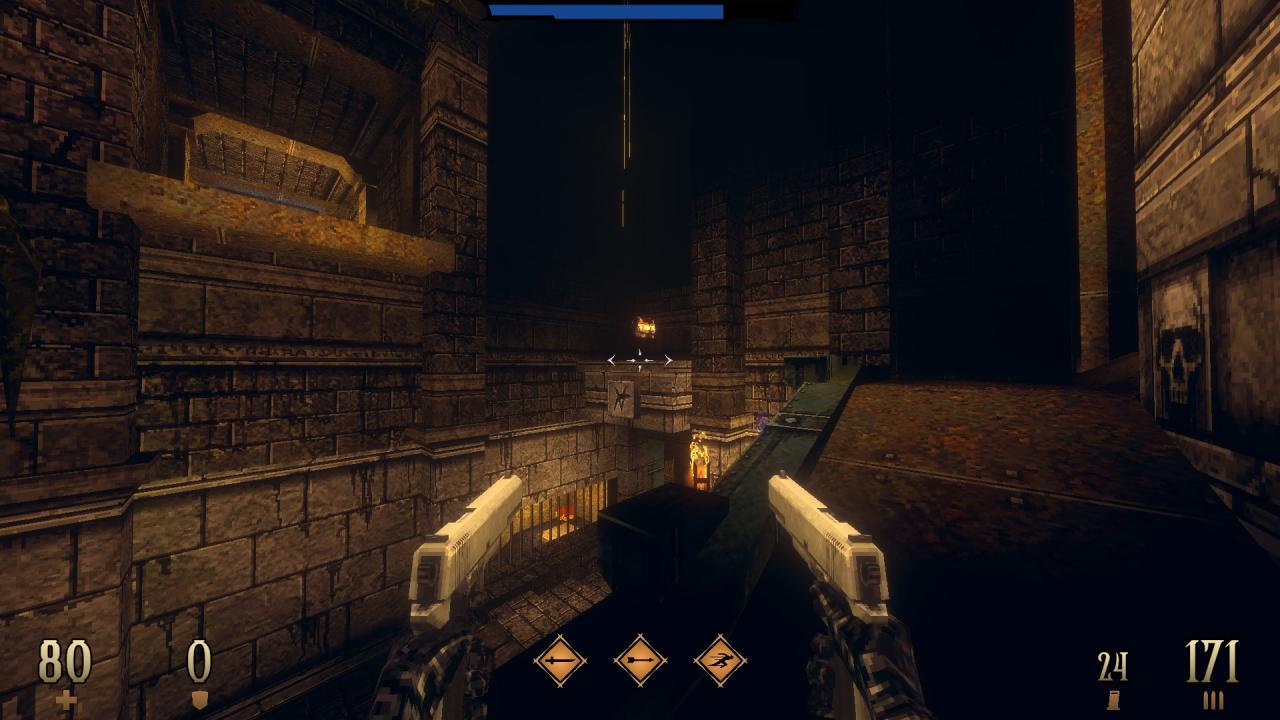
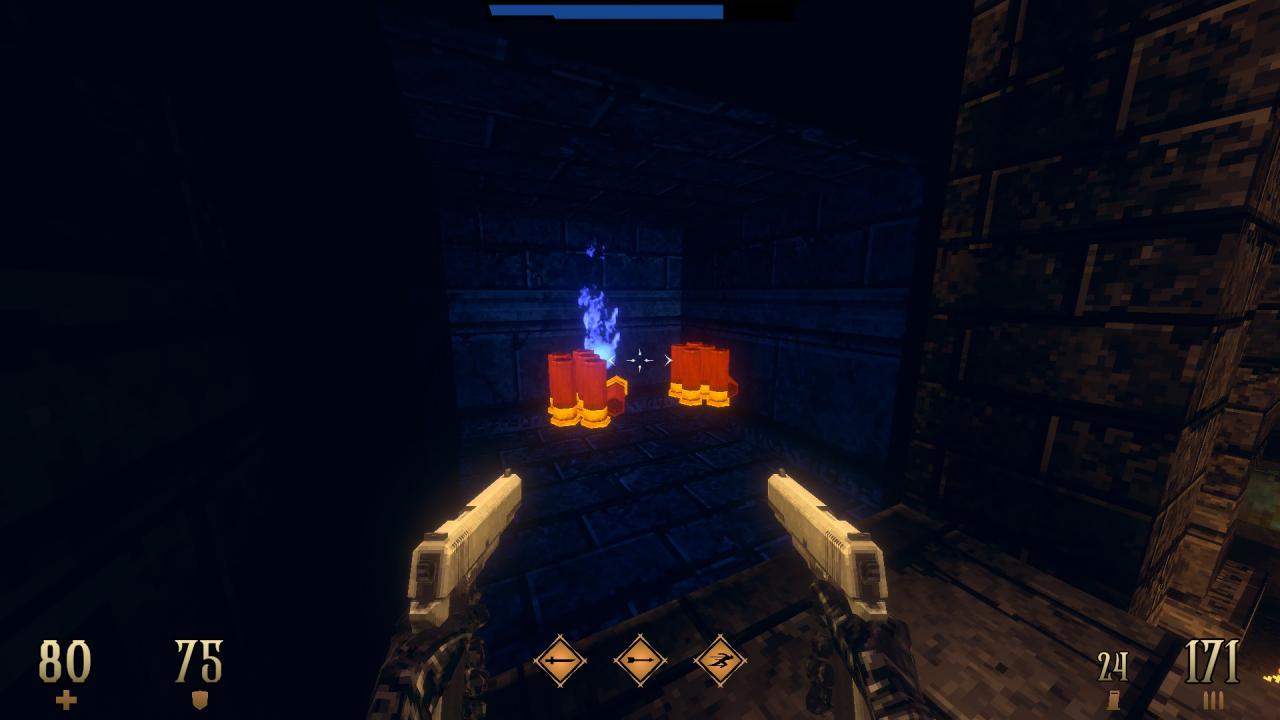
4/7 – Get the armor and use the wall behind it to reveal a hidden compartment.
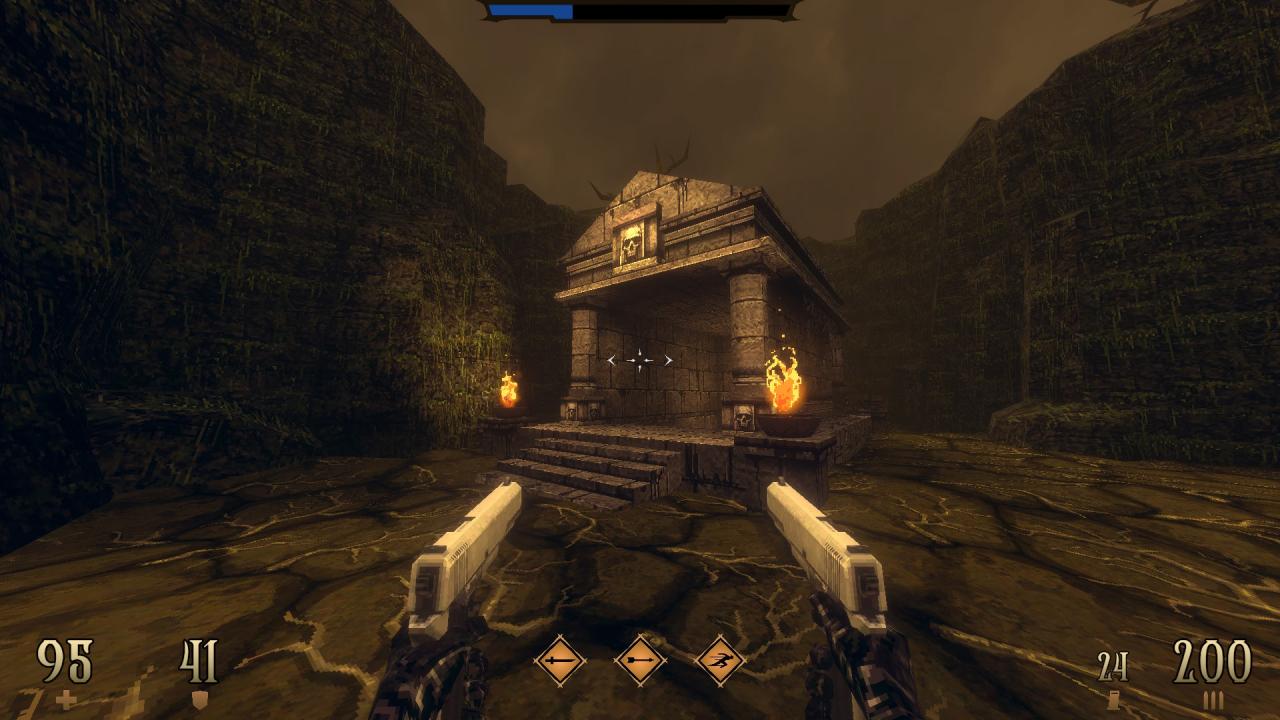
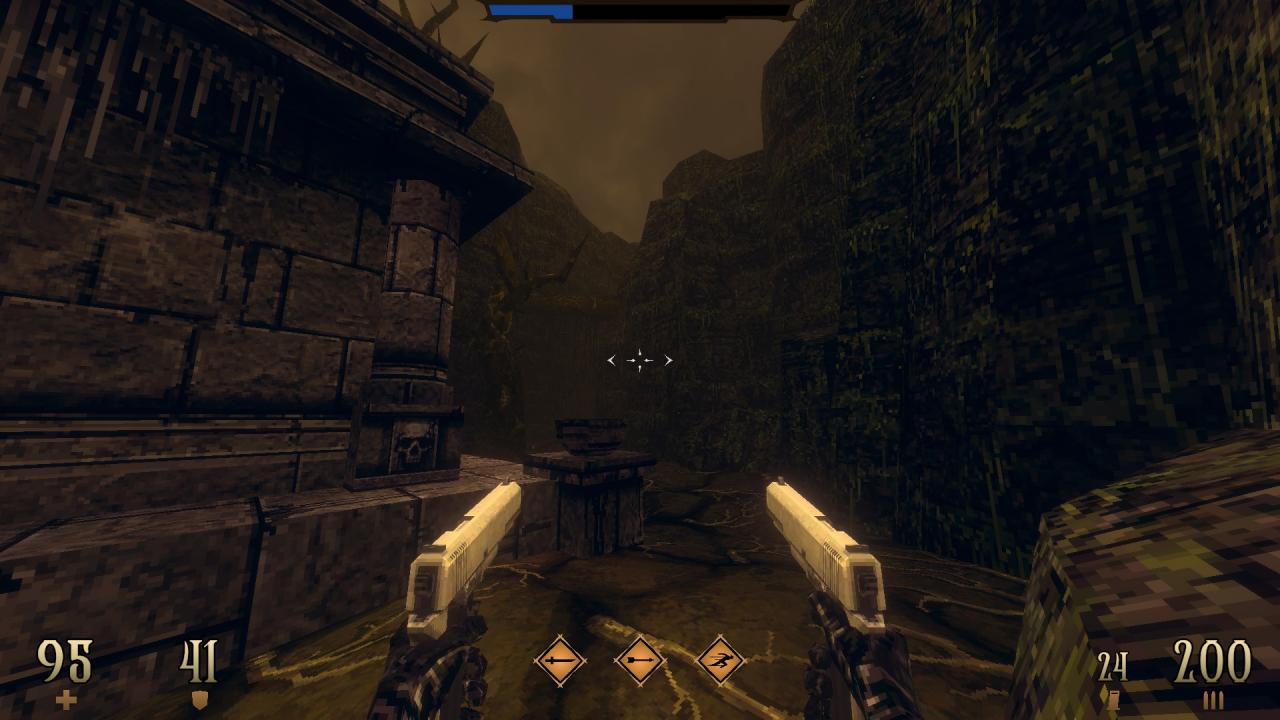
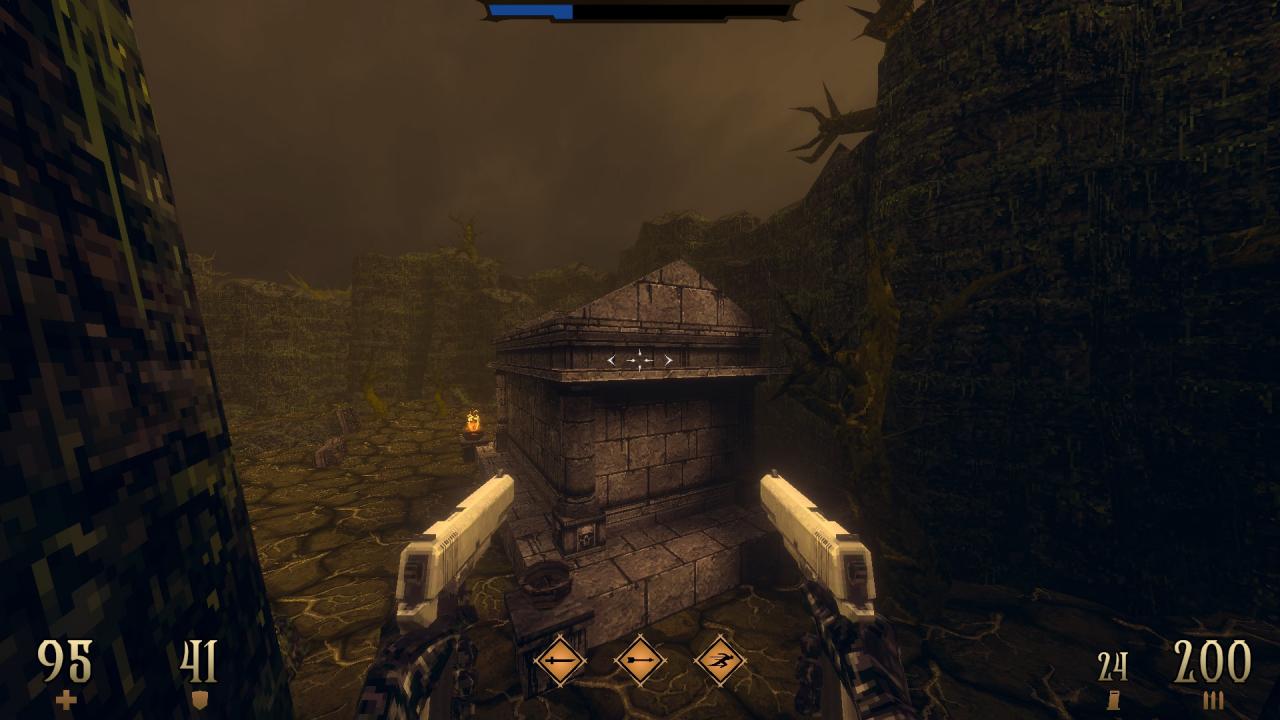
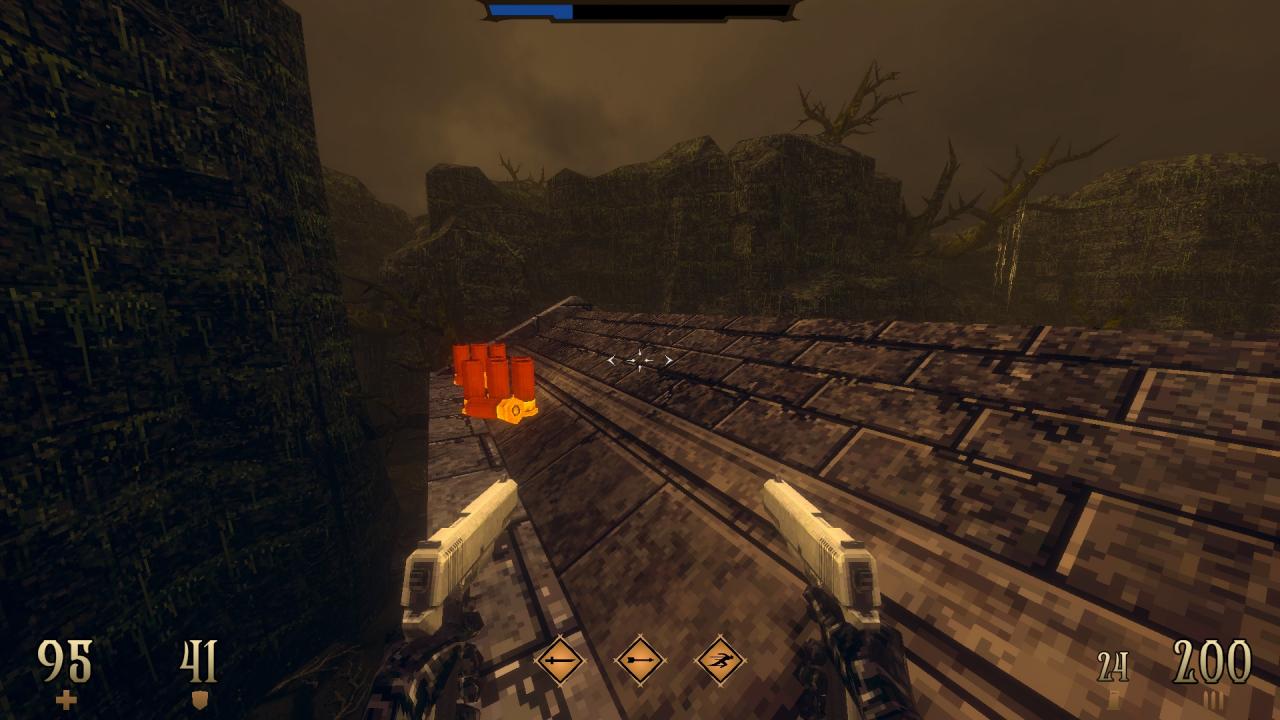
5/7 – Dash your way to the top of the tomb you come out to find hidden ammo.
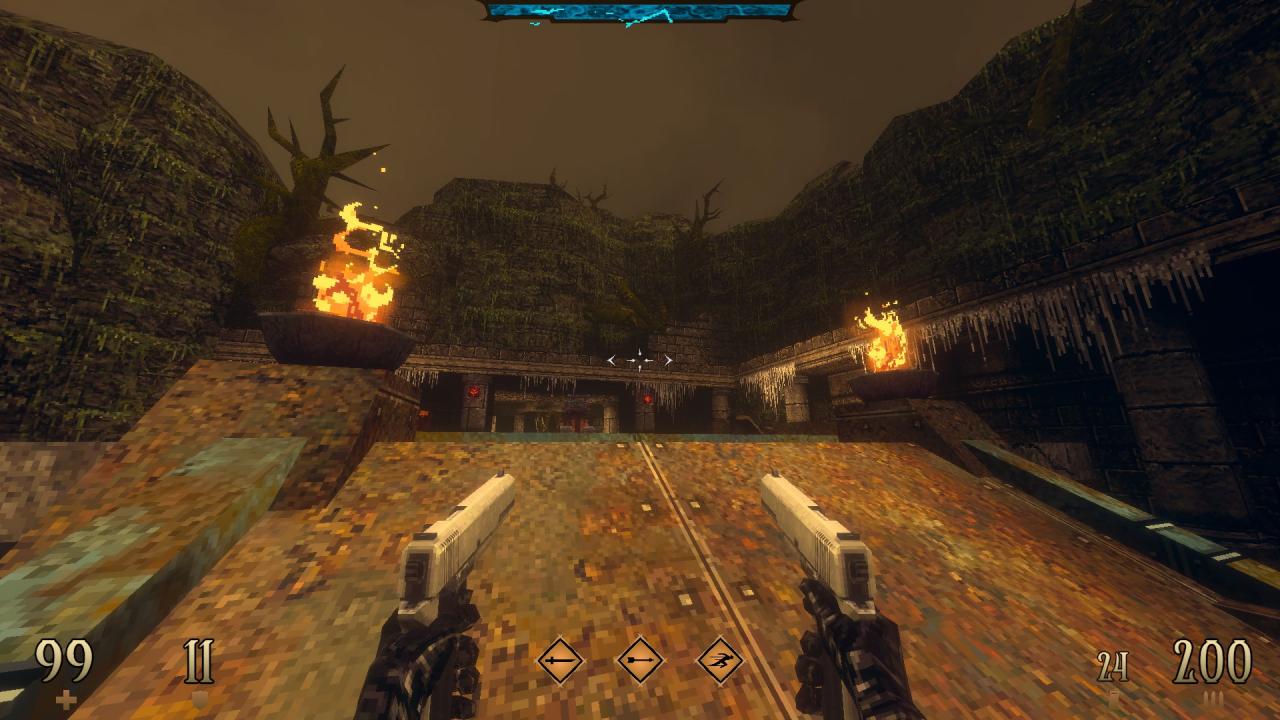
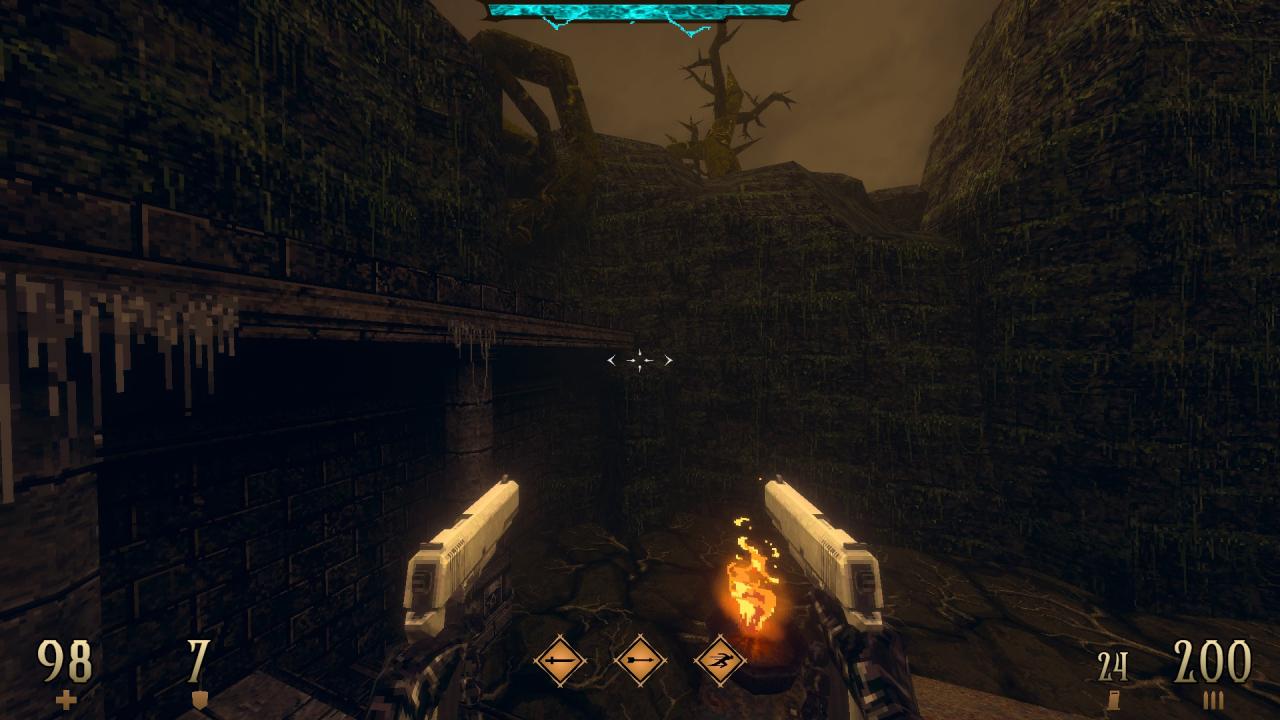
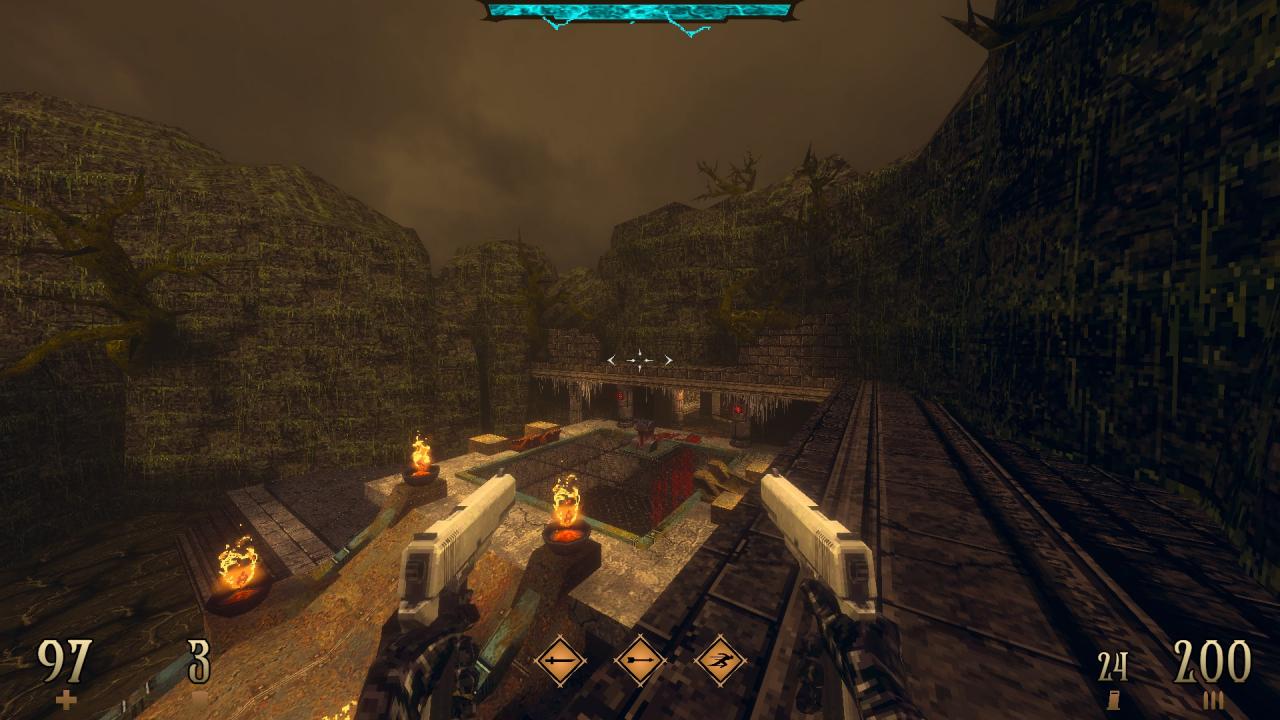
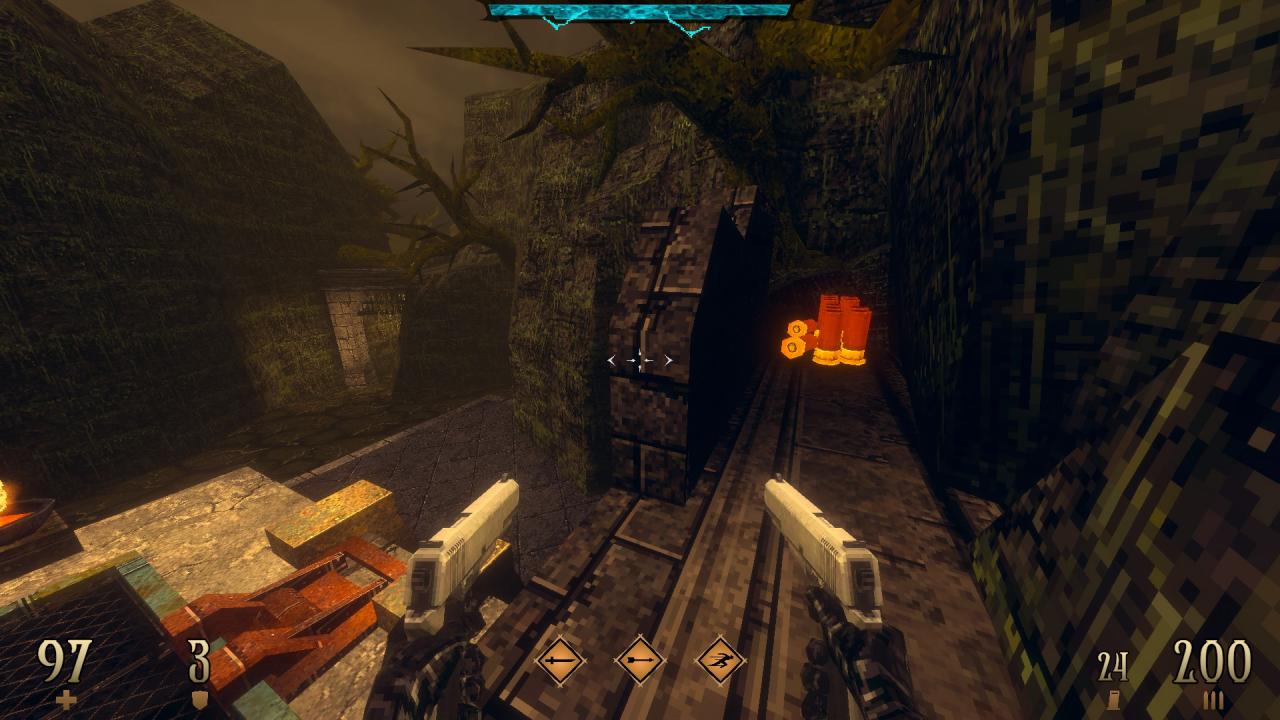
6/7 – Dash your way up to the broken wall above the elevator to find hidden ammo.
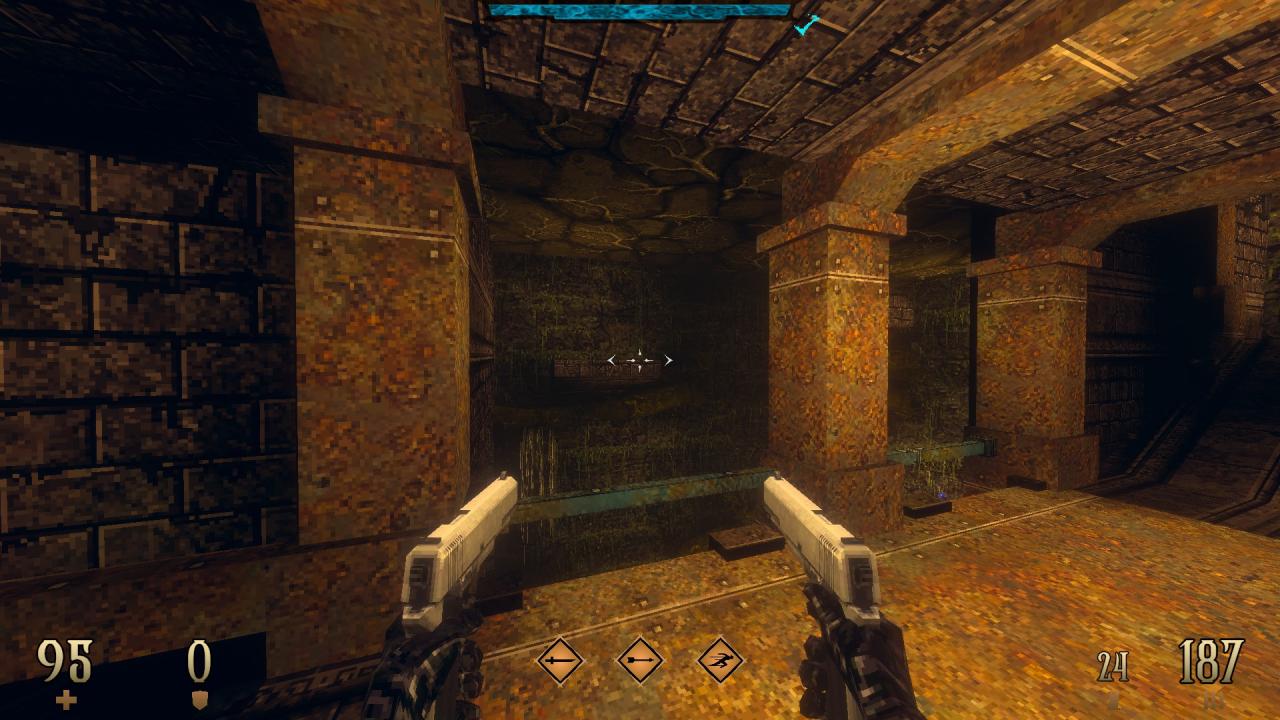
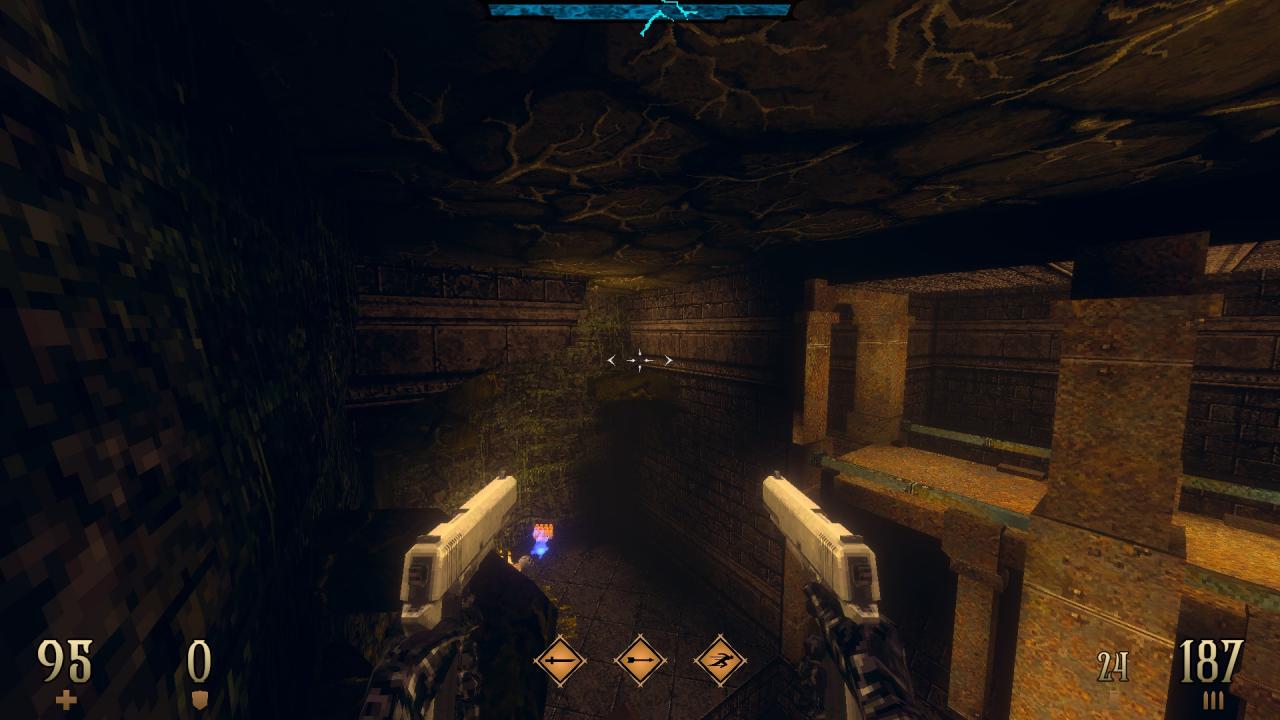
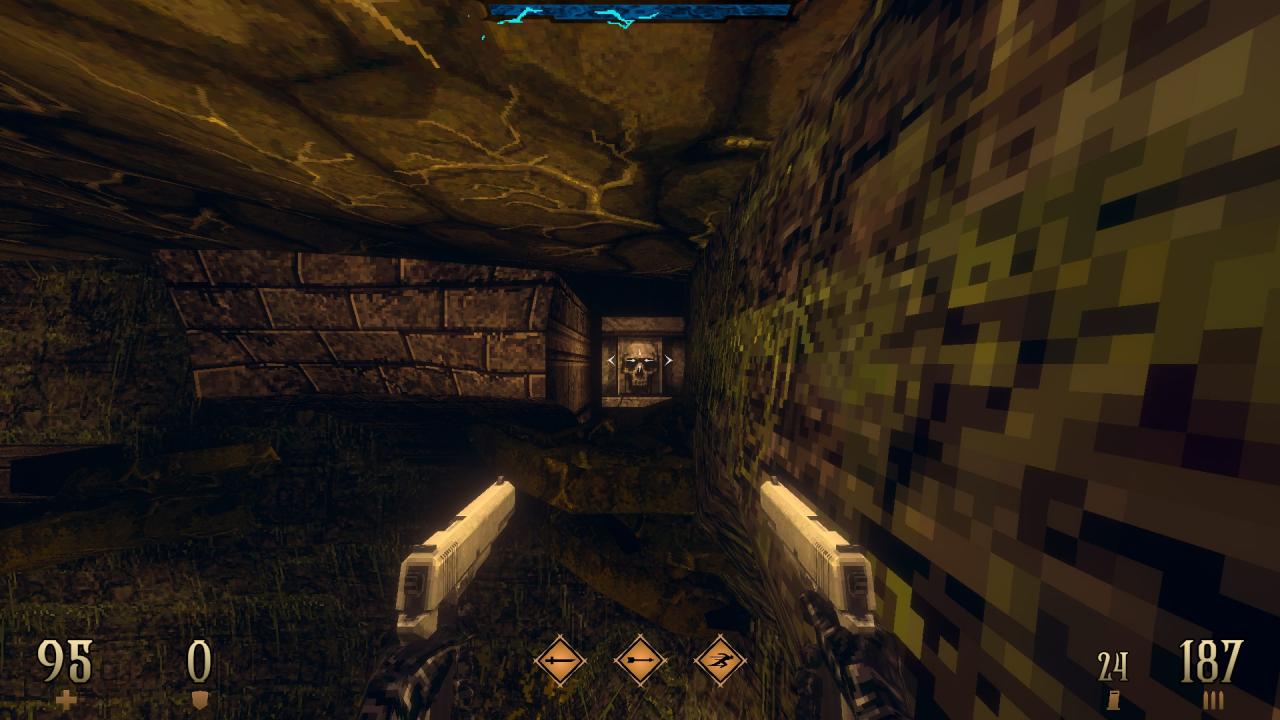
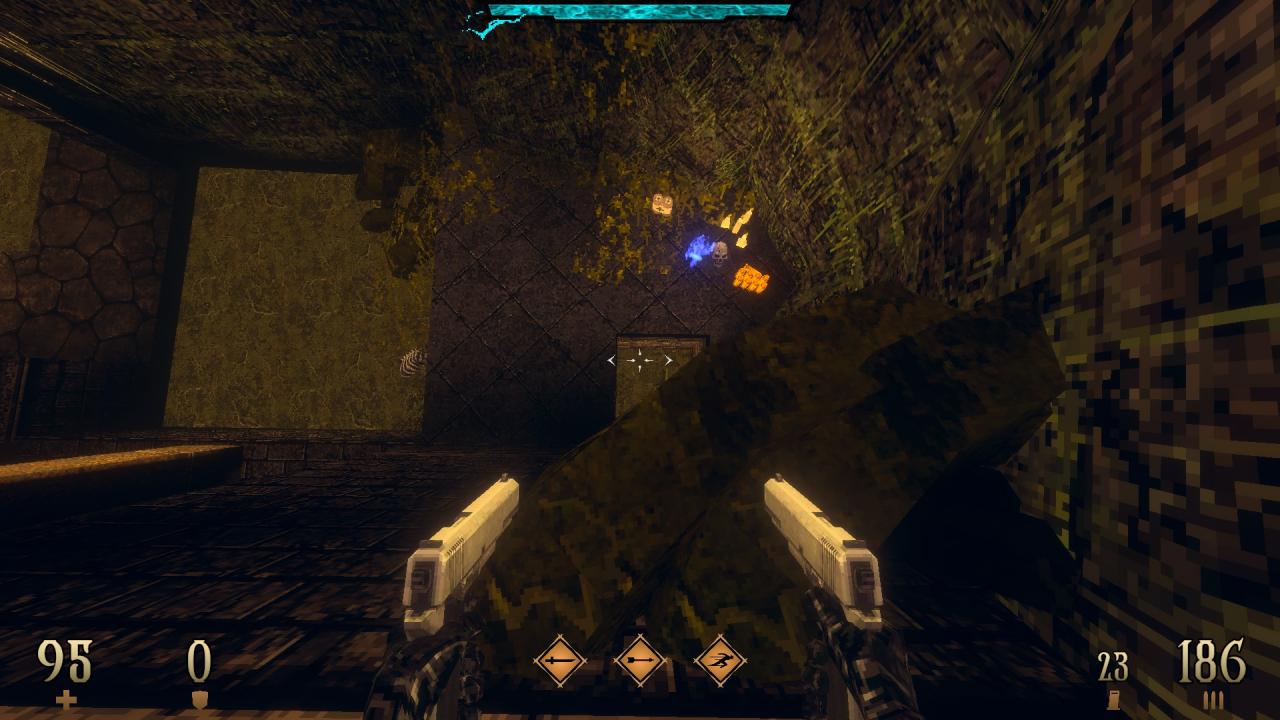
7/7 – Dash your way from the bridge to the part that juts out in the corner. Shoot the skull plate to open up a hidden section right below. (Shotgun Rush)
E1M2: The Prison – Part 1
This level contains 8 secrets and a super secret.
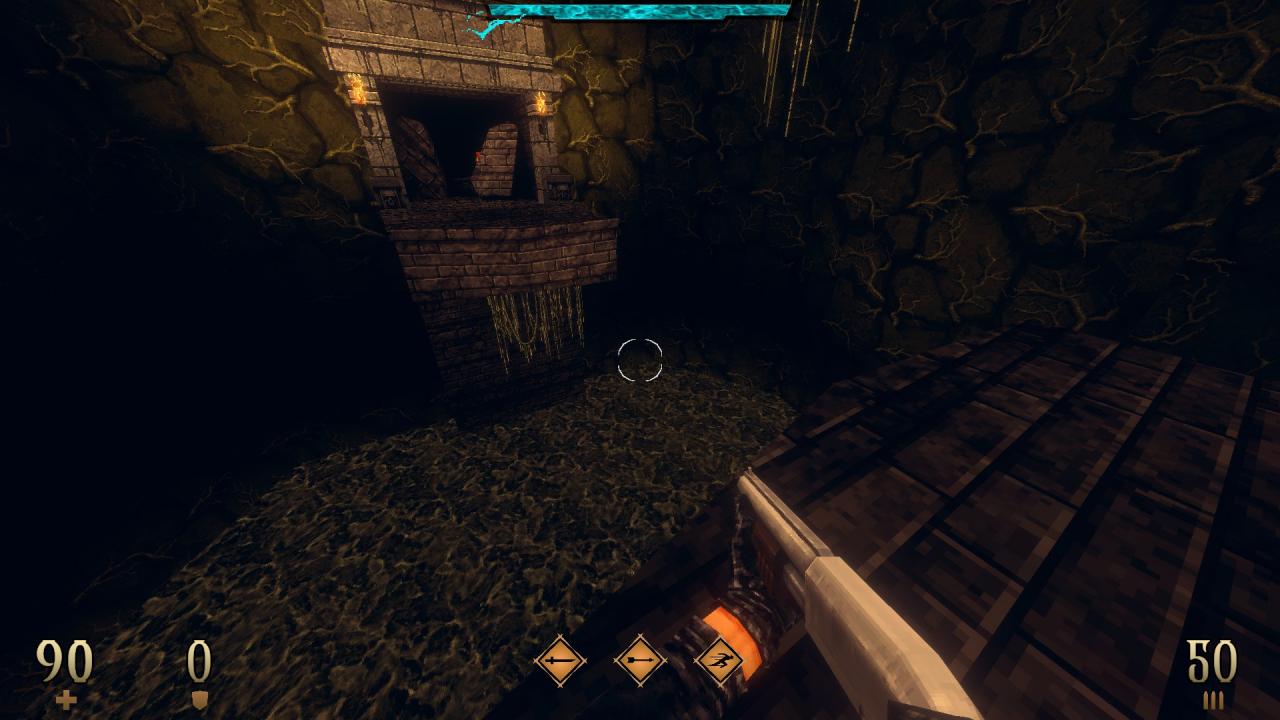
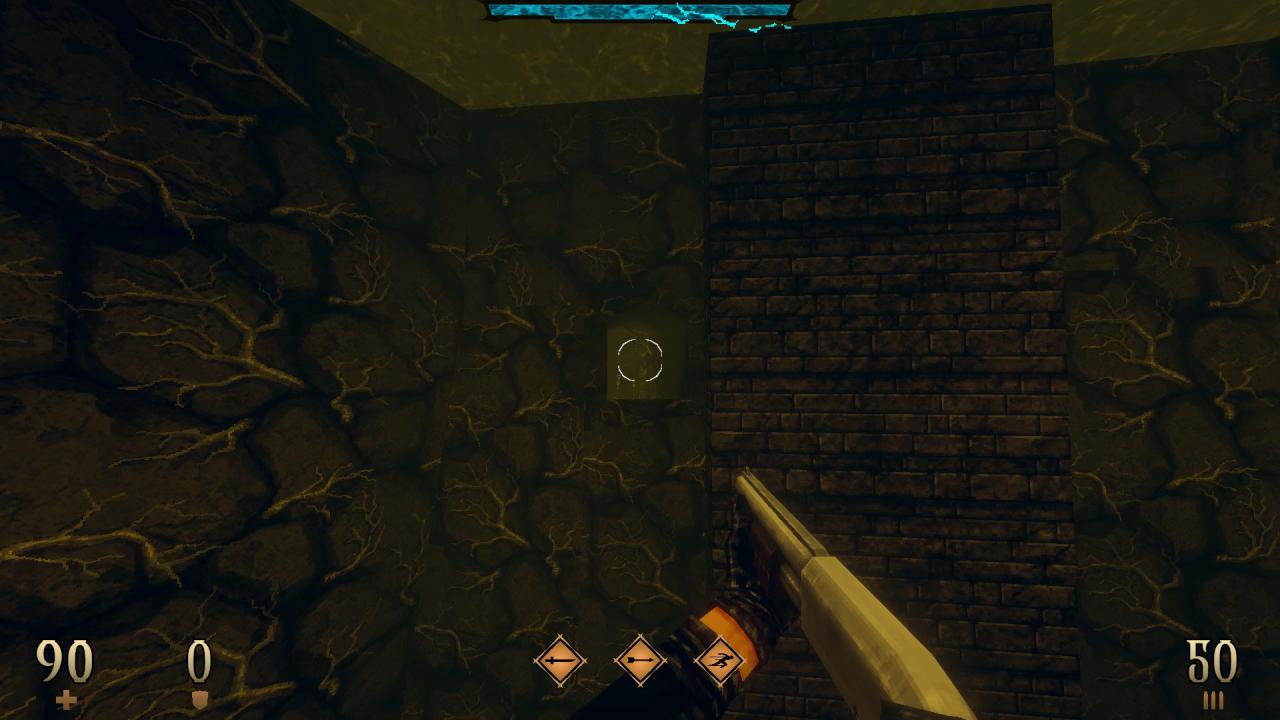
1/8 – Dive into the water and look for an opening to swim through to reach a hidden section.
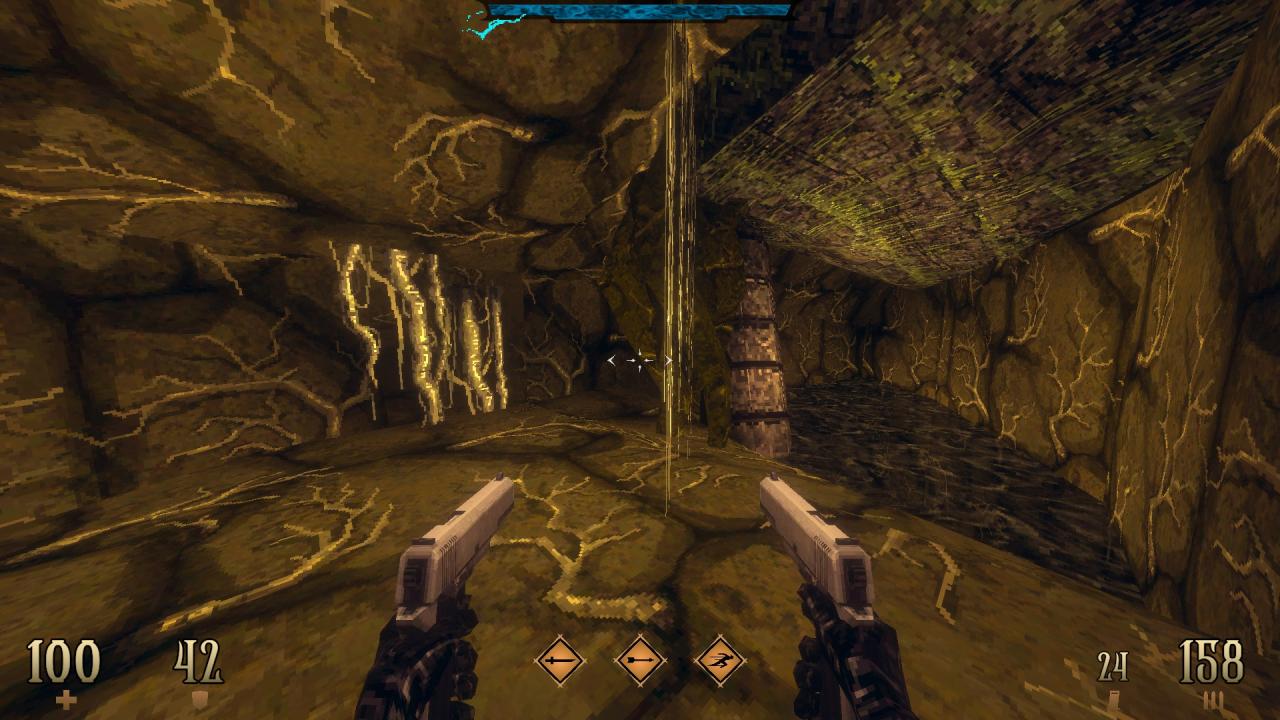
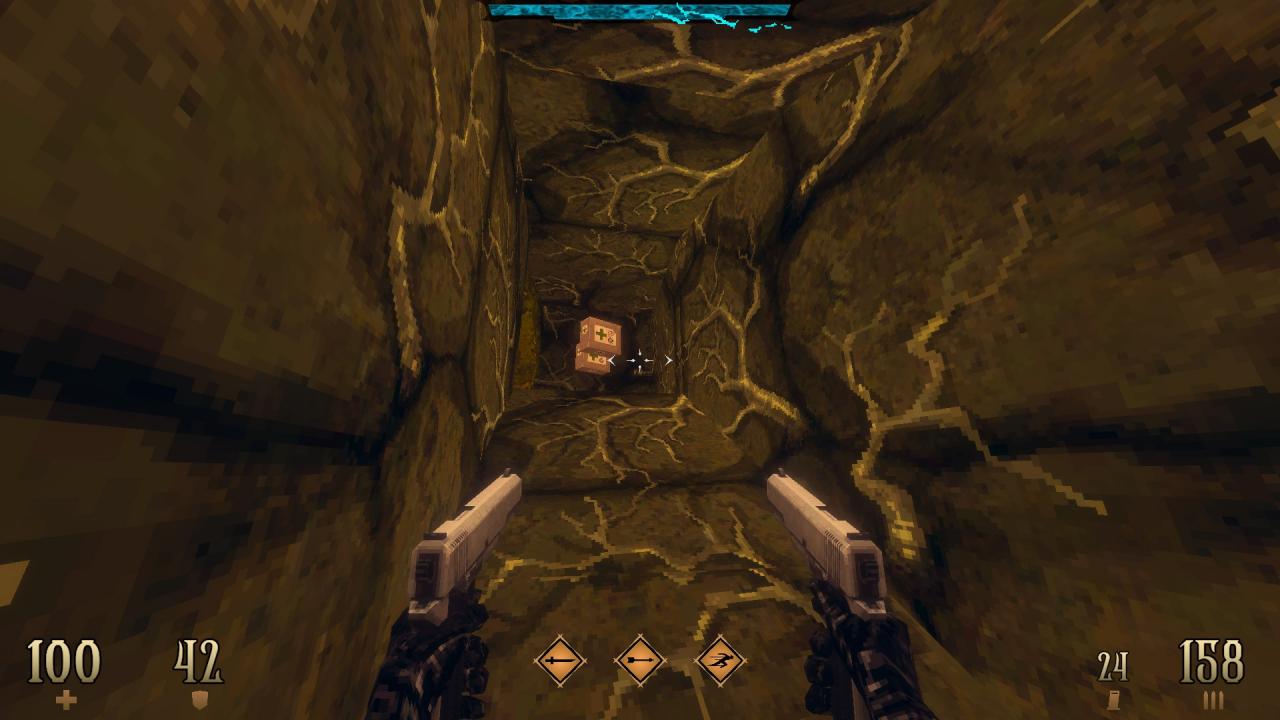
2/8 – In the side area, look for an opening hidden by the plants and crawl through it to reach hidden health packs.
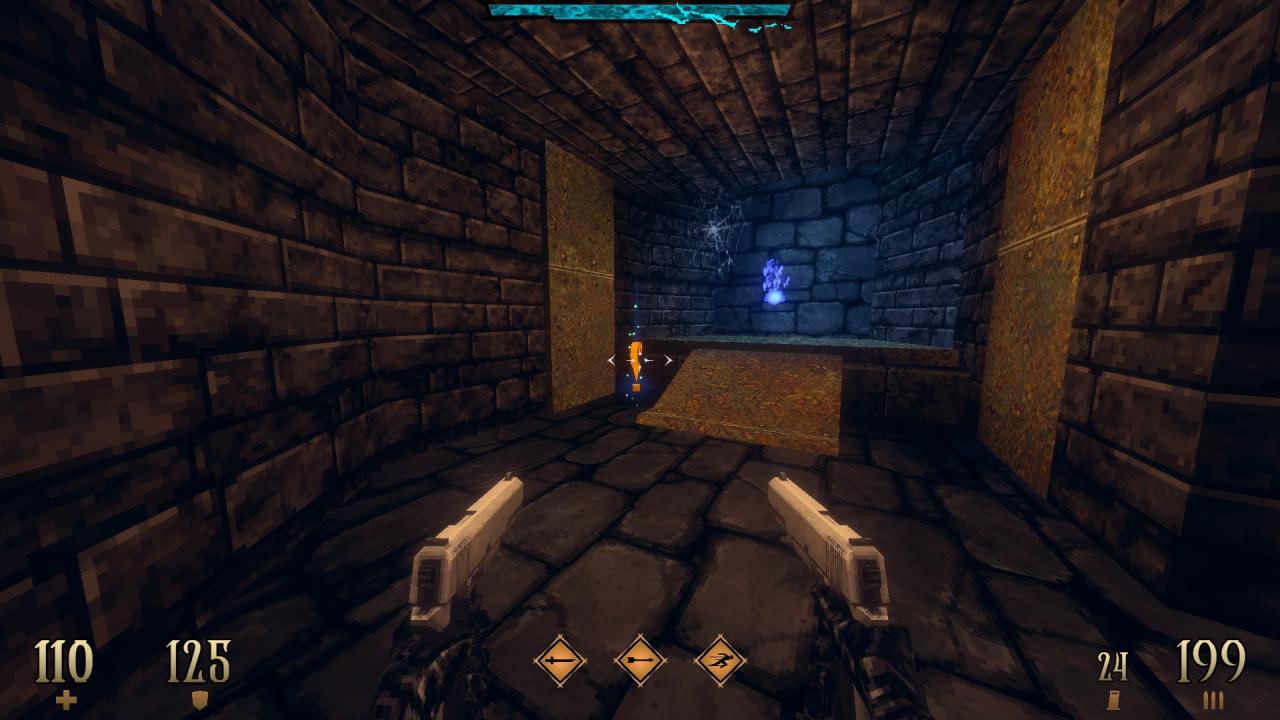
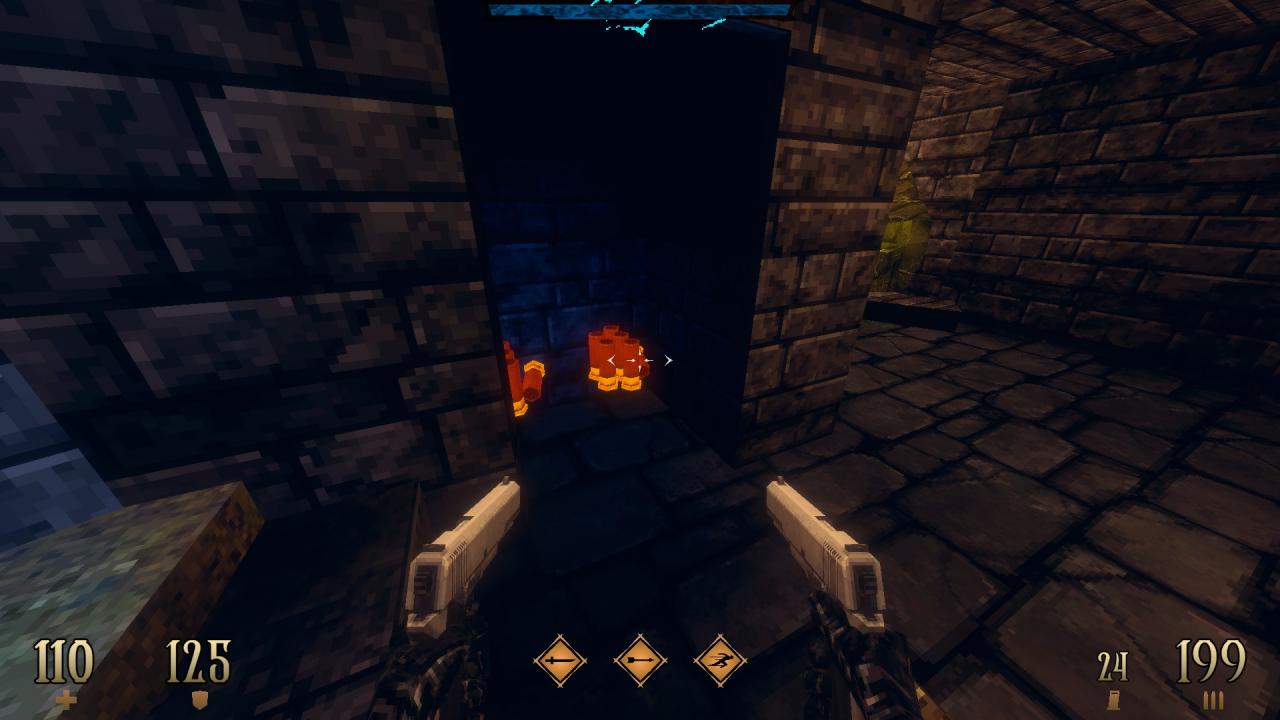
3/8 – Use the wall panel to the right of BTE tutorial to reveal hidden ammo.
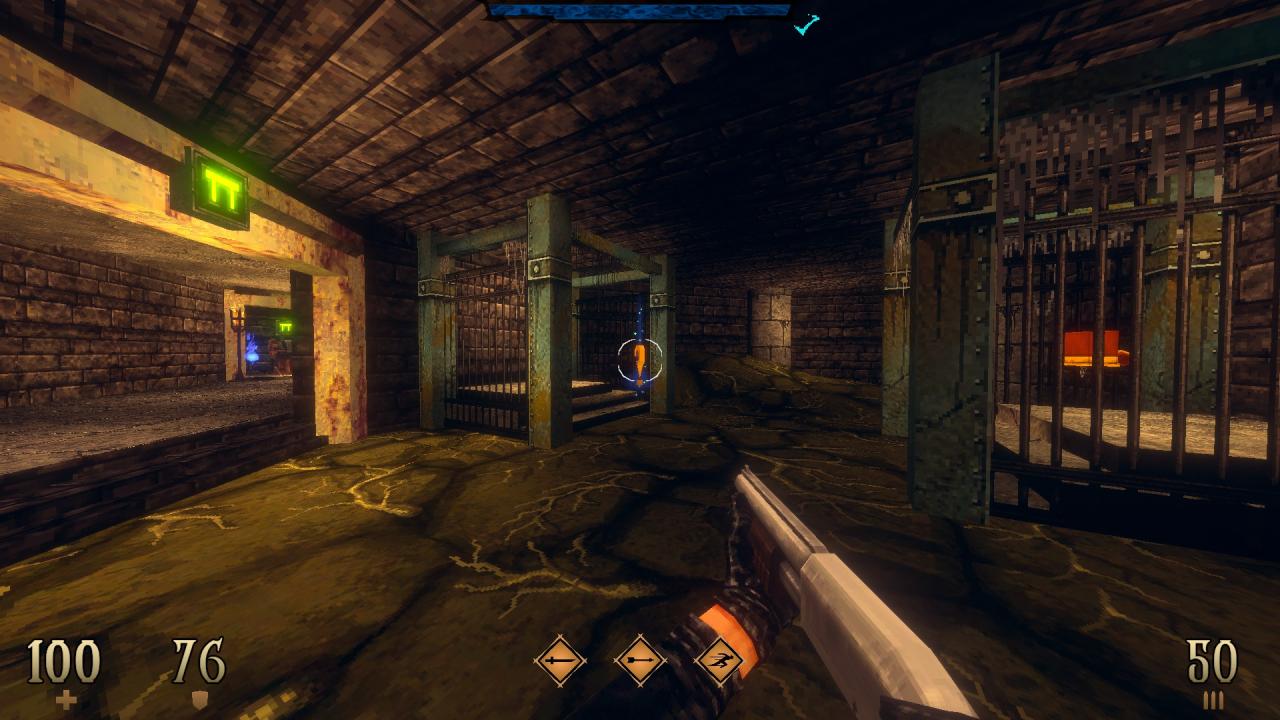
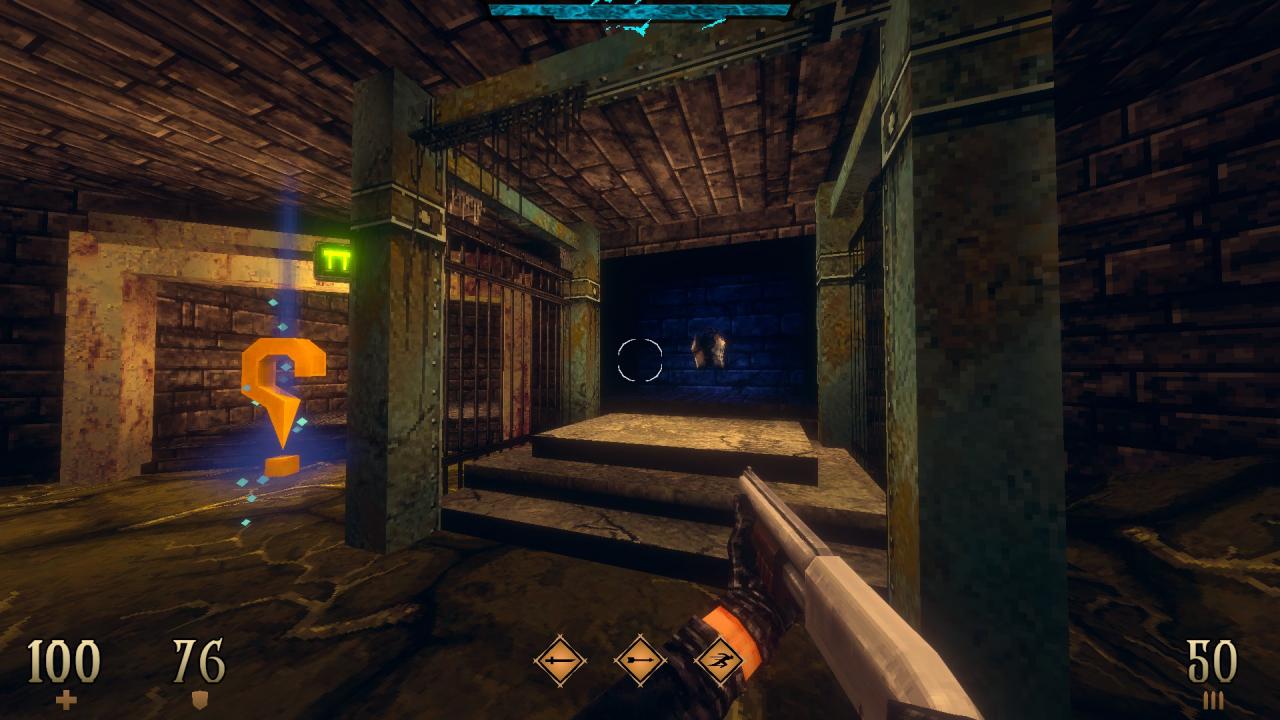
4/8 – Use the wall behind the SSG pedestal to reveal a hidden armor.
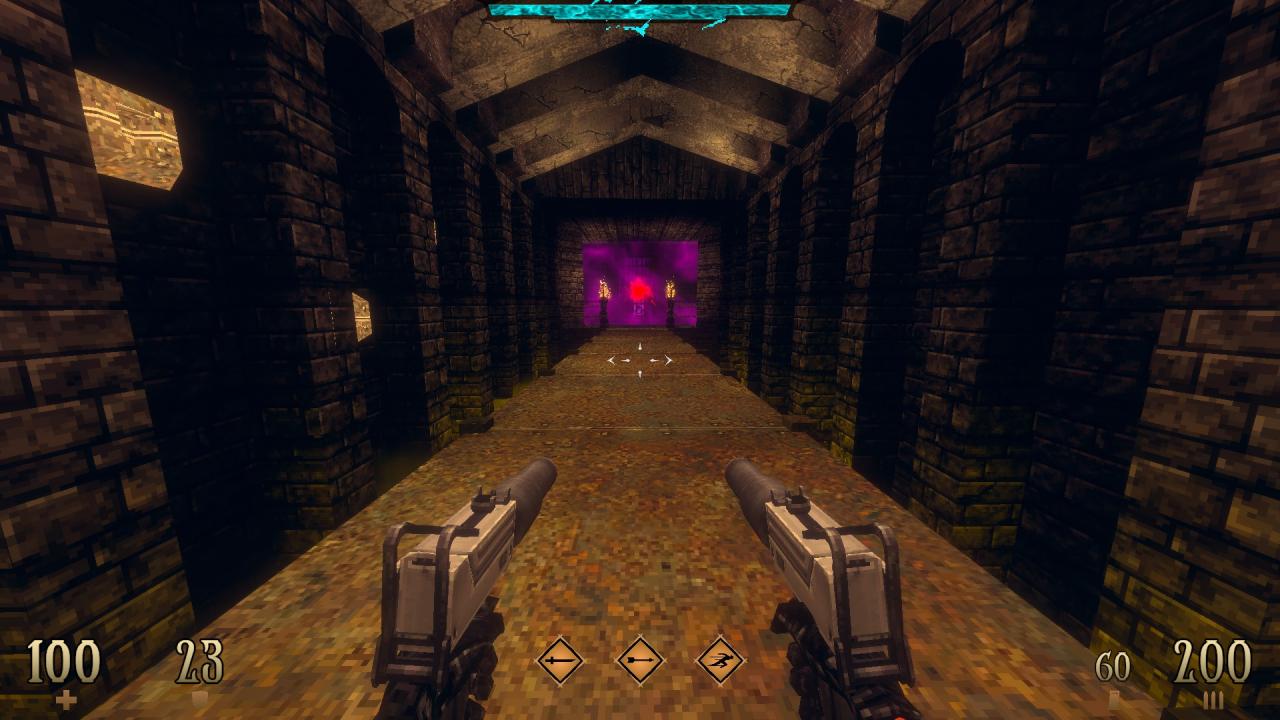
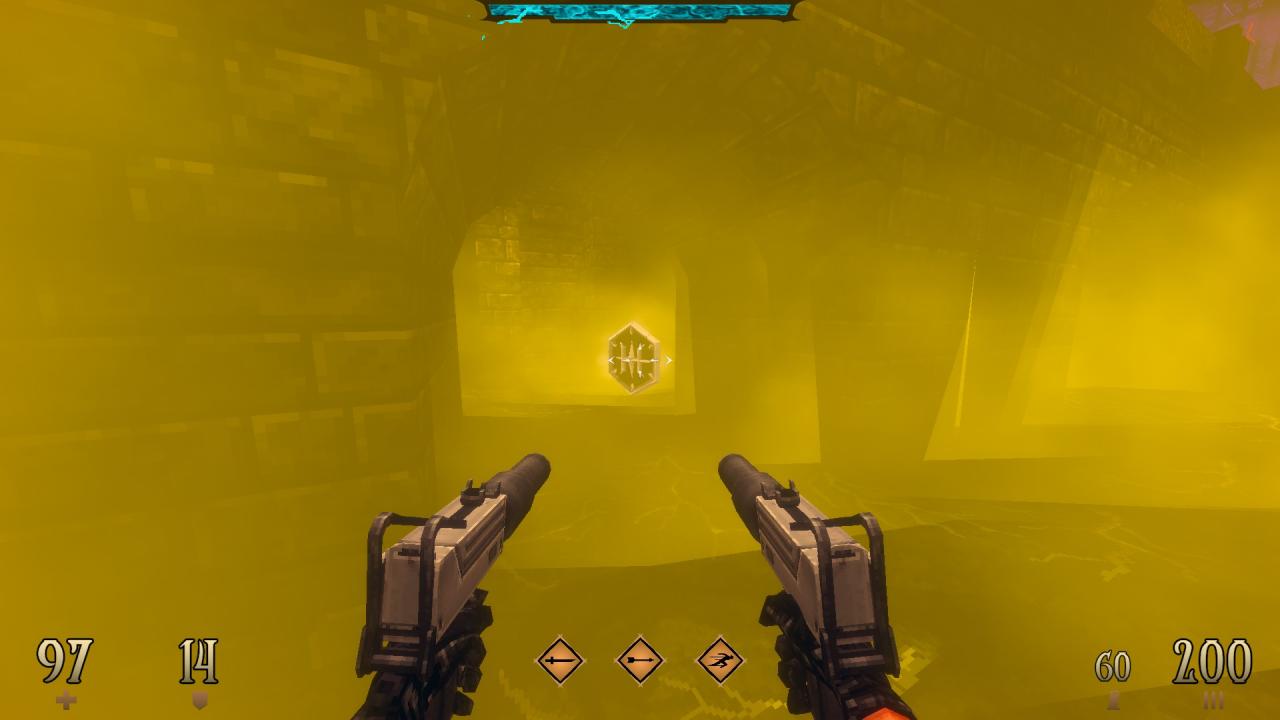
5/8 – Drop down to the area under the bridge to find a hidden emblem. (Templar Rush)
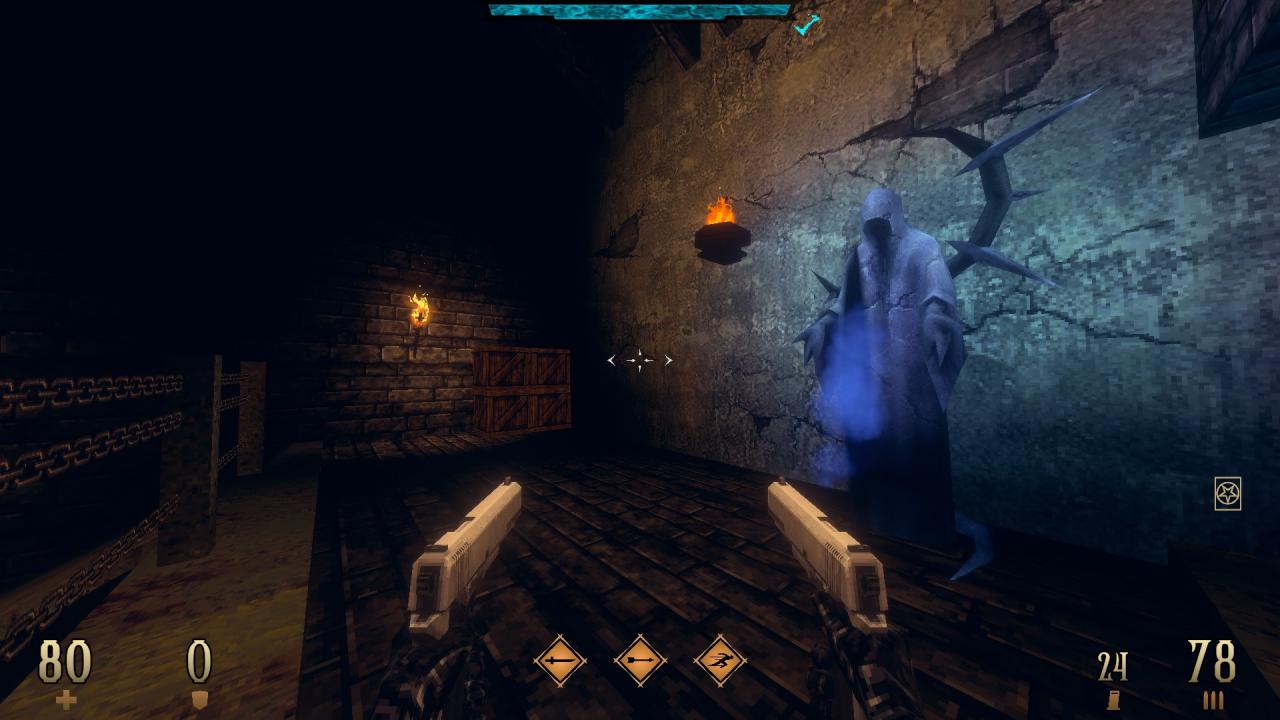
6/8 – Break the crates and use the wall behind them to reveal a hidden compartment.
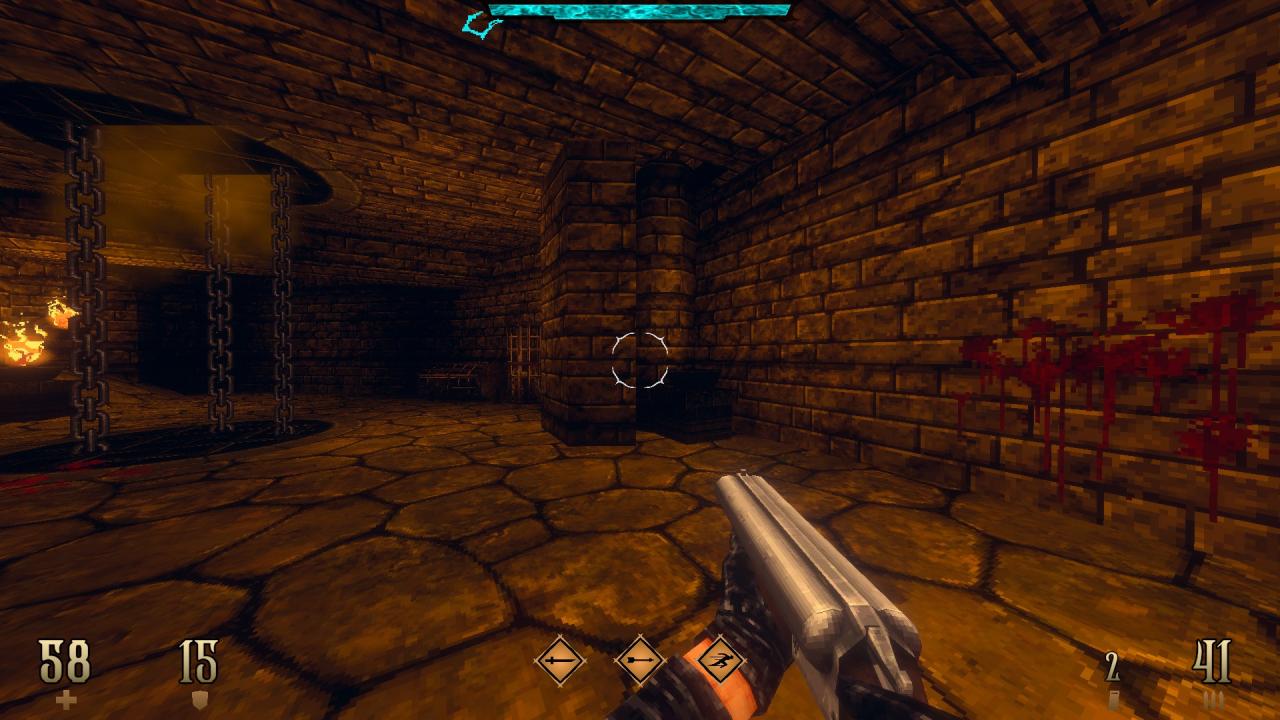
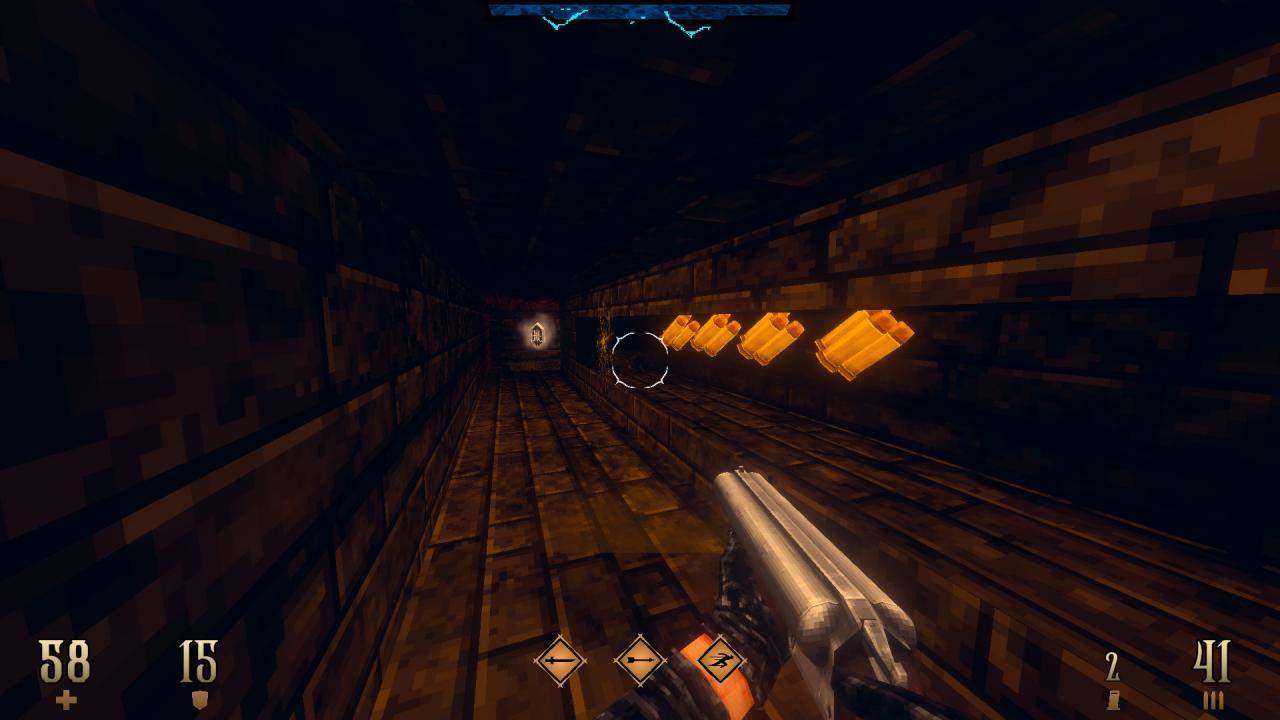
7/8 – Use the unlit torch to reveal a ladder that leads to a hidden section. (Black Bow Focus)
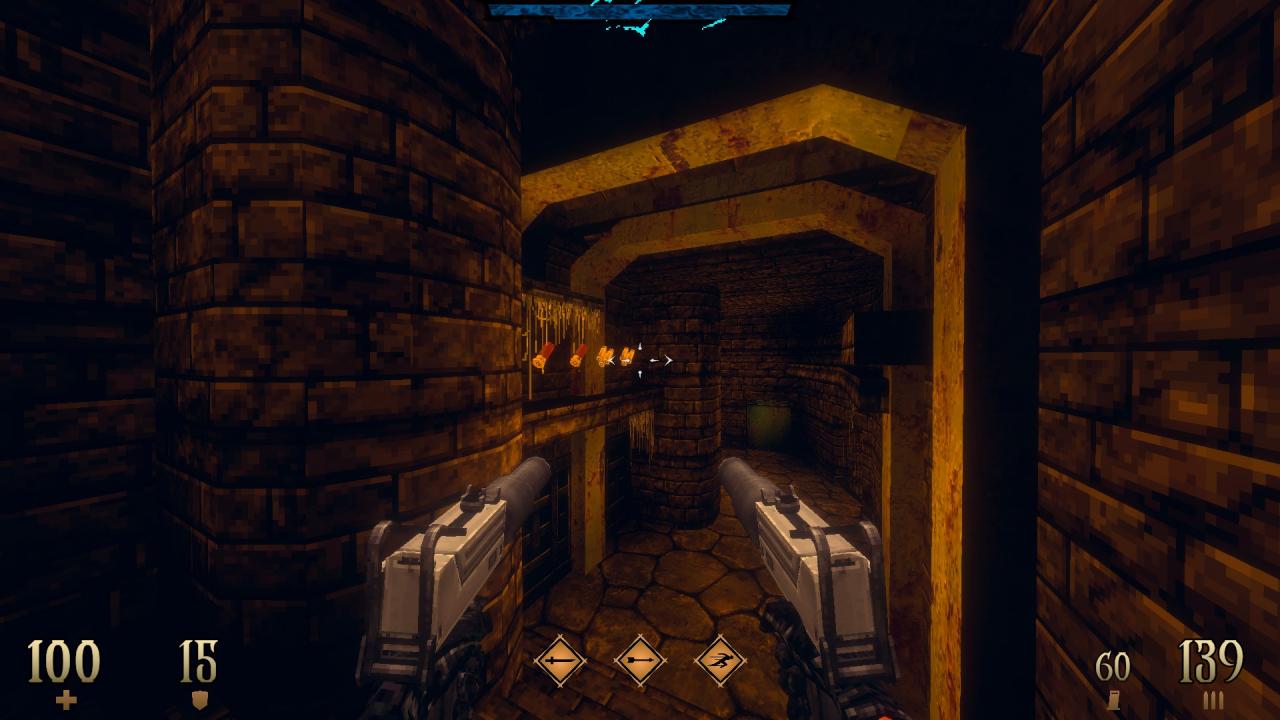
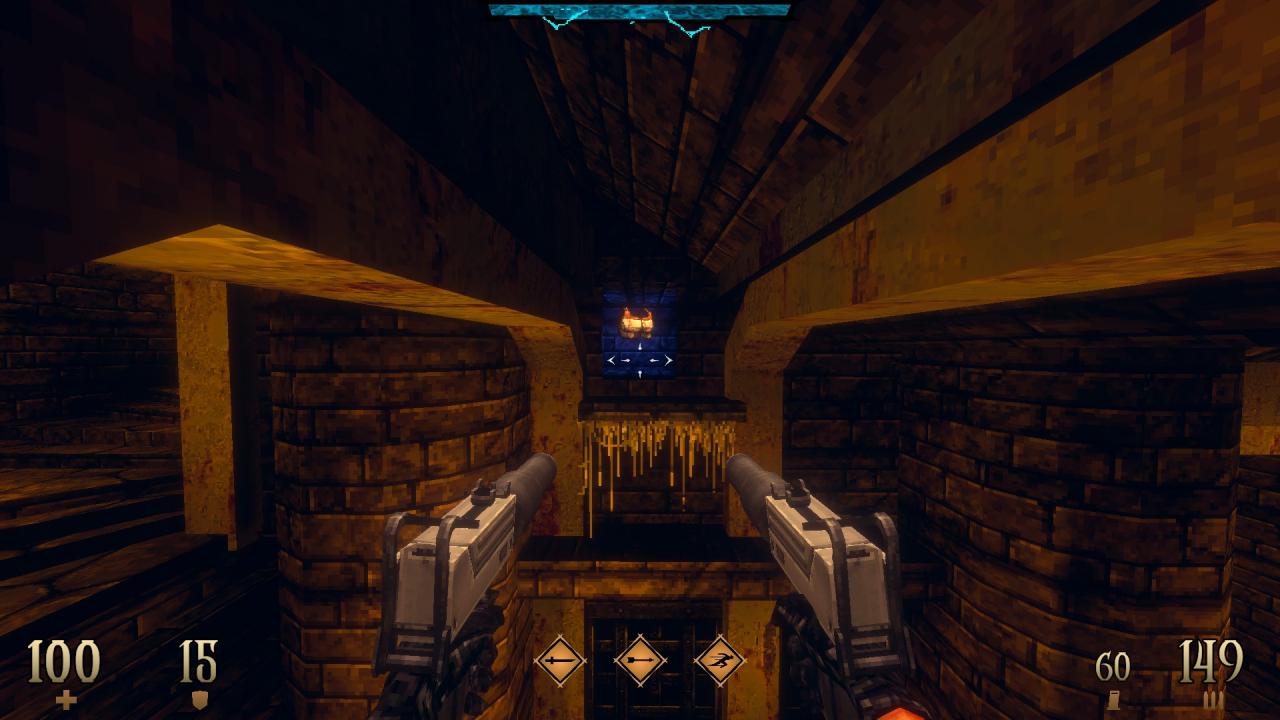
8/8 – Dash your way to the out of reach armor.
—
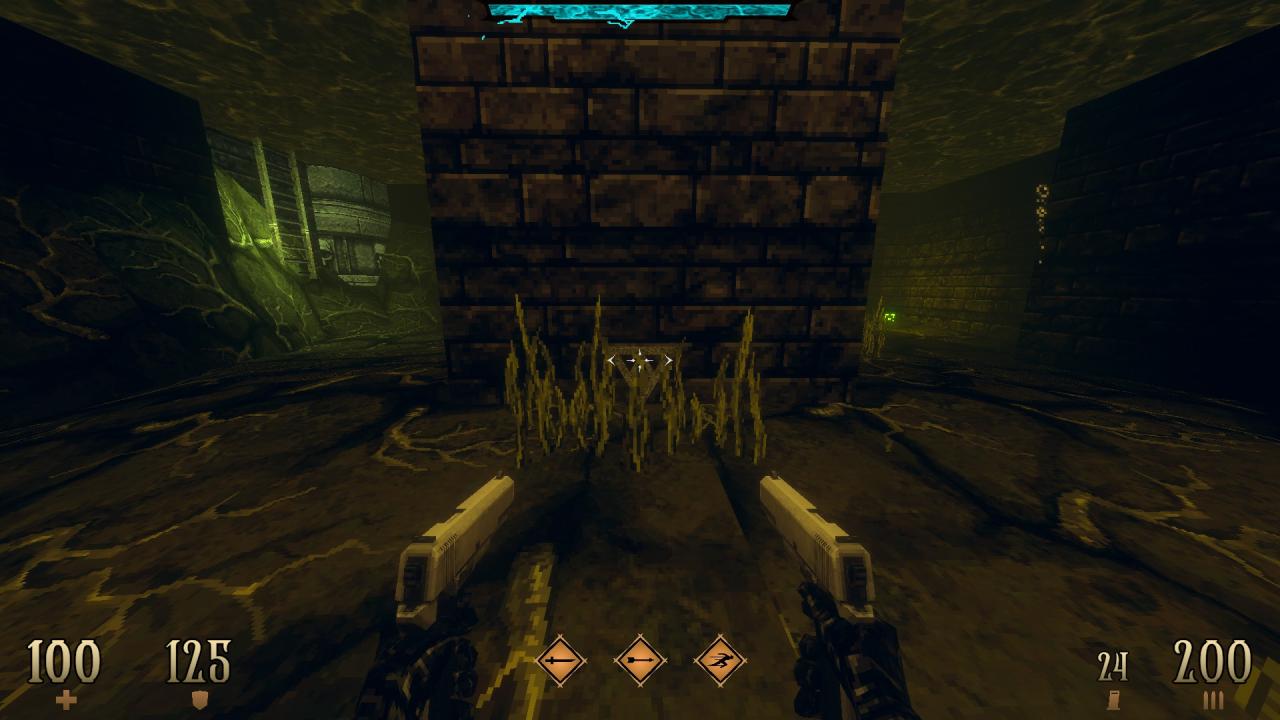
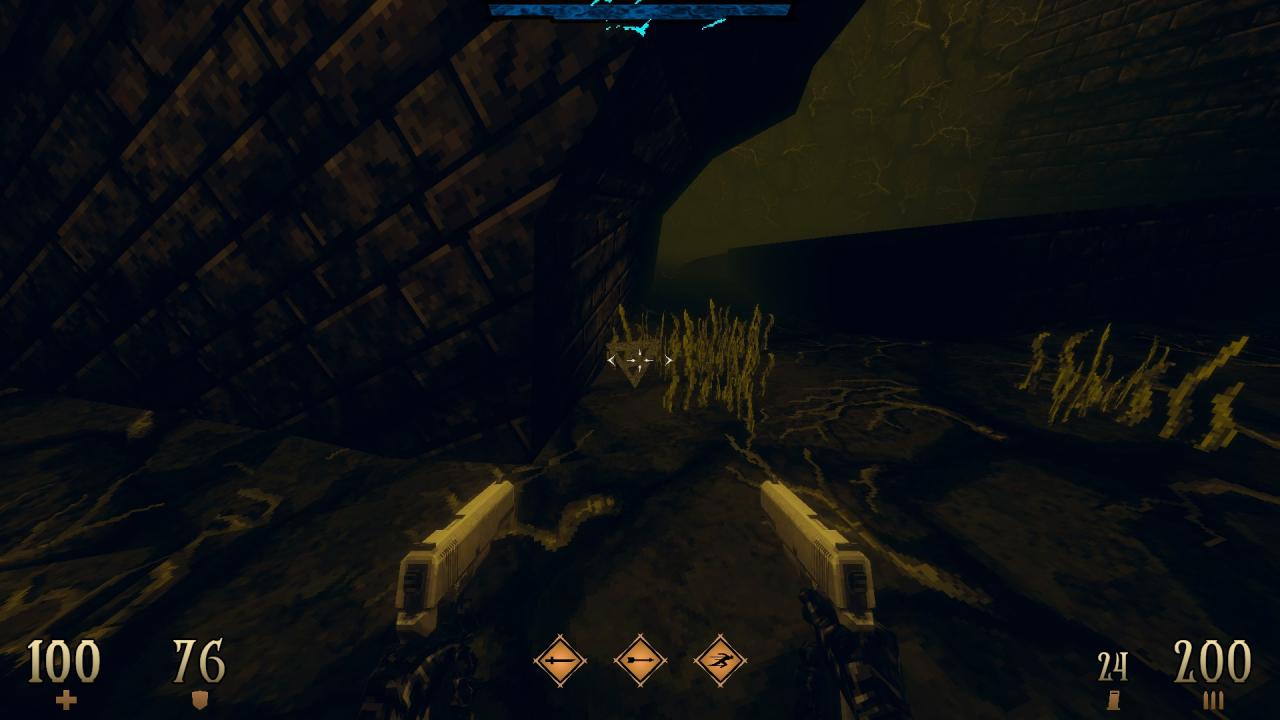
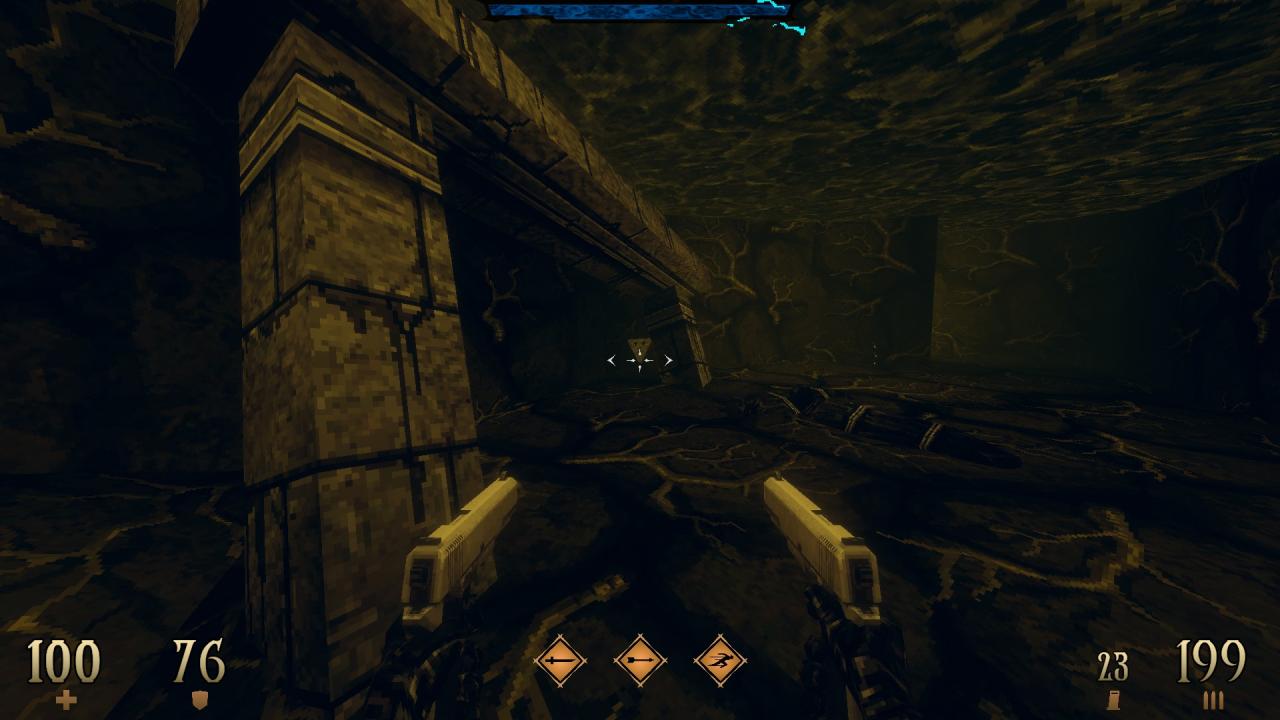
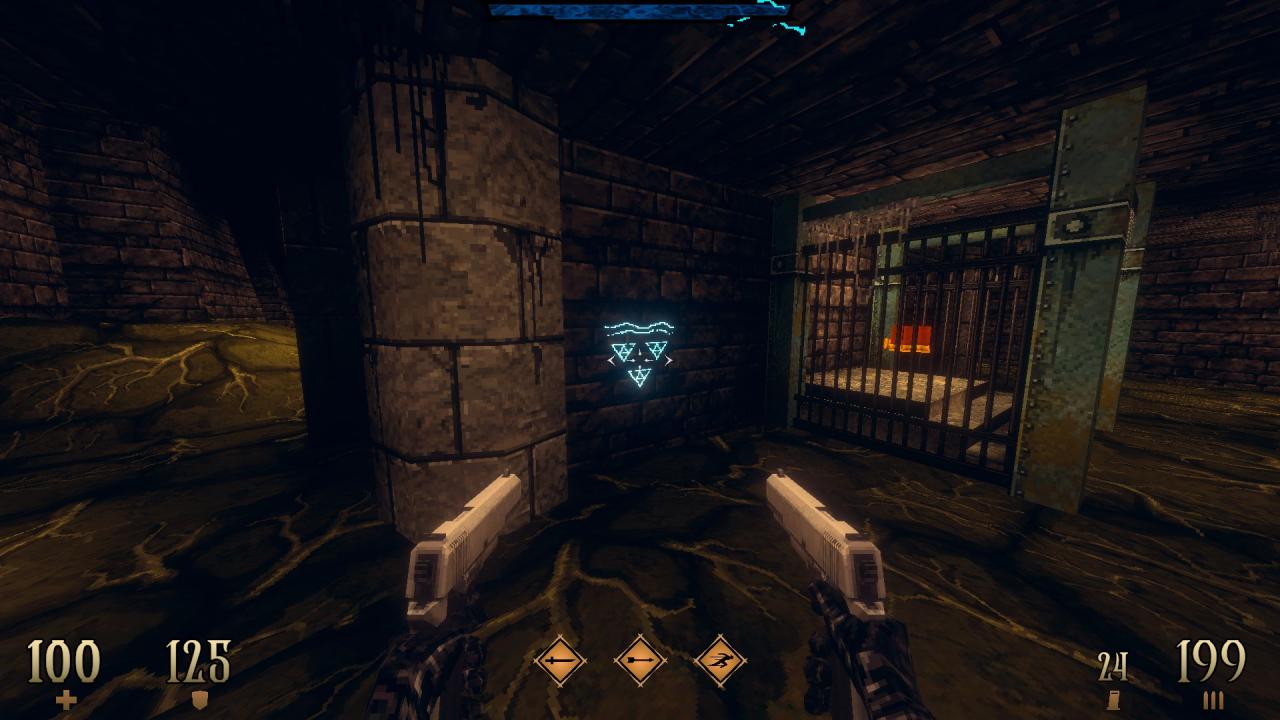
SUPER SECRET – First, shoot the three semi-hidden emblems all located underwater. The first one is next to the central pillar of the three-way bridge, the second one is under the sunken arch found next to the first secret and the last one is in the tunnel leading to the side area entrance. After shooting the emblems, return to the SSG pedestal and use the glowing symbol on the wall to get teleported to a hidden area. (The Archer -G- and a Blood Gem)
E1M3: The Prison – Part 2
This level contains 10 secrets and a super secret.
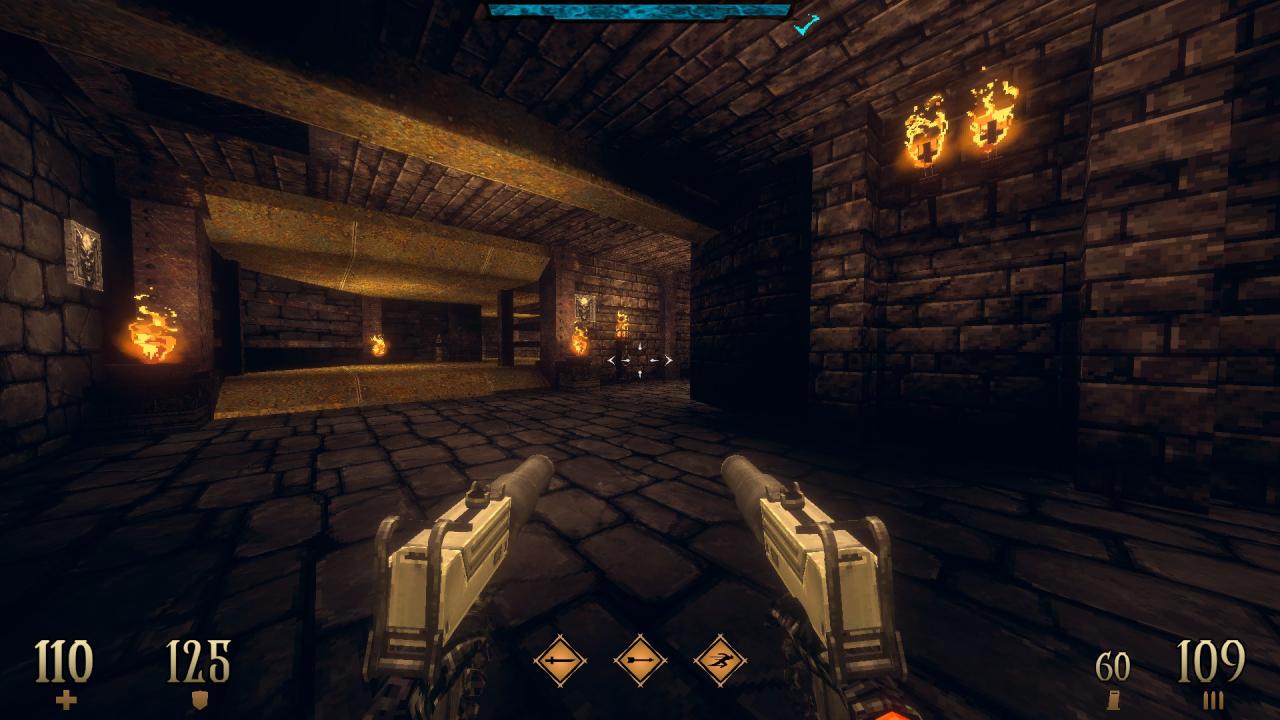
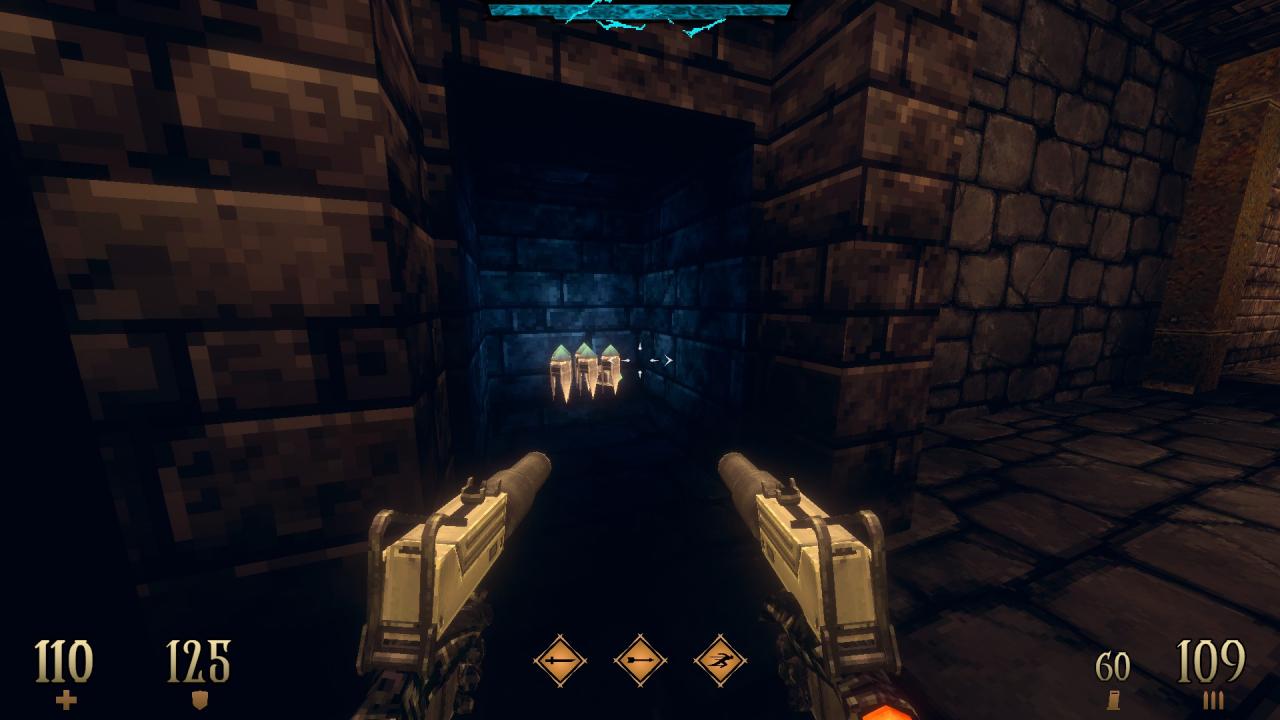
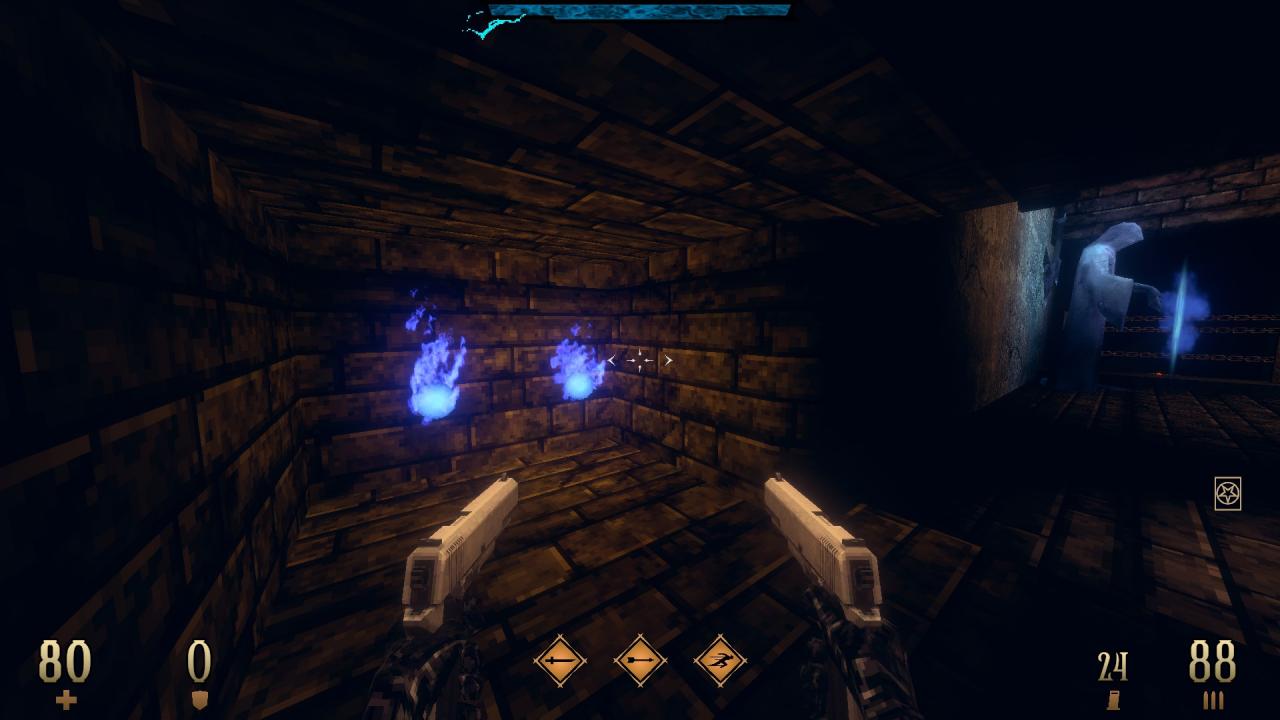
1/10 – Use the wall below the duo of torches to reveal hidden ammo.
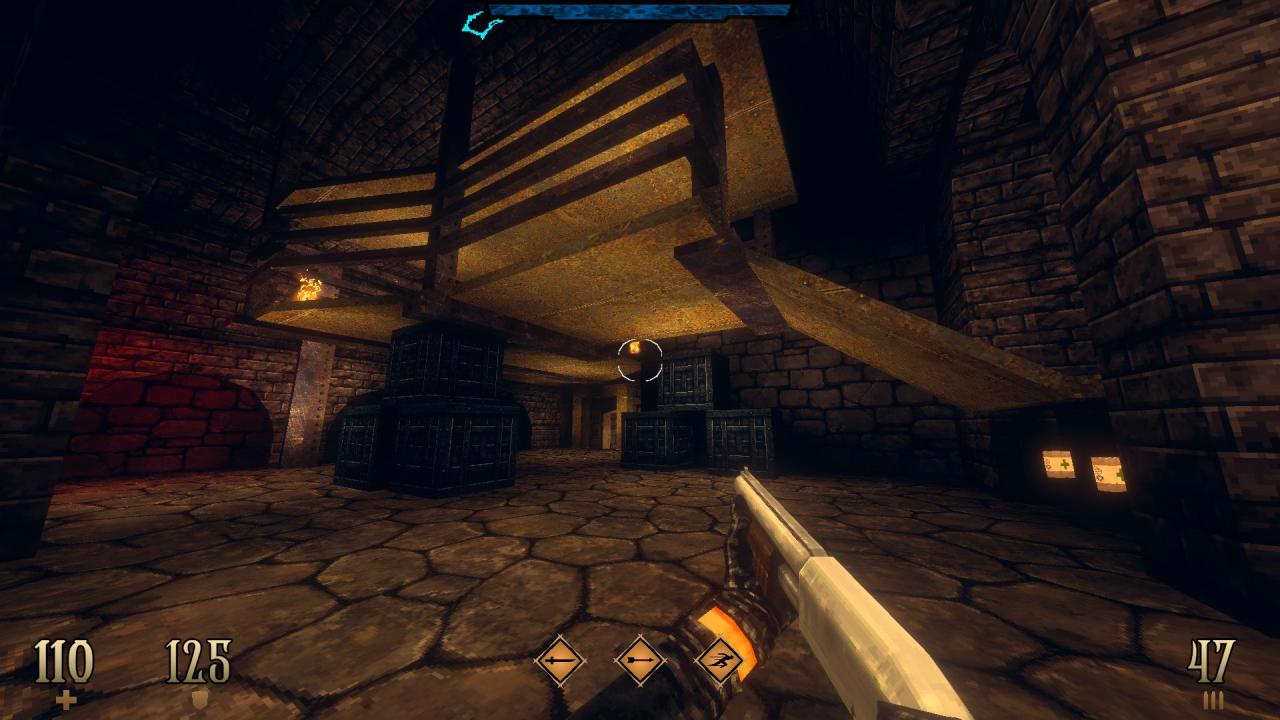
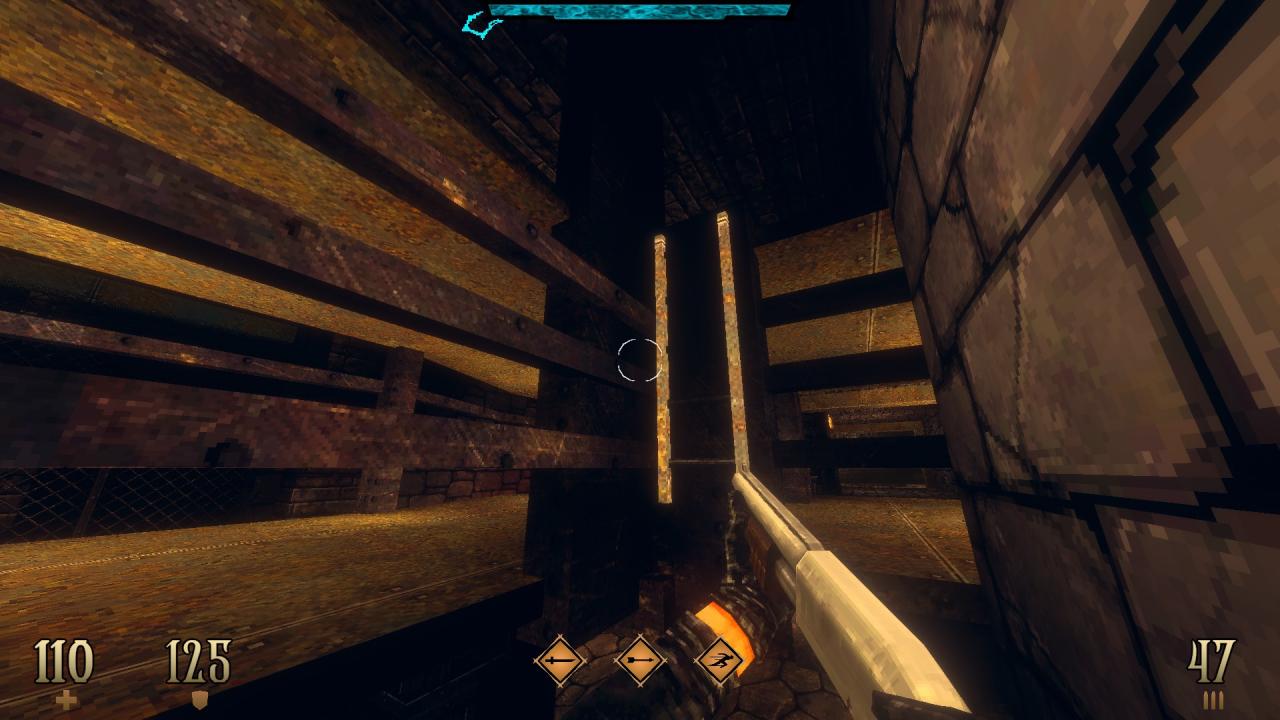
2/10 – Jump on top of the crates next to the wall to reach a ladder that leads to hidden items.
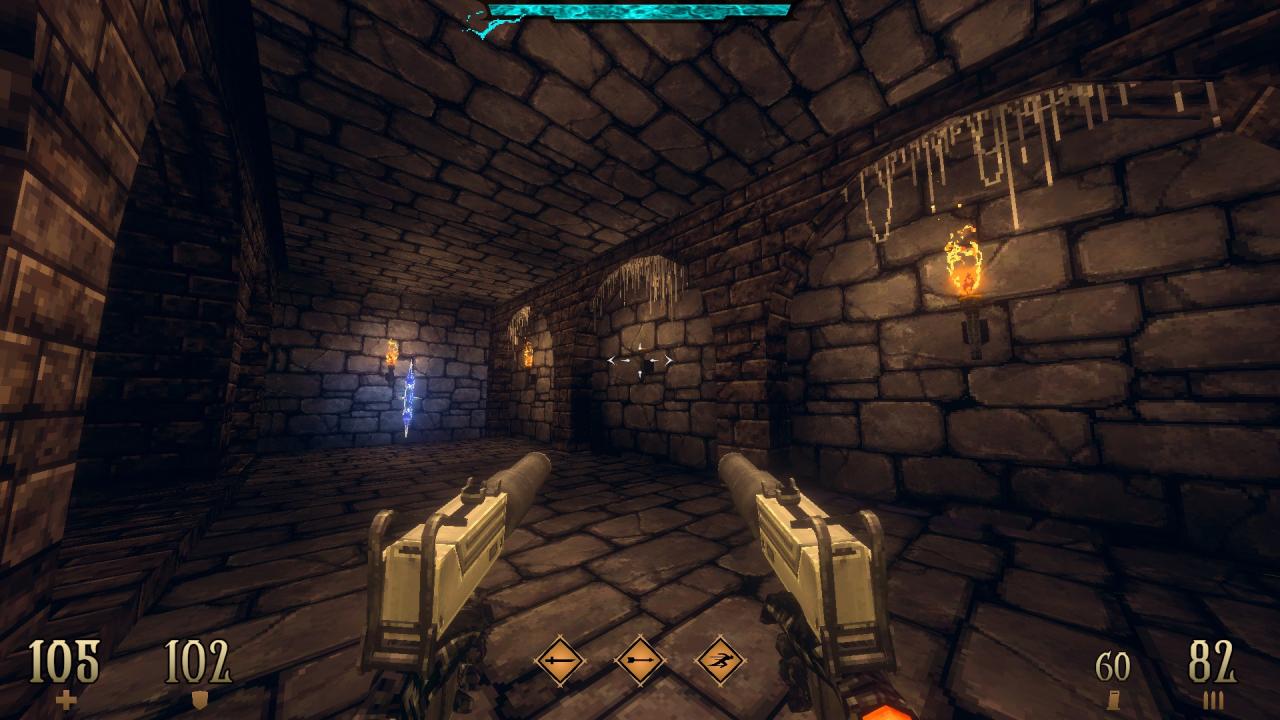
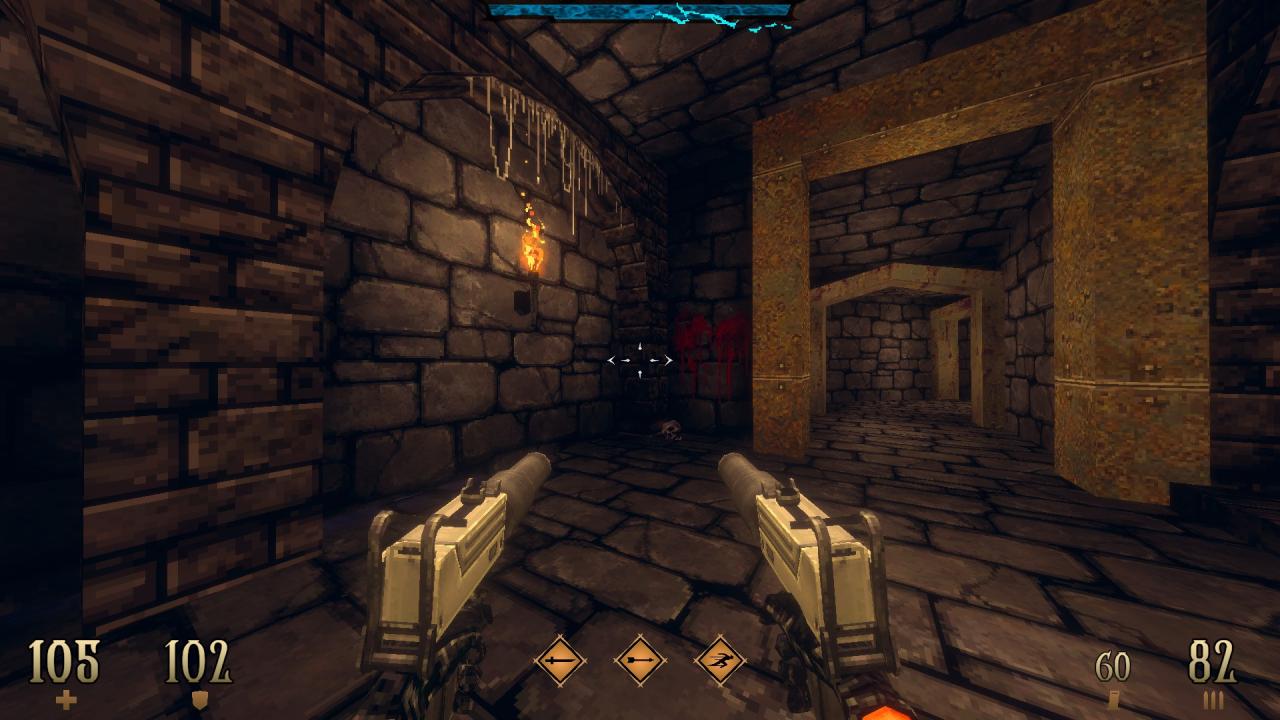
3/10 – Use the unlit torch in the middle and then the bloody wall next to the doorway to reveal a hidden compartment. (Katana Mutilate II)
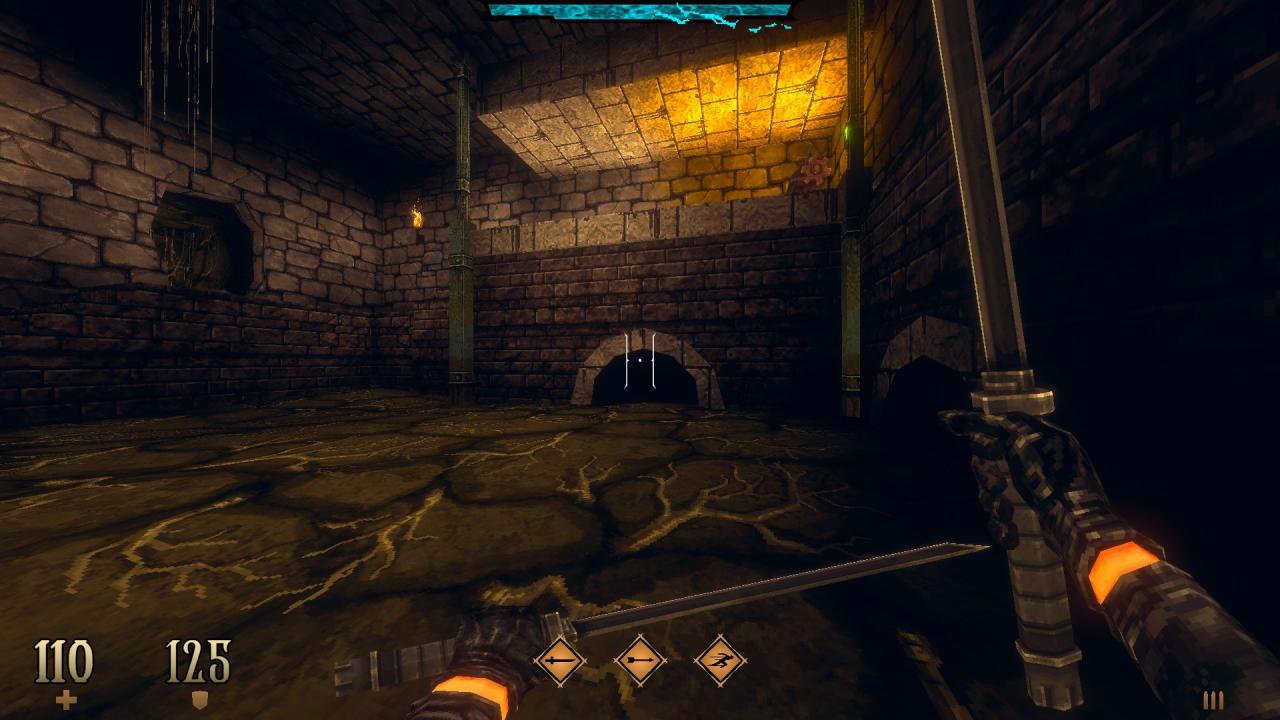
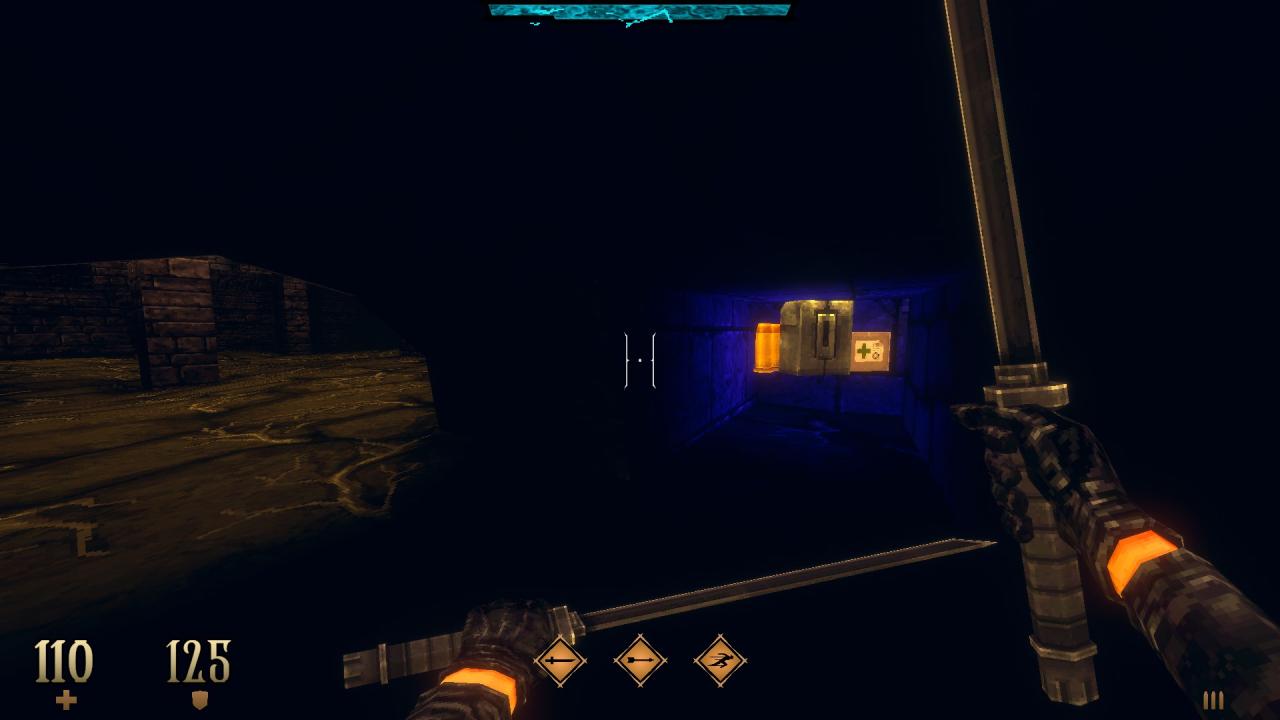
4/10 – Crawl into the open drainage pipe to find hidden items.
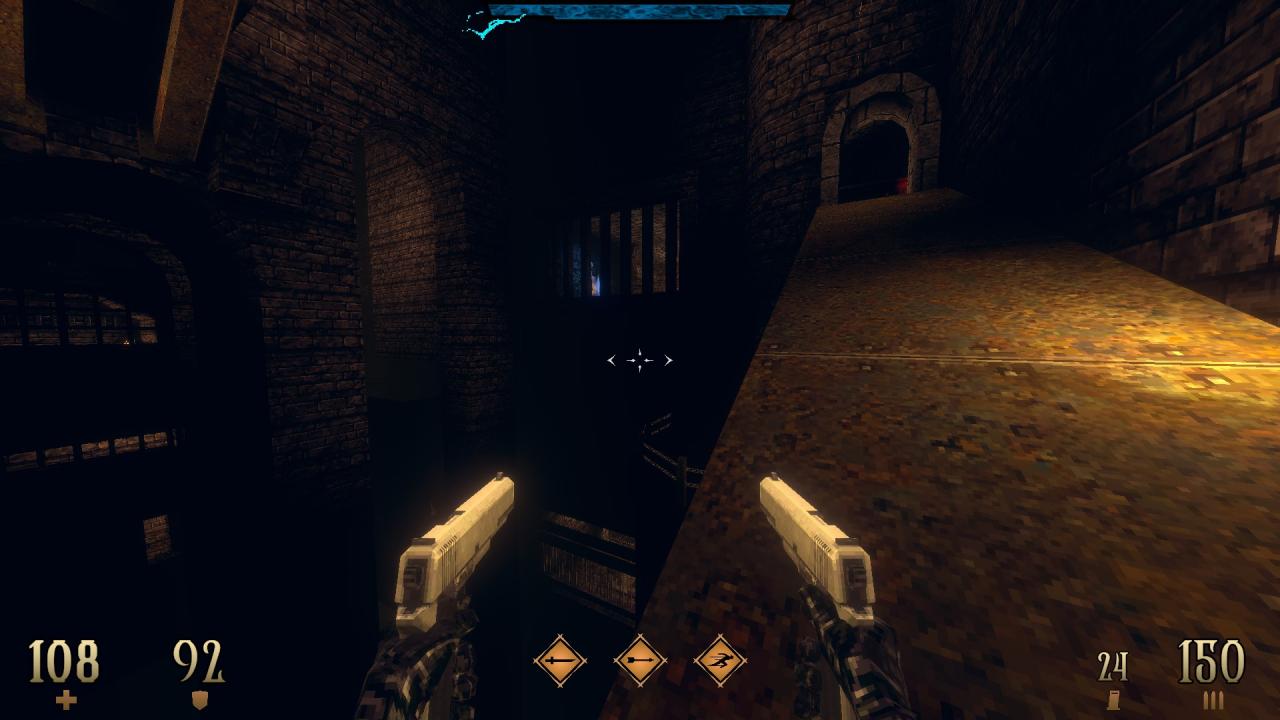
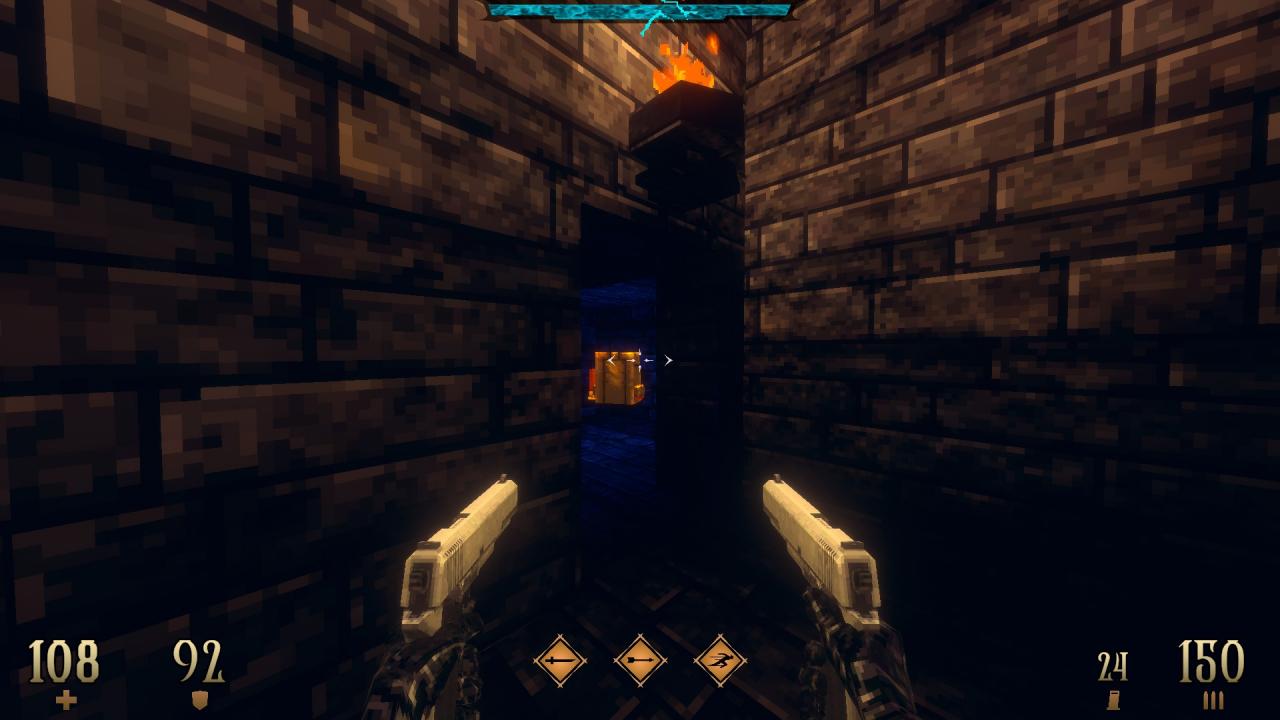
5/10 – Drop down to the ledge below the walkway to find a hidden compartment.
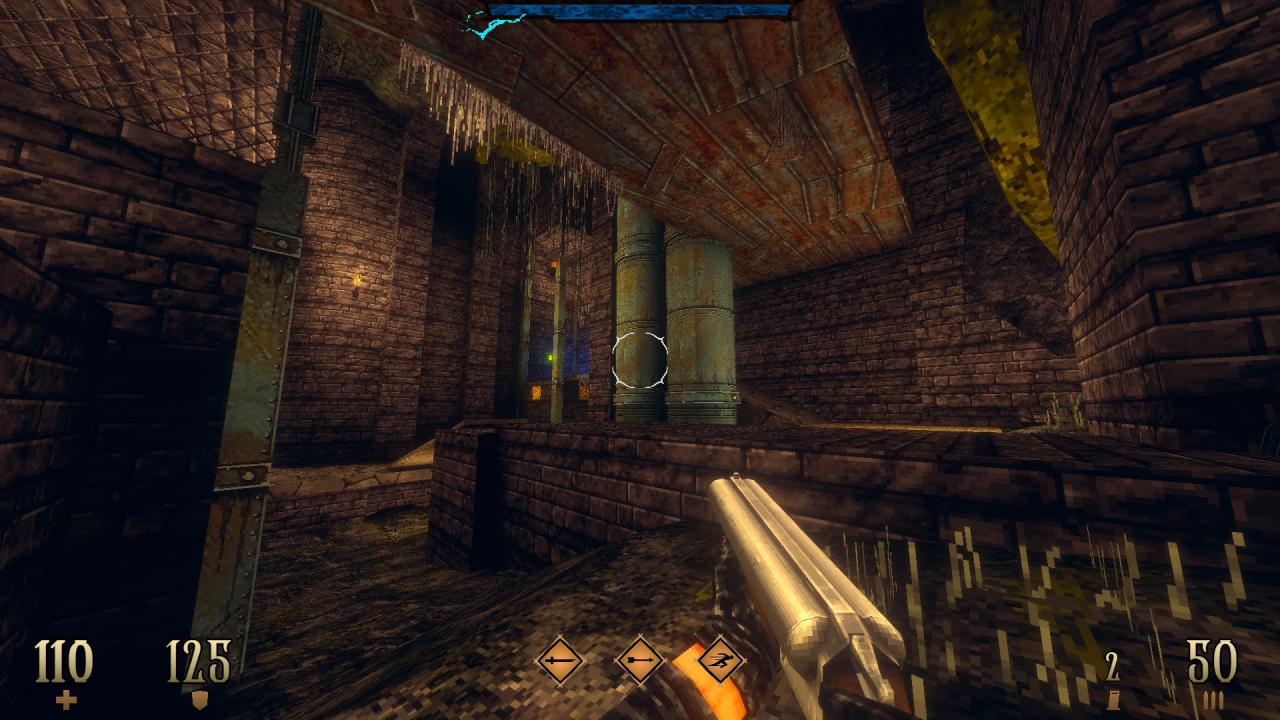
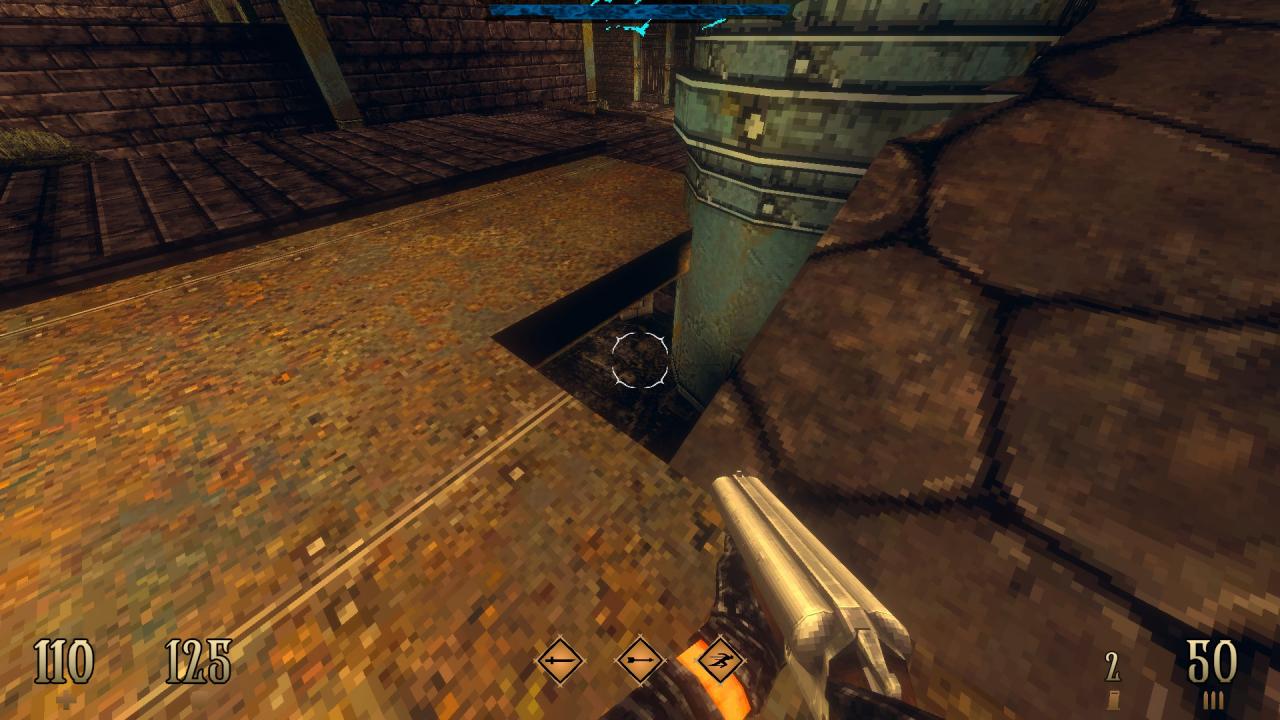
6/10 – In the side area, look for an opening near the two pipes in the middle and drop down into it to find hidden items.
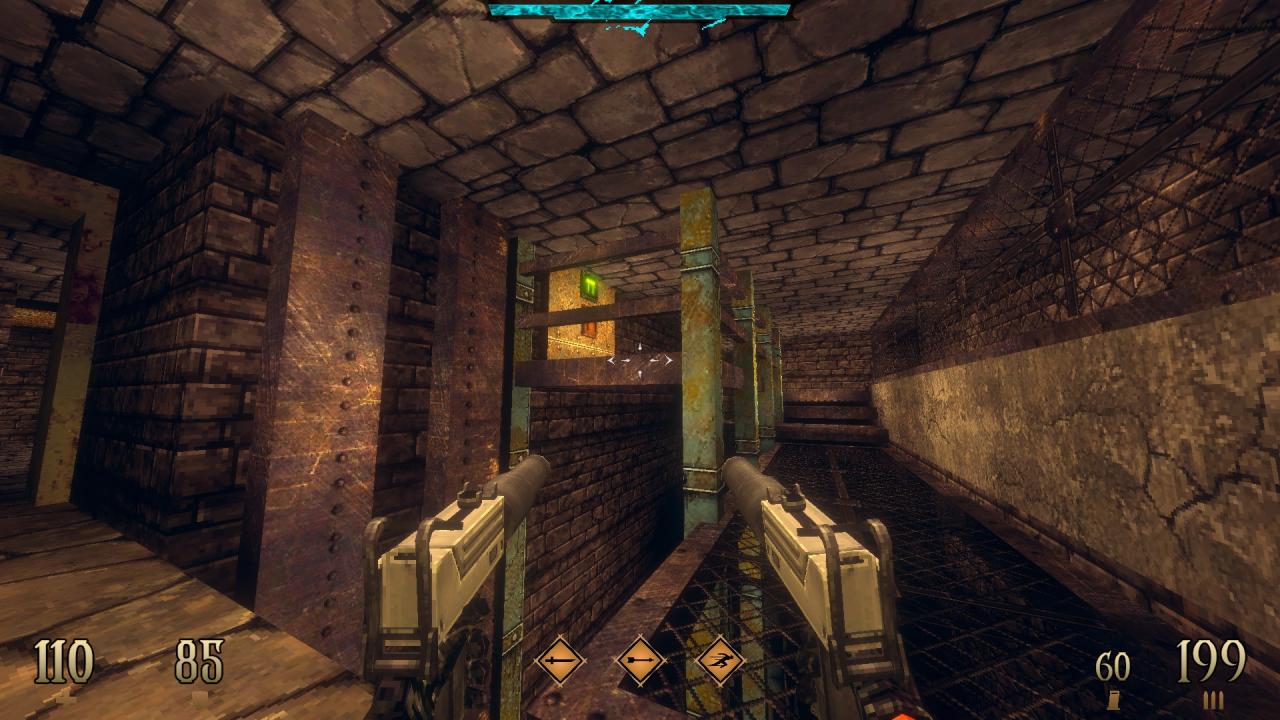
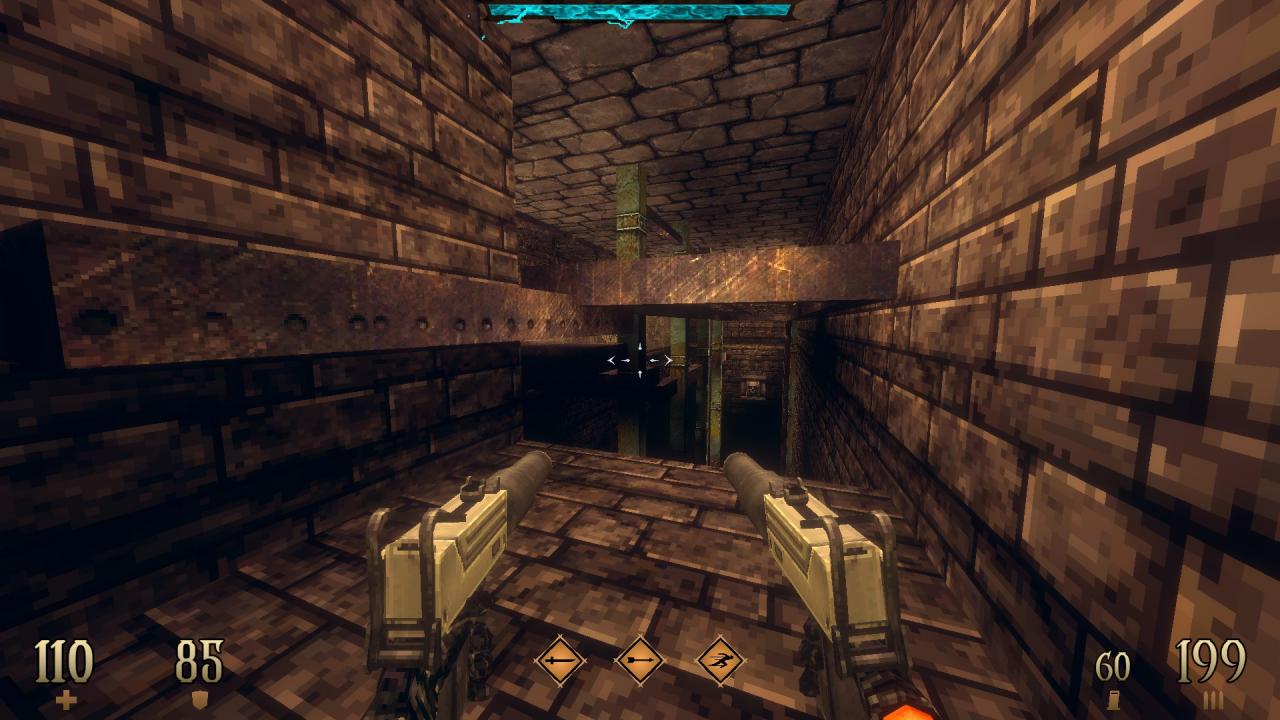
7/10 – Still in the side area, shoot the skull emblem below the walkway to open the door to the fenced section in the same room.
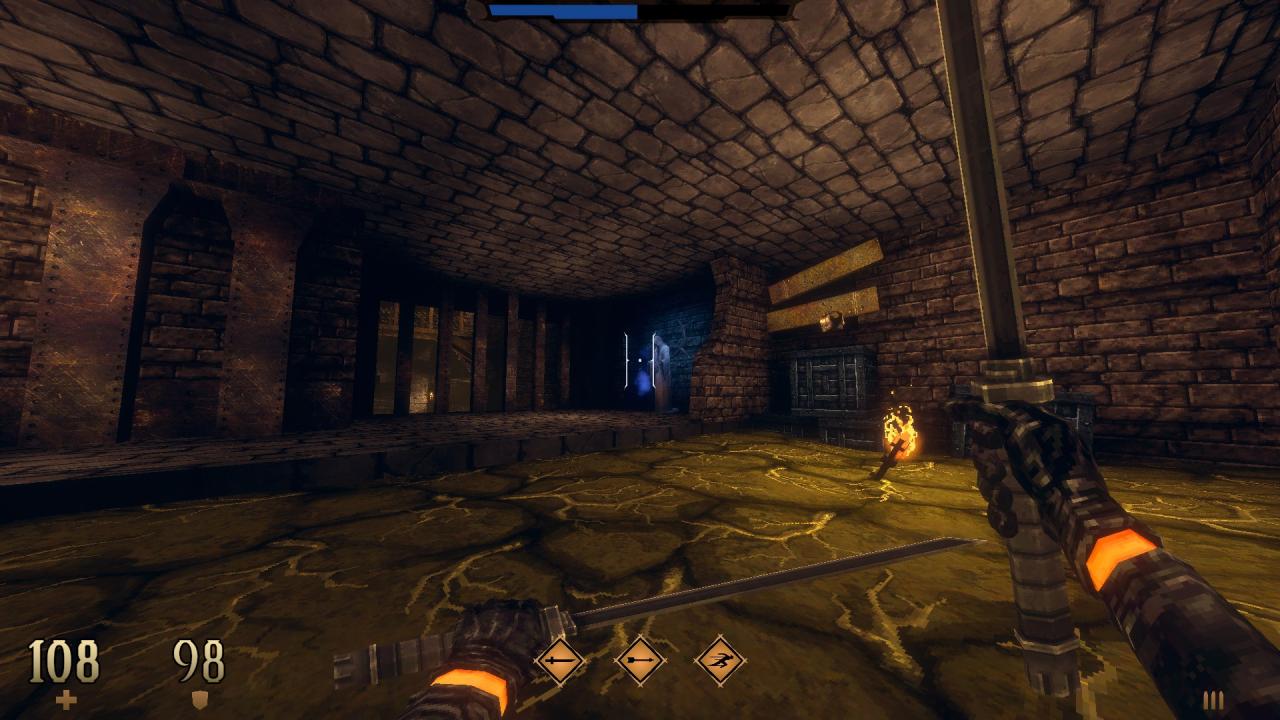
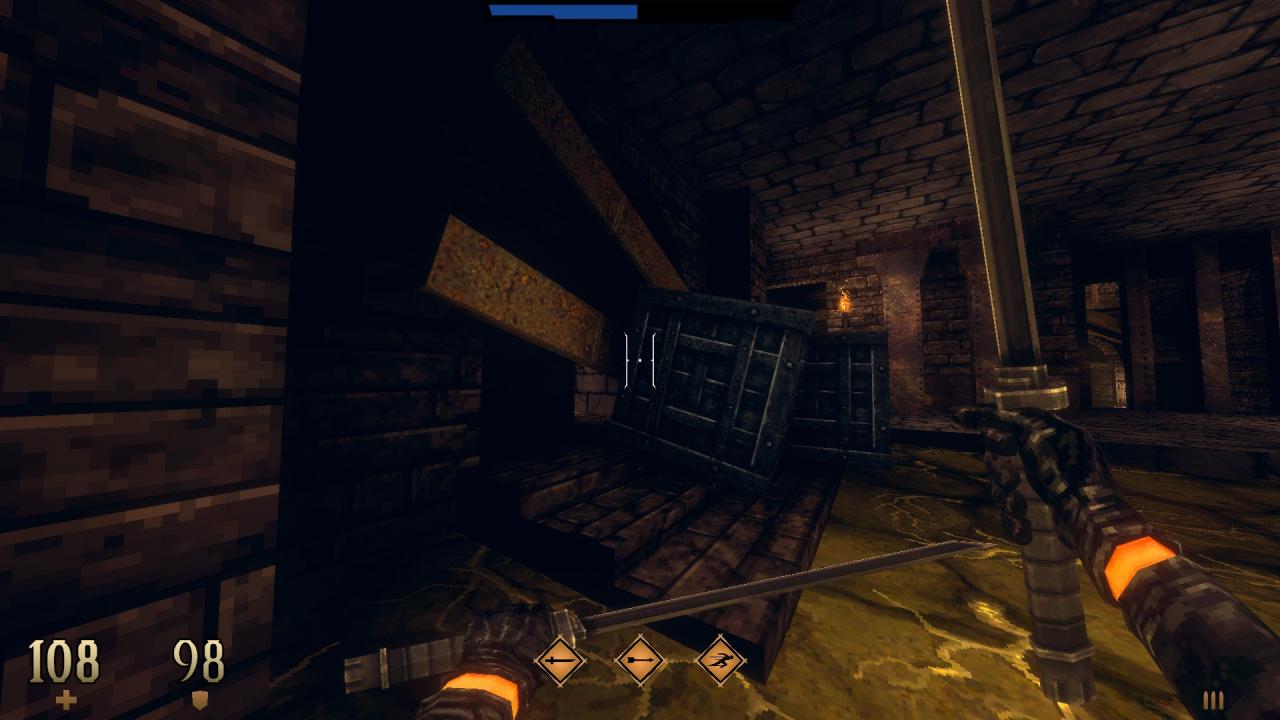
8/10 – In the room next to the side area entrance, crawl into the opening behind the crates to find a hidden item.
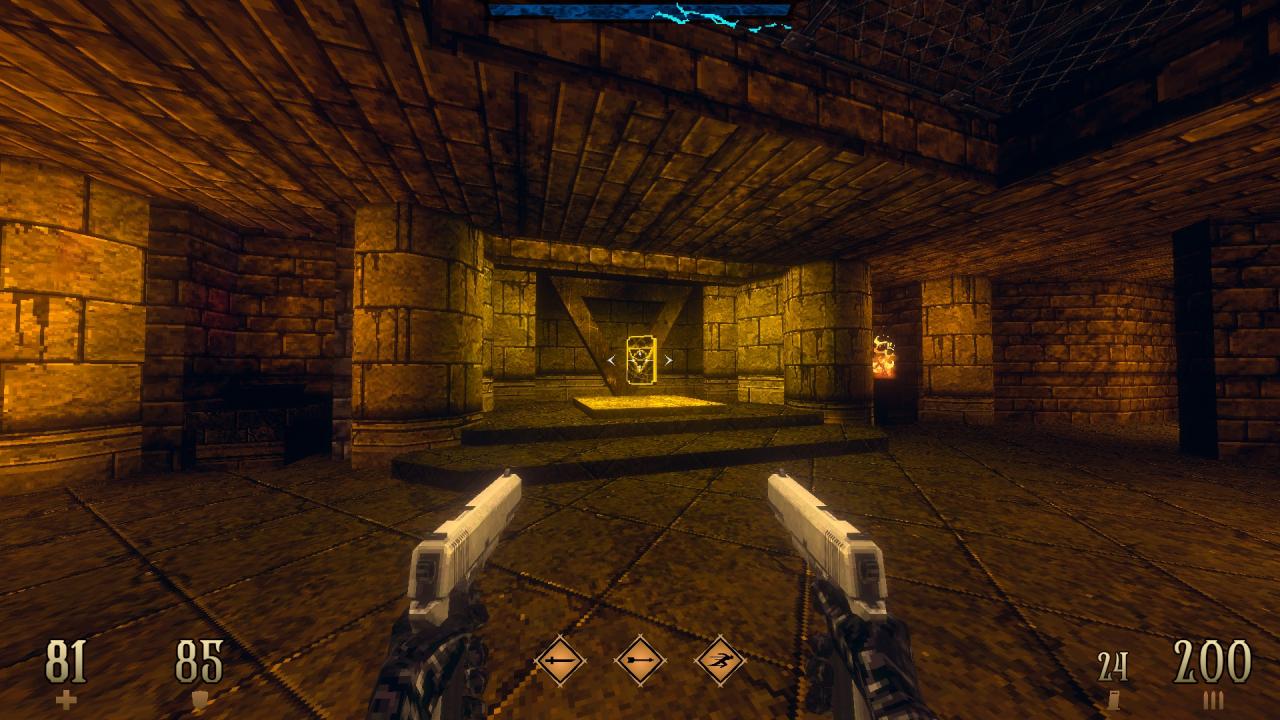
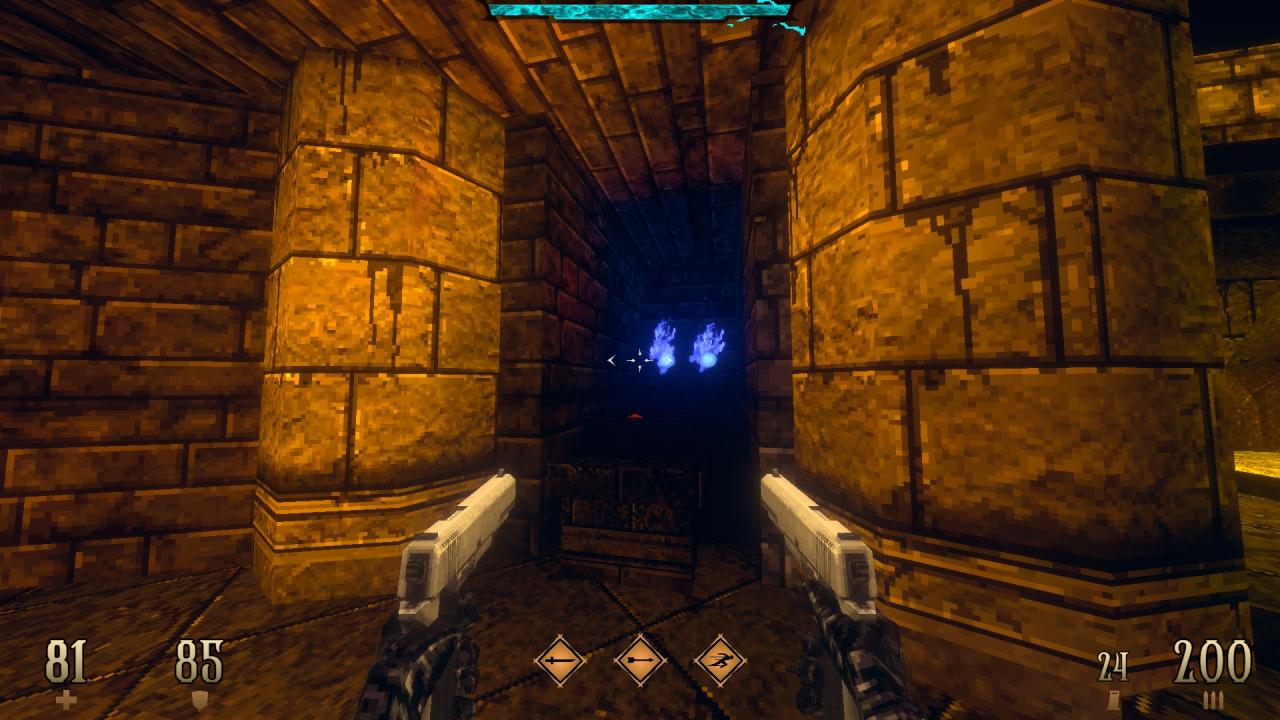
9/10 – Use to wall behind the unlit torch next to the yellow key pedestal to reveal another hidden compartment.
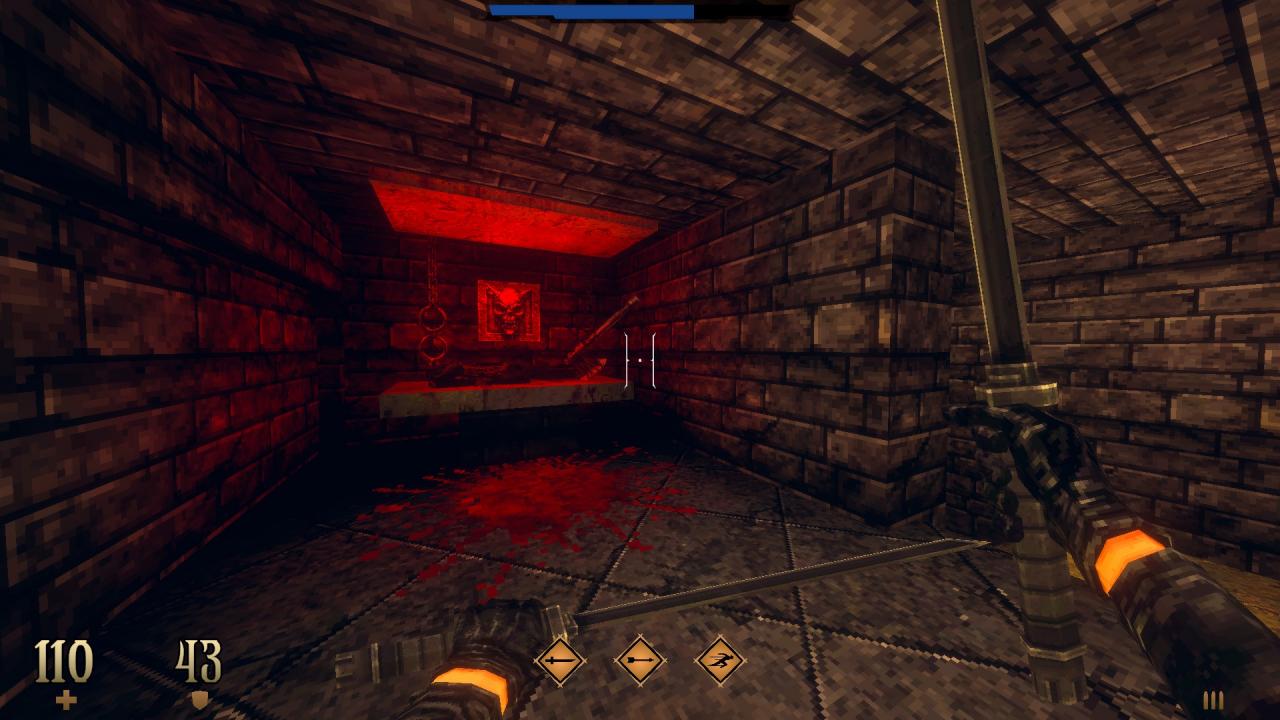
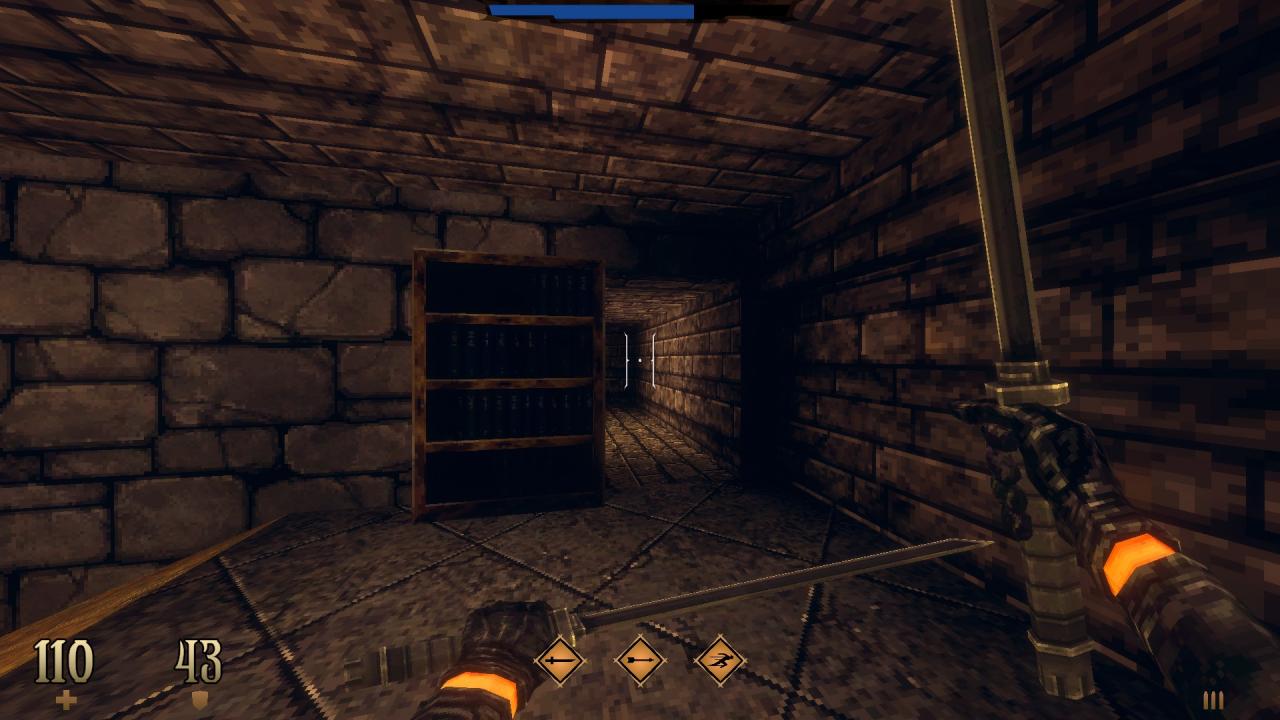
10/10 – Shoot the demon emblem to reveal a hidden room behind the nearby bookcase.
—
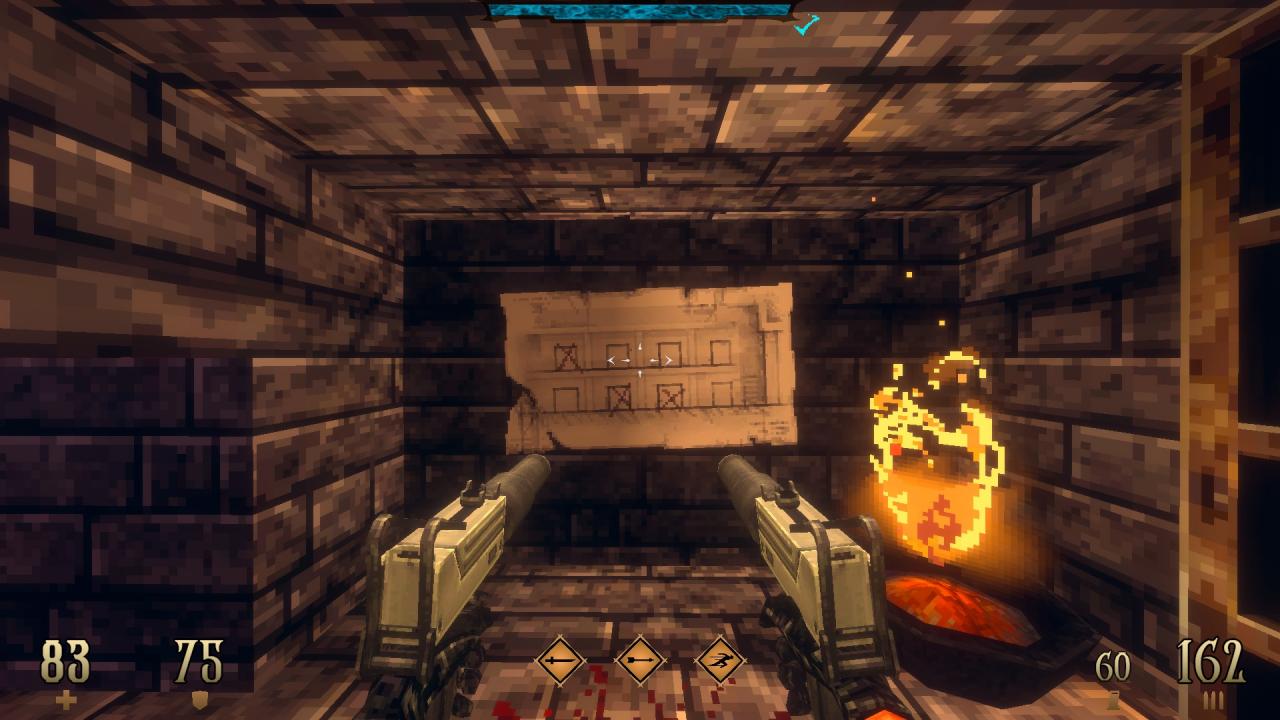
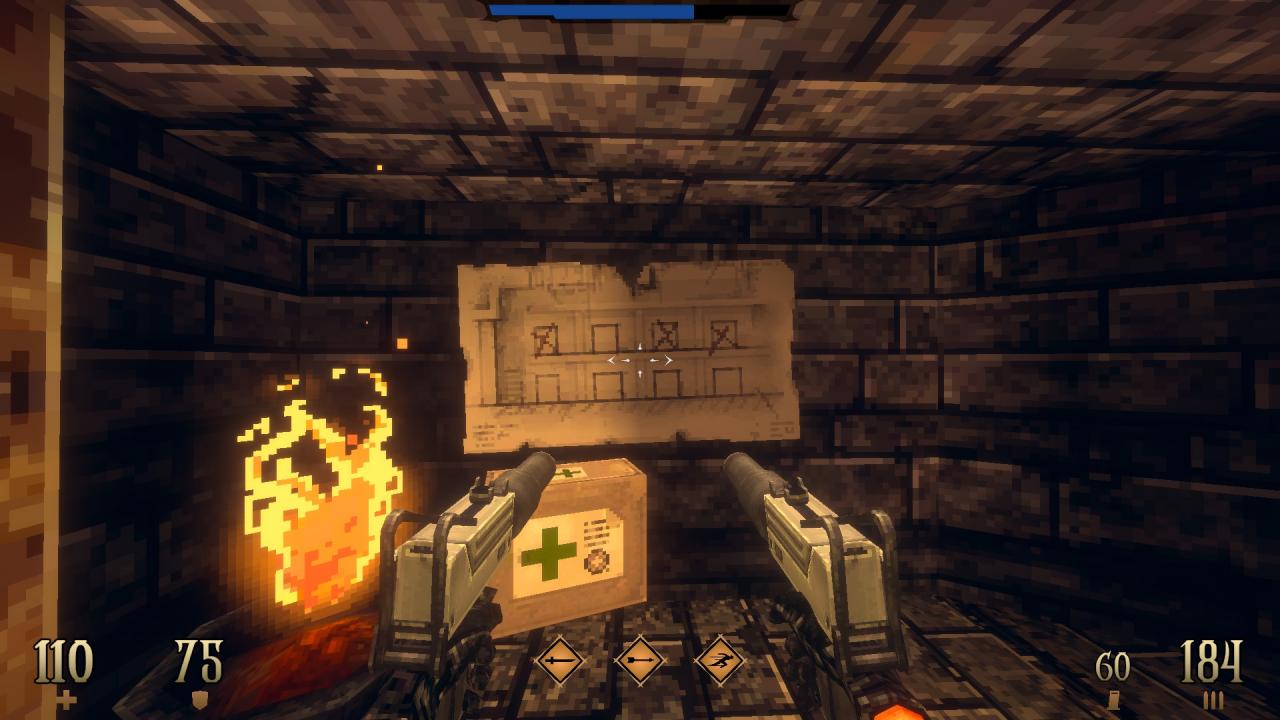
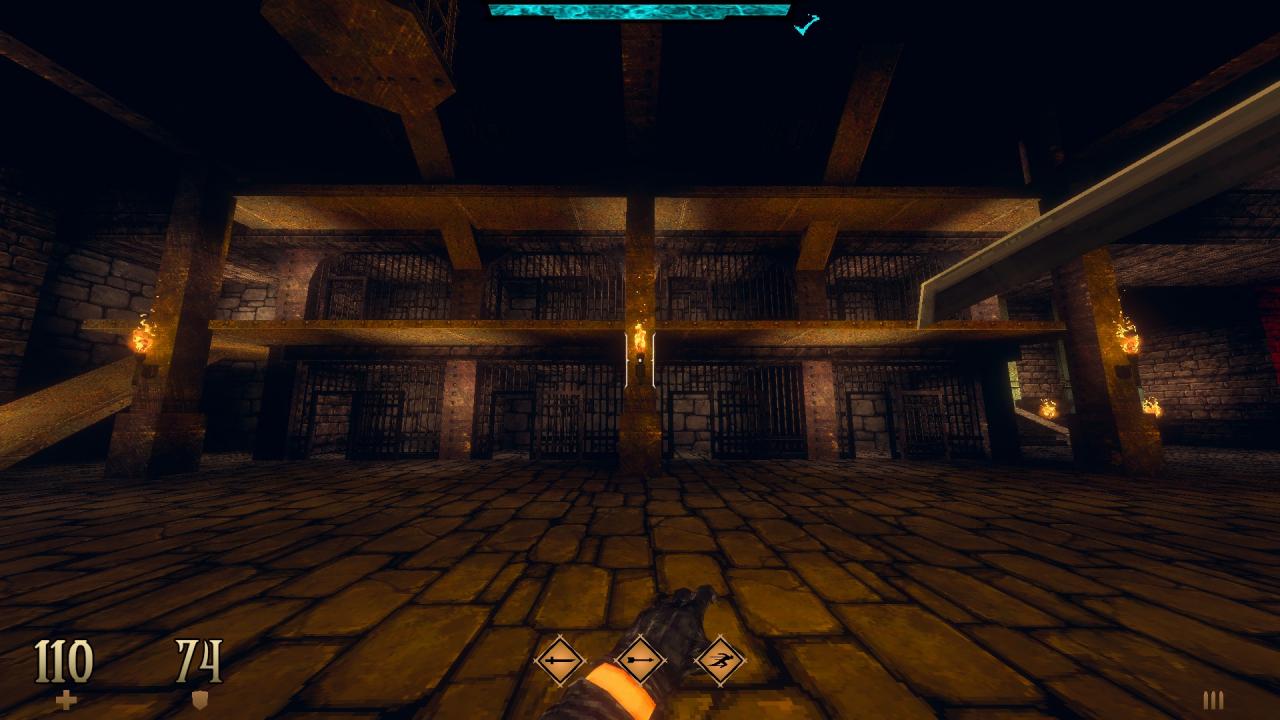
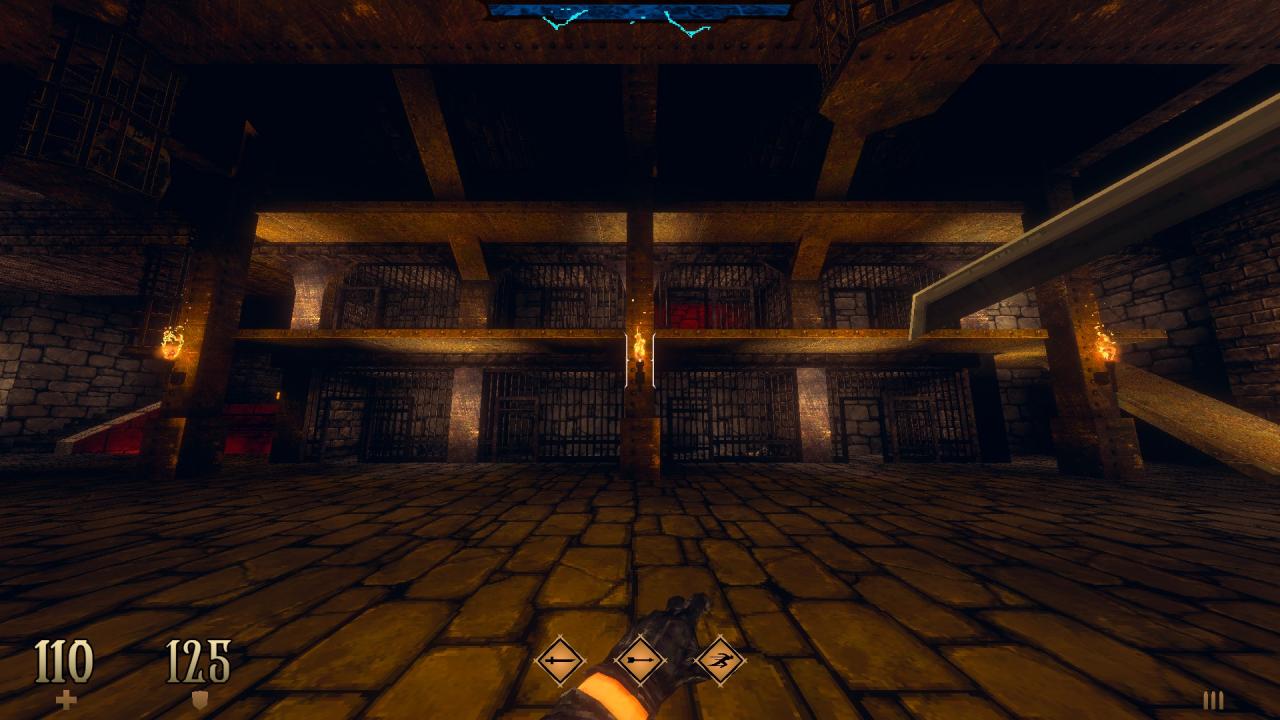
SUPER SECRET – Arrange the cell doors near the end according to the two blueprints found throughout the level to reveal a hidden teleporter in one of them that leads to an out of reach area. (Lightning Spear -G-) (Also unlocks the achievement ‘Grandma’s Attic’.)
E1M4: Back Below the Surface
This level contains 9 secrets and a super secret.
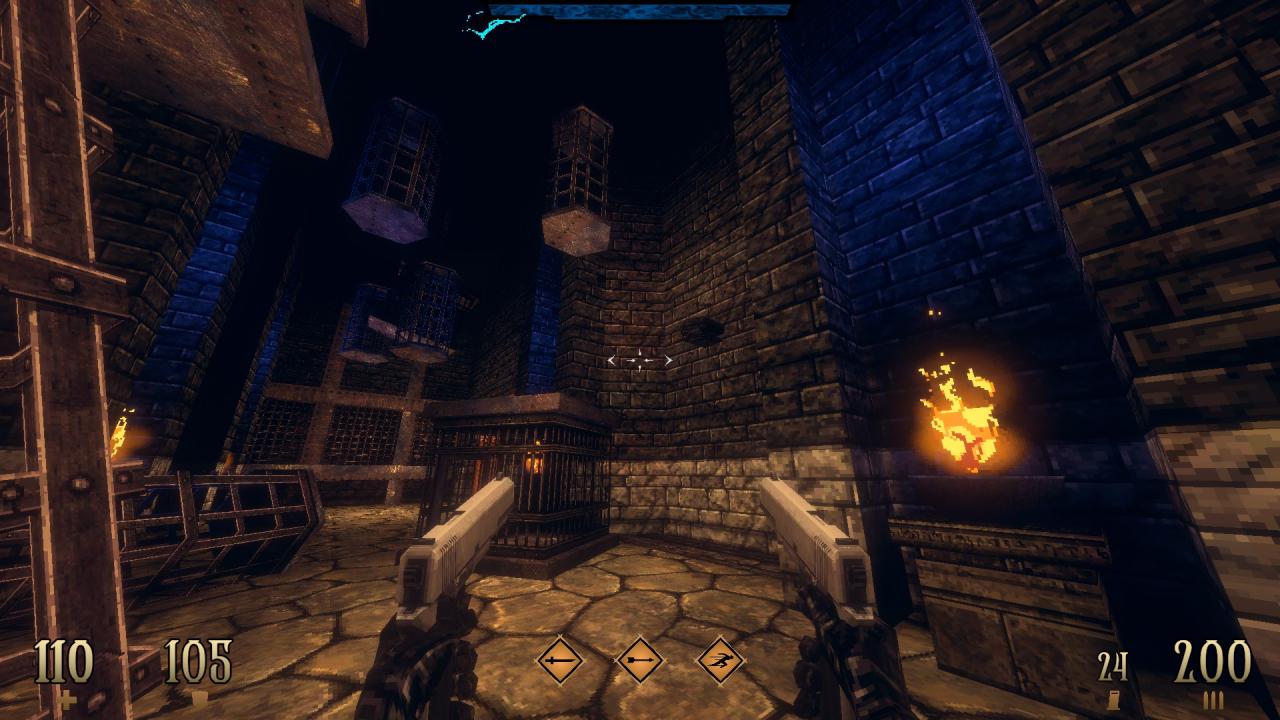
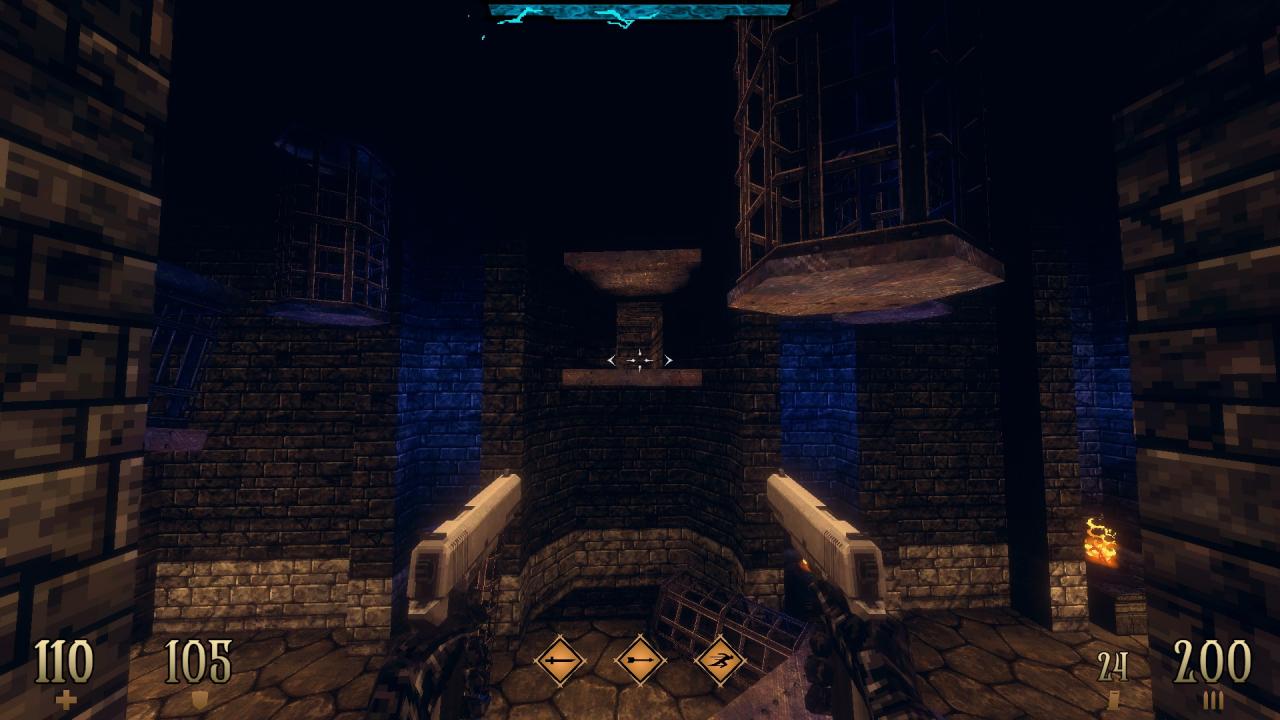
1/9 – At the beginning, dash your way up to the opening above to find hidden items.
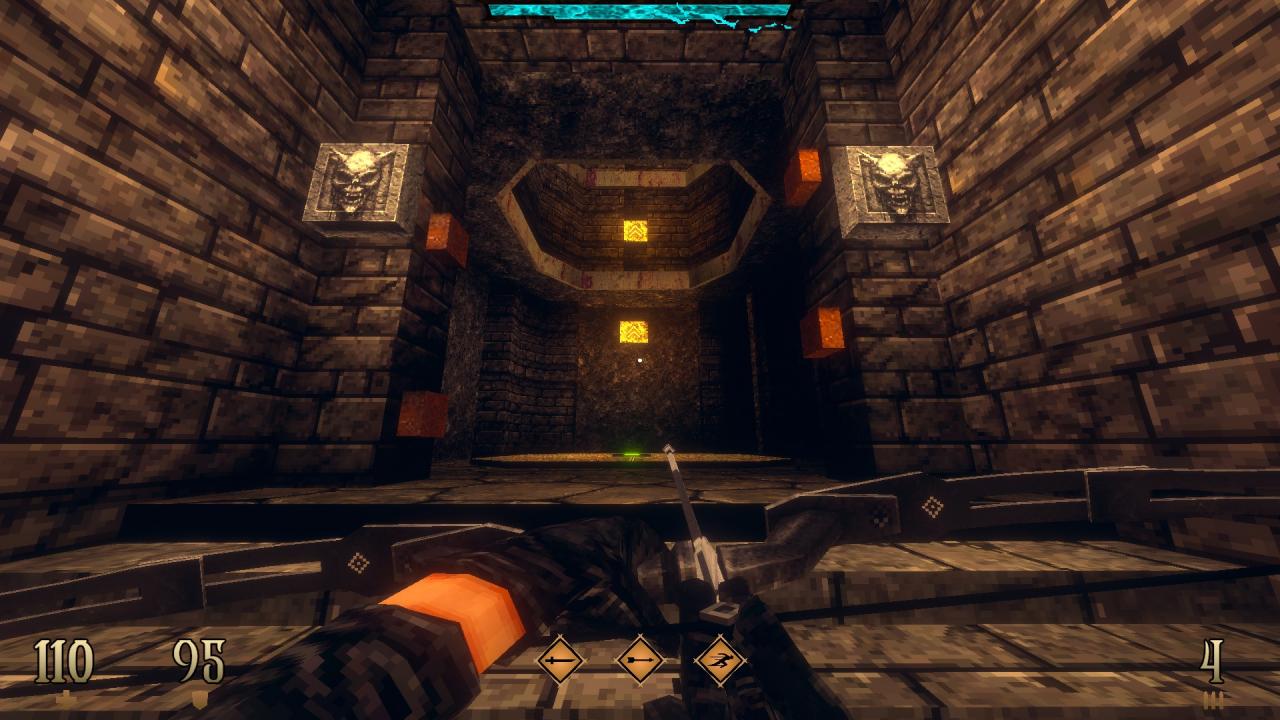
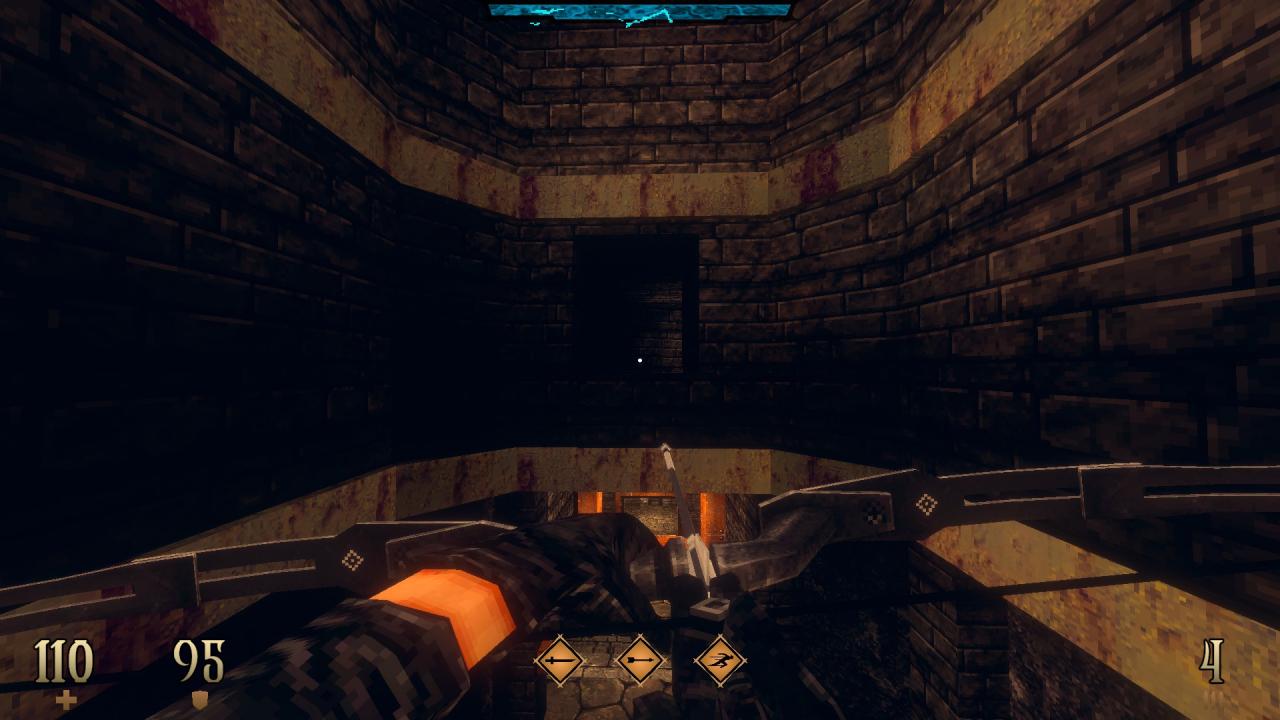
2/9 – Look for an opening to your back as the elevator goes up to find a hidden compartment.
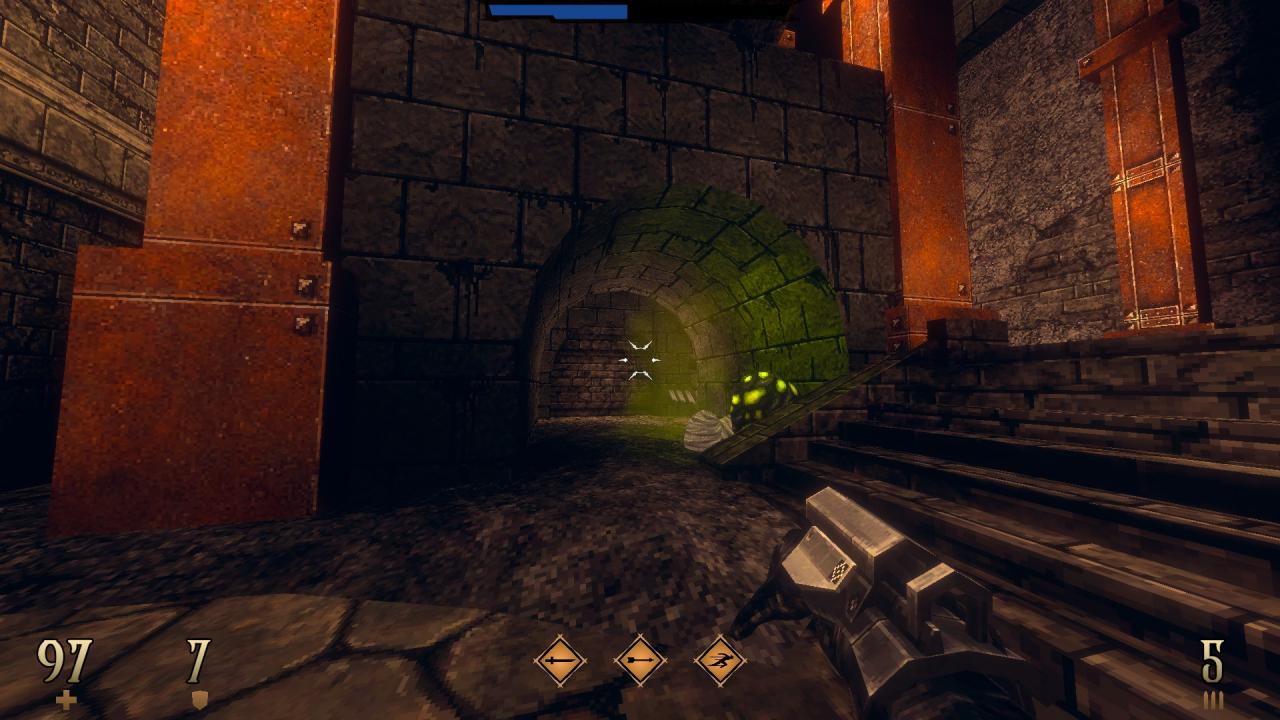
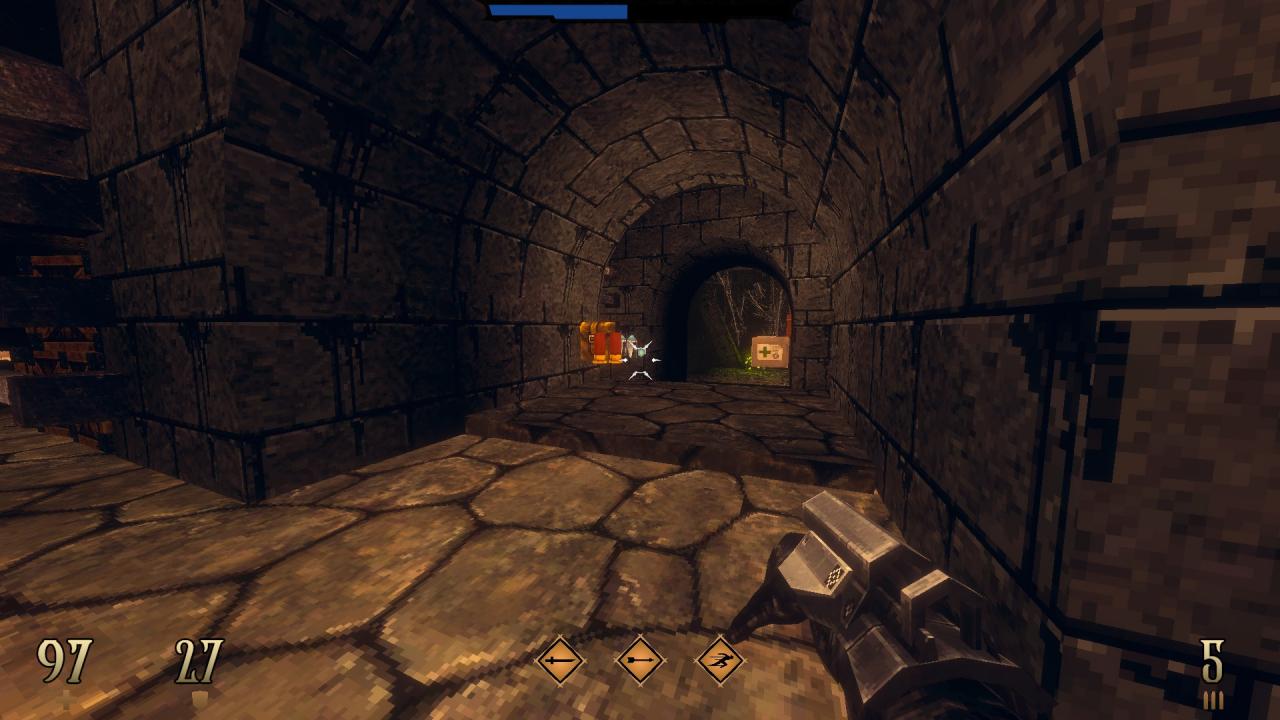
3/9 – Use the brick wall at the end to access out of reach items.
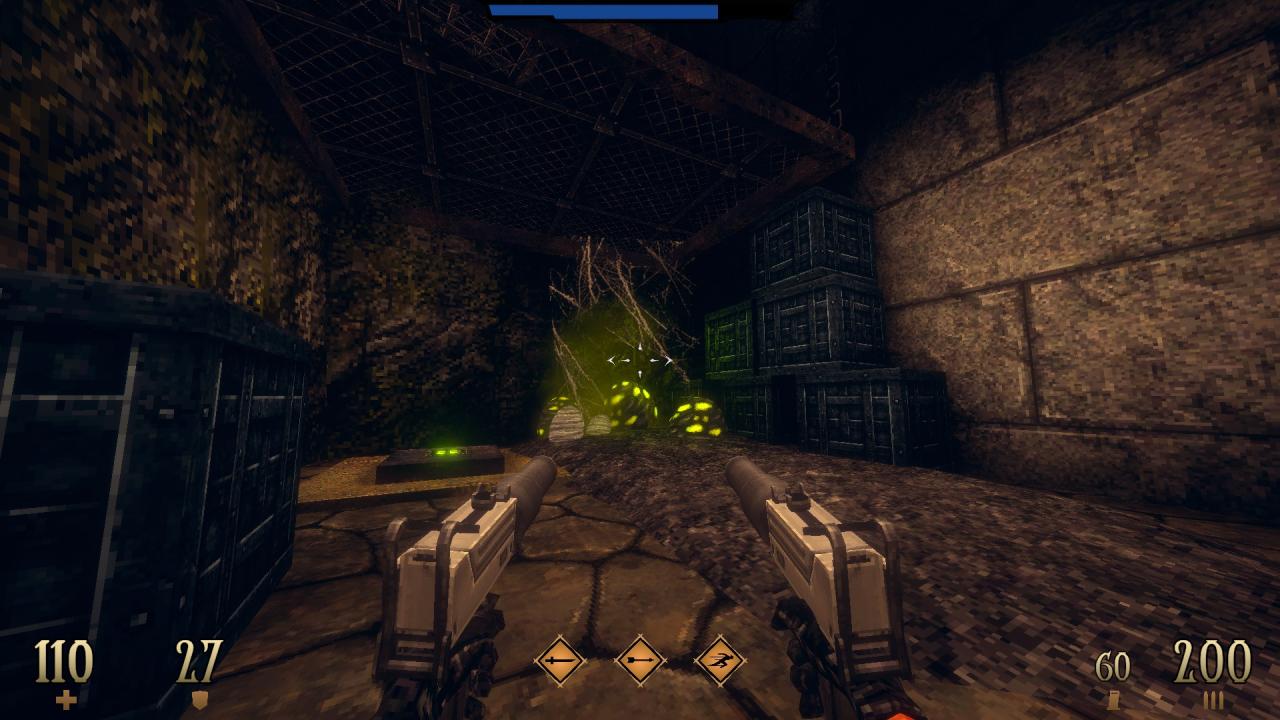
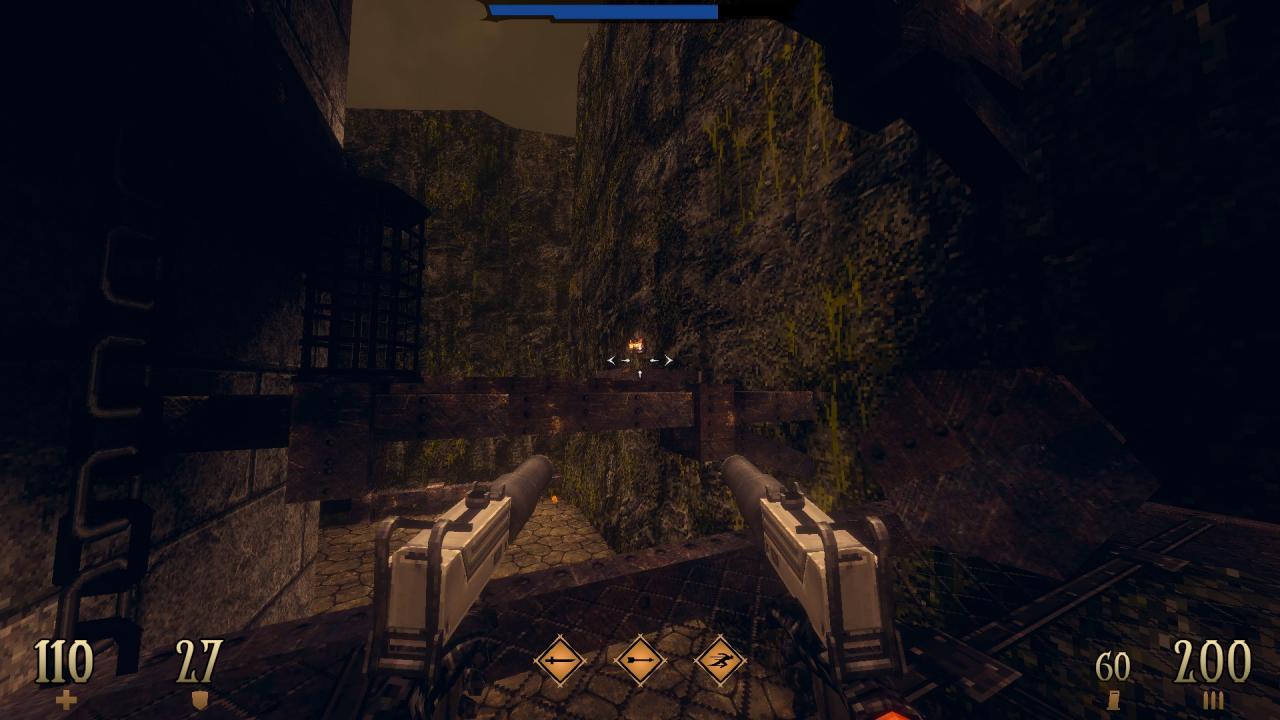
4/9 – Jump on top of the crates and make your way to the out of reach armor.
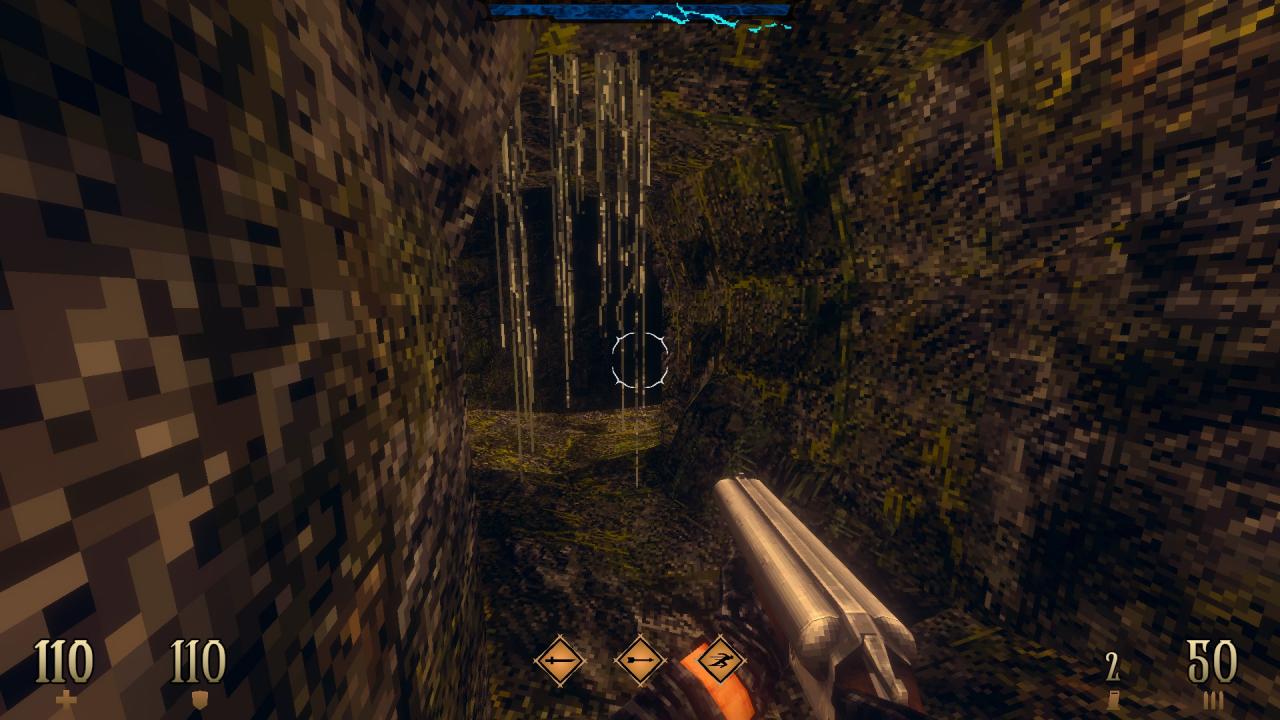
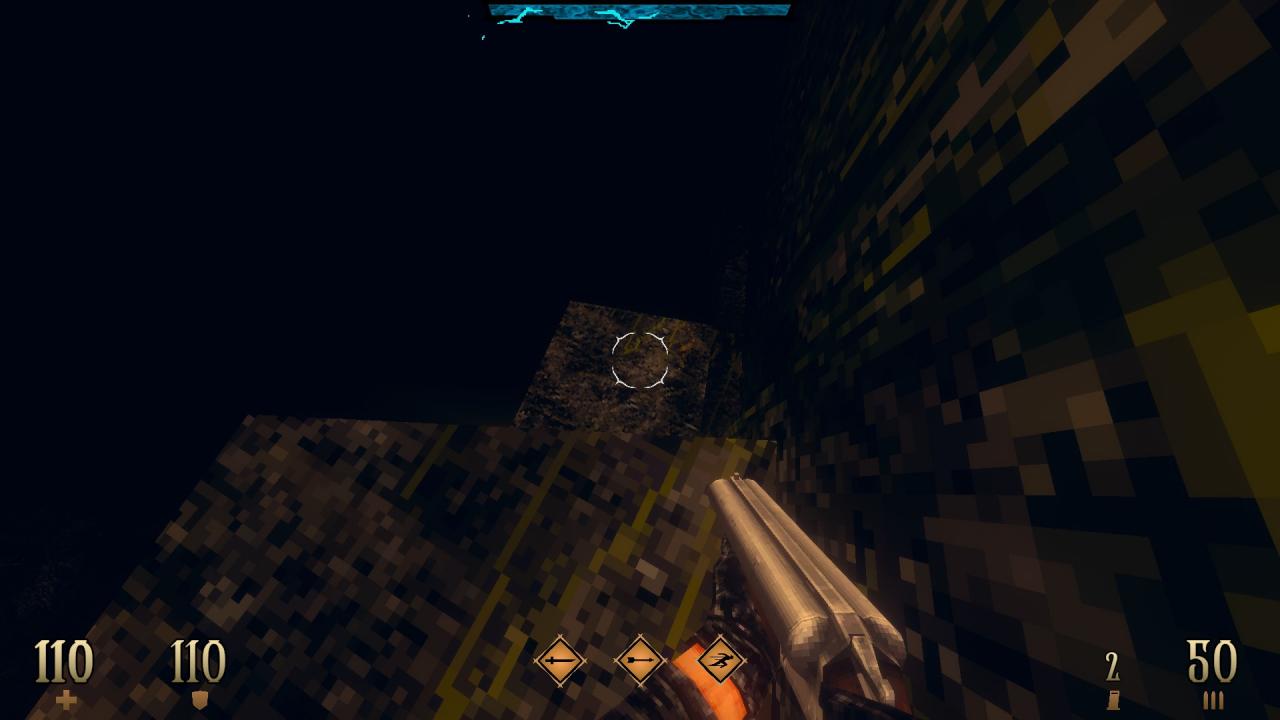
5/9 – At the beginning of the side area, drop down to the ledge below to find hidden items.
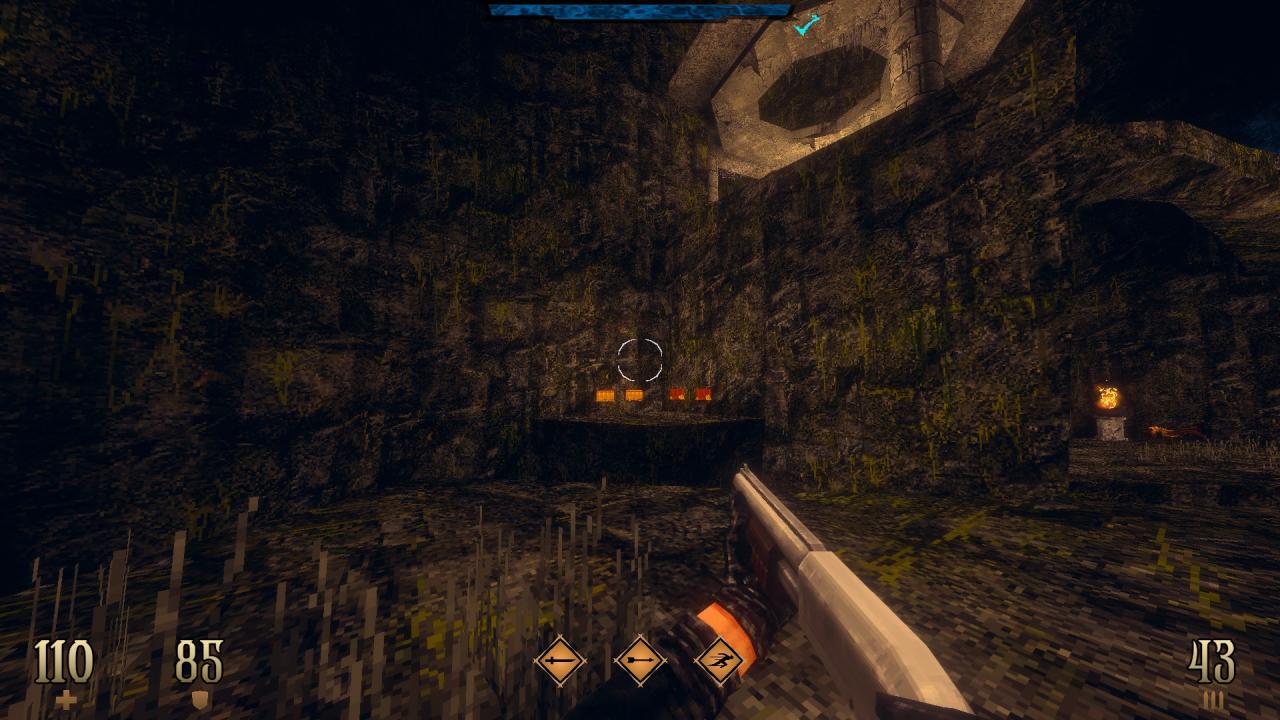
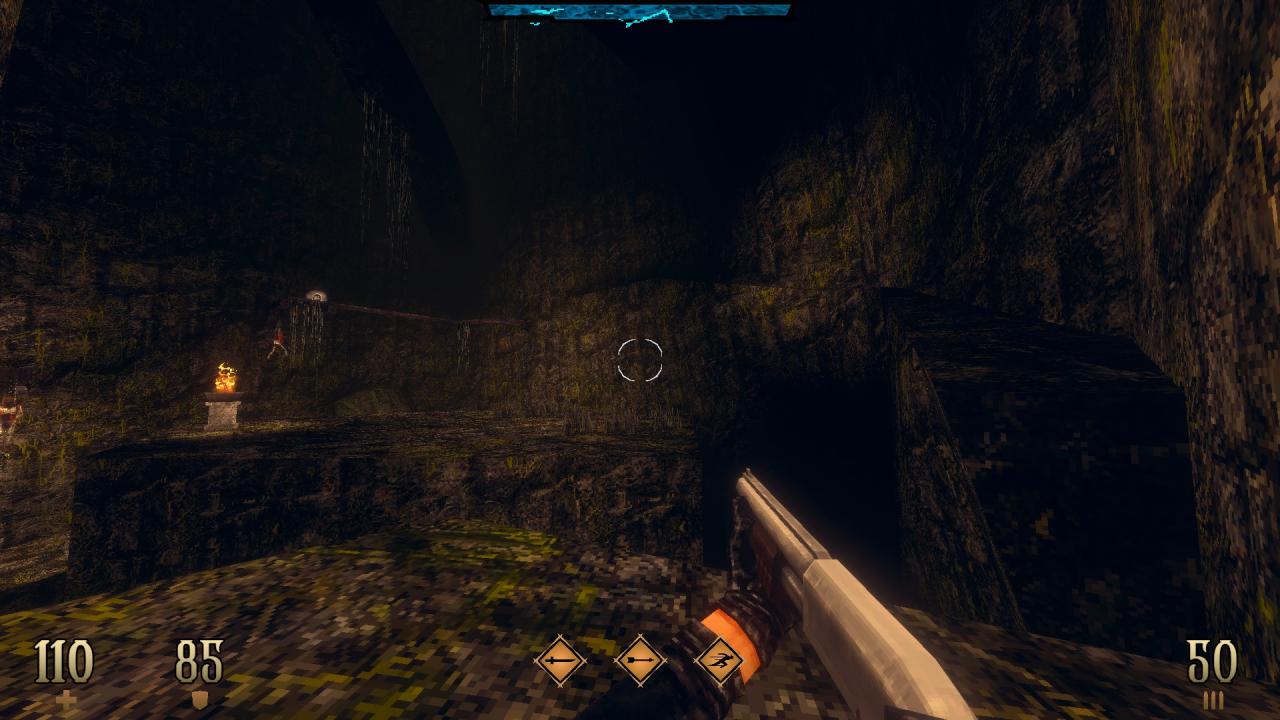
6/9 – Still in the side area, dash across and make your way along to ledge to reach the emblem at the end of the path. (Pistol Slaughter II)
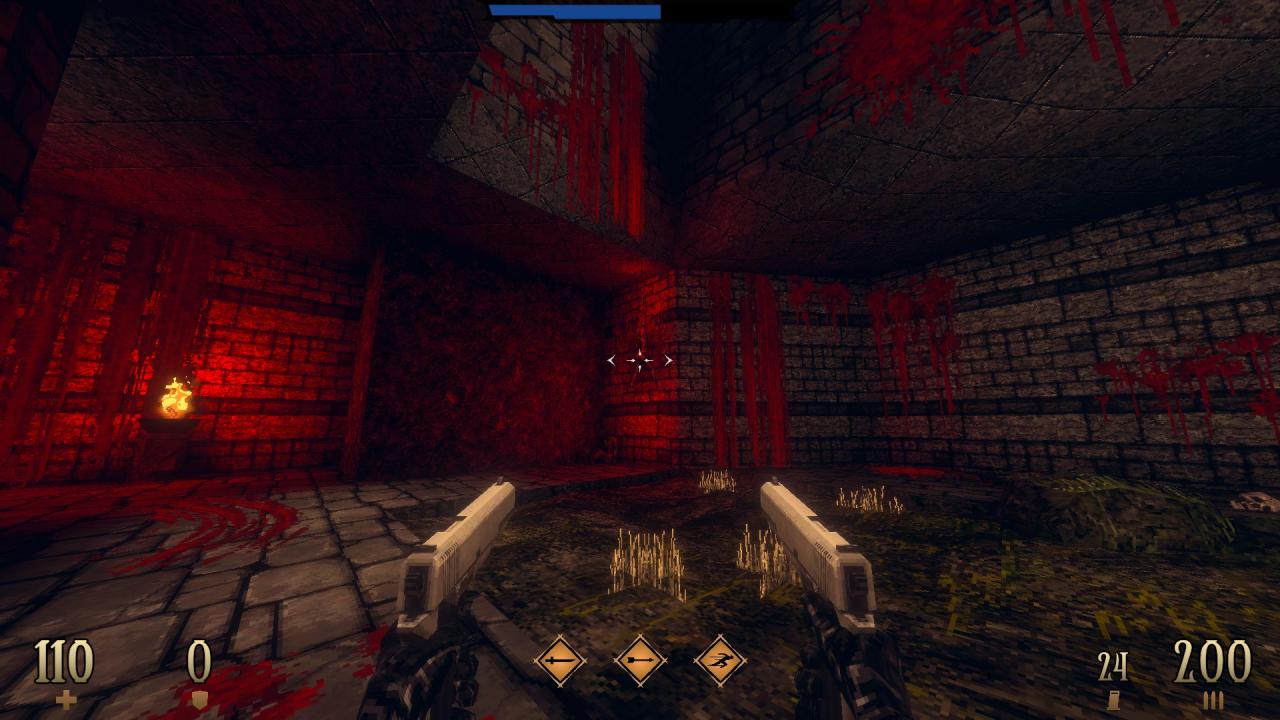
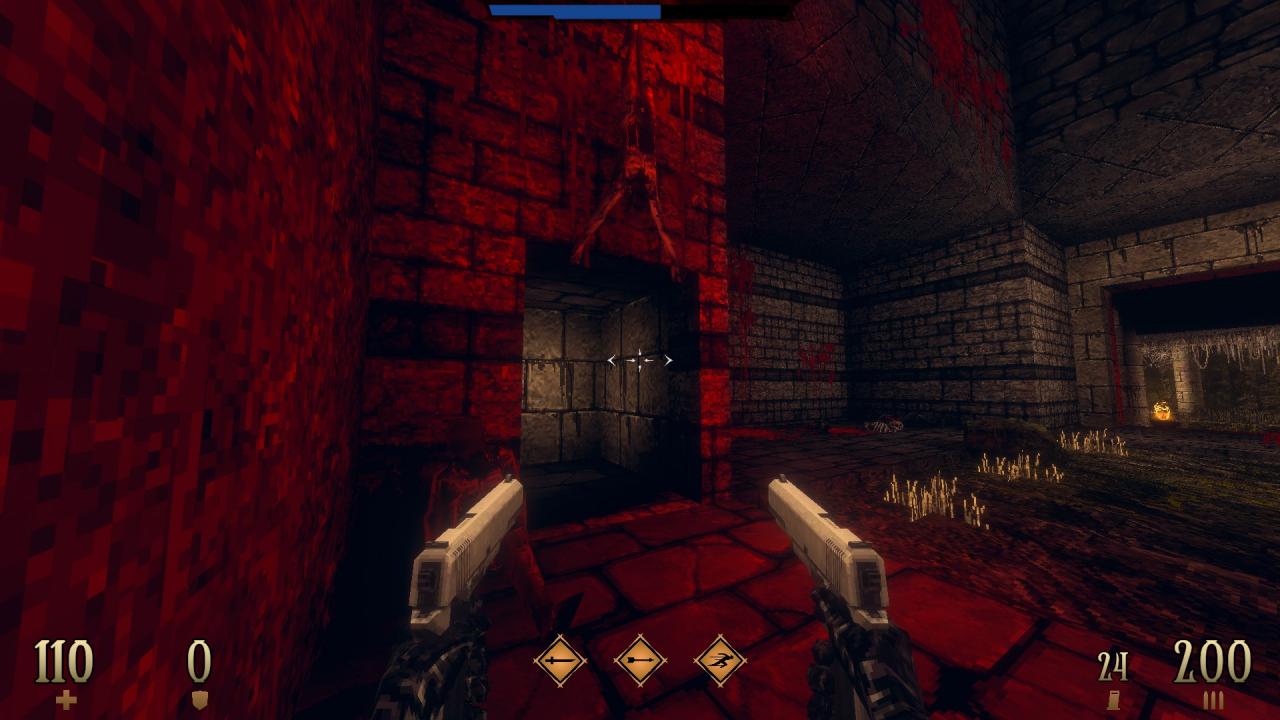
7/9 – Still in the side area, use to wall below the upside-down corpse to reveal a hidden room.
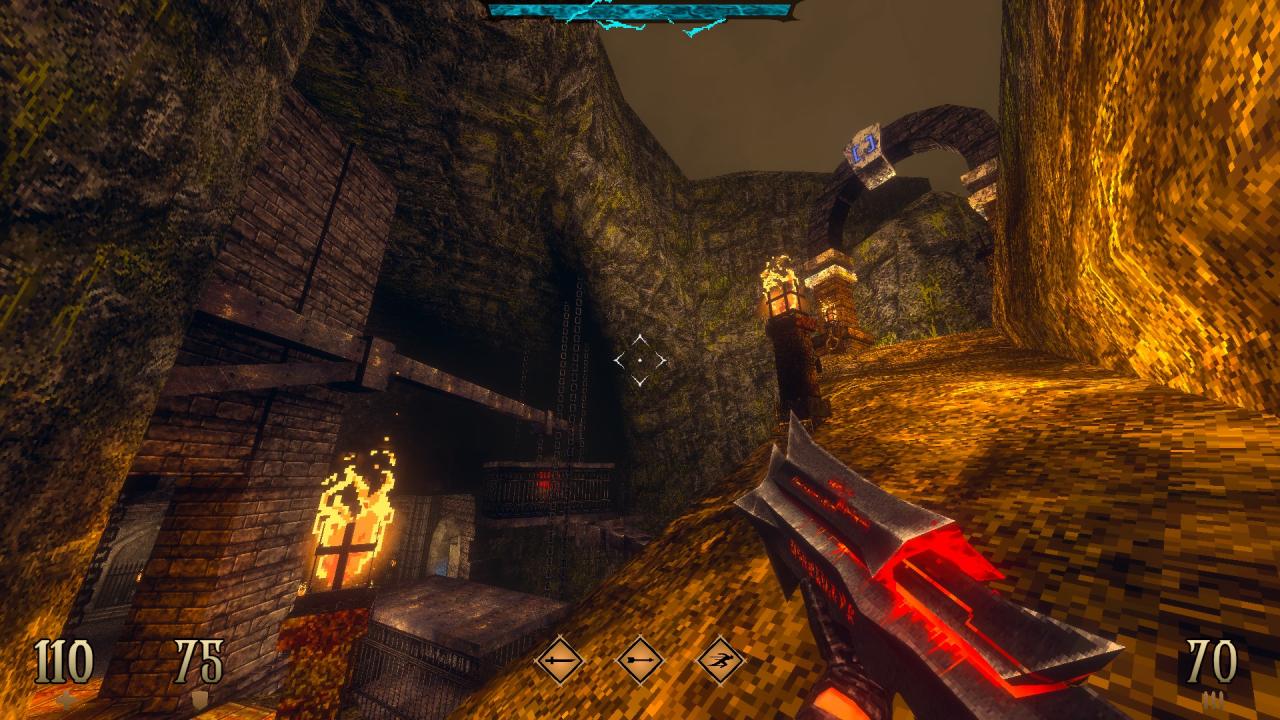
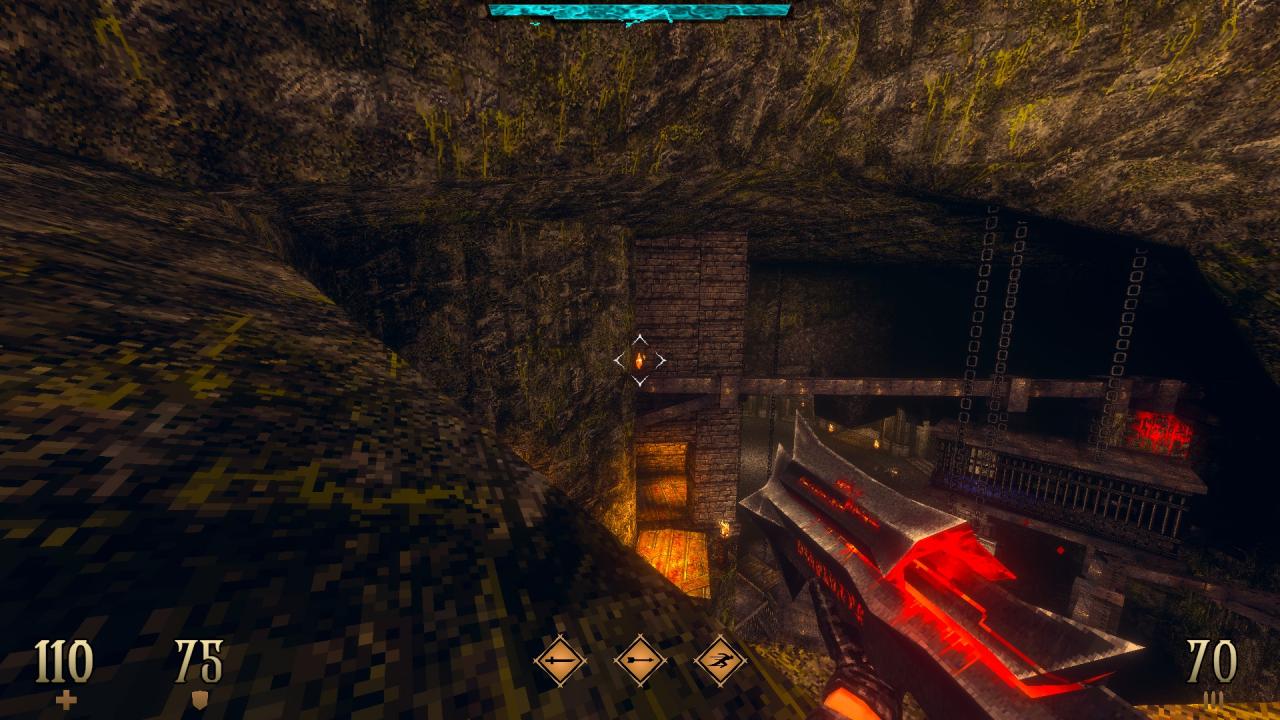
8/9 – Jump from the ledge and dash in the air to reach the ammo that resides on the beam.
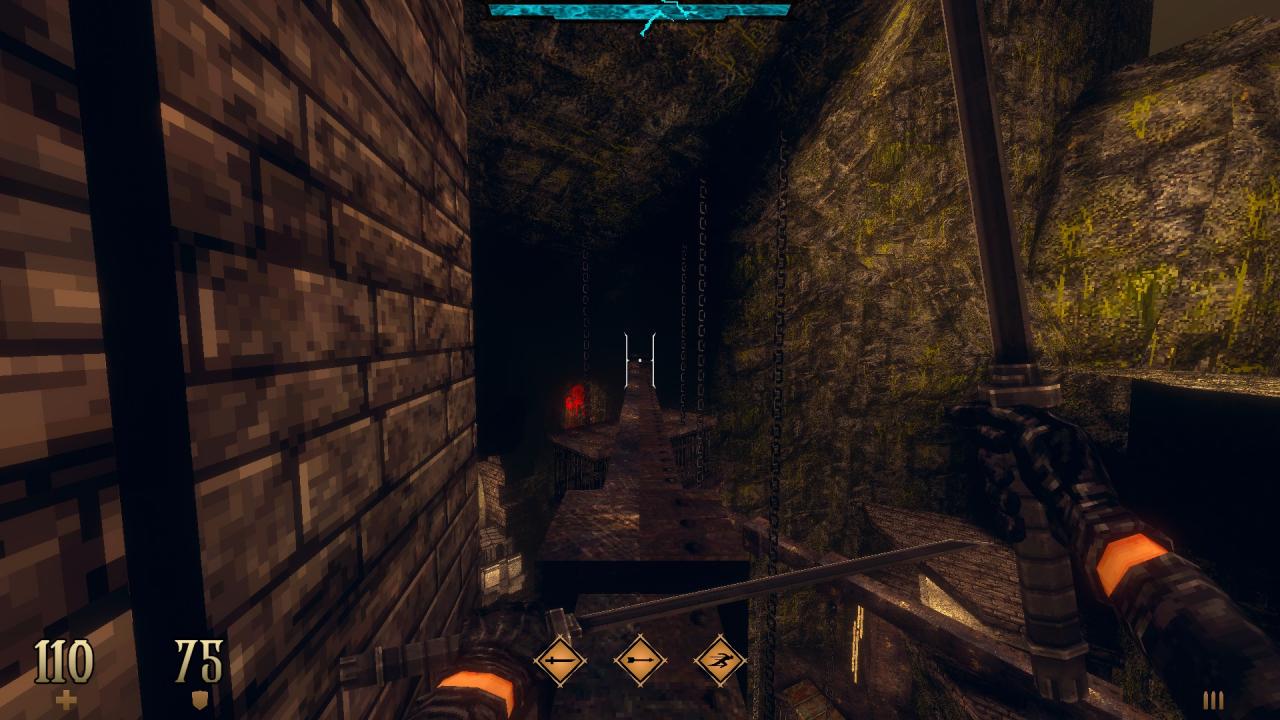

9/9 – Following on from the previous secret, follow the beam to the other end and dash across to reach the ammo that resides on the rocks.
—
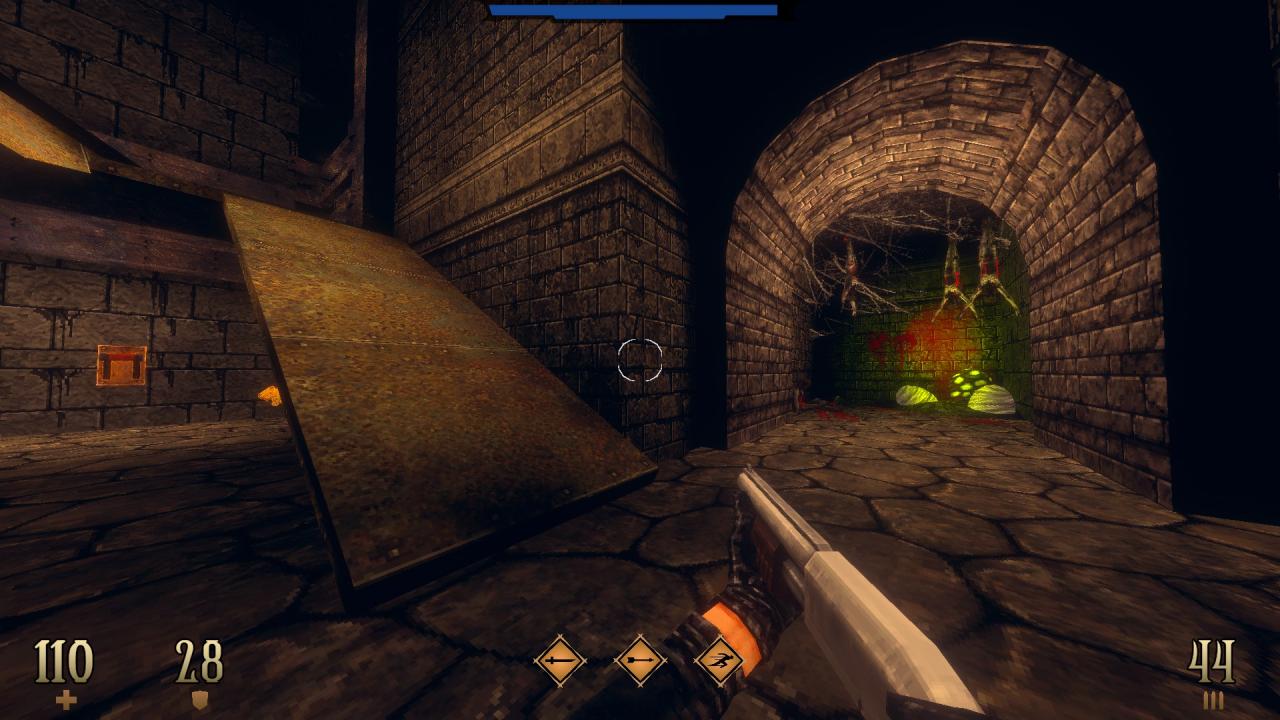
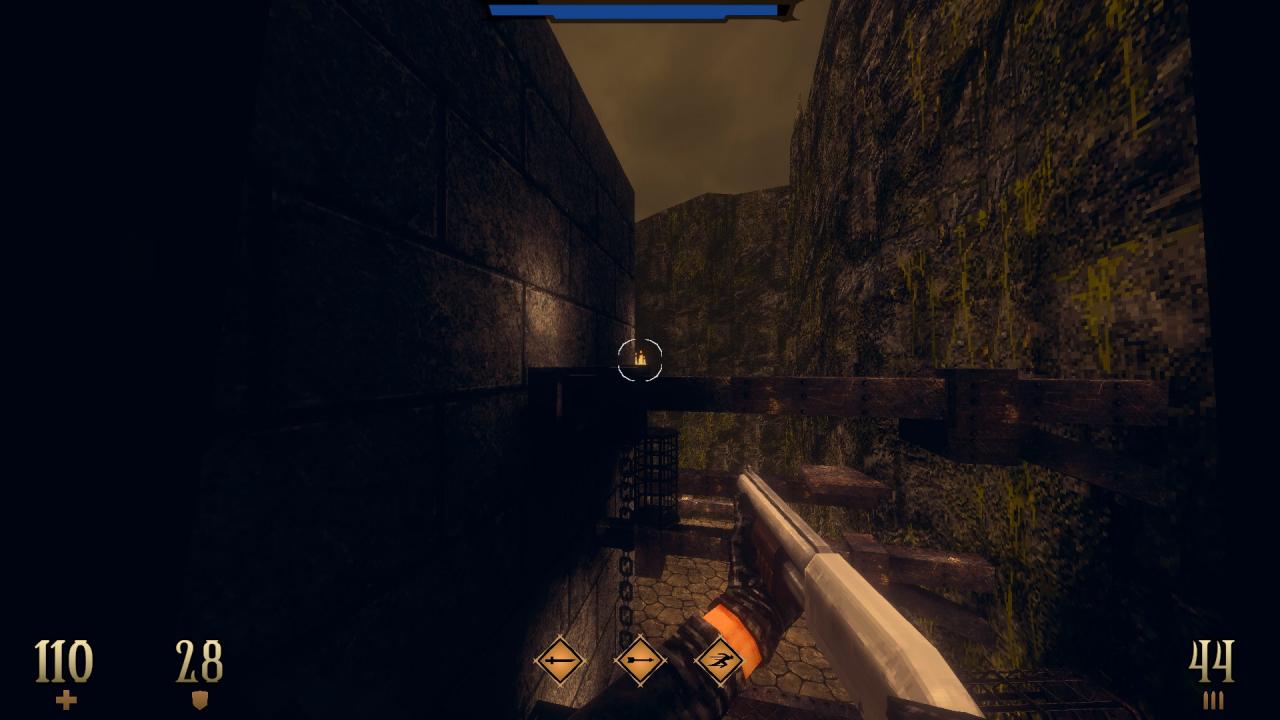
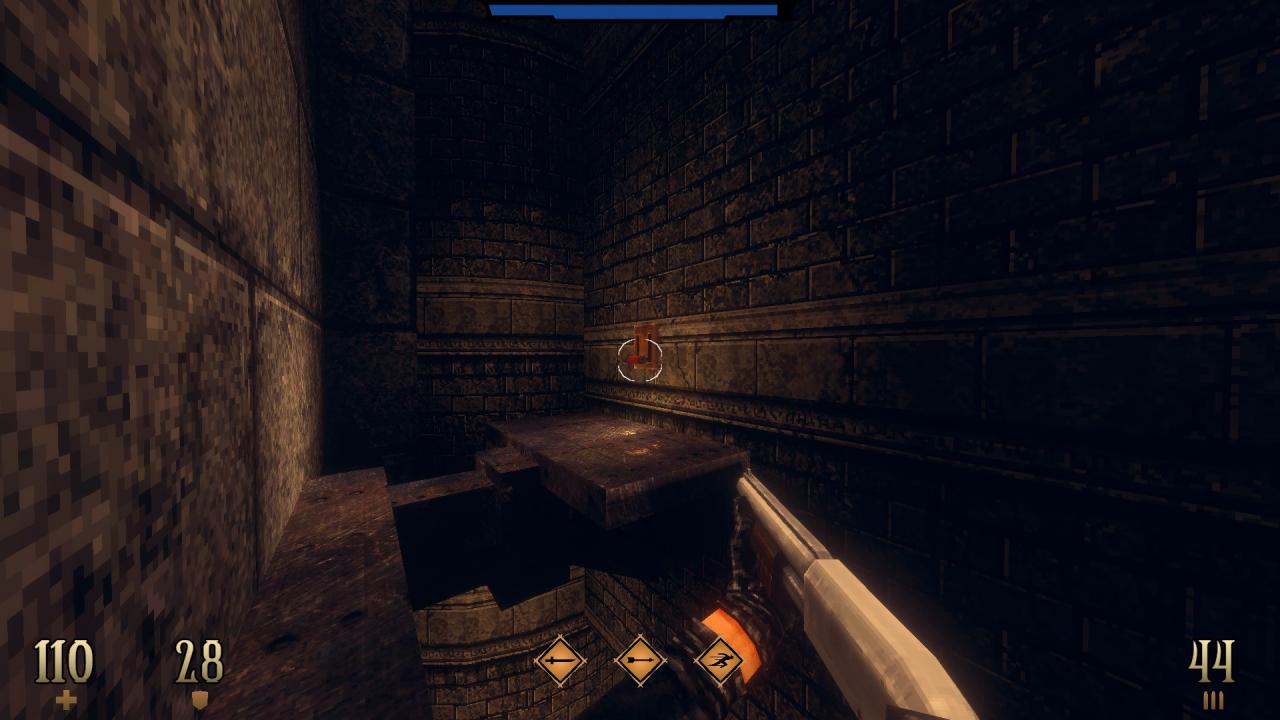
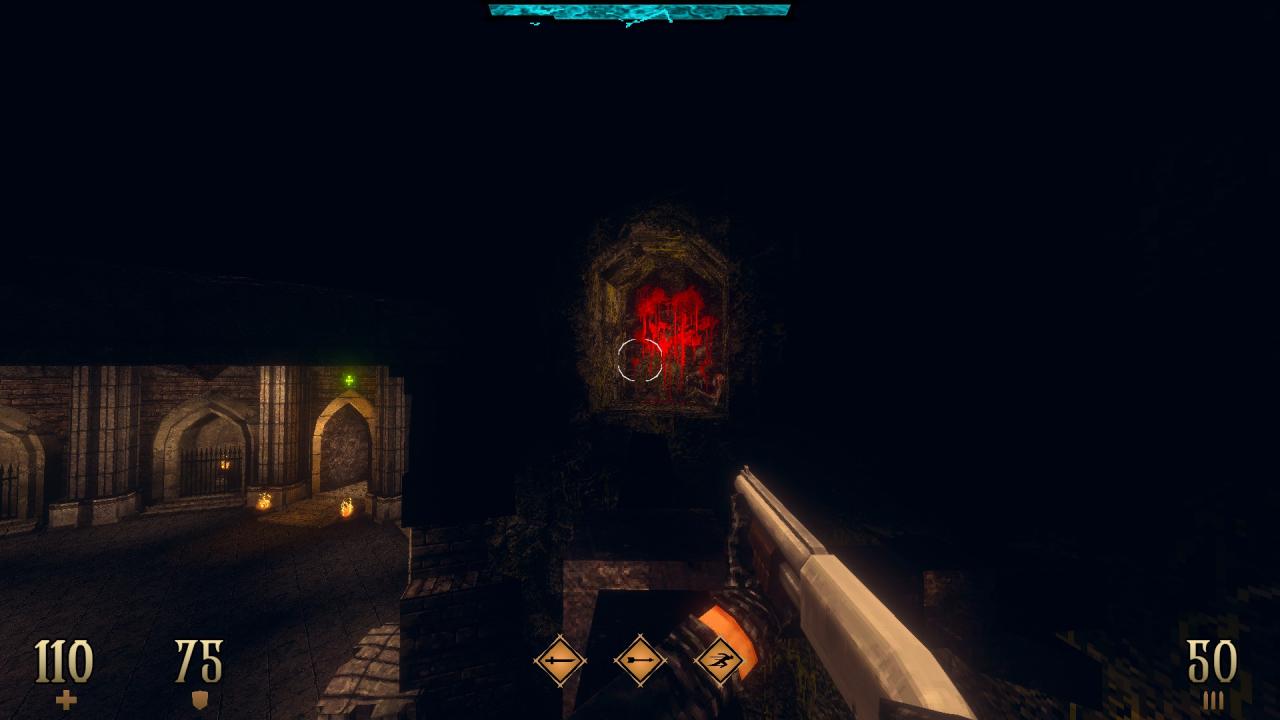
SUPER SECRET – Use the bloody wall at the end of the hall to reveal another way outside. Dash across to the top of the beam and continue towards the candles on the corner. Turn the corner to find a switch on the other side. Use the switch, return to the main cavern and make your way to the bloody wall near the eighth secret which should be open at this point. Note that the secret door closes after a certain while, so you need to hurry back there to access the hidden room behind. (Explosion Trap -G- and a Blood Gem)
E1M5: The Lair
This level contains 3 secrets.
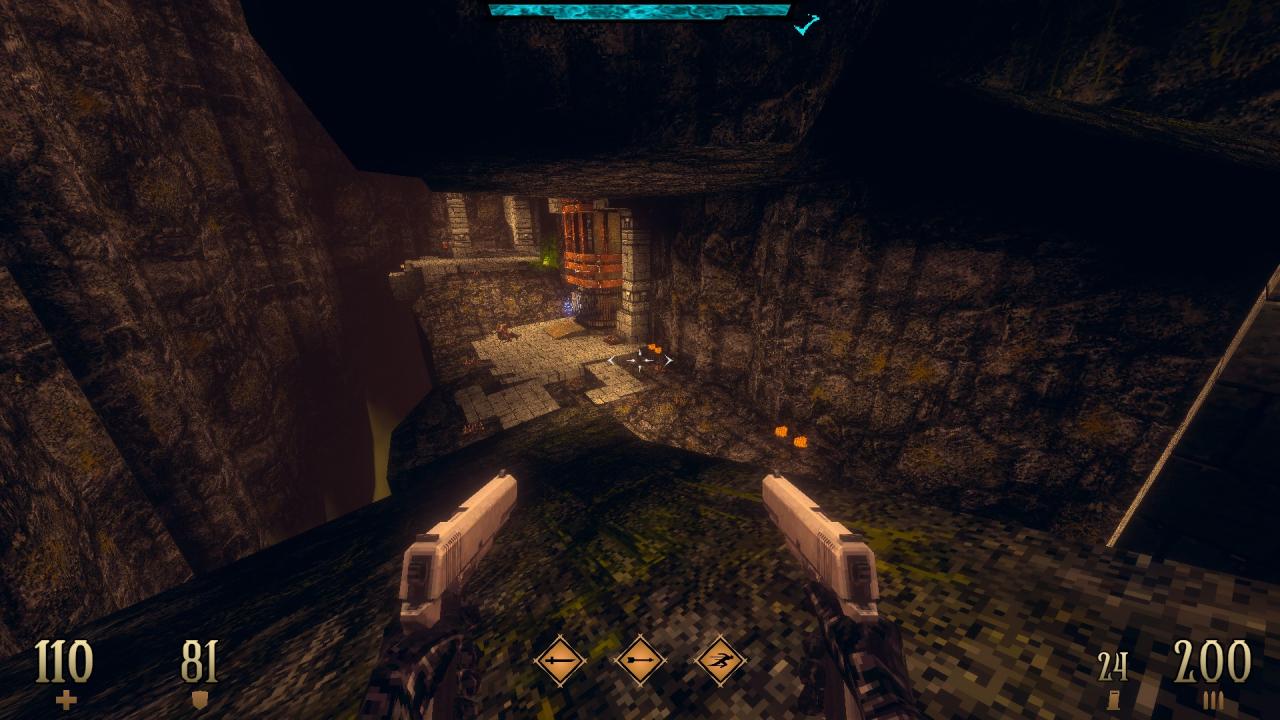
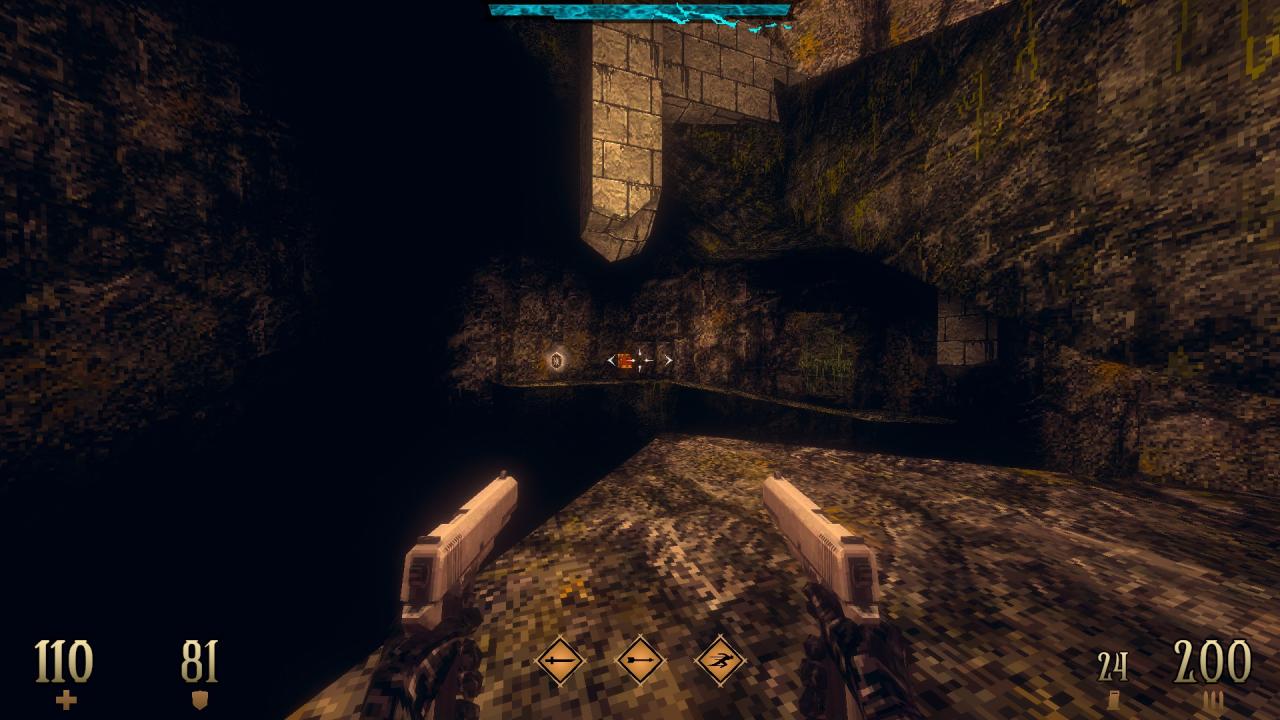
1/3 – Dash across and use the moss-covered part of the rock to the right of the emblem in the open to reveal a hidden area. (Templar Hourglass II)
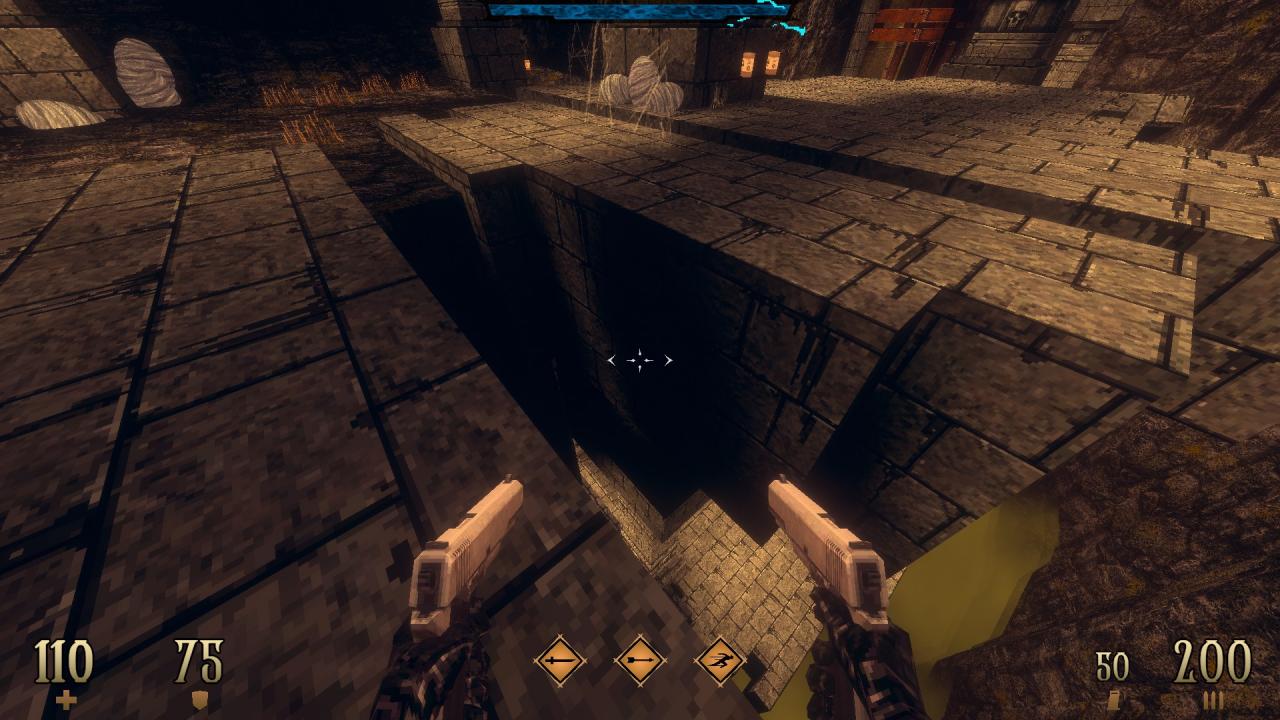
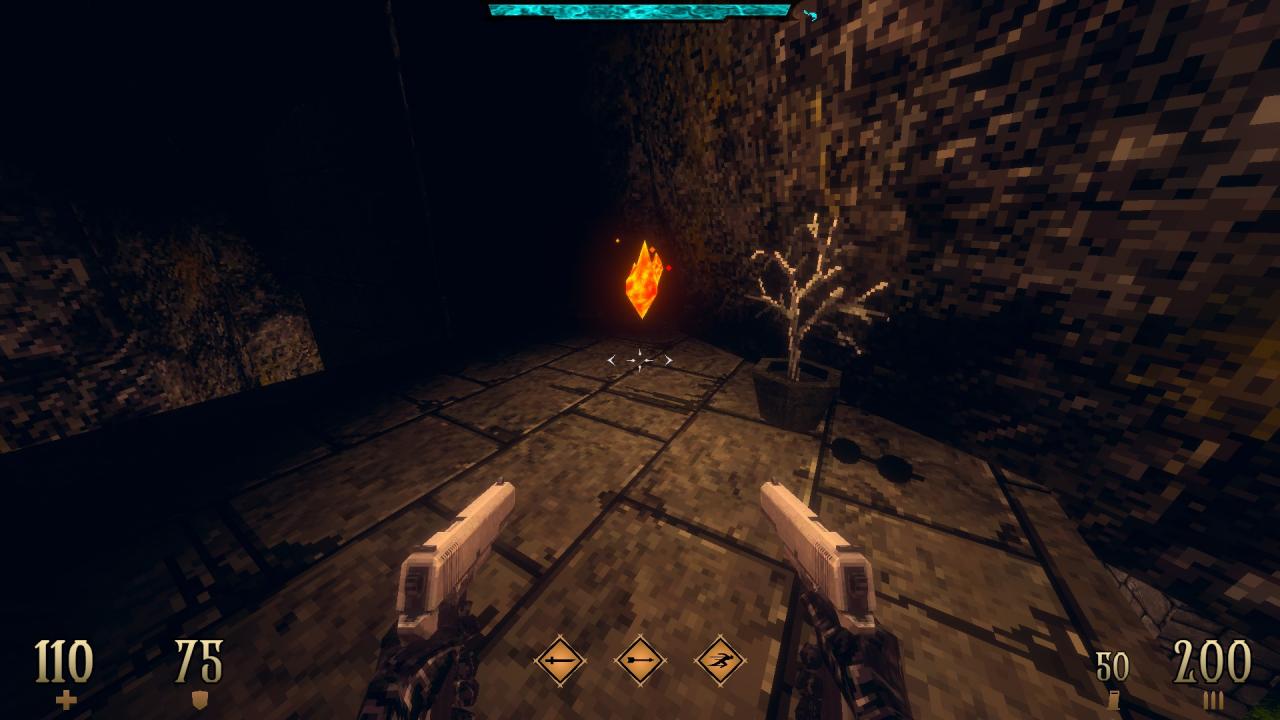
2/3 – Drop down from the upper floor and dash forward in the air to reach a hidden ledge that houses some ammo alongside Léon’s[www.imdb.com]personal belongings. (Templar Hourglass II)
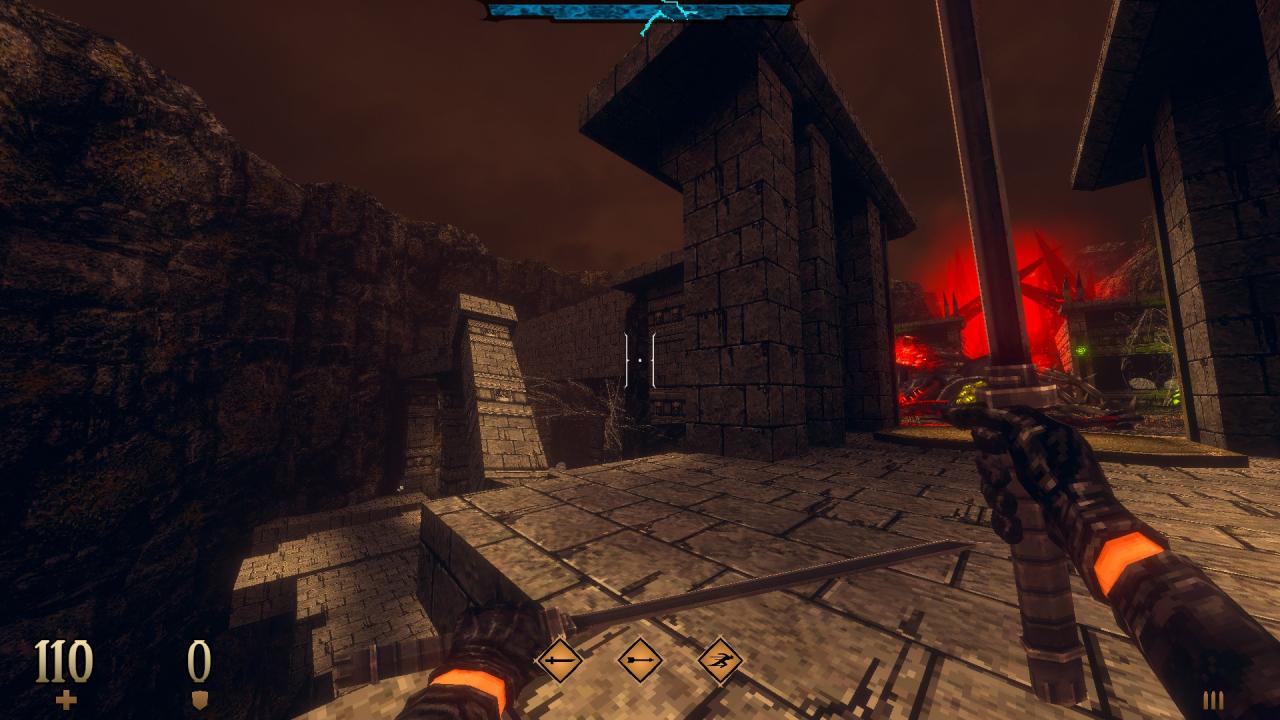
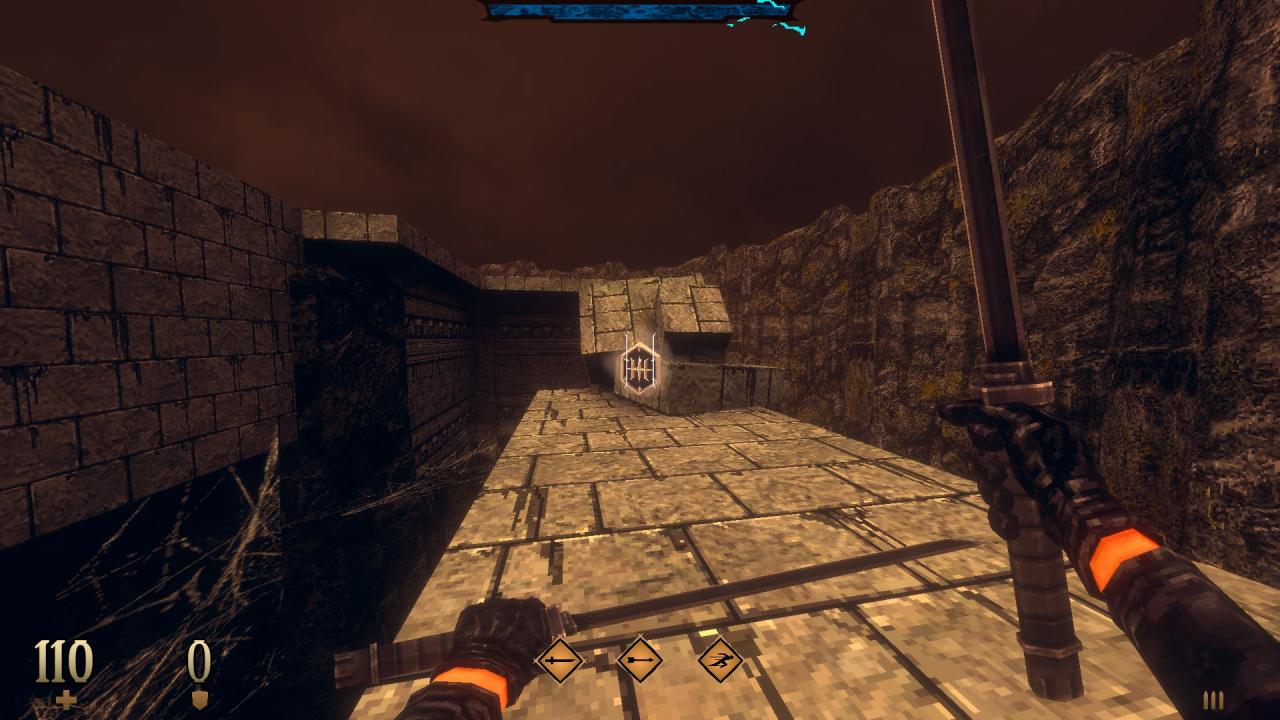
3/3 – After the boss battle, turn around and head back outside. Cross the destroyed pillar to find a hidden emblem. (Inferno Rocket Expansion)
The guide for the second episode is in the works.
That’s all we are sharing today in Dread Templar Complete Secrets Guide For E1, if you have anything to add, please feel free to leave a comment below, you can also read the original article here, all the credits goes to the original author erc
