For Batbarian: Testament of the Primordials players, this is a guide about showcasing how to find all items and secrets. Let’s check it out.
Full Maps
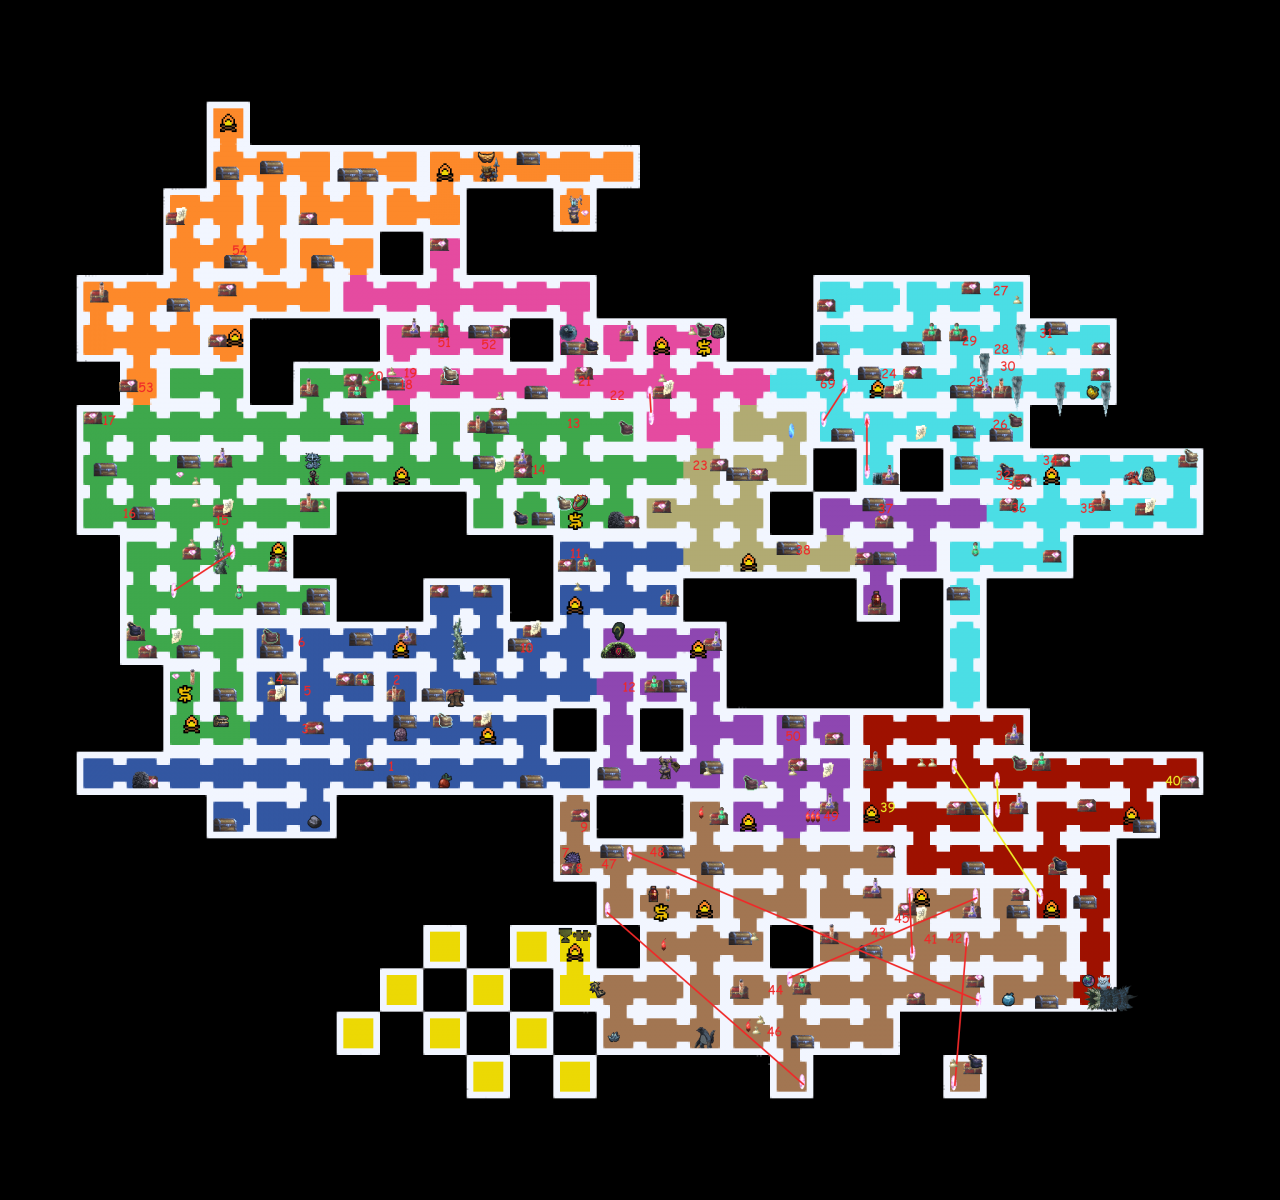
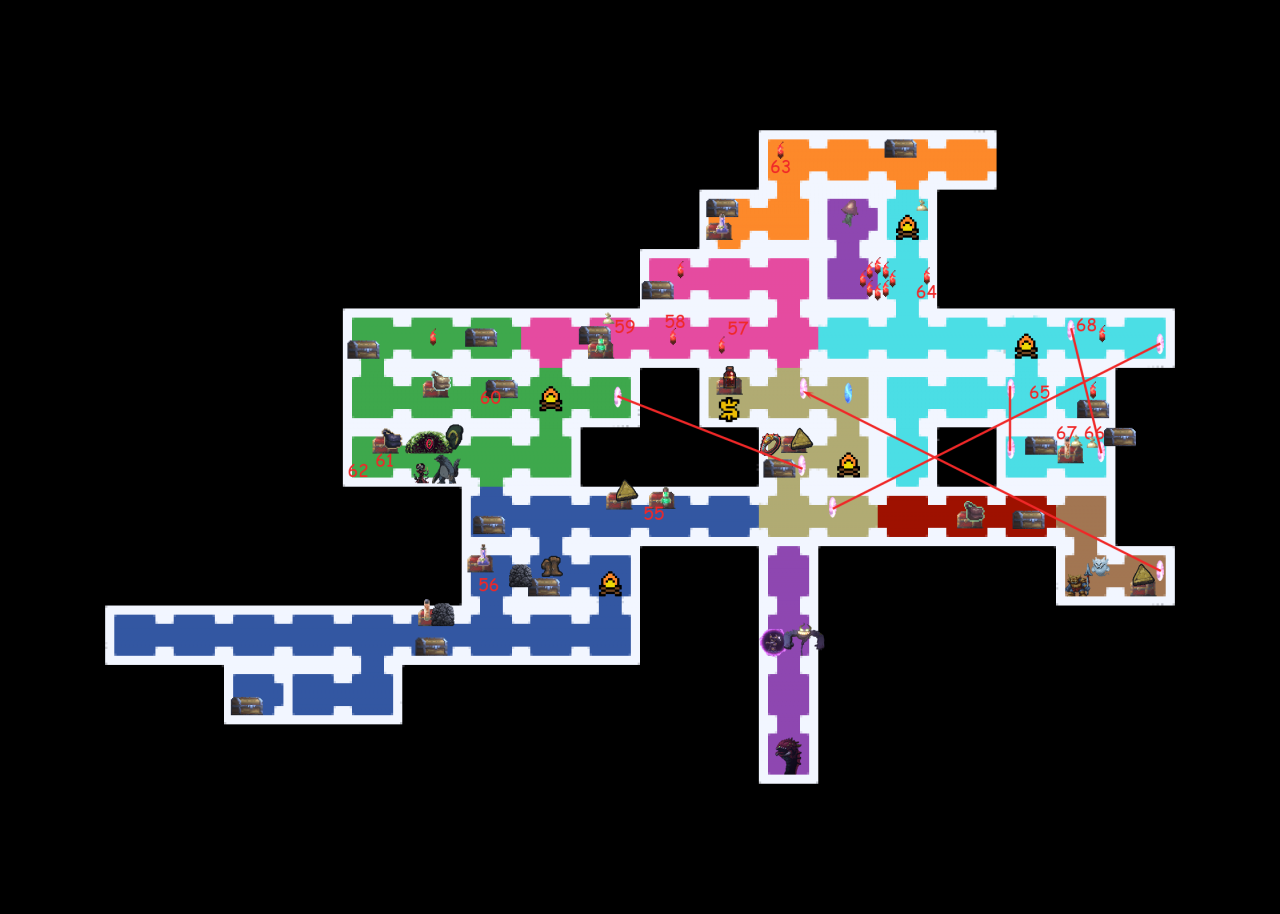
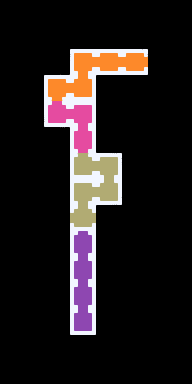
This section contains the maps, complete with items, secrets, bosses, portals and other areas of interest.
Main Map:
The Truth:
Endgame escape sequence:
Secrets Part 1
This section contains images of all secrets indicated by numbers on the map.
Secret 1
Secret 2
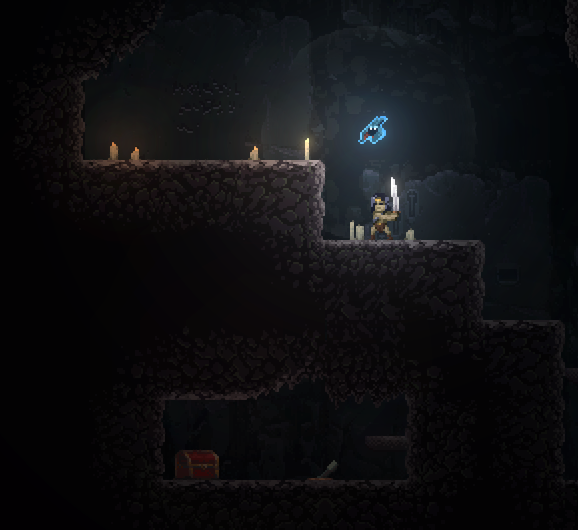
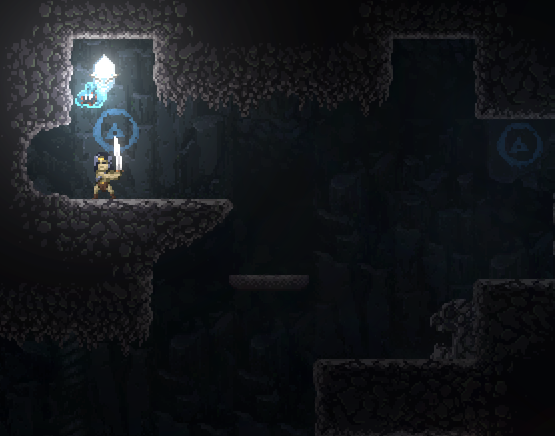
Use a Sticky Fruit on the light crystal to the right to temporarily open a secret passage below where the Barbarian is standing in the image.
Secret 3
Secret 4
Secret 5
Secret 6
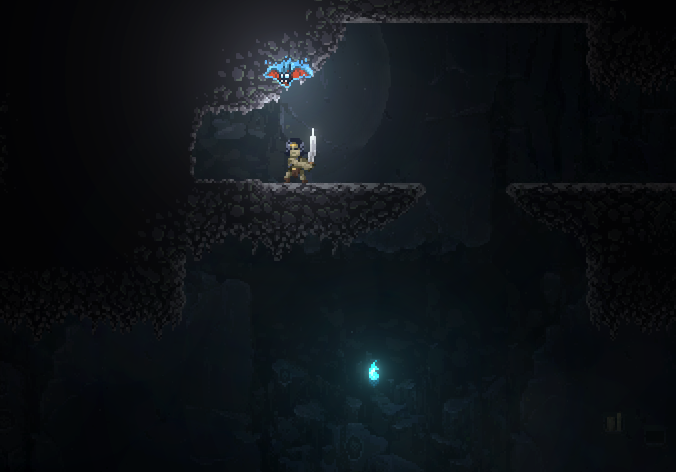
Secret 7
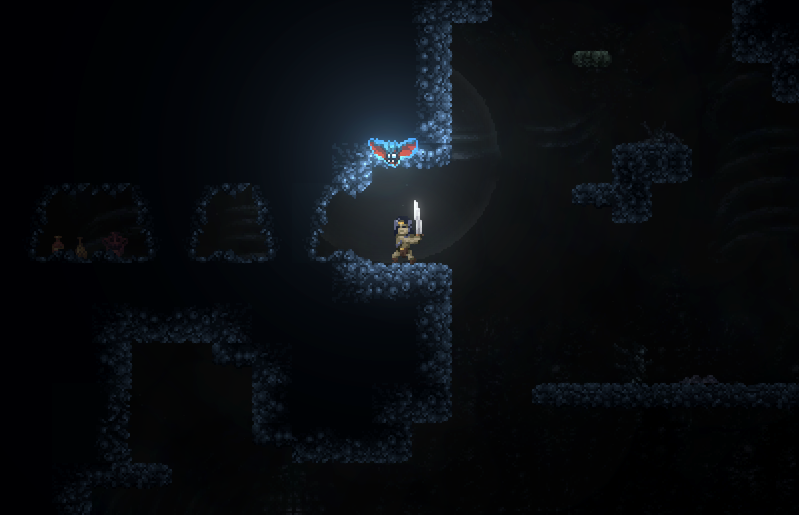
Secret 8
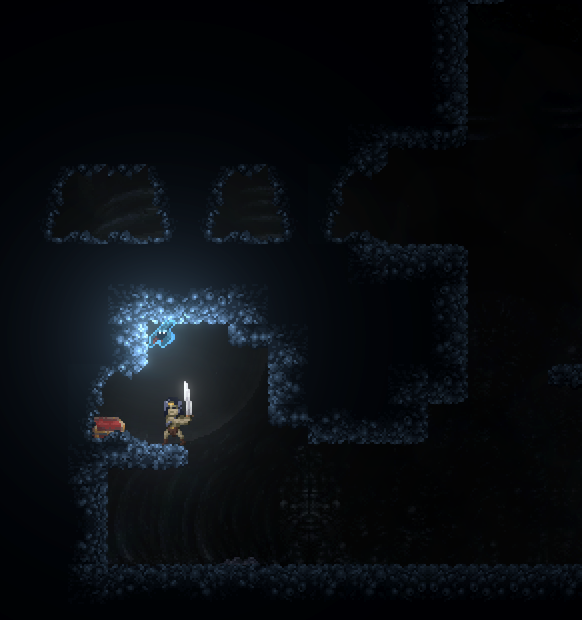
Secret 9
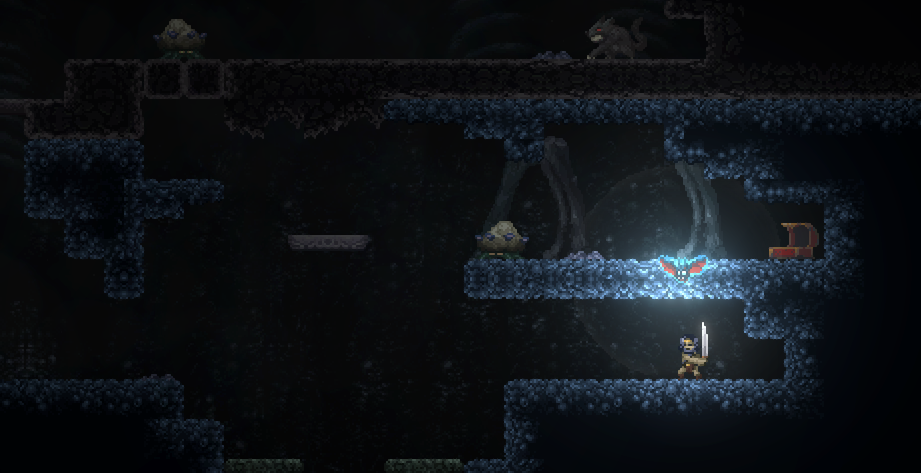
There is an invisible switch where the Barbarian is standing in the image. It will temporarily activate the platform, allowing access to the ledge with the chest, provided you broke the blocks above using Pungent Fruit.
Secret 10
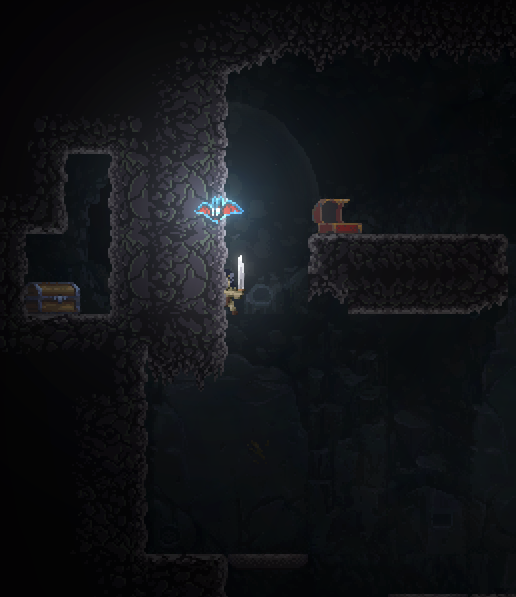
Secret 11
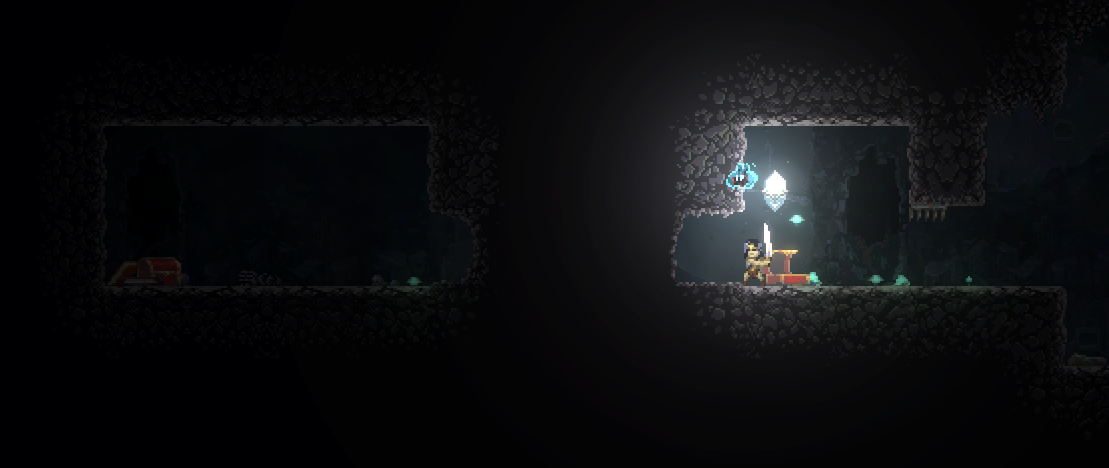
Secret 12
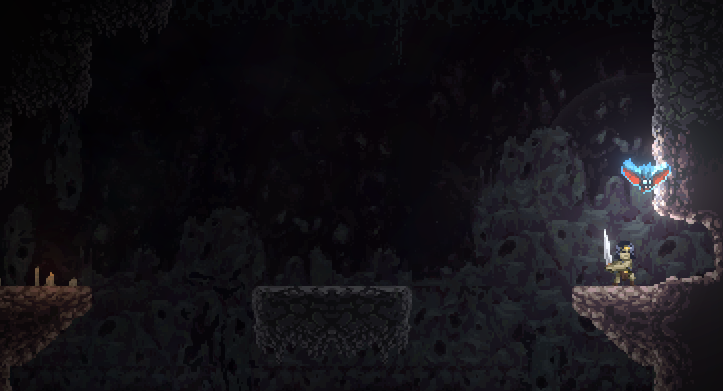
Secret 13
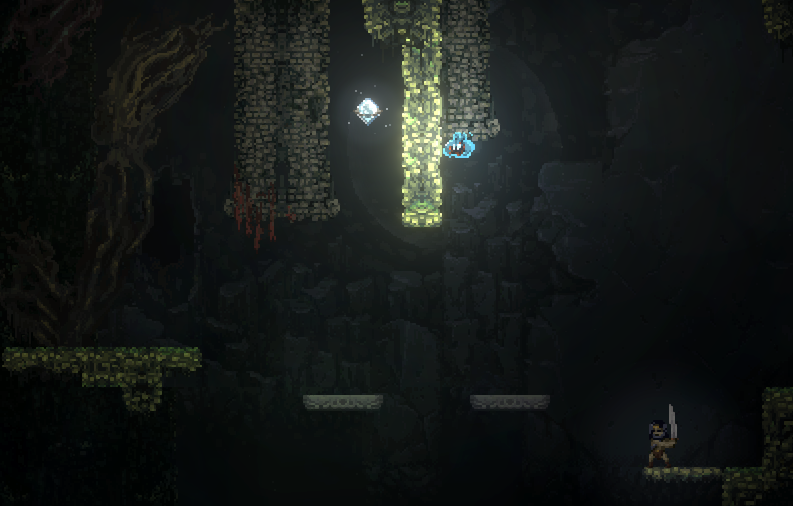
Secret 14
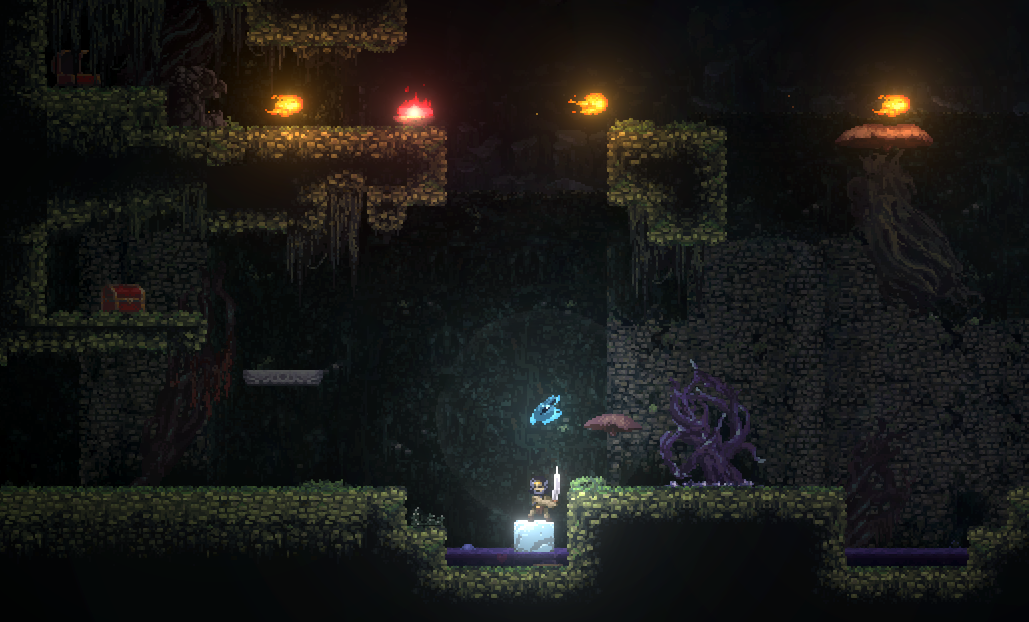
The rock in the room above can be pushed down to this room, and then pushed into the poisonous water and onto the switch, activating the platform, allowing access to a secret ledge with a chest.
Secret 15
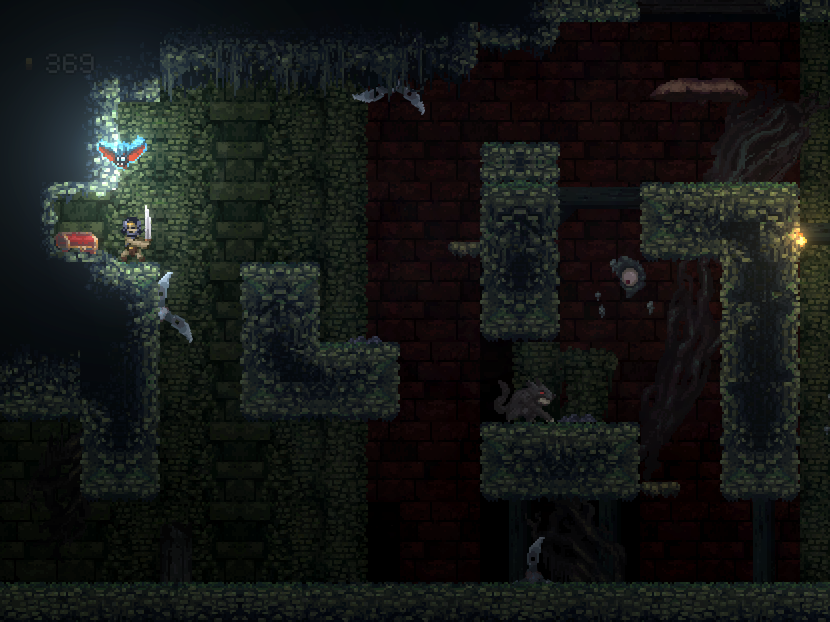
Secret 16
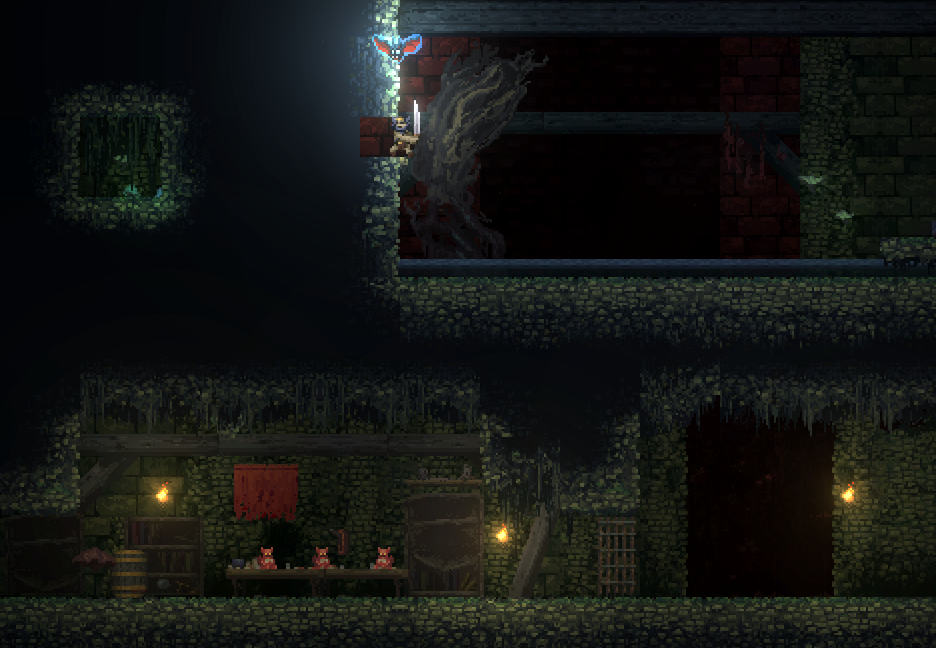
This secret ledge can only be accessed by falling from above and hugging the wall, it is too high to jump to from below.
Secret 17
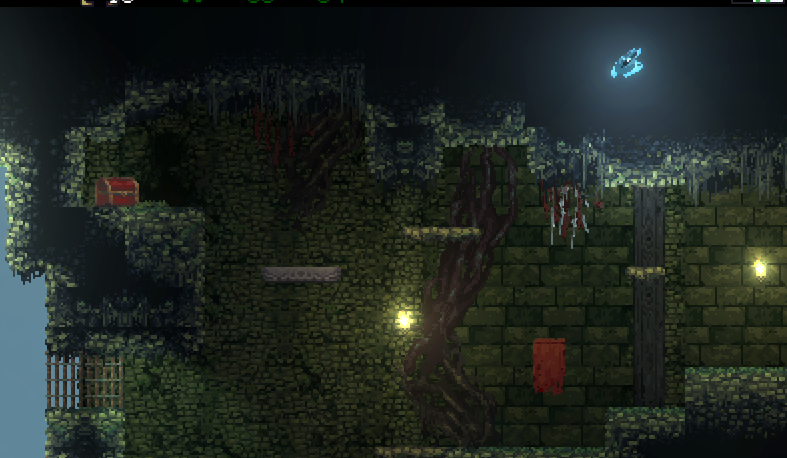
Jump up from the right ledge into the secret passage, which will lead to the middle platform. The grey platform can be activated by throwing a stone at the switch at the bottom (not shown in the image, but easy to find).
Secret 18
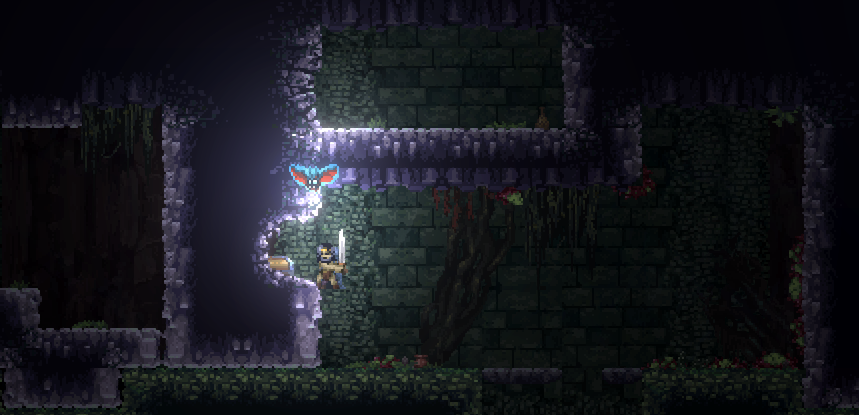
Secret 19
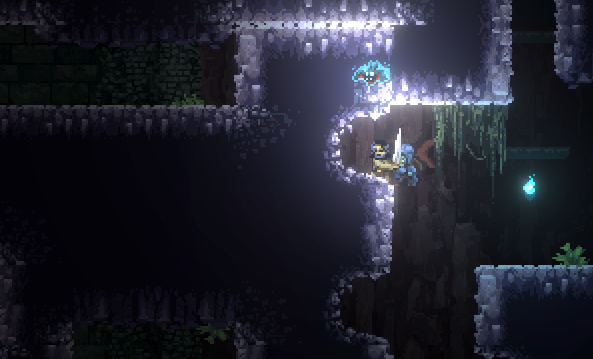
Secret 20
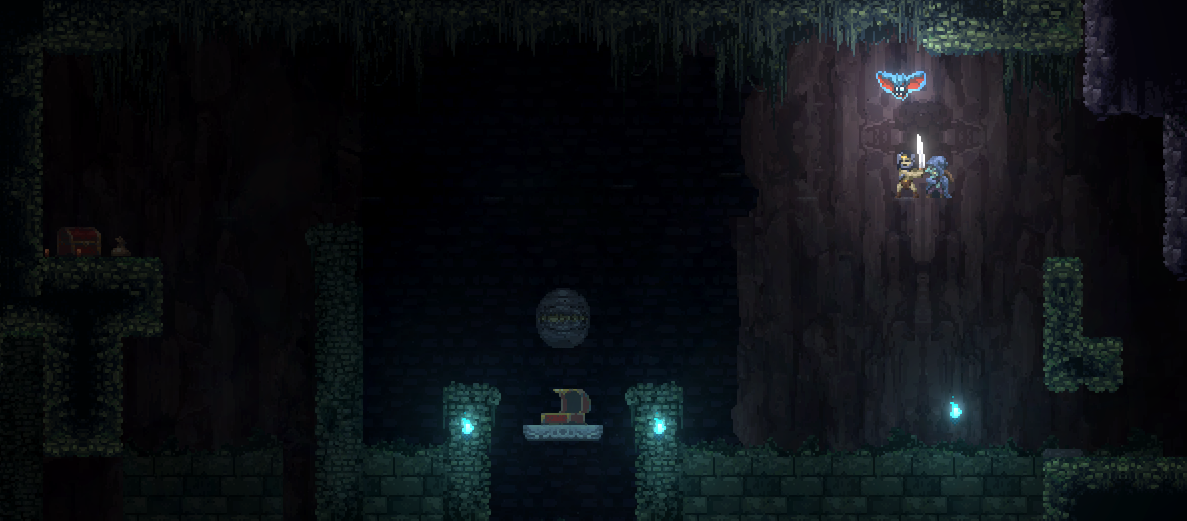
Secret 21
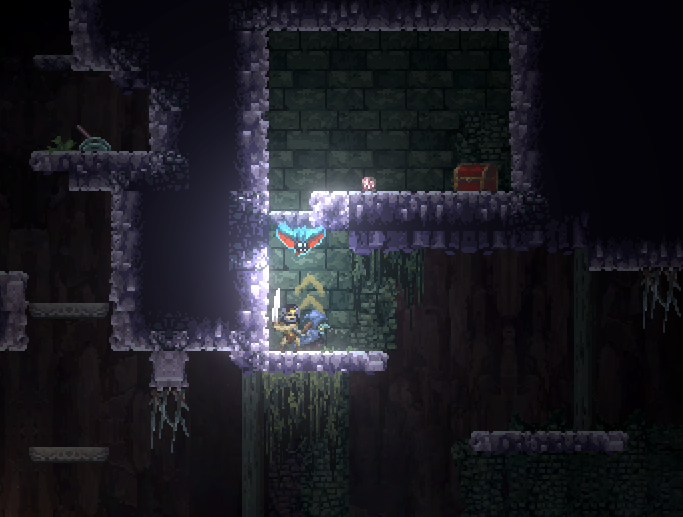
Secret 22
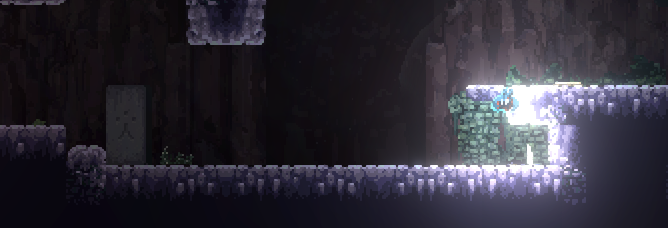
This hidden switch will raise the column on the left. Use a rock to keep it raised, and with the help of the other rock on top of said column, you can access the passage leading to the room above.
Secret 23
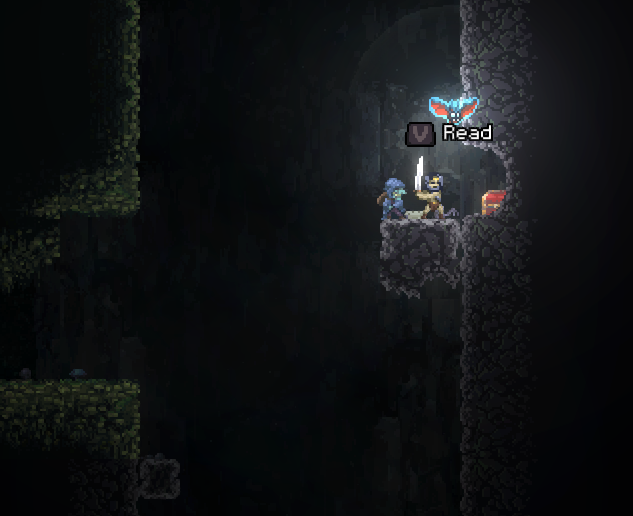
Secret 24
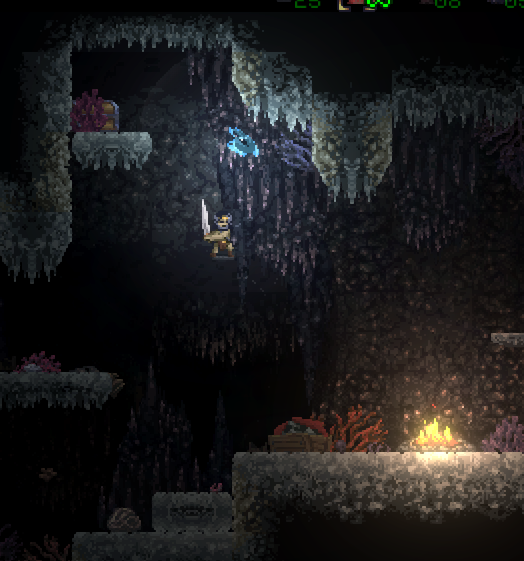
Secret 25
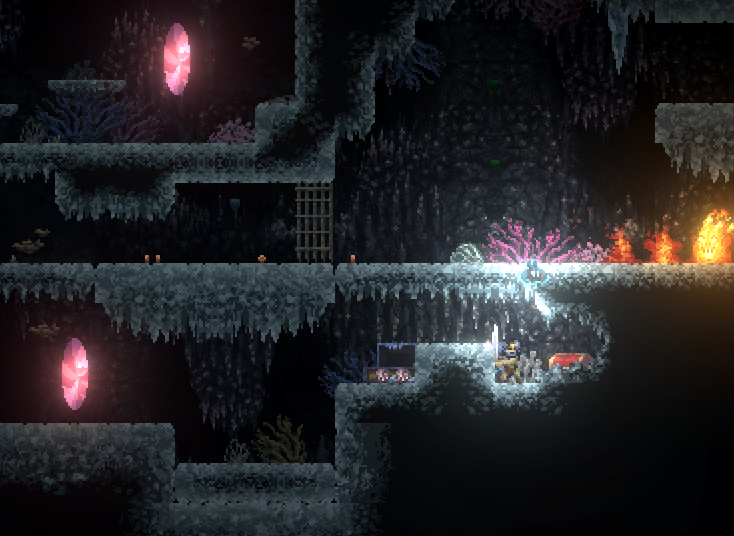
Secret 26
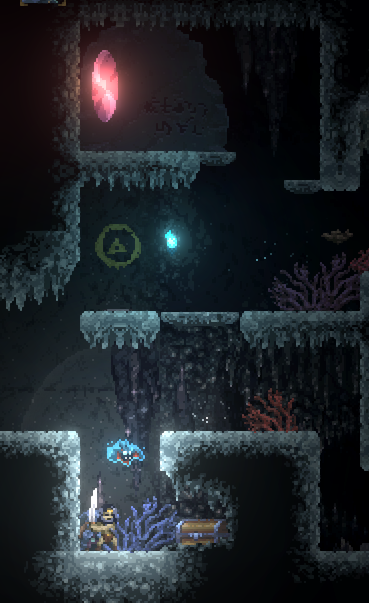
Secret 27
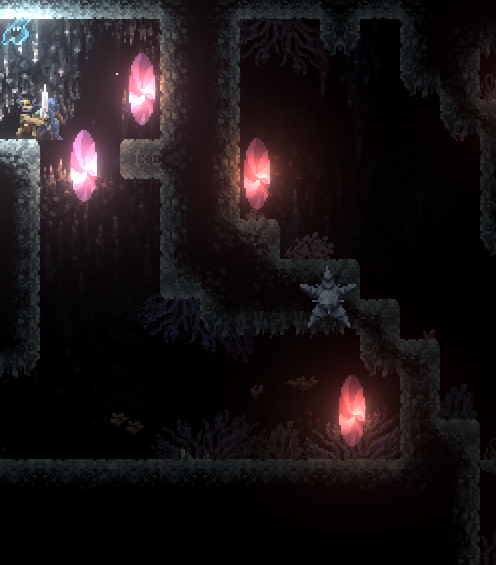
First aim carefully at the blocks with Pungent Fruit to make Pip break the blocks. Now use jumping momentum from the portal to launch yourself onto this ledge.
Secret 28
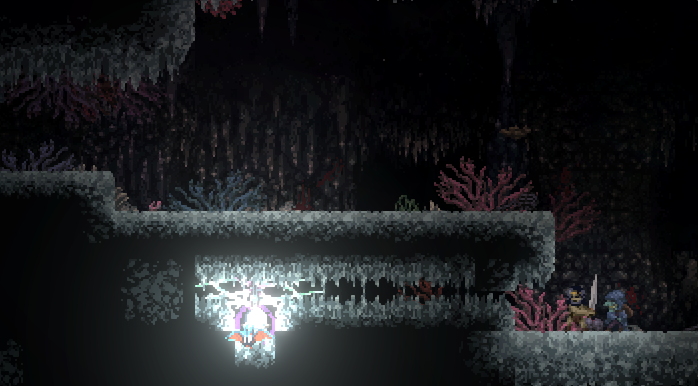
Secret 29
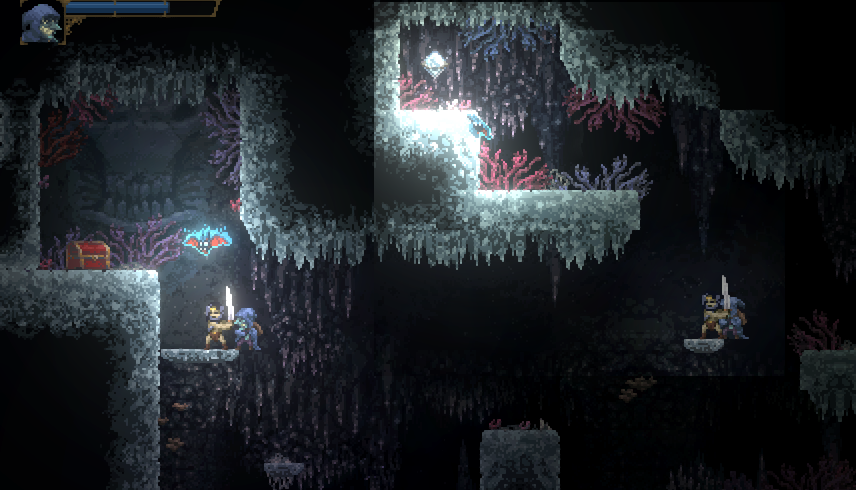
Secret 30
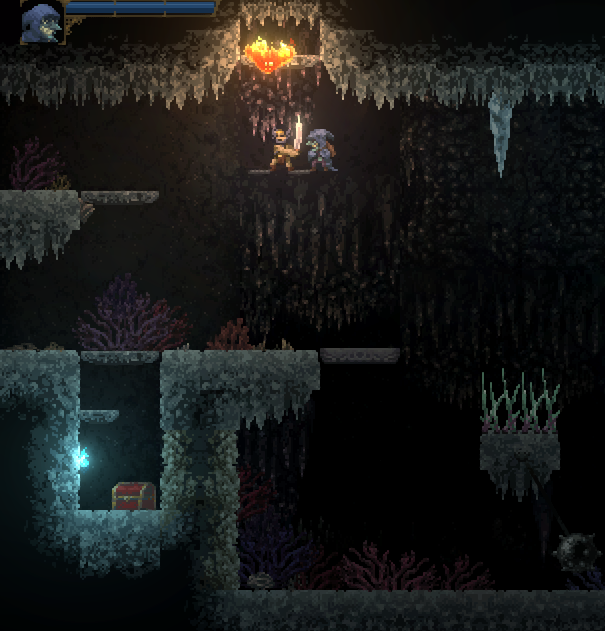
Jump up onto the hidden ledge to activate a switch, opening up the small alcove with the chest below.
Secret 31
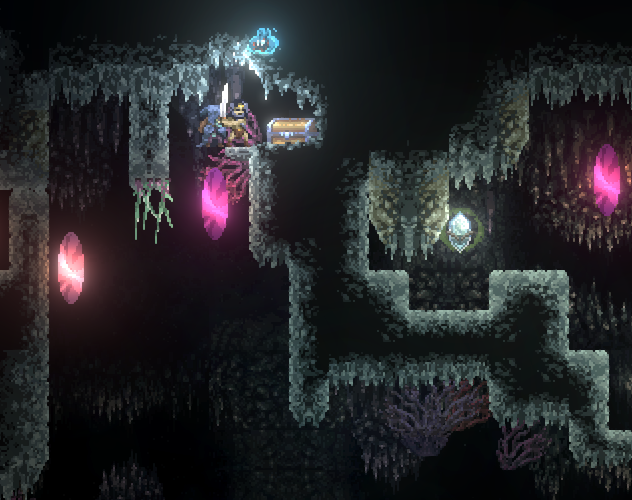
You can jump up into the purple portal once it is at its lowest point of trajectory. From there, you can use jumping momentum to reach the tiny ledge above.
Secret 32
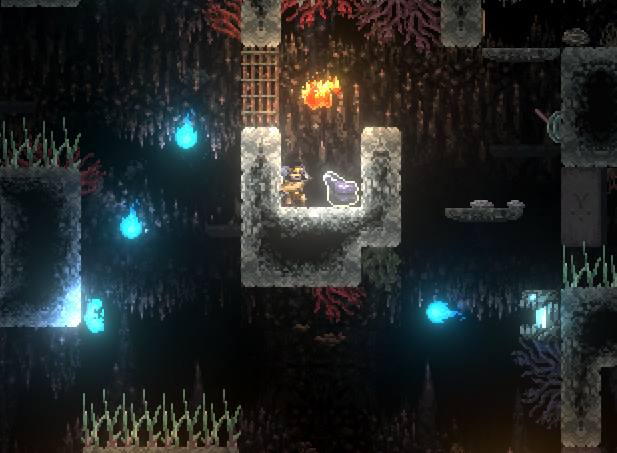
Secret 33
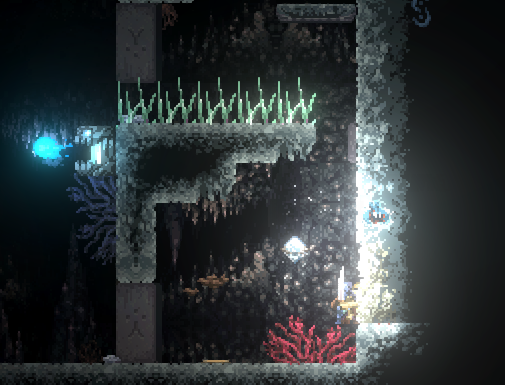
There is a chest hidden behind this wall. You’ll never get to see behind it so just use your weapon and grab the loot.
Secret 34
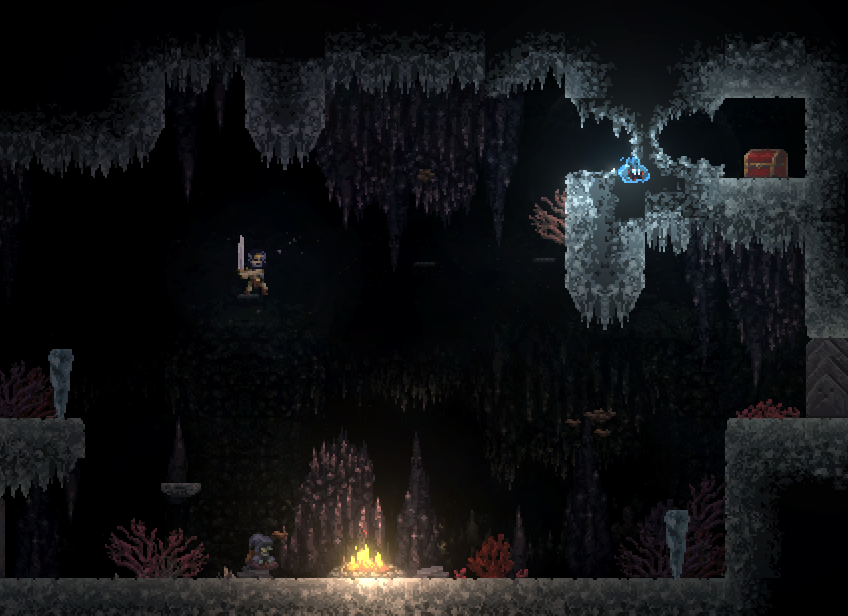
Secret 35
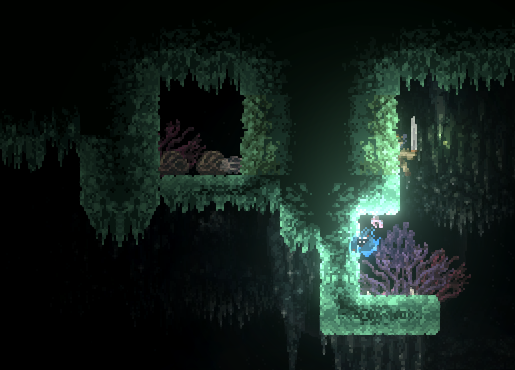
Secret 36
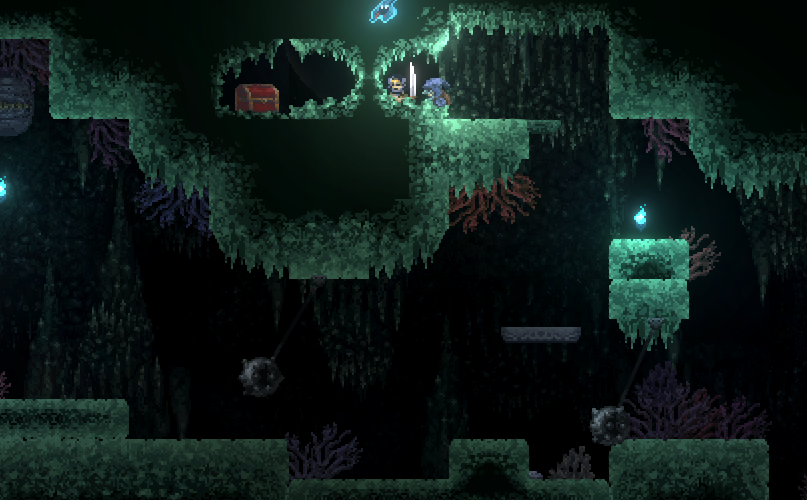
Secret 37
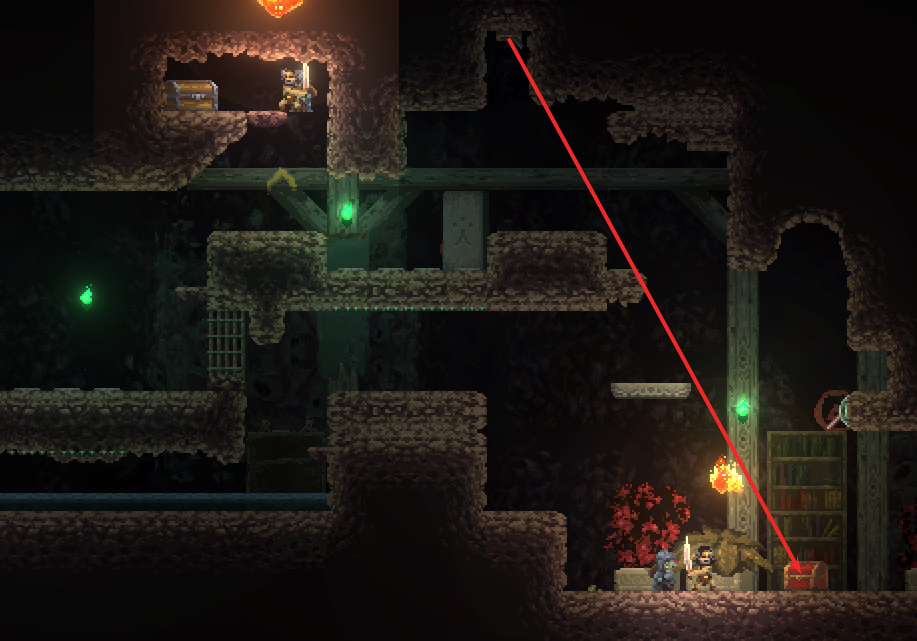
Secret 38
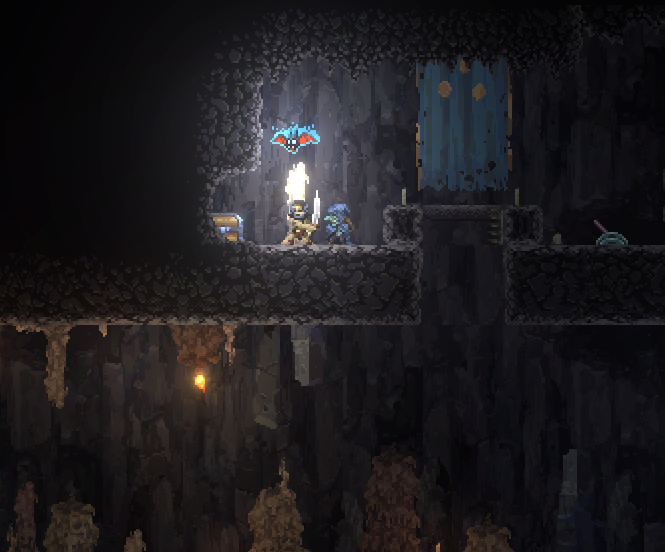
Secret 39
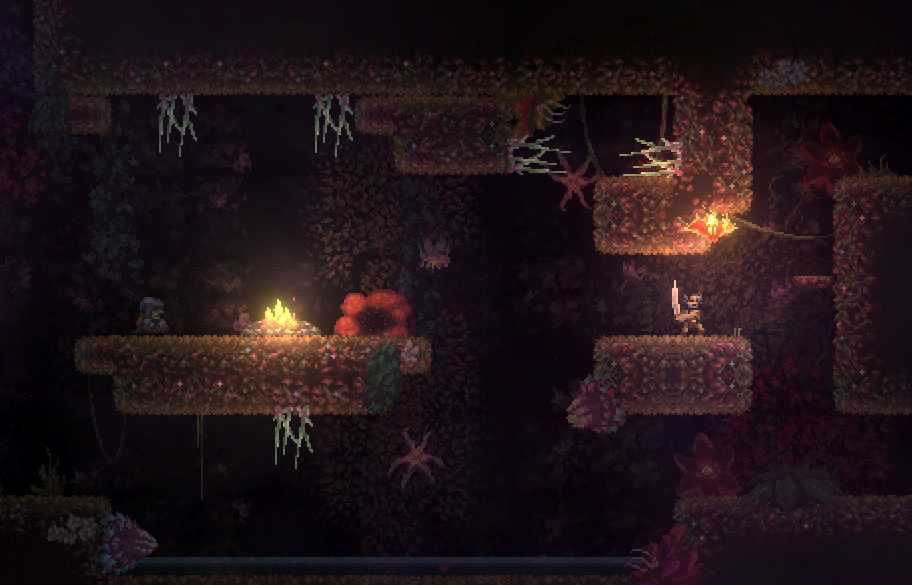
Secret 40
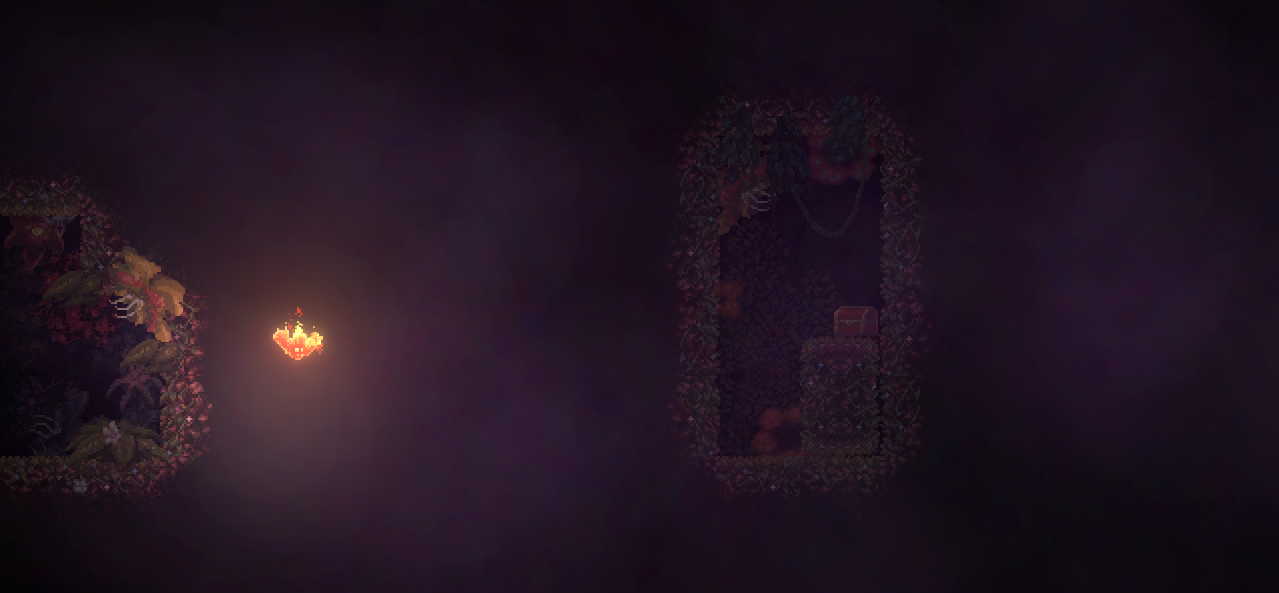
This chest only appears in one variation of the room. Just keep re-entering until you see it. Once it does, it’s as simple as walking right all the way.
Secret 41
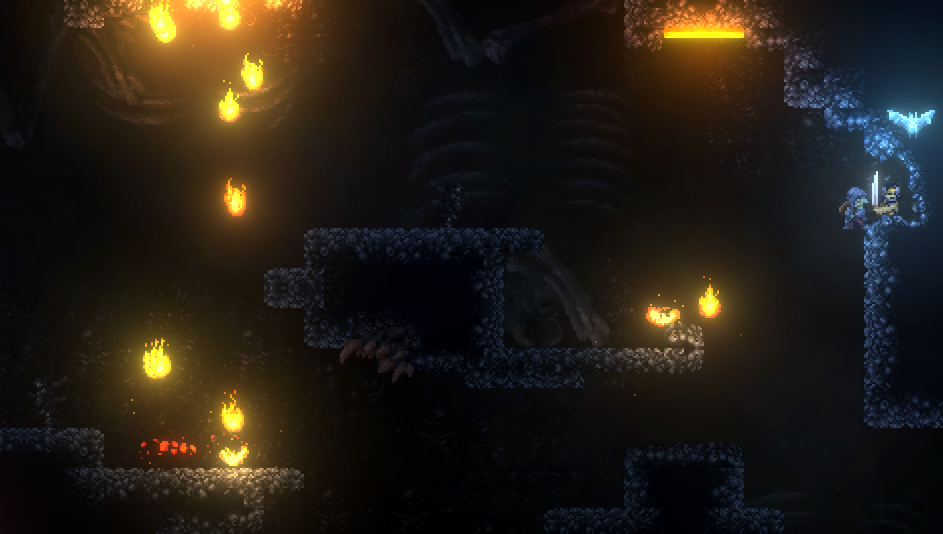
With a careful jump, you can reach this ledge. Walking further right will extend into secret 42.
Secret 42
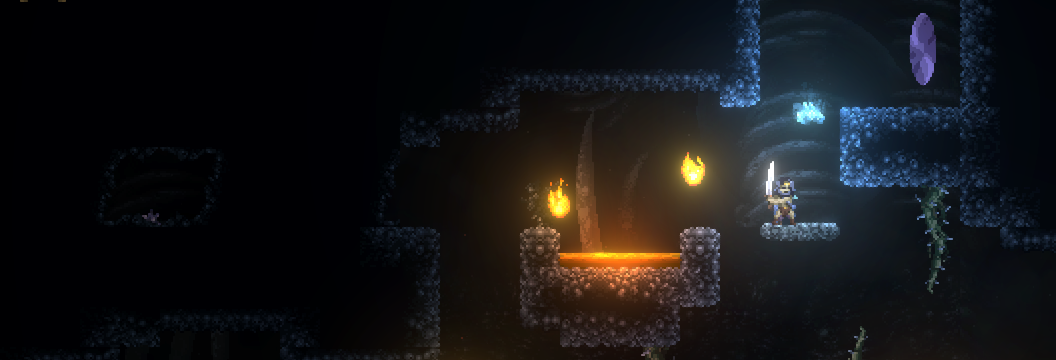
Jump over the pond of lava and a platform will descend, allowing access to the portal to a secret room full of breakable blocks and a chest and money bag.
Secret 43
Secret 44
Secret 45
Secret 46
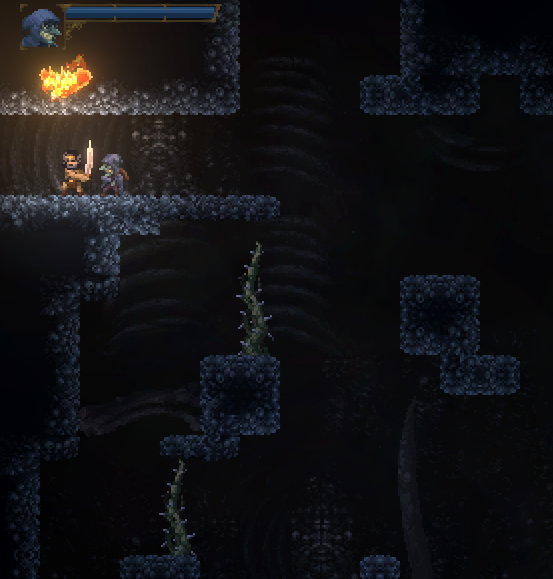
Secret 47
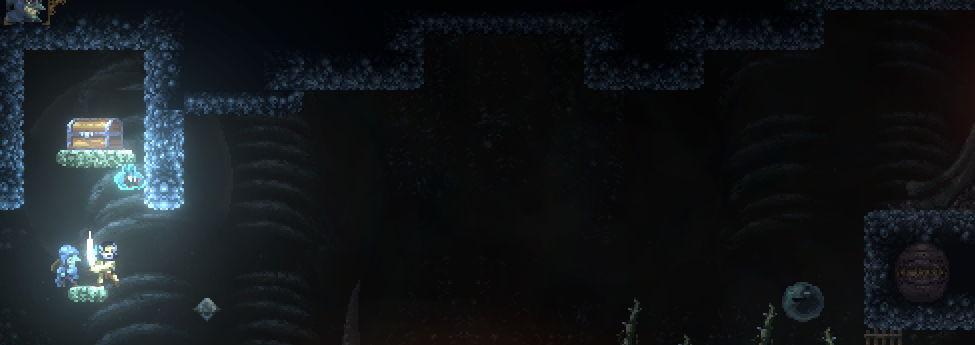 Defeat the Nibblers frozen in ice to reveal this secret alcove.
Secret 48
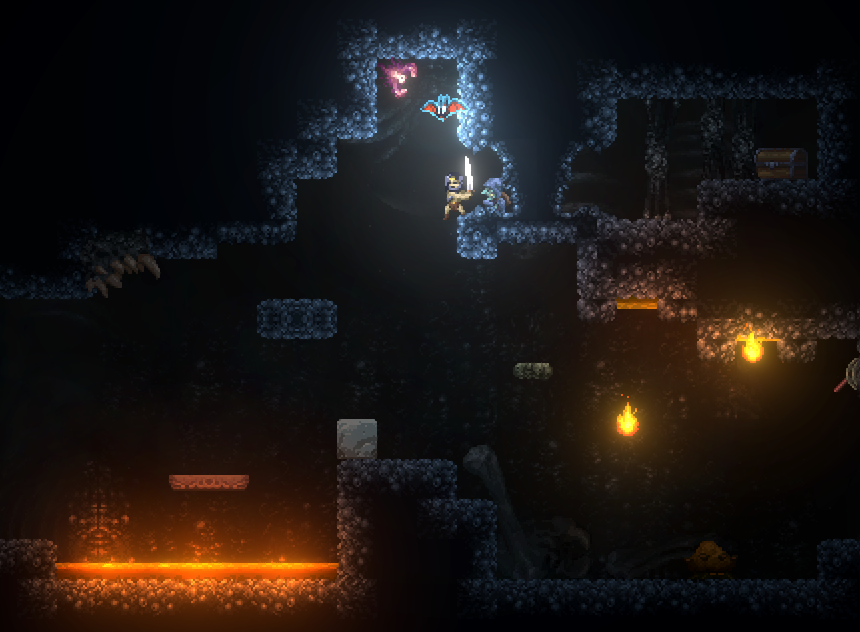
Once the platform is activated, you can use the Nibbler to push the rock to the right instead of to the left, providing access to upper ledges and the secret.
Secret 49
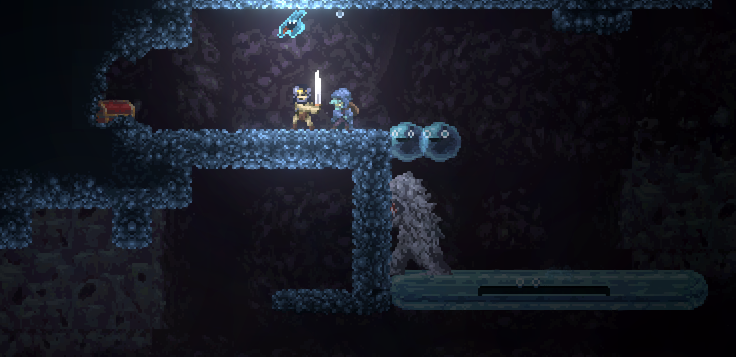
Carefully utilize Pip’s auras to only melt the two small bubbles while keeping the long one frozen, so that the Immortal falls onto it. Now petrify it with the Light Aura to gain access to the ledge above.
Secret 50
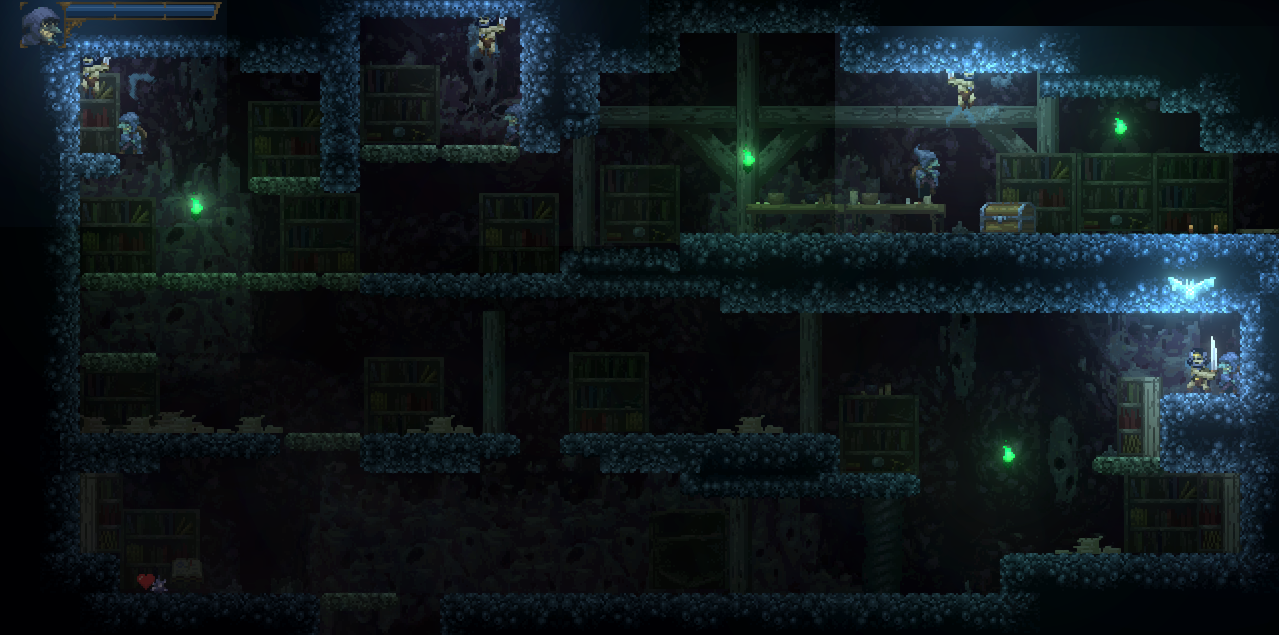
The Barbarian’s positions in the image show where each of the four hidden switches are to open passage to the room to the right.
Secrets Part 2
Continuation of the secrets showcasing.
Secret 51
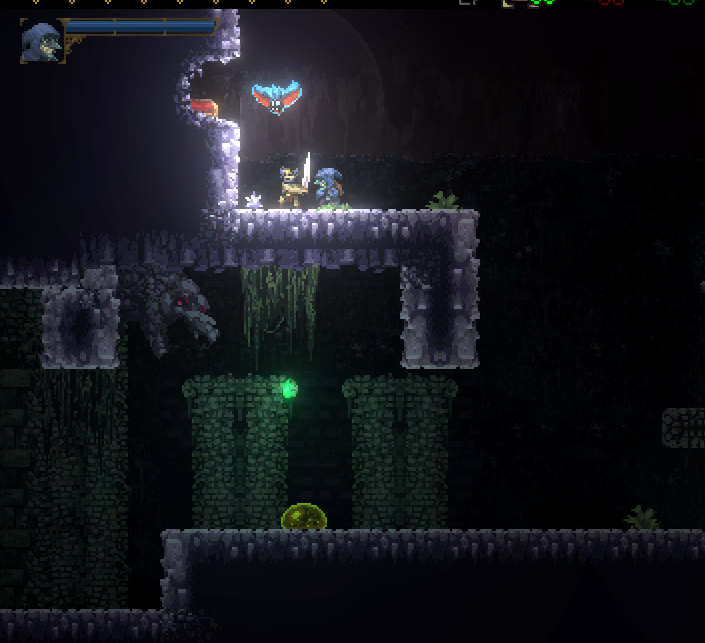
Secret 52
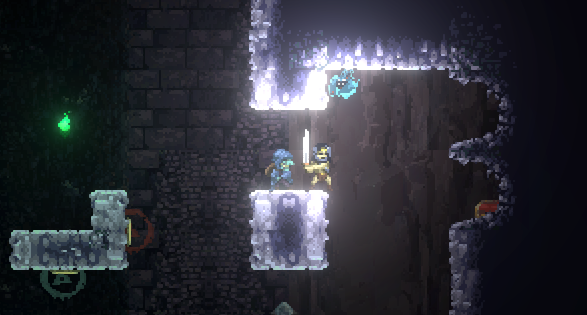
Secret 53
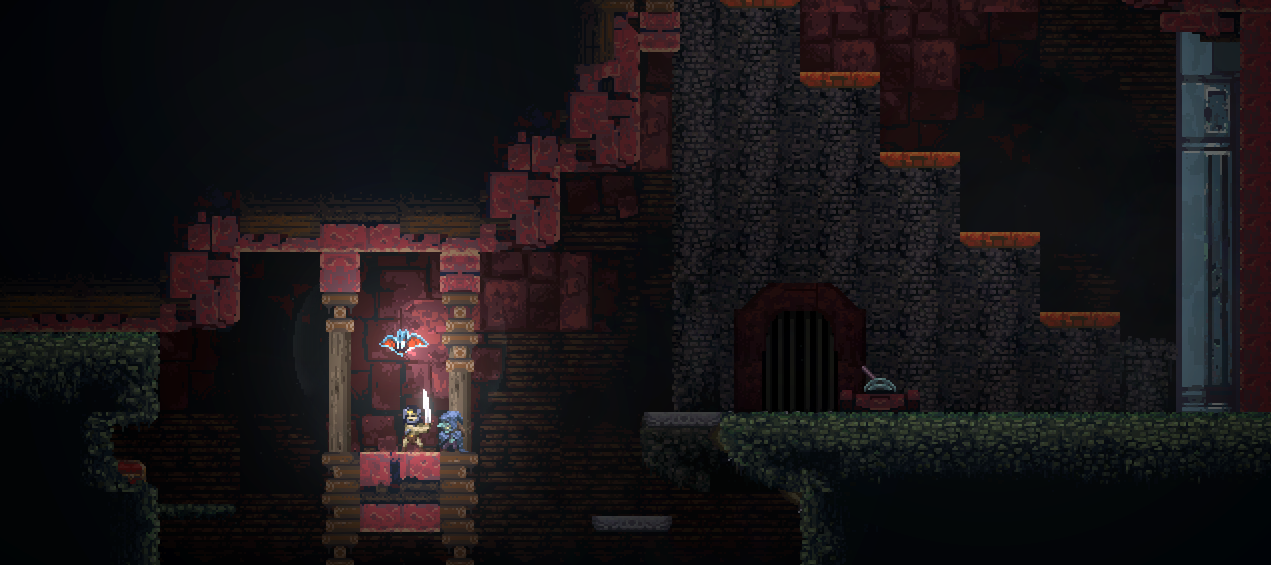
Secret 54
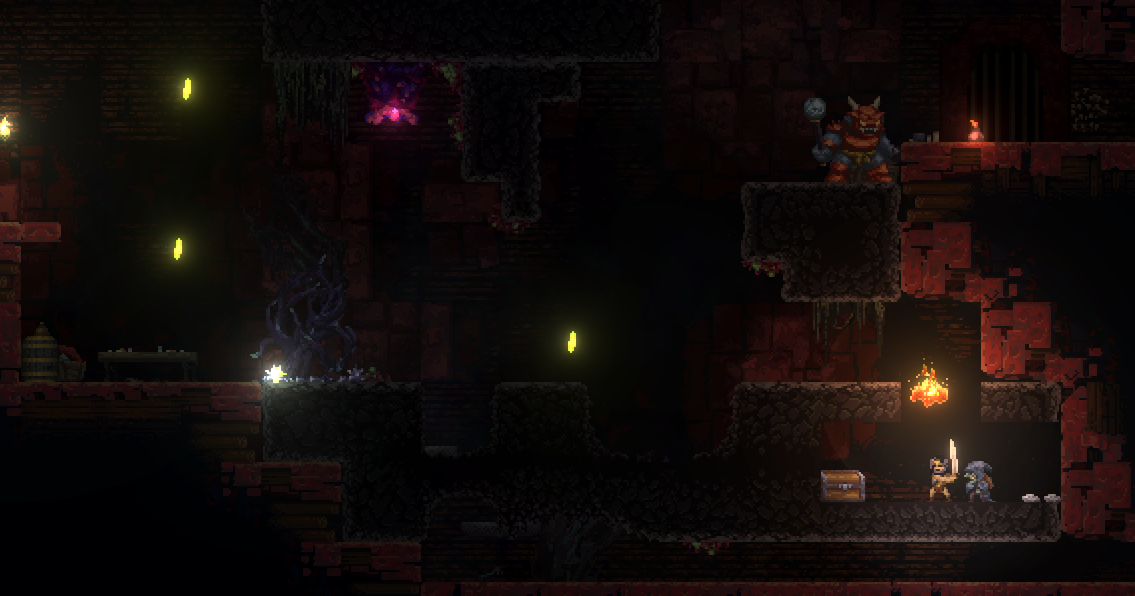
Pip can explode Boom Blooms using her Fire Aura and Pungent Fruit.
Secret 55
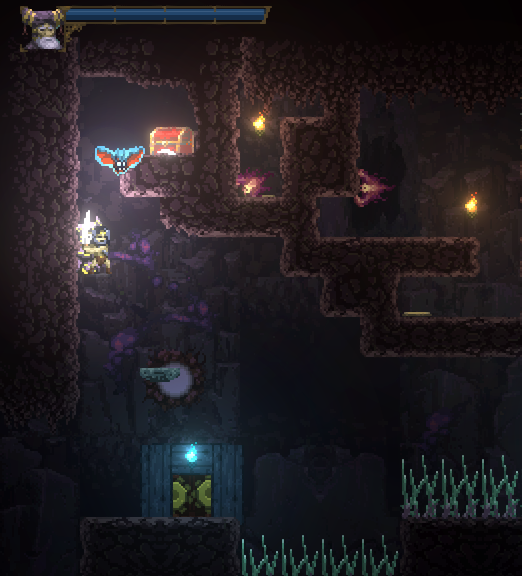
Once the small moving platform is activated, use it to jump onto the tiny ledge, and then onto the higher ledge with the secret.
Secret 56
Secret 57
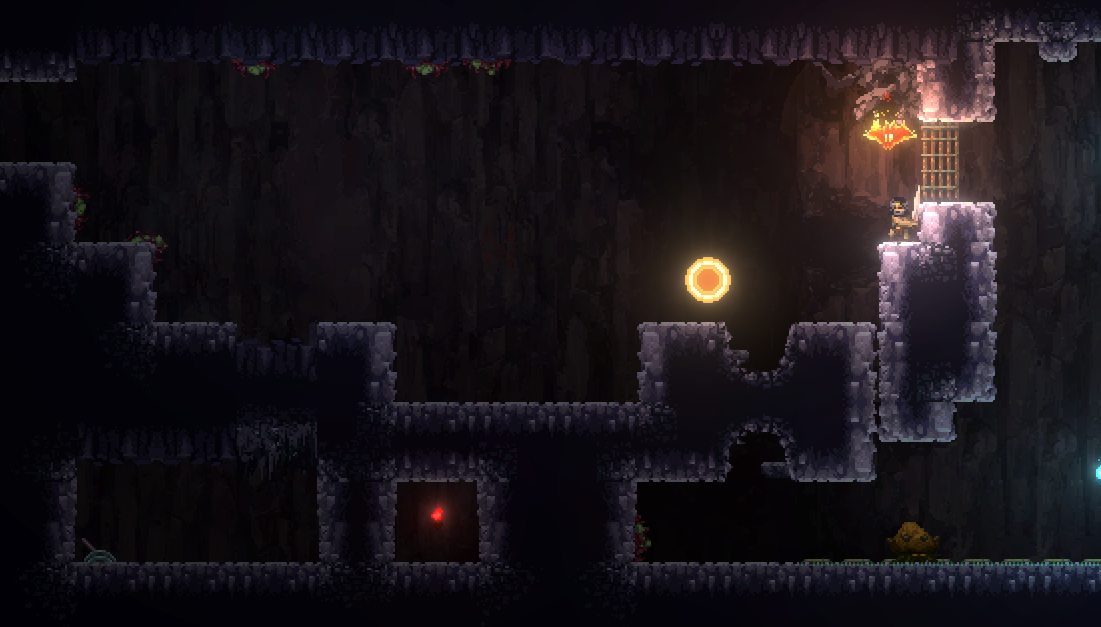
This invisible switch will open the gate to the left, allowing access to the lever that activates a spider torch.
Secret 58
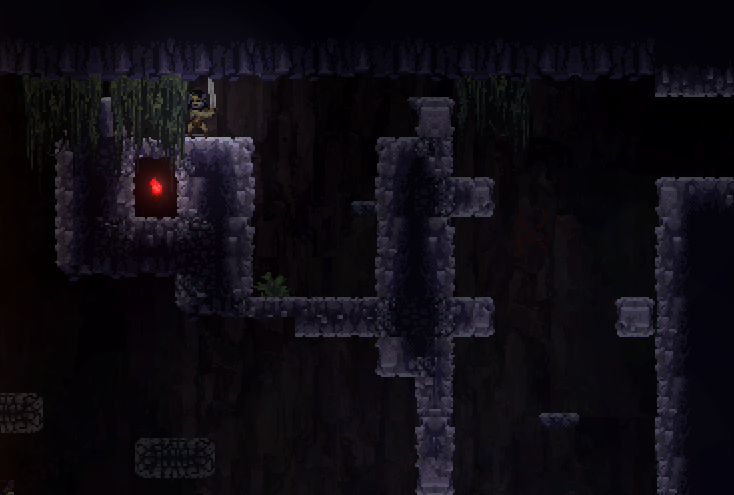
Secret 59
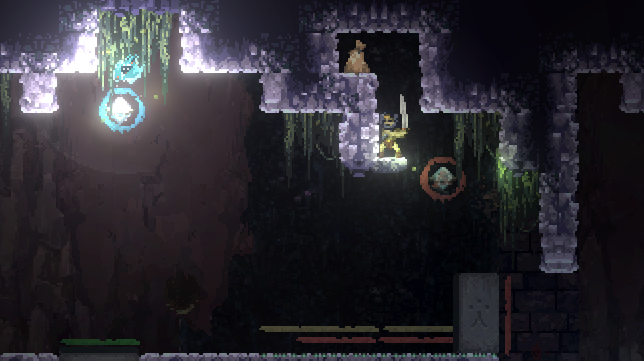
Secret 60

Secret 61
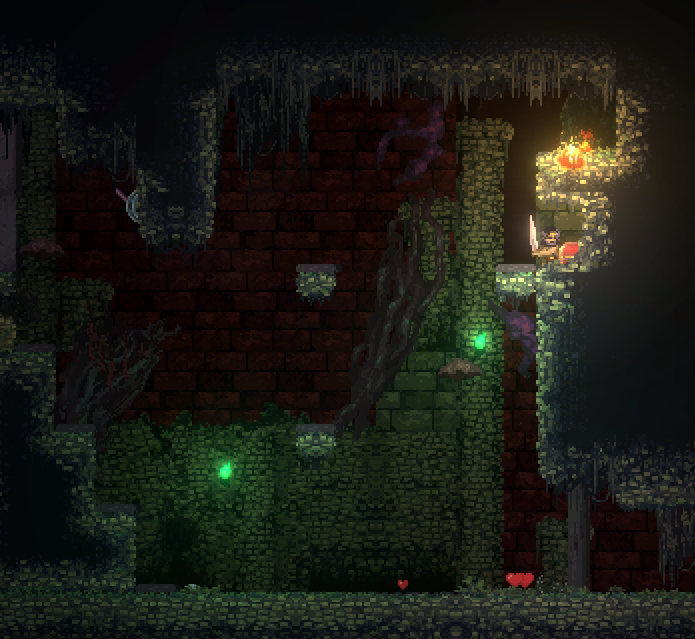
Secret 62
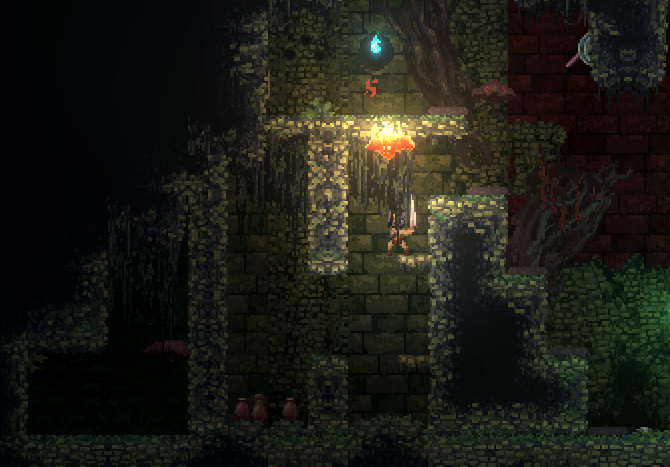
Secret 63
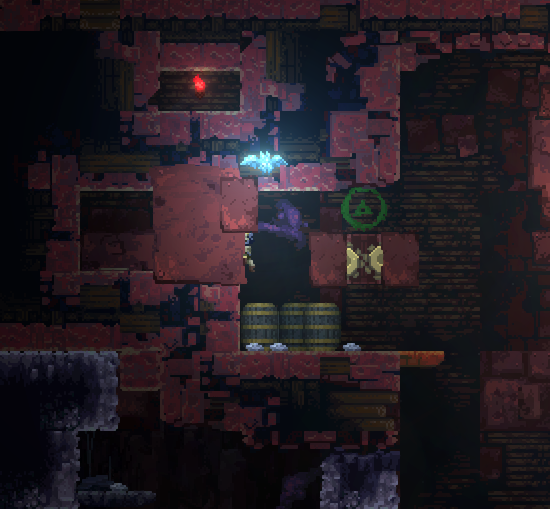
Secret 64
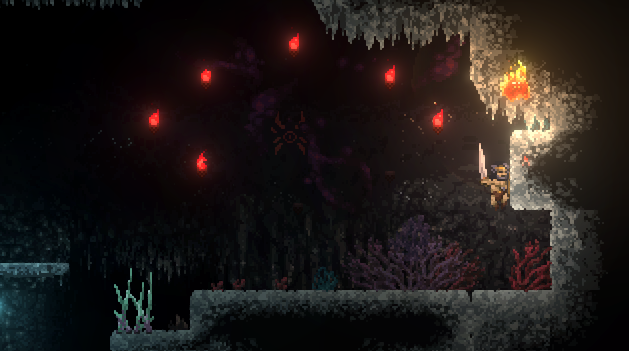
This invisible switch activates one of the spider torches right next to it.
Secret 65
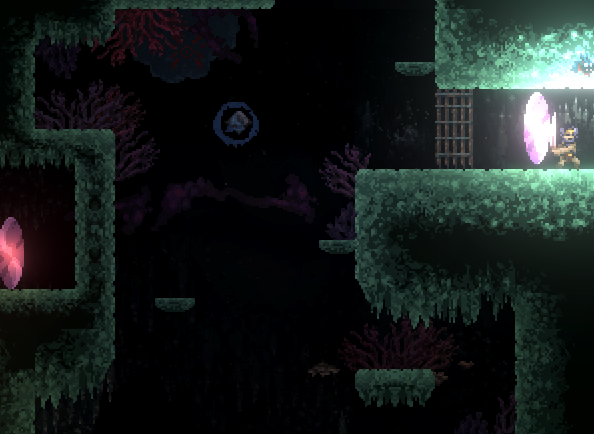
Secret 66
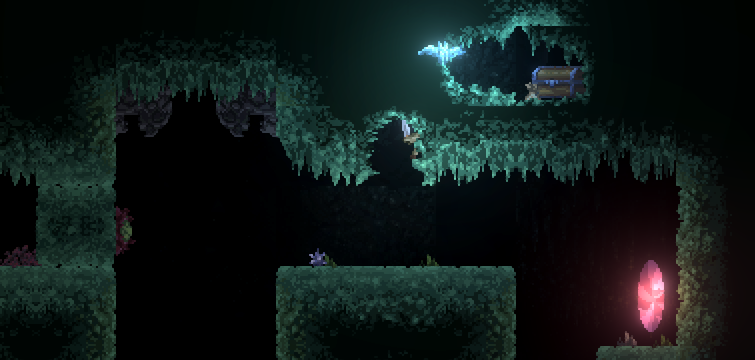
Secret 67
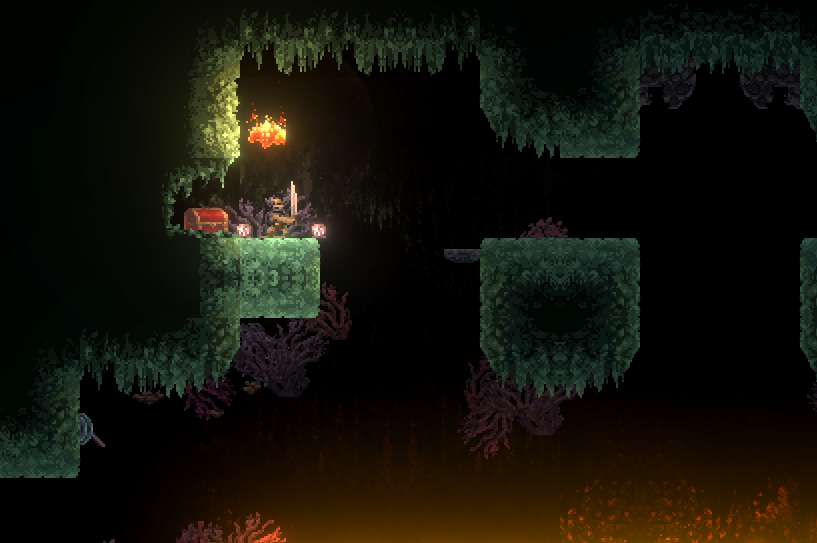
Secret 68
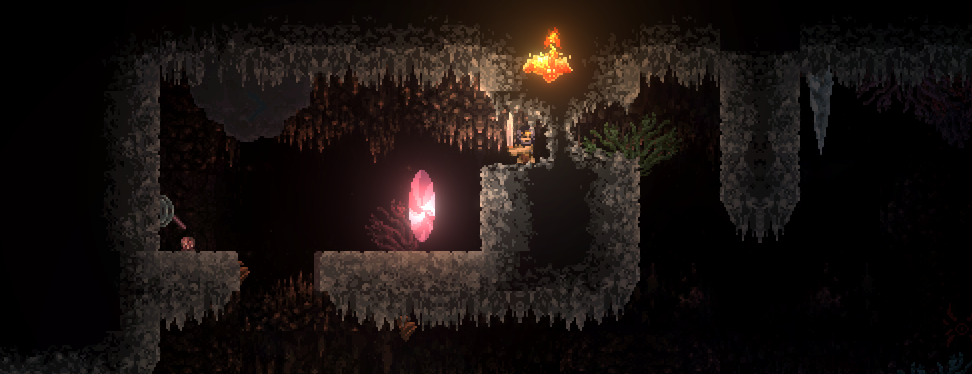
This secret allows Pip to take down the icicle by using Sticky Fruit on the wall. Use it to gain access to the ledge with a spider torch.
Secret 69
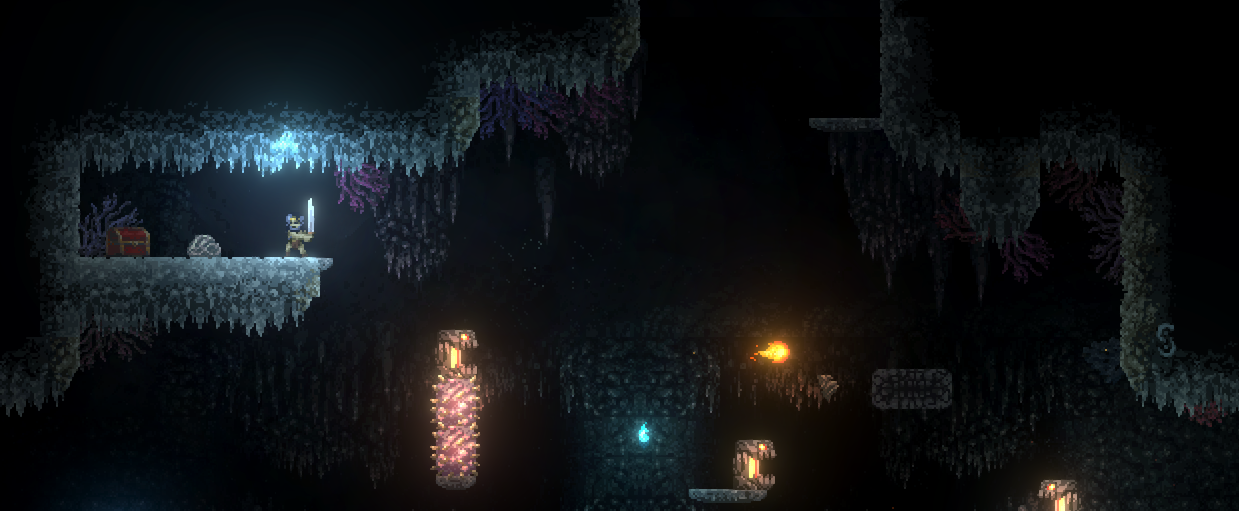
Gem Rewards
For every 5 collected gems, you get to trade them for a reward from Twigs at any campfire.
Here is the list of rewards:
5 Awareness Elixir
10 Ring of Charisma
15 Iron Skin Potion
20 Leadership 101 Book
25 Ogre Strength Draught
30 Cabalistic Censer
35 Glowing Shard
40 Sun Fruit
45 Ring of Charisma
50 Mysterious KeyThe 51st gem.
There is a 51st to be found, which nets you the final reward of 500 gold, again from Twigs.
Tips and Tricks
– There are 115 red chests, and 81 brown chests to be opened, for a total number of 196.
– Money bags or other small pickups don’t count towards game completion.
– Most rooms in the Ethereal Palace have 2 or 3 versions. To get a different version, simply re-enter the room until you get it. Some variations contain treasure that the others do not.
– Money grabbed in the illusionary version of the Ethereal Palace won’t increase your total gold count.
– Pip can move items around by bumping into them.
– Small enemies can be knocked around with stones, or by giving them a bump from Pip using Pungent Fruit (useful for removing Blobs roaming ceilings, or changing the trajectory of Floaters).
– Pungent Fruit can be used to break blocks and walls that are out of reach to your conventional weapons.
– Sticky Fruit sticks to any solid surface, including enemies. This can be used for a few puzzles.
– Nibblers can move items around (useful for the money bags in the Trial of the Maze in Polyandrium).
– The few rooms on the left side of Polyandrium can be accessed as soon as you meet Cobalt (the giant Worg) for the first time, allowing early access to Pungent Fruit and 2 Pure Gems. Not much progress can be made inside, though, until you get the Ice Fruit on the other side.
– The trials in the Forgotten Roots won’t give any rewards beyond bragging rights and an achievement and won’t count towards any endings or game completion percentage.
Endings
I will go over the steps to take to obtain each of them, from the worst ending to the best.Ending C:
– Once you’ve reached The Truth, find the Ogres’ Fortress and simply escape without uncovering the true Final Boss.
This is considered the worst ending since it means Lamara roams free and will corrupt the lands.
You also failed to execute the plans of The Avatar.Ending B:
– Obtain all three Stone Tablets in The Truth and show them to Twigs at any campfire.
– Command Rowr to follow you as a minion.
– Enter the chasm below the mural.
– Either don’t have a Health Potion or opt to not give it to dying Twigs once inside.
– Defeat all bosses inside the chasm.
– Make your way out of the collapsing dungeon in time.
This is considered the next-best ending since it means Rowr falls down the bridge at the exit of the dungeon, and gets buried alive under the debris. Twigs also dies from not being given a health potion in time to recover. However, you did manage to rid the world of Lamara and its corruption, saving countless lives… aside from your friends…
Ending A:
– Light all spider torches scattered around The Truth.
– Enter the room that is now open once all torches are lit.
– Find Friffle’s kid in the room above. It will run off back to Friffle’s shop.
– Now follow it into the shop and Friffle will give you a Health Potion for finding his child.
– Obtain all three Stone Tablets in The Truth and show them to Twigs at any campfire.
– Leave Rowr at the campfire.
– Enter the chasm below the mural (without a minion).
– Opt to give your Health Potion to dying Twigs once inside.
– Defeat all bosses inside the chasm.
– Make your way out of the collapsing dungeon in time.
This is considered the best and final ending since everyone makes it out alive (aside from Drai Lez, but who cares about him?). During the escape sequence, Rowr appears to carry Twigs outside, whom is now recovering thanks to your health potion. Once outside, Rowr is then saved from falling by Twigs and his signature rope.
Disclaimer
– As of writing this guide, I have not yet unlocked all achievements, so I might not know how to right now, but feel free to ask since I know how to unlock most of them.
– There is a known softlock in the top-left of Mournsalt, where, without the Fire Fruit, you cannot get out once you reach the chest containing the Pure Gem. It is recommended to only pursue this treasure once you have the Fire Fruit. If you do get stuck, however, you can reload the last checkpoint or campfire, but beware you will lose some progress. I will edit this section once the developers have fixed this issue.
That’s all we are sharing today in Batbarian: Testament of the Primordials Complete Map Guide, if you have anything to add, please feel free to leave a comment below, and we’ll see you soon.
Credit to Feaw
really good guide thanks