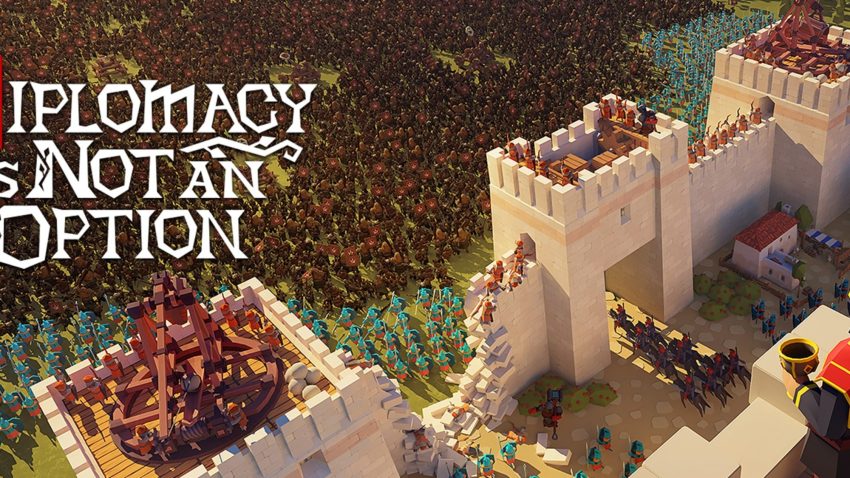
This guide is designed to provide a detailed overview of the range bonuses provided by various towers in the game Diplomacy is Not an Option.
Tower Ranges
Watch Towers: +50%/+75%
Guard Towers: +35%/+50%/+65%
Massive Guard Towers: +20%/+35%/+50%
Wood/Stone Towers: +15%/+35%/+50%
Massive Tower: +25%/+35%
Watch Towers are mostly for vision purposes. Guard Towers and Massive Guard Towers provide better range than their healthier counterparts, so unless you plan on enemies attacking your towers instead of your walls, you can get more range out of the cheaper Guard versions. All Towers can hold up to 9 troops or 1 Catapult or Ballista, and all Massive Towers can hold 25 troops, 4 Catapults/Ballistas or 1 Trebuchet.
Guard Towers should provide more than enough range for ballista to hit any enemy siege equipment (besides maybe Treubchet) outside your walls. Massive Guard Towers give your trebuchet stupidly long range. Catapults and trebuchet can fire over walls on their own, and I believe you can fit far more units crammed in a spot together than you can on a tower, so if you plan on hitting the enemies that are against your walls, it’s probably better to just leave them on the ground. A few trebuchet in Massive Guard Towers do great work against hordes of enemy siege equipment, though.
Or in another format:
- Watch Tower I +50%
- Watch Tower II +75%
- Guard Tower I +35%
- Guard Tower II +50%
- Guard Tower III +65%
- Massive Guard Tower I +20%
- Massive Guard Tower II +35%
- Massive Guard Tower III +50%
- Wood Tower +15%
- Stone Tower 1 +35%
- Stone Tower II +50%
- Massive Tower I +25%
- Massive Tower II +35%
Thanks to Shakajolt for their excellent guide; all credit belongs to their effort. If this guide helps you, please support and rate it here. Enjoy the game.
