In this guide we will show you how you can mod the game in both the code and changing textures!
Introduction
This is a collaborative guide made by CaptainCrumpet and AgentFox. I (CaptainCrumpet) work mainly on creating textures so I will be going through that in this guide and AgentFox will be going through the coding part.
There is no workshop for the game at the moment and the devs are are aware that players want it so please don’t start spamming saying you want it. It will come eventually.
If you have any suggestions, we’d love to hear them in the comments!
Replacing Textures
I (CaptainCrumpet) will show you how you can replace textures in the game. However, I have searched in every file associated with K&C but have not found a lot of textures for buildings and such. I will continue looking but I don’t think ill find them.
Textures i’ve found
• You can edit/change every icon in the game
• FestivalShop – sharedassets1.assets
• FestivalTent – sharedassets1.assets
• granarytex – sharedassets1.assets
• keep0tex – sharedassets1.assets
• largehousetex – resources.assets
• largehousetex1 – sharedassets1.assets
• ogretex – sharedassets1.assets
For this example, I will be replacing the Granary texture (granarytex). All the other textures use the same process so you can replace what ever texture you’d like.
First things first, youll want to open file explorer and go to
C:\Program Files (x86)\Steam\steamapps\common . Now copy the “Kingdoms and Castles” folder and paste it somewhere and rename it. This is optional but highly recommend as modding can break your game.
Next, you’ll need a tool call Unity Asset Bundle Extractor (UABE). You can download it here;
https://github.com/DerPopo/UABE
You will also need a photo editing software such as Photoshop. If you don’t have access to Photoshop, don’t panic! You can use https://pixlr.com/editor/ which is free and very similar to Photoshop.
Once youve downloaded it, extract it somewhere (I recommend the desktop) and then open that folder. Once inside, the third file down should be “AssetBundleExtractor.exe”, double click that and a small box should appear on your screen
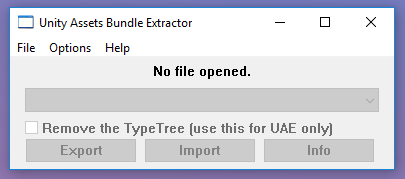
Once that’s up, click File, Open and file explorer should pop up.
In here, travel to C:\Program Files (x86)\Steam\steamapps\common\Kingdoms and Castles\KingdomsAndCastles_Data.
Now you should see this;
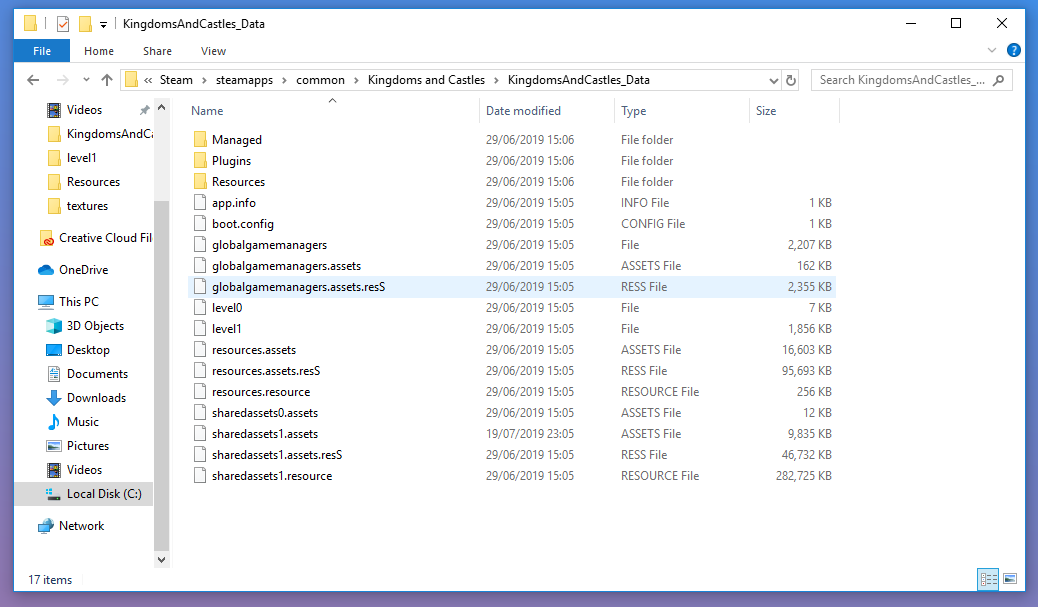
Now open “sharedassets1.assets”. UABE will now load the assets and will eventually open a large list that looks like this;
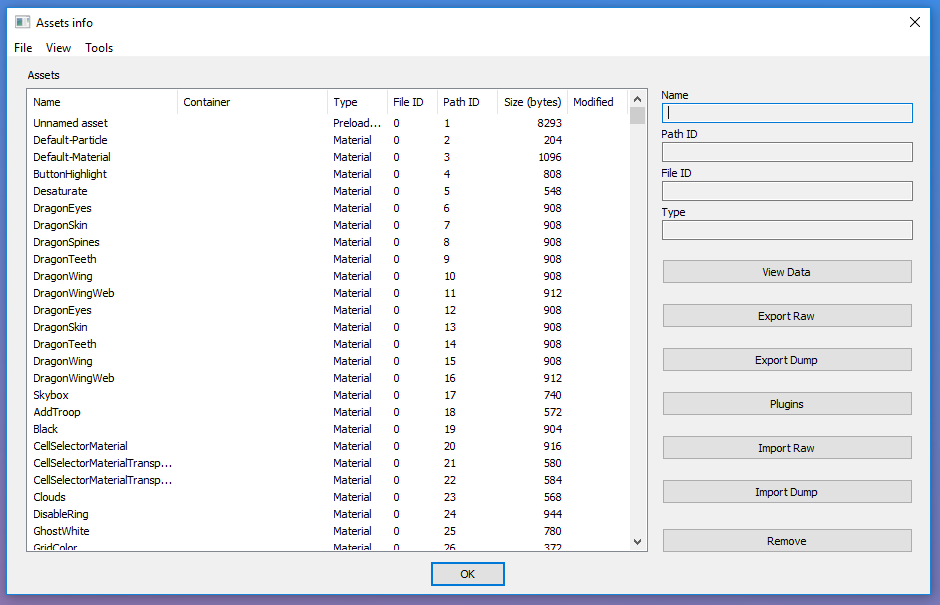
Searching for what be want will be very hard just by scrolling through the list so instead we will search for it!
To do this, click “View” in the top left and select “Search by name”. In the search bar, type “granarytex” and click next. It will select the first one but this is not the one we want. Click “View” but this time, click “Continue search” or you can press F3. The next one is also not what we wont so continue search again. This one IS the one we want because the type is “Texture2D”.
Now click “granarytex” so that it is highlighted blue and then click “Plugins” on the right.
In the box that shows up you will have three options. You’ll want to click “Export to png” and click next. Now save the png anywhere (I recommend creating a folder on the desktop and saving it there.
Now that’s done you can get creative! Load up Photoshop and load up the image you just saved.
You can add anyhing but bare in mind it may not turn out how you think it will!
If you are creating a texture for the Granary you can use this to figure what you are drawing on;
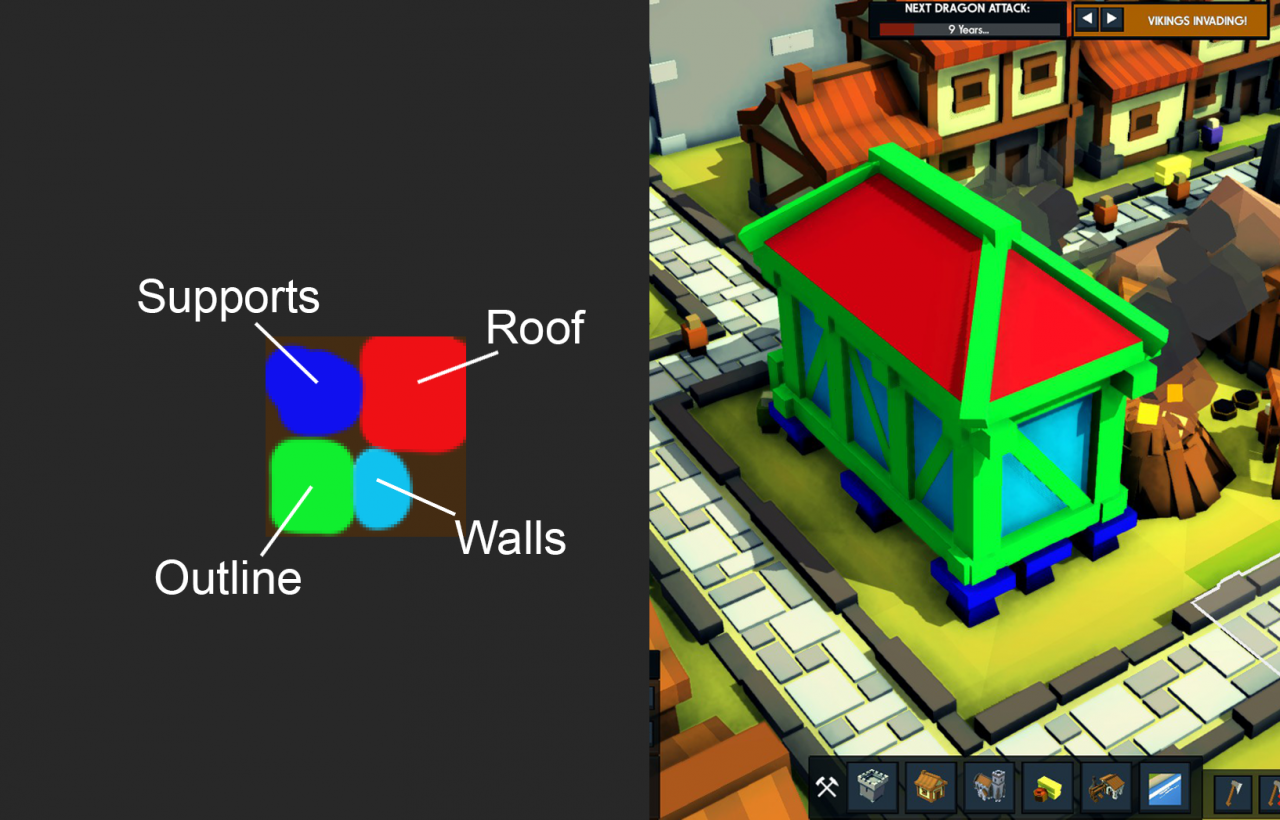
When you are finished editing your image, you can now put it in game! Save the image you just edited and save it somewhere.
Now open up UABE. If you left it open then you should still be at the “granarytex” that we got the texture from. If you did close it, juist go back through the steps just before you exported the png.
Once back at “granarytex” (the texture2D one, not material) click it so that it is highlighted blue. Now click plugins on the right but this time we’ll click “Edit” and then ok.
You should have this pop up;
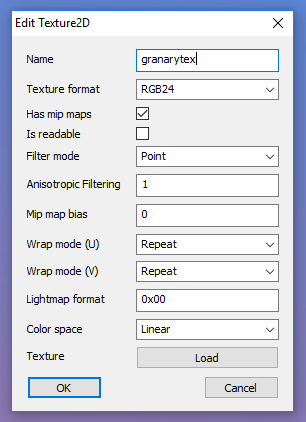
And now you can click “Load” at the bottom and file explorer will open. Find the image you edited and double click. You’ll be back on the Edit window and you can click “ok”. Now go to the top left and click “File” and then “Save”. Save this somewhere (but NOT in KingdomsAndCastles_Data) and then close UABE.
Open up file explorer and go to C:\Program Files (x86)\Steam\steamapps\common\Kingdoms and Castles\KingdomsAndCastles_Data . Open up another file explorer and find sharedassets1.assets which you just saved. Now drag the modded “sharedassets1.assets” into the KingdomsAndCastles_Data folder and replace it.
That’s it! You’re all done! When you next load up the game, the texture you modded should have changed!
If you have any problems at all, let me know in the comments and ill get back to you.
Script Modding
Script ‘Modding’ in KC can be accomplished in many ways. Technically, Modding is not officially supported by the game, however this does not mean it isn’t possible. Most games have a specific set of scripts and documentation for modding, but in this game the devs could not find the time to make such a thing. Despite this disheartening factor, the loyal fanbase of this game have found workarounds. One such example is the Merlin scripting API[github.com], however this does not suit the needs of everybody (more details below), another the crude modification of the game’s source code.
Well, it depends on what you’re trying to accomplish, namely if you’re trying to add something to the game, or modify it’s existing code.
Please Note, the modification of the game’s source code is very similar to replacing textures, as iterated before by CaptainCrumpet
Method A – Merlin
The Merlin Scripting API (link above) is helpful because it’s simplified, however it can only piggyback on the EXISTING game code, meaning you can only change what is already there, i’ll give an example for clarification: Say you wanted to make the walls blue, you can’t go in and change the walls code, but you can add code to the game that overwrites the existing code, and turns it blue. Take a look at this:

As you can see, rather than going into the files, finding the file that controls weather, and disabling fog, they wrote code to overwrite that file, effectively turning fog on, and then turning it off again. Although it may seem impractical, it is certainly easier to write code.
Method B – Source Code Modification
This method is less simple, but certainly more direct. I’m not sure if this method has an actual name, but it is known, at least to me, as ‘crude’ modding. ‘Crude’ modding is basically opening the source code of the game, changing it, and putting it back in. ‘Crude’ modding allows for you to do almost anything, but requires you to be a little bit dexterous with technology.
To make the mod, you’ll need some sort of a tool that can decompile AND edit .dll files. The tool I highly recommend is something called dnSpy[www.softpedia.com].
After you have your decompiling and editing tool, it’s helpful to take a break here and get used to it, test out the interface, practice a bit, because the code of KC is a doozy.
If you are using dnSpy, I have a tutorial here on how to use it for some extra help:
If you are using dnSpy, you’ve probably have gained a somewhat basic understanding of modding games with dnSpy from the video above, and now we can begin modding!
Finding the files
The game files are located in a different place depending on your game platform, if you’re on Steam, it will be in
and on GOG,
from here, enter the data folder, and here you have the files. This will be your workspace when modding, and is how the game runs. It should look something like this:
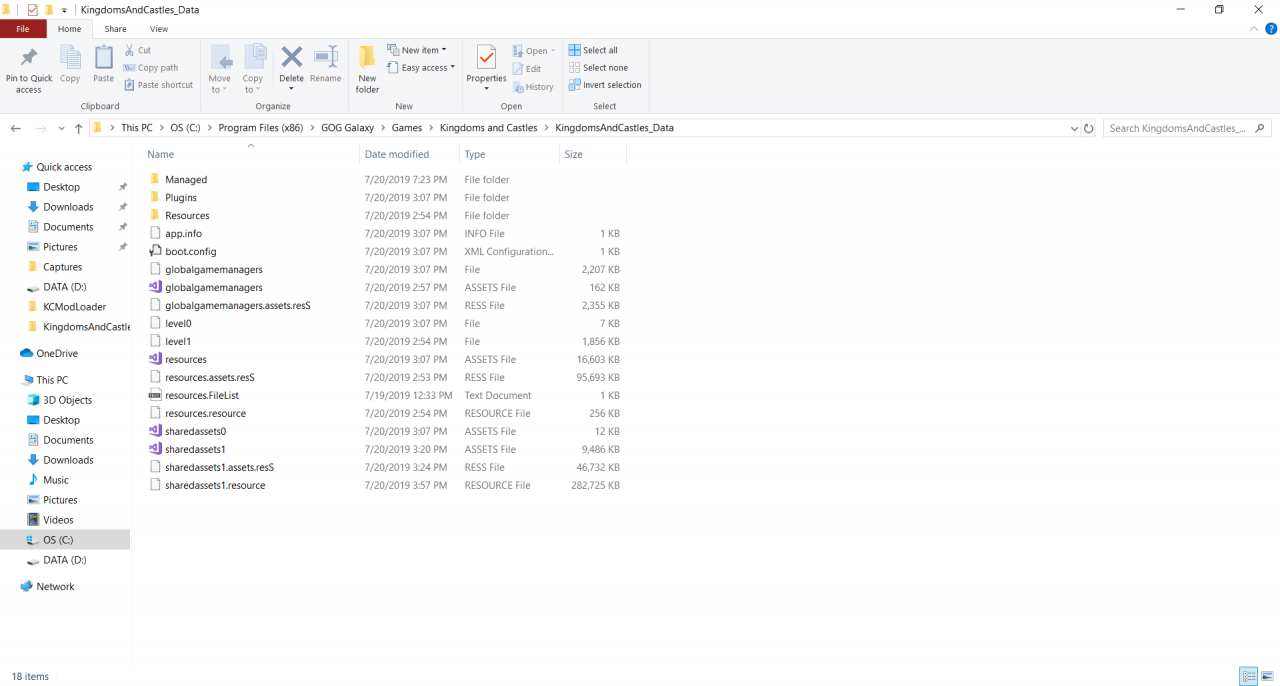
Inside Managed, is a file called Assembly-CSharp.dll.
This is the heart of the game, this is what runs everything, so if you right-click, and press Open With, and then find dnSpy.exe, it will open the source code of the game.
as a side note, this is how Unity-run games work, so this will hold true for all Unity games
Here it should look like this:
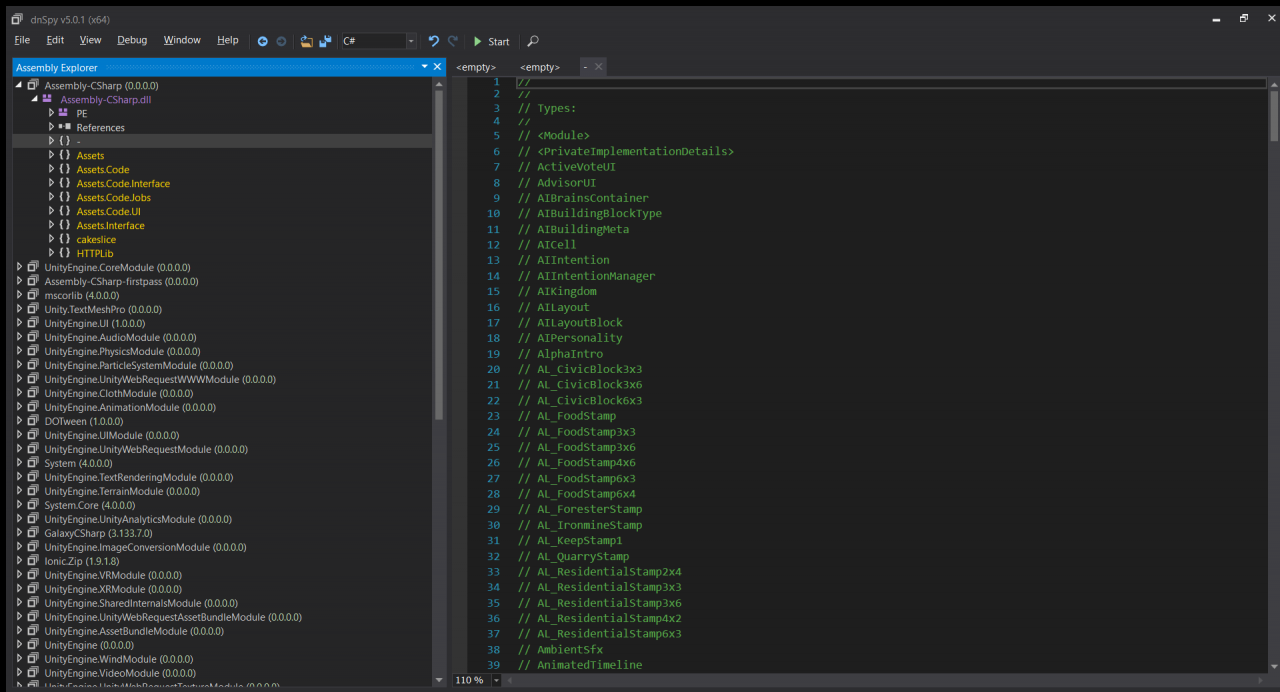
(from here I will refer to Assembly-CSharp.dll as the assembly)
as you open the assembly it may import a bunch of other assemblies, don’t worry about those, they’re just extra stuff the devs used.
Here if you’d like to, you can have a look around and you’d find some VR packages, assorted Utility packages, and a bunch of Unity default packages.
if you open the file structure, you’ll see that all the files aren’t very well organized (sorry devs 🙁 ), and I’ll cut to the chase: Most of the files are in the ‘-‘ folder, which is actually not a folder, it’s just the stuff that were sitting around. Some editors like Visual Studio, will have these just out there, not in a folder. some of them, the resources the game uses for stuff like name generation, are in the Assets folder, and then there is other stuff in Assets.interface, and Assets.code that are used in lots of stuff.
In order to make changes to any file, click it, and it’ll open on the right side of the screen, along with a bunch of sub-folders on the left side, as shown in this image:
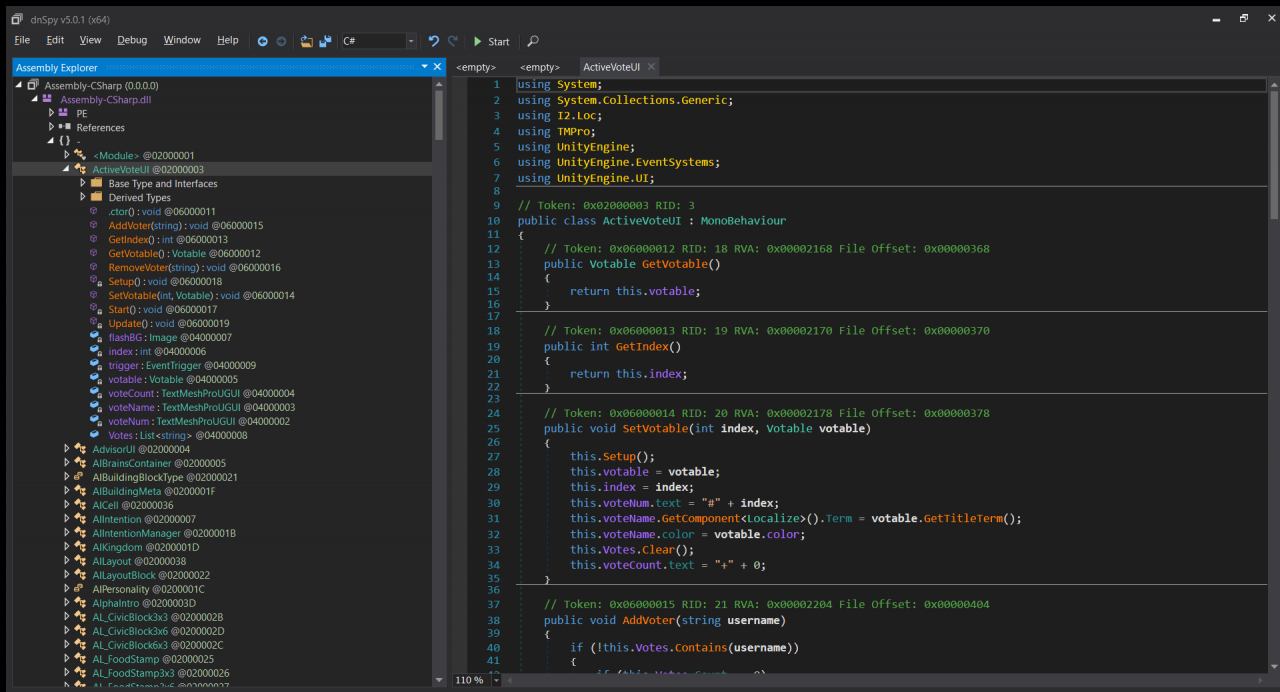
Once that’s open, right click on the code and hit Edit Class or Edit Method, whichever works for you (the difference is Edit Class edits the whole script, whereas Edit Method edits just the function you right clicked on)
This should open a new window that looks like this:
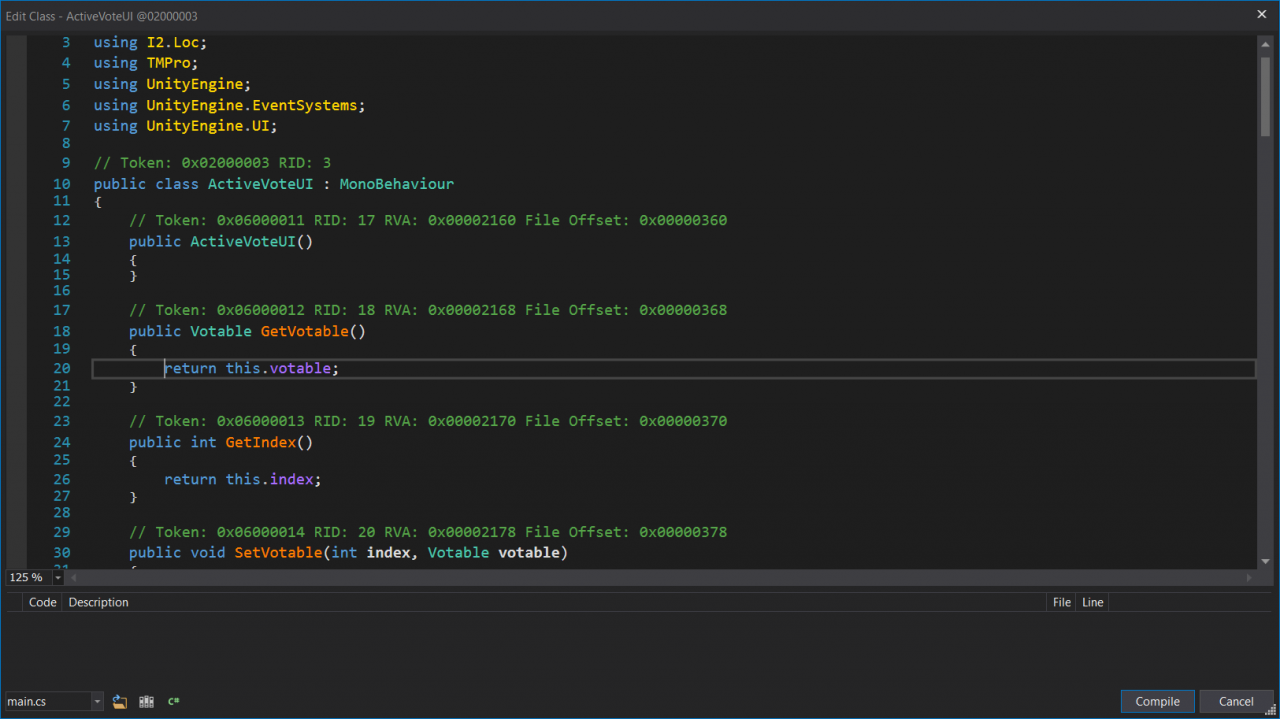
once you edit the code, you hit ‘compile’ and then go to file > save Module, and it’ll edit your game!
- Please remember that this can only modify things via script, some things may not be availible to change with script, for example, anything that’s a [SerializeField] is uneditable
- Some files have errors in them that you cannot fix, you can find these by trying to compile in the ‘Edit Class’ window, these files aren’t worth bothering with, you can’t change them.
Now you’re all set to make your mods!
Written by CaptainCrumpet and agentfox
